


Making of Nasu Tepee
Hossein posted his recreation of Nasu Tepee back in June 2017, and this the making-of his scene, in which he managed to achieve high resemblance with the original photo and scenario using many tools in the process – 3dsmax, V-Ray, ZBrush, Marvelous Designer, Megascans, SpeedTree, Rayfire and more!
My name is Hossein Yadollahpour. I was born in 1990 in Iran. I was introduced to CG world in 2001 when I was reading a tutorial book which was related to version 2.5 of 3D Max and then I was fascinated by CG world.
My overall experience includes architectural visualization, environment design, character design and VFX.
In this tutorial, I am going to show you my experiences which I gained during making the Nasu Tepee project. I hope you like it.
Recreation of Nasu Tepee project started when I found some photos of this beautiful building on the Internet.
You can see reference photos here.
Making of Nasu Tepee Video
The main feature here is this making video, so enjoy!
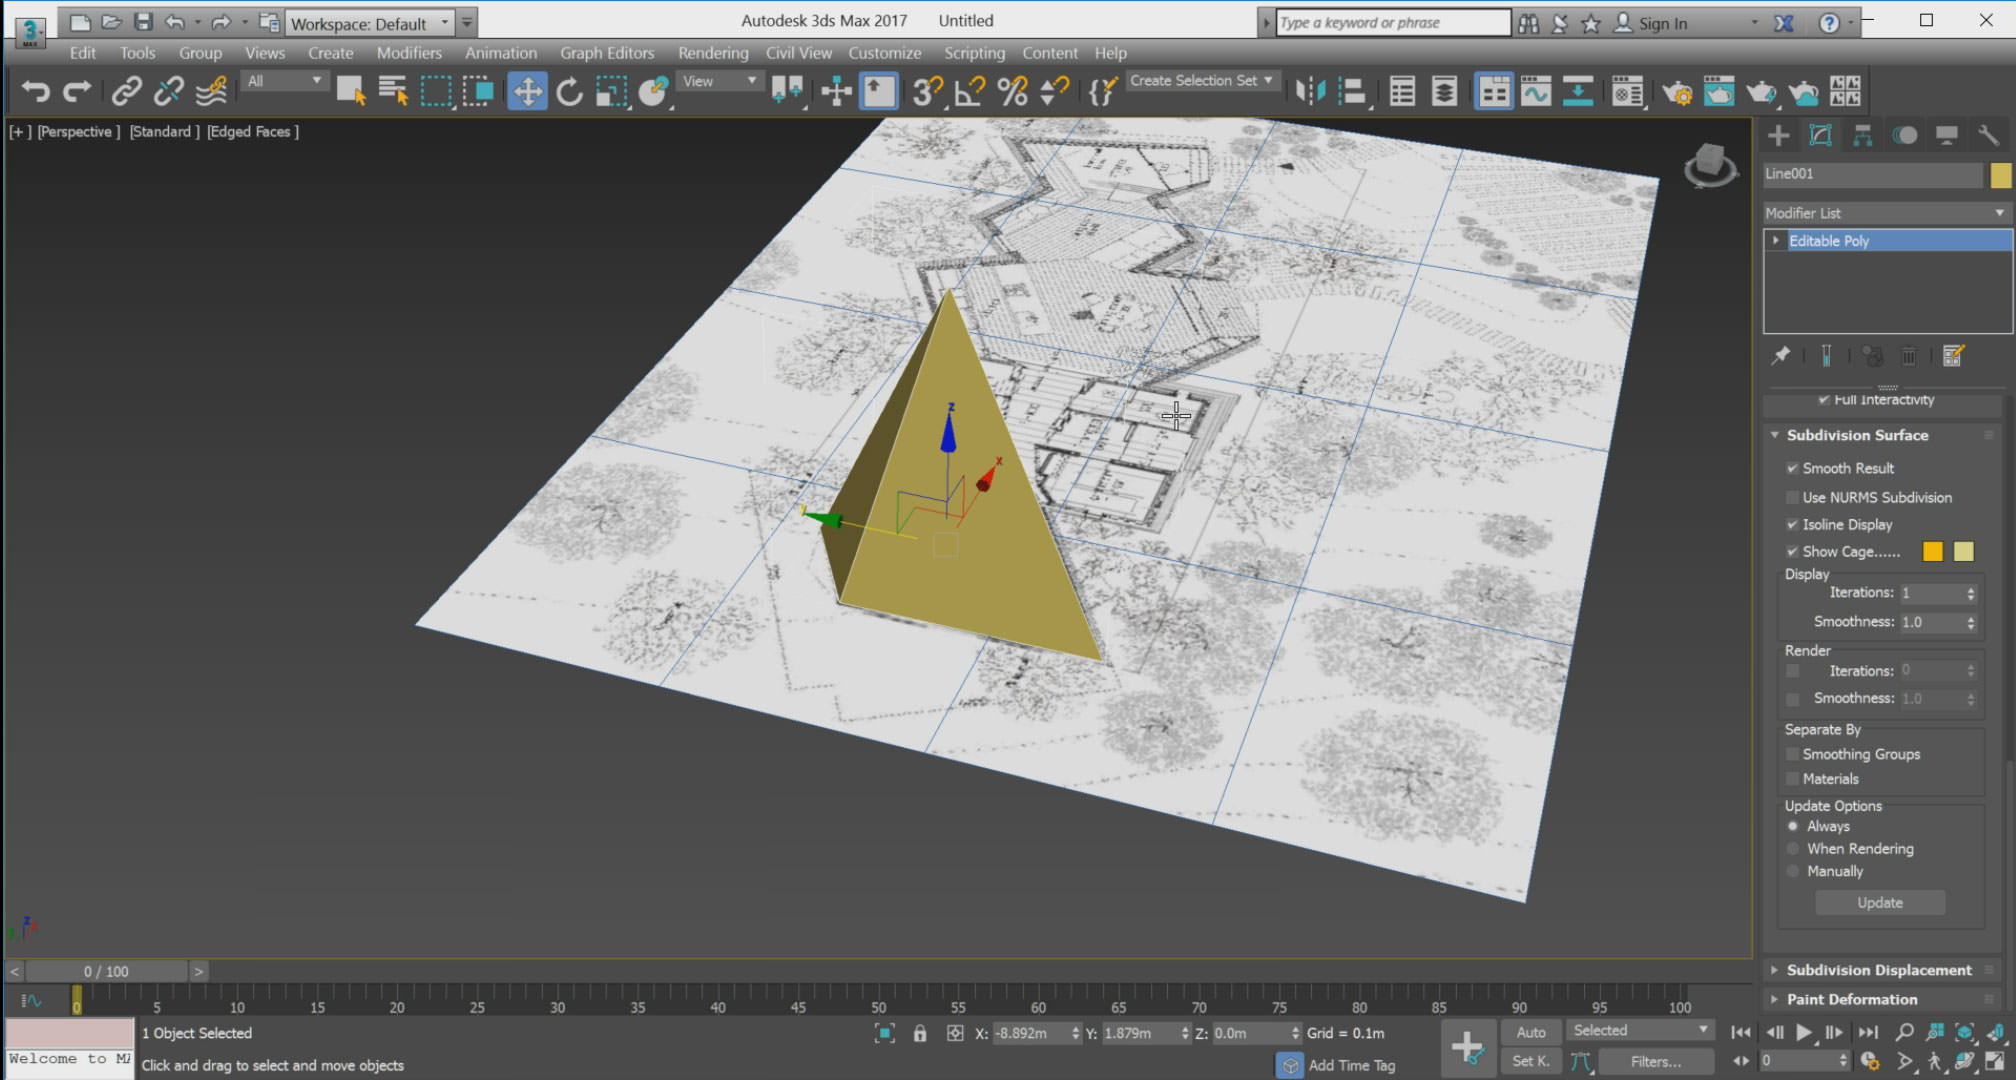
Step 1 – Nasu Tepee 3D Modeling
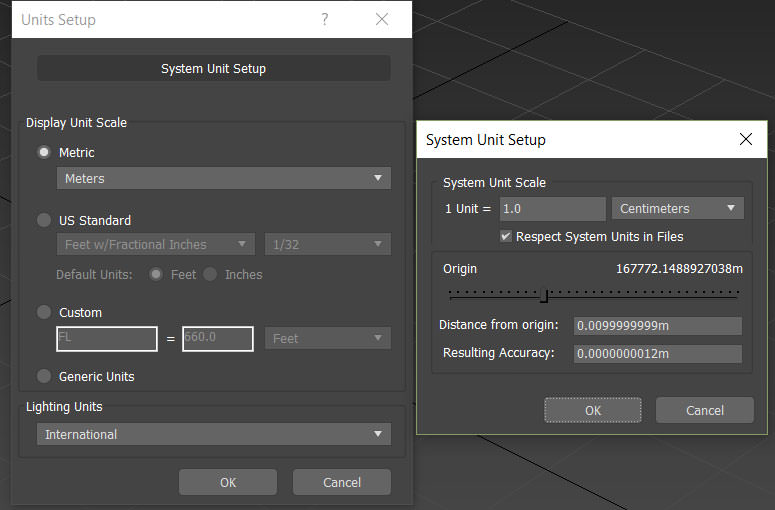
Before starting to model any project, it is important to set the UNIT SETUP to a unit which you want to work with it because of not to make any problem during the modeling process.
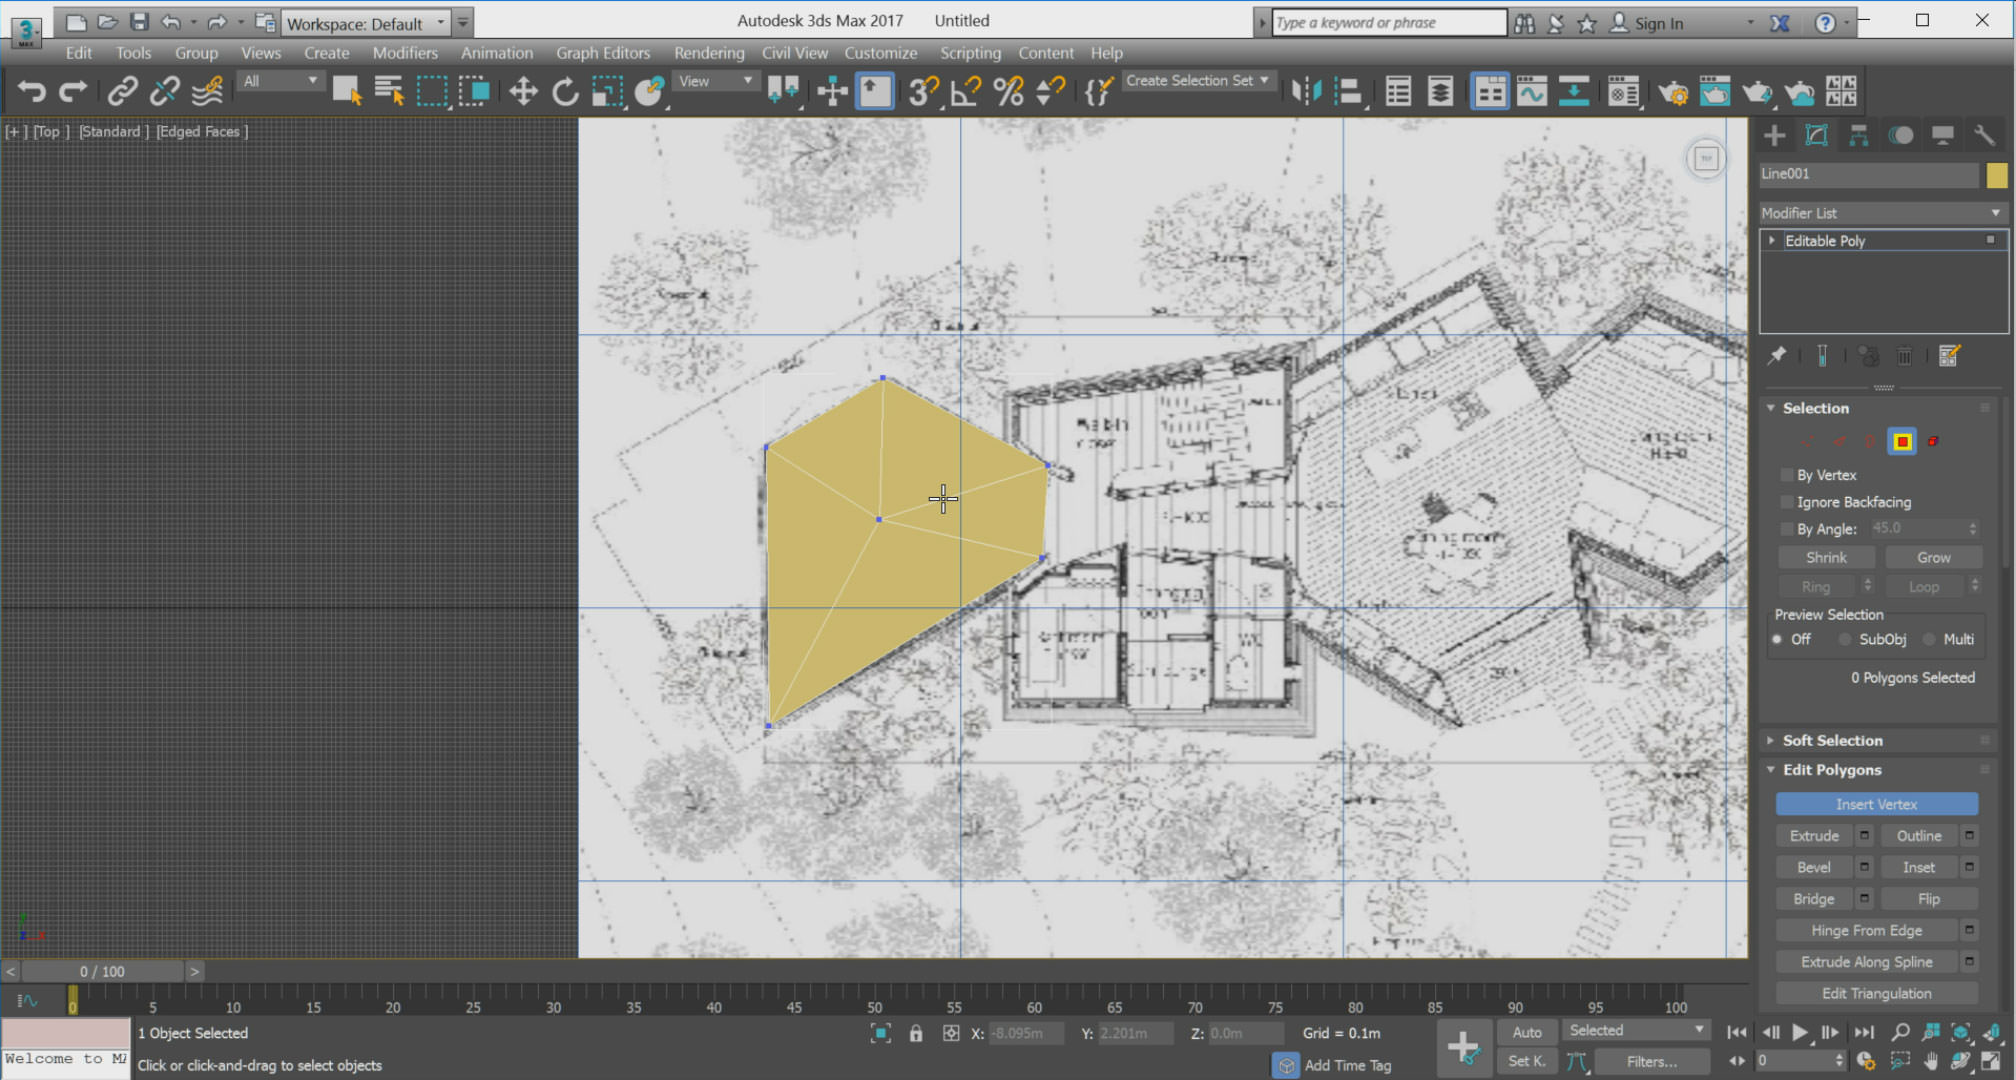
I started to model the building base on the information which I could find on the Internet.
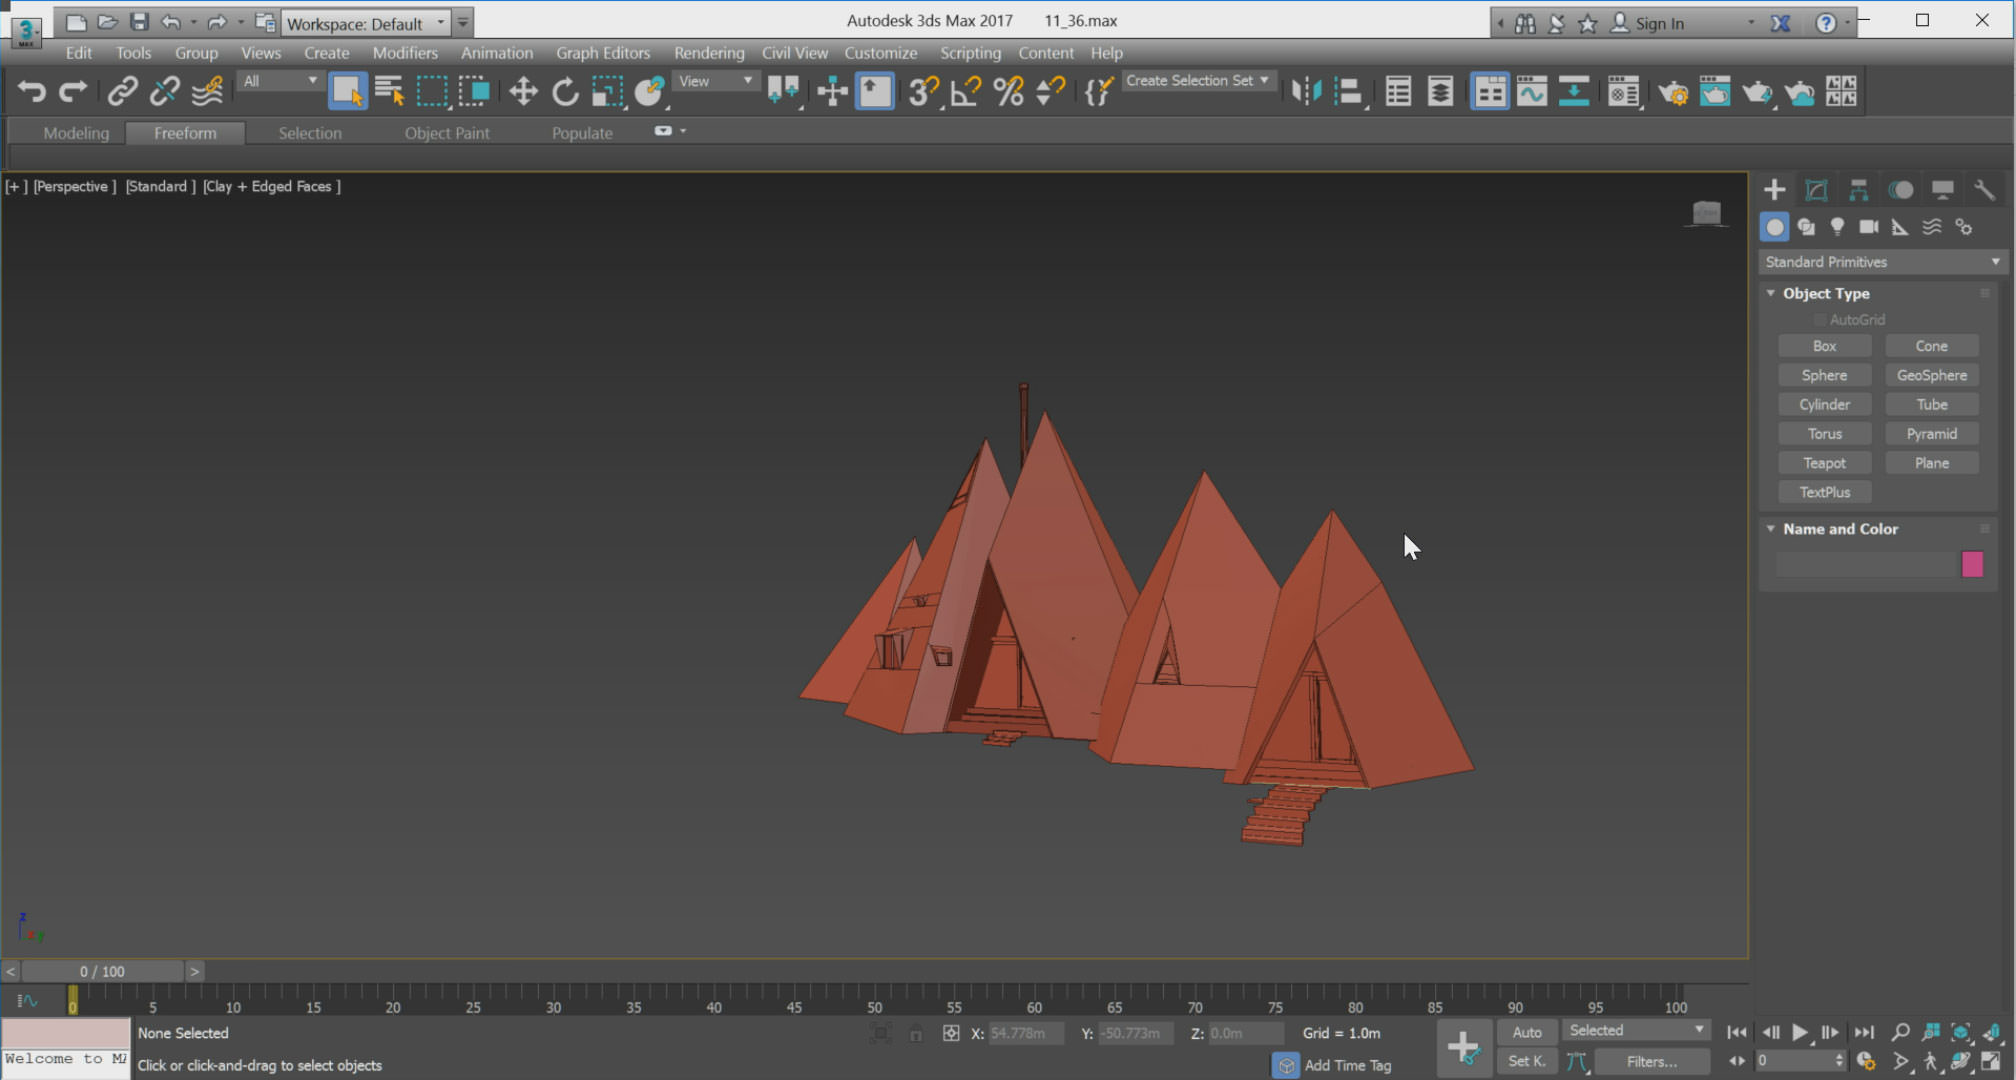
In order to complete the model, I used the Rayfire plugin.
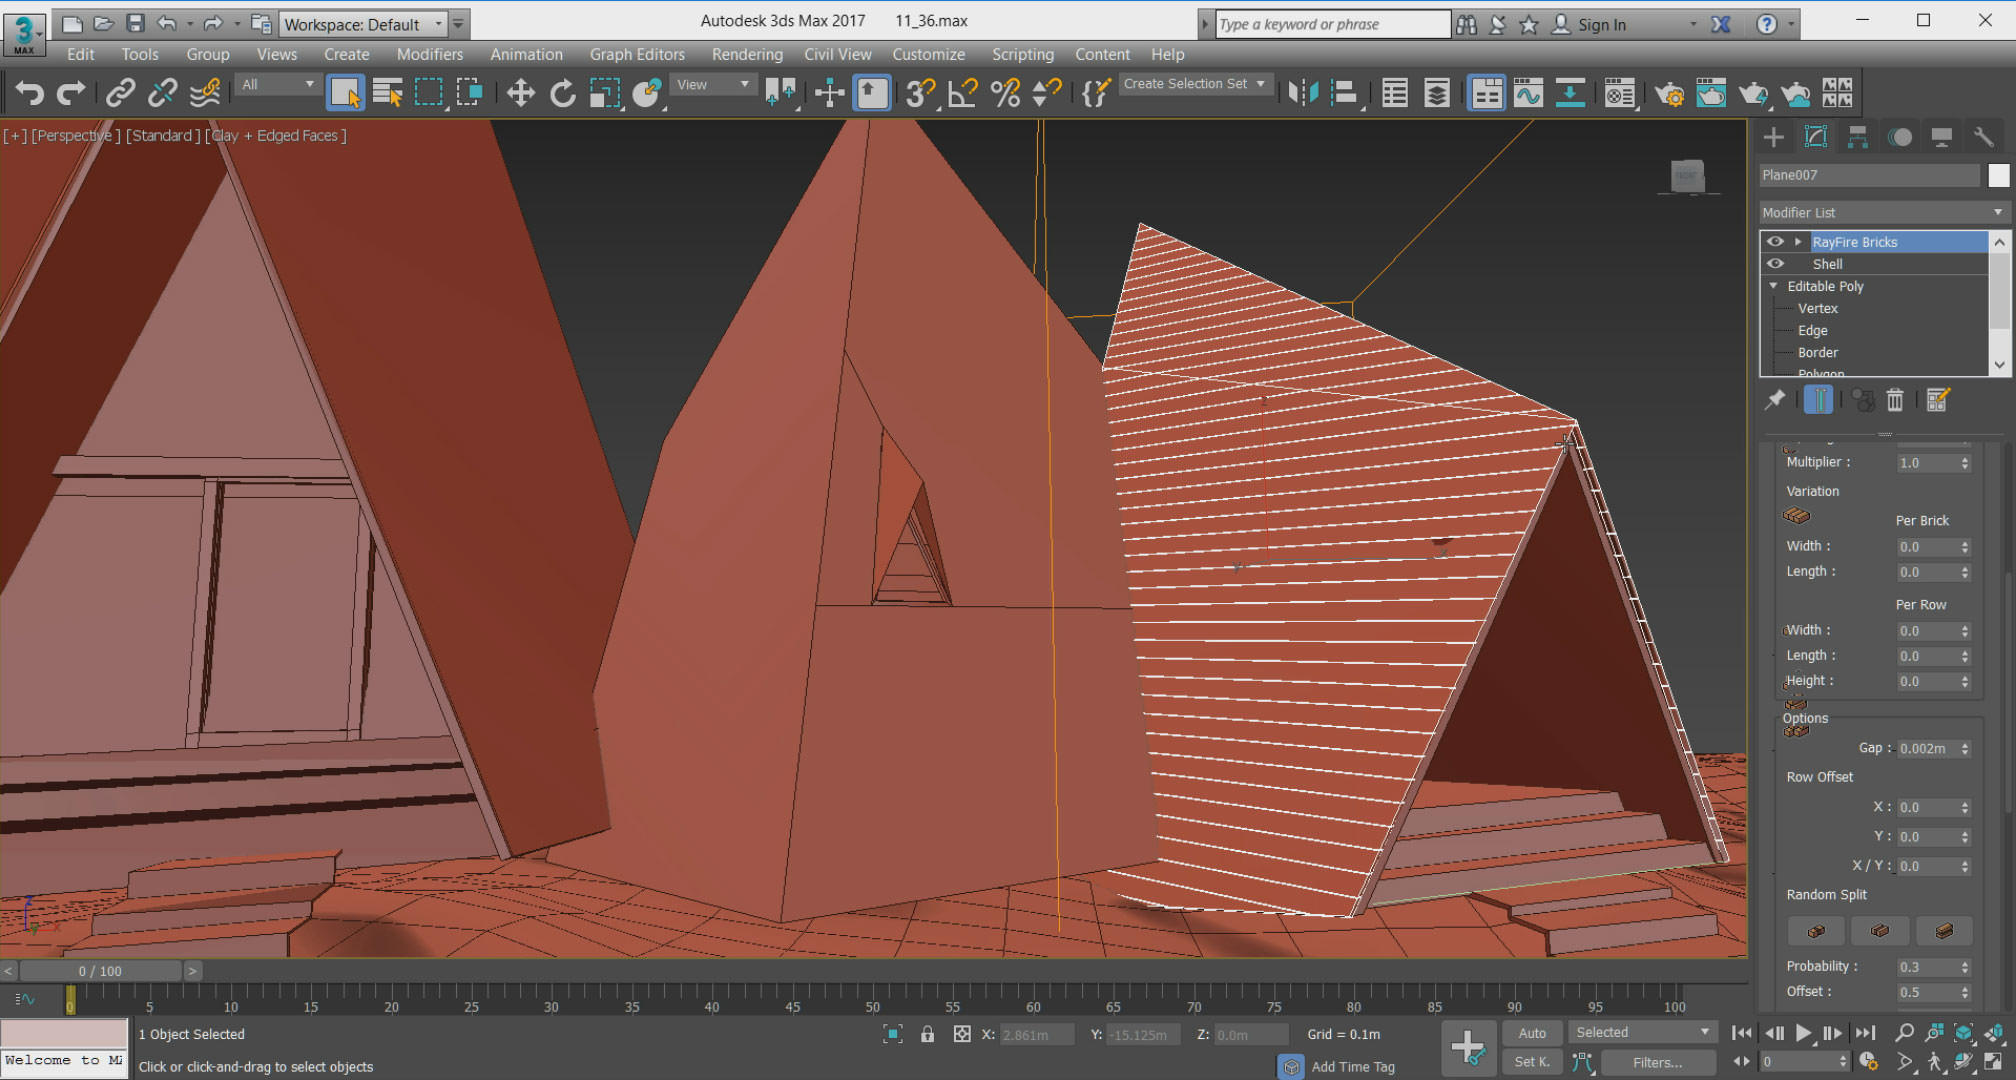

Do not make a mistake! We do not want to destroy anything! By installing this powerful plugin, we add a very interesting and useful modifier to 3D Max which is called Bricks Rayfier. In my opinion, this plugin is one of the fastest and easiest ways to build the tile for the building.
Step 2 – Ground modeling

First, I Created a plane in 3D Max then edited it by options existing in edit poly such as soft selection, conform and paint deformation, etc.
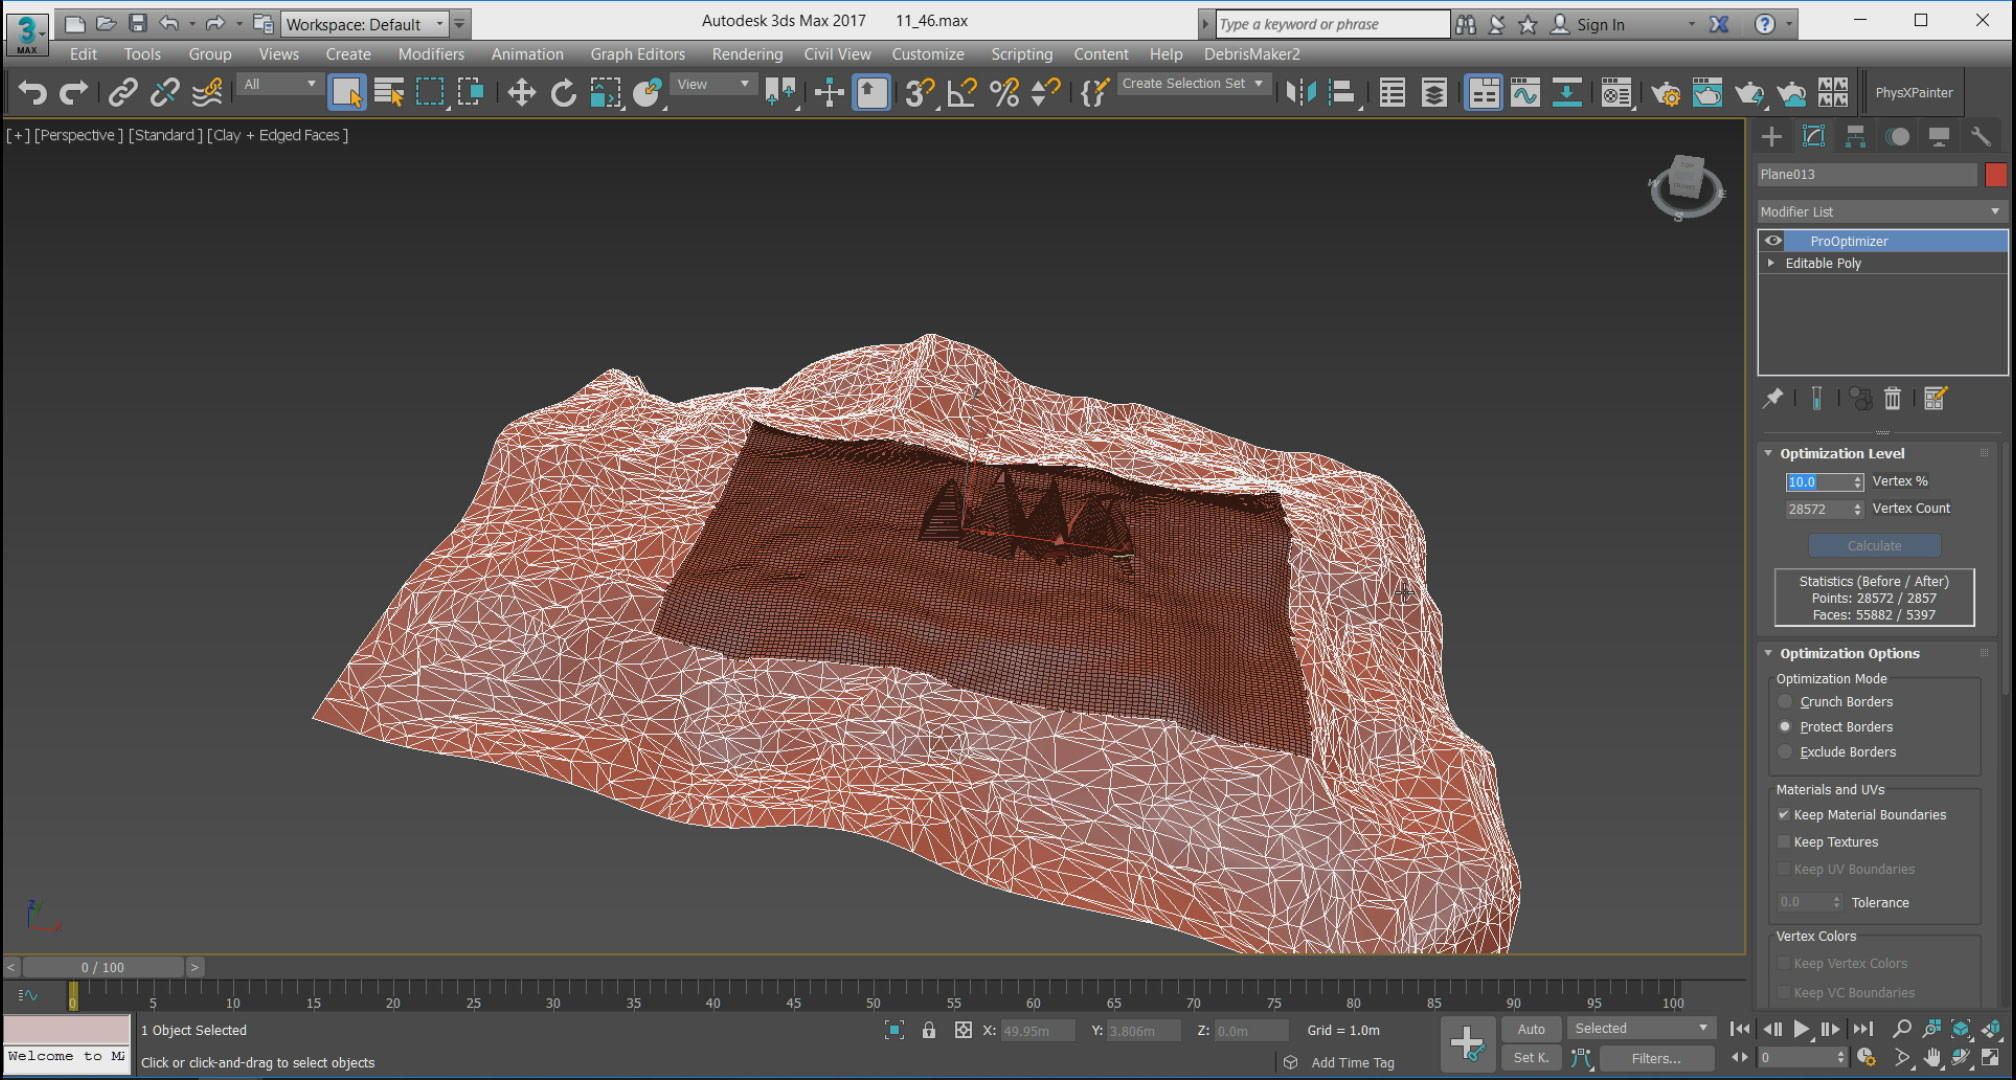
After UV in 3D Max, I transferred the ground to Zbrush software. I save the ground as displacement and normal map. Finally, I moved the ground back into to 3DS Max.


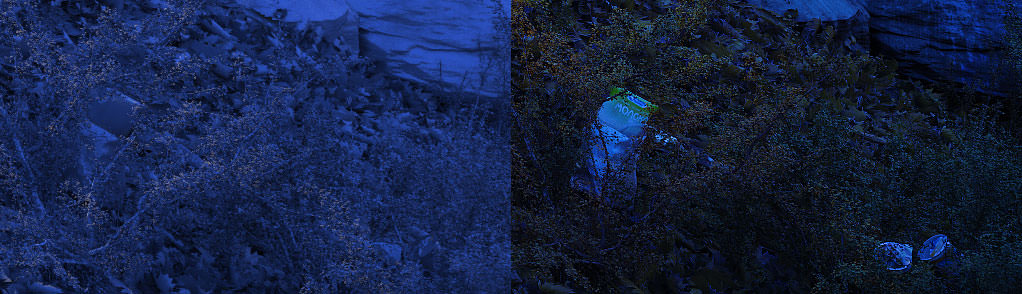
Step 3 – Camera Setup & Lighting
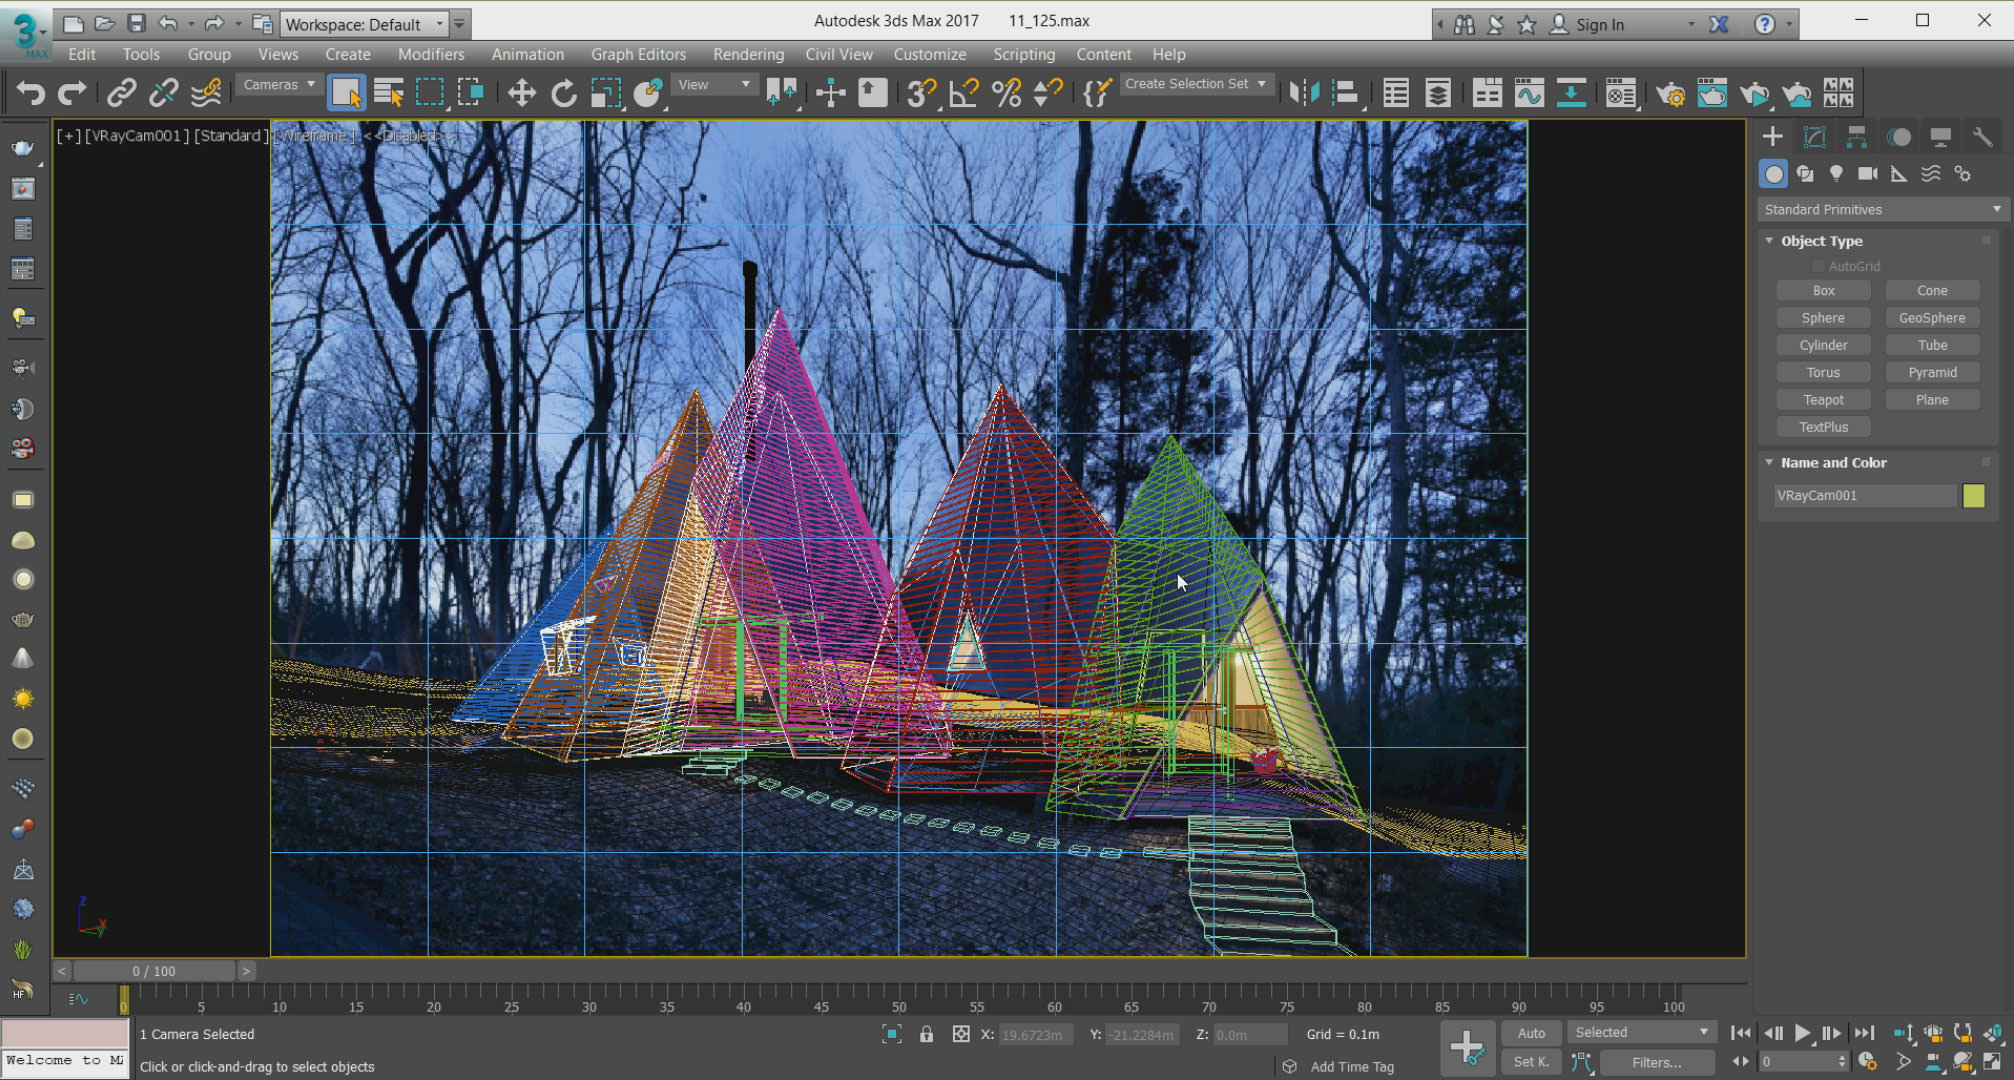
I imported the reference photo into 3D Max and then matched the camera with the scene.
For lighting, I used 2 HDRI’s
First, from PG SKIES by Peter Guthrie, the 2003 Dusk which gave me a great blue theme for environmental lighting.

Second, from www.noemotionhdrs.net. HDRI with quality Noemotion number 06-14_Sunset A, to make my background more similar to the reference photo.
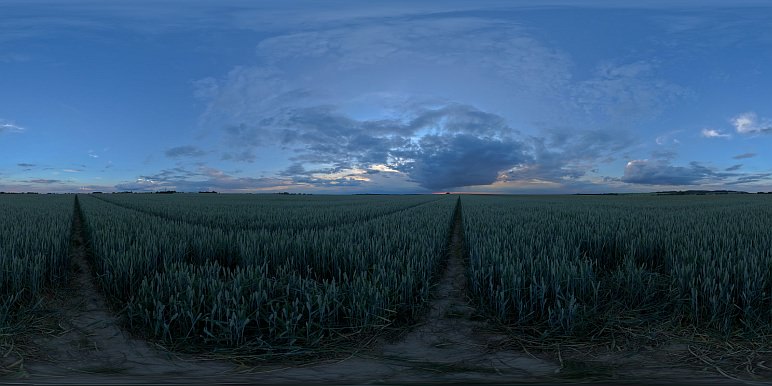
You can find the HDRI photos and dome light in bellow.
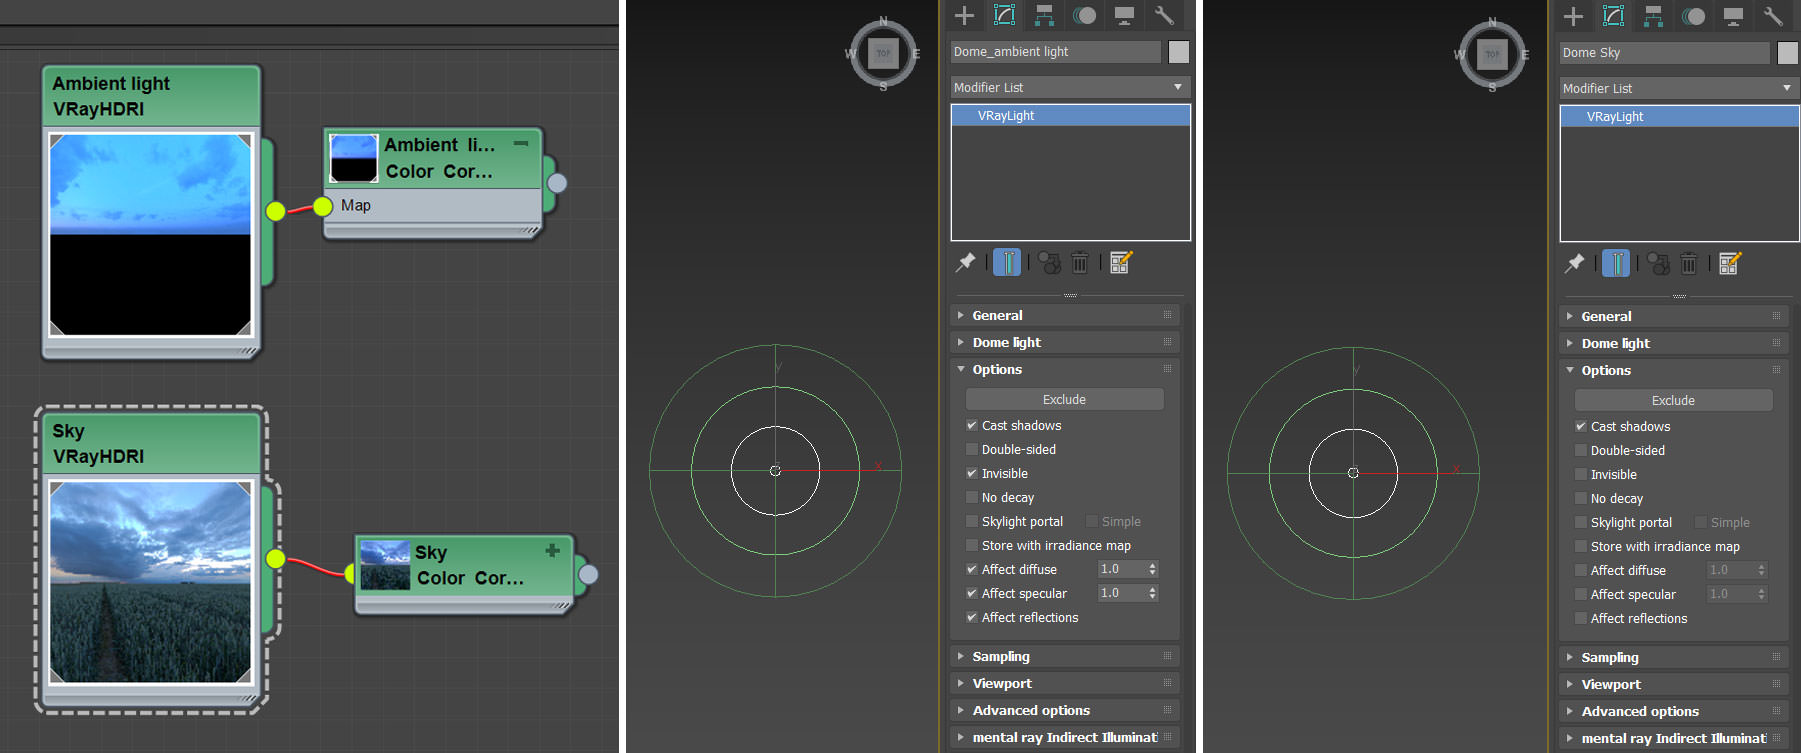
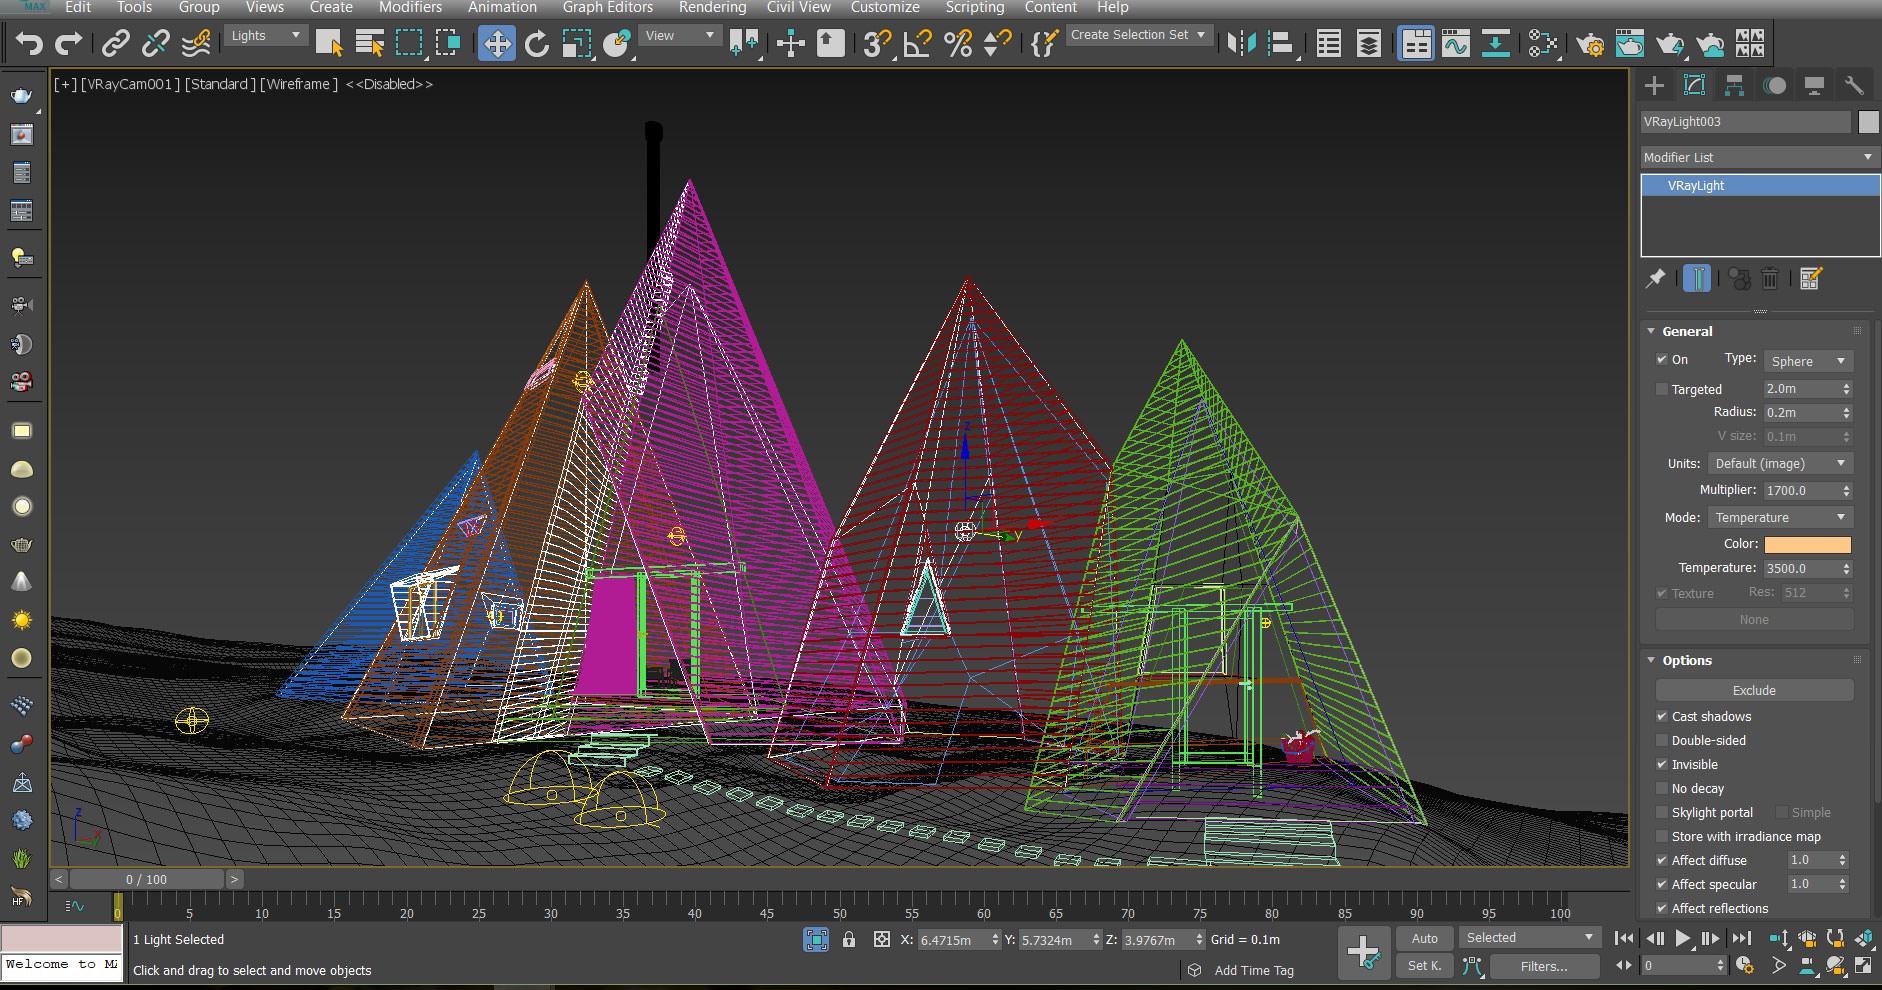
For interior lighting, I used the V-Ray light sphere.
Step 4 – Cloth Simulation
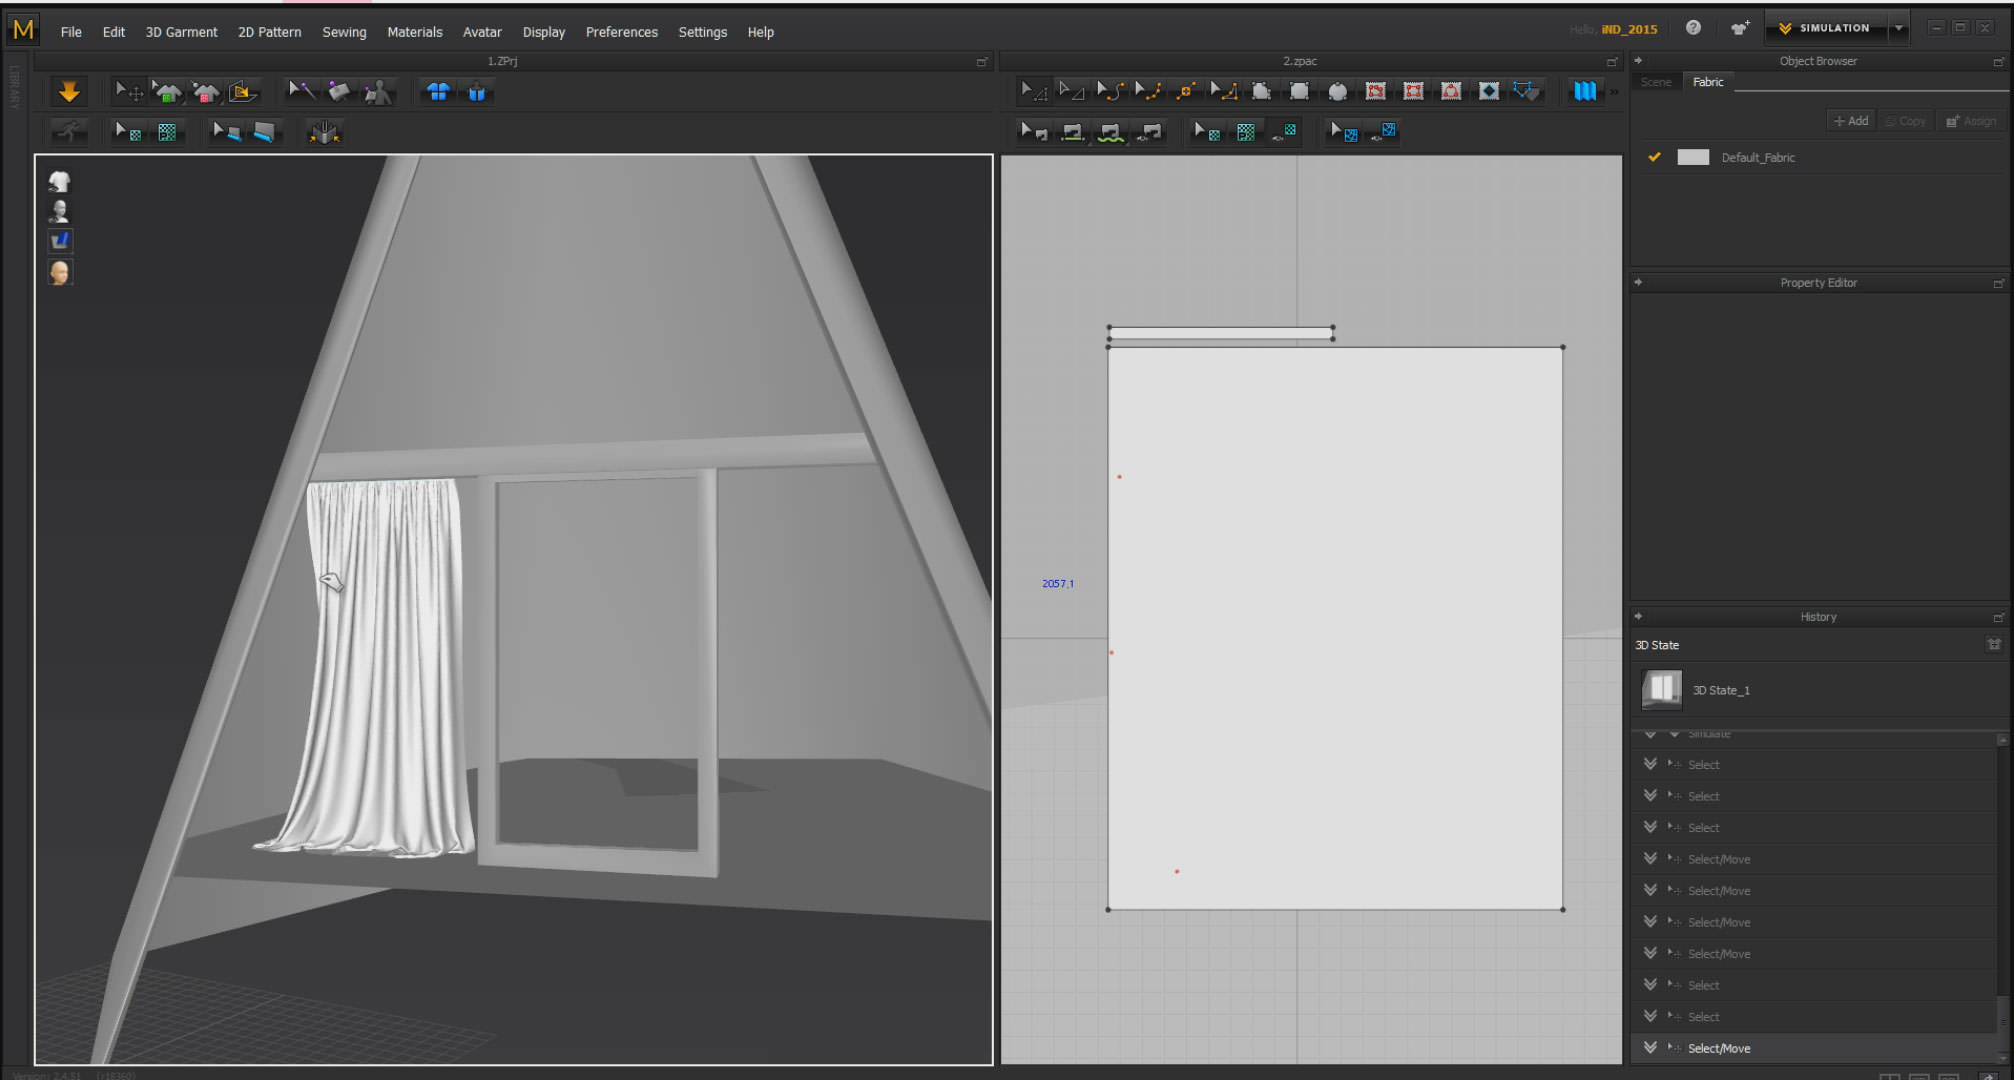
To create cloth, I prefer to use the popular Marvelous Designer software. Because simulation in this software is straightforward and enjoyable and gives you high-quality outputs.
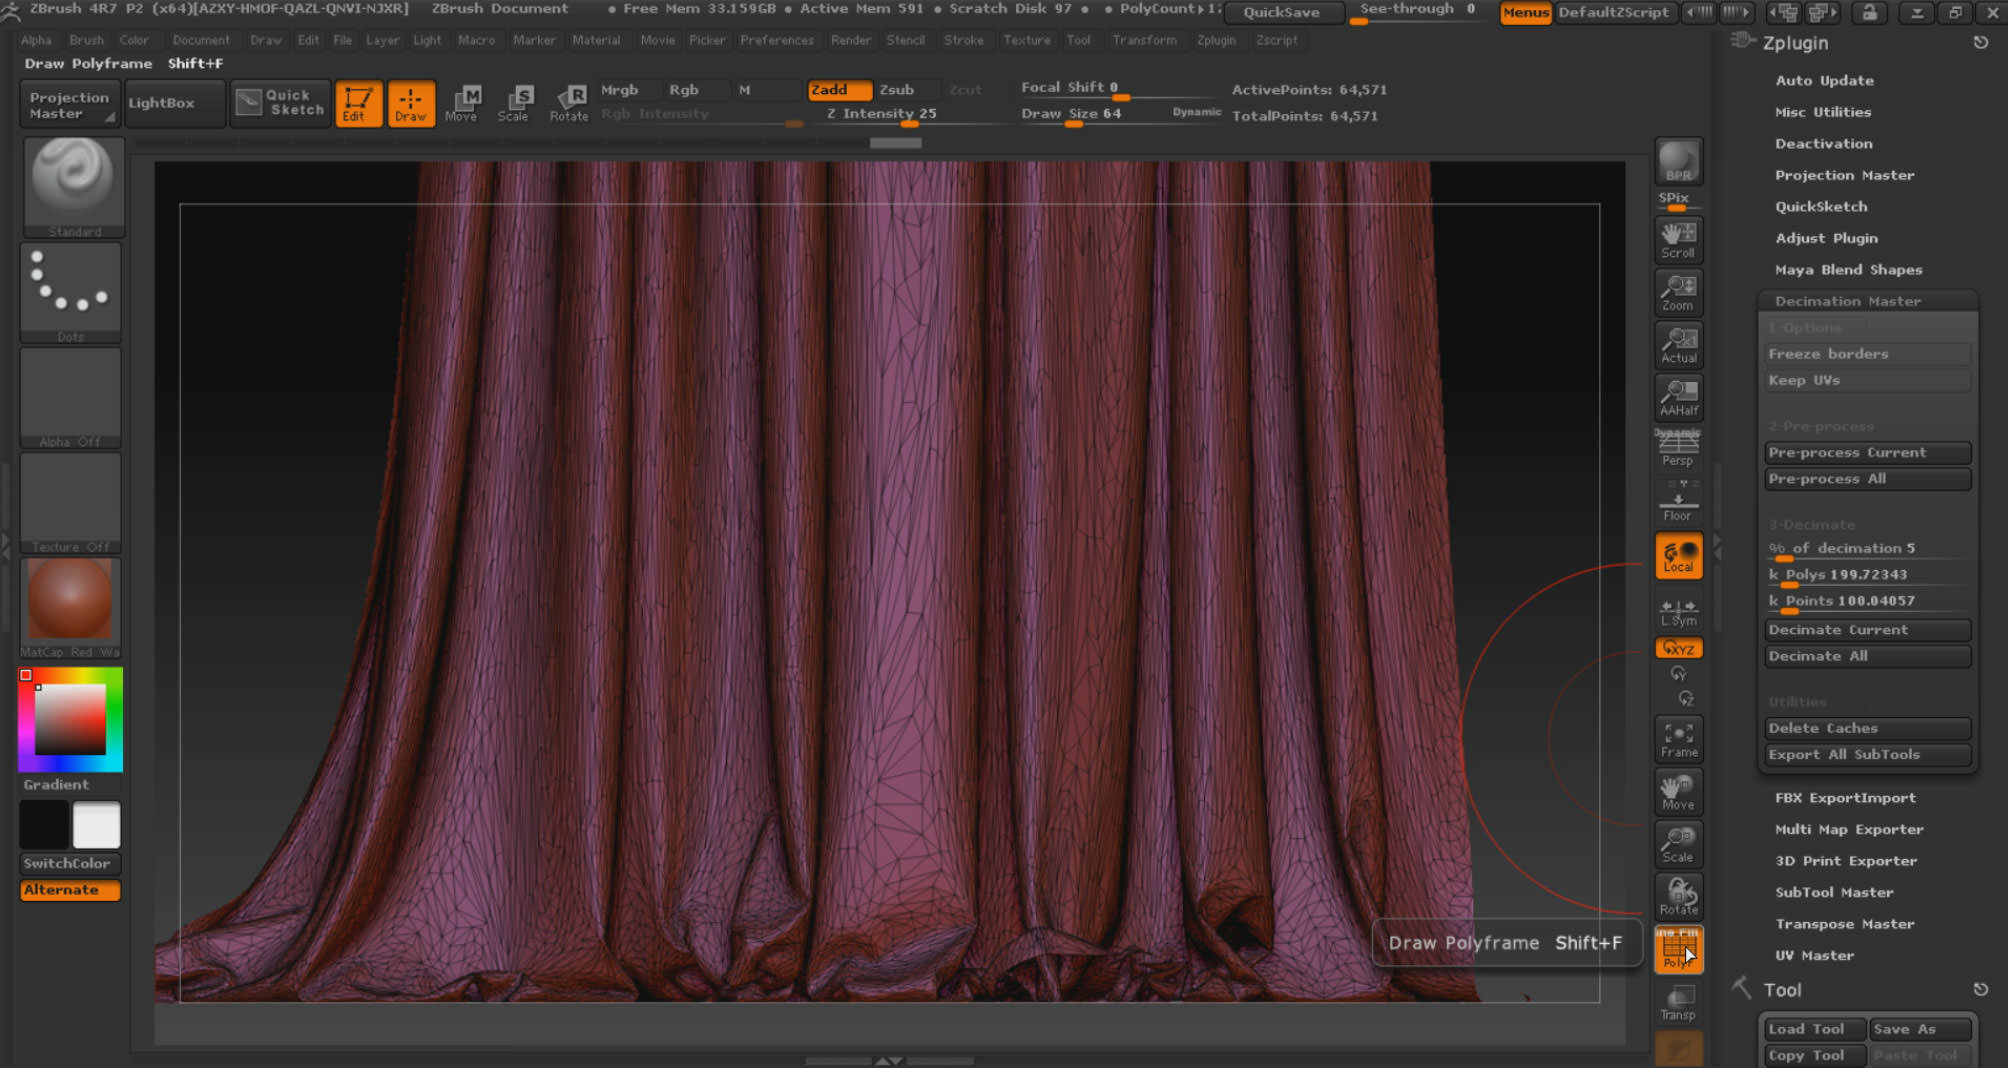
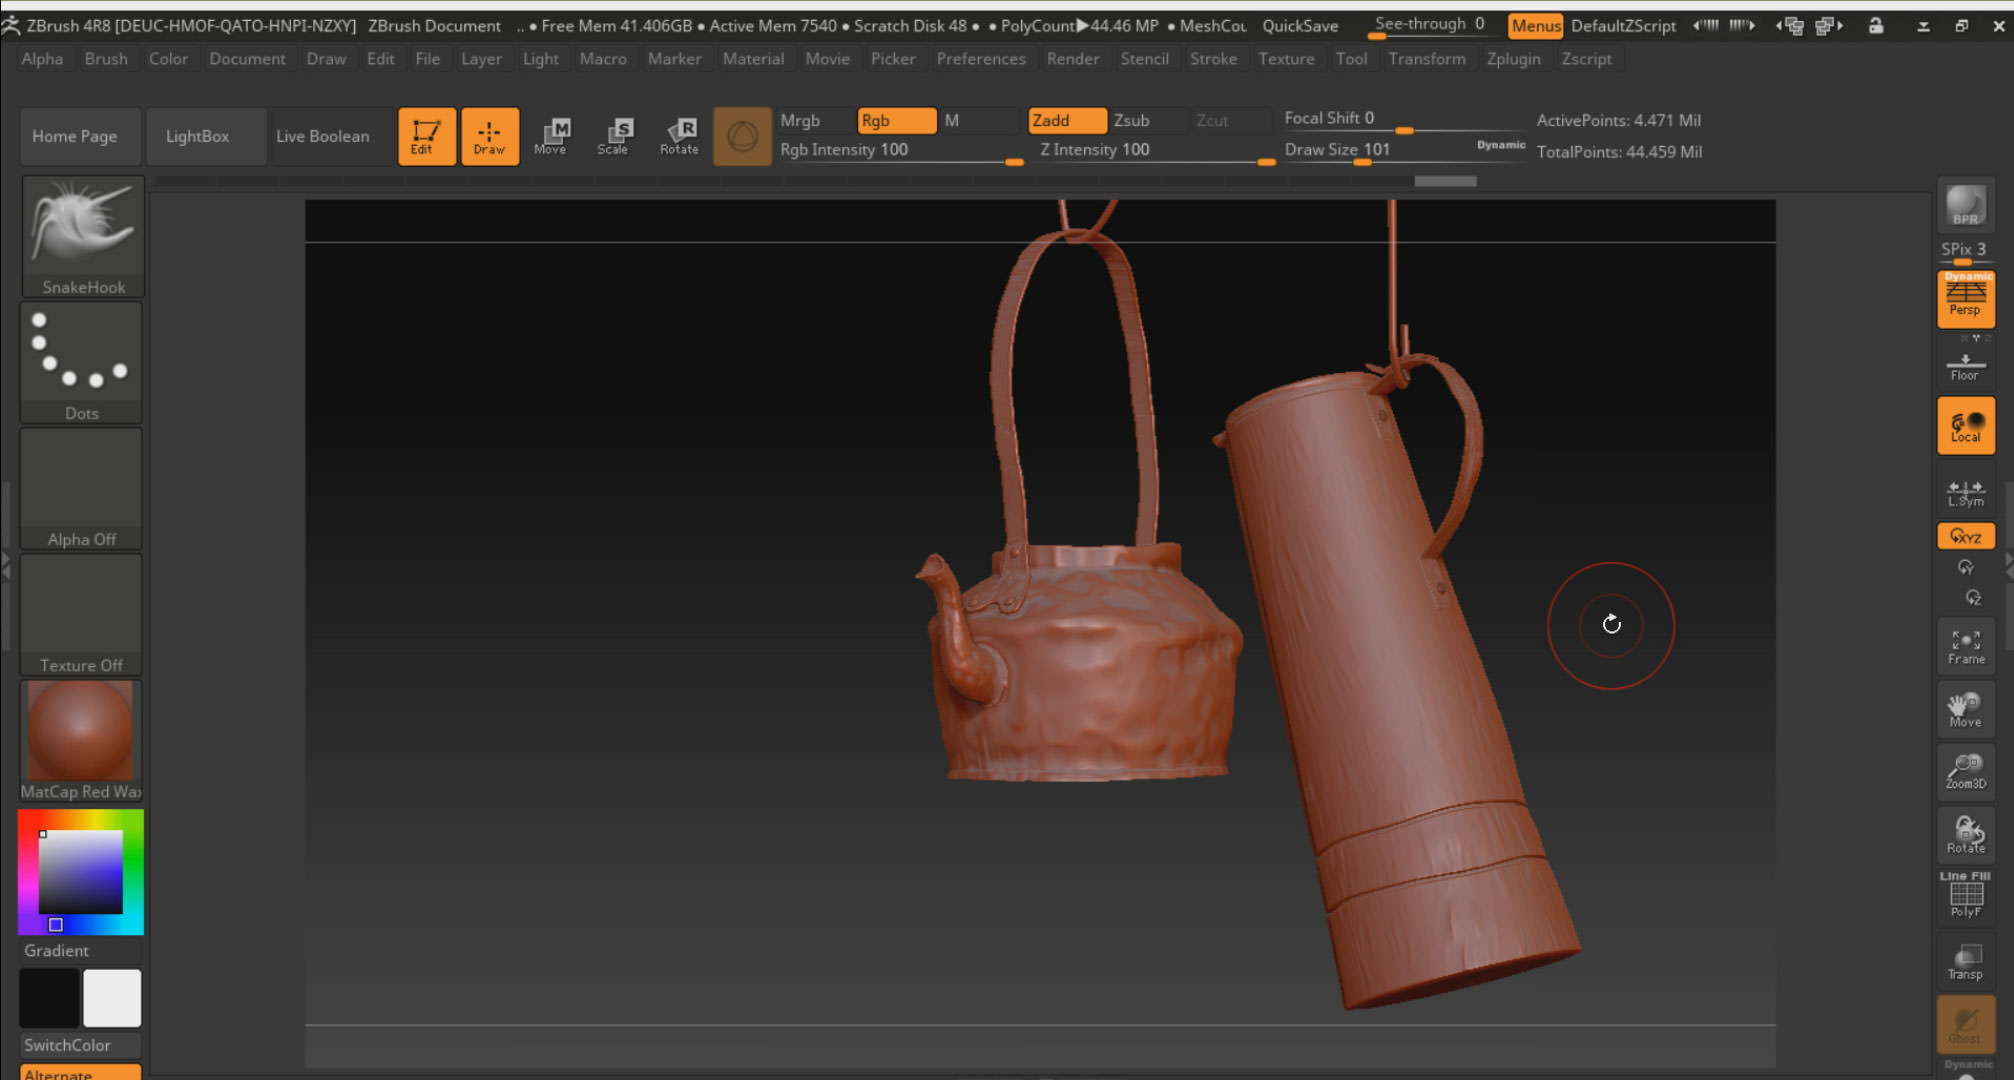
After making the cloth, to optimize it, I transferred it to Zbrush software and used Decimation Master command.
Step 5 – Tree Modeling
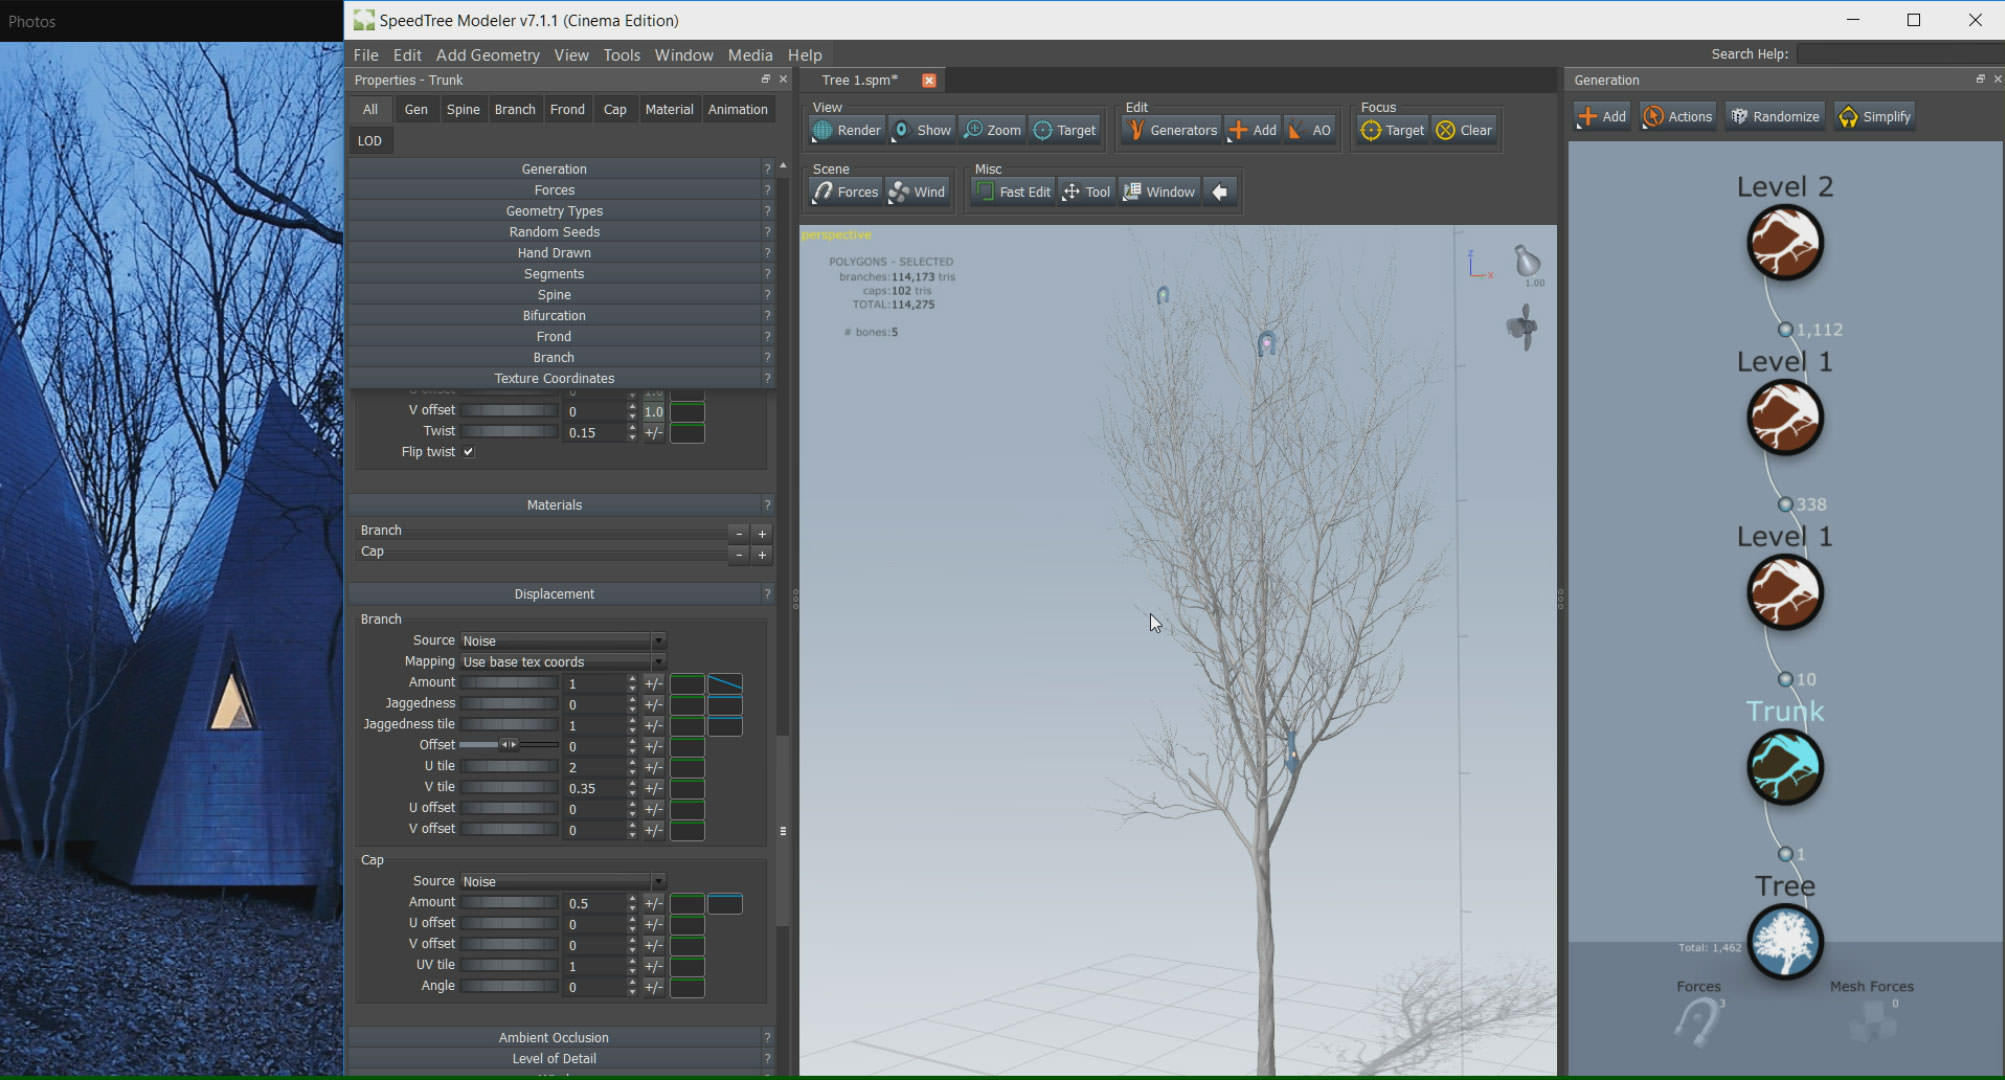
One of the challenges in this project was tree simulation but became easy with the help of SpeedTree. This powerful software is one of the best choices to make any kind of tree. We only need to know what kind of tree we want then let software to make it for you.


There is no need to make all of the trees. Just some principal trees would be enough. Filling up the scene is taken care of with the scattering plugin.
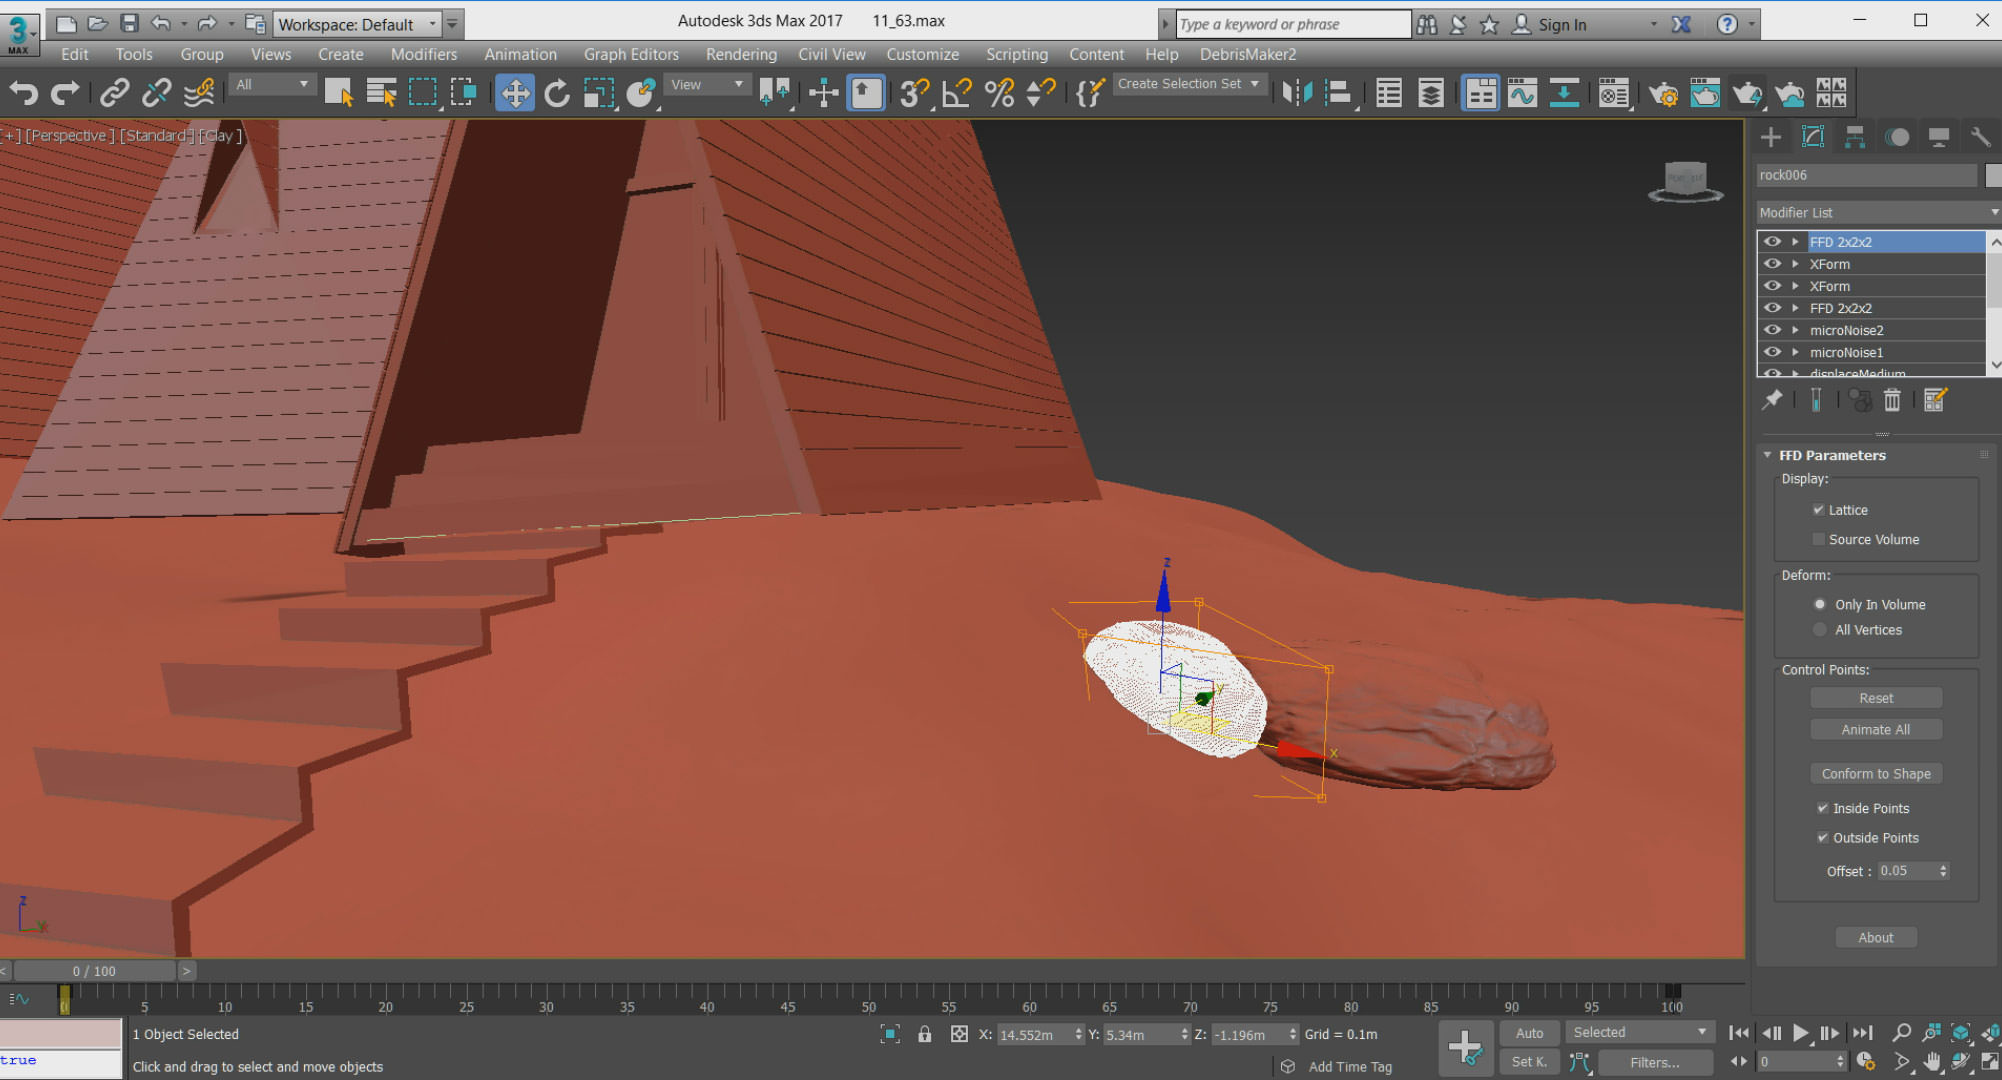
Step 6 – Rock 3D Modeling
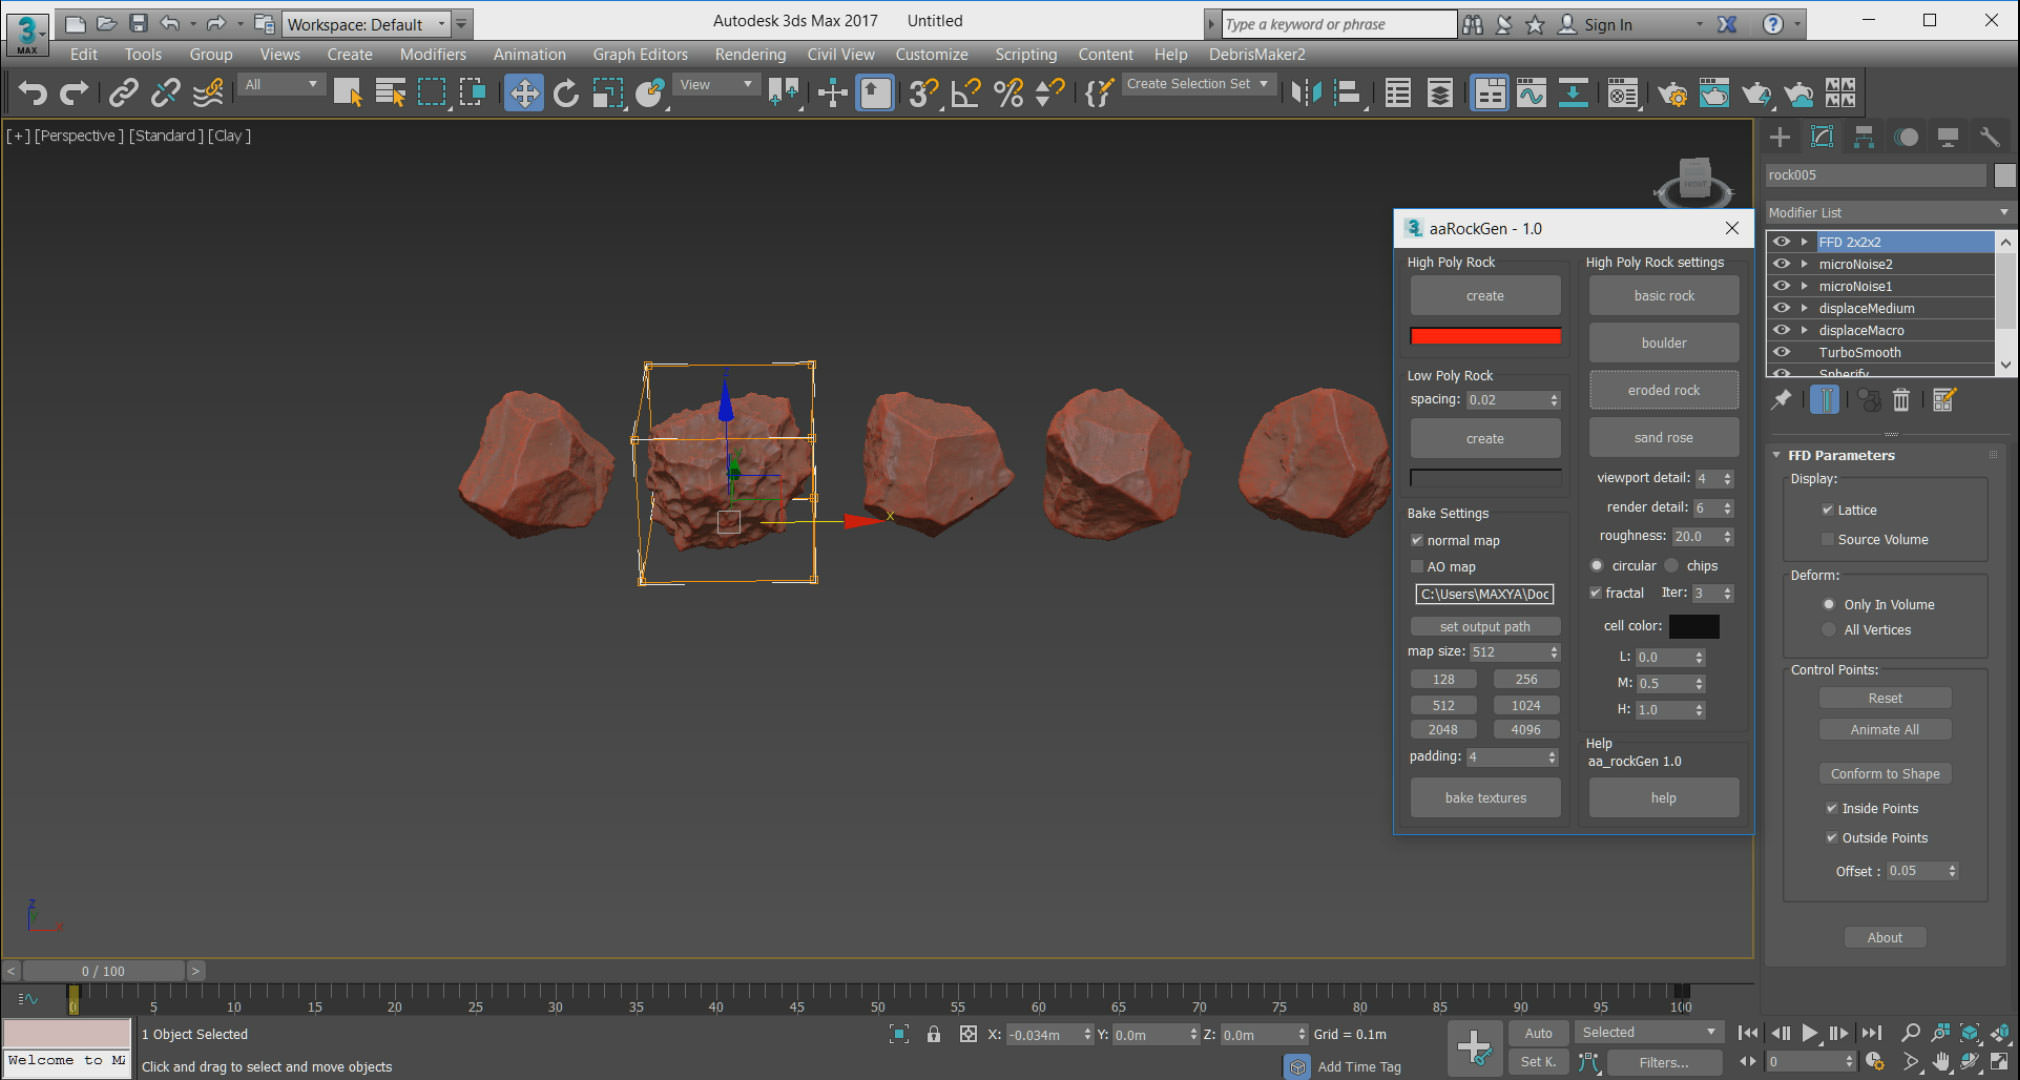
There are many different ways to model the rocks in 3D Max. The script Rock Generator is one of the good choices for sure
www.aardolino.com/rock-generator-maxscript/
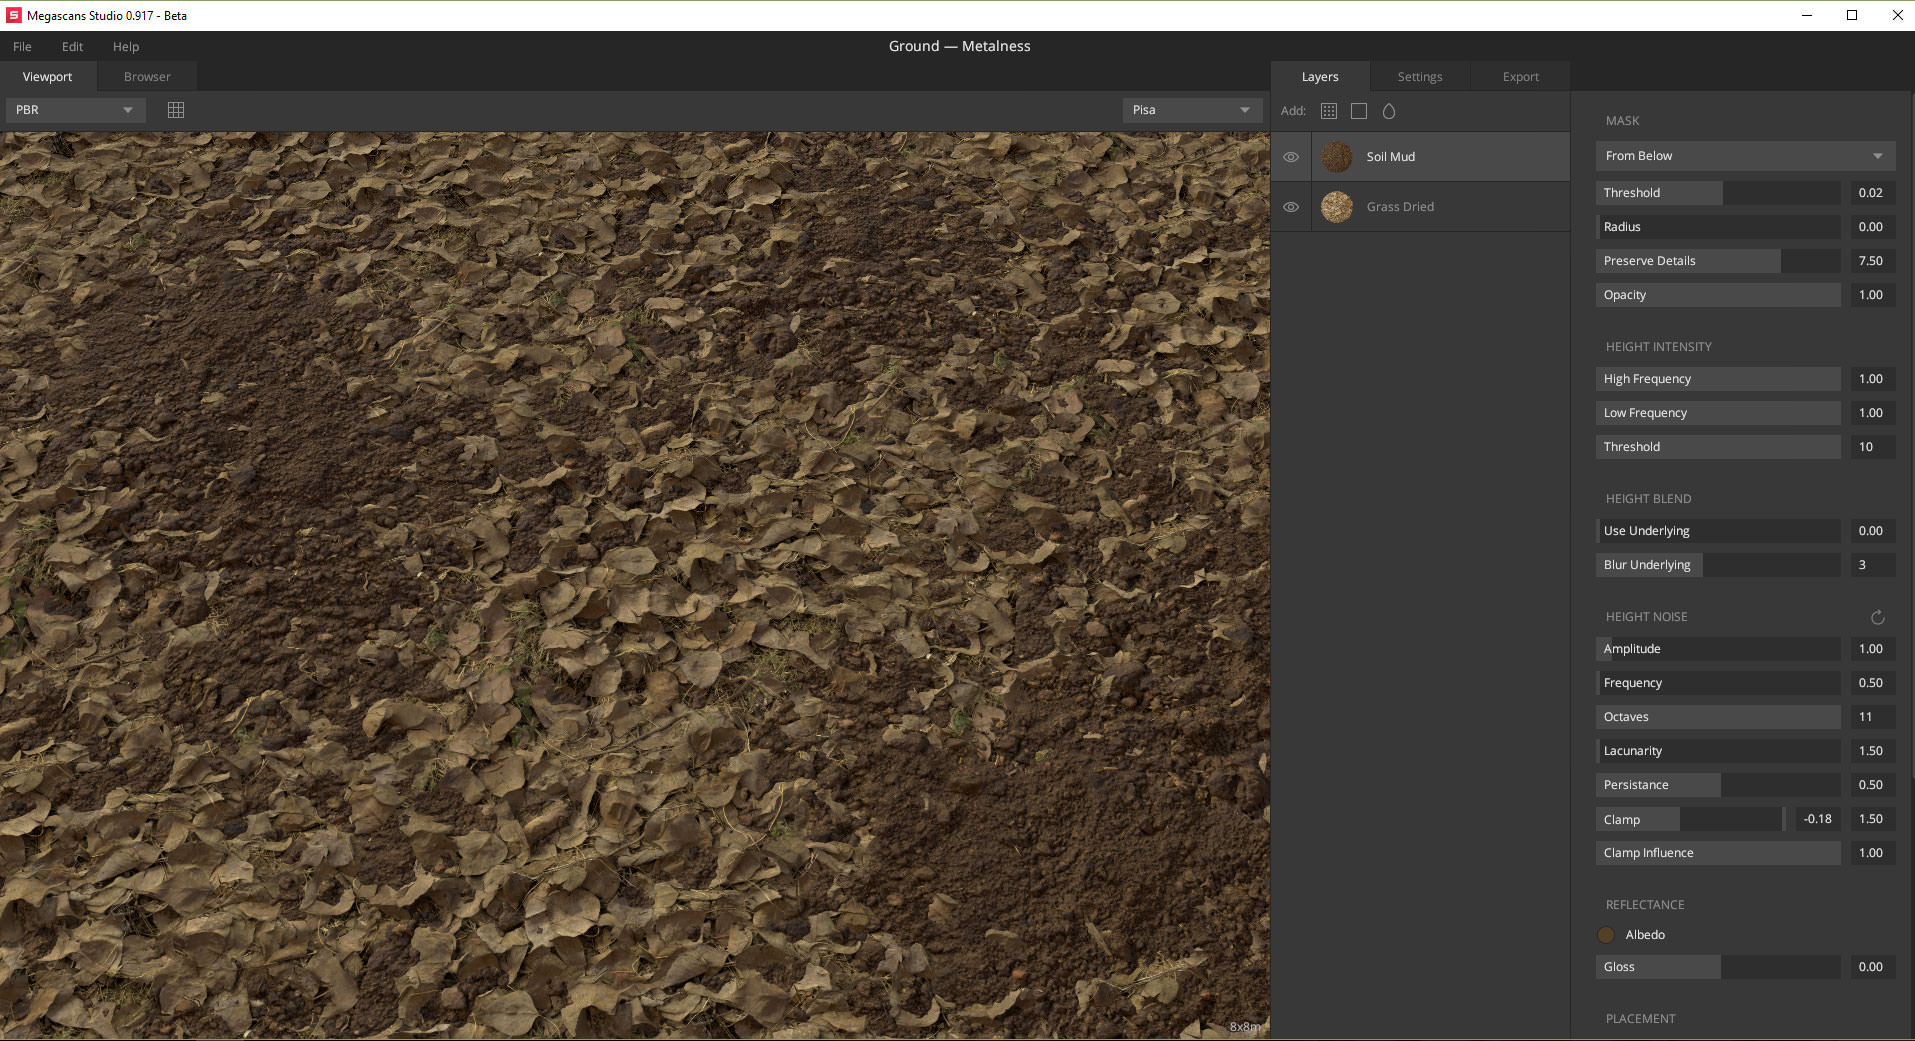
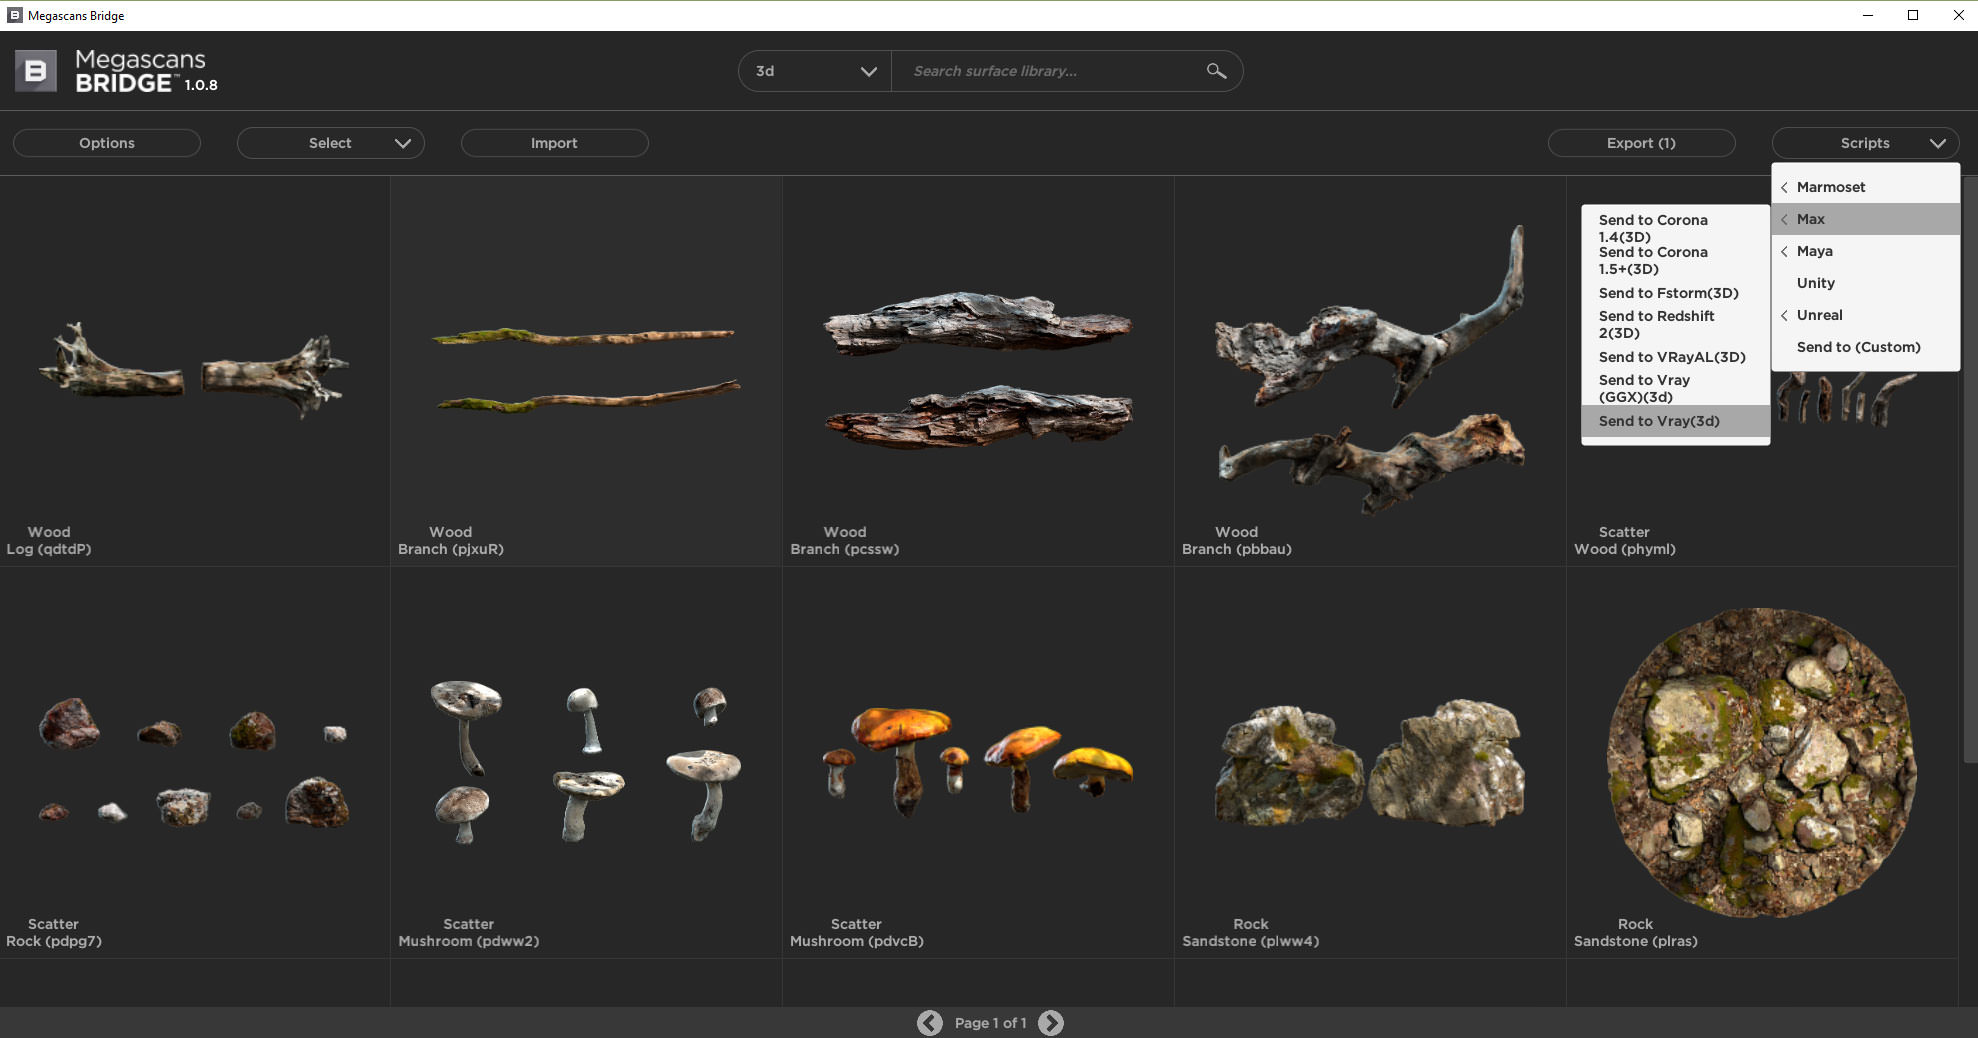
Step 7 – Megascans
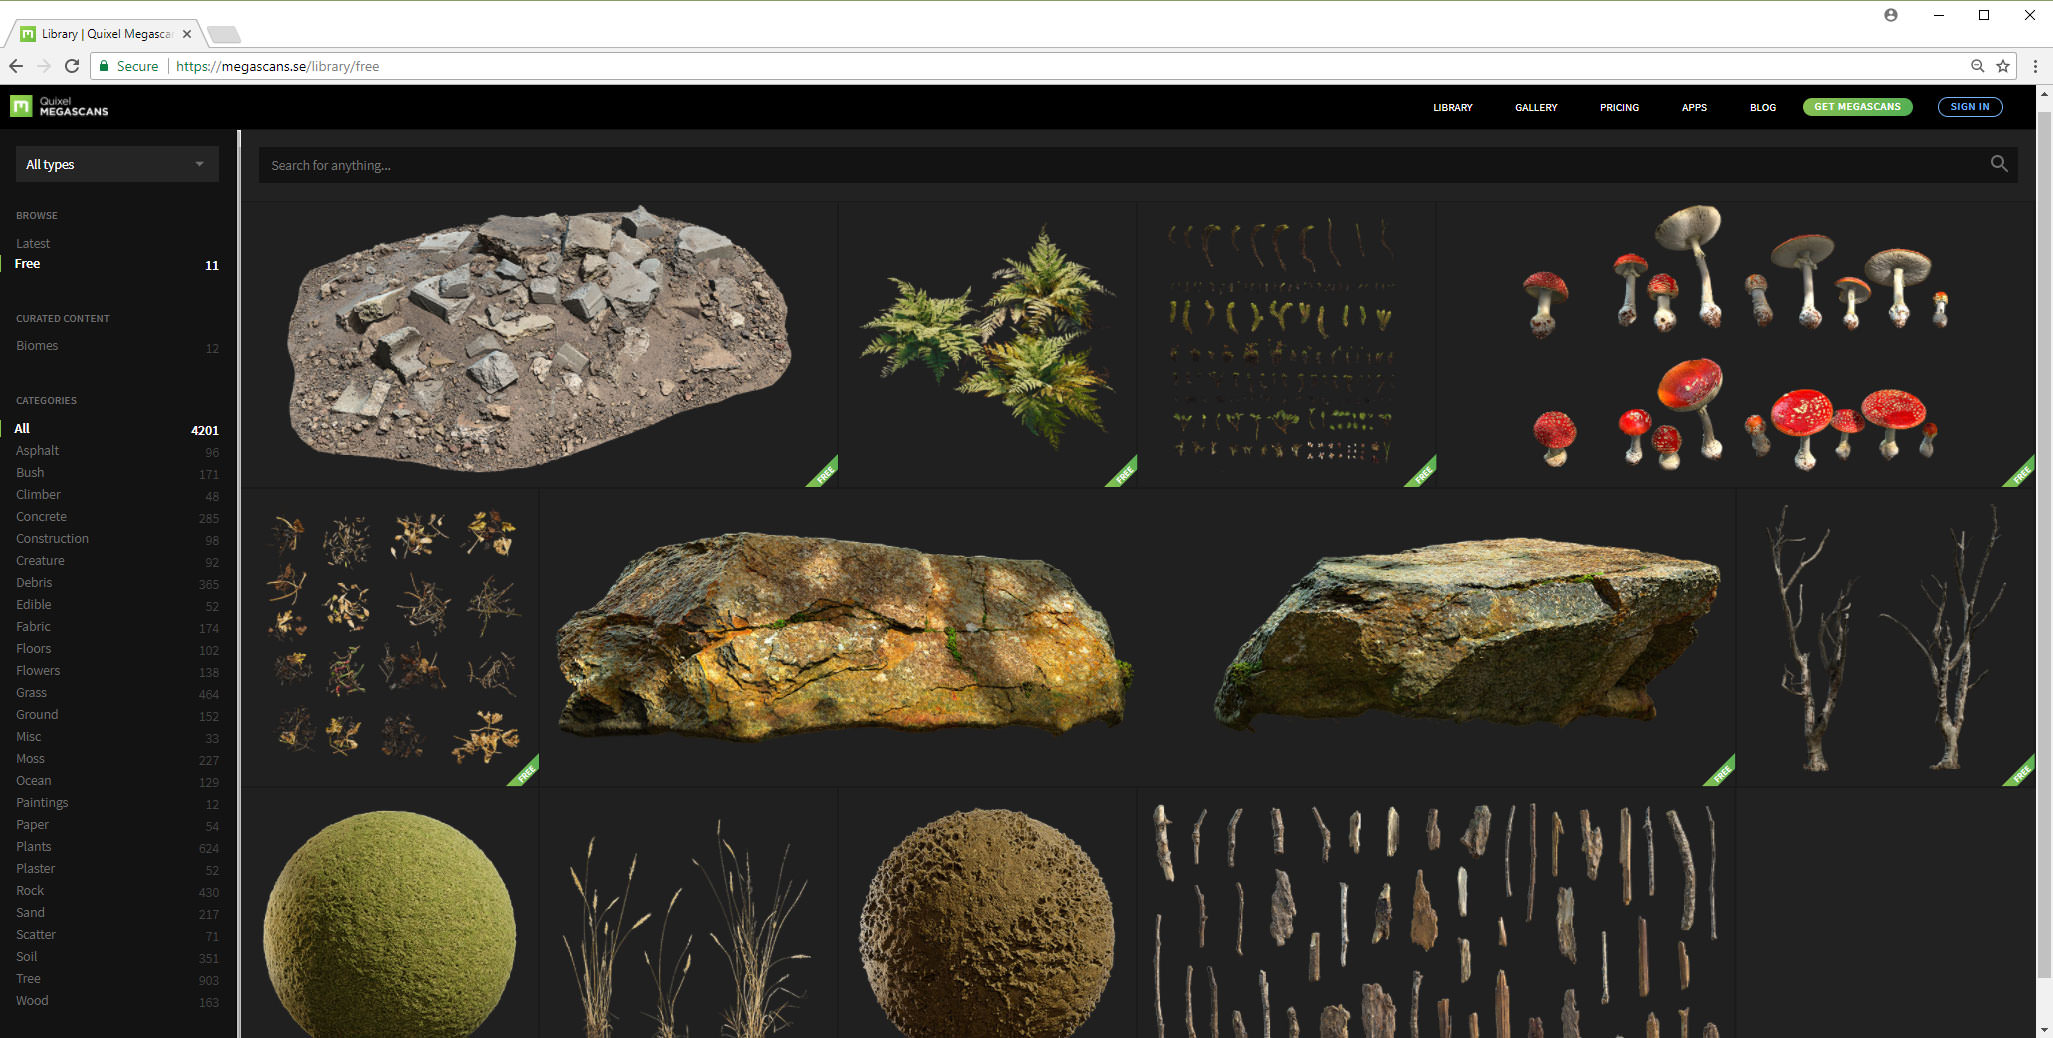
Megascans is handy service!
you can find Megascans Studio software helping to create materials and Megascans Bridge software which allows importing Quixel Megascans ready-made models to many software and renderer engines.
Megascans Studio: Ground Texturing!
Megascans Bridge: 3D Models For Using in V-Ray!
Step 8 – Tea Coal Modeling
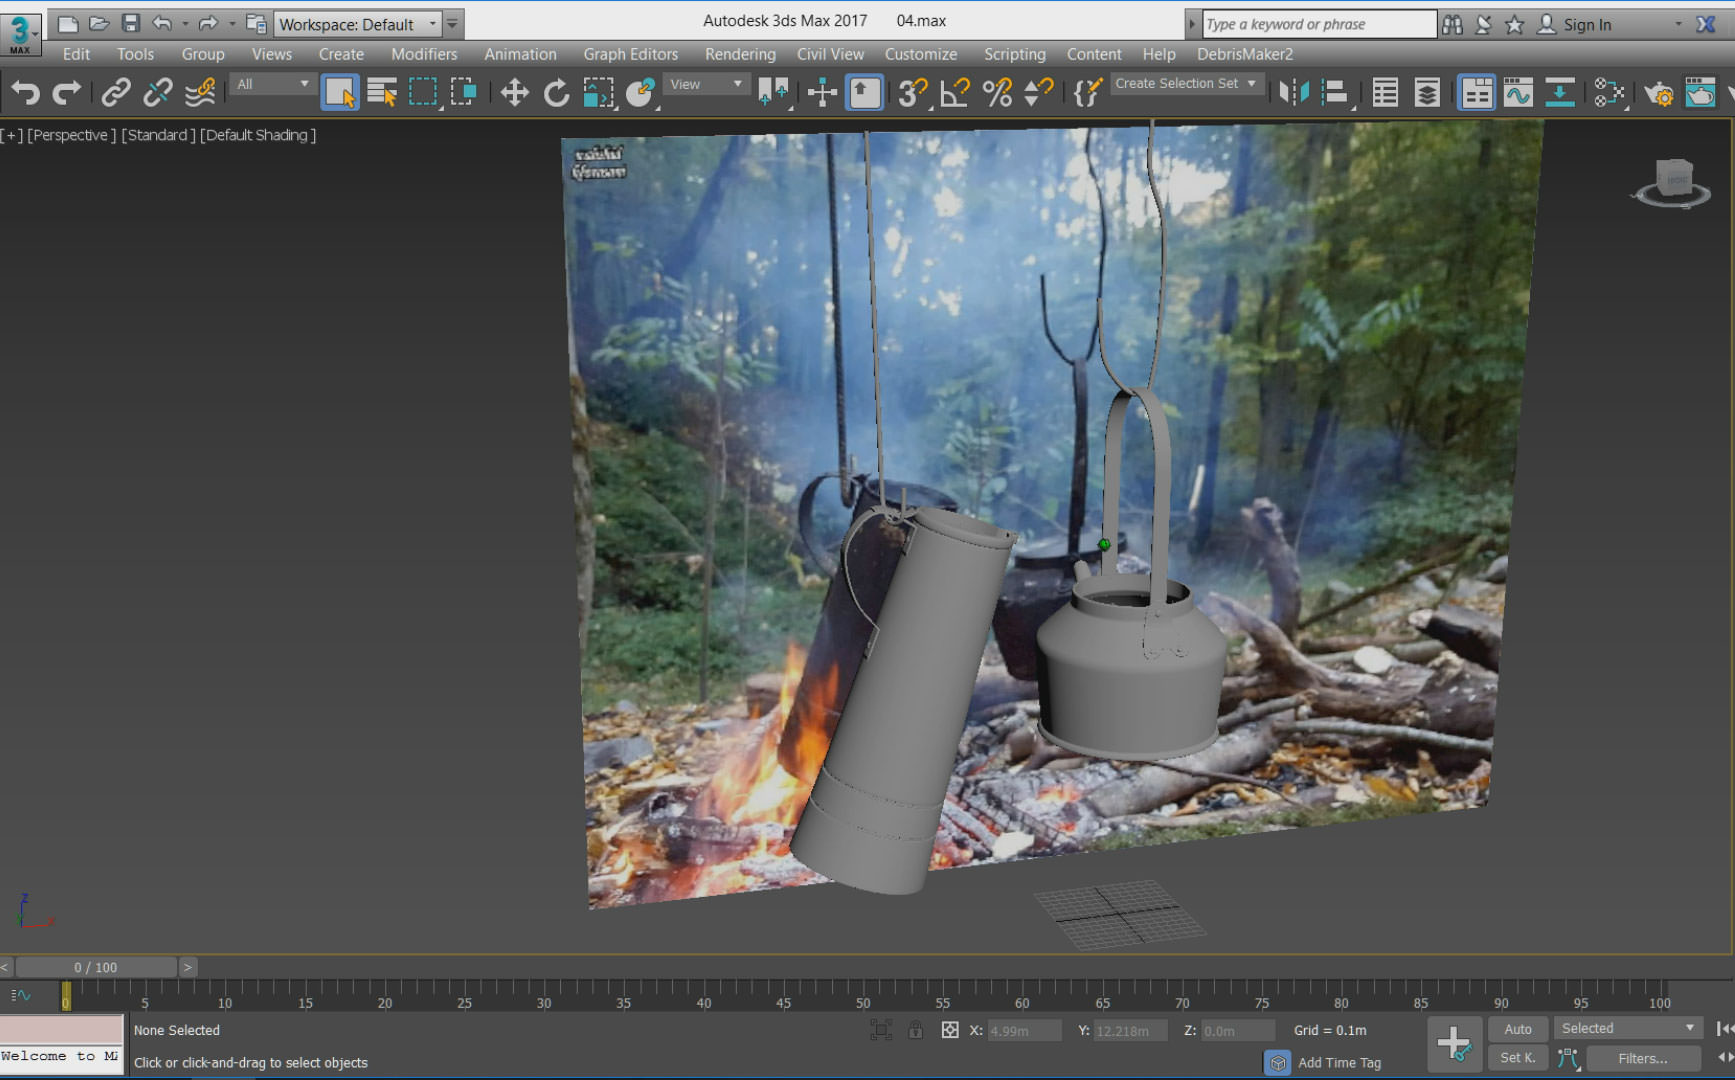
A Tea being heated by coal photo was an inspiration for me. First, I modeled the base objects in 3D Max, and like always I transferred it to Zbrush software to add details.
Step 9 – Use ready-made models to fill the scene!
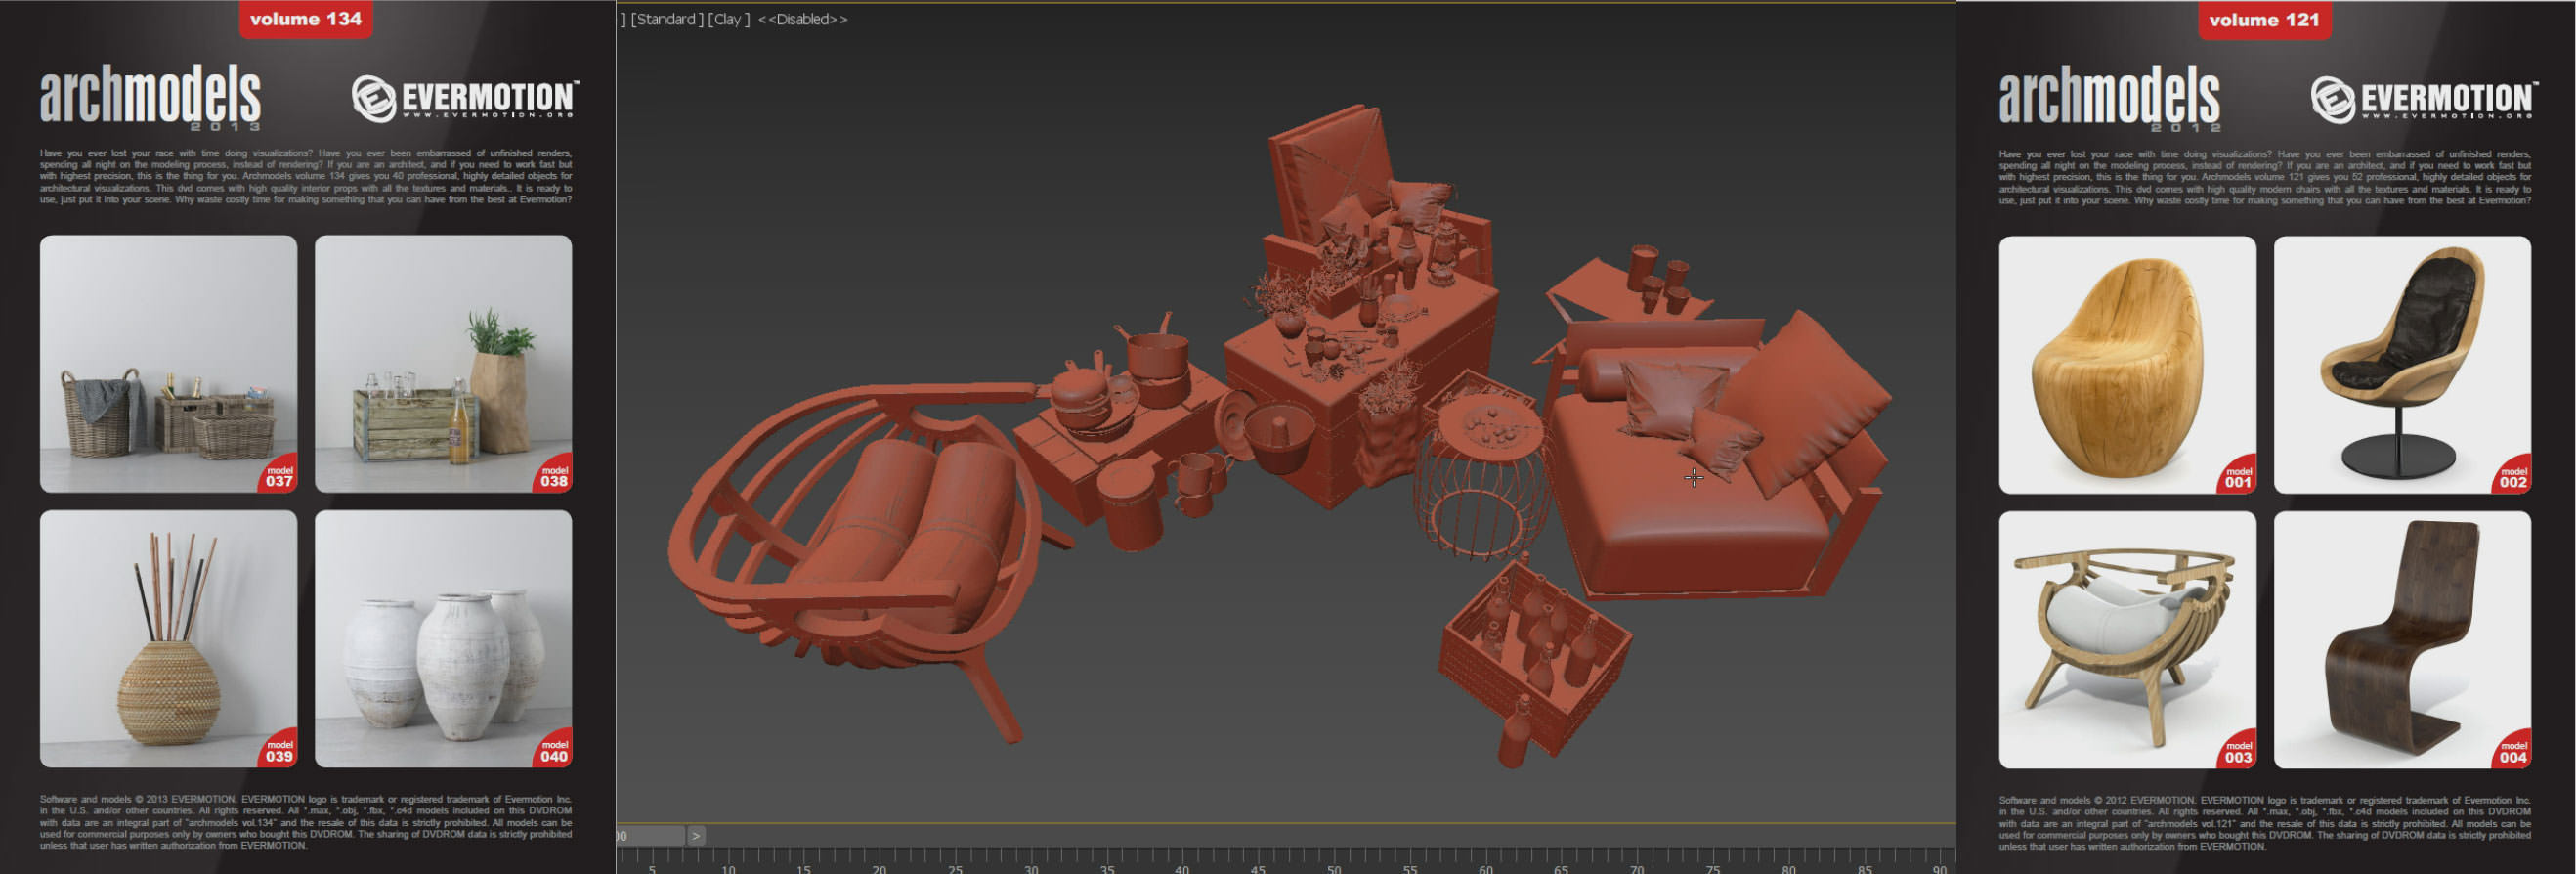
I always prefer to model whole the scene by myself in my projects, but in some cases especially when you need to save your time, Many high-quality ready-made models can be found in Evermotion website.
Step 10 – Scattering with PhysX Painter script
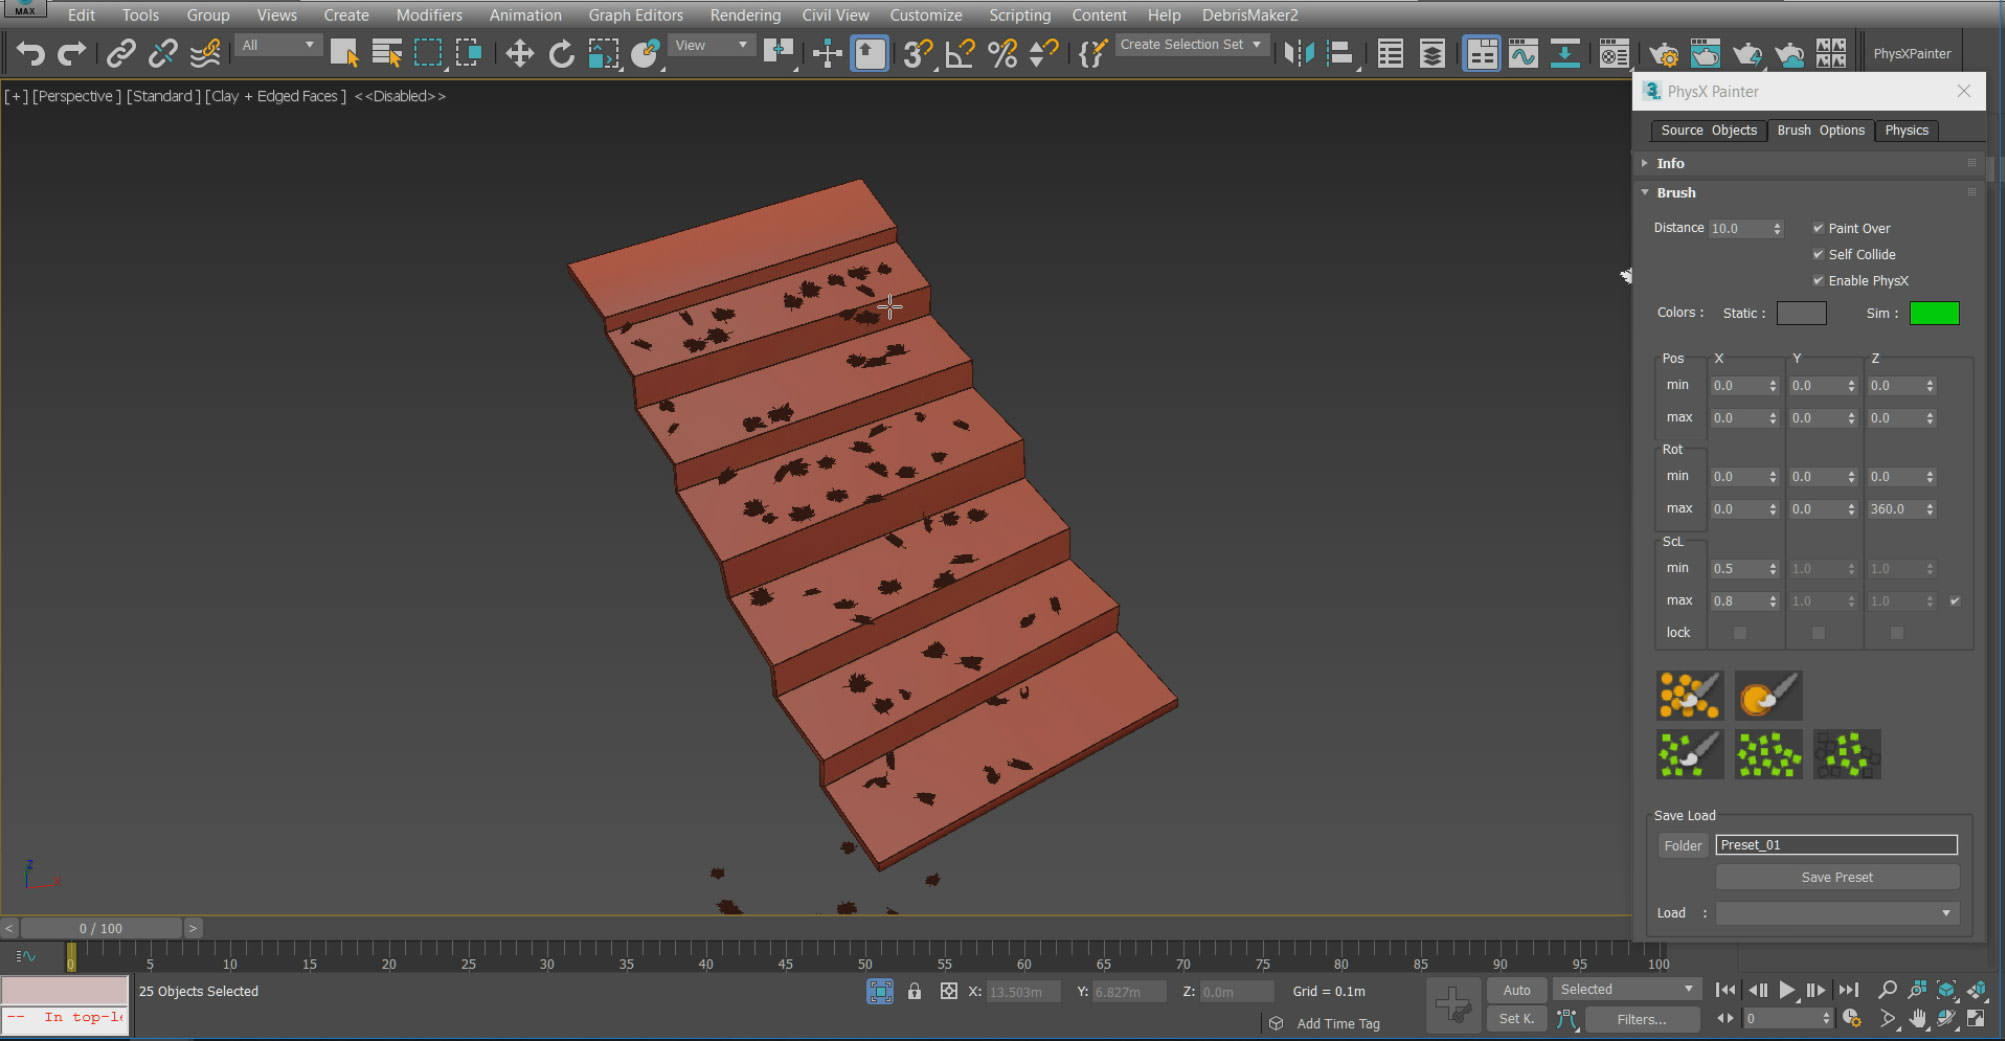
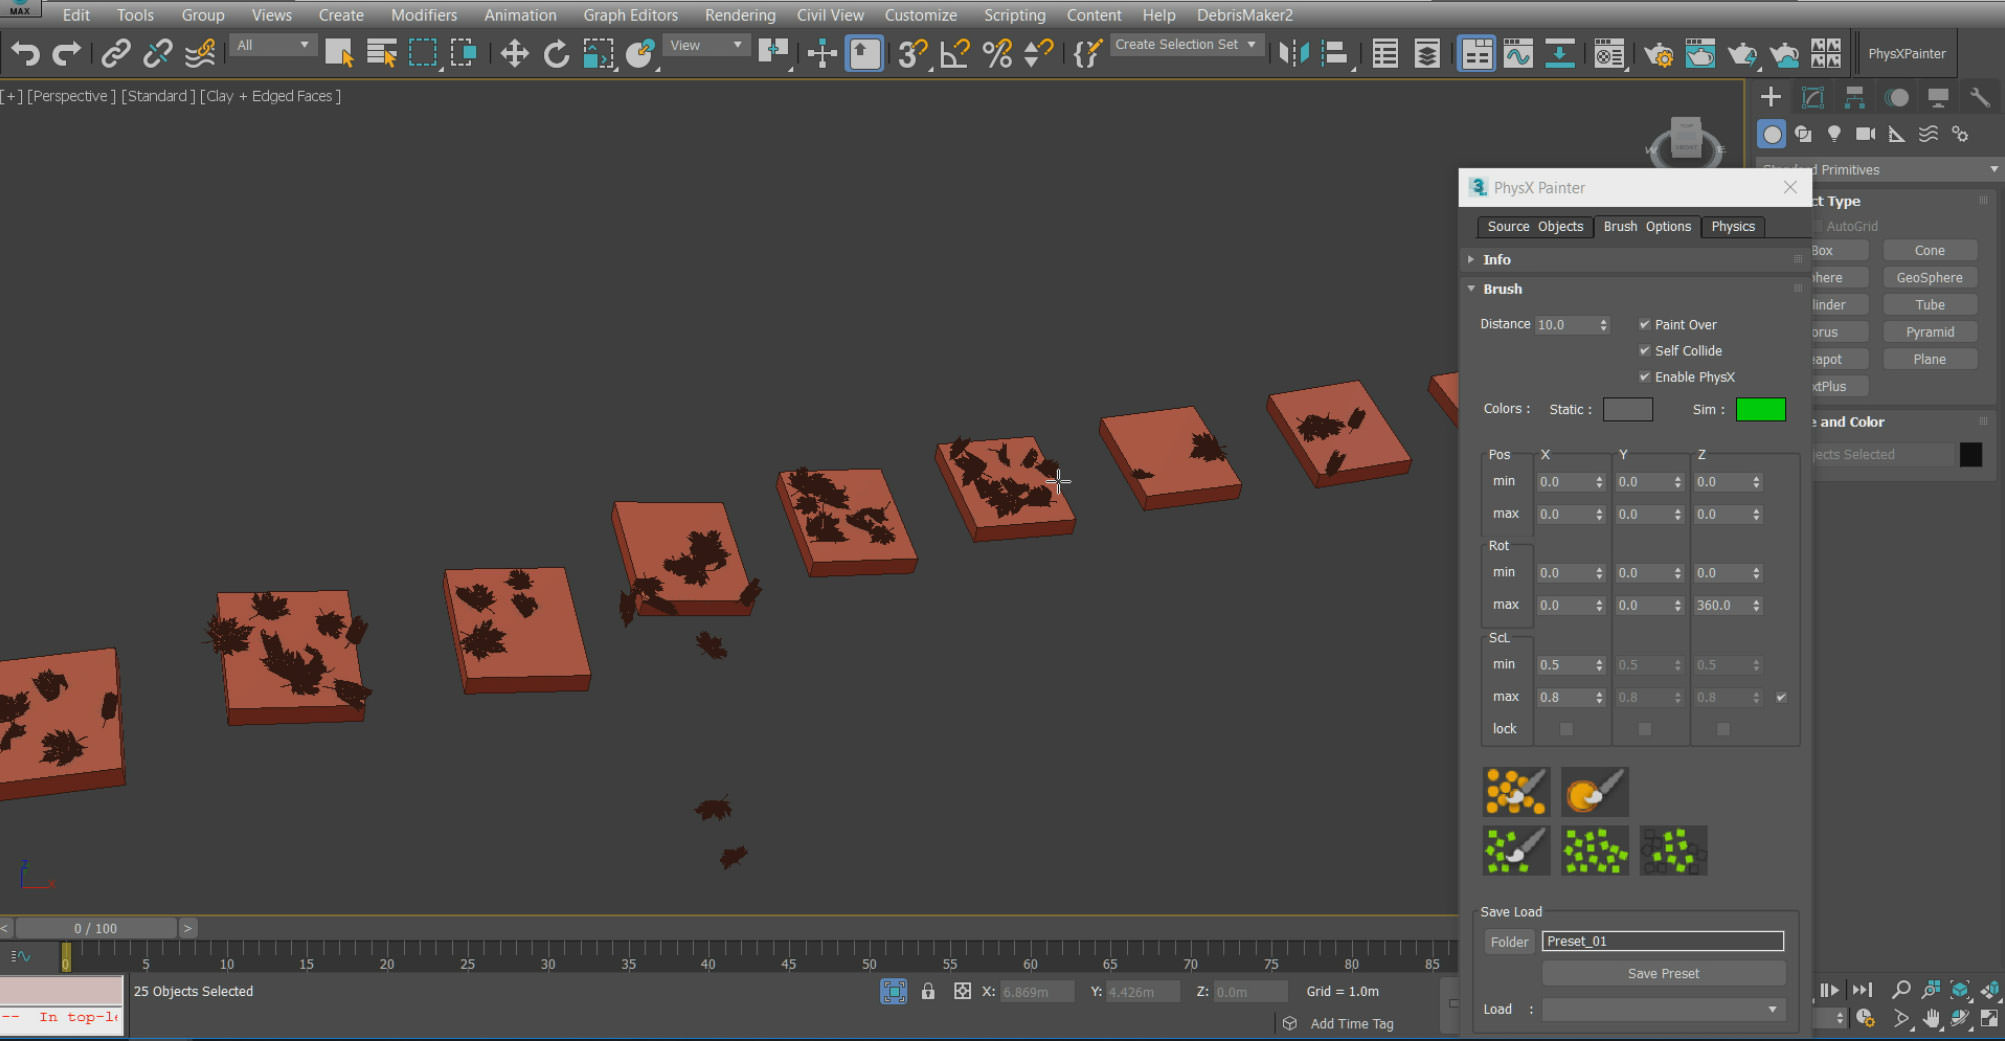
I scattered the leaves on the stairs by working with PhysX Painter script. This script can simulate the realistic movement.
www.hocuspocus-studio.fr/tools/product/physx-painter/
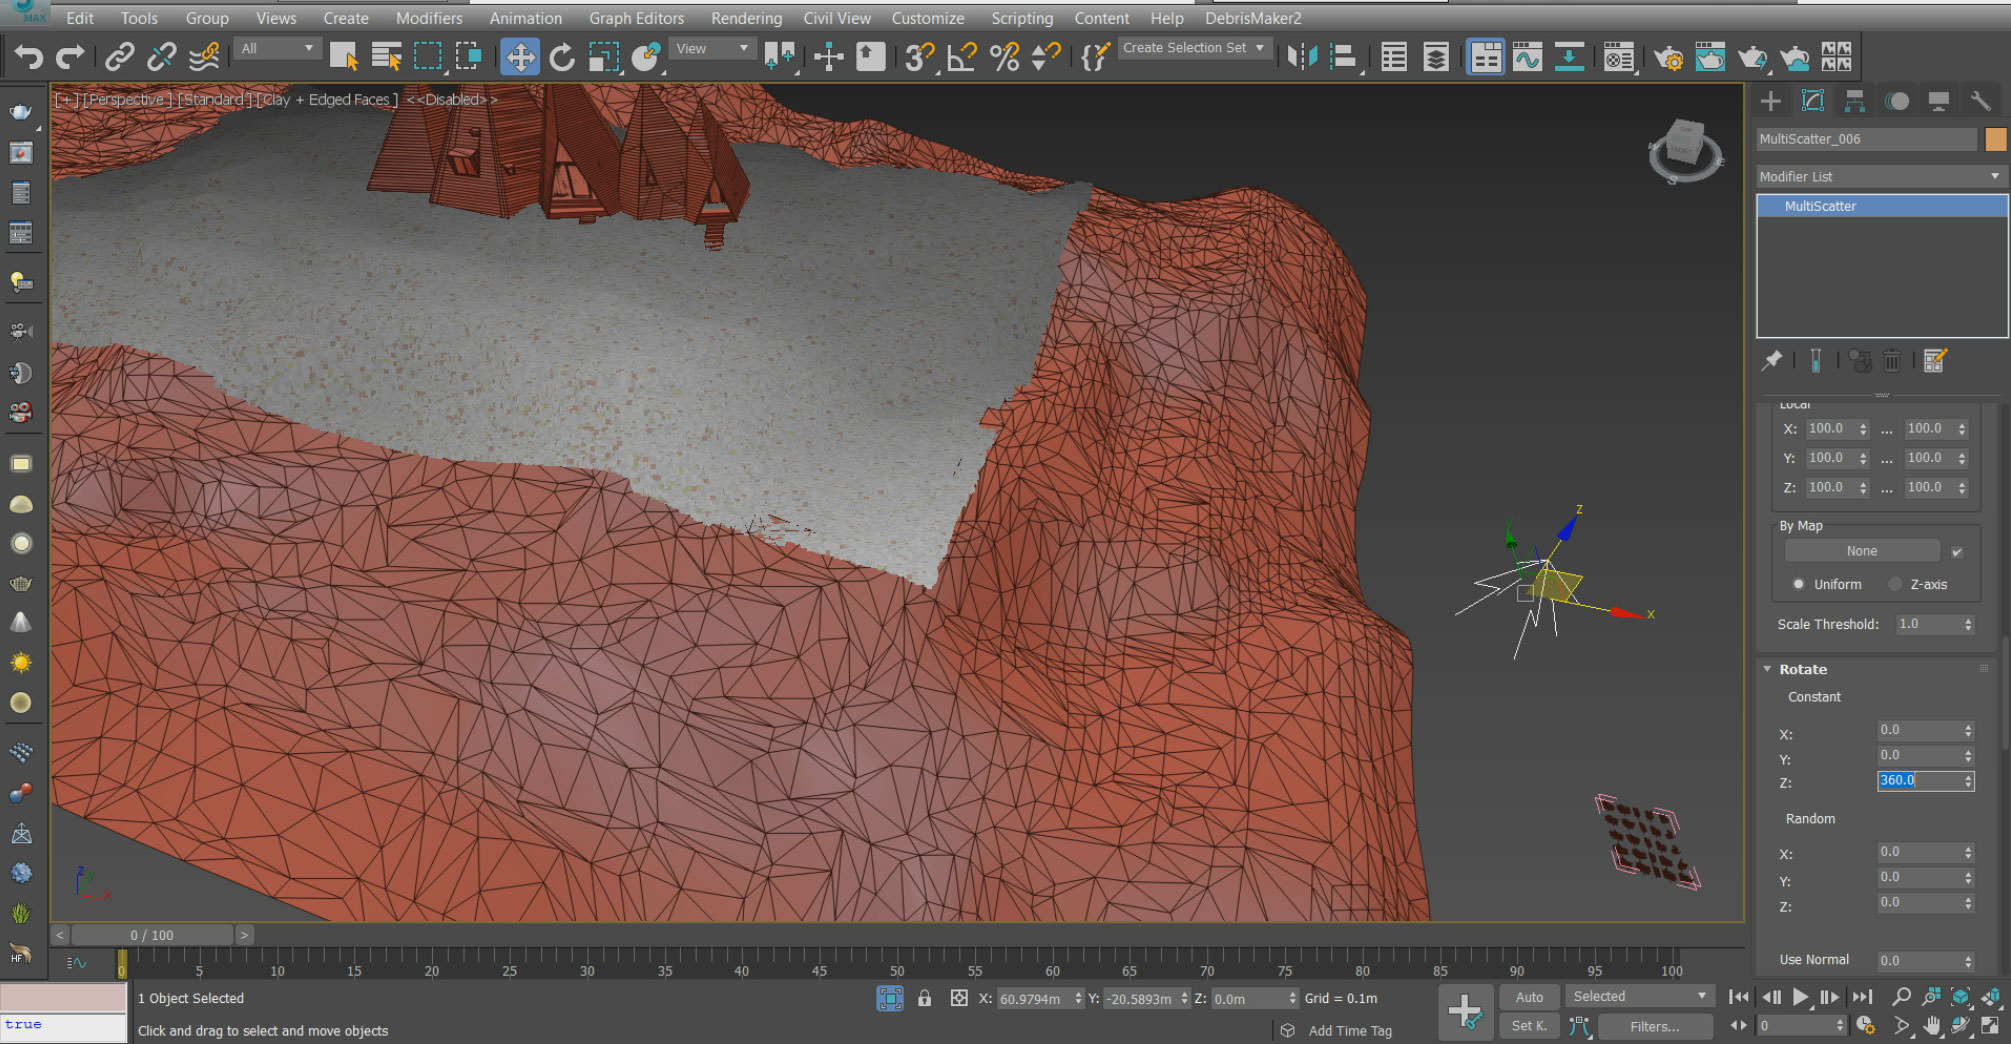
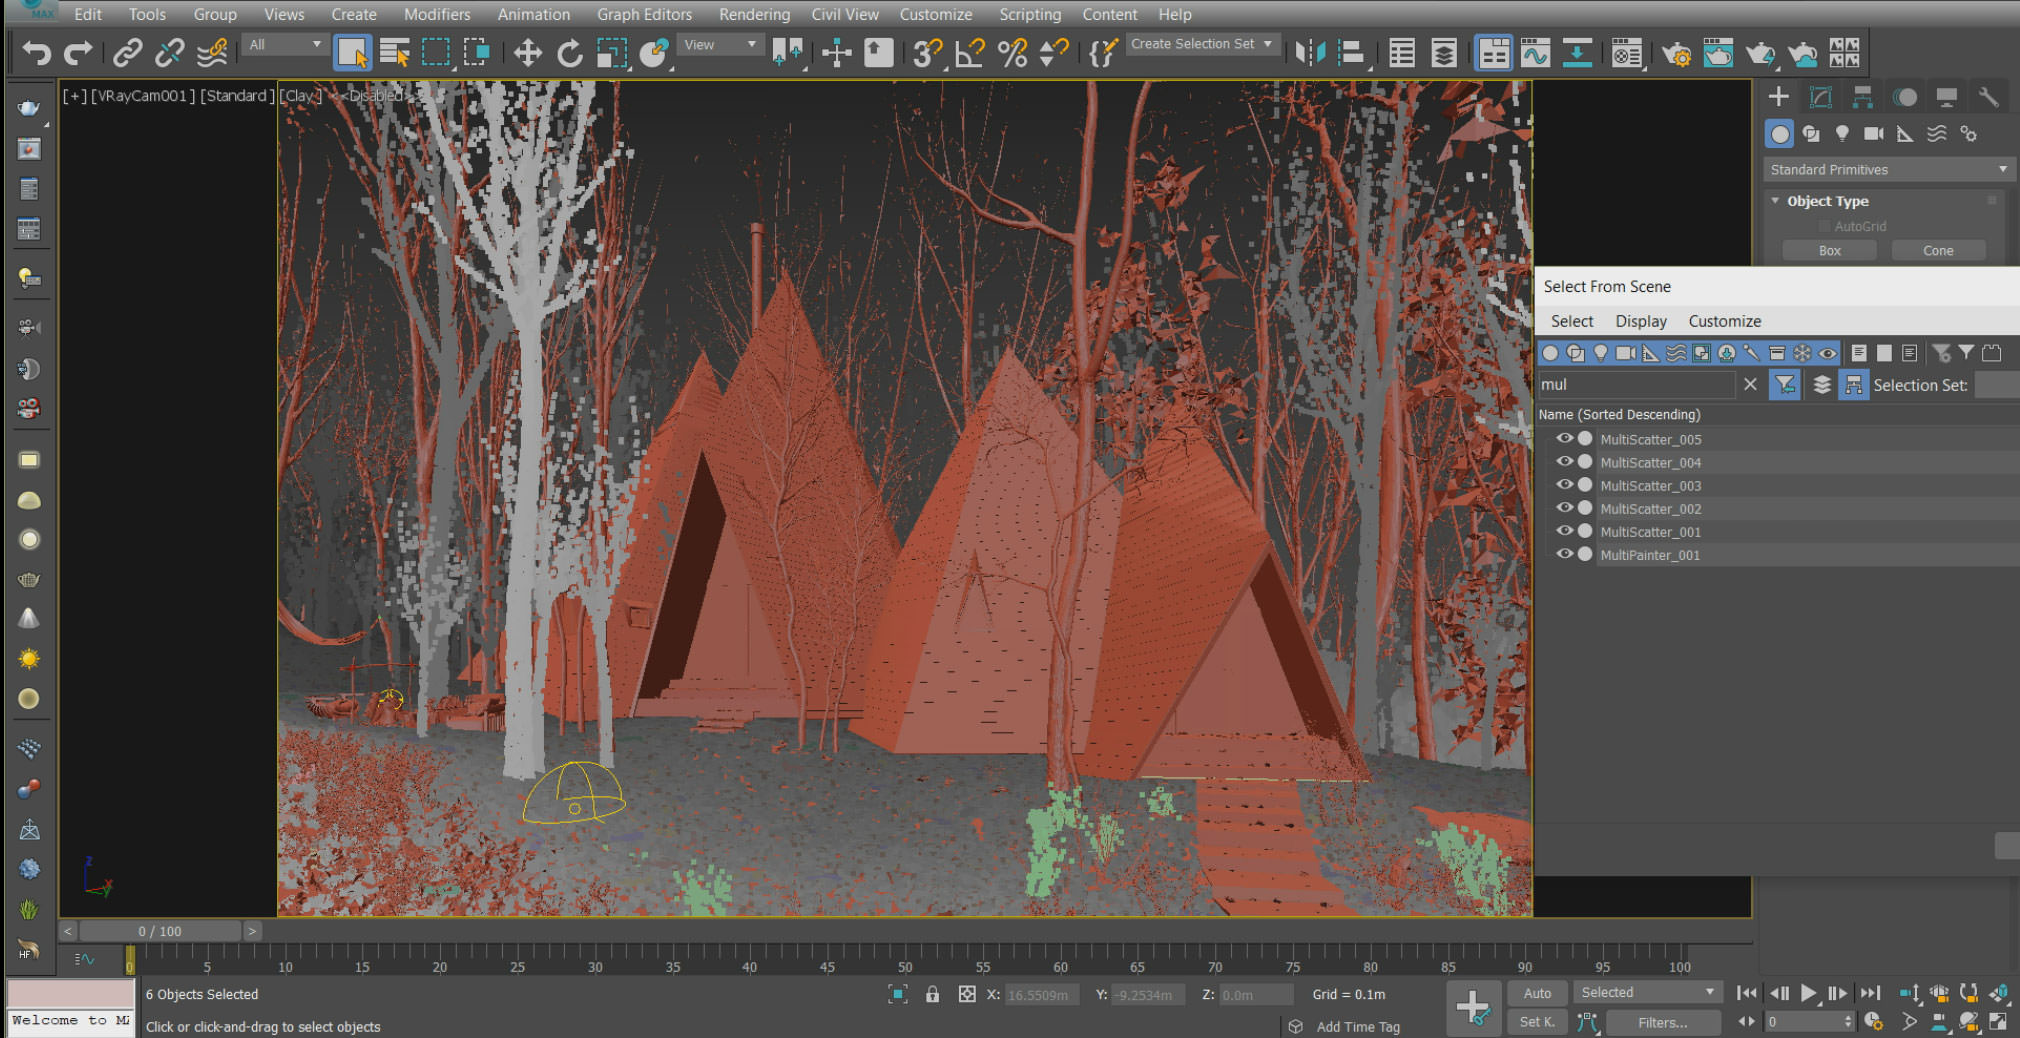
Step 11 – Scattering with Multiscatter Plugin
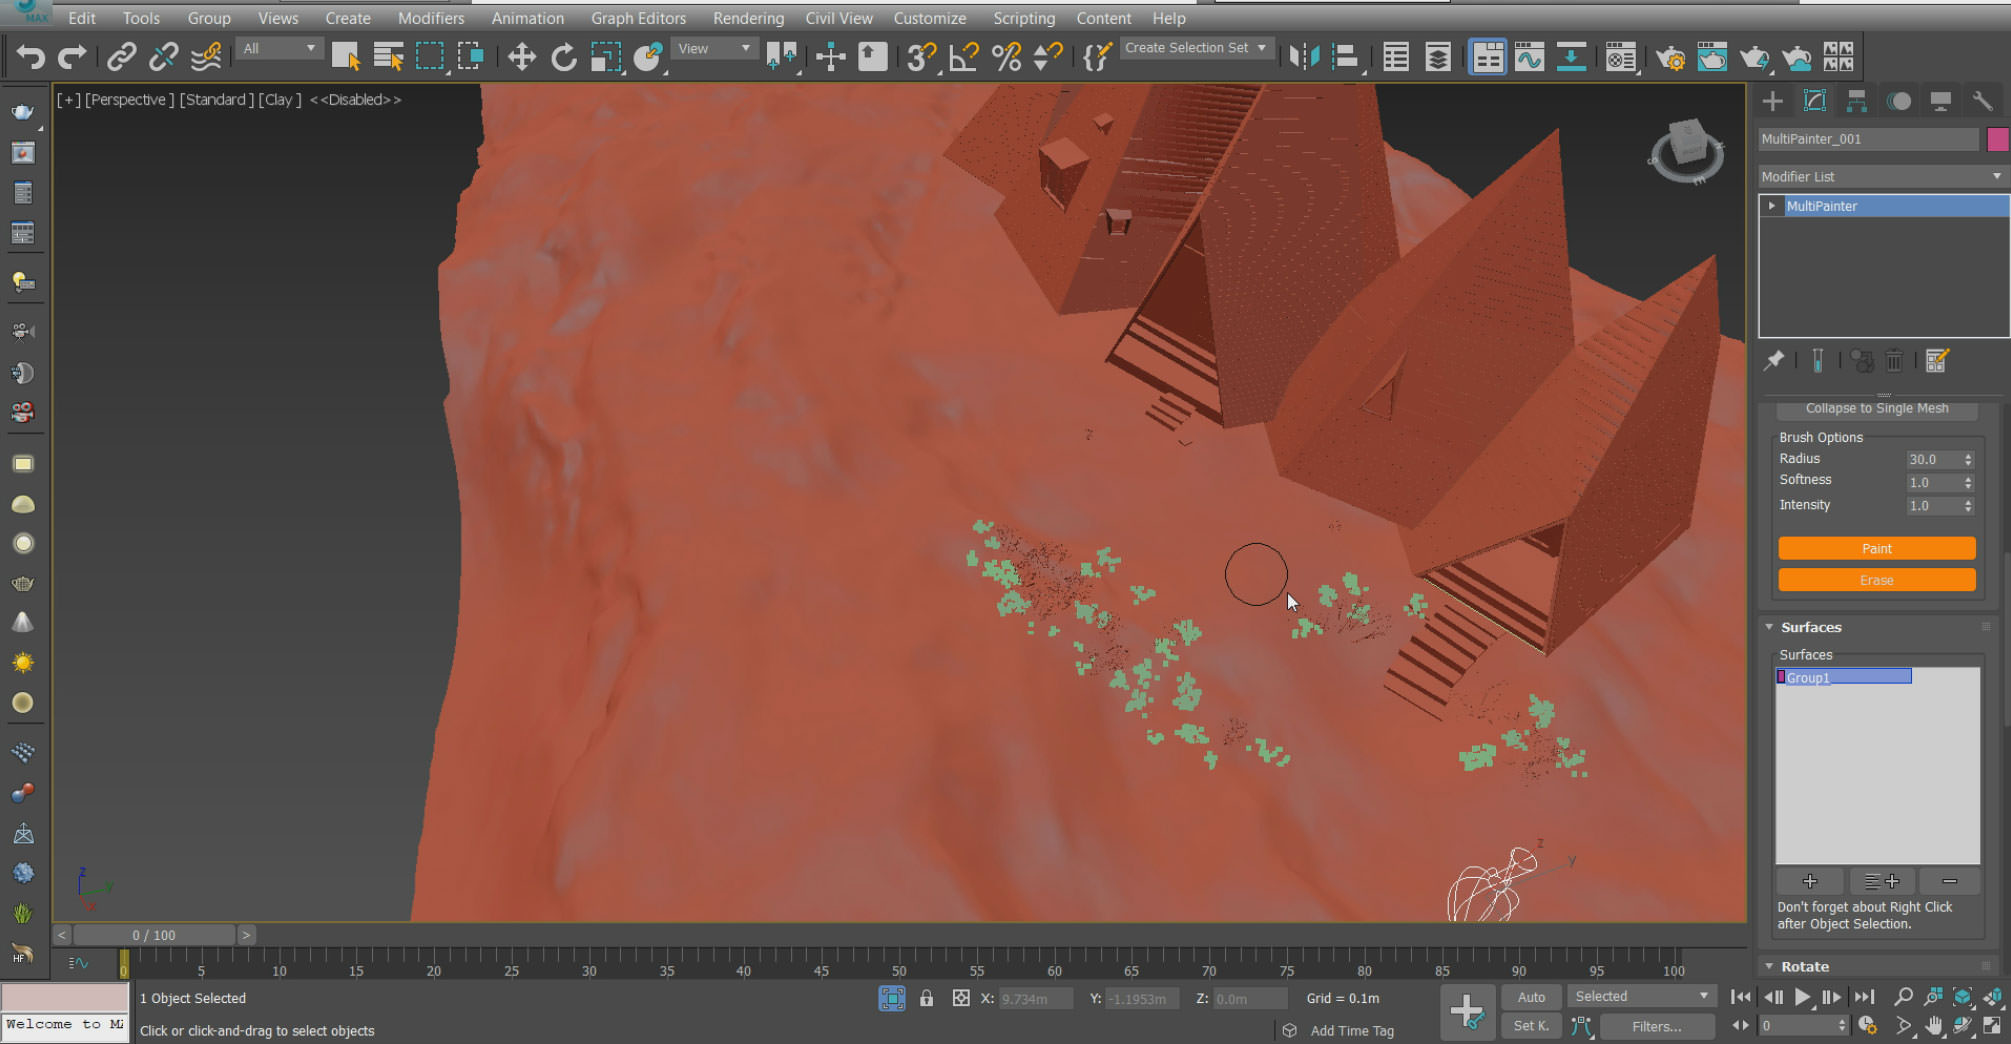
This powerful plugin is one of the best plugins to scatter and paint the model. I used it to scatter trees, leaves, woods, and bushes on the ground.
Step 12 – Details!
One of the most important thing making a project exciting and realistic is adding details. I tried to add features as much as possible in this project.
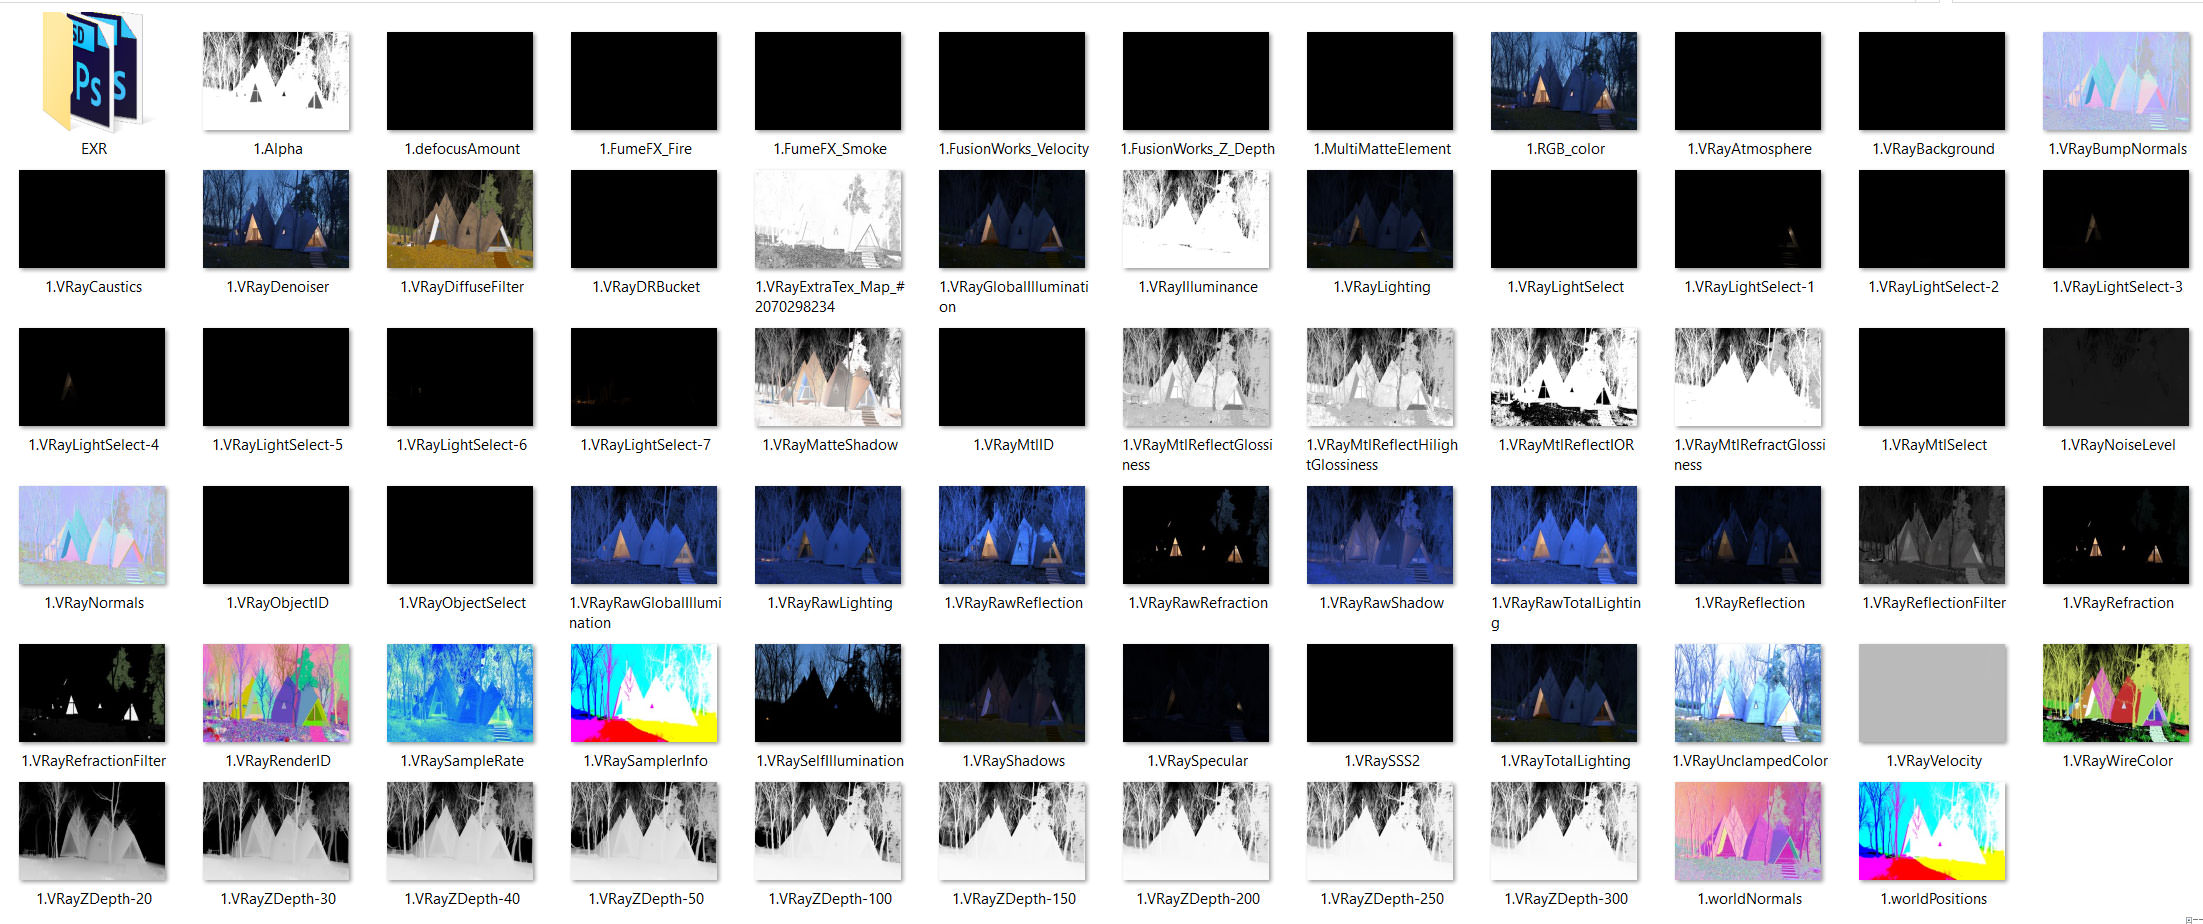
Step 13 – Render settings and render elements
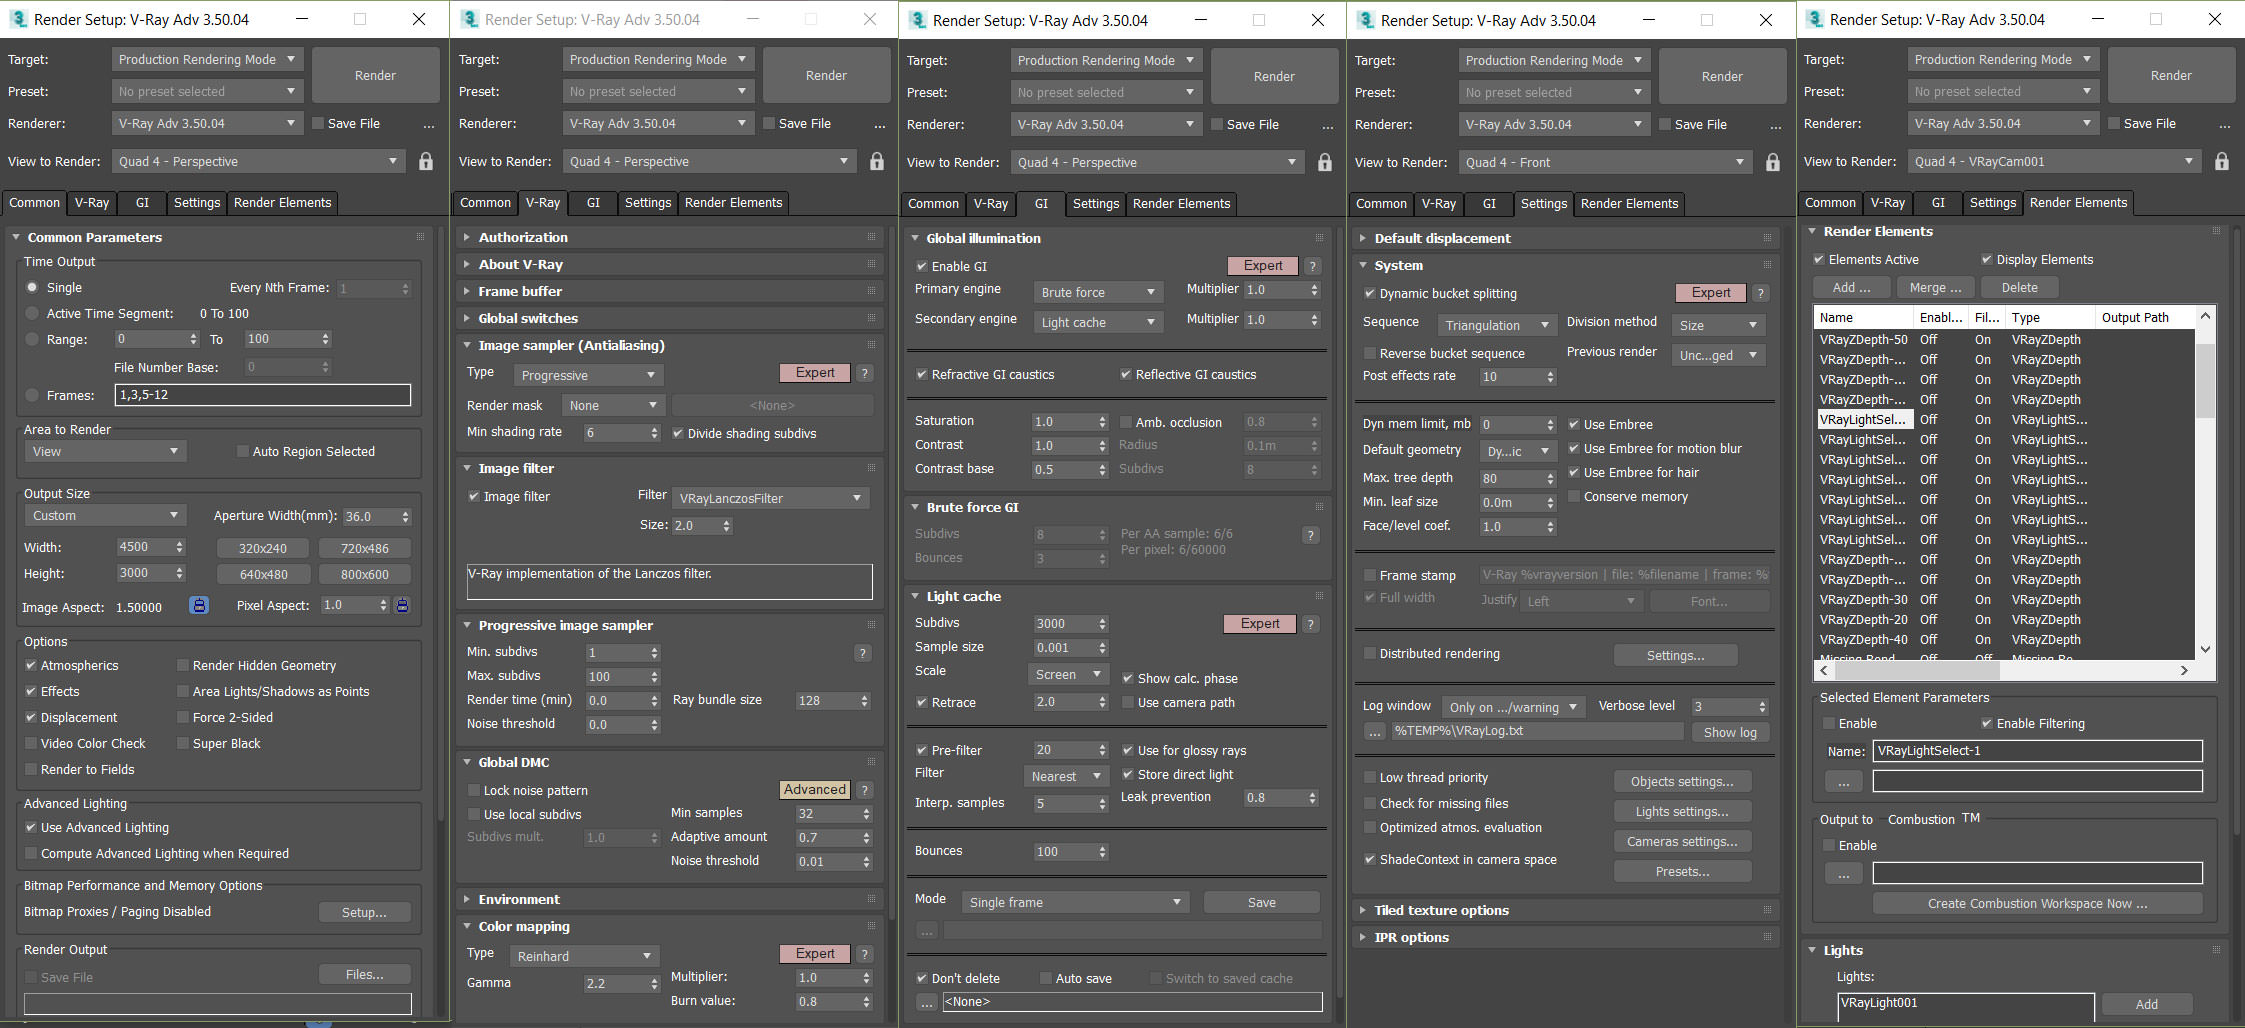
In the following photo, you can see the final settings of the Vray renderer engine.
Step 14 – Post Production
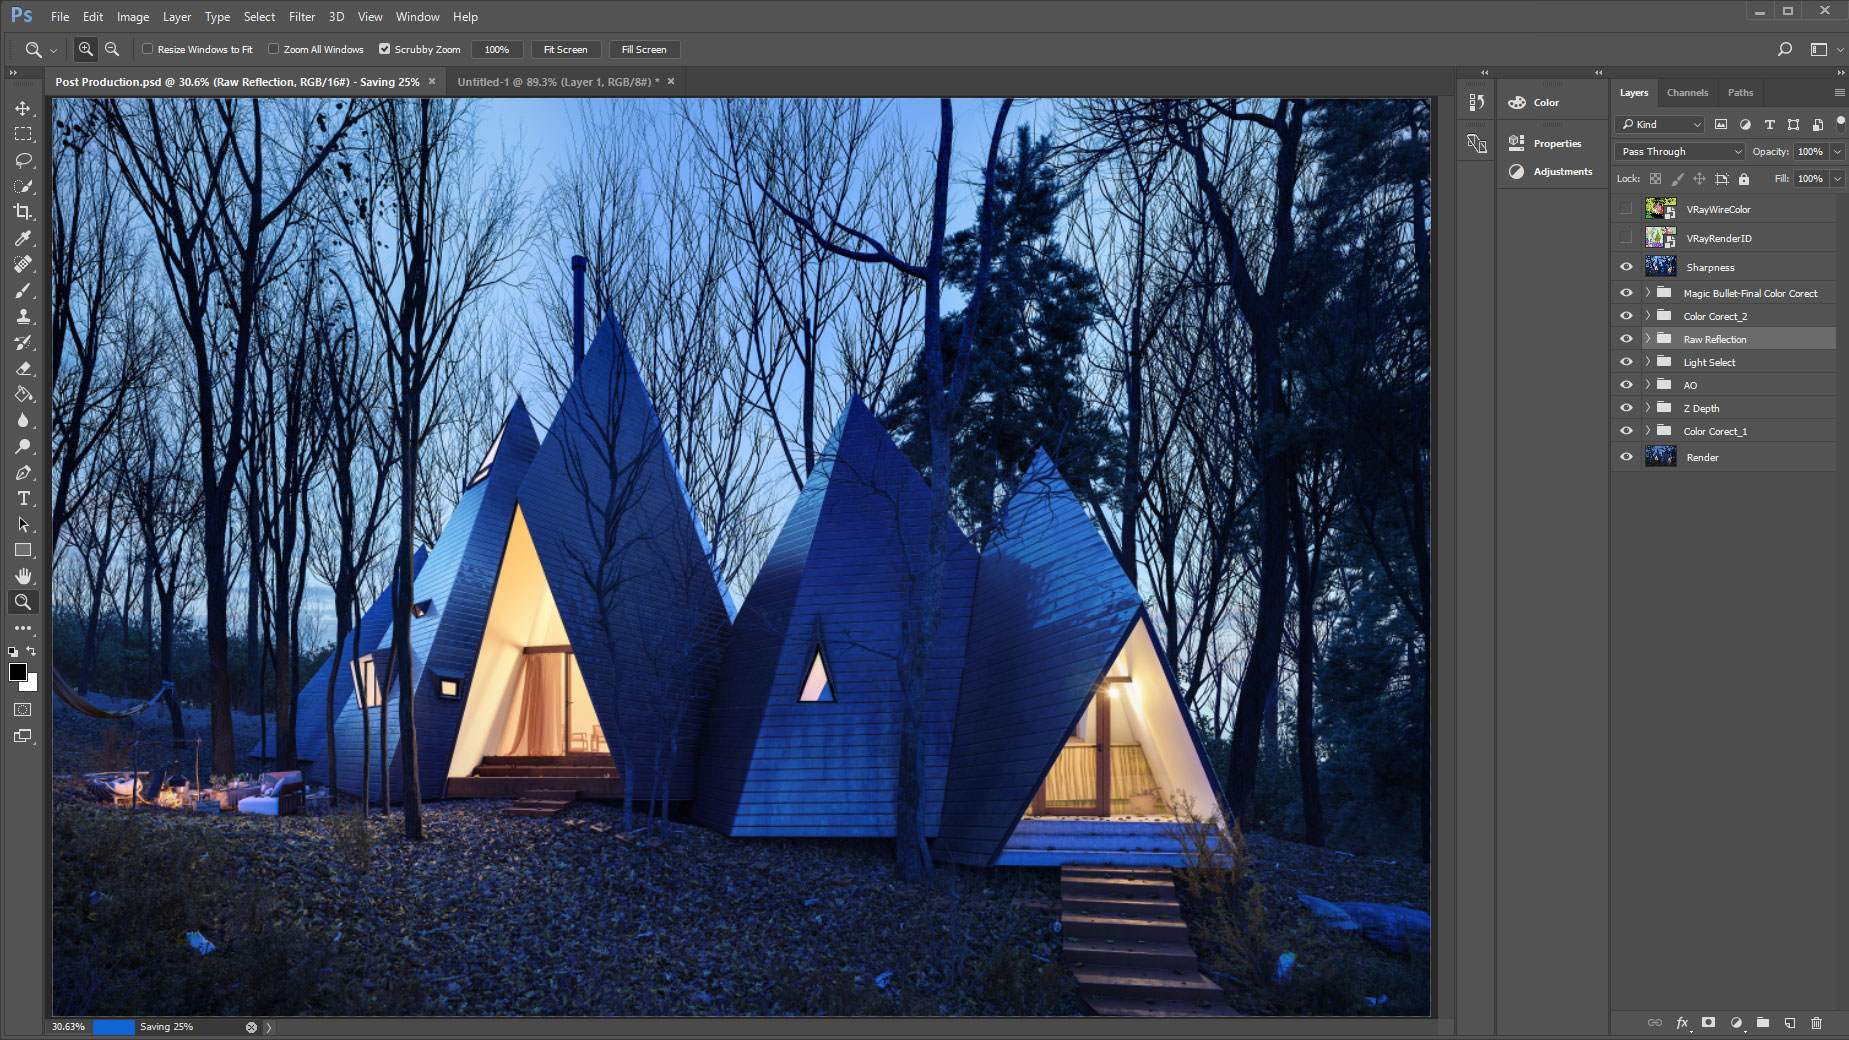
After rendering, it was the turn of post-production. I could correct light and color of the project because of the render elements in this step.
Thanks a lot for reading!


applause! great blog entry
Great work Hossein! Love it… Nice how detailed you put out your workflow. I miss that a lot of times. Takes a lot of work especially if you need to do this afterwards, i guess.
Im user blender and su for modelling. Im wondering how you match the camera so quickly? Looks like a breeze how you did that in 3dmax
great work, which version of speedtree do you own?
How long did the render take?
how long was the render
Great work, i noticed my comment didnt got through somehow. How did you sculpt in the main detail on the ground, seem to mis that step in zbrush?