


3D Modeling How to / The Bohemian Sofa with Marvelous Designer
Following up on Eduard Caliman‘s recent Mills 3D Chair Modeling How to, he now showcases how he made the Bohemian Sofa. Eduard actually did this stunning sofa designed by Patricia Urquiola for Moroso in 3ds max fully, but then went on exploring making the capitonné with Marvelous Designer and here he shares his process as well as the resulting model and textures. Enjoy!

Hi, I’m pleased to share with you the process of making the Bohemian Sofa which you can also download here by sharing…
[wpsharely]
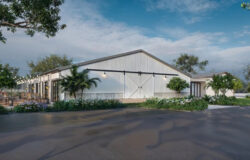
Designed by Patricia Urquiola for Moroso, the stunning Bohemian Sofa, is an example of a contemporary mixture between modern and classic design. As soon as I saw it in the Moroso catalog I knew I had to model it.
I initially finished modeling the sofa completely in 3DS Max but when my friend and ex-colleague Francesco Gaudino came up with the idea that theoretically one could also create the capitonné using Marvelous Designer I was intrigued by the idea of having a physically accurate capitonné and started working on it.
Reference Images and Sofa Plans
I tried to gather as many reference images as possible to cover sofa from many different angles.


Modeling of the basic Sofa Structure
The sofa structure was modeled and unwrapped using 3DS Max, starting from a simple box, using extrusions and moving the vertices as you can see in the screenshots below.


Modeling of the Capitonné
After having exported the OBJ of the sofa structure you then need to import it into Marvelous Designer (File > Import > OBJ).
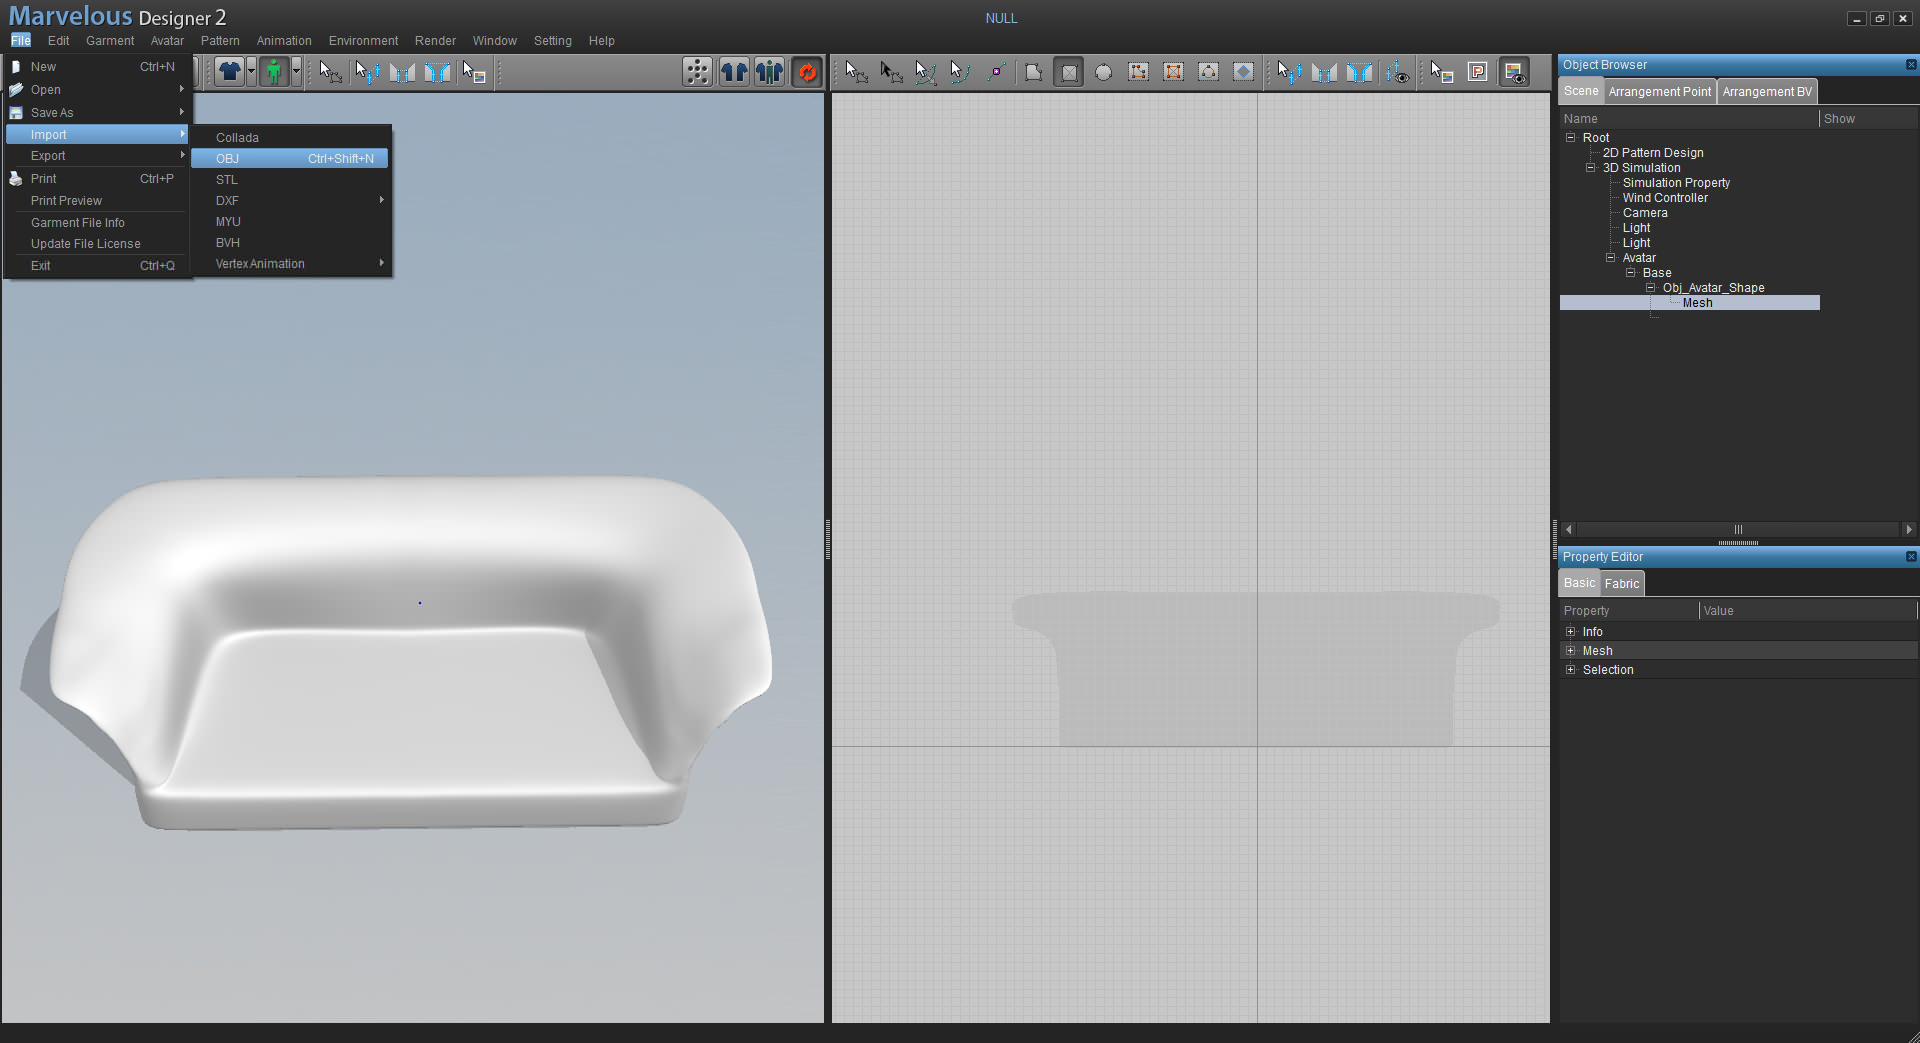
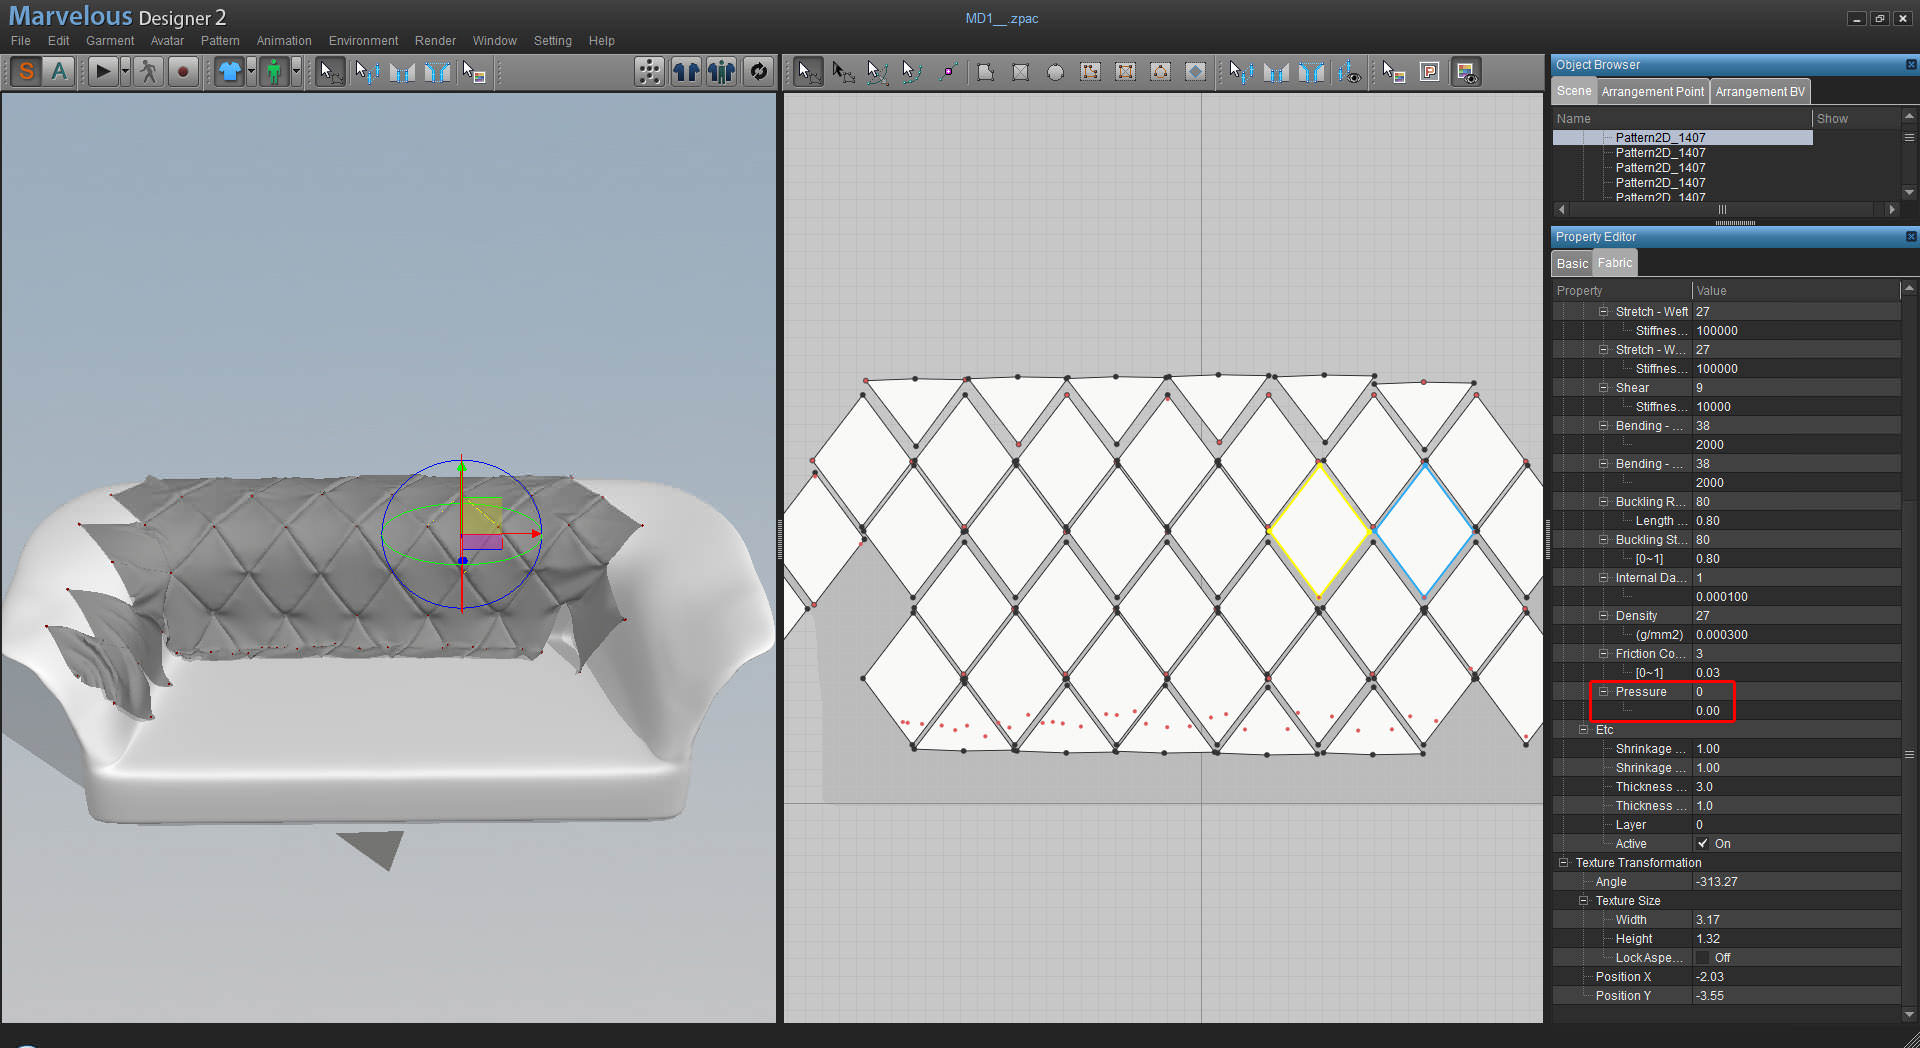
What I have done is I’ve created a rhomboidal shape and cloned it a couple of times. I have then sewn them together and applied various pins (small pink dots that keep your fabric fixed to a certain point in space or to the avatar.OBJ – Hold down ALT and LEFT MB) as close as possible to the point of intersection between the rhomboidal shapes. When you have moved your fabric close the sofa surface you then right-click on the pins and you attach it to the avatar so that it stays fixed. For the exterior margins of the sofa I have used half a rhombus as you can see in these screenshots.
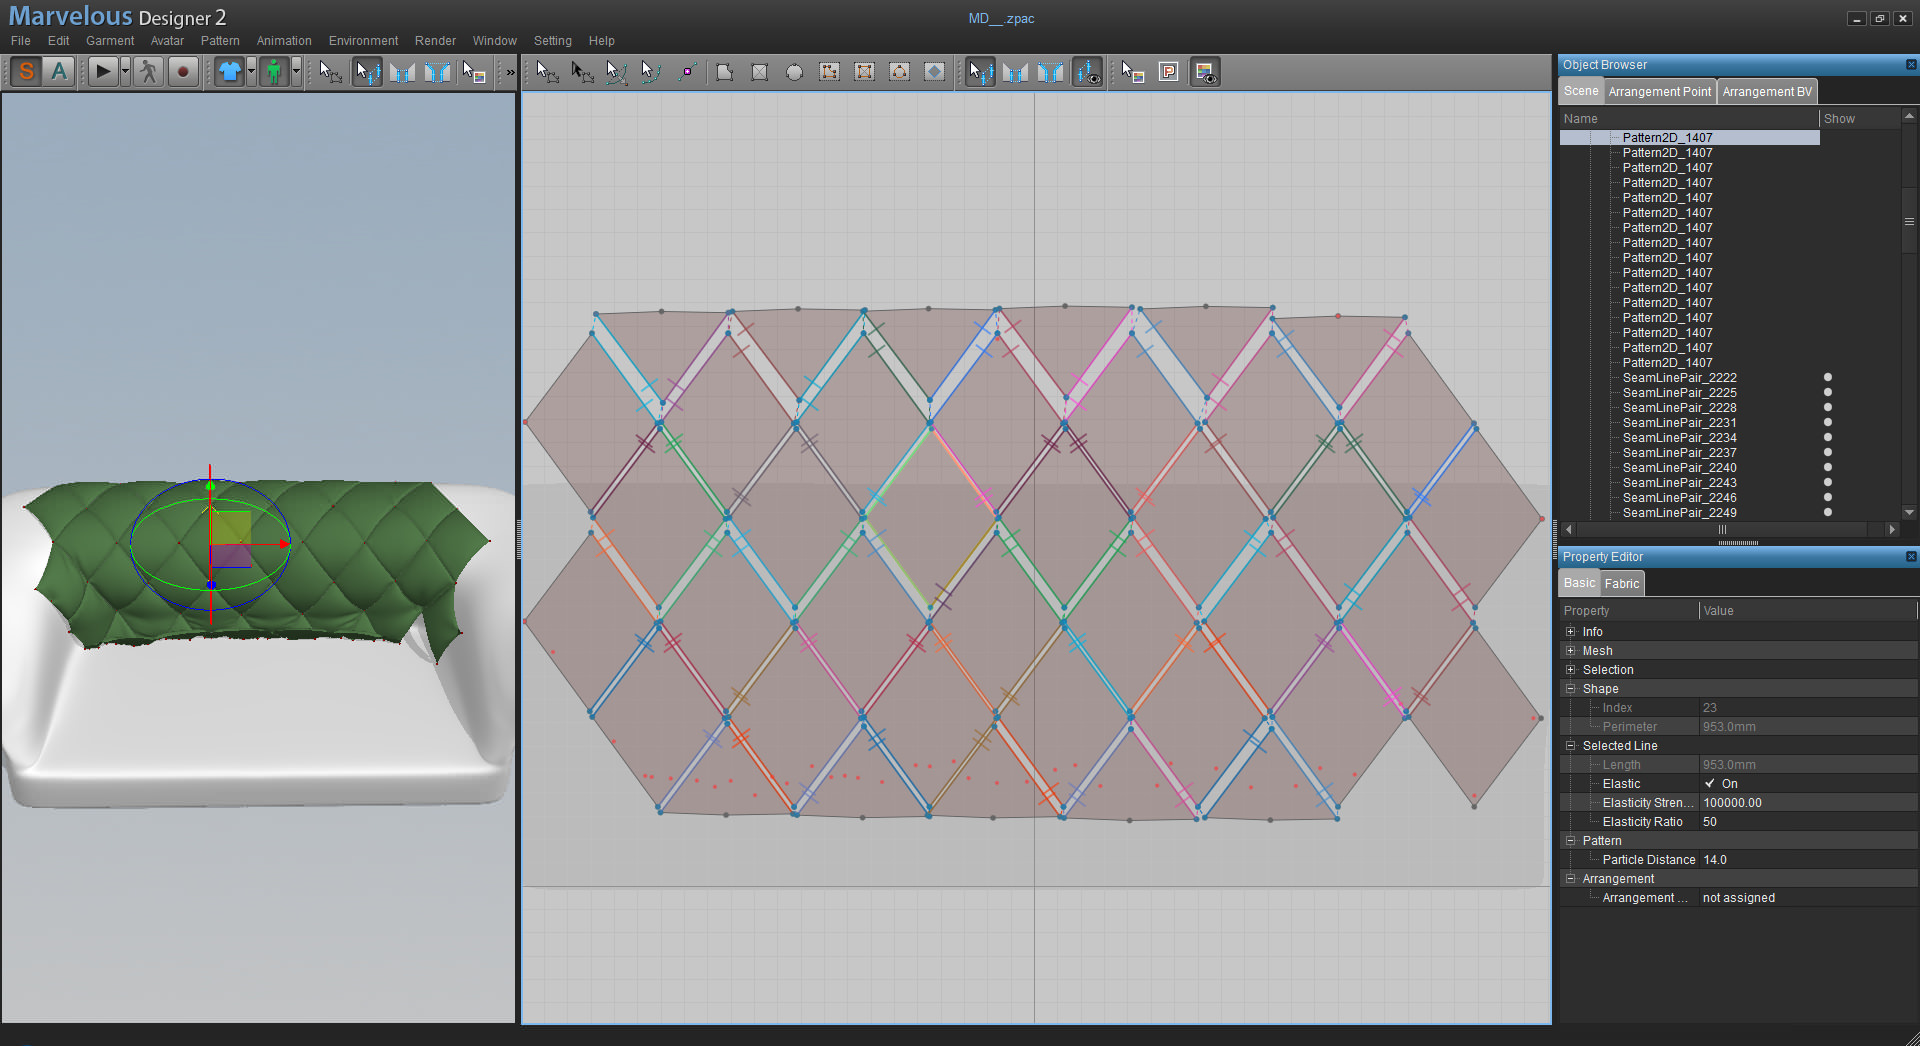
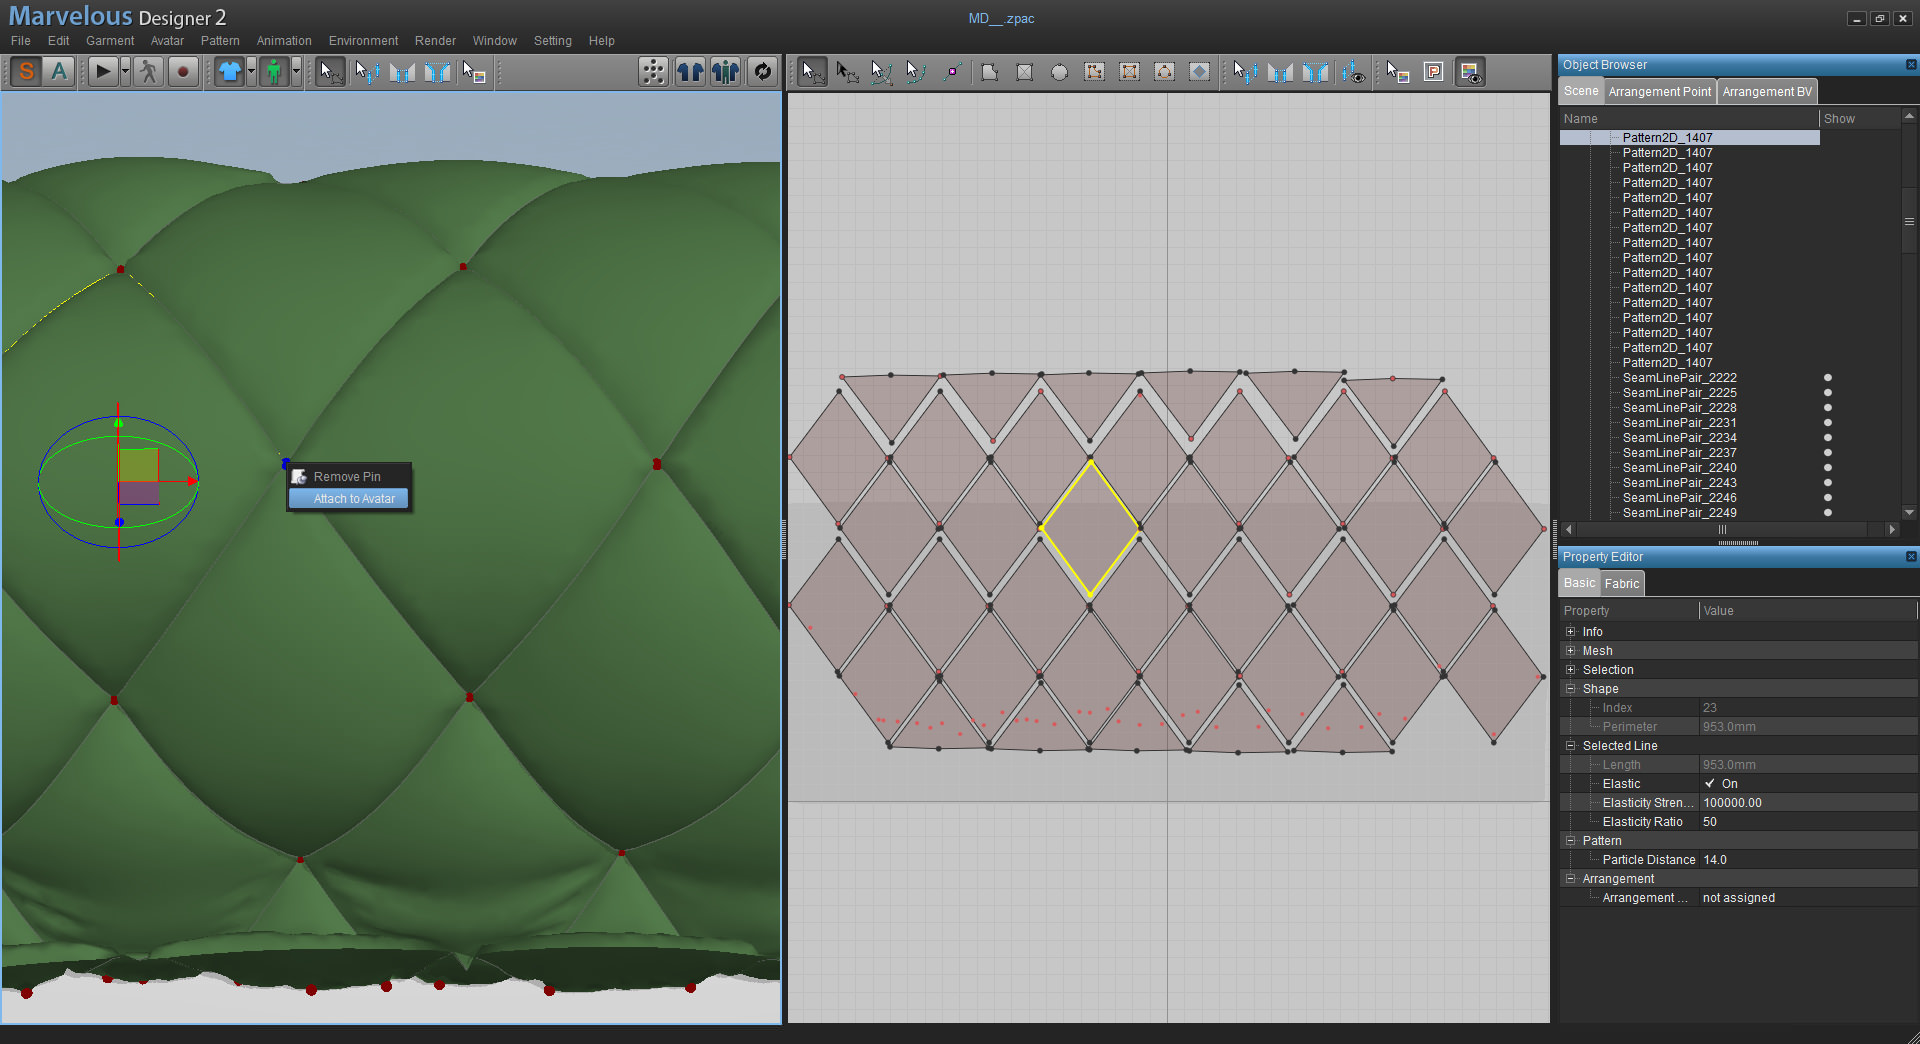
Since Marvelous Designer tends to crash every once in a while I saved out the project at different stages so I can show you how the process slowly developed over time. So, as soon as you have the fabric fixed to the avatar you can inflate it using the Pressure parameter from the Fabric tab on the right and also modify the various parameters you can find to get the look you are searching for.
There are many advantages in creating this type of sofa using Marvelous Designer rather than using 3DS Max such as :
- Whenever you need to move something the only thing you need to do is move the pins.
- You can experiment with different level of Pressure intensities making the sofa more or less stretched.
- By changing only 1 parameter you can shrink or expand the fabrics (Fabric tab > Etc > Shrinkage Weft/Warp).
- You get a perfectly unwrapped 3D model.
All these different features allow you to have complete control over your model and you can change the look and feel of it in a matter of seconds.
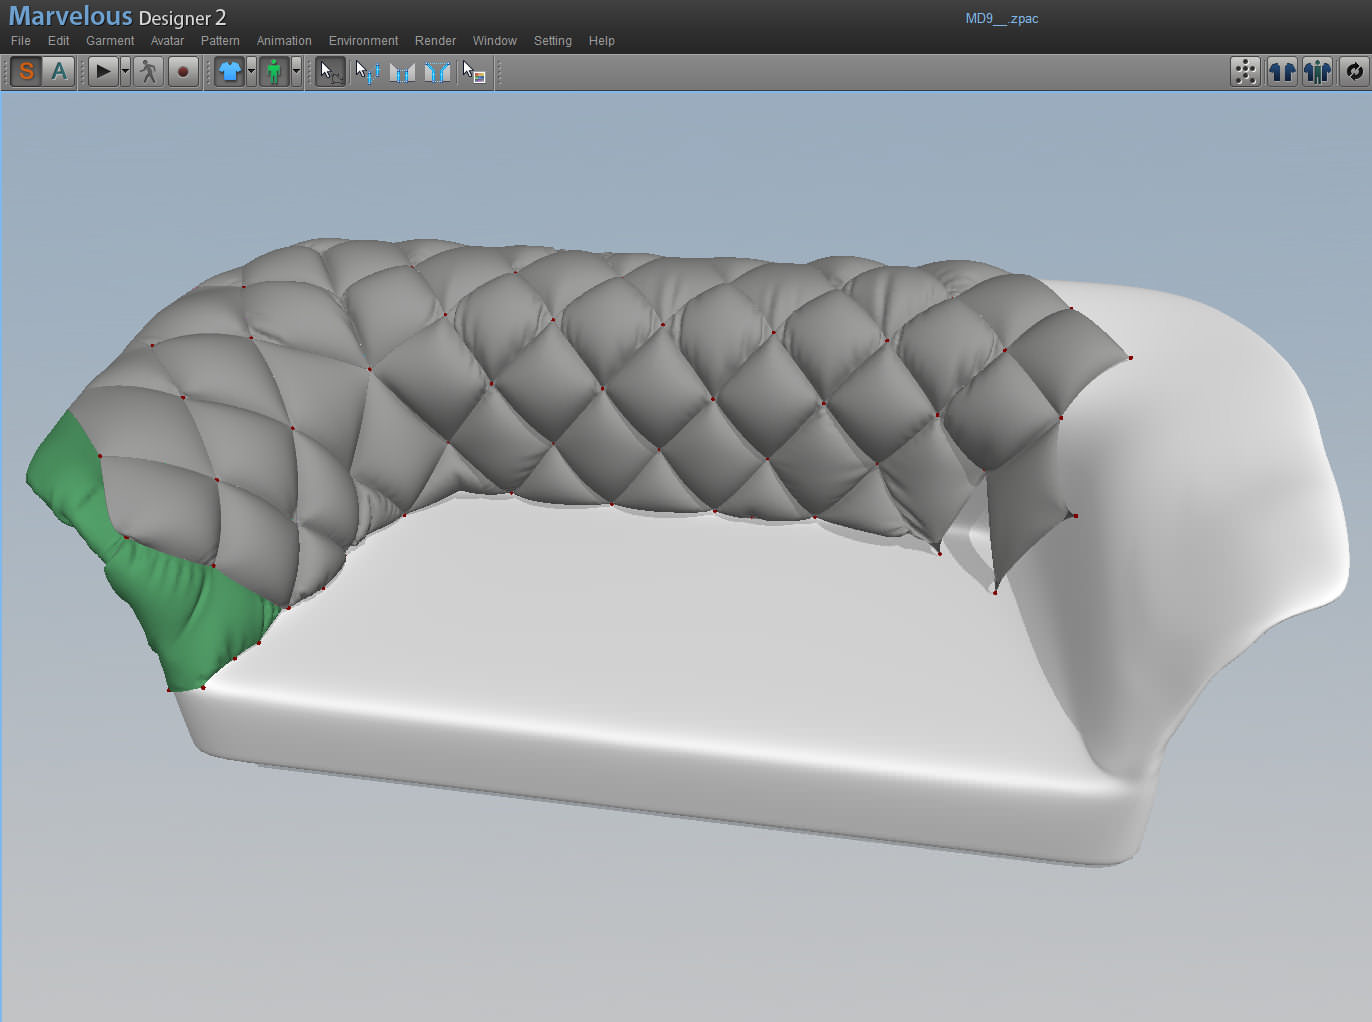
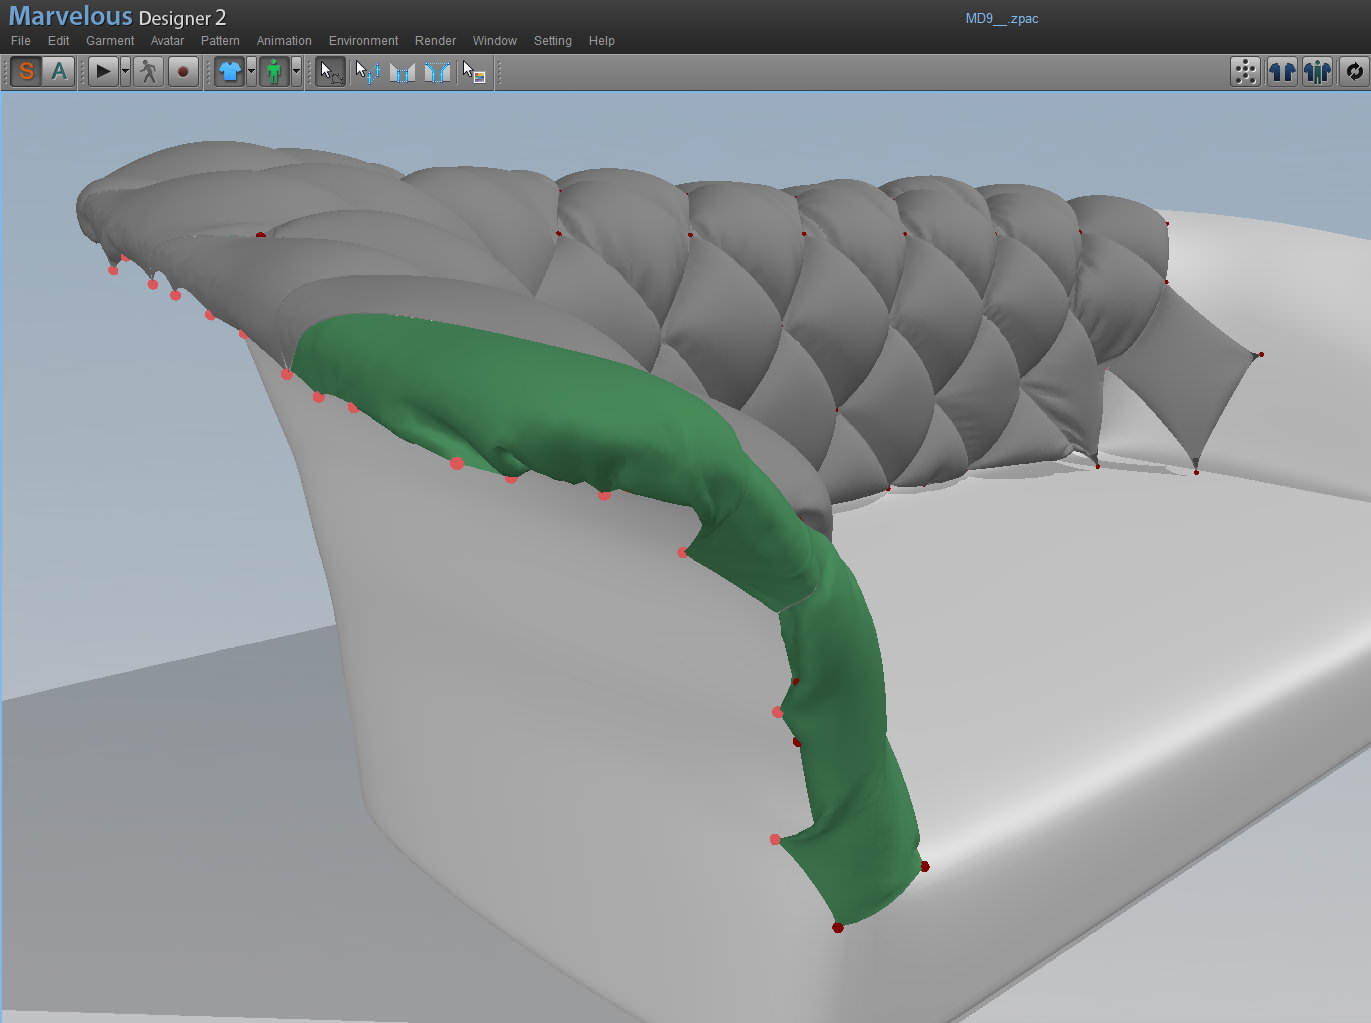
This is what the margins look like instead. What I tried to do in this case is I tried make them adhere as much as possible to the surface of the avatar so that when I clean in up in ZBrush it would be a lot easier since I wouldn’t need to offset it too much but only cut out the unnecessary parts.
When I was happy with the model I exported it as an OBJ file and the imported it into 3DS Max. I then applied a symmetry modifier and imported everything in ZBrush.
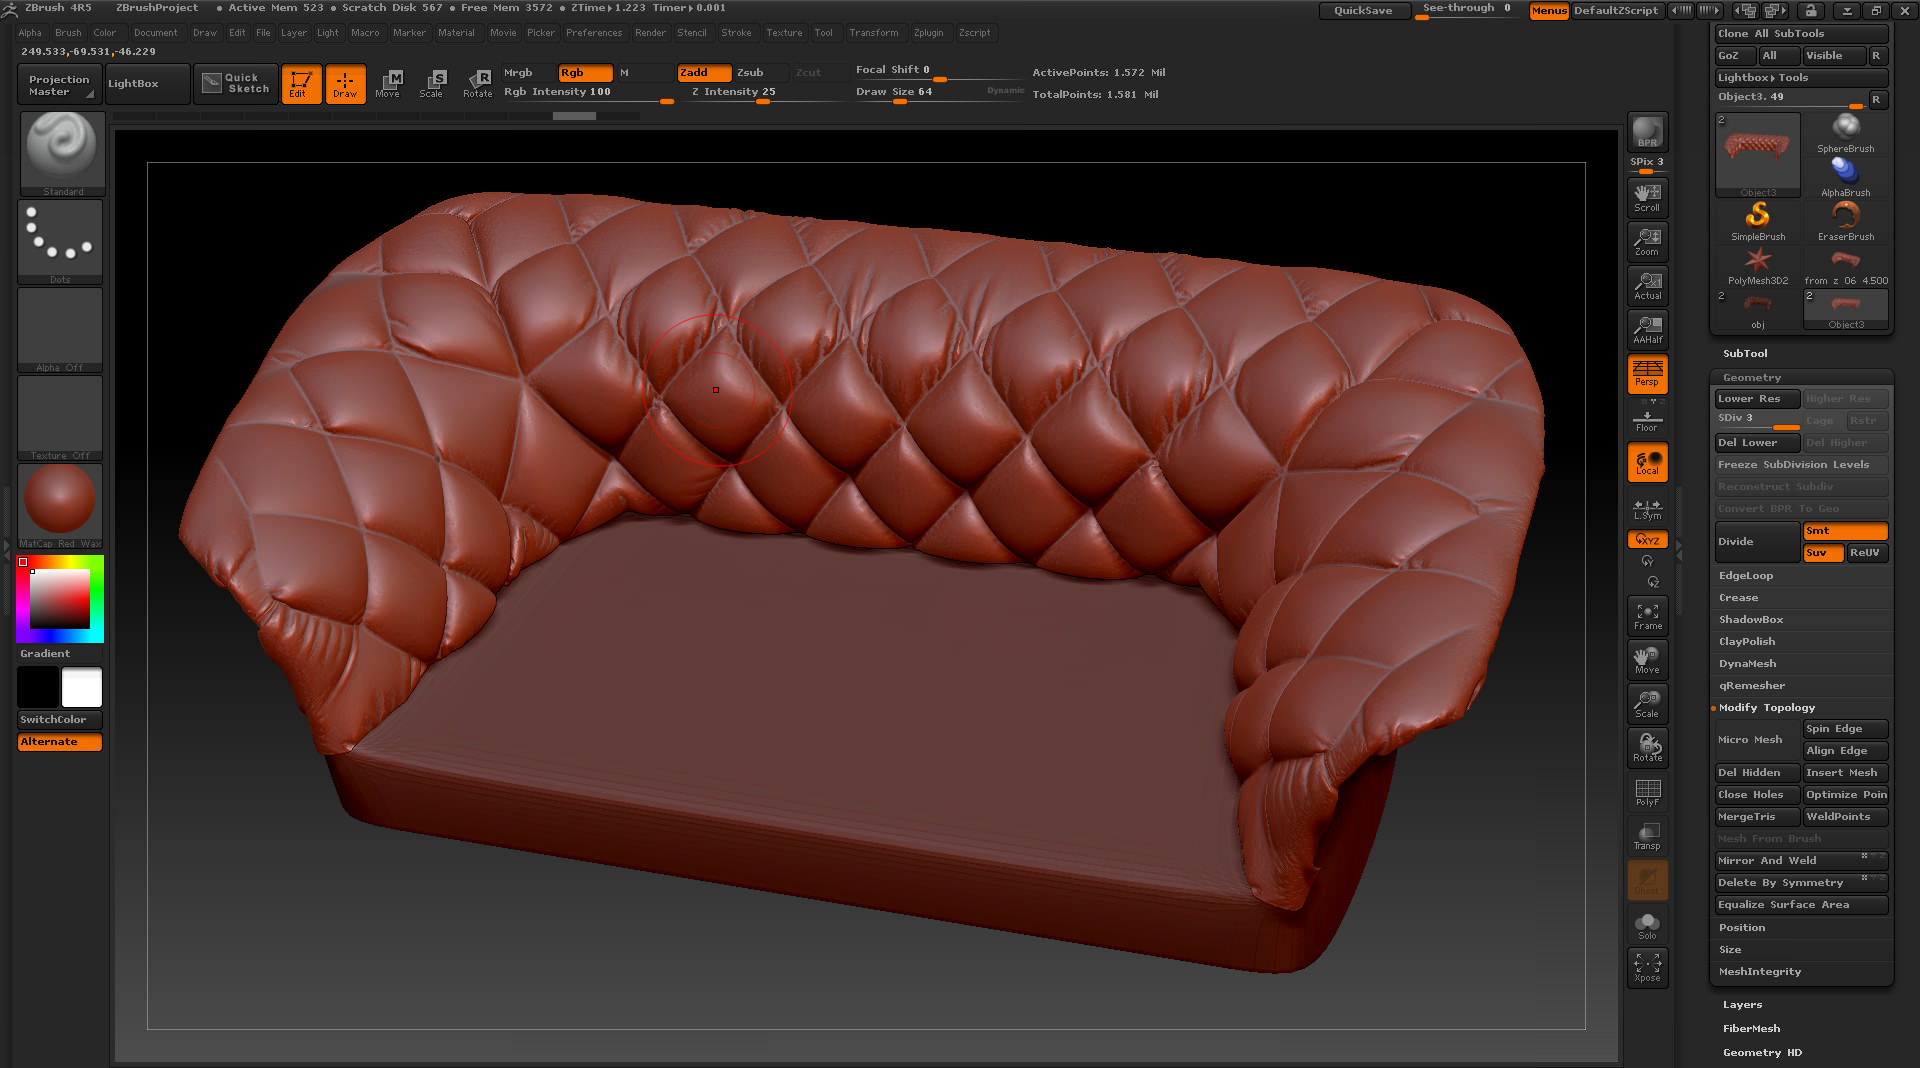
To get the look I wanted I used only 3 brushes.
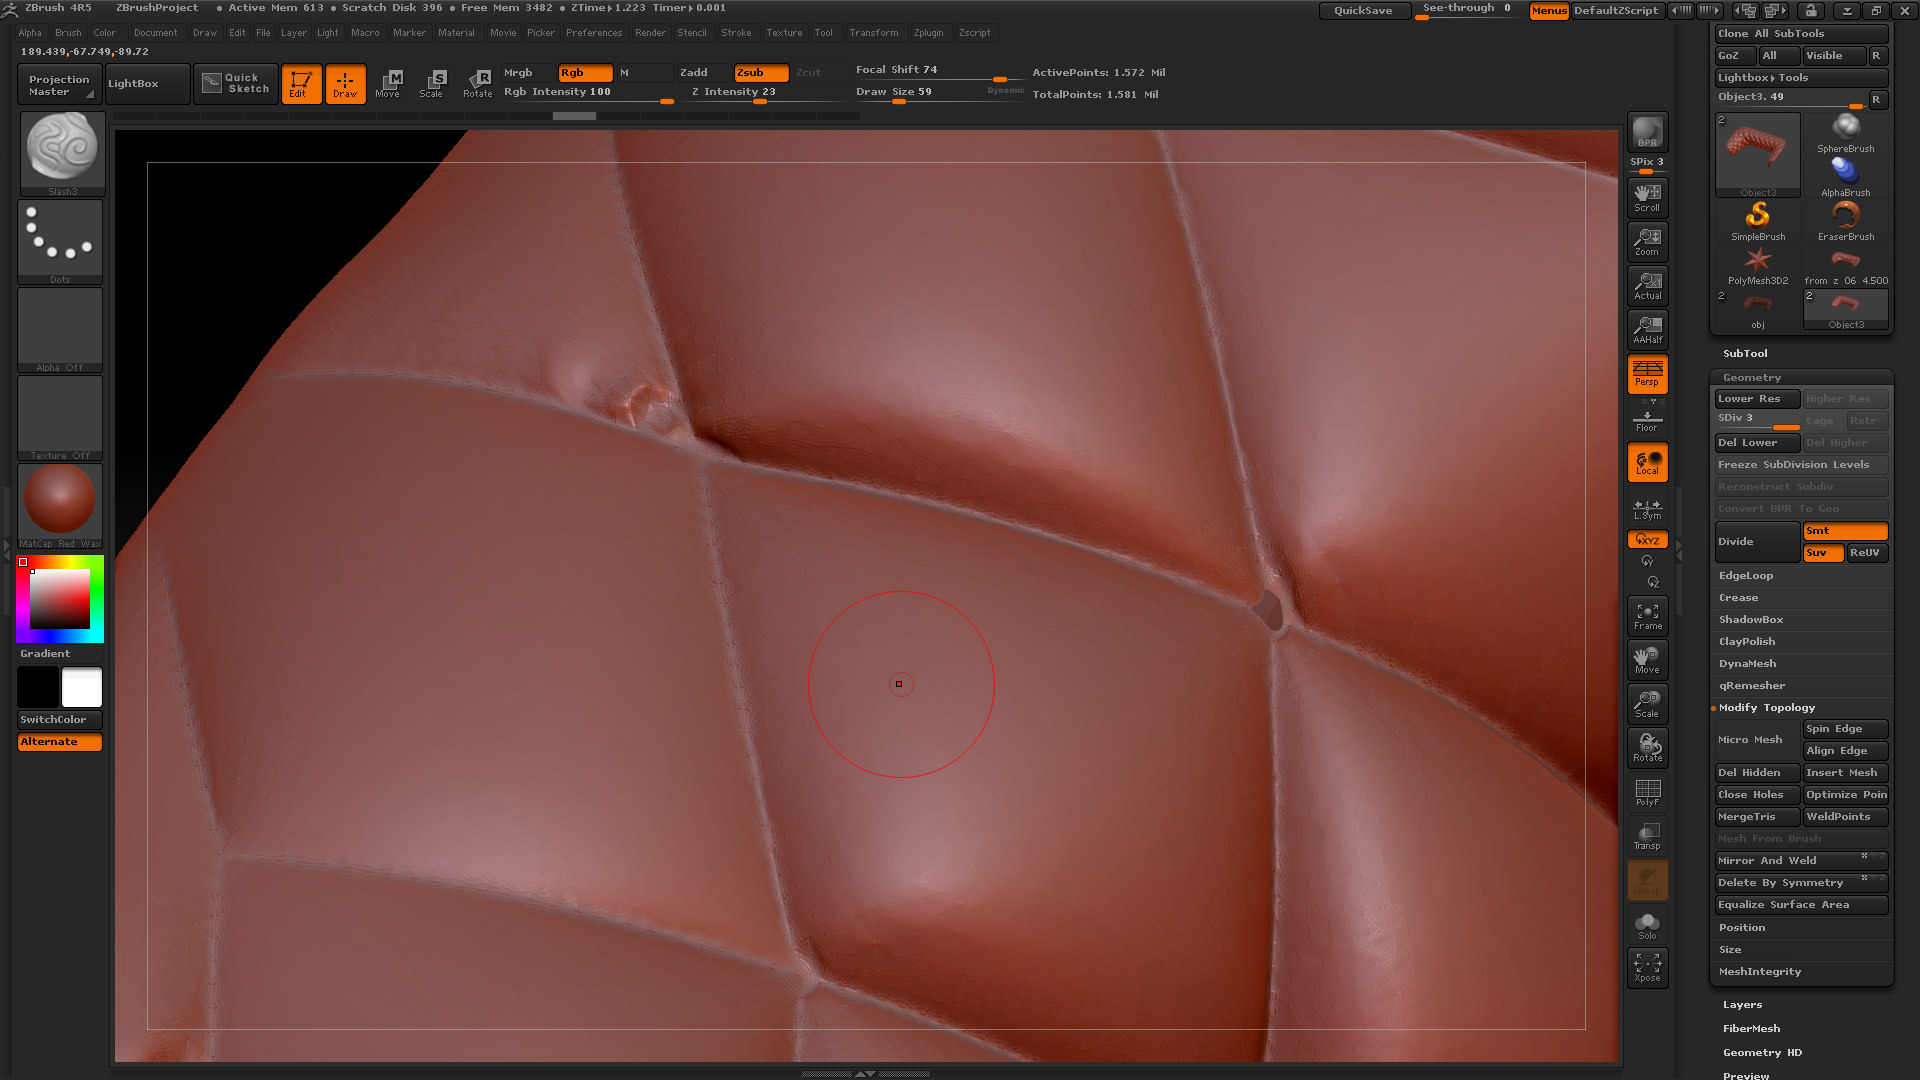
Slash to create deeper edges :
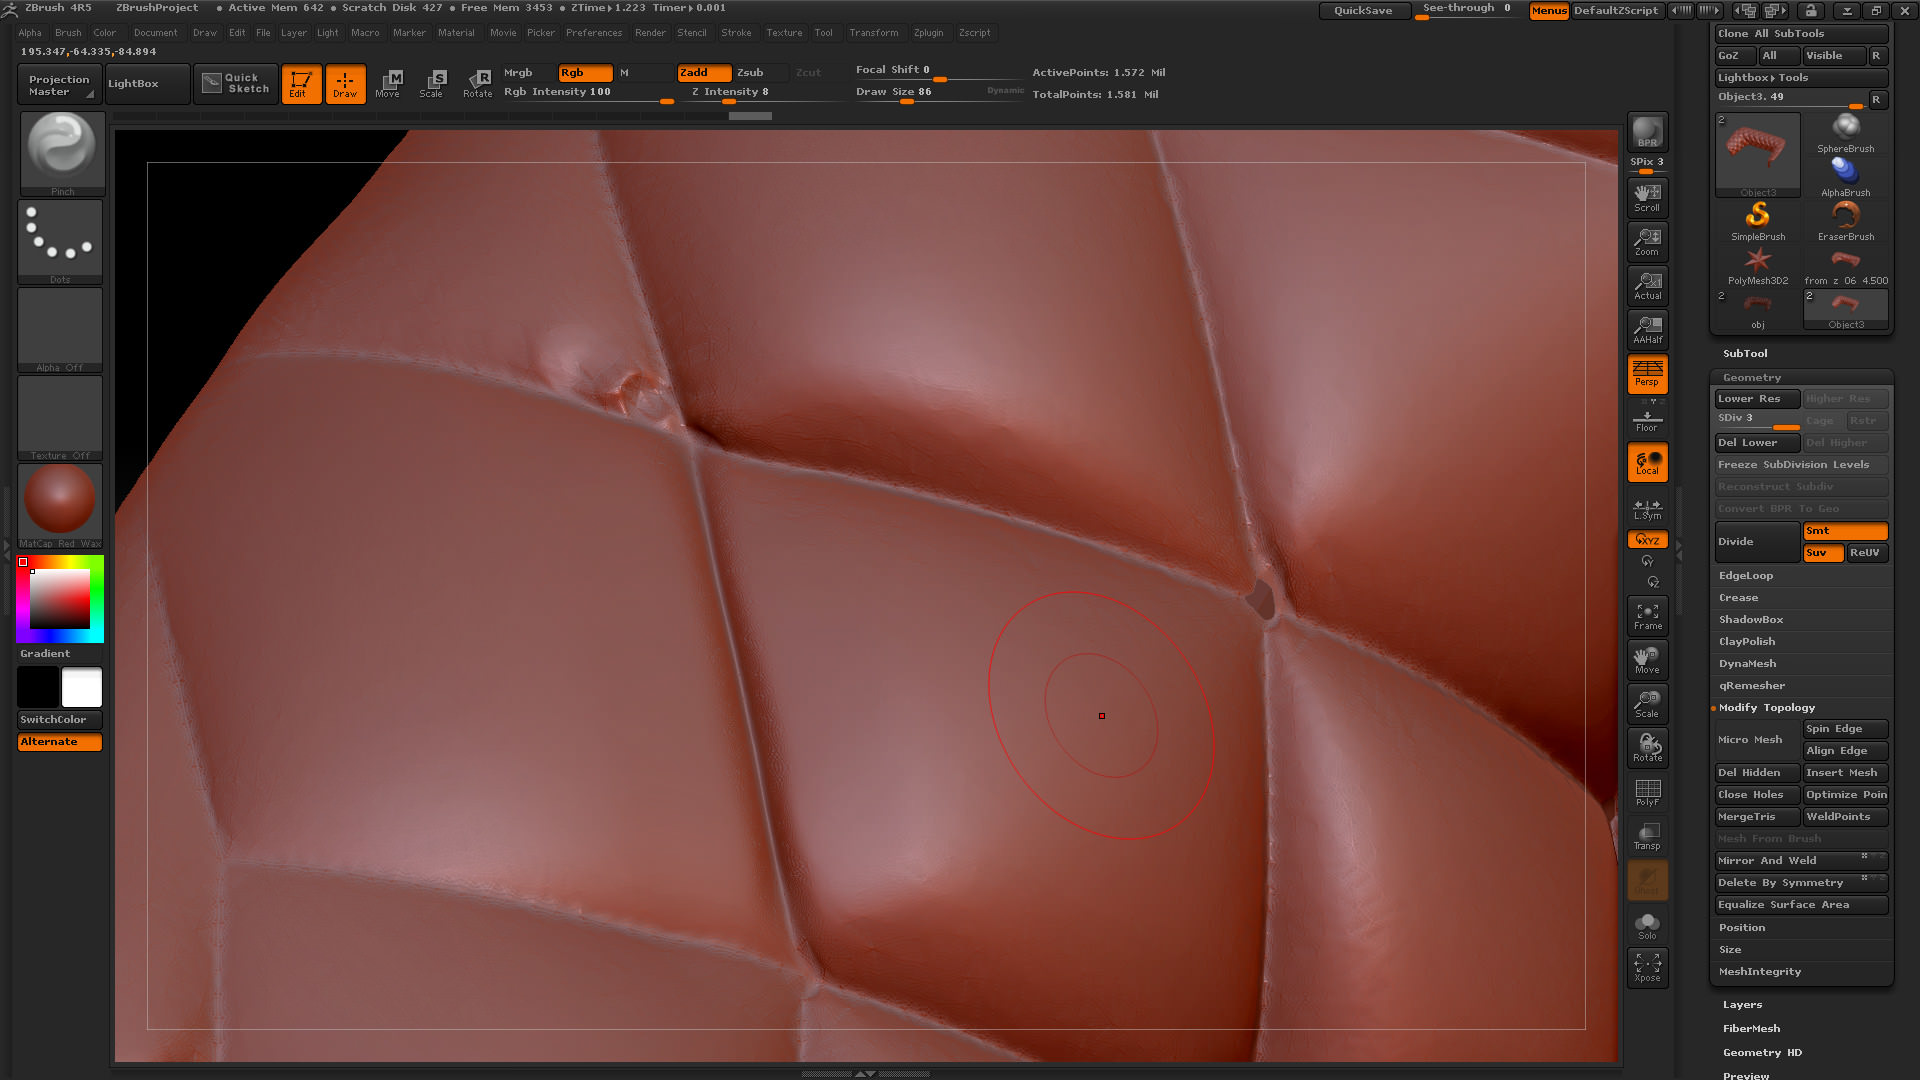
Pinch to bring the edges closer together :
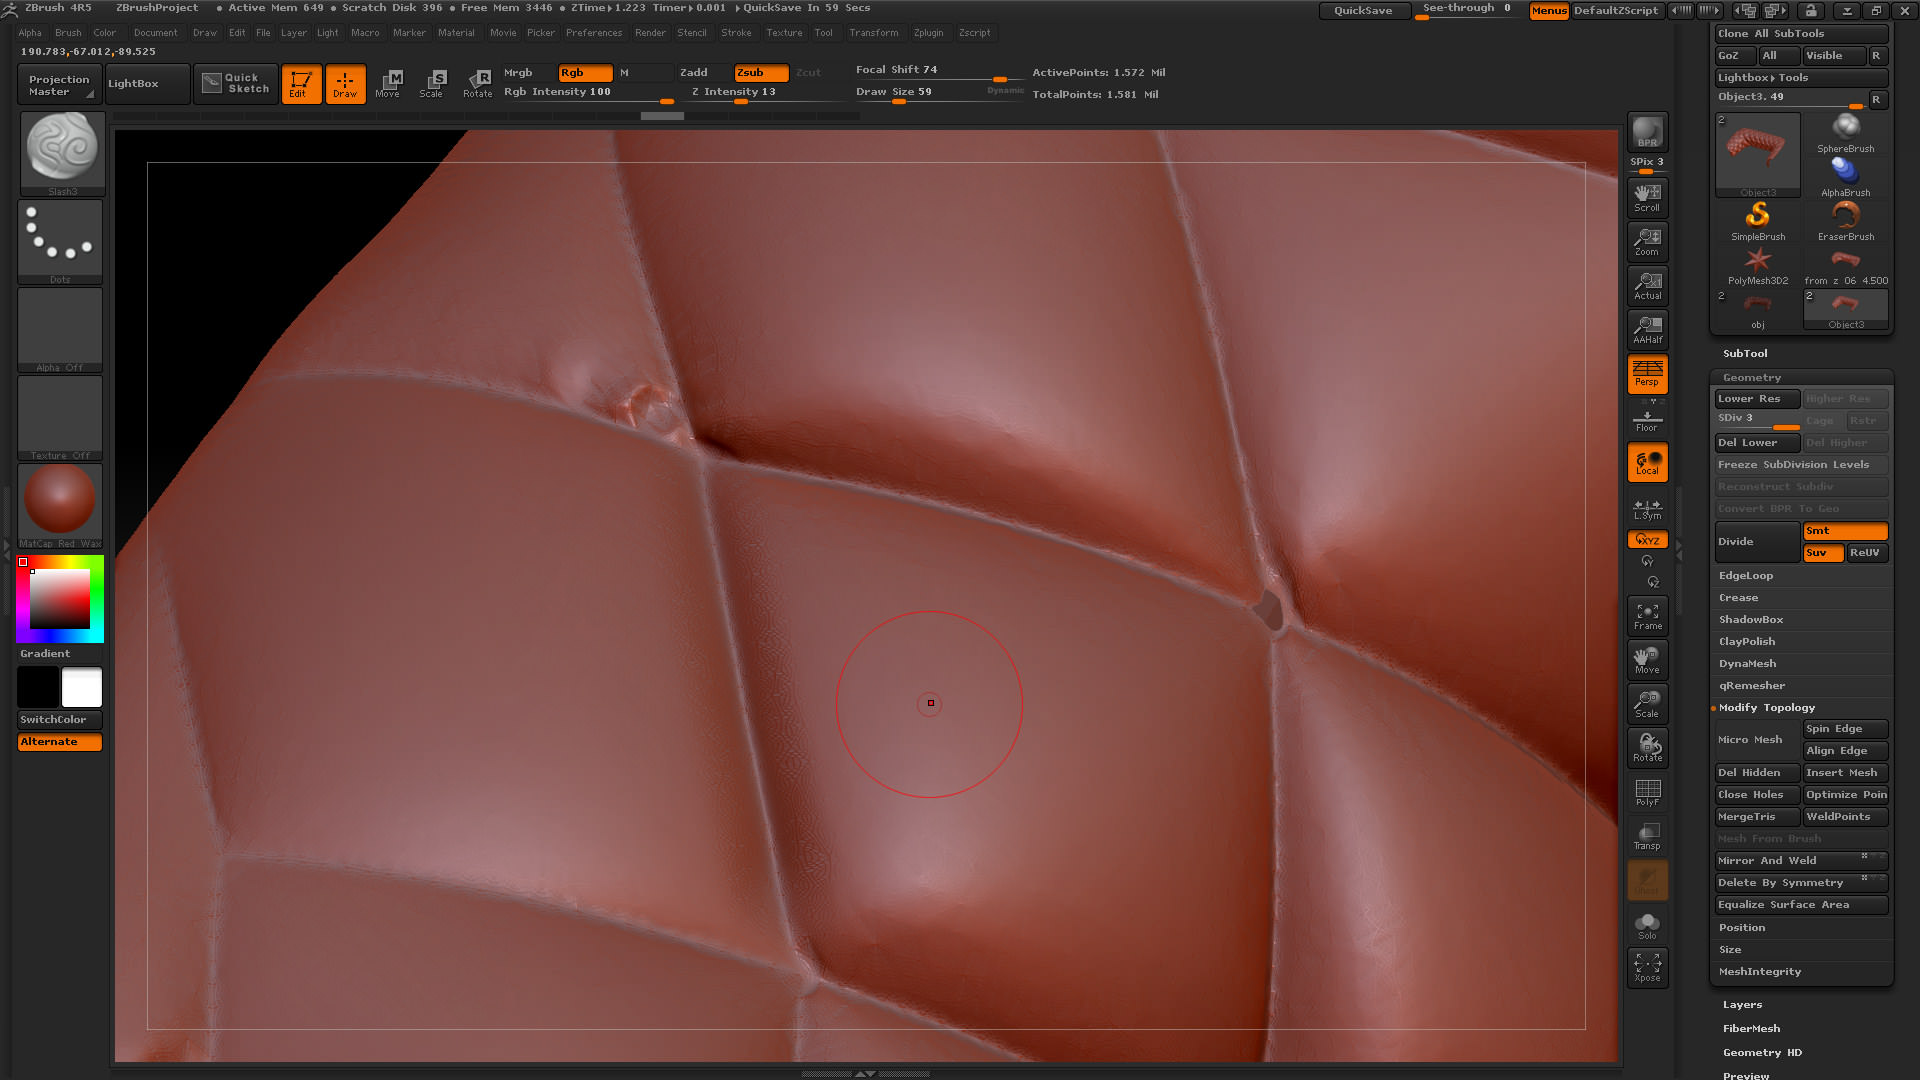
Standard brush with an alpha map of some radial wrinkles to add some more wrinkles to the intersection points.
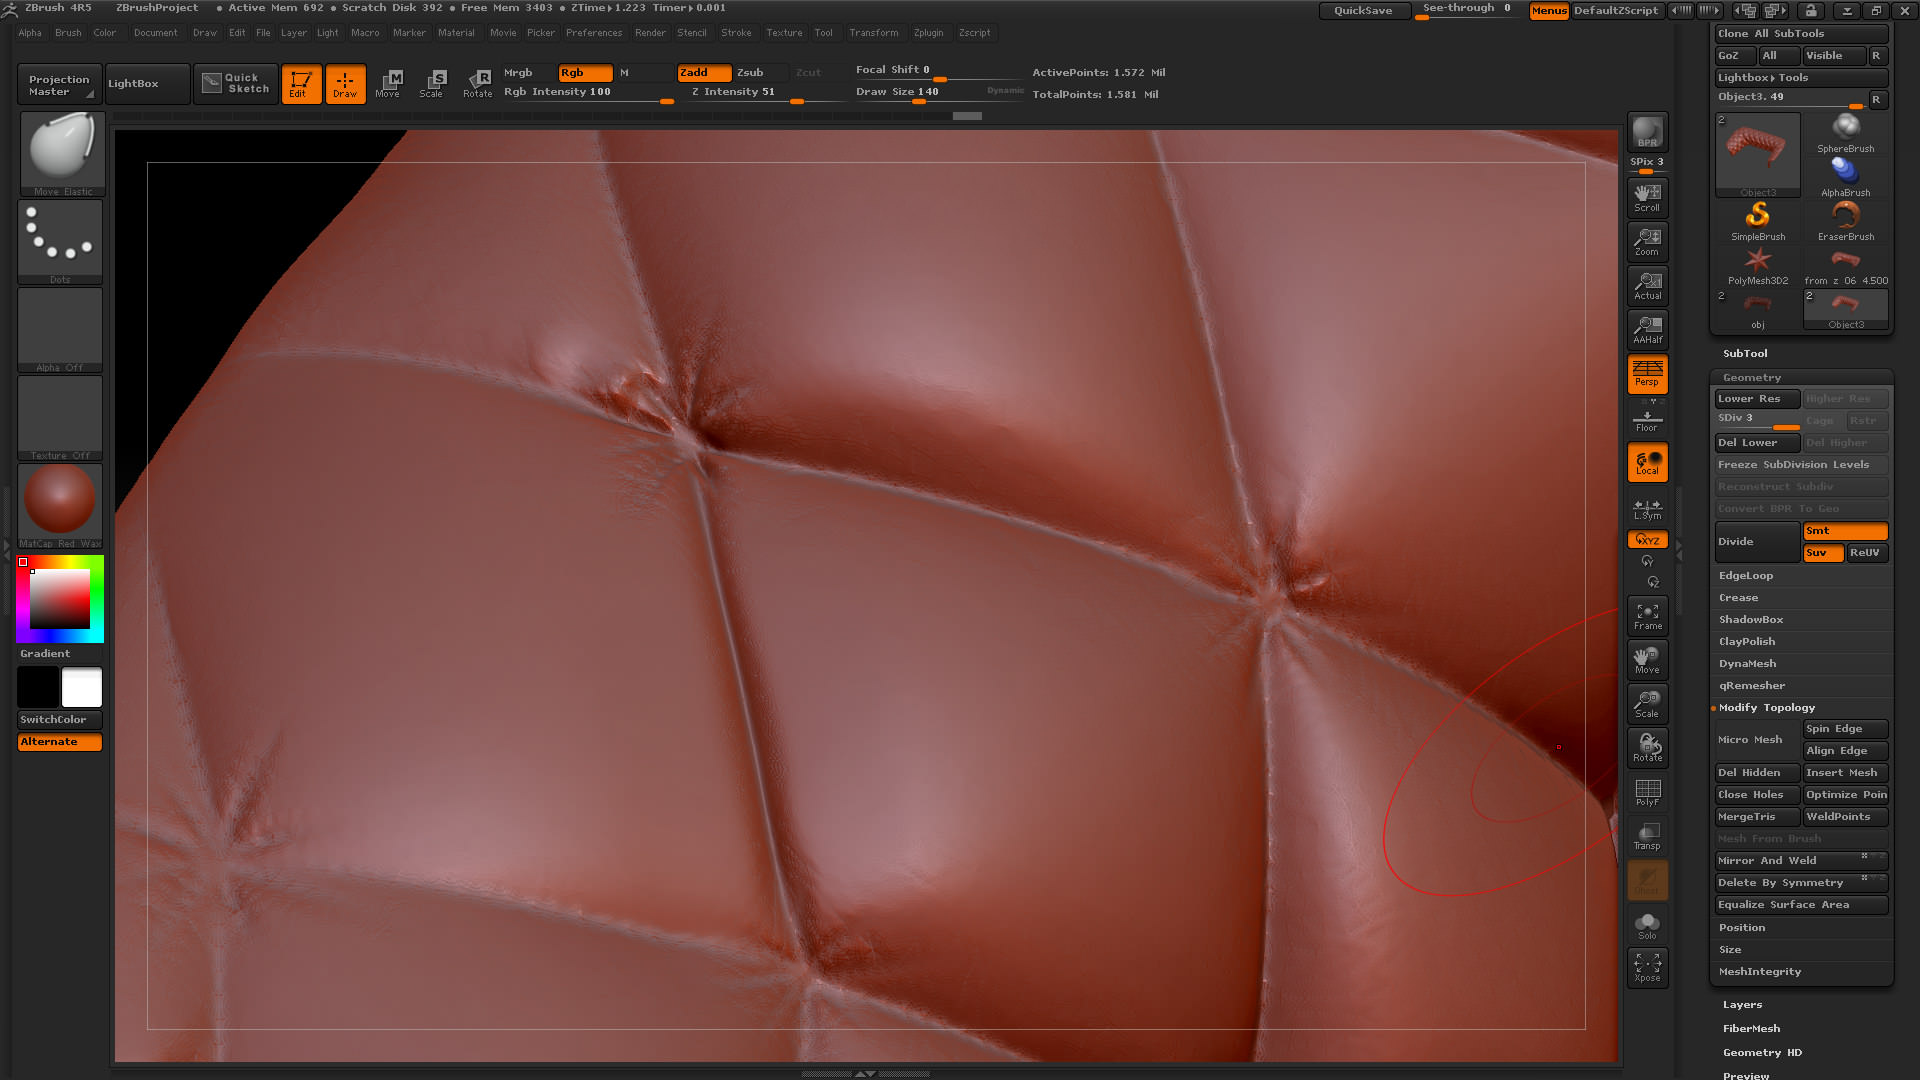
At this point the capitonné was finished. All I had to do was to optimize the geometry be reducing it to a reasonable polycount and export it.
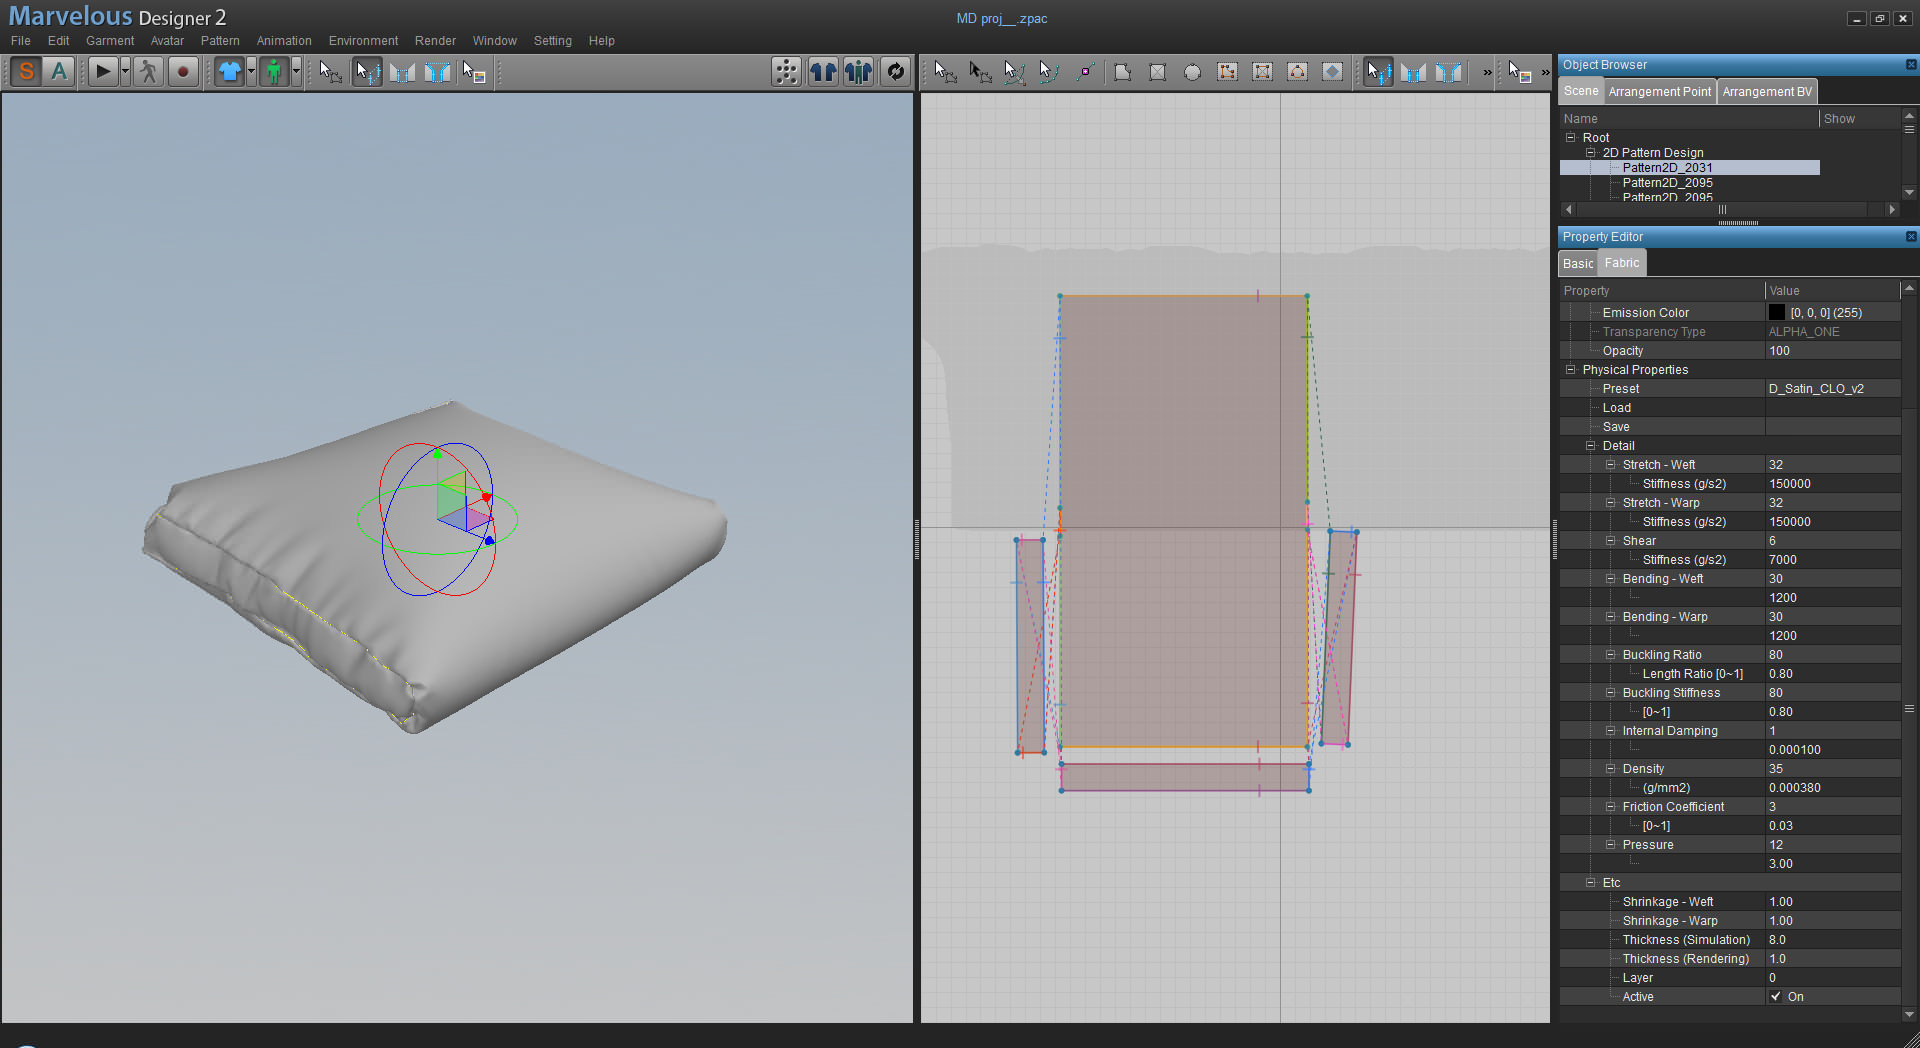
The 2 cushions were made in Marvelous Designer of course and I will only show you a screenshot of the patterns and the settings for that pattern since it was pretty straightforward.
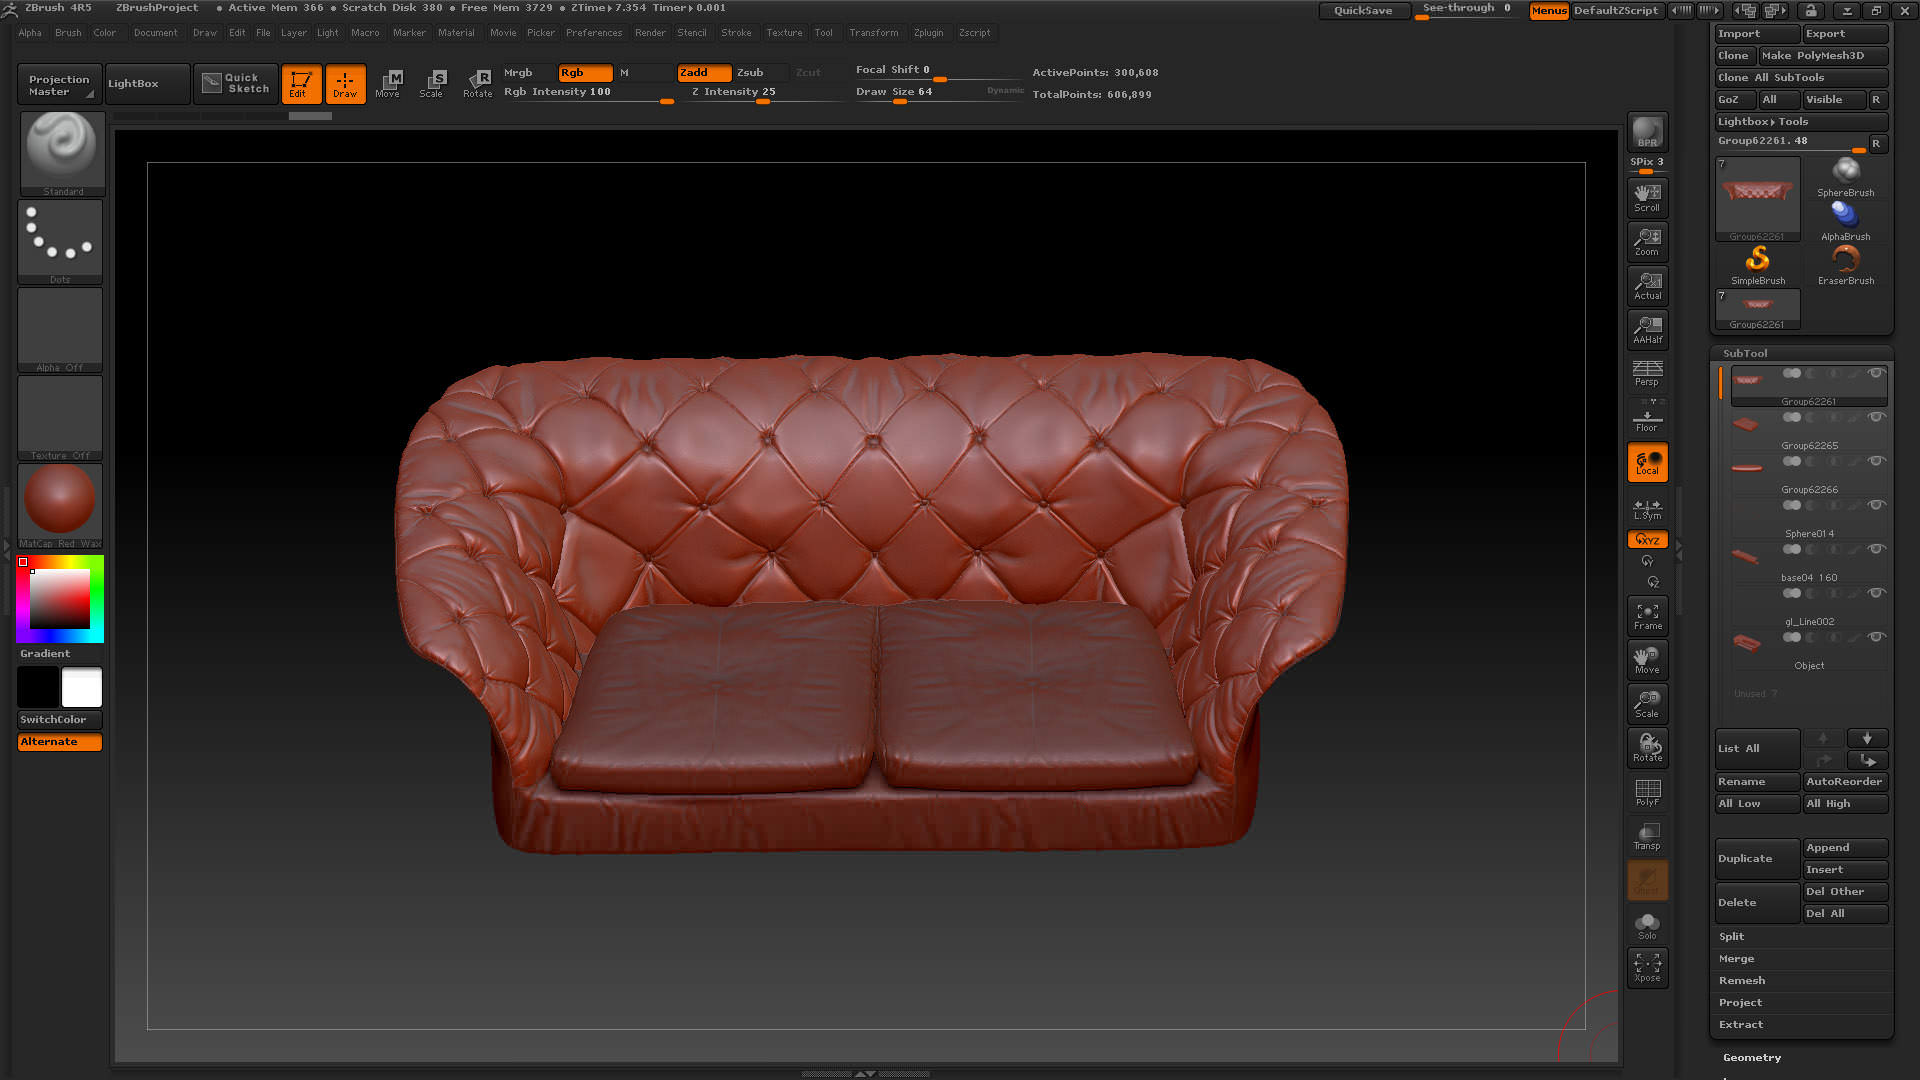
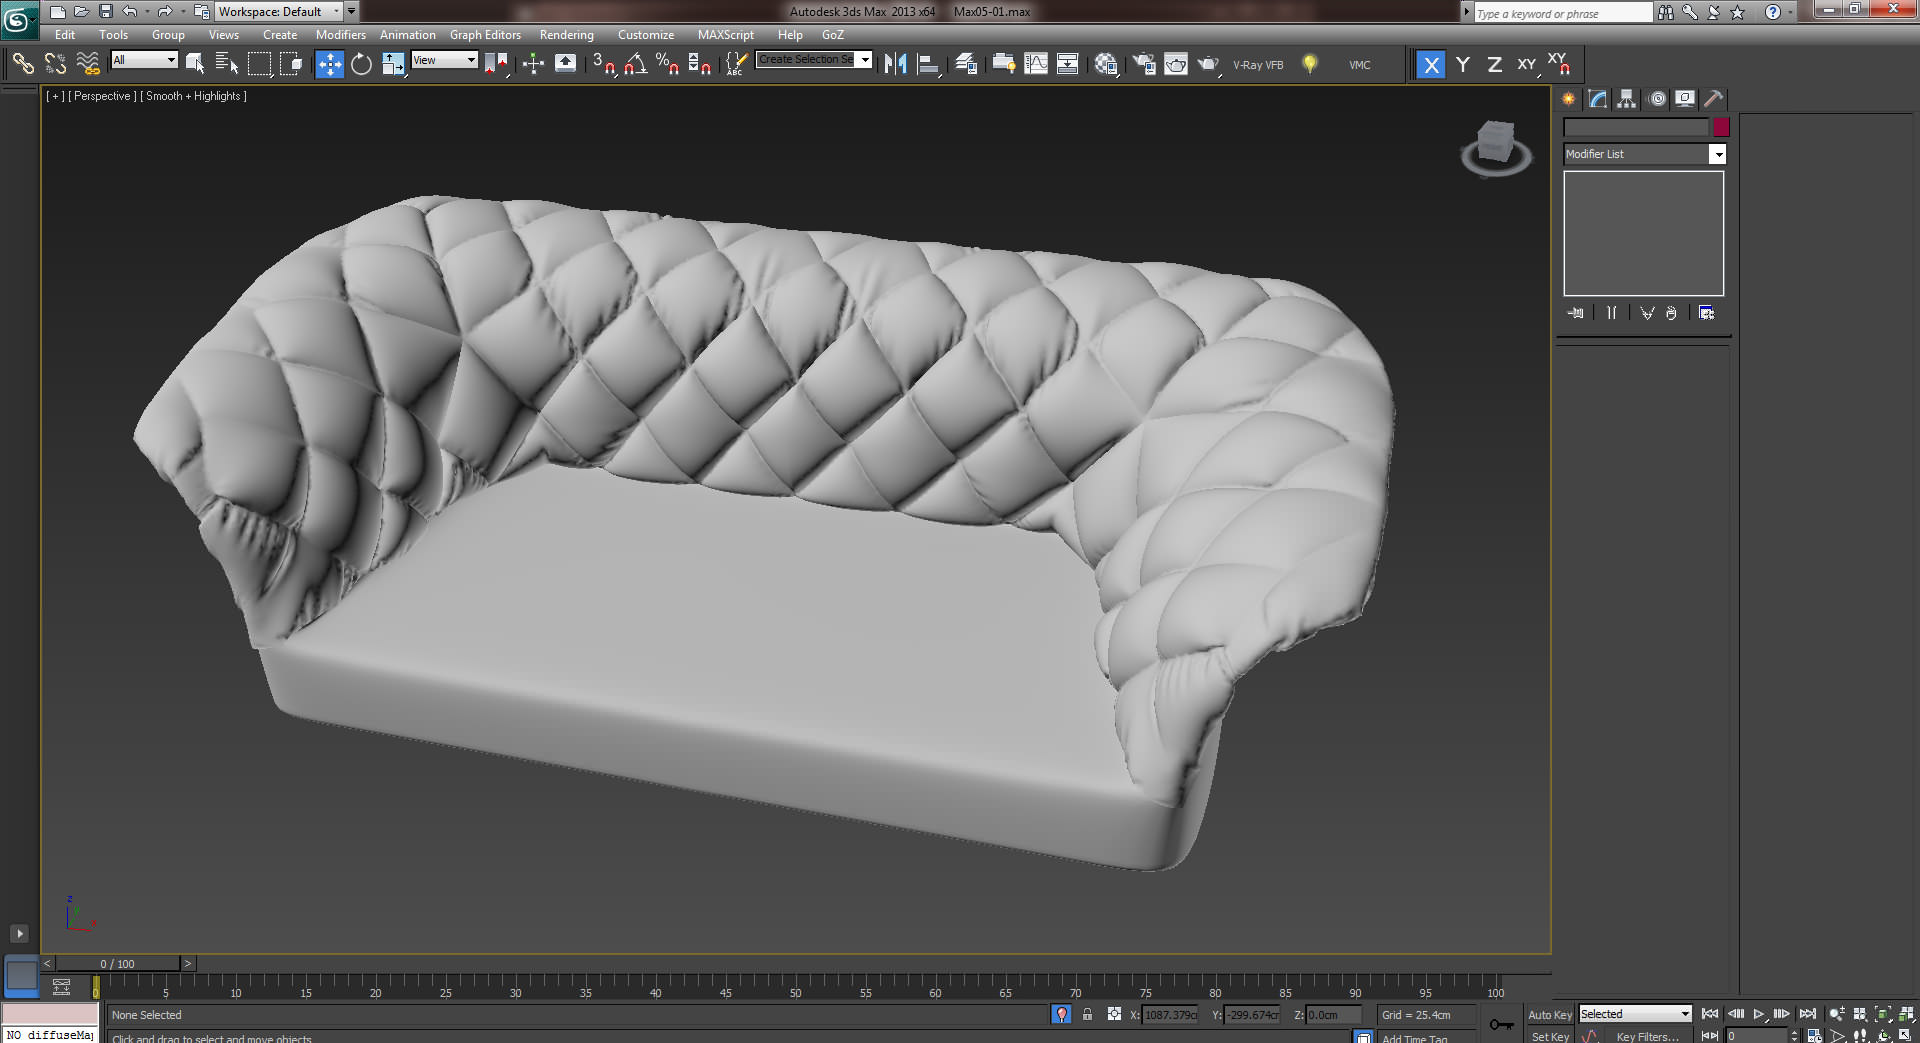
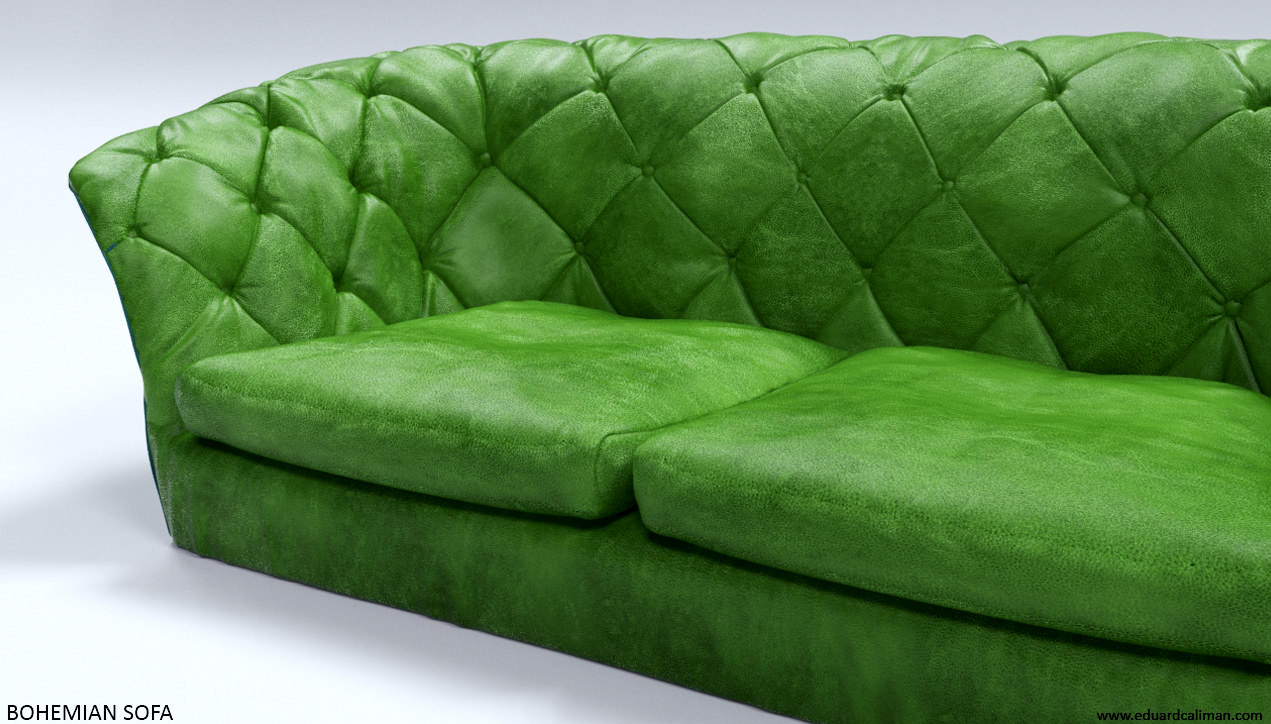
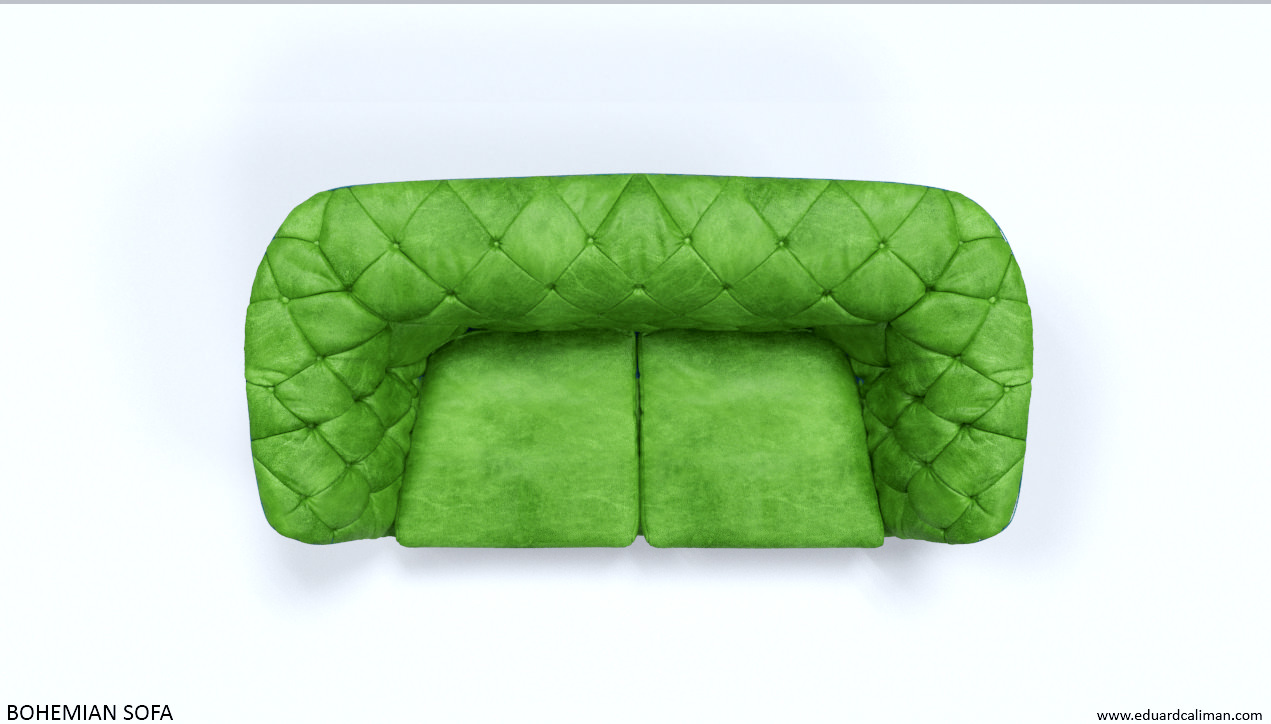
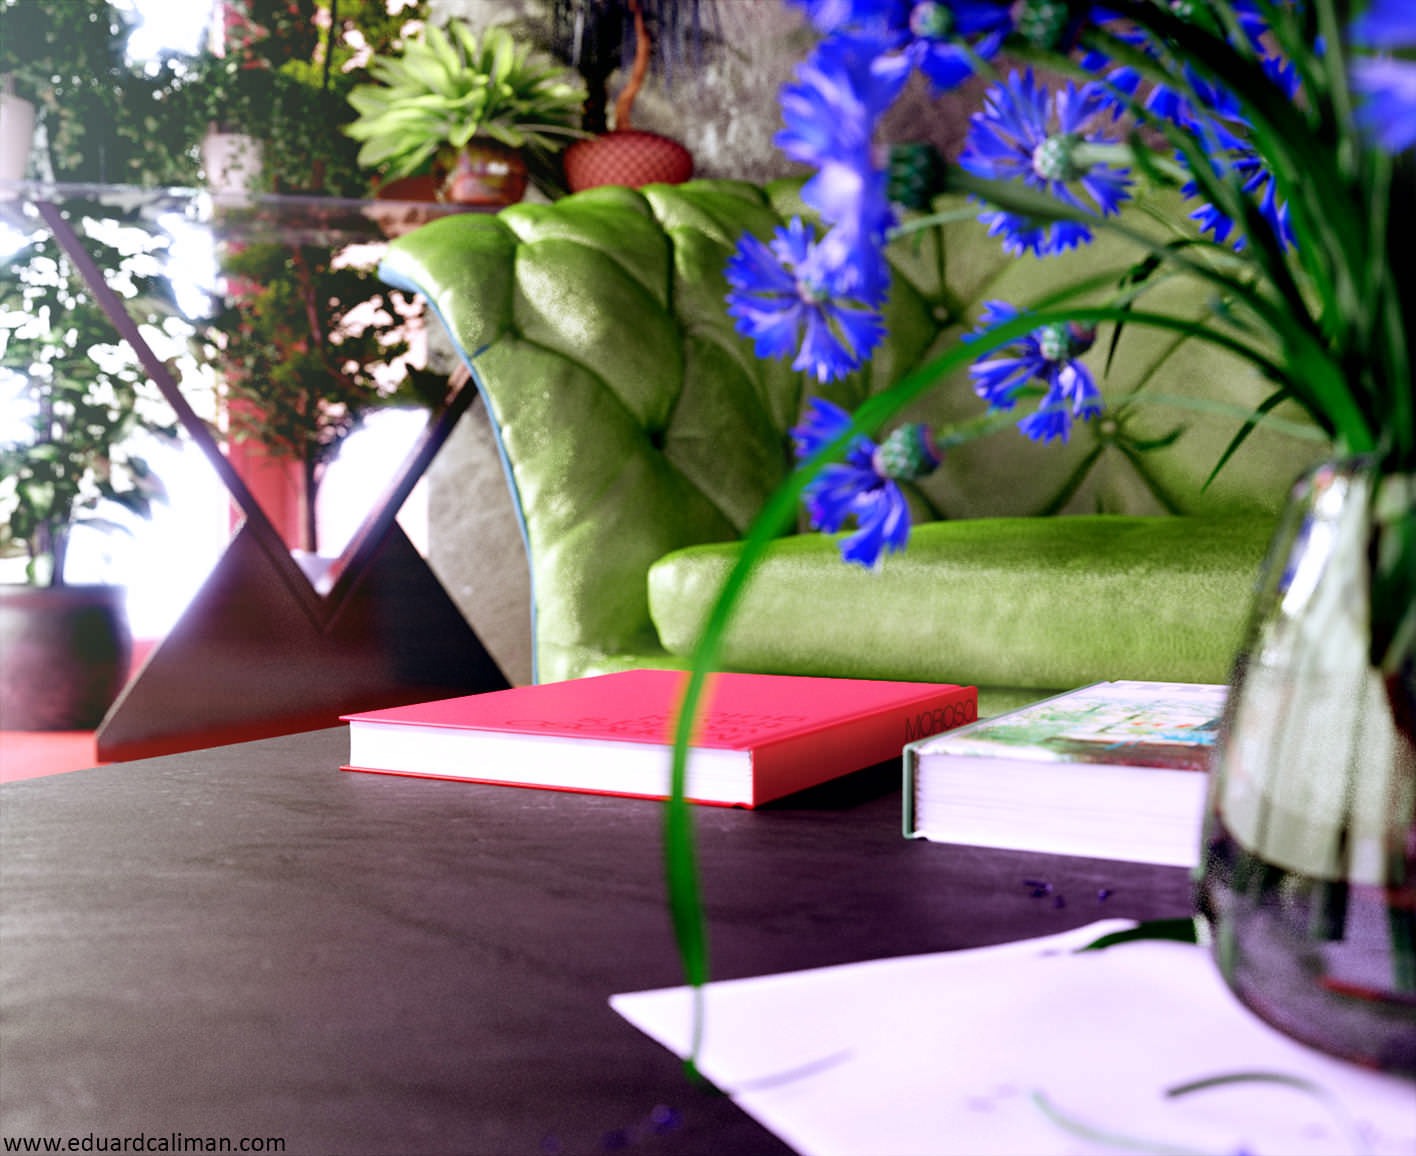
This is the end result for the sofa…
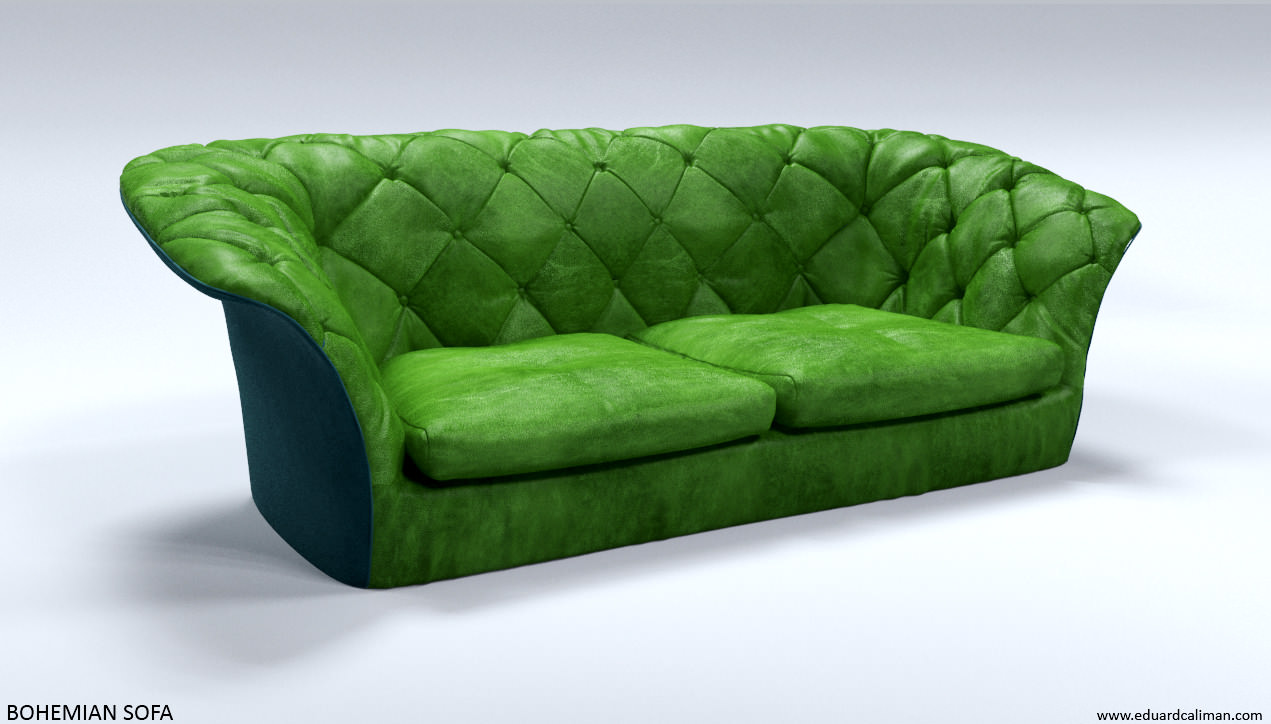

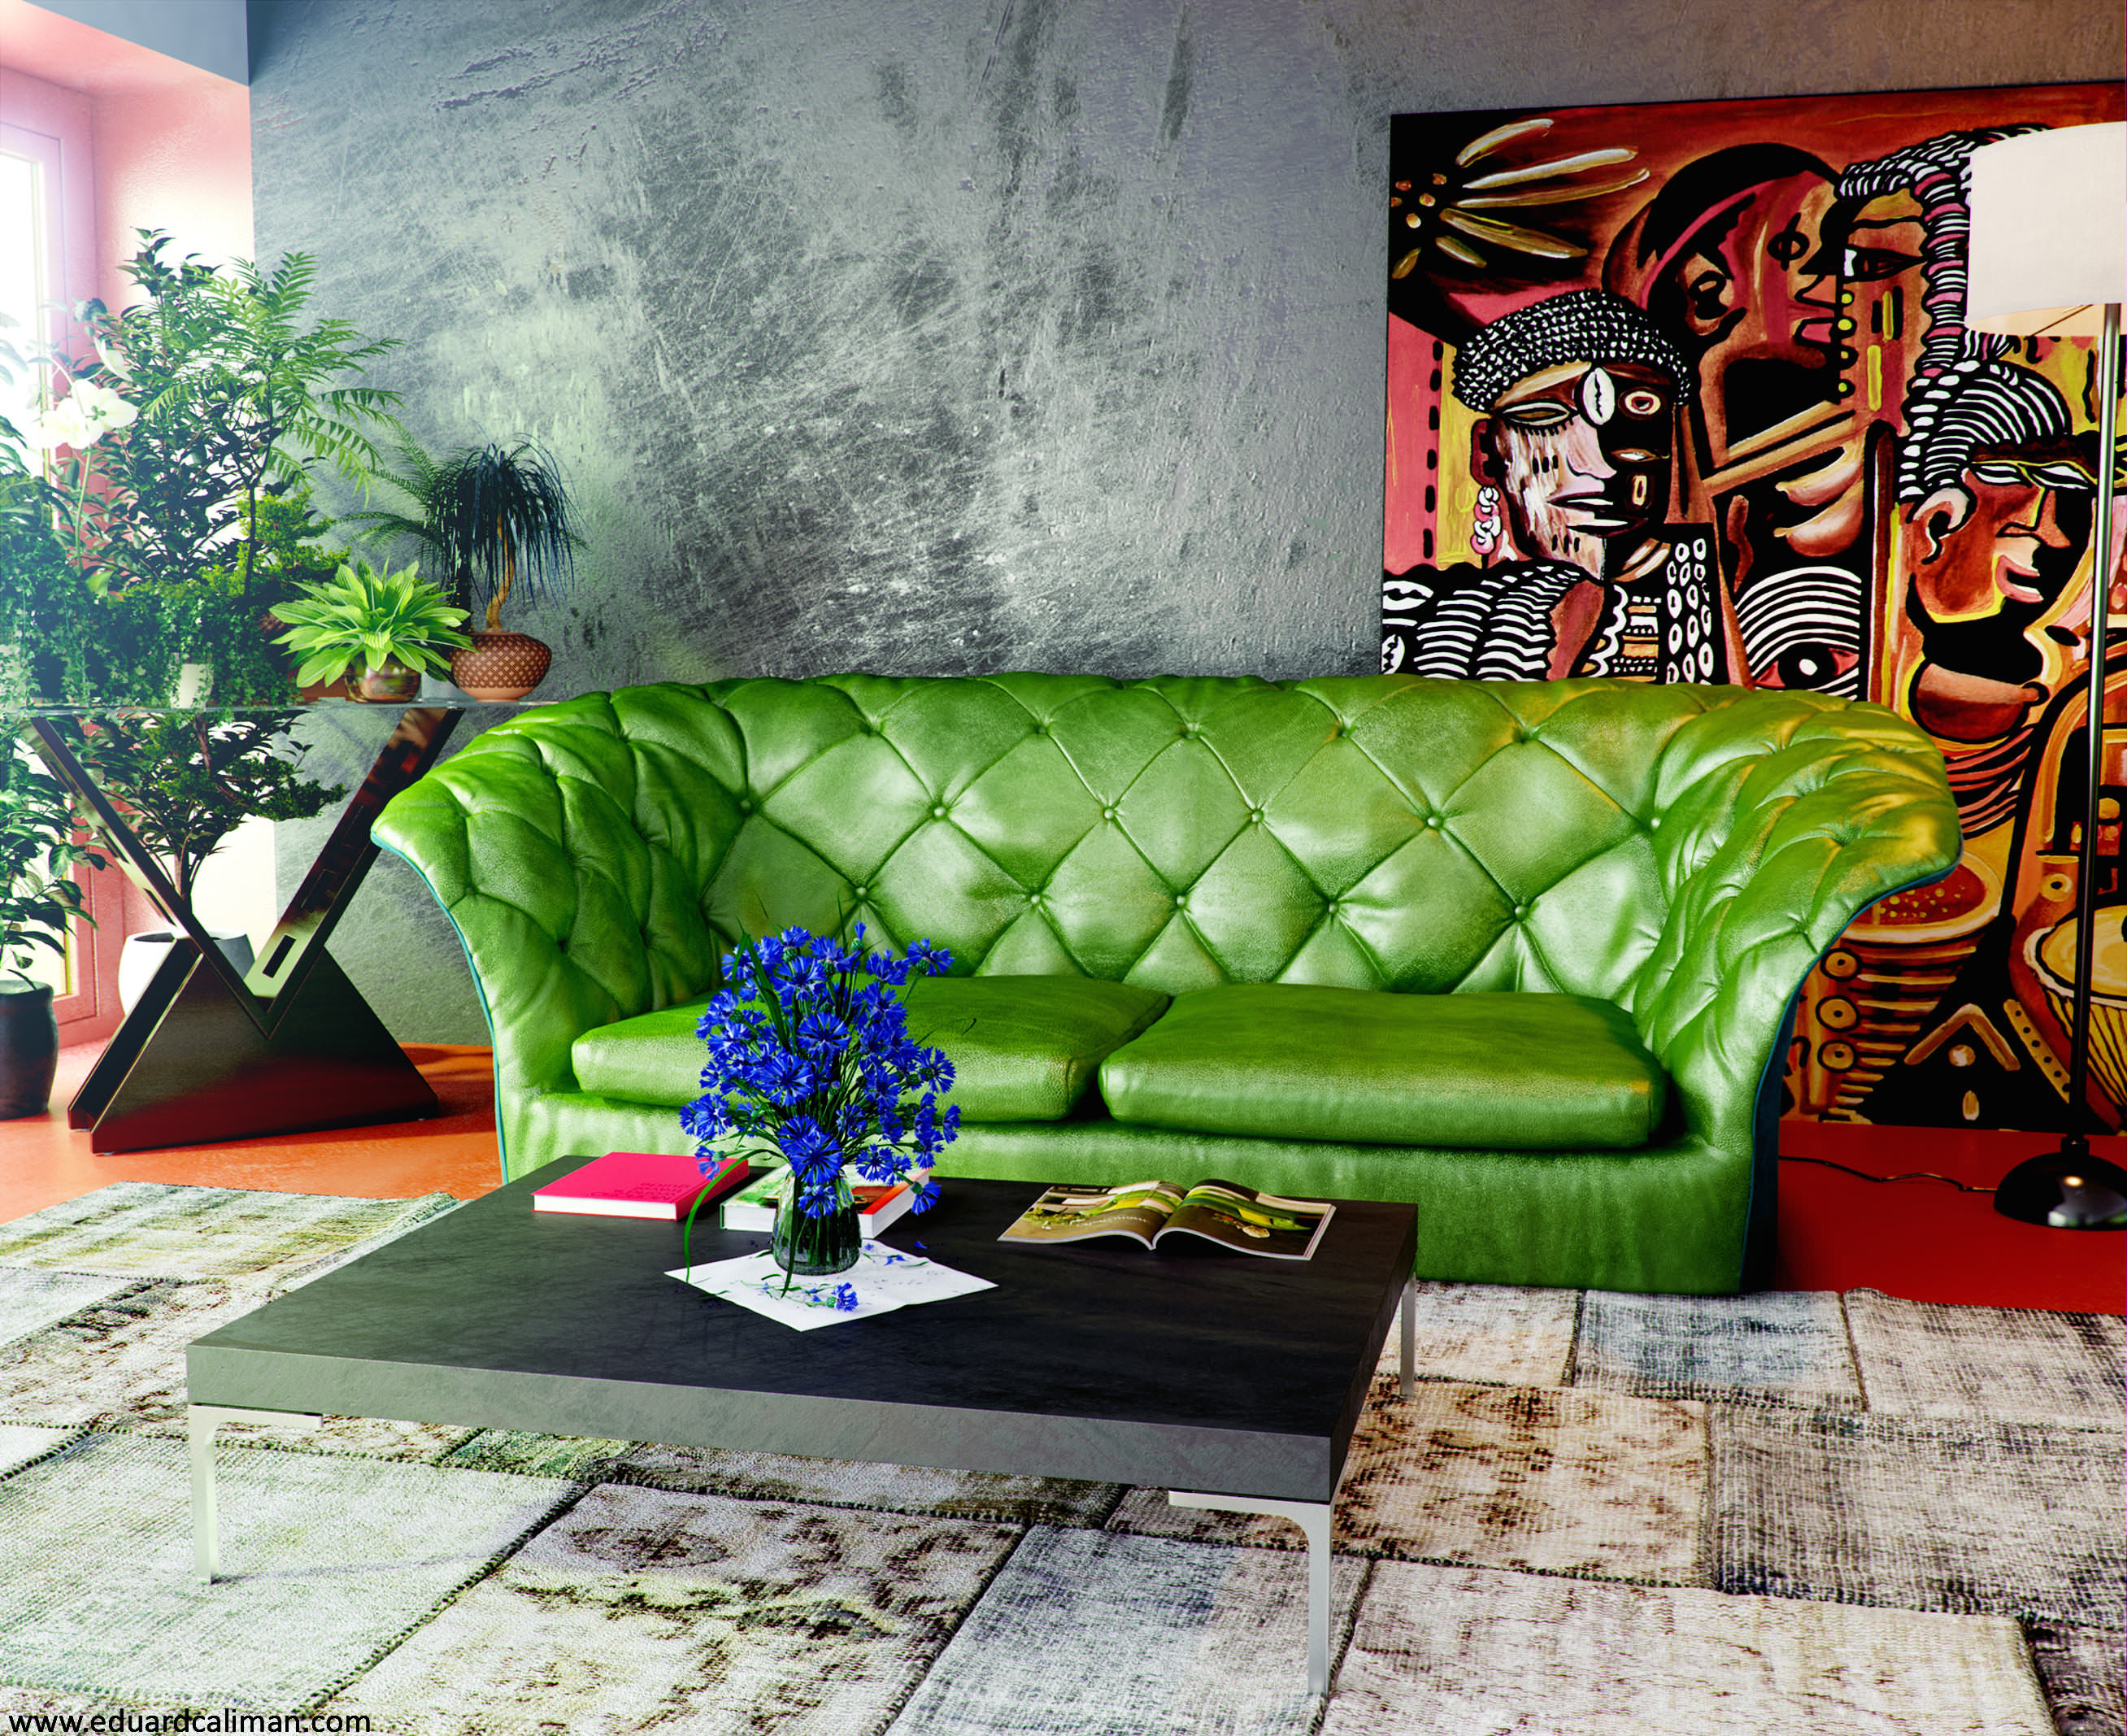
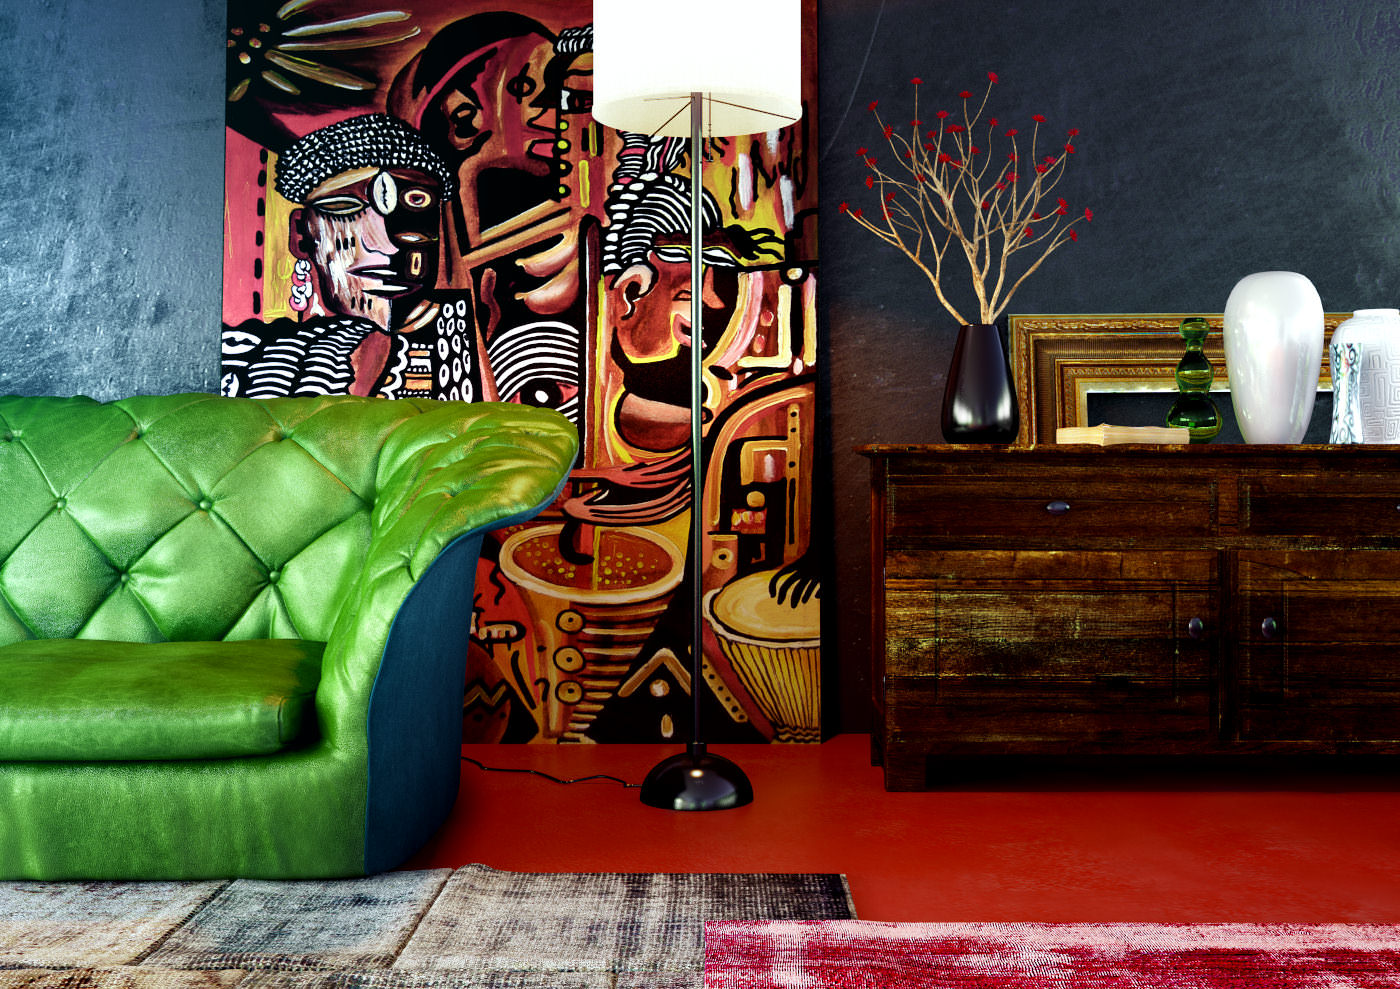
And the final renders I made featuring this sofa…
I hope this tutorial has been useful for you.
Cheers!


Amazing work ….
Amazing work ….
It is a hard work but it doesn’t look realistic because this kind of sofa material should be tight and more filled, maybe to put more pressure. It looks too “slim” or not blown enough.
I think you do not know the real sofa to say what you say, because it is so fine, first look at the reference.
Great work! But i agree that it was tiny bit too much flattenned. The ref look a bit more filled.