


Making of Vipp Shelter Unreal Engine VR Environment
Tav Shande is a technical artist with experience in the games industry working at EA, Crytek, & Activision on titles such as DeadSpace, Crysis 2, Call of Duty Advanced Warfare, MW3, WWII & more. The Vipp Shelter UE4 VR environment is a spare time project Tav did try out new software and techniques. Inspired by the clean architectural and surrounding nature, this is the making of this project, sharing workflow, techniques, and thoughts that went into the creation of the scene. Enjoy!

Vipp Shelter Interior
Introduction
Hi, My name is Tav Shande. First off, I’m thrilled to have the opportunity to share the making of Vipp Shelter with UE4, with all the readers of Ronen’s excellent blog.
I started my career in games back in 2003 working on an Unreal Engine FPS (First-person Shooter) called America’s Army. Since then I have worked at EA, Crytek, & Activision on titles such as DeadSpace, Crysis 2, Call of Duty: Advanced Warfare, MW3, WWII & more.
I currently work at a stealth-mode robotics startup as a technical artist. In my spare time, I like to create small projects for myself to try out new software and techniques. My most recent project is a VR environment in UE4 based on the Vipp Shelter at Lake Immeln, Sweden, after being inspired by the clean architectural designs and surrounding nature.
In the following paragraphs, I’ll share some workflow, techniques, and thoughts that went into the creation of the scene.

Lakeside

Quiet morning on the dock
Reference
My inspiration for creating the Vipp Shelter VR environment came from two simultaneous events. I had been attending some VR workshops at Stanford University and was sold on the possibility of VR being a powerful empathy machine. Coincidentally, I had been looking online at modern prefab houses, and the sleek design of the Vipp Shelter immediately caught my attention.
These two events lead me to create a virtual camping experience where users could go anytime to relax and absorb the outdoors.
Most of the Art I was making at the time for AAA games included creating rubble-filled, war torn environments, so I was eager to create a tranquil environment that aesthetically relied more on subtle lighting, clean materials, and fundamental design pillars, rather than clutter, hyper-detail, and noise. Additionally, it would be a great way to incorporate some new game-development tools into my workflow.
Having a well-thought out plan before starting makes things a lot easier and smooth out the whole process. Reference is essential for stylized-realism. Feeling inspired and excited by the idea, I began to collect as much reference material as I needed. Using Google, Flickr, Pinterest, and Youtube, I compiled a folder with all the reference images and video I was going to use. It can be easy to gather too much reference which can slow you down when creating, so I picked out some key reference shots to begin working and used detail reference shots from various angles and lighting conditions. Once I formed a complete picture of the scene, it was much easier to get into Maya and start modeling.

Binders full of reference material
Modeling
Since this is a VR scene, getting the scale of all objects in the world correct is a must. It has an enormous impact on player immersion. I made sure my Maya grid and Unreal Engine’s grid units matched correctly. Matching the grids will also help later for light baking calculations. Before modeling any geometry, it’s good practice to bring in a stand in a model as the player size reference.

I focused on the Vipp Shelter and interiors first, then the surrounding landscape using different techniques for organic and hard surface objects.
Starting with cubes, in Maya, I begin to block-out the structure into modular pieces using the actual blueprints as a guide. Once I got all the parts of the shelter blocked out and assembled, I started to refine the block into low poly shapes.
Using the grid and block mesh helps to identify how all the pieces will fit together seamlessly. All the furniture and props stay as blocks while I begin creating the game ready mesh that fits within the bounding box of the block mesh.
I usually pick the most interesting or unique architectural element to start with after the blocking stage, so I’m not stuck staring at dull gray cubes for too long.
While modeling the structure and scene props, I optimized the geometry to run in real-time giving objects higher fidelity in places the player would be more likely to reach or get really close to.
I decided to model each bolt on the exterior since it was such an important visual characteristic of the building and in VR faking depth with normal maps doesn’t hold up at very close distances.
I built the in-game low-res model first then used that geometry to make a high-res version to transfer normal maps from. I combined any geometry I could together to reduce the number of individual pieces of geometry on screen for better performance and lessen the amount of unique large textures I would need.
For UV’s, I tried rubbing a genie’s lamp so I could wish them into instant completion but that didn’t work. So, I used Maya and made sure to pack the UV’s with enough space to avoid texture bleeding at lower mipmap levels and also offset any mirrored parts to prevent errors in the bake.
The UV layout is crucial for light maps, so a little care at this stage prevents rework later during the lighting phase. Once I had the high and low-res meshes ready, I exported them as triangulated FBX files grouped and named with the suffix _high and _low for normal map baking in Substance Painter.
To create the terrain I initially tried to capture the real-world lake Immeln height information using the website www.terrain.party and DEM maps but I wasn’t able to get the height map resolution I needed for my scene.
So, I started with a flat landscape in Unreal Engine and painted the terrain features I wanted. Once I defined the playable area and location of the structure in the level, I then carved out the lake and started refining elevation changes.
Once I was happy with the look, I exported the height map and brought it into WorldMachine where I used the QuadSpinner plug in to add erosion and natural looking details to the landscape. I also generated a diffuse base texture and normal map.

World Machine Landscape

Landscape Network
For the trees, I researched what types of foliage grow around the lake and created bark textures in Photoshop. The trees and all other plants, including the loose branches on the ground, have been set up in SpeedTree and exported with a wind modifier so tree branches can sway in the wind. To save on performance, all the distance trees are billboards.

The fire wood stack outside the shelter was created by, first, using an image on a plane of stacked wood as a reference in Maya. Then, using the draw poly tool to trace the end cap shapes making sure to leave some space between each log.
Once all the wood caps were created, those faces were selected and extruded for the length of the wood logs. After creating UV’s and applying textures, I ran a rigid body simulation on all the logs to simulate stacking and give the pile a natural appearance.
For the firewood inside I purchased a bundle of firewood at a hardware store and photo scanned them to generate the mesh and textures.

Before starting on the rocks, I used a canon 5D MII camera to take pictures of firewood for use in PhotoScan. While I was happy with the results, I didn’t like how much time and disk space the process took so I decided to switch cameras when creating the rocks.
To speed things up, I grabbed a few small rocks from my friend’s garden that had interesting yet generic enough shapes to be reused throughout the scene without looking repetitive then used my iPhone to snap a series of pictures.
I was able to generate high-resolution rock meshes in PhotoScan quickly. Since I wanted to be able to rotate the rocks to any orientation, I imported the meshes into Autodesk’s Mesh Mixer and filled any holes then took the high and low-resolution mesh in Substance Painter for texture completion.
The reflections in the water were created using Unreal Engine’s planar-reflection volume plus a simple water shader on a geometry plane using scrolling normal maps for ripples.

Photogrammetry setup for rocks

Final Photo scanned rock in Substance Painter
Textures/Materials
If there’s one piece of software that has revolutionized my workflow, it’s Substance Painter!
95% of all the scene’s textures were created using it instead of the traditional Photoshop workflow.
A PBR shader model was used and consists of a diffuse map, normal map, and M.R.A.O. textures packed on export to save memory. A green channel for the roughness map, red channel for Metallic, and blue channel for the Ambient occlusion map.
Once the materials were applied and textures exported, I imported everything to Unreal Engine for the creation of master materials and instances. I created a master material and instances for 95% of the objects in the scene. This was done for any material without transparency.
I created a landscape material with textures I generated in WorldMachine and Bitmap2Material so I could adjust tessellation and height maps.
The majority of textures were 2048×2048 with a couple being 4096×4096 pixels. These were all created at double resolution for flexibility in the future. Substance Painter was an instrumental tool for getting the roughness values correct in all materials.

Substance Painter lamp with emissive texture

Scene props in Substance Painter

Basic master material setup in UE4
Lighting Exterior/Interior
Lighting the scene was the most time consuming and challenging process in the whole project but it was also gratifying to see everything finally coming together.
Since the environment contains both outdoor and indoor areas with rooms that are occluded from direct light, making sure the lighting looked good in both areas was tricky. There’s a wealth of lighting knowledge in the official UE4 forums which were a big helped.
I used a shadow casting skylight with a cloudy HDRI texture applied in addition to some point lights to support the physical lights on the building and a directional light for the sun. I used Unreal Engine’s Lightmass to bake in realistic shadows and calculate light bounces.
An atmospheric fog was used to add some ambiance to the scene and depth to the tree line. Lightmass settings were critical to achieving realistic shadowing and light bounce calculations in this scene. I wanted to use only lights that would actually exist in the real scene, so I didn’t add any fake bounce cards or imaginary lights.

Directional light, skylight, & Lightmass settings

Detailed lighting view
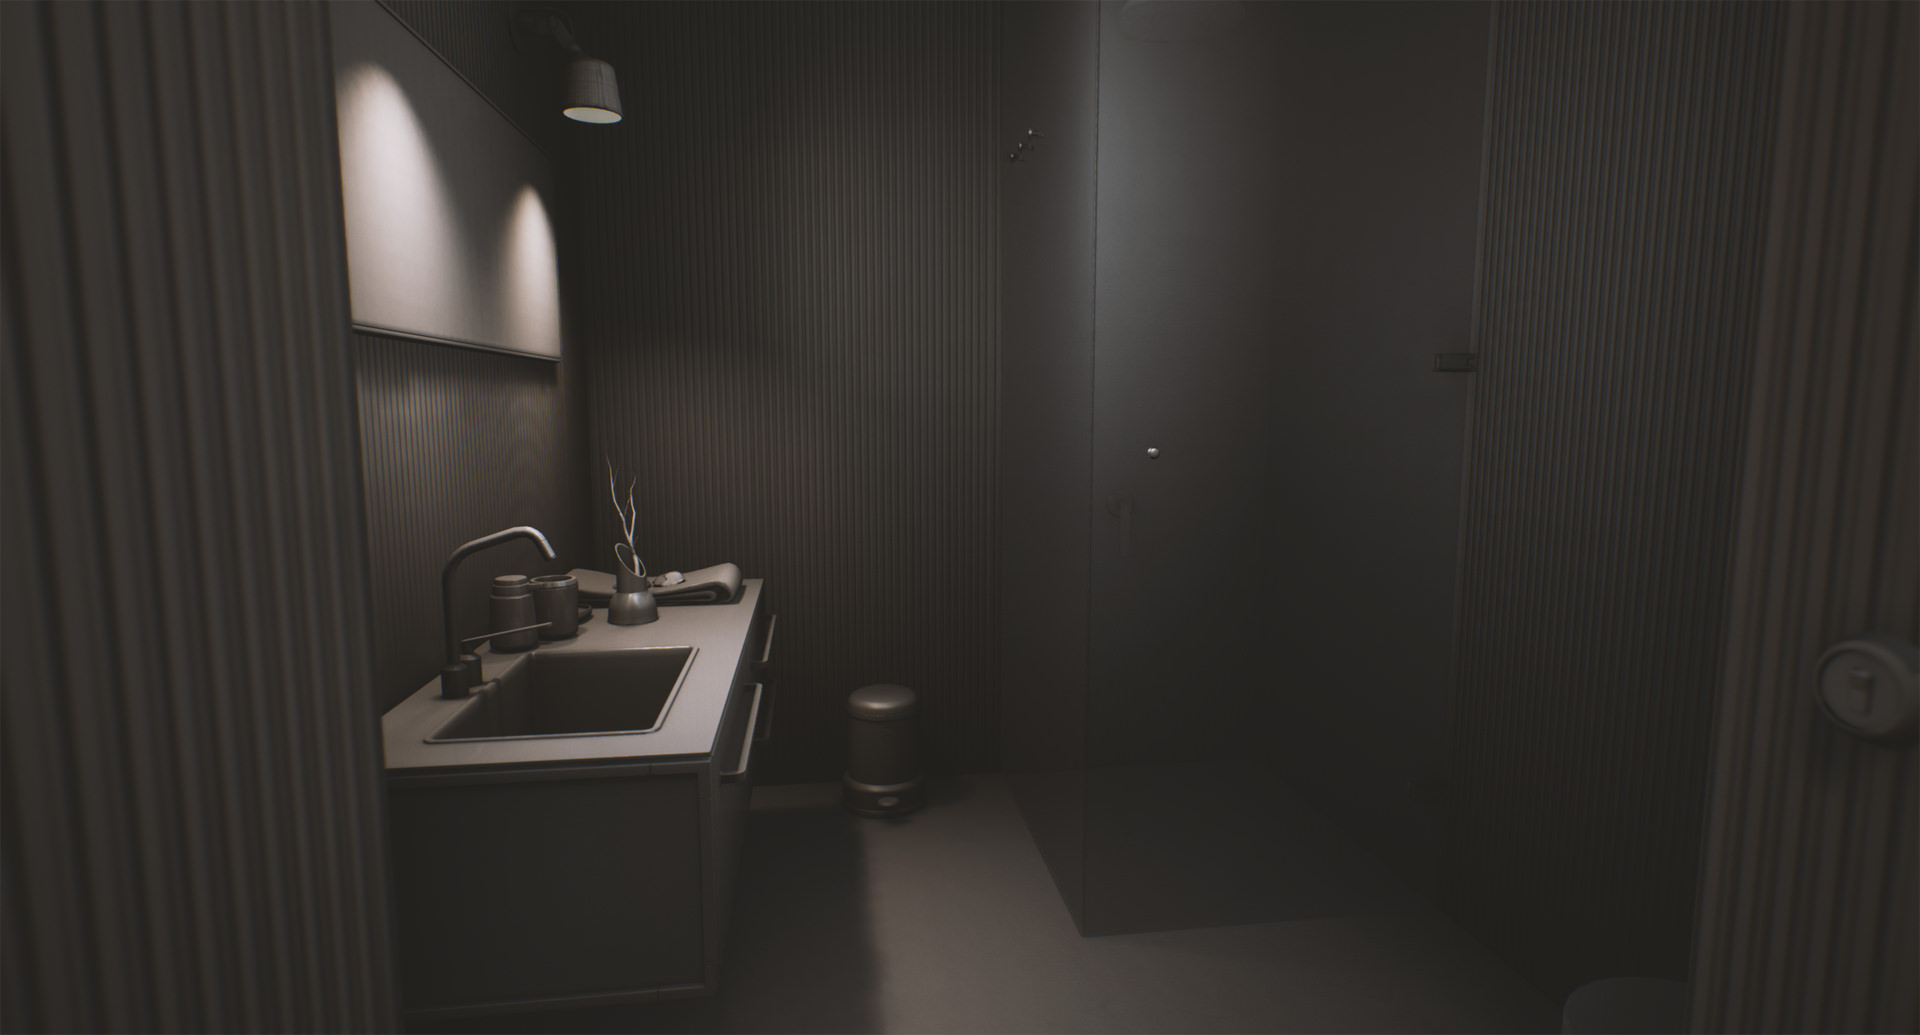
Shower with detail lighting
Real-time Rendering
Since the scene needed to run in real-time, performance was of the utmost priority. I reduced the amount of draw calls being rendered by combining single props like glasses and dishes into large groups of meshes using one material.
I also used normal maps to add detail and keep the vertex count low. LOD’s were used on the trees and props to keep high detail up close and simplify the meshes at a distance.

Merged all dishes & cups

Kitchen area
Post Processing (interactive slider)
Post processing in this scene was used to simulate a physical camera and return some warm tones to the mostly desaturated, cold scene. To experiment with different looks, I used a free app called Afterlight to test out different filters. Once I find a look I like, then I go into the UE4 post-processing settings to mimic the results and add a color LUT.
The goal was to make the interior seem warm and cozy yet sleek but keep the exterior a cooler tone.
Final comments
It has been lots of fun creating the Vipp Shelter environment in UE4.
I learned a lot and was able to test out many different tools and workflows while creating the scene. Substance Painter has become a permanent tool in my material and texture pipeline. It is almost hard to imagine having to create content without it.
I look forward to building and sharing more environments in the near future.

Rooftop

Vipp Daybed

Lake view
Software used :
- Maya
- Substance Painter
- Substance Designer
- Bitmap to Material
- Speed Tree
- Mudbox
- MeshMixer
- PhotoScan
- PhotoShop
- World Machine (via Parallels)
- Unreal Engine 4


Great work, congratulations!
Hi Tav, great article and really useful for those of us just starting to learn the realtime rendering side of archviz. Could I ask, would it be possible for us to get a download for the Unreal project to see how it was put together? I ask because I am keen to see some of the settings, in particular how the LOD, lighting and post setups were achieved.
Very interested as well. Seconded, would be good to have the UE4 file, so that I can open it up and explore it myself.