


Making of Australian Home and Garden
I’m thrilled to present you with the making of “Australian Home and Garden,” the visuals made by Globe Plants to showcase one of their recent bundles… number 24!
Globe Plants captured my attention around August 2020 as one of the few 3d vegetation creators fully supporting SketchUp with V-Ray, Thea Render, and Enscape. Since then they kept improving that support, alongside 3dsmax and GrowFX and reached 26 bundles so far. I’m keeping on testing their assets within the context of SketchUp with Thea Render and V-Ray and hope to share some examples soon. So far it looks and works very well… and today I’m offering a glimpse behind the scenes as they create 3d vegetation assets and presenting them in an architectural context.
Enjoy!
The Tools
The CG market today has countless valuable tools for architectural visualization. Each software has its strengths. We use SketchUp for modeling and detailed drawing, 3ds Max for finishing details, and landscape. Corona Renderer for rendering. Photoshop for post-production. Besides, other valuable tools are ShaderMaps, Substance alchemist, and Quixel Bridge.
Modeling
With simplicity and flexible rendering capabilities, SketchUp is very suitable for modeling. Typically, we spend several hours researching reference images and modeling in SketchUp. The model is basic, but it contains all the main elements such as building blocks, ancillary components such as stairs, and roof structures. We will add the detailed landscape inside 3ds Max.
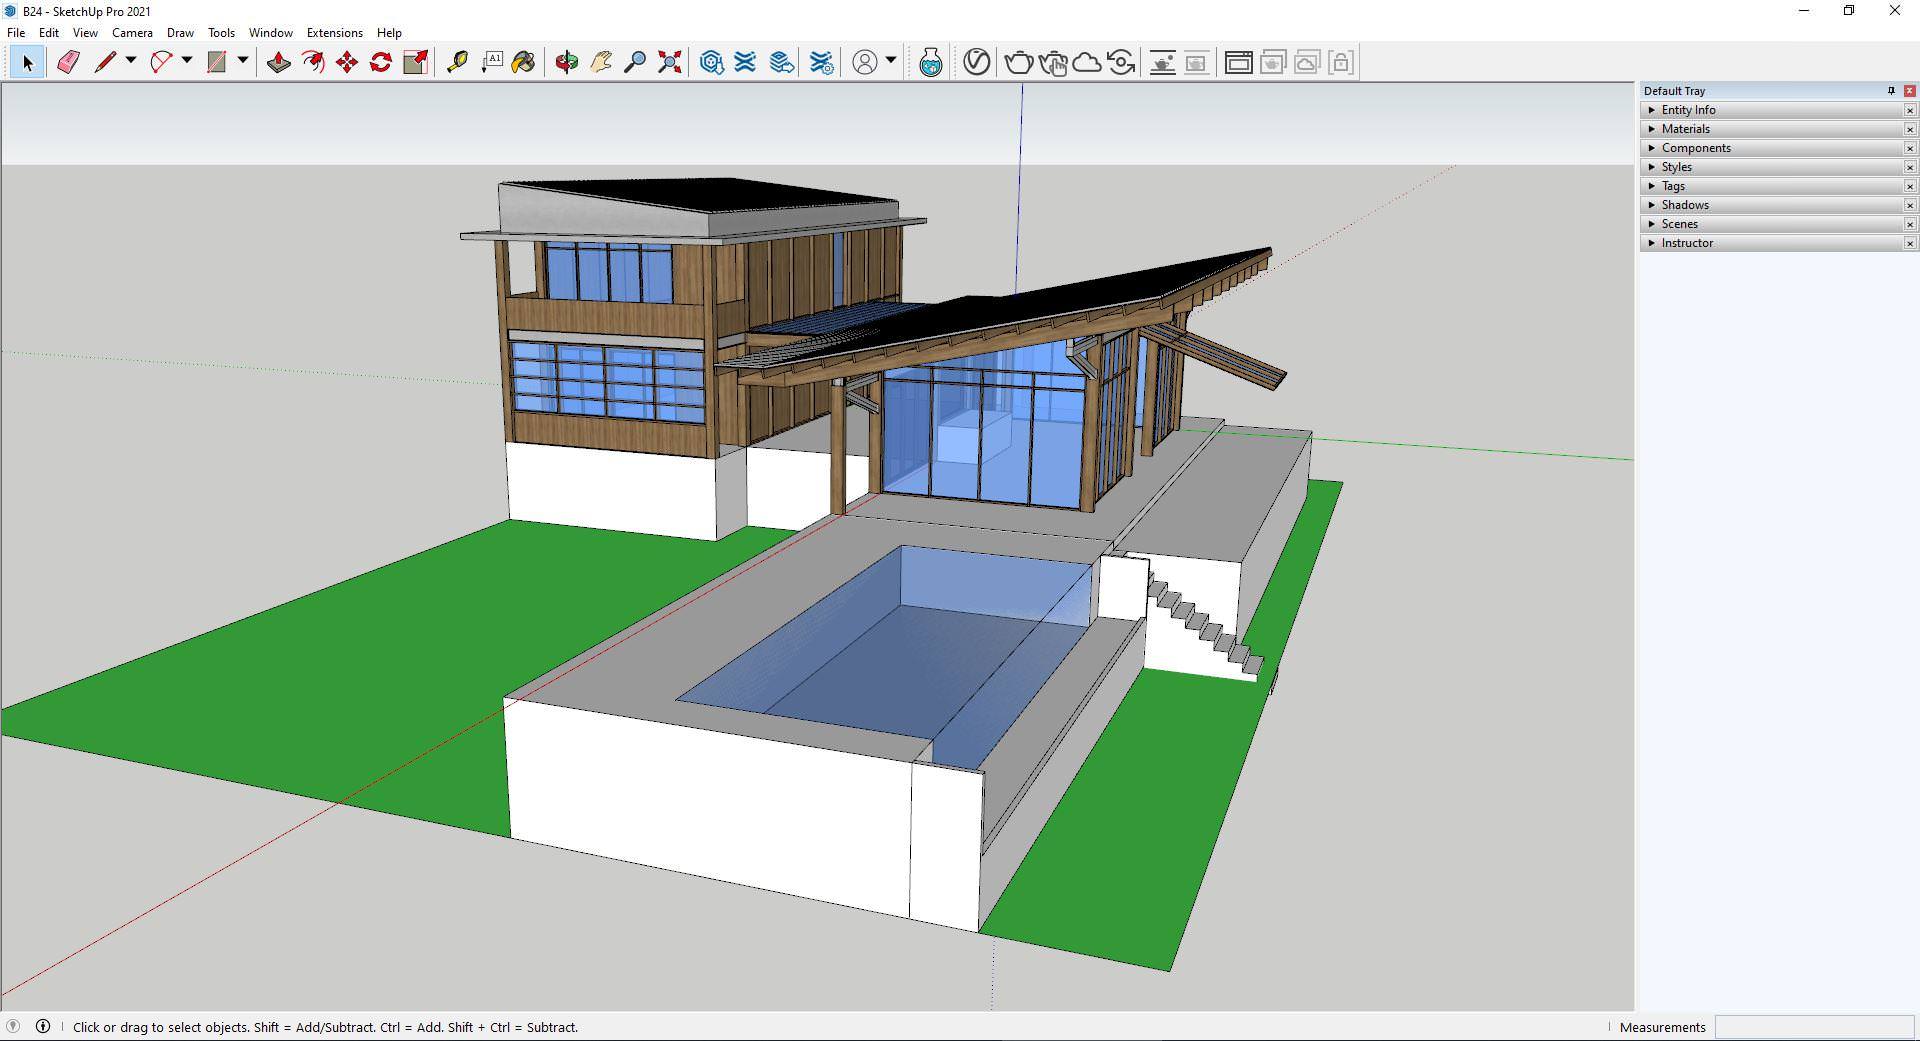
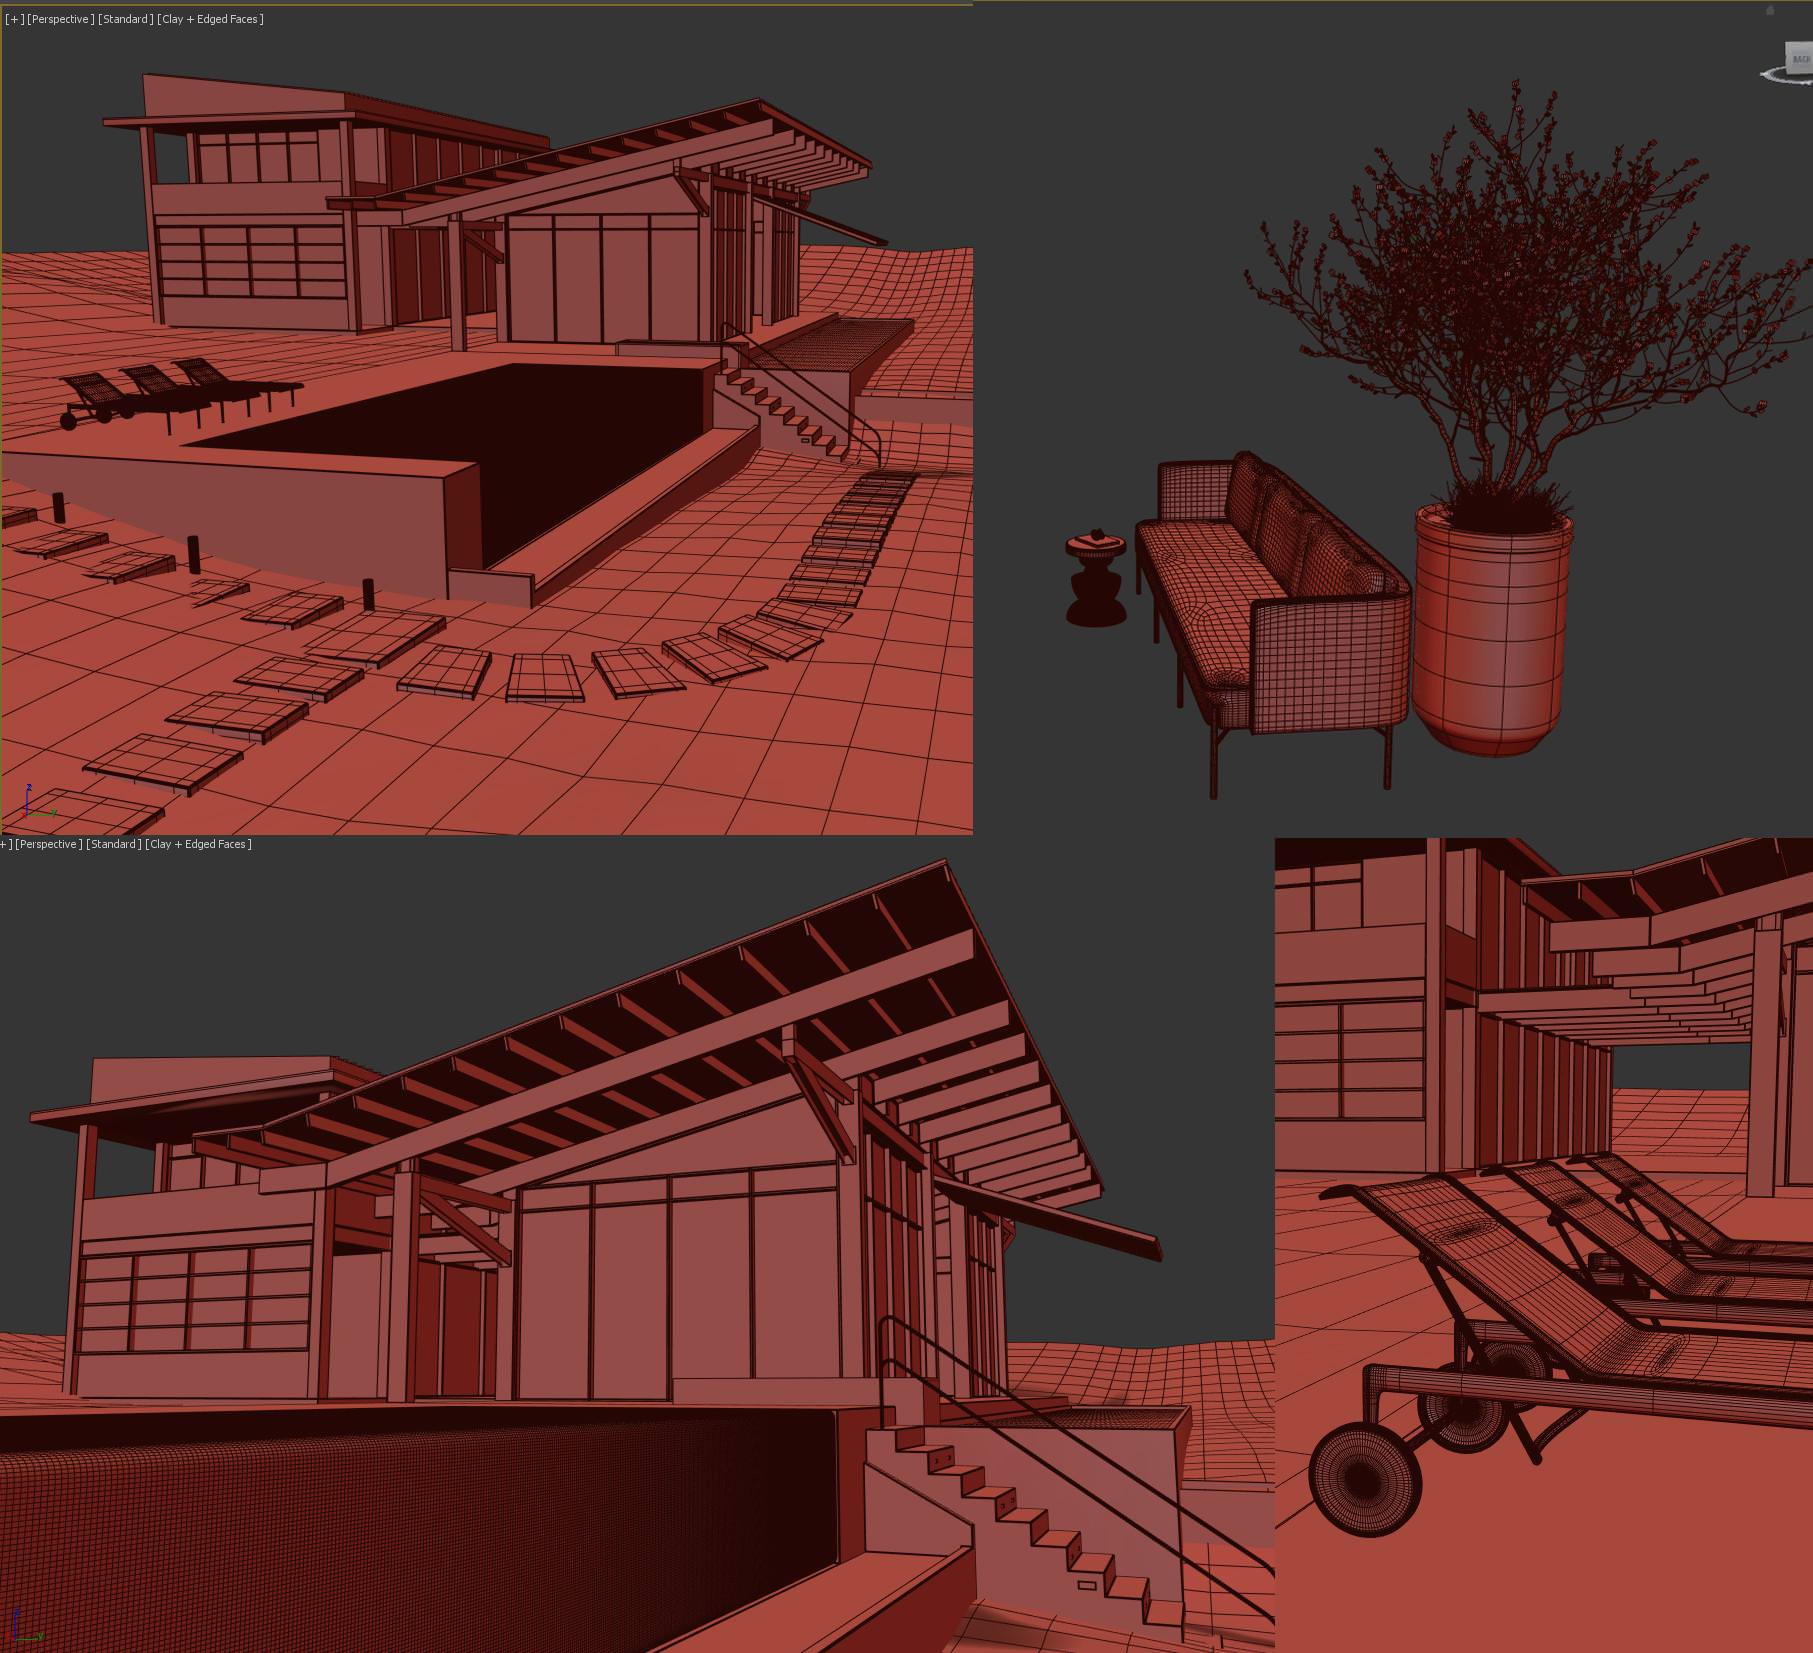
In 3ds Max, we started adding chamfer to the edges and indentation to the surfaces to give them a more natural look. Next, landscape elements are added along with landscape objects, furniture, etc. We create our assets as well as buy some necessary models when there is no time.
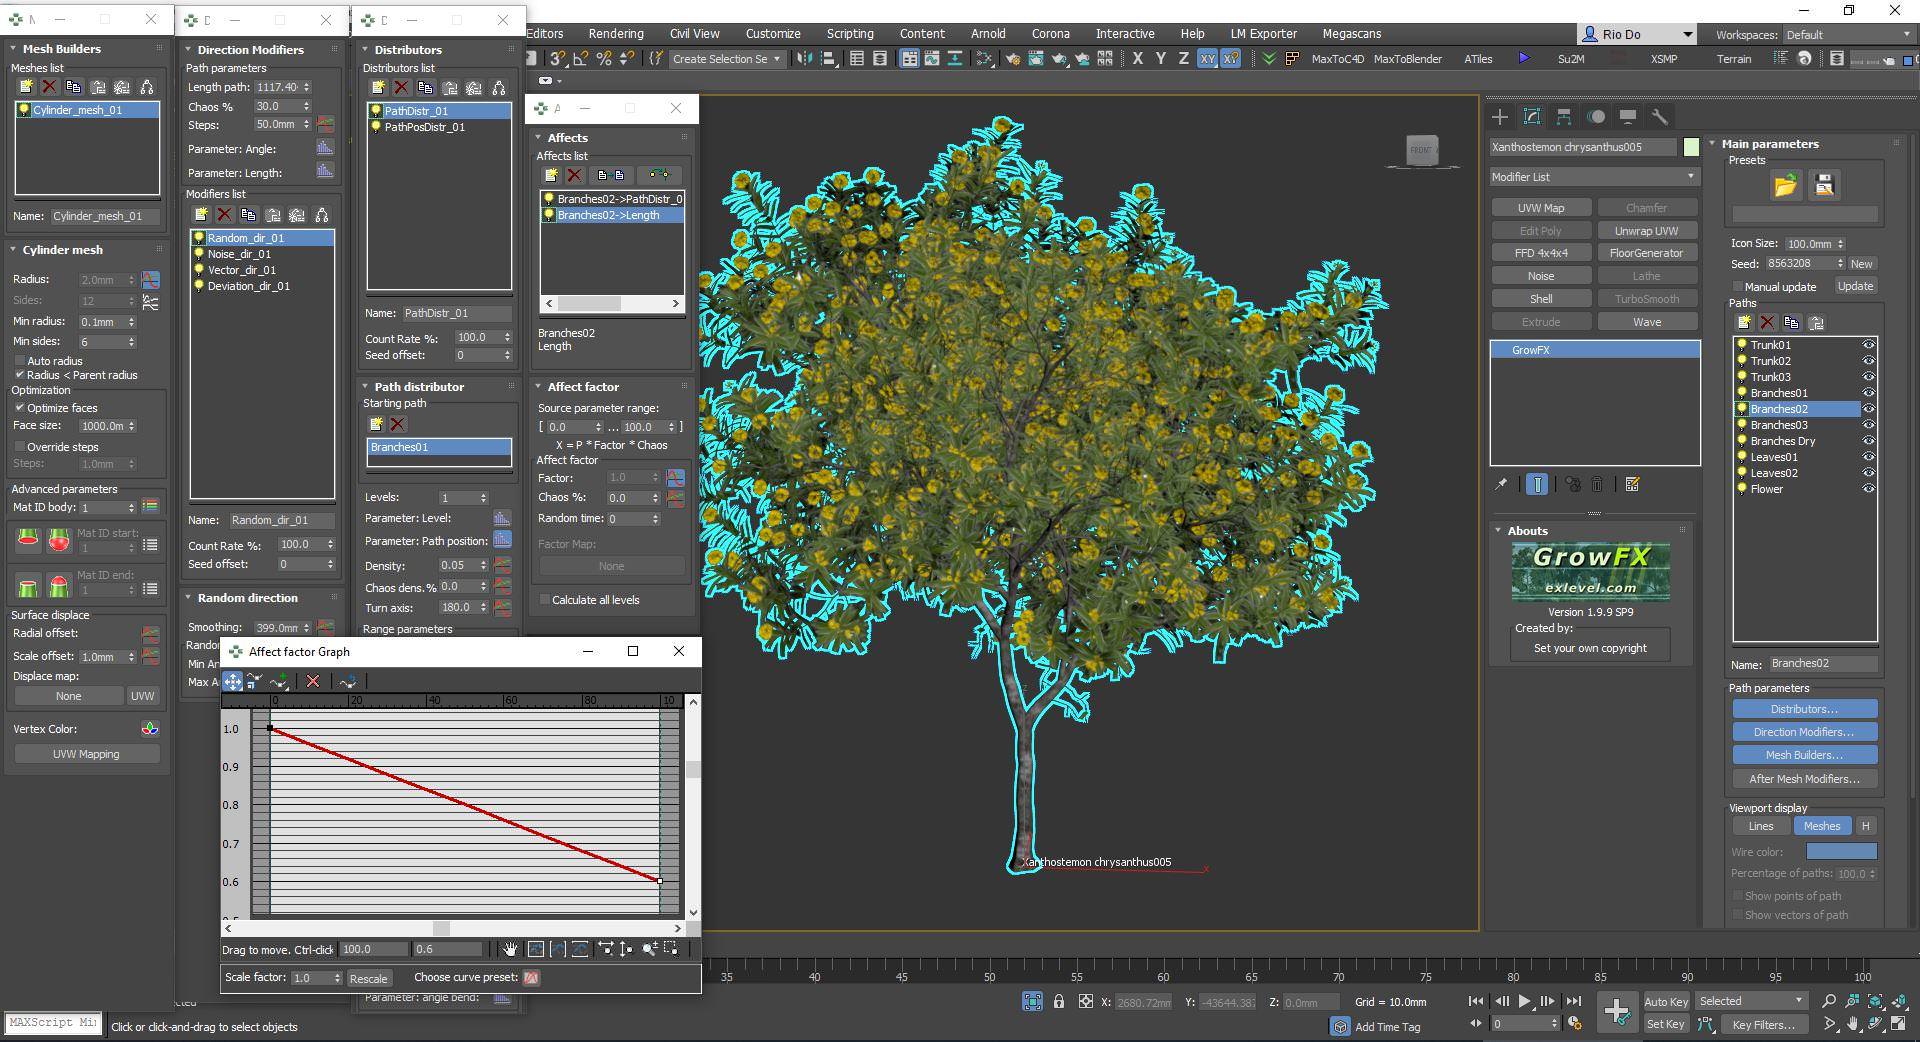
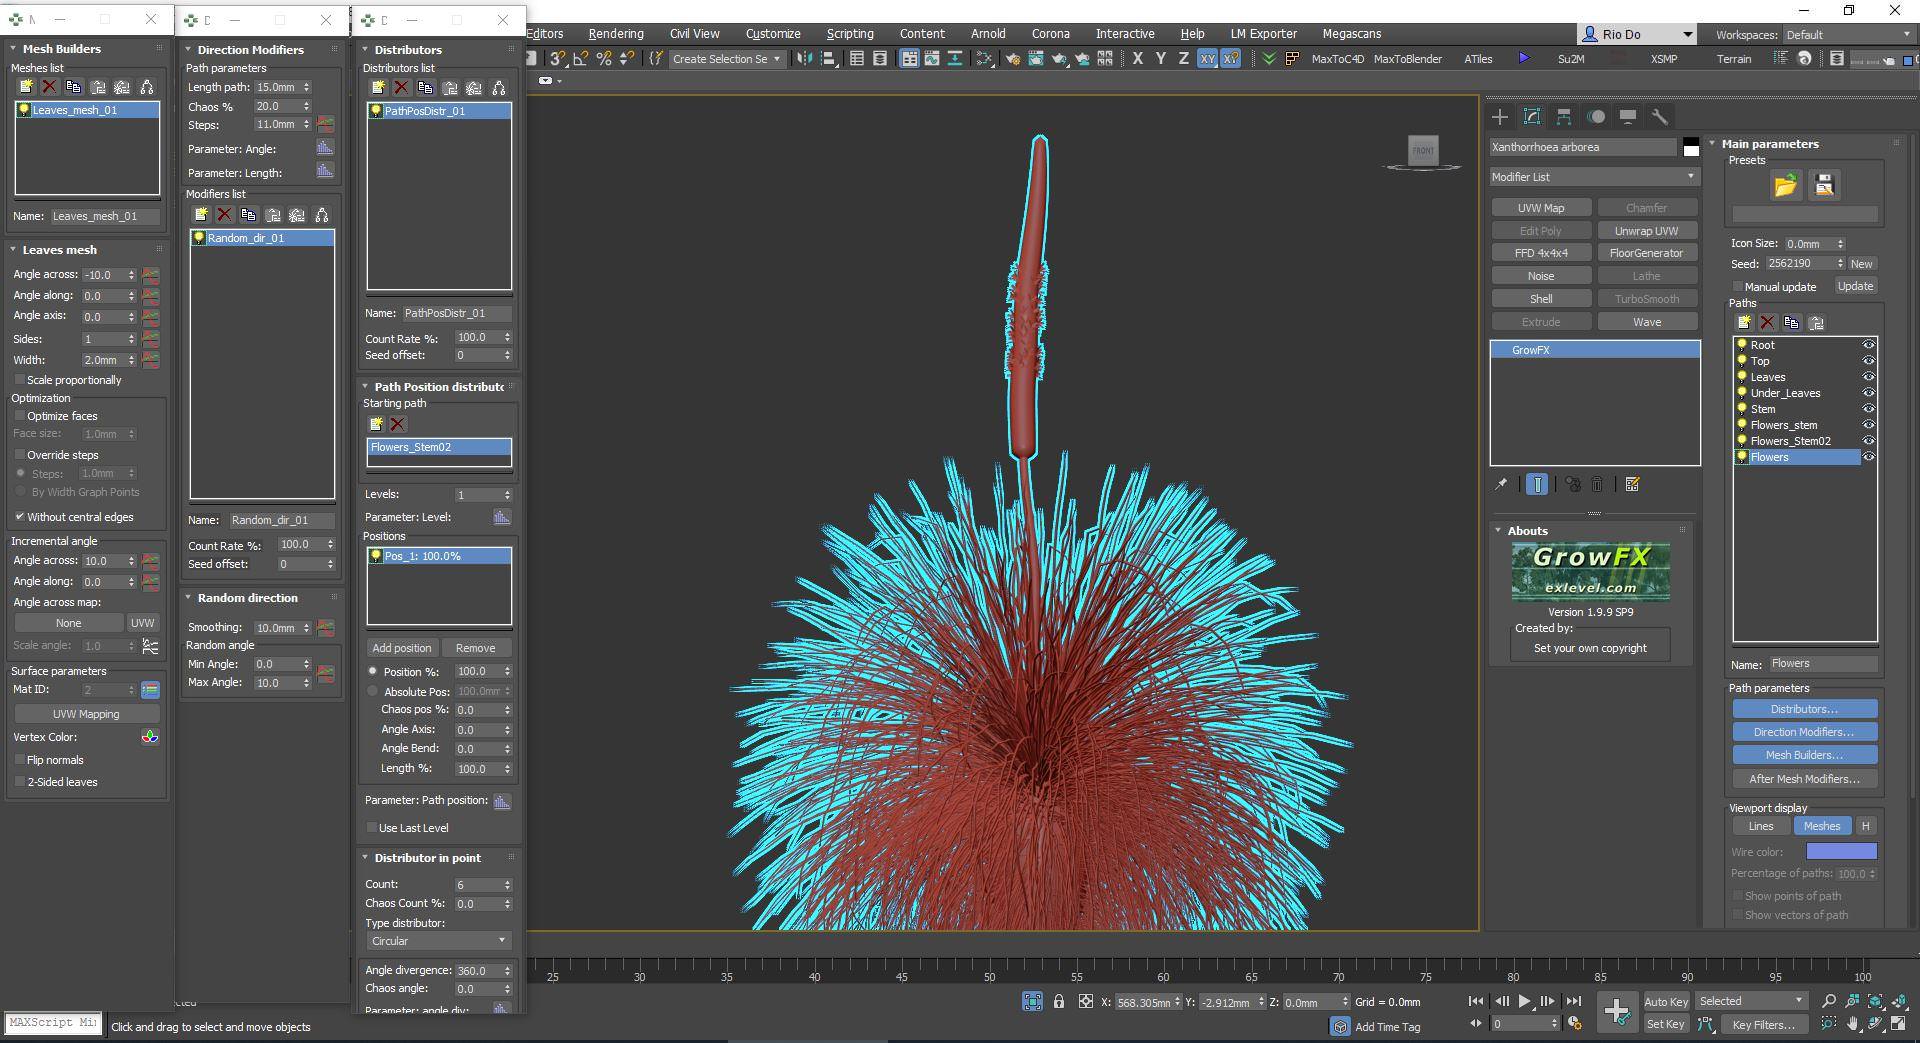
We create the 3d plant models with the GrowFX plugin from Exlevel. This flexible plugin allows us to make almost any kind of plant that we can imagine. GrowFX is native in 3ds Max; thus, it is significantly compatible and can efficiently perform three movements.
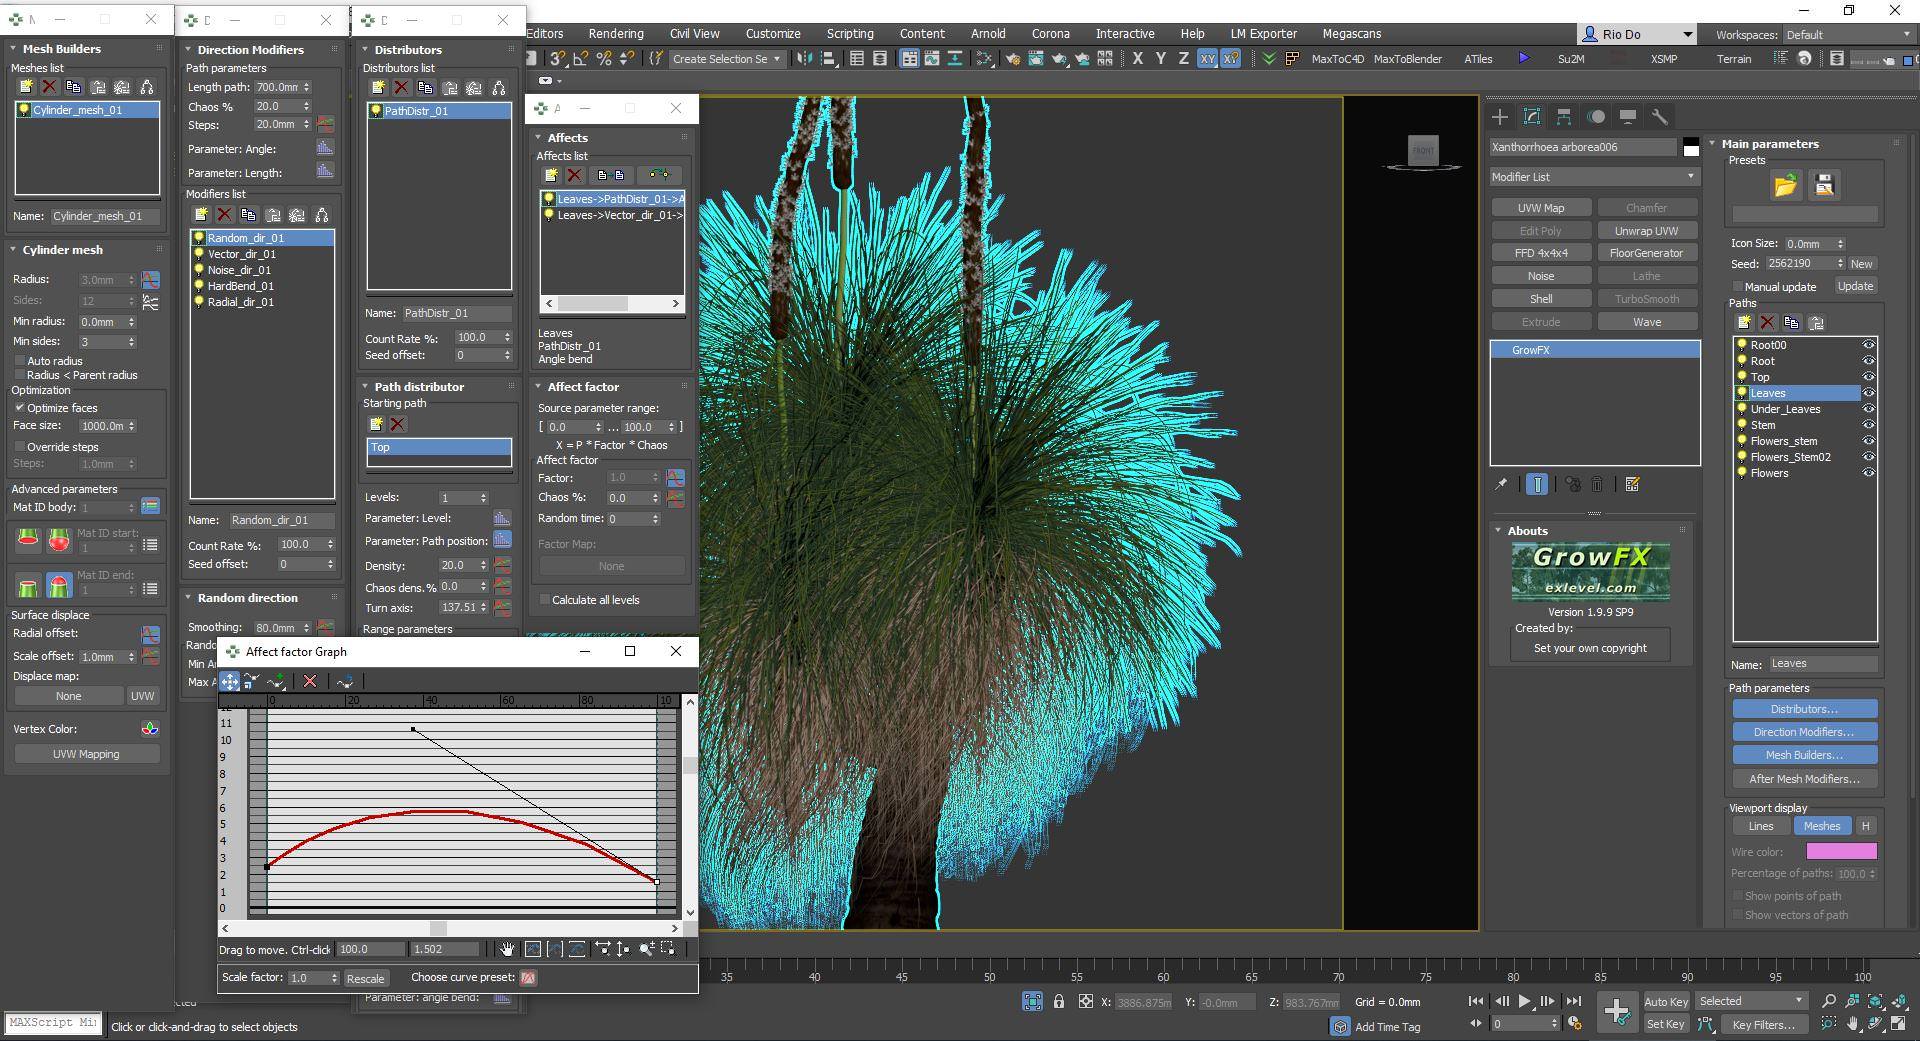
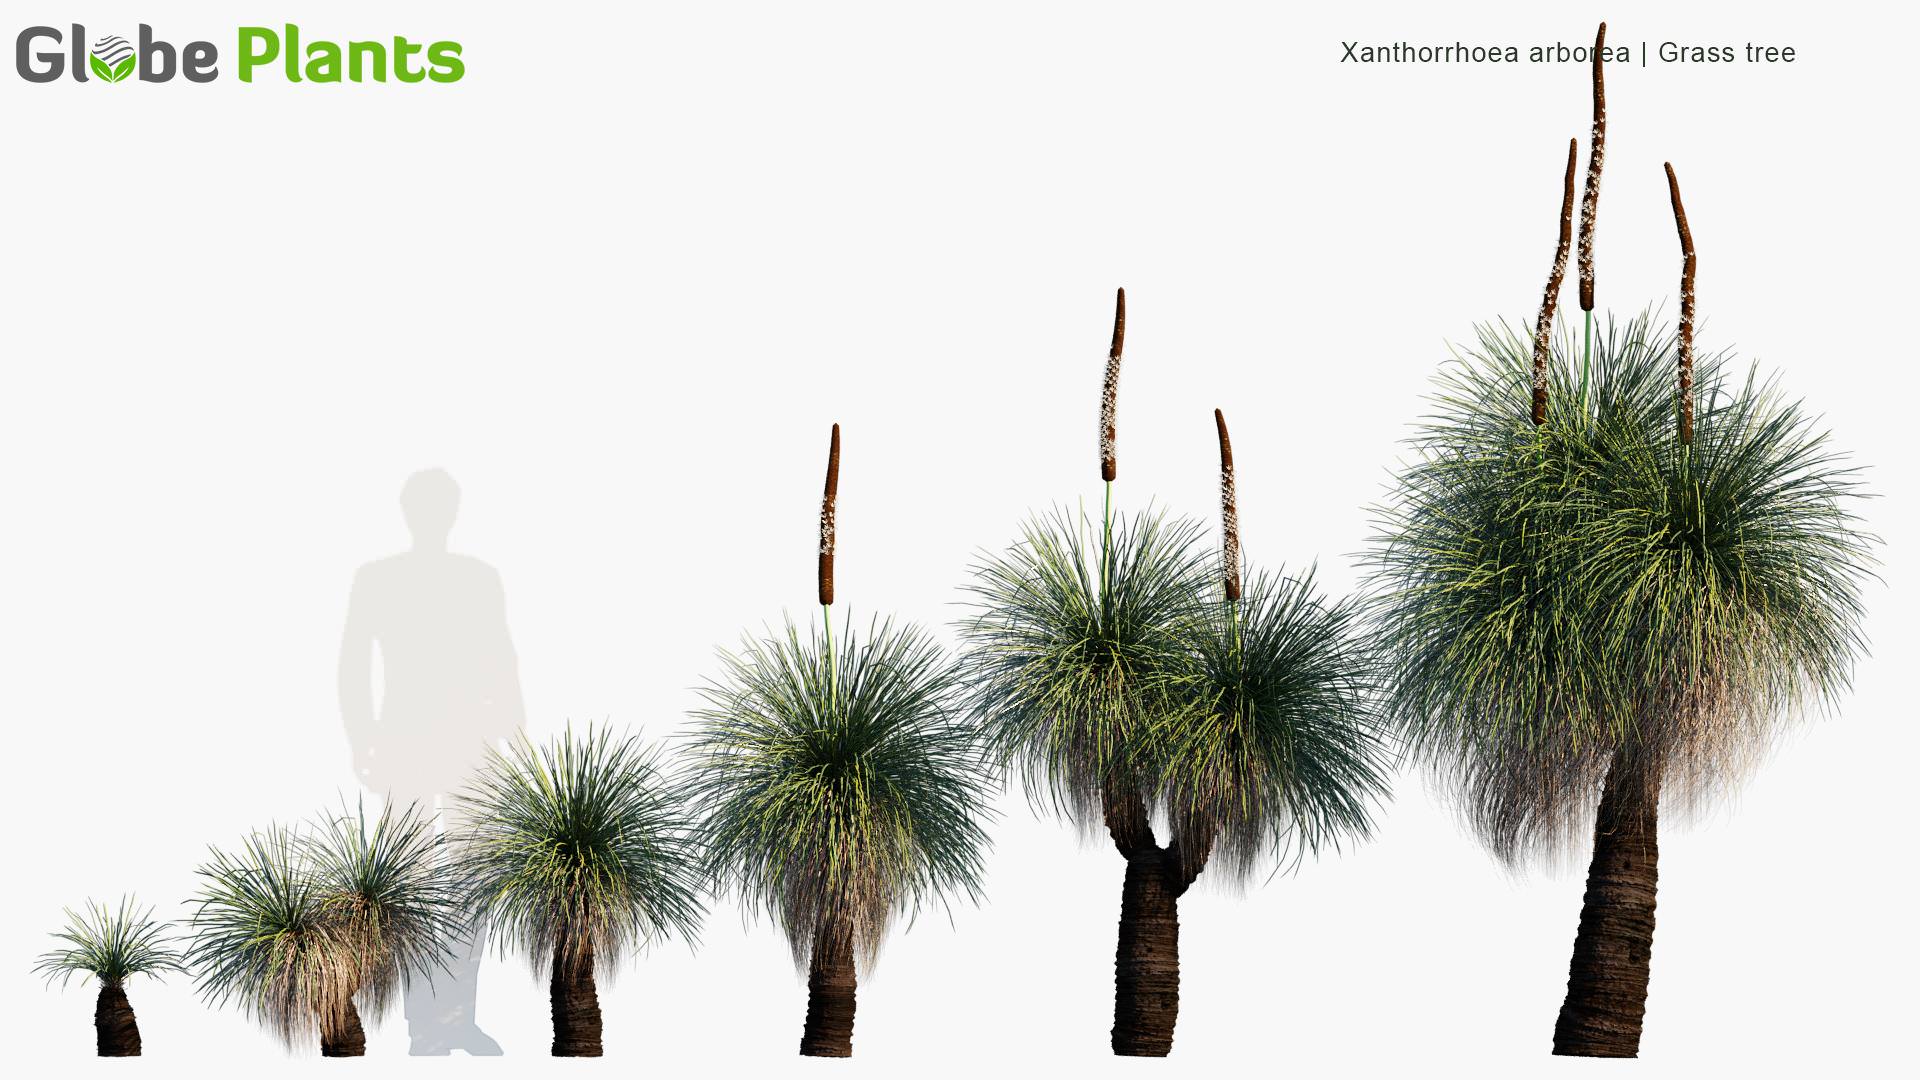
Below, I will illustrate the process of creating a 3d Grass tree with Growfx, called Xanthorrhoea Arborea.
Firstly, we need to create the anterior stem. This tree’s characteristic is from the main stem sprouting.
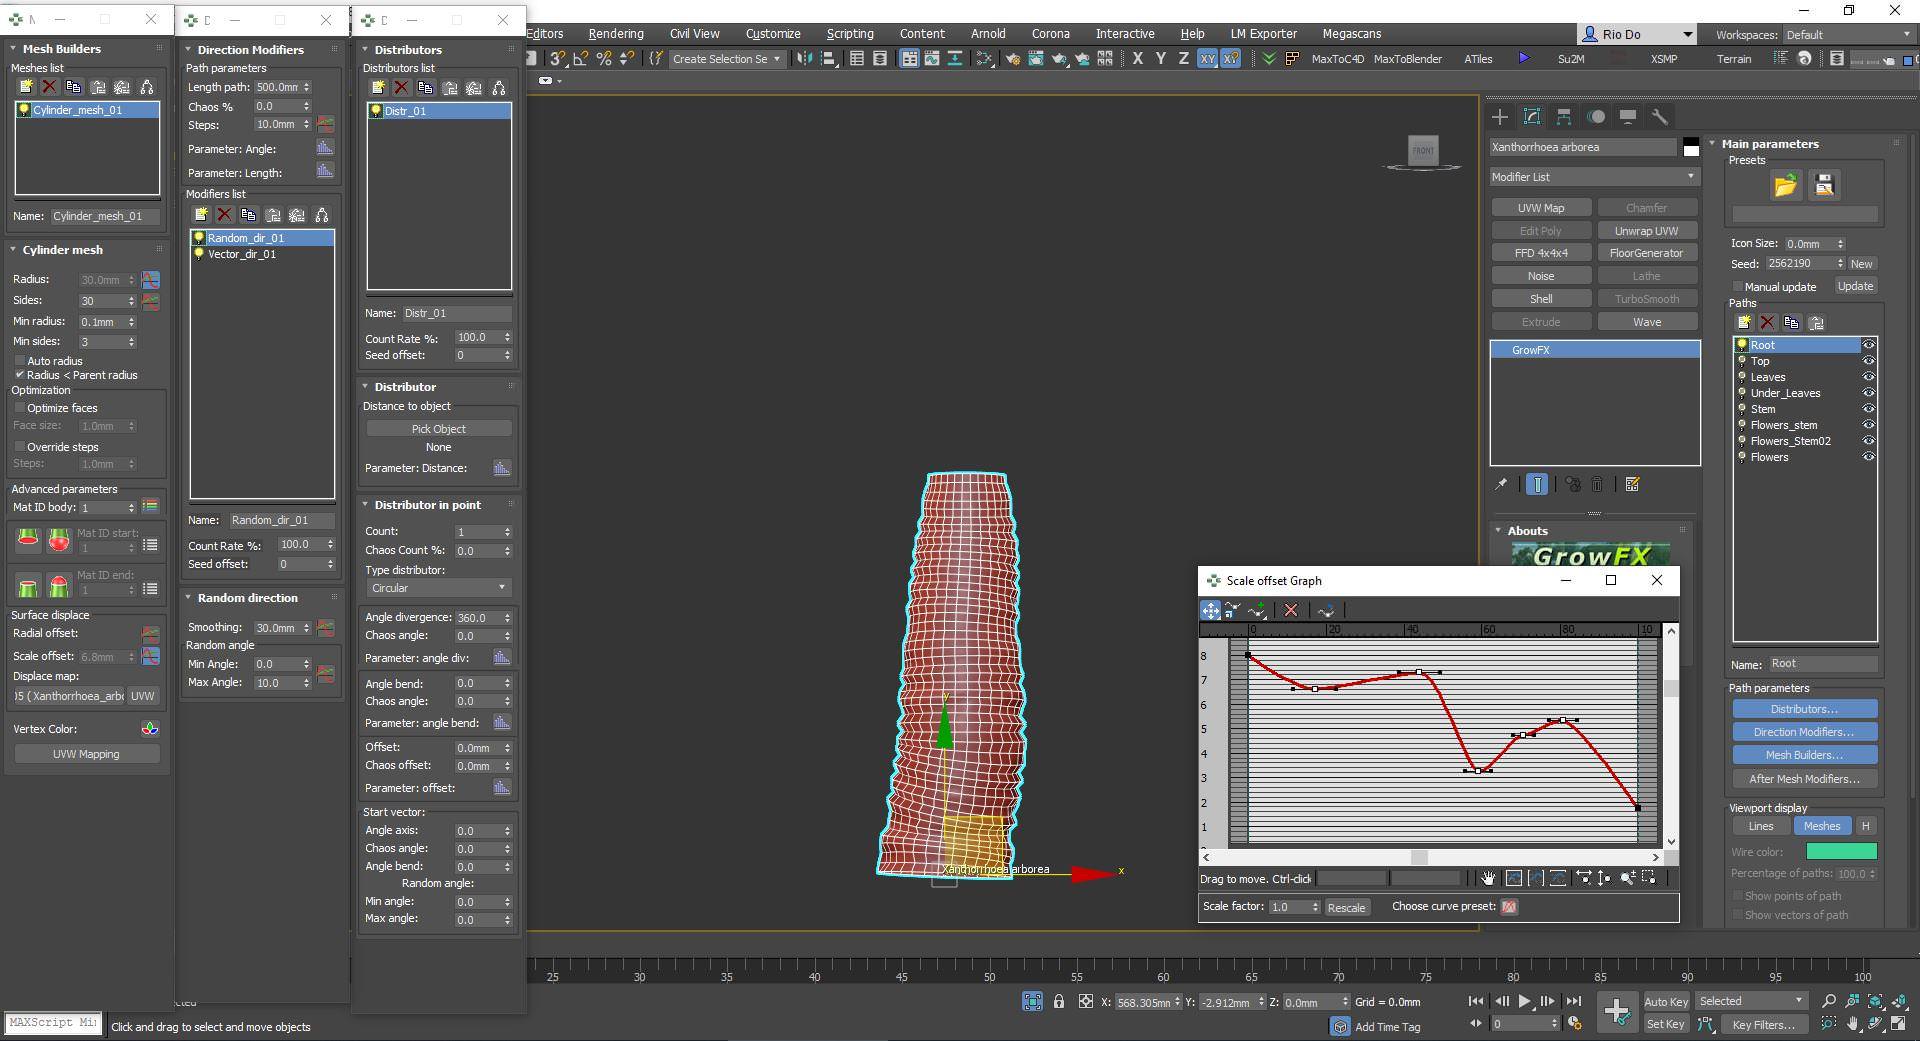
The next step is creating the top of the tree where the leaves will grow.
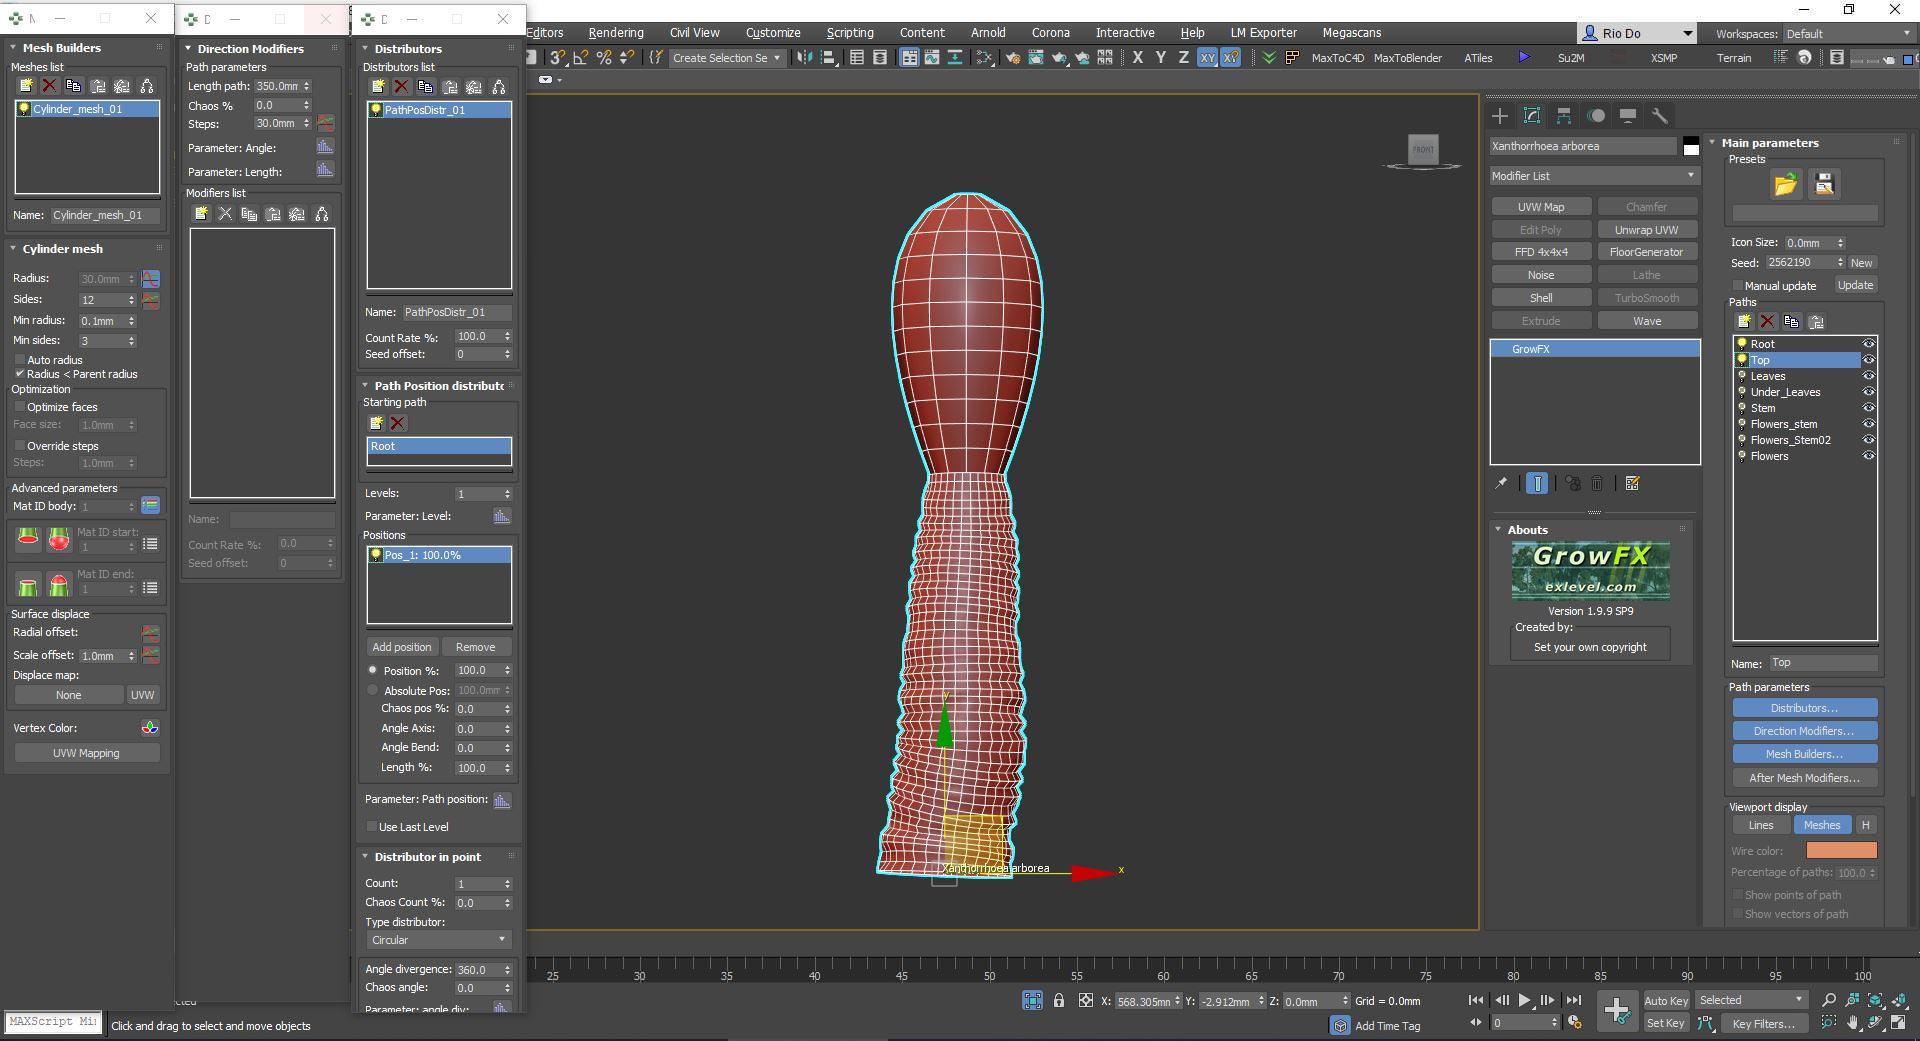
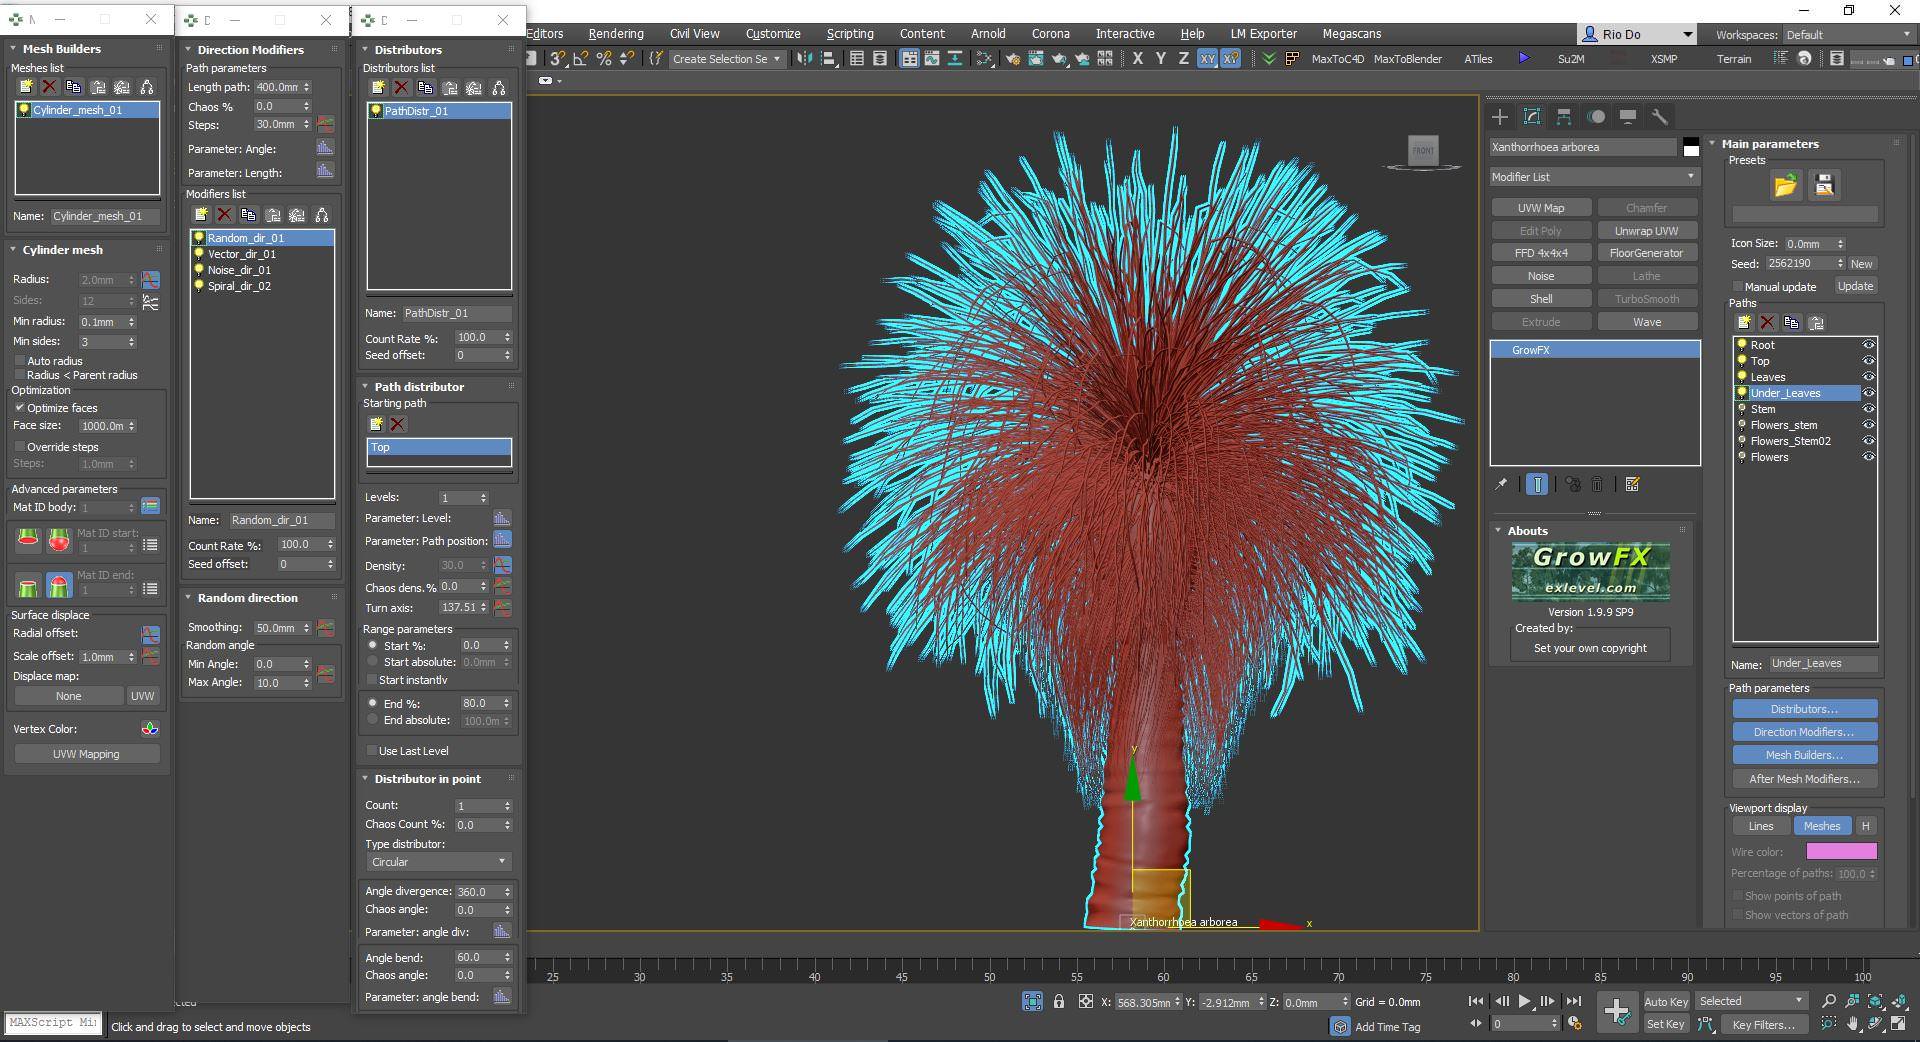
The leaf part is divided into two separate parts, including the mature leaves and the old leaves. The aim here is to make it easier to divide the material for each type of leaf.
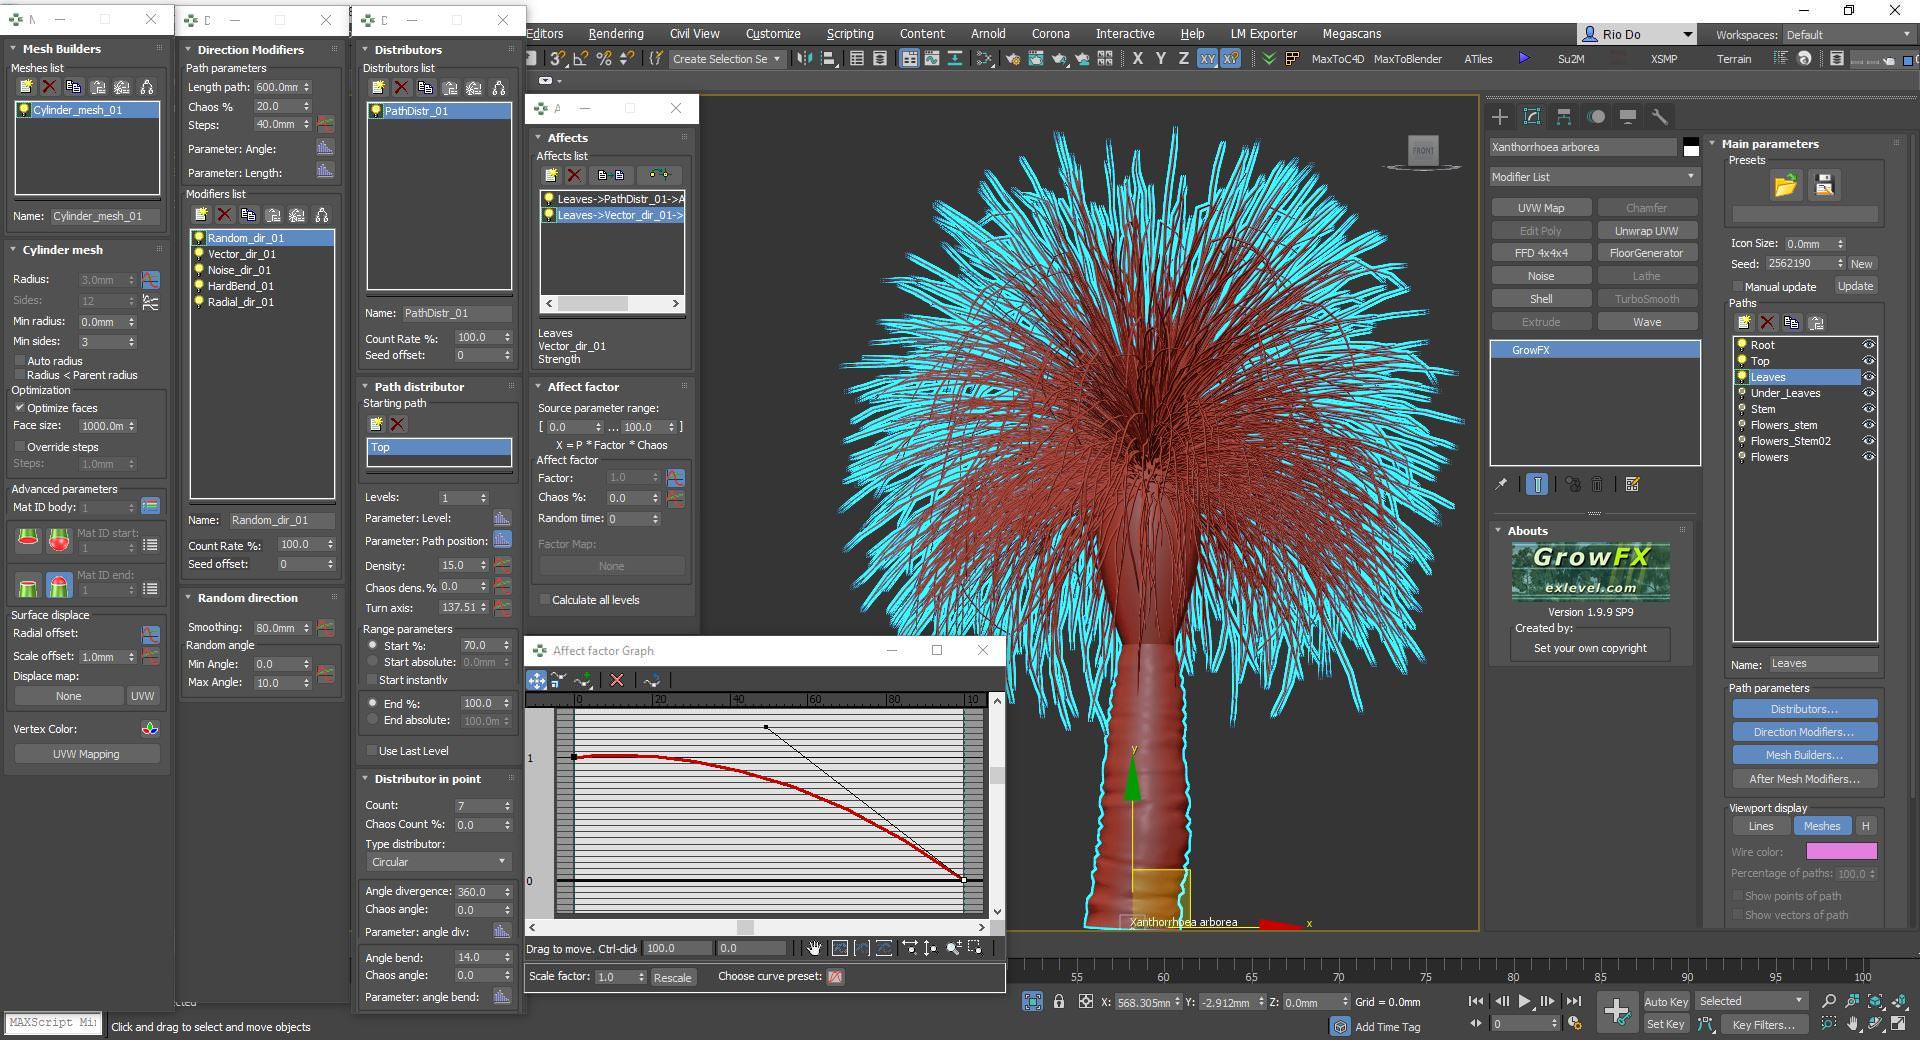
In the old leaves part, several effects, such as noise, spiral, will be added. These leaves tend to droop, so we need to add vector effects.
Finally, the featured flowers of the Grass tree are made up of simple nodes.
The Result :
And the entire collection :
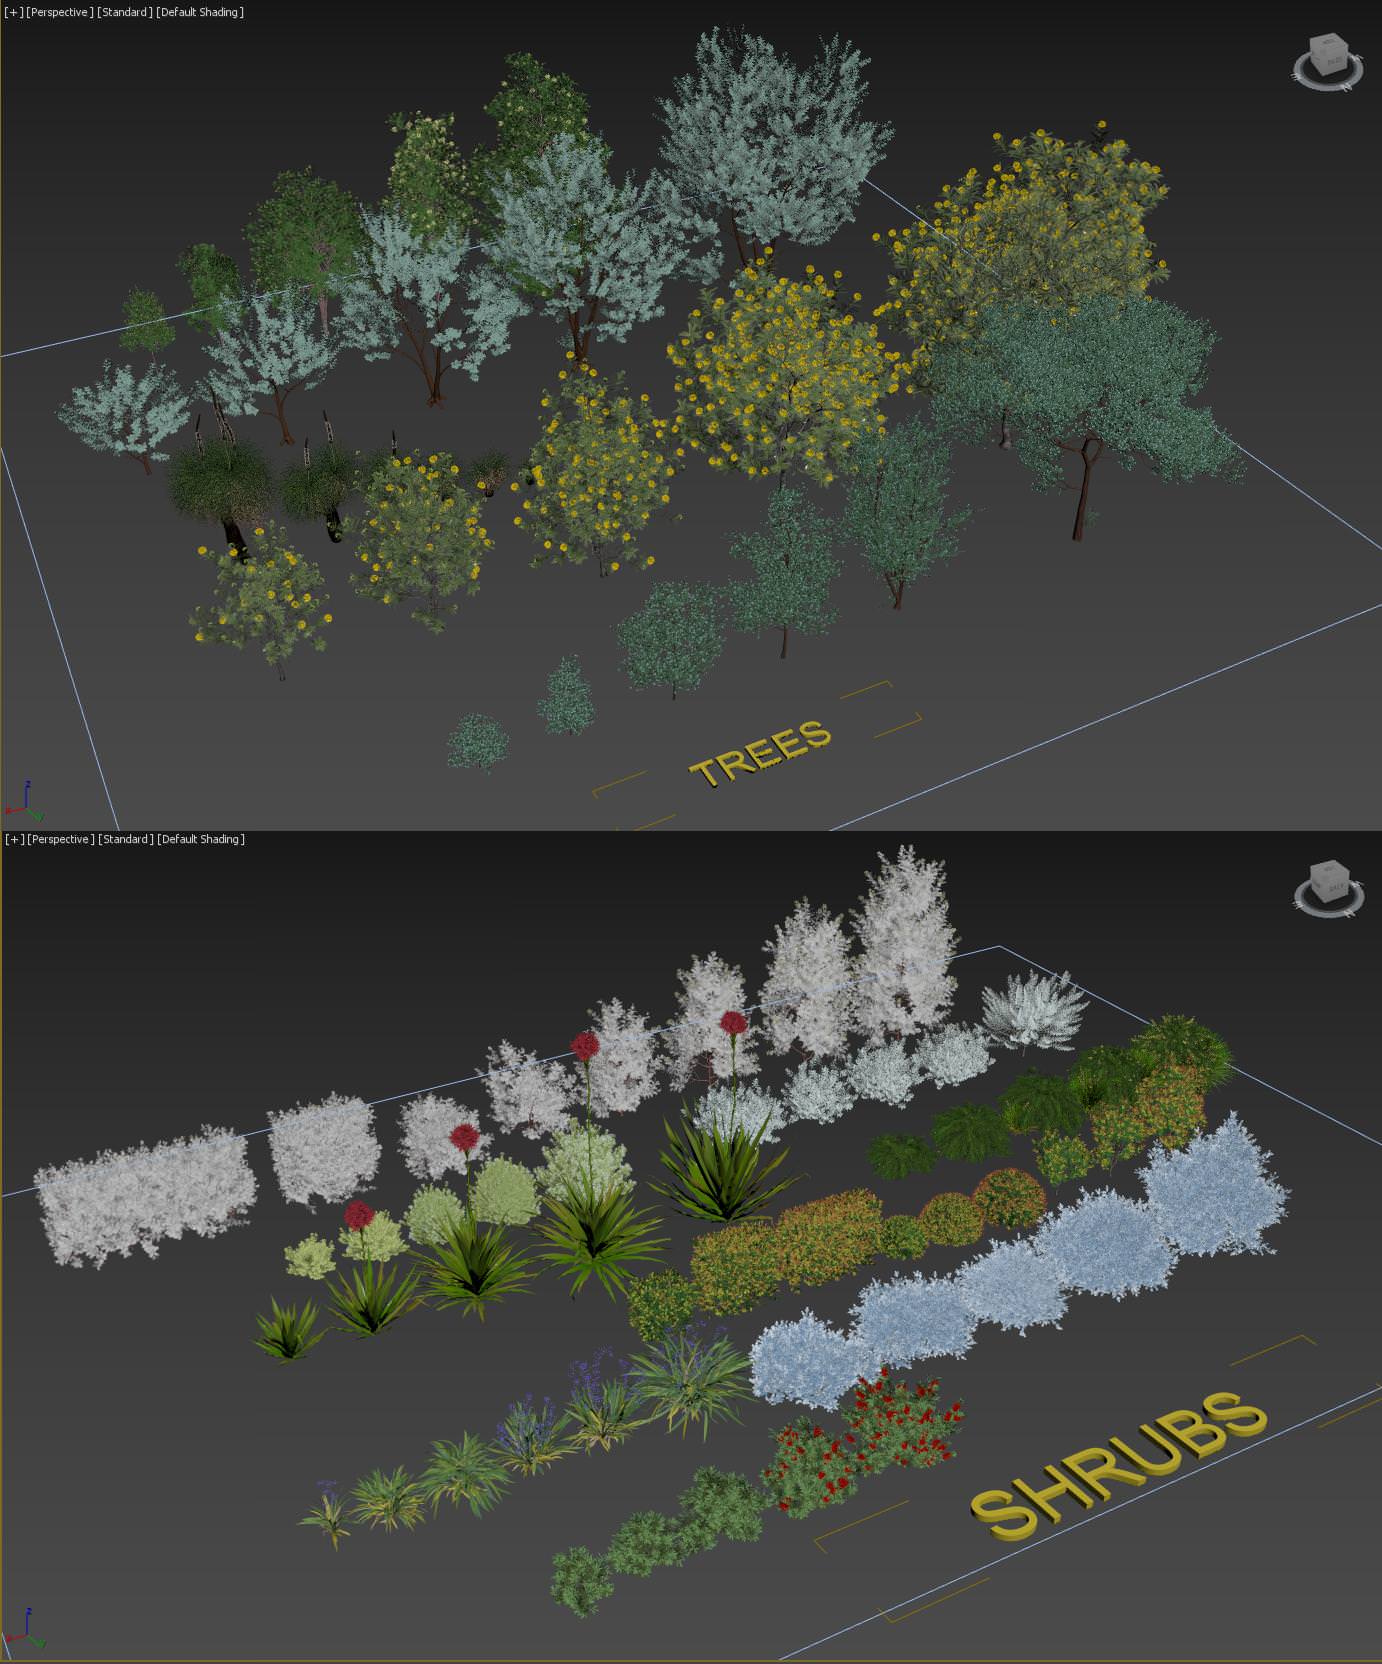
The most important aspect of the landscape is for the plants to belong to your project area. Do you want a courtyard of Oceania? We have the groups of plants available for that location. Customers can purchase suitable plants in shape, color, and even flower. If you want a Desert Garden or a Japanese Zen Garden, or even a Temperate Forest Edge, we have all provided.
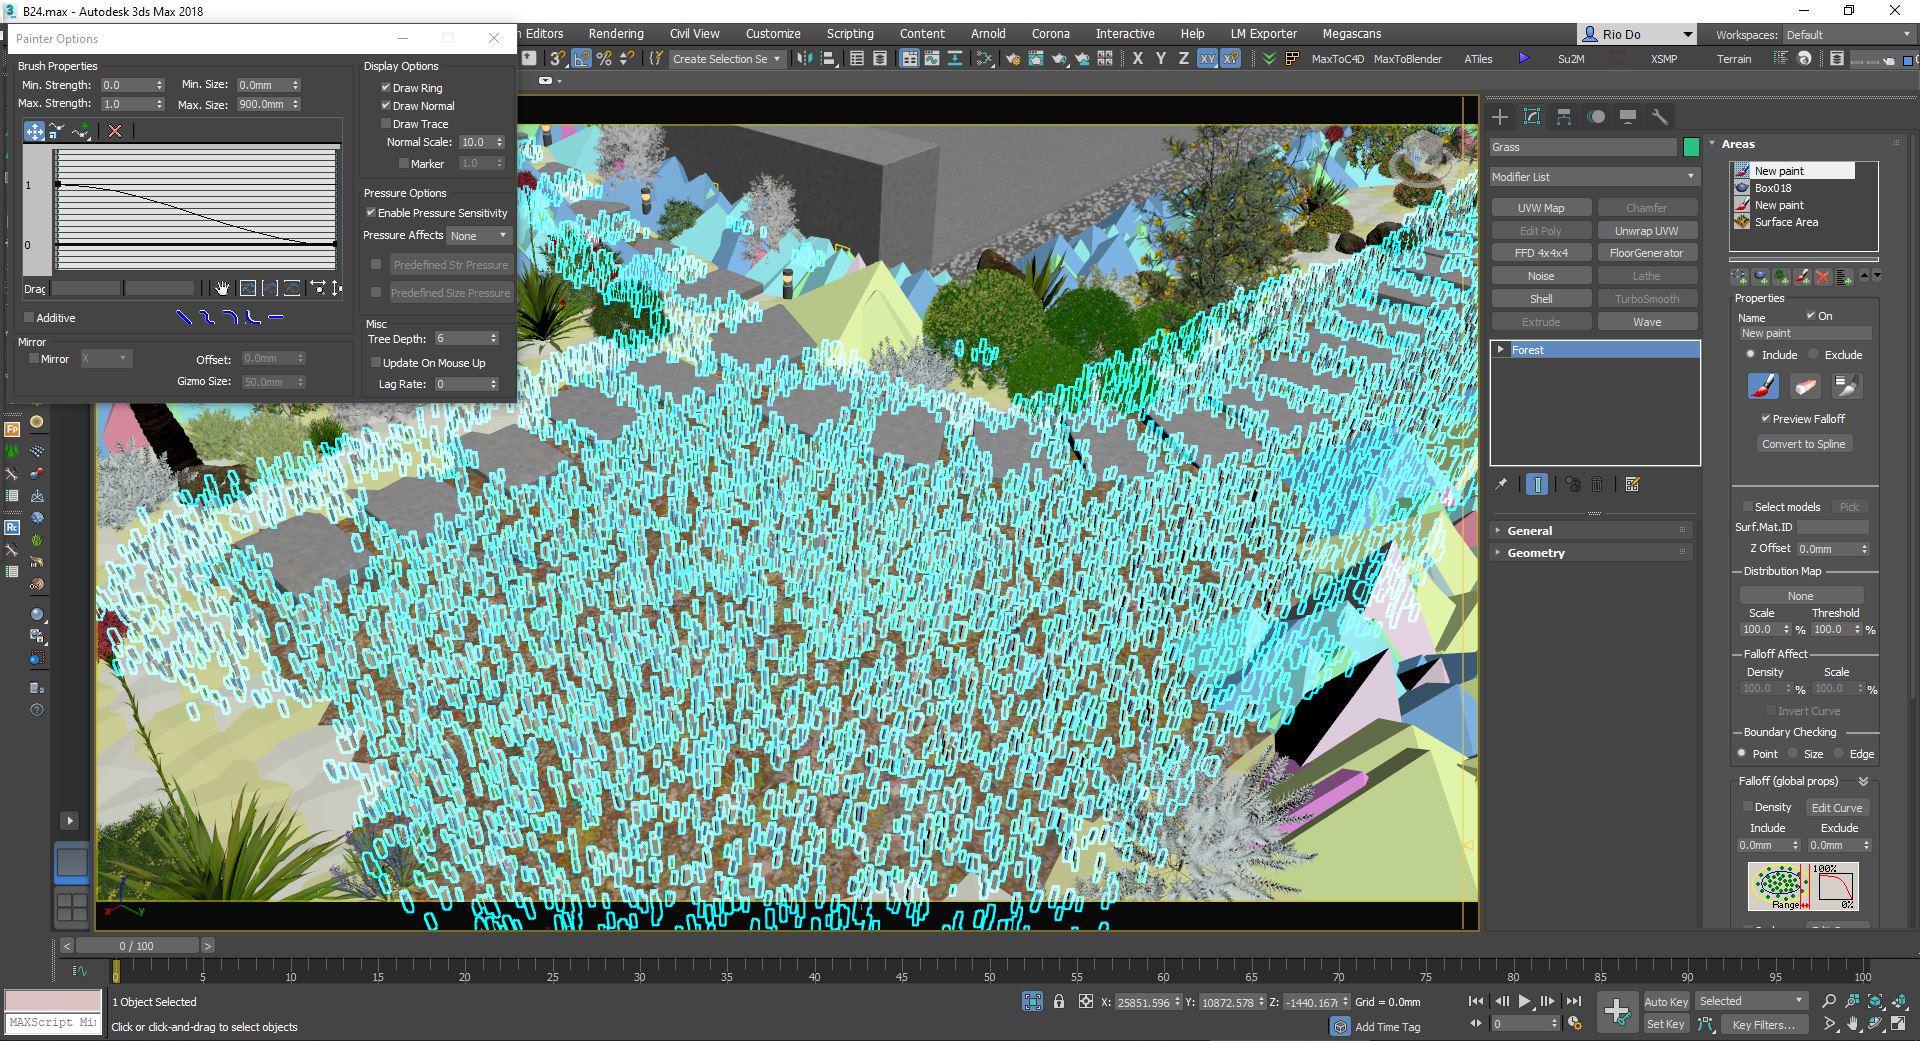
To scatter the plants, we will split them into two parts.
We will arrange them by hand to give the best results for the main types of trees and shrubs. The manual positioning mimics the way it is done in reality, and in this case, you really must for it to fit the project design and camera view. We enjoy the feeling of choosing the most beautiful and suitable angles.
For other types like grass, leaves, and secondary trees, which are far away from the camera, we use Forest Pack pro with helpful features like hand painting, manual edit mode. Also, for the projects that require animations, FP is beneficial.
And the main camera viewport screenshot :
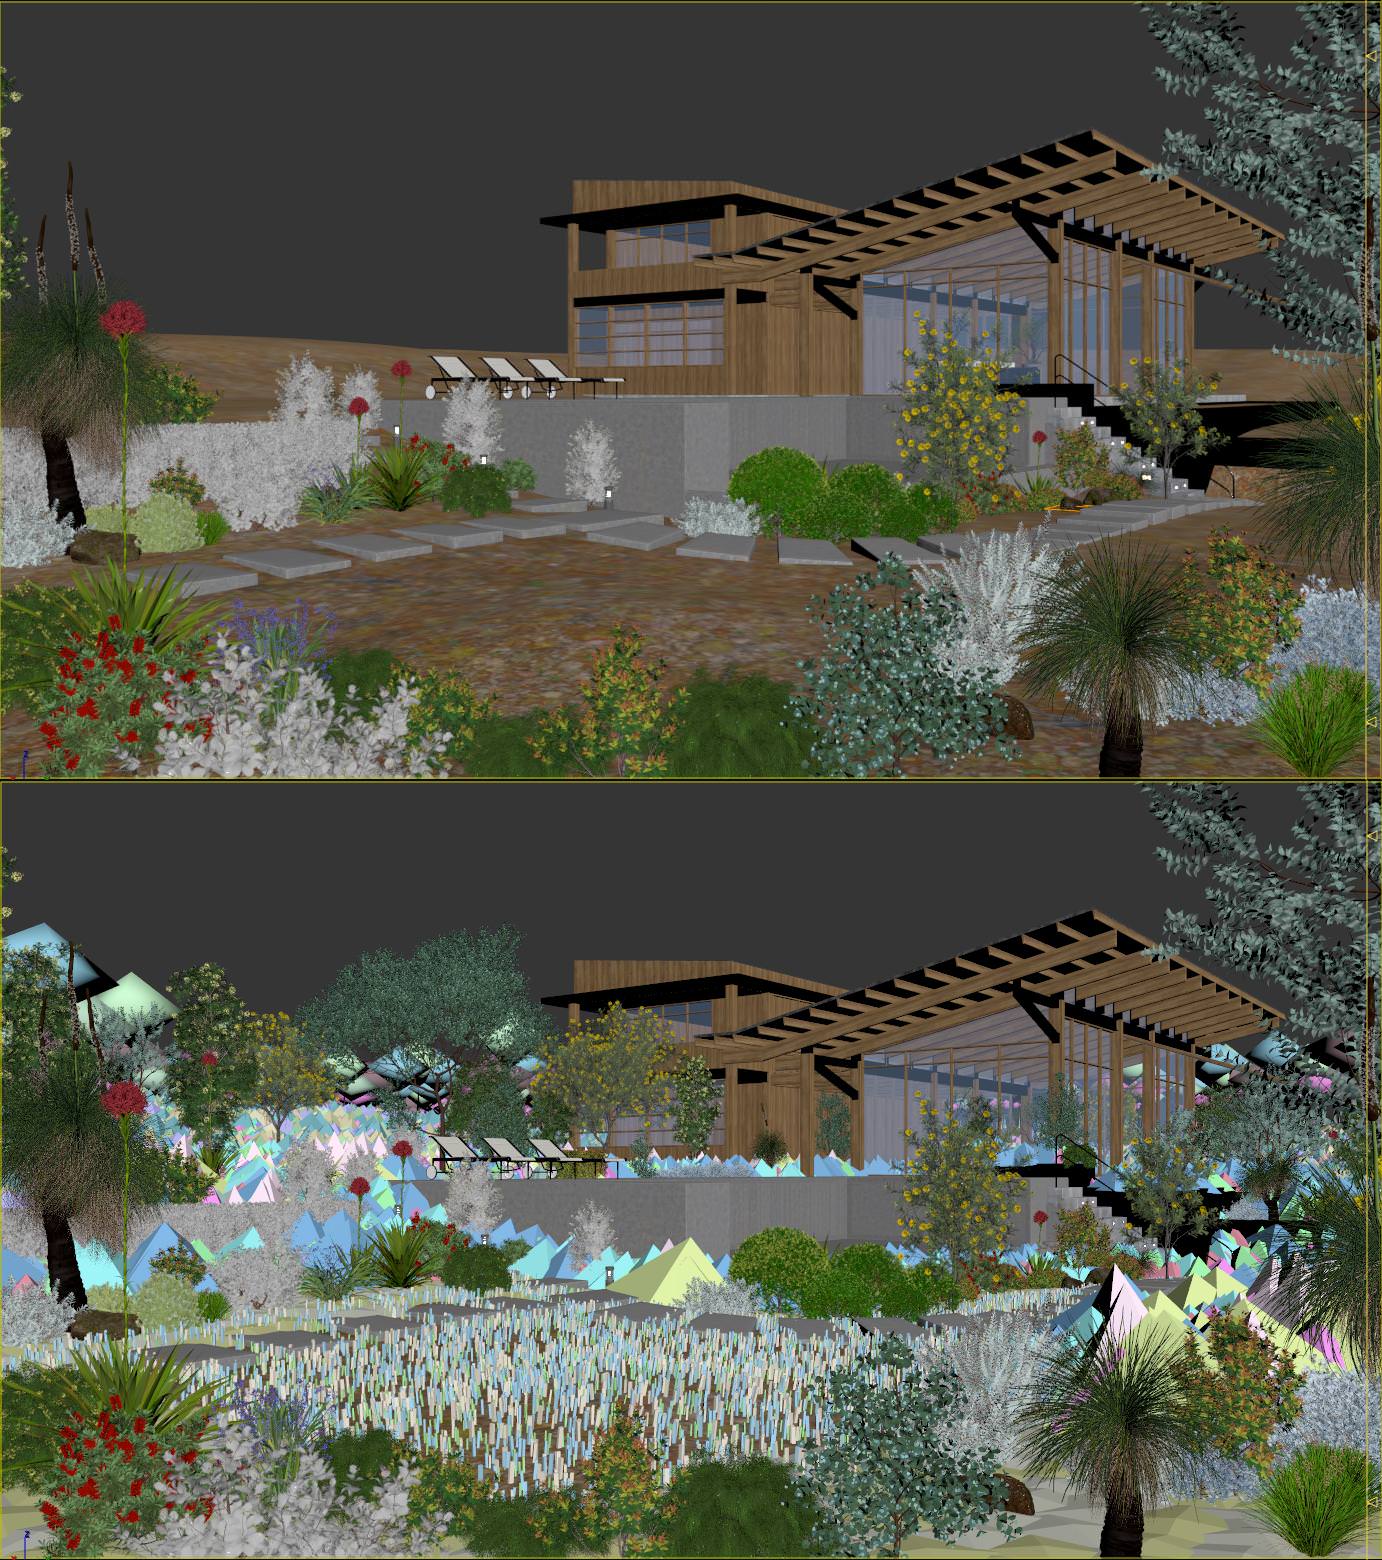
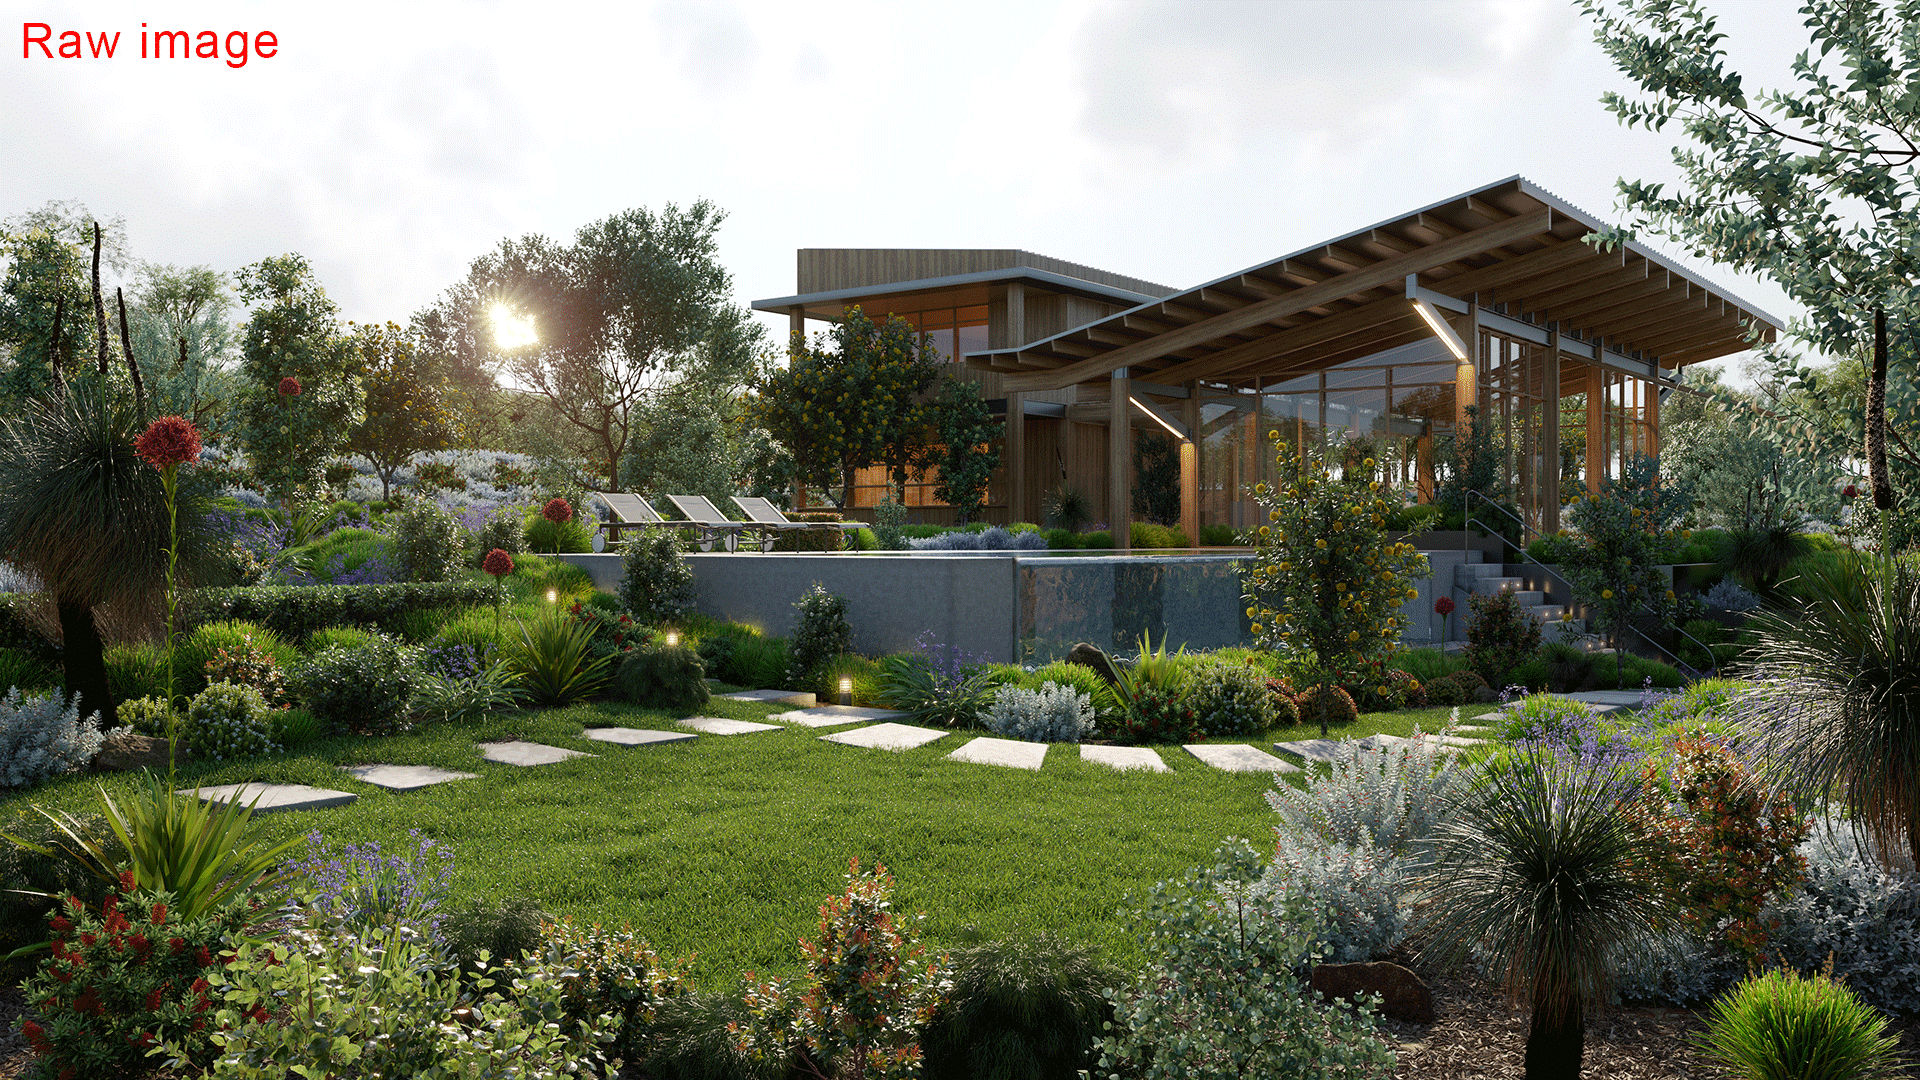
And render :

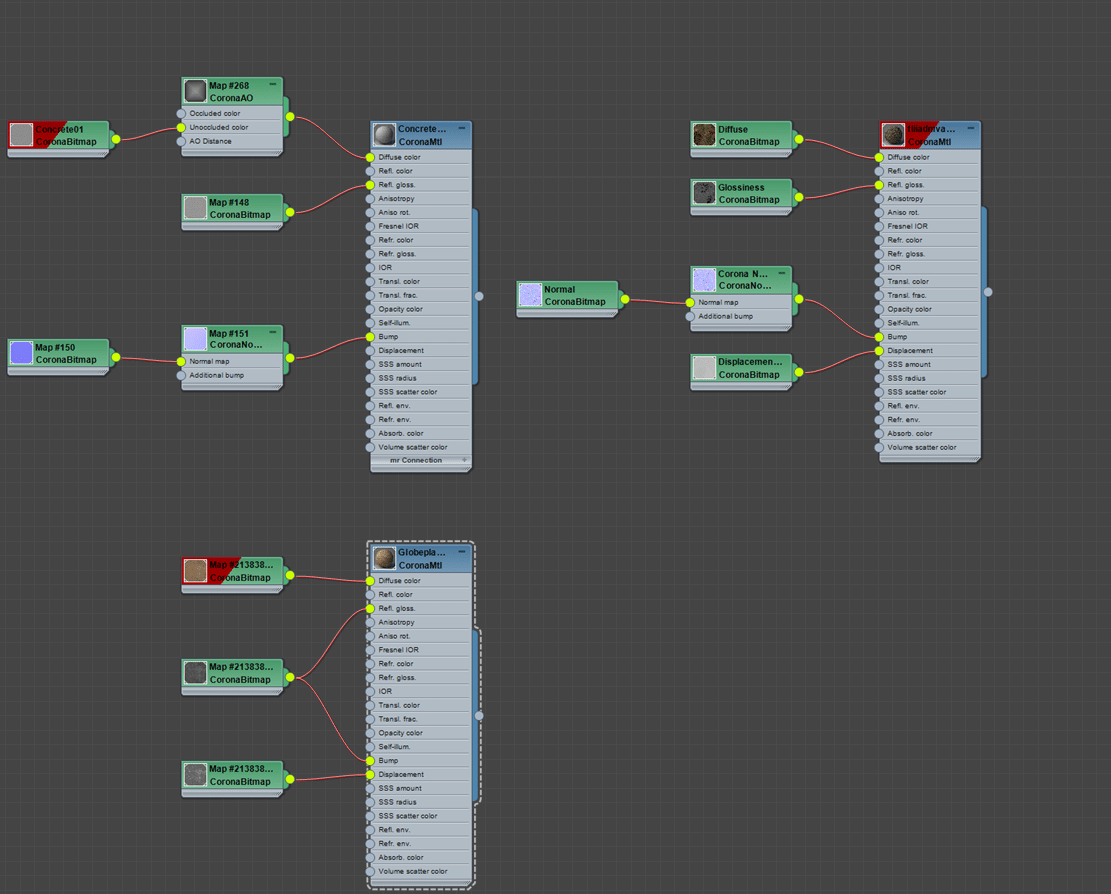
Textures and Materials
We are big fans of the PBR material, which is easy to use and very effective. Authenticity, proximity to reality is indisputable. We have some scanned assets such as ground, concrete, some yard, and rocks. The material and PBR model from Quixel and Poliigon is also very friendly and easy to use.
Lighting
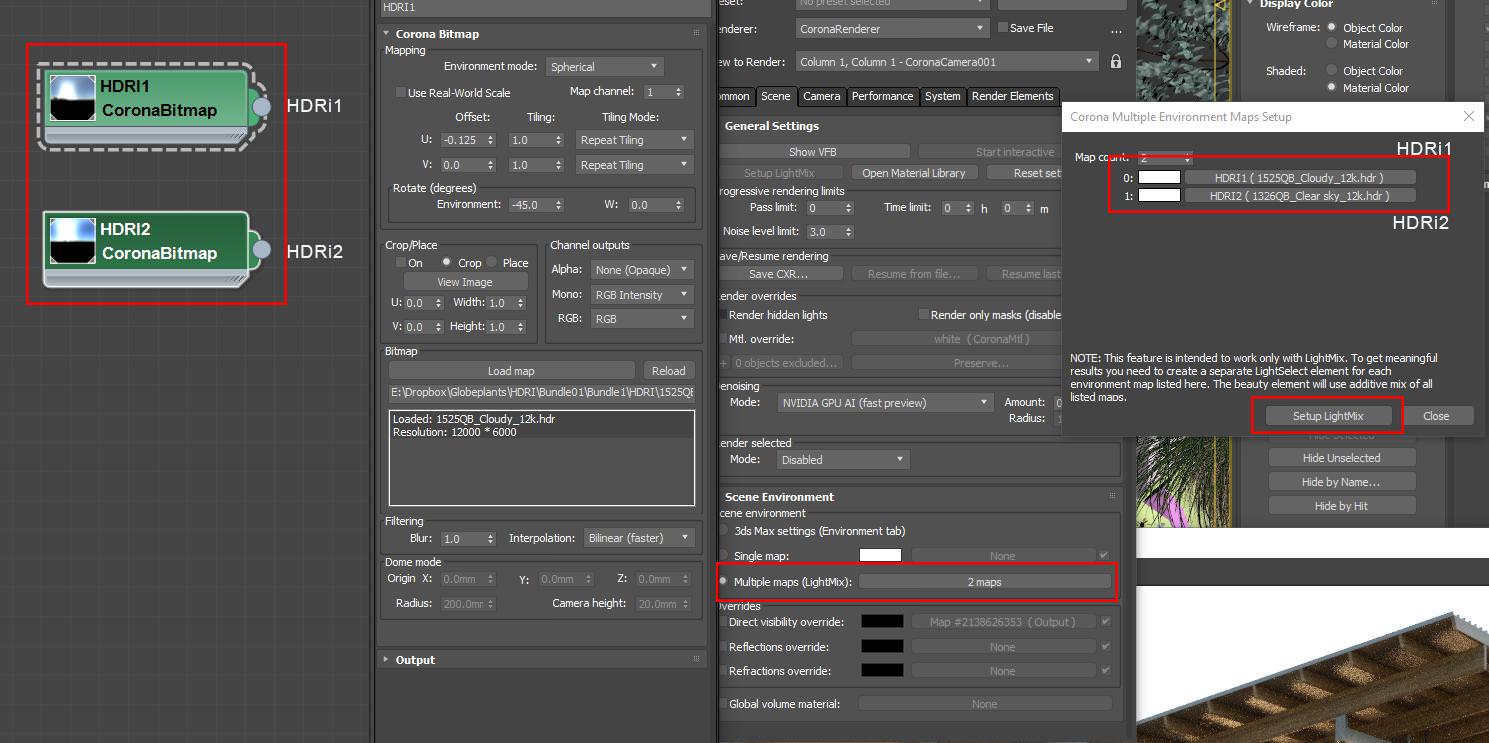
Corona Renderer has a straightforward, flexible lighting system combining Sun and HDRi, followed by Lightmix for the final composite. Since switching to use Lightmix, the post-production stage has become much simpler and less complicated.
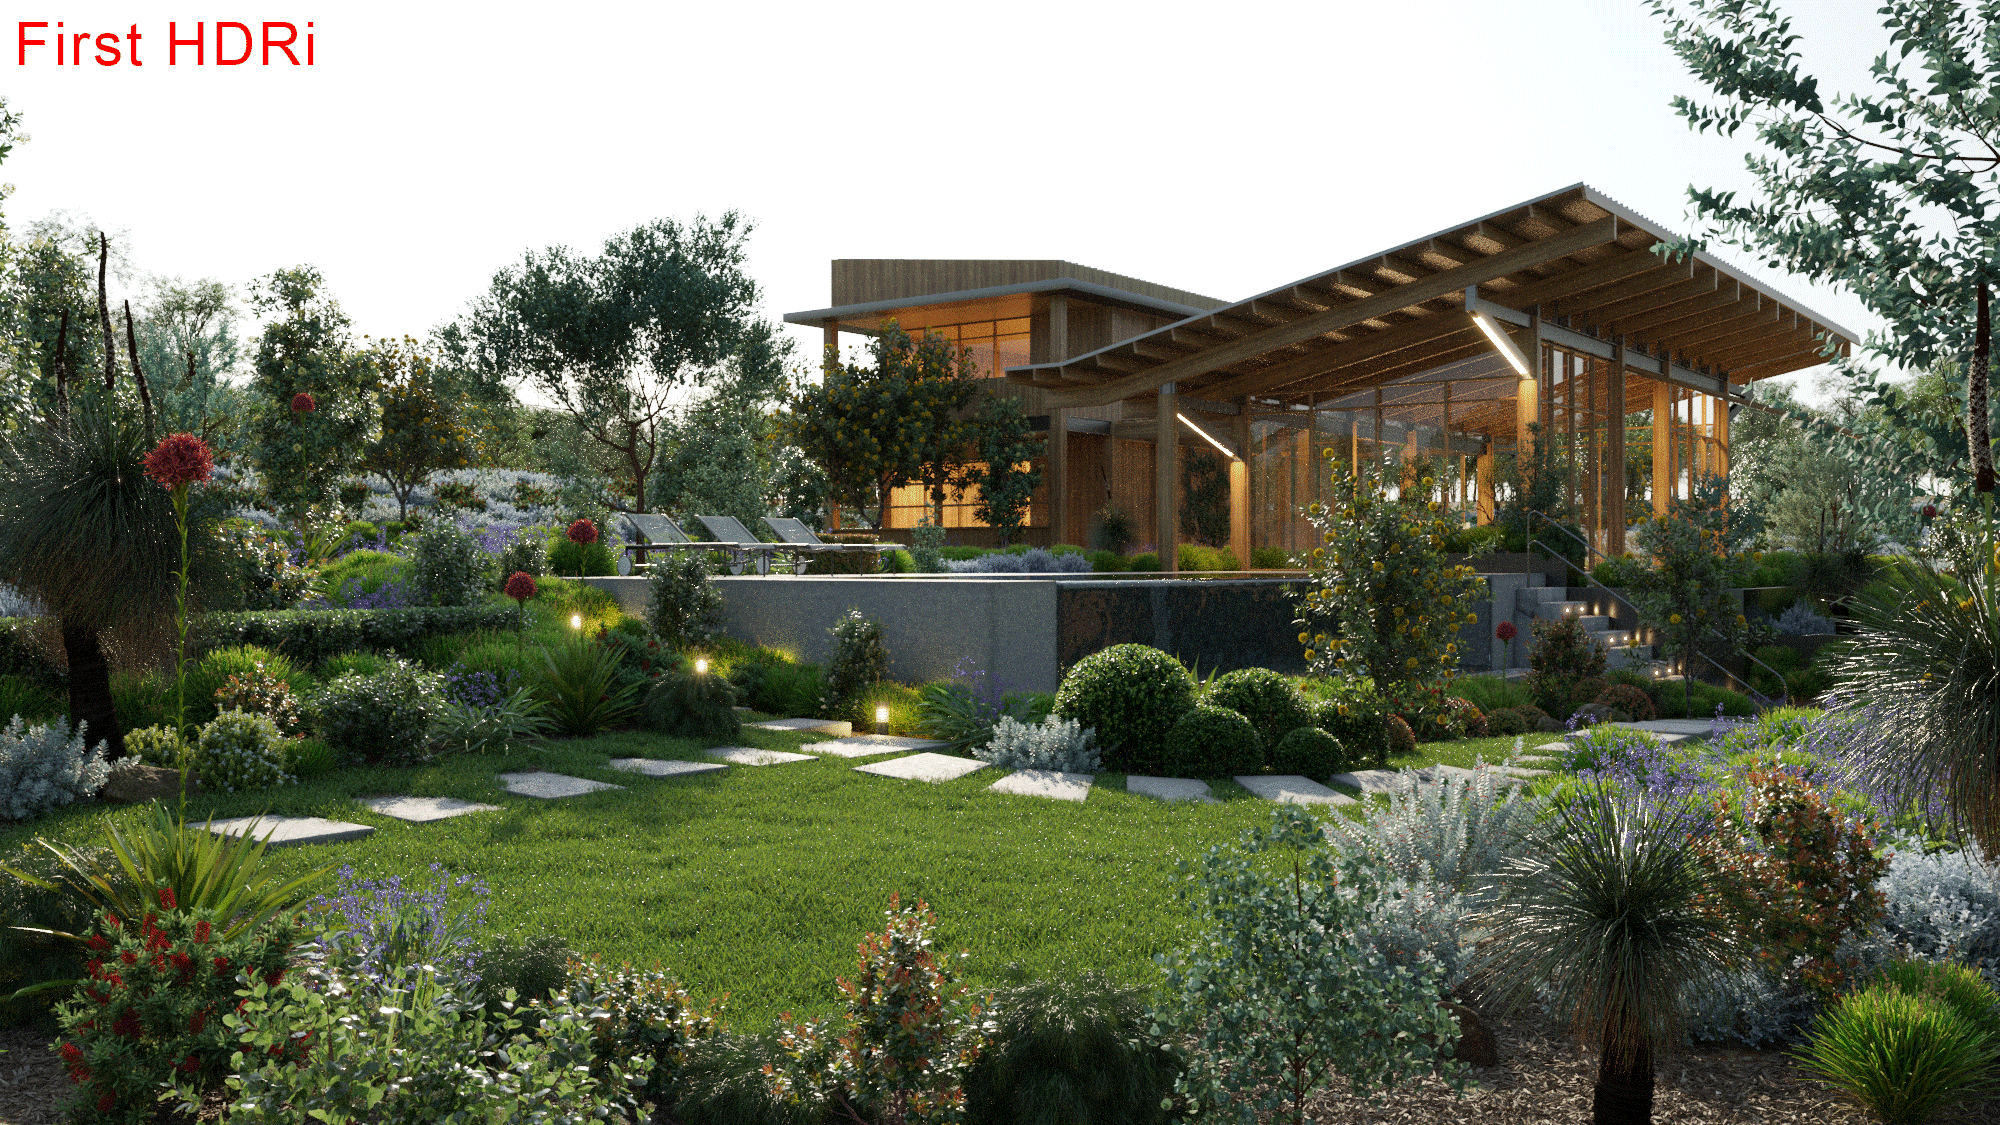
Firstly, I will use an HDRi to create the primary emotion for this render. As I want to create a dazzling afternoon scene with sunshine through the foliage, I use the Globeplants’ HDRi set with a high DR while also making rendering fast.

I will use 2 HDRi’s to illuminate, including one low angle HDRi for primary lighting and the other higher angle HDRi for secondary lighting. Finally, I use soft Sunlight in the same direction as HDRi to highlight the color of the vegetation.
The interior lighting and the garden are pretty simple to create a stronger impression of the scene.
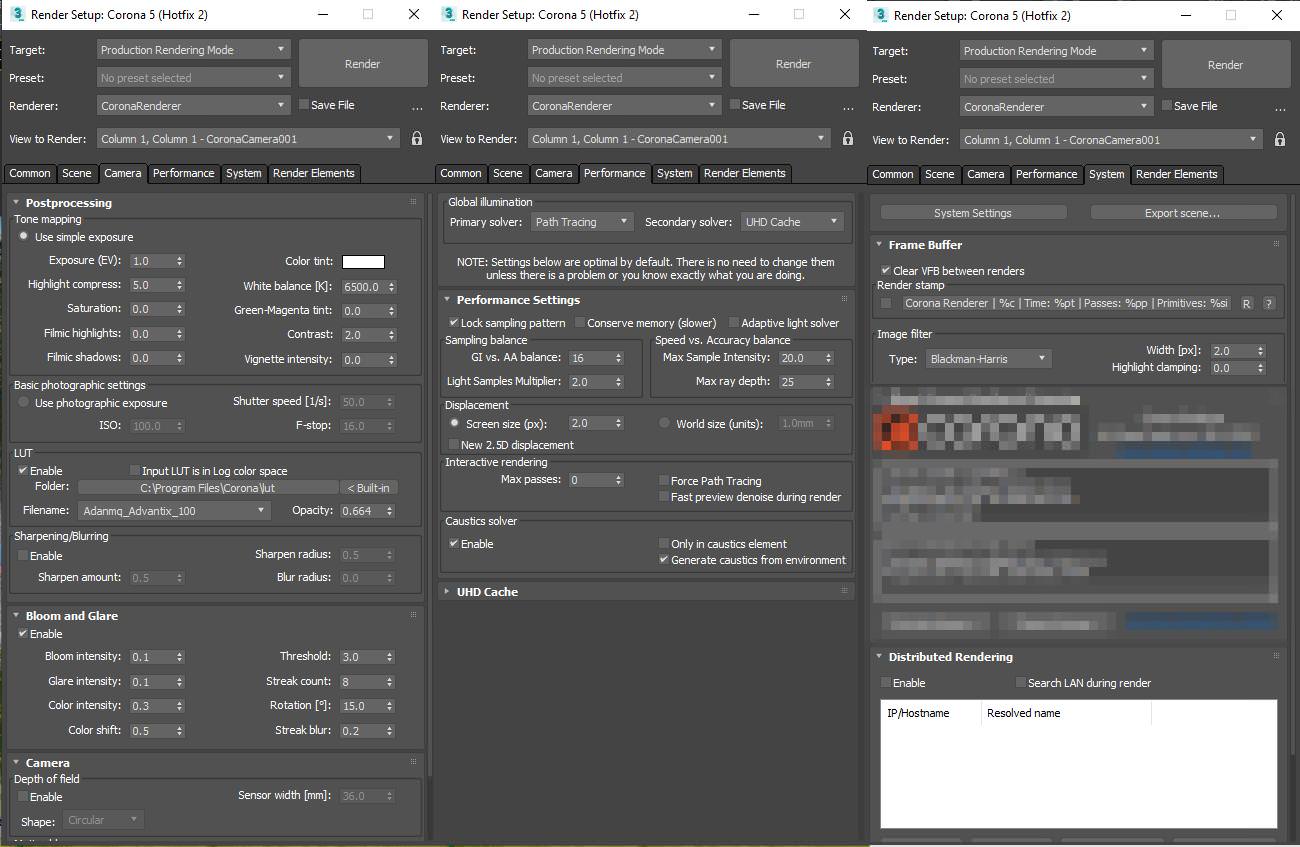
Corona Renderer settings are pretty straightforward, primarily default settings.
Post-production
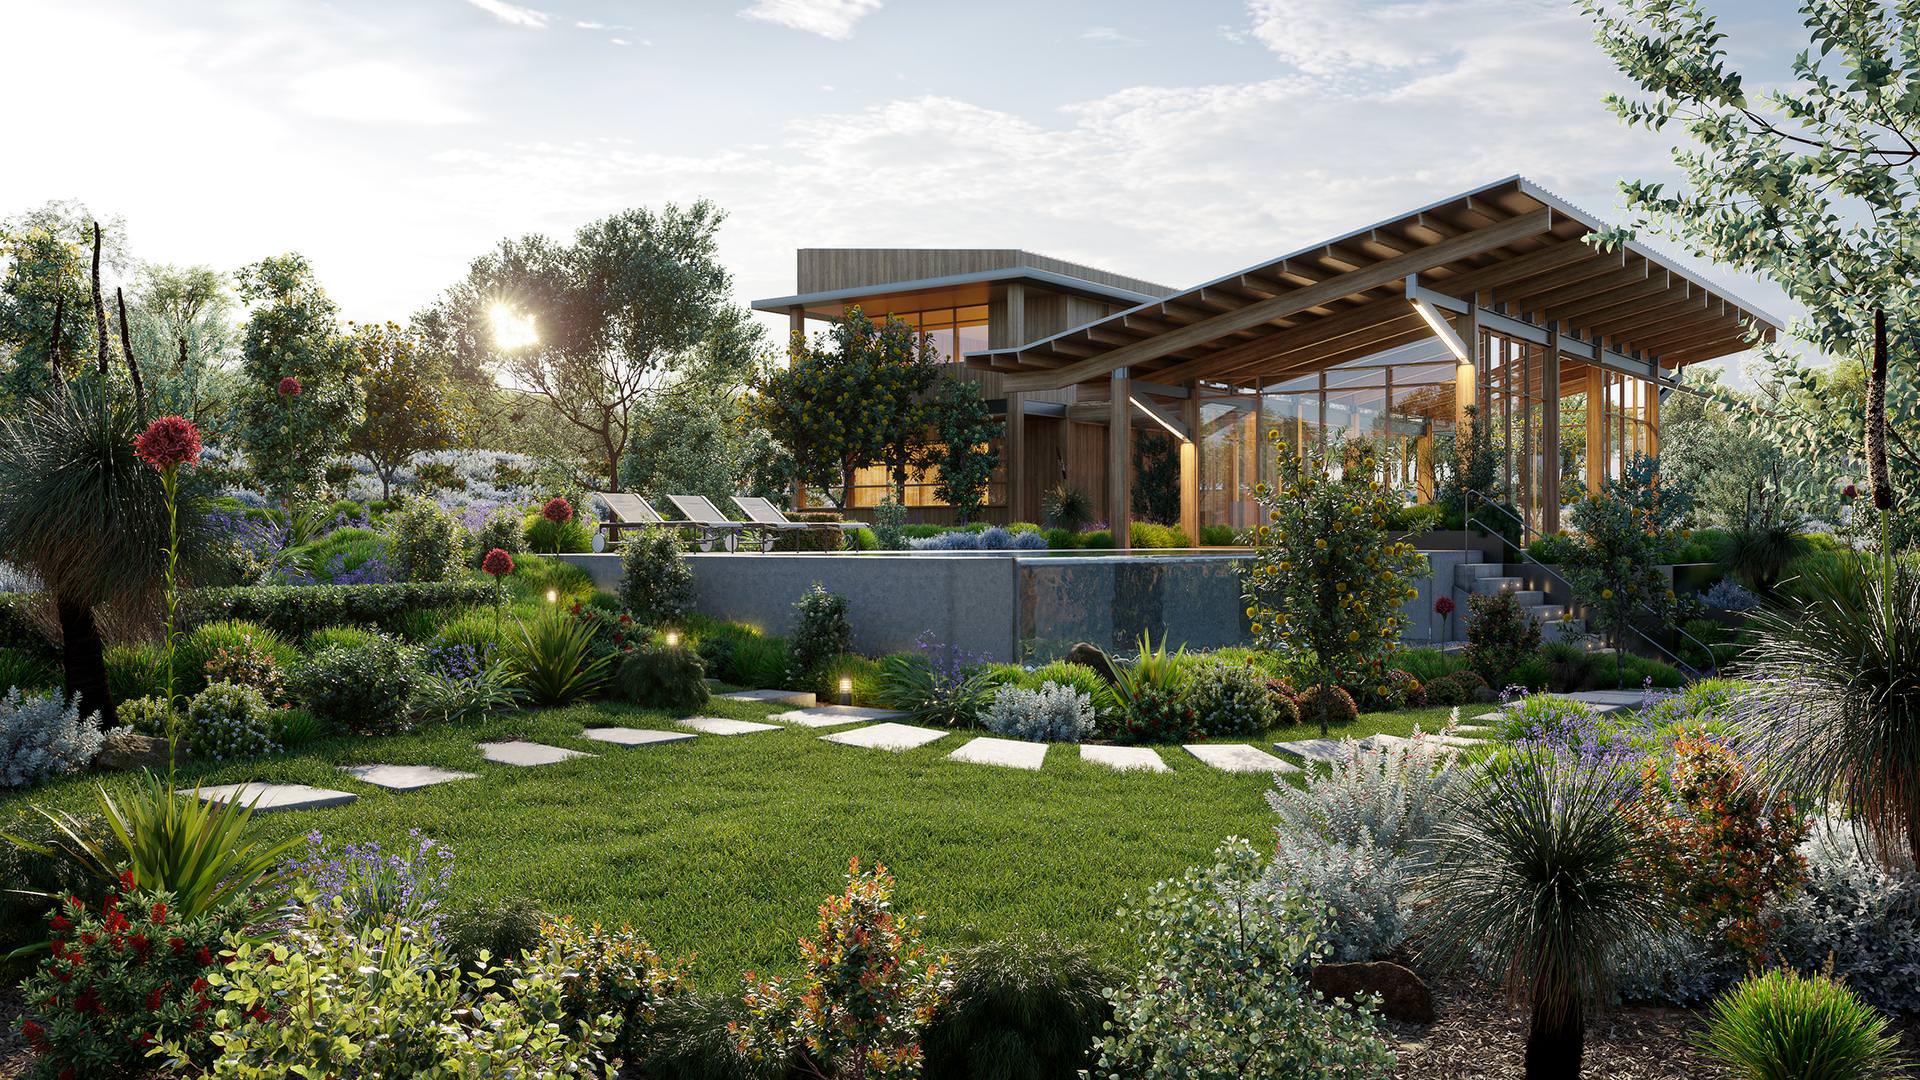
Almost every detail has been processed in 3D. Thus, in the post-production stage, we add a few elements to increase the emotion of the image, such as contrast, shadows, some reflections, bloom glare, etc.
Thank you for reading and let us know if you have questions in the comments section for this article on TALK.
GP.


Join the discussion at talk.ronenbekerman.com