


Making of Sukhdham
I’m pleased to present you with this breakdown of “SUKHDHAM” by India-based ArchViz Studio – Impact 3d. Two months in the making and lots to learn from!
We are Impact 3D (India-based Archviz studio), and we are forever striving for inventive perceptions showcasing unbuilt architecture. We, as a team, would like to thank Ronen Bekerman for giving us this opportunity to share our work and write for this blog about our recent animation titled “SUKHDHAM.”
Introduction to Sukhdham
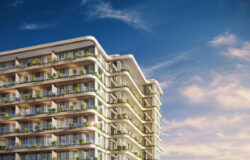
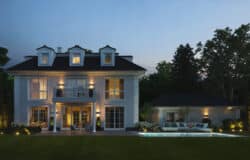
This project was an attempt to celebrate space exclusively. When materials played with an elaborative architecture of these contemporary villas, it gave us the chance to create a space that had its remarkable charm.
It took us around two months to complete this entire project, including modeling, images, and animation. So now we will start with our basic beginning up to the end of this CGI Animation.
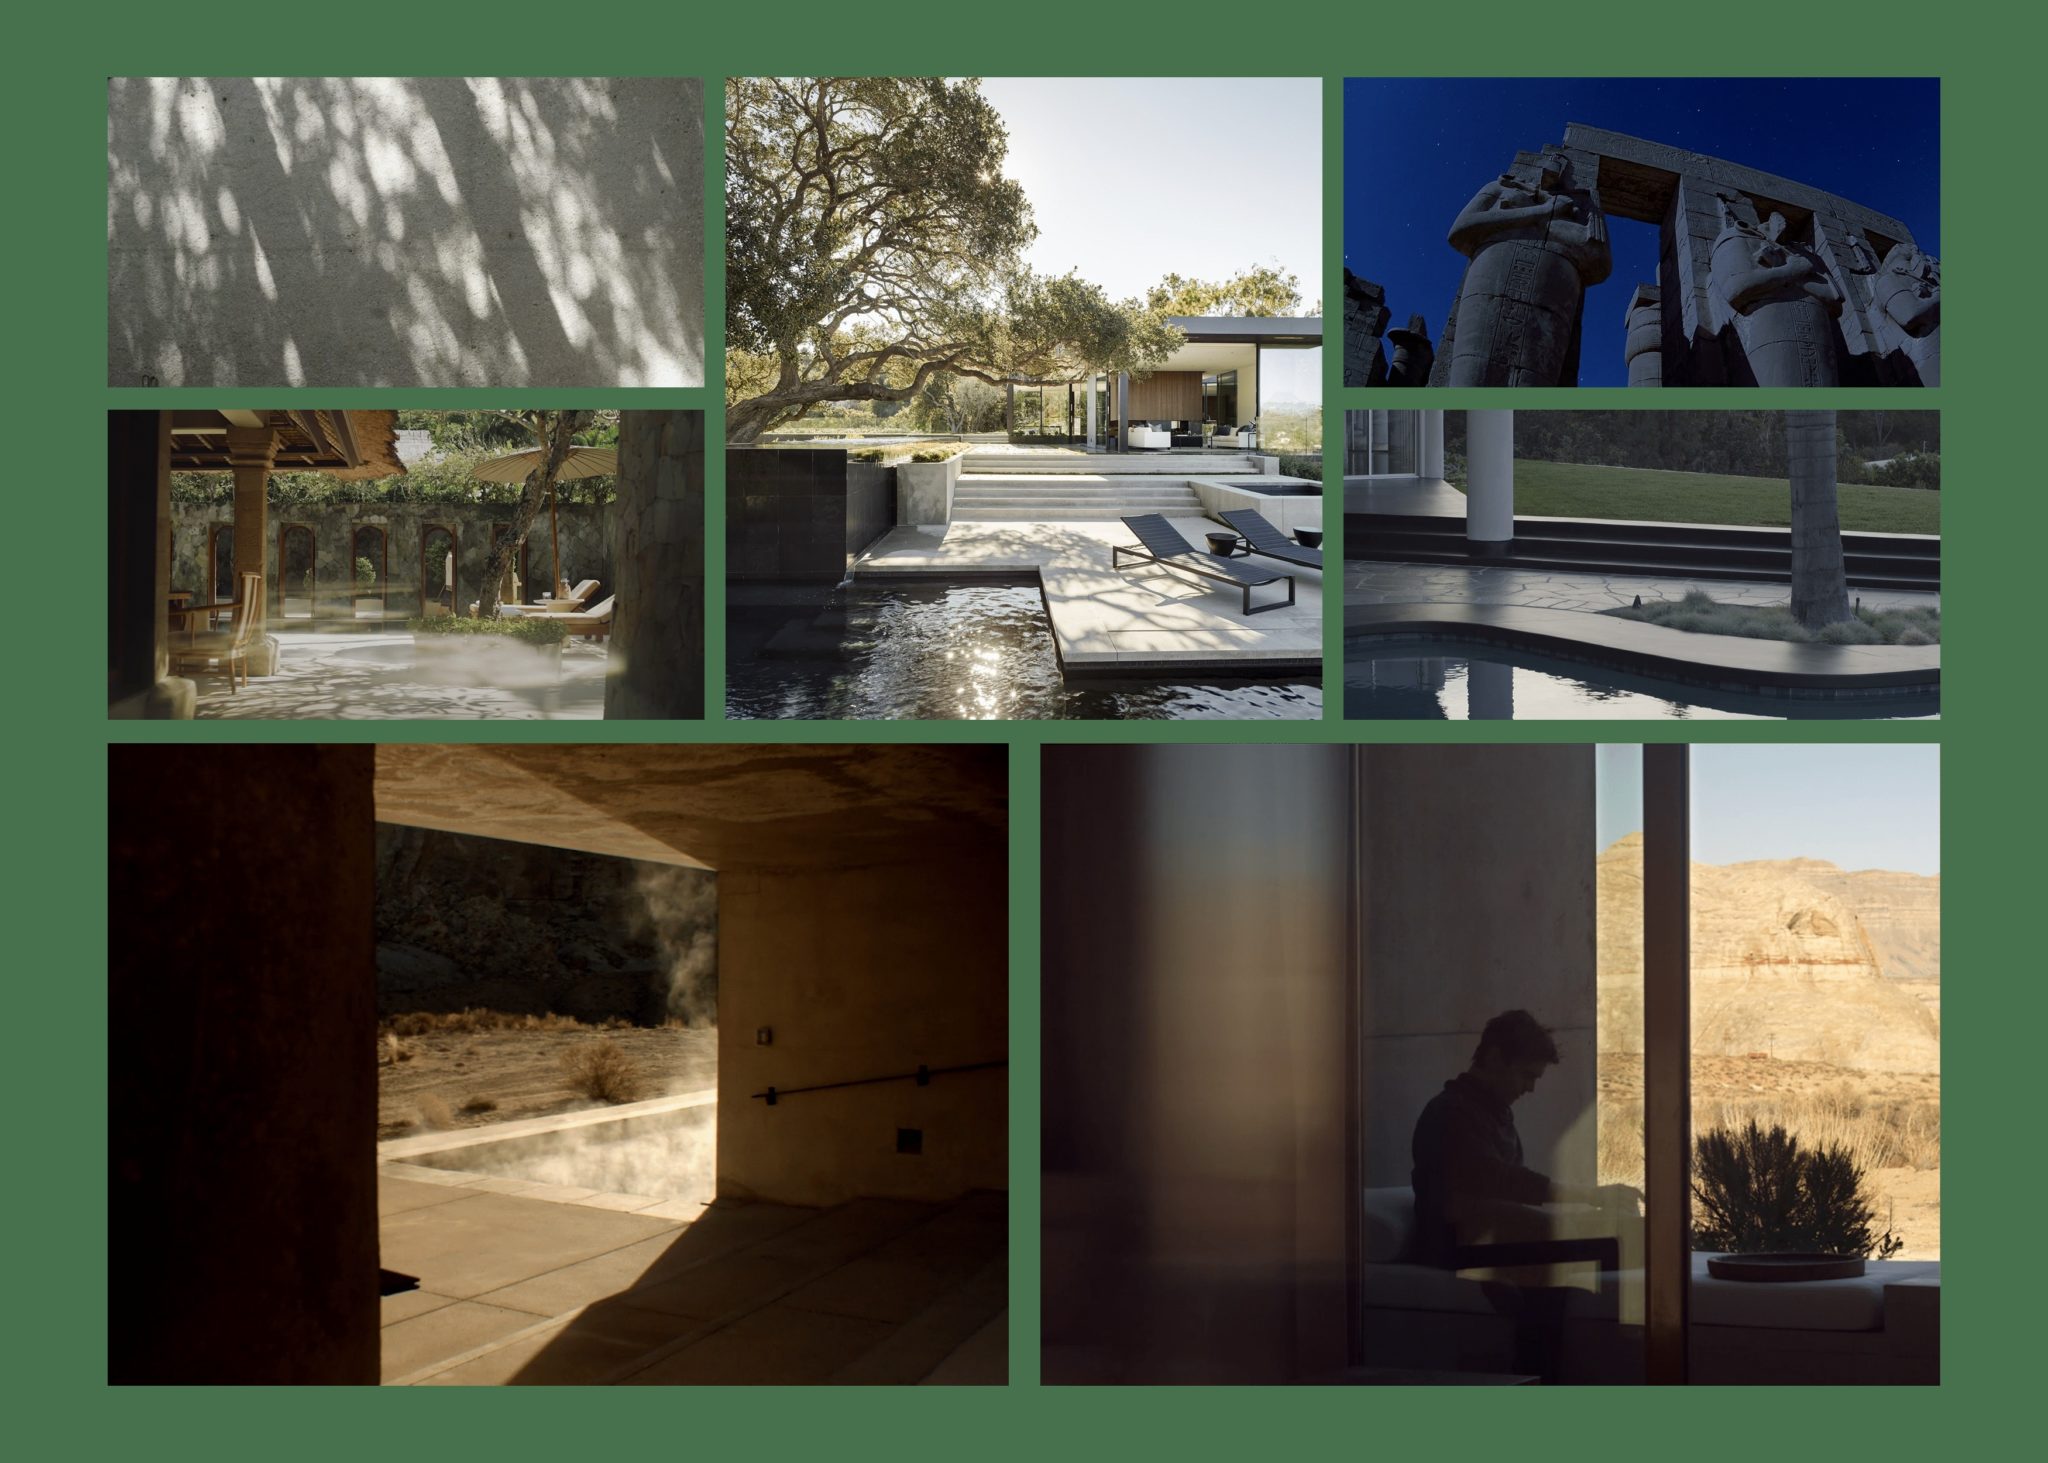
Inspiration for our Work
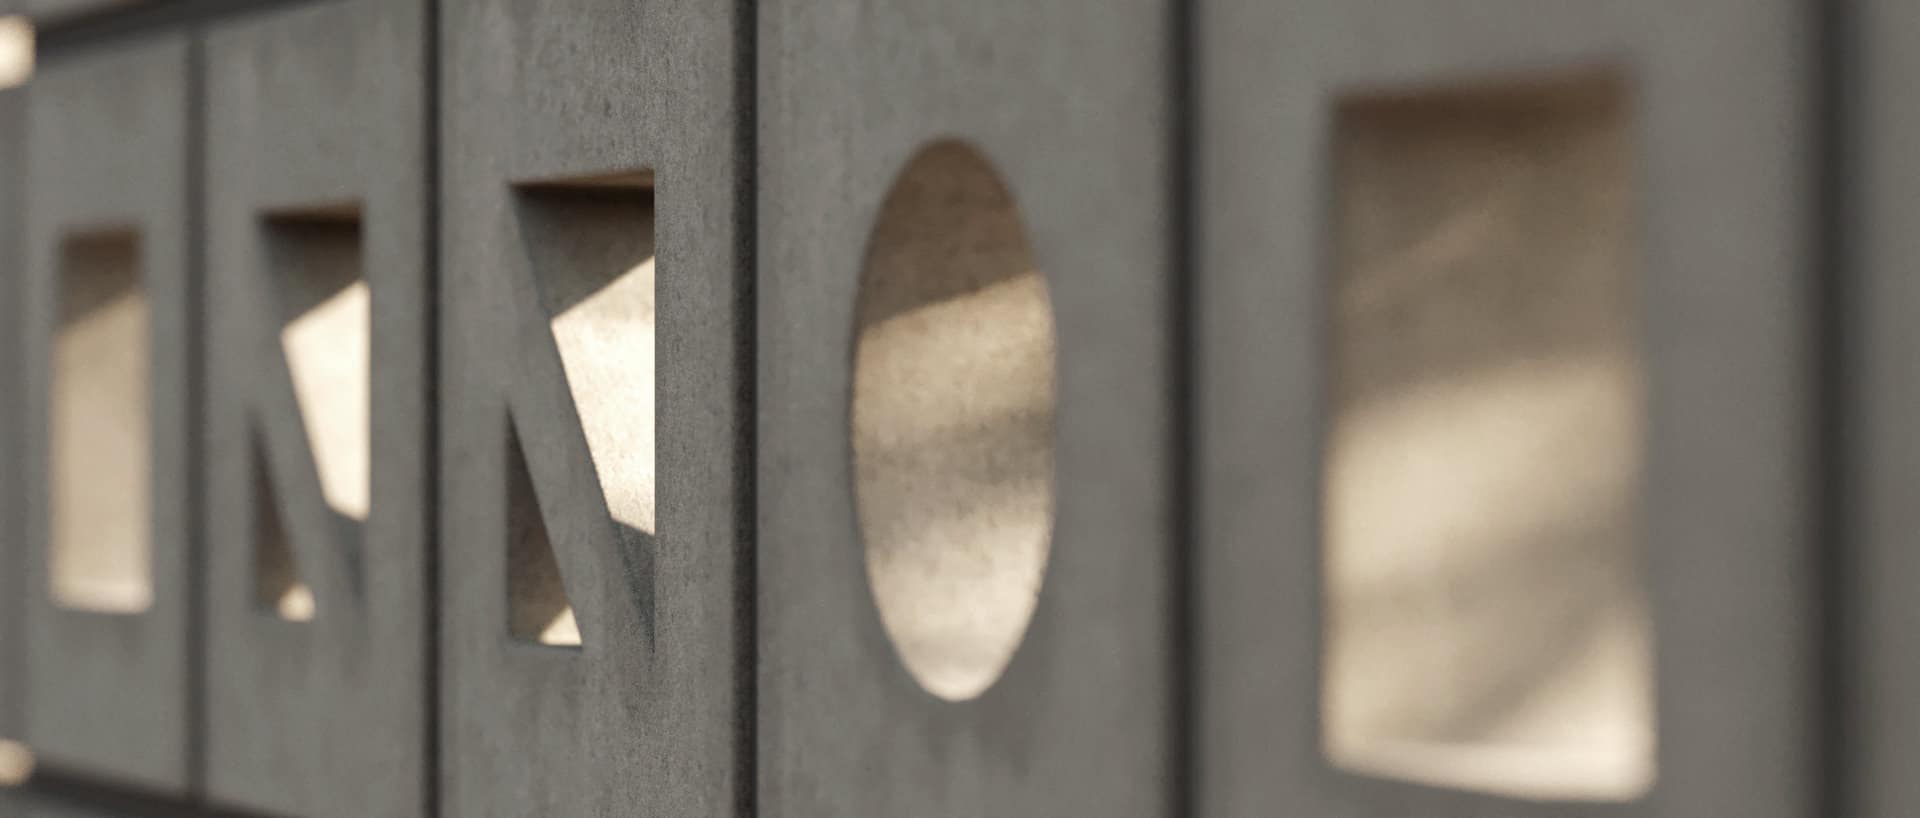
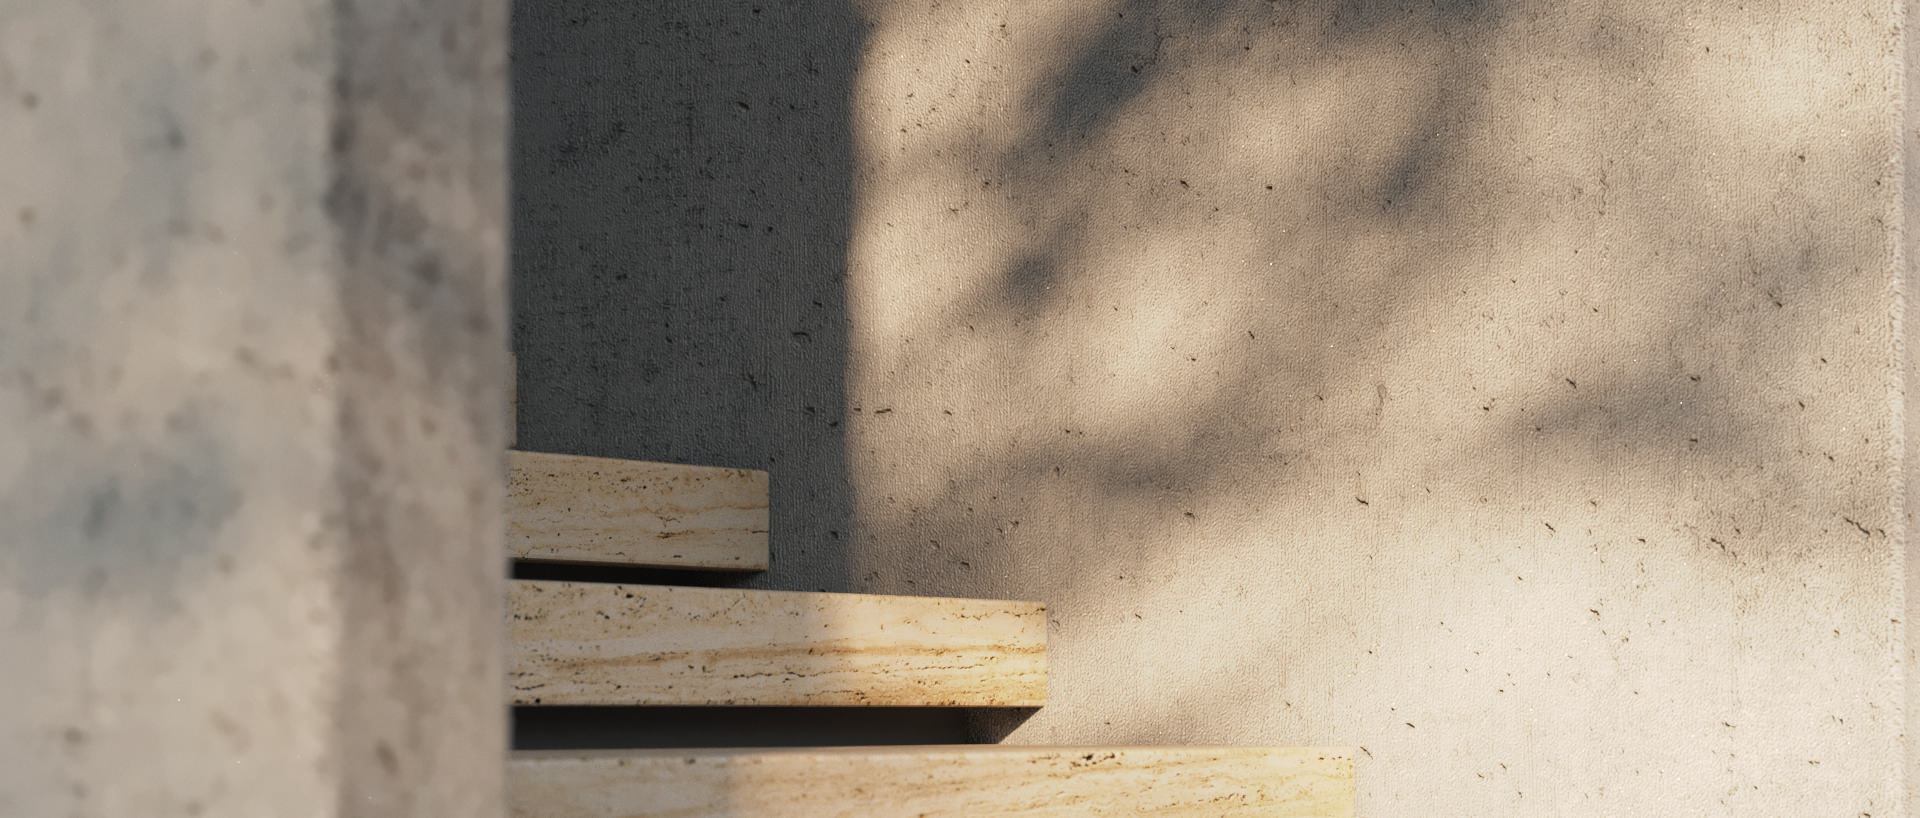
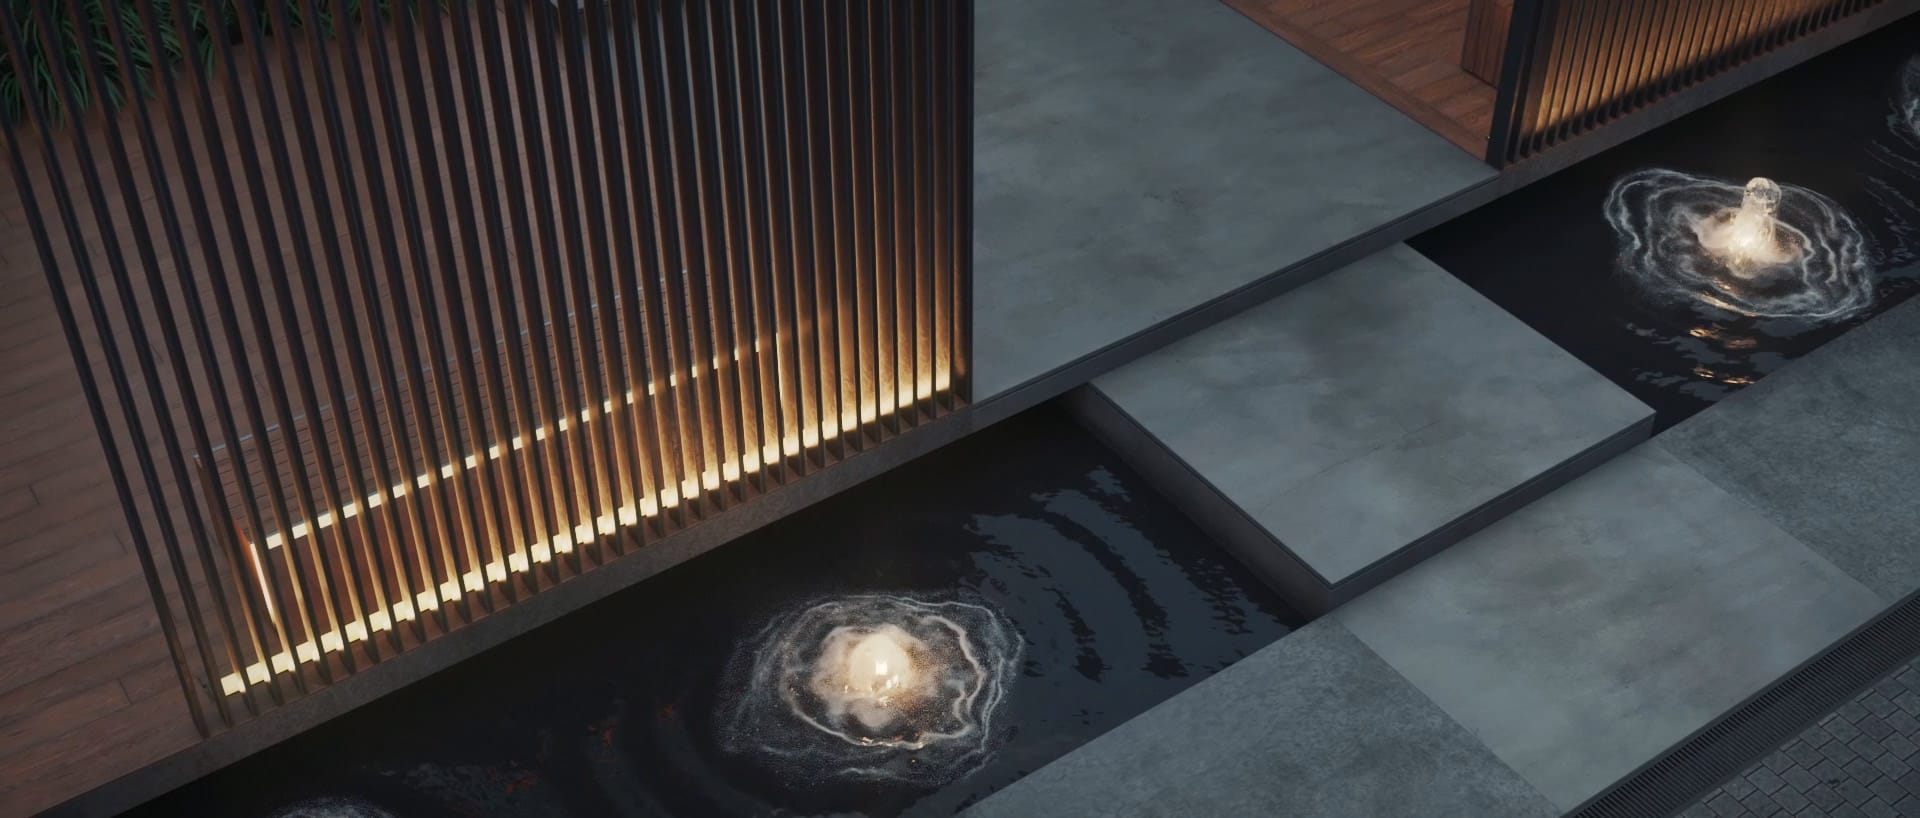
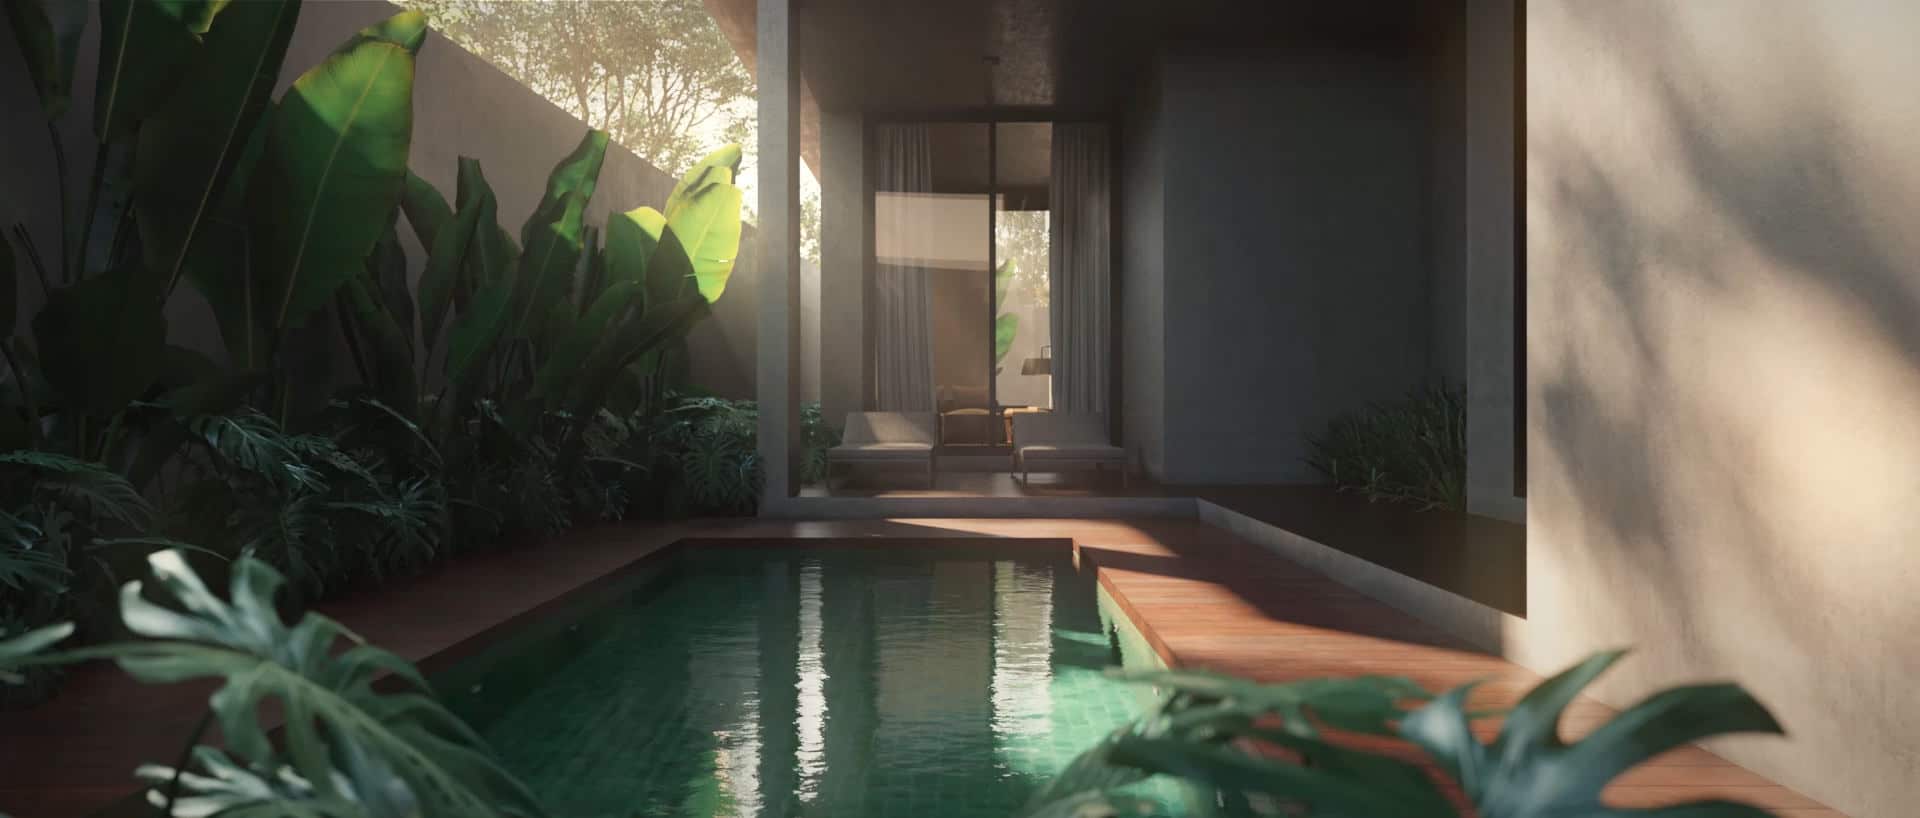
It all began with a desire to play with natural lights and some materials, namely wood, concrete, and metal. We wanted to show every part of architecture very authentically by using a warm environment’s maximum charisma.
When it came to materials and their textures, we wanted to give a natural feel. We also wanted to show connectivity from the indoor to outdoor environment of the villas.
The sole idea of making this entire animation was to make it look as natural and as elegantly exclusive as possible.
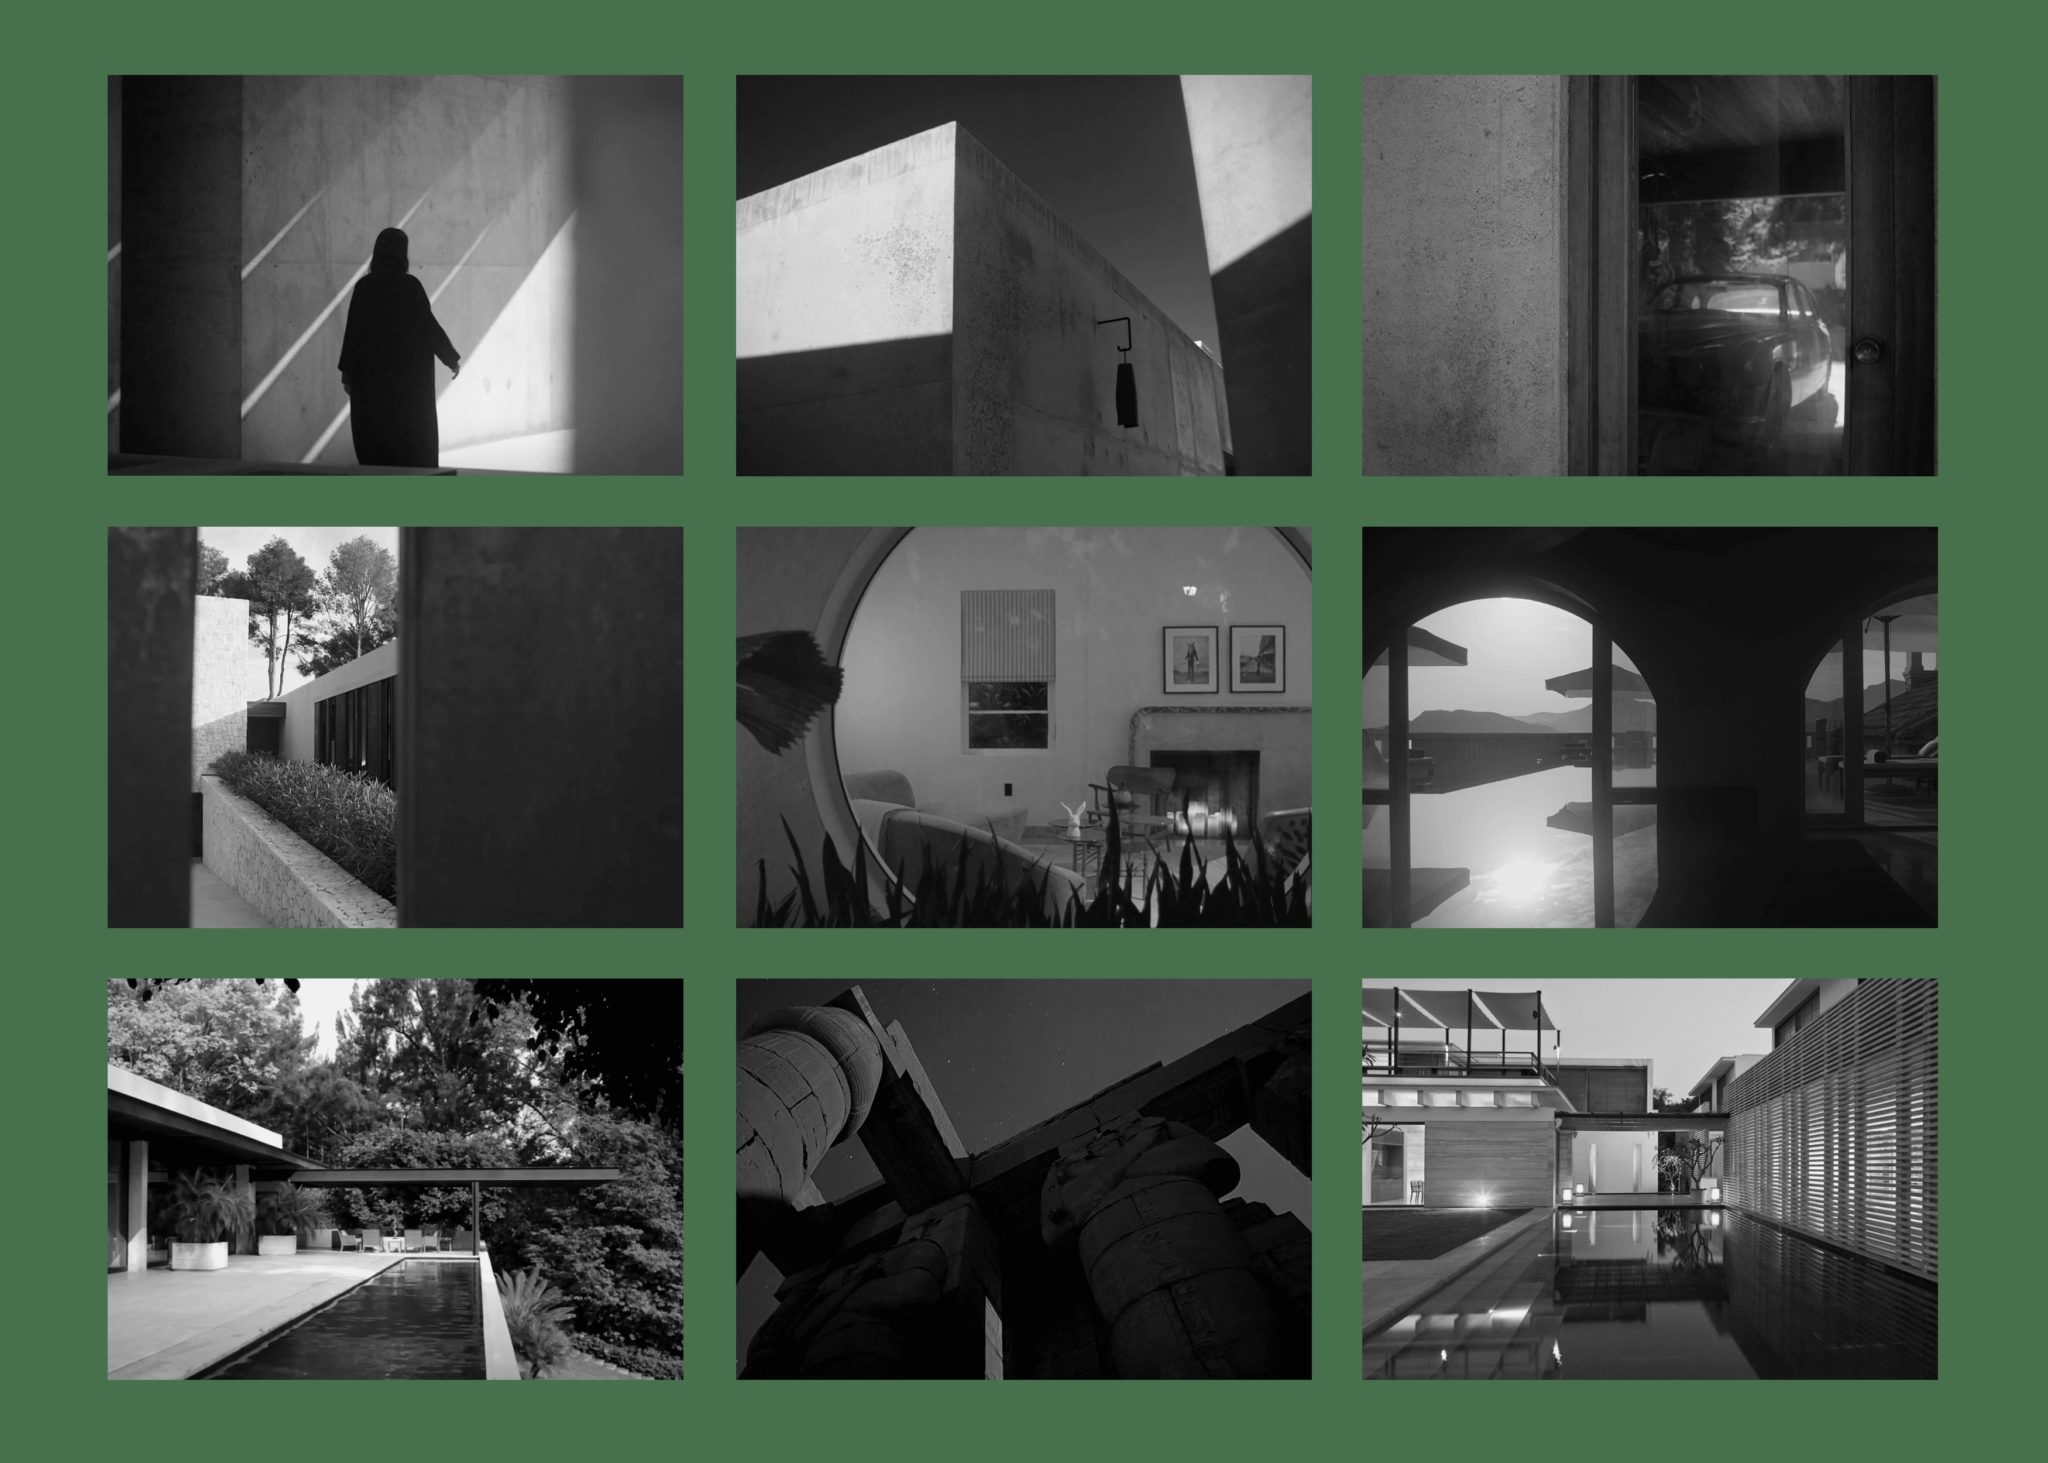
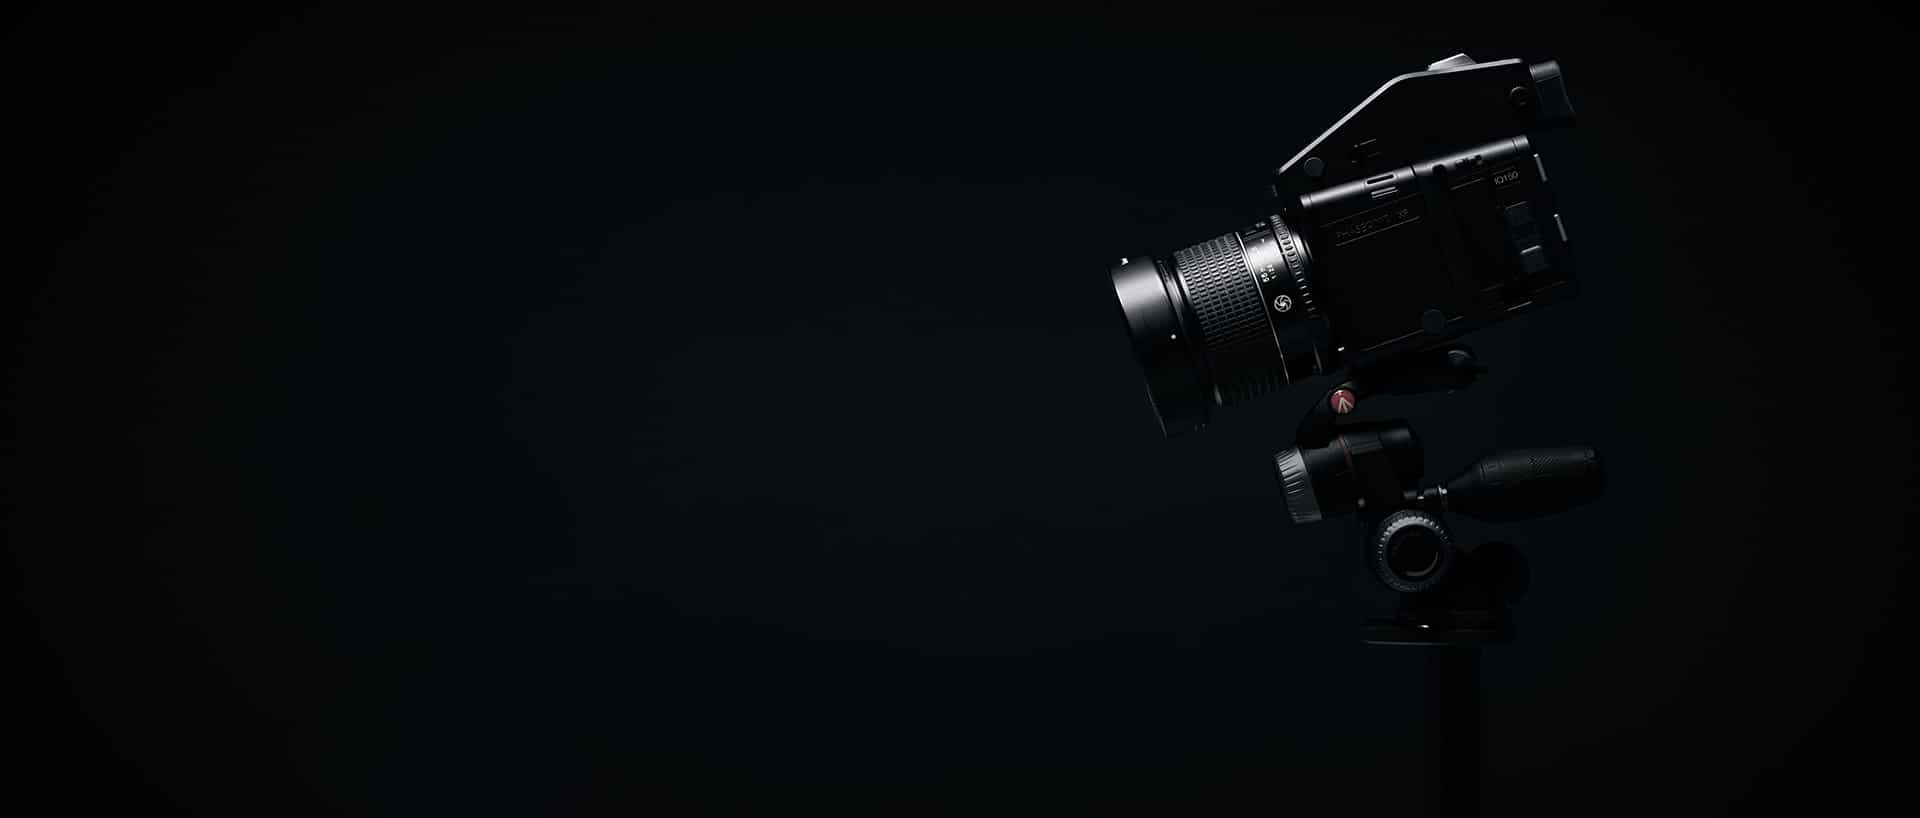
Camera Angle
The cameras we define are deciding how the viewer will perceive the entire shot or frame. In this project, we often played with leading lines in our composition.
Story Boarding
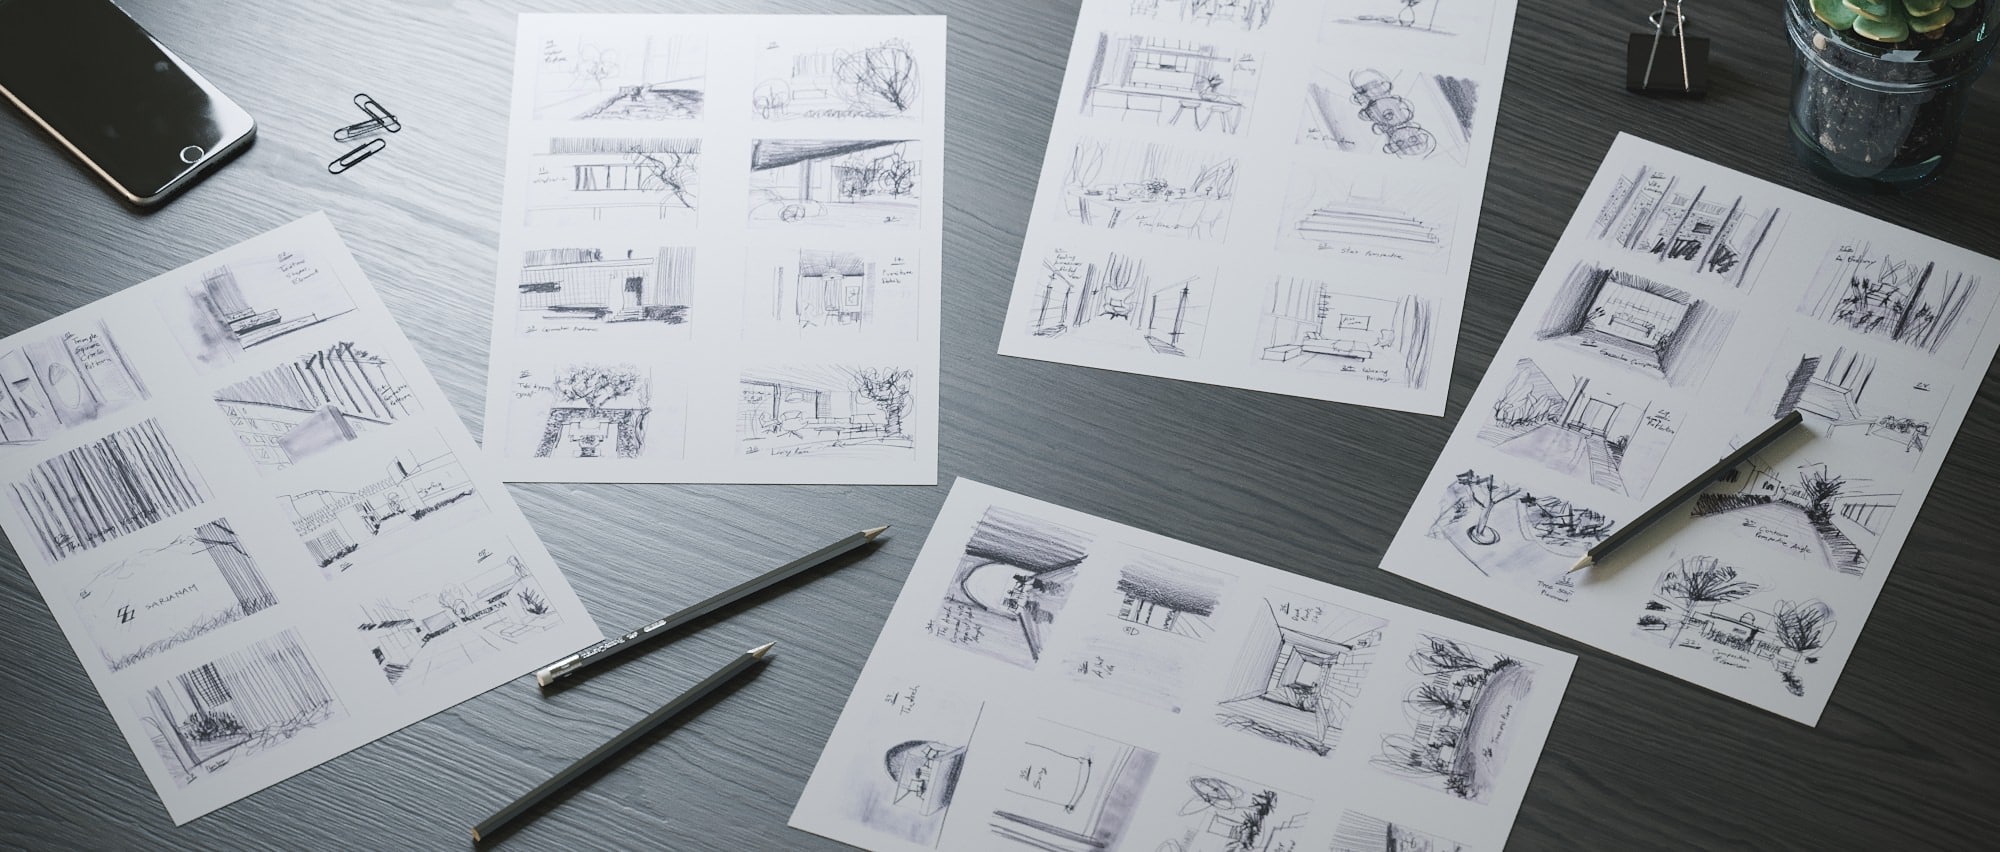
It is the best way to clear our vision, which will get us started and decide the sequential path of the film.


Animation Soundtrack
In any animation, background music plays an exciting role as it will connect the audience with some specific mood. To create a better animation visualization experience, we searched for a music piece with a beat that matches with the animation and gives a dramatic tone to it all.
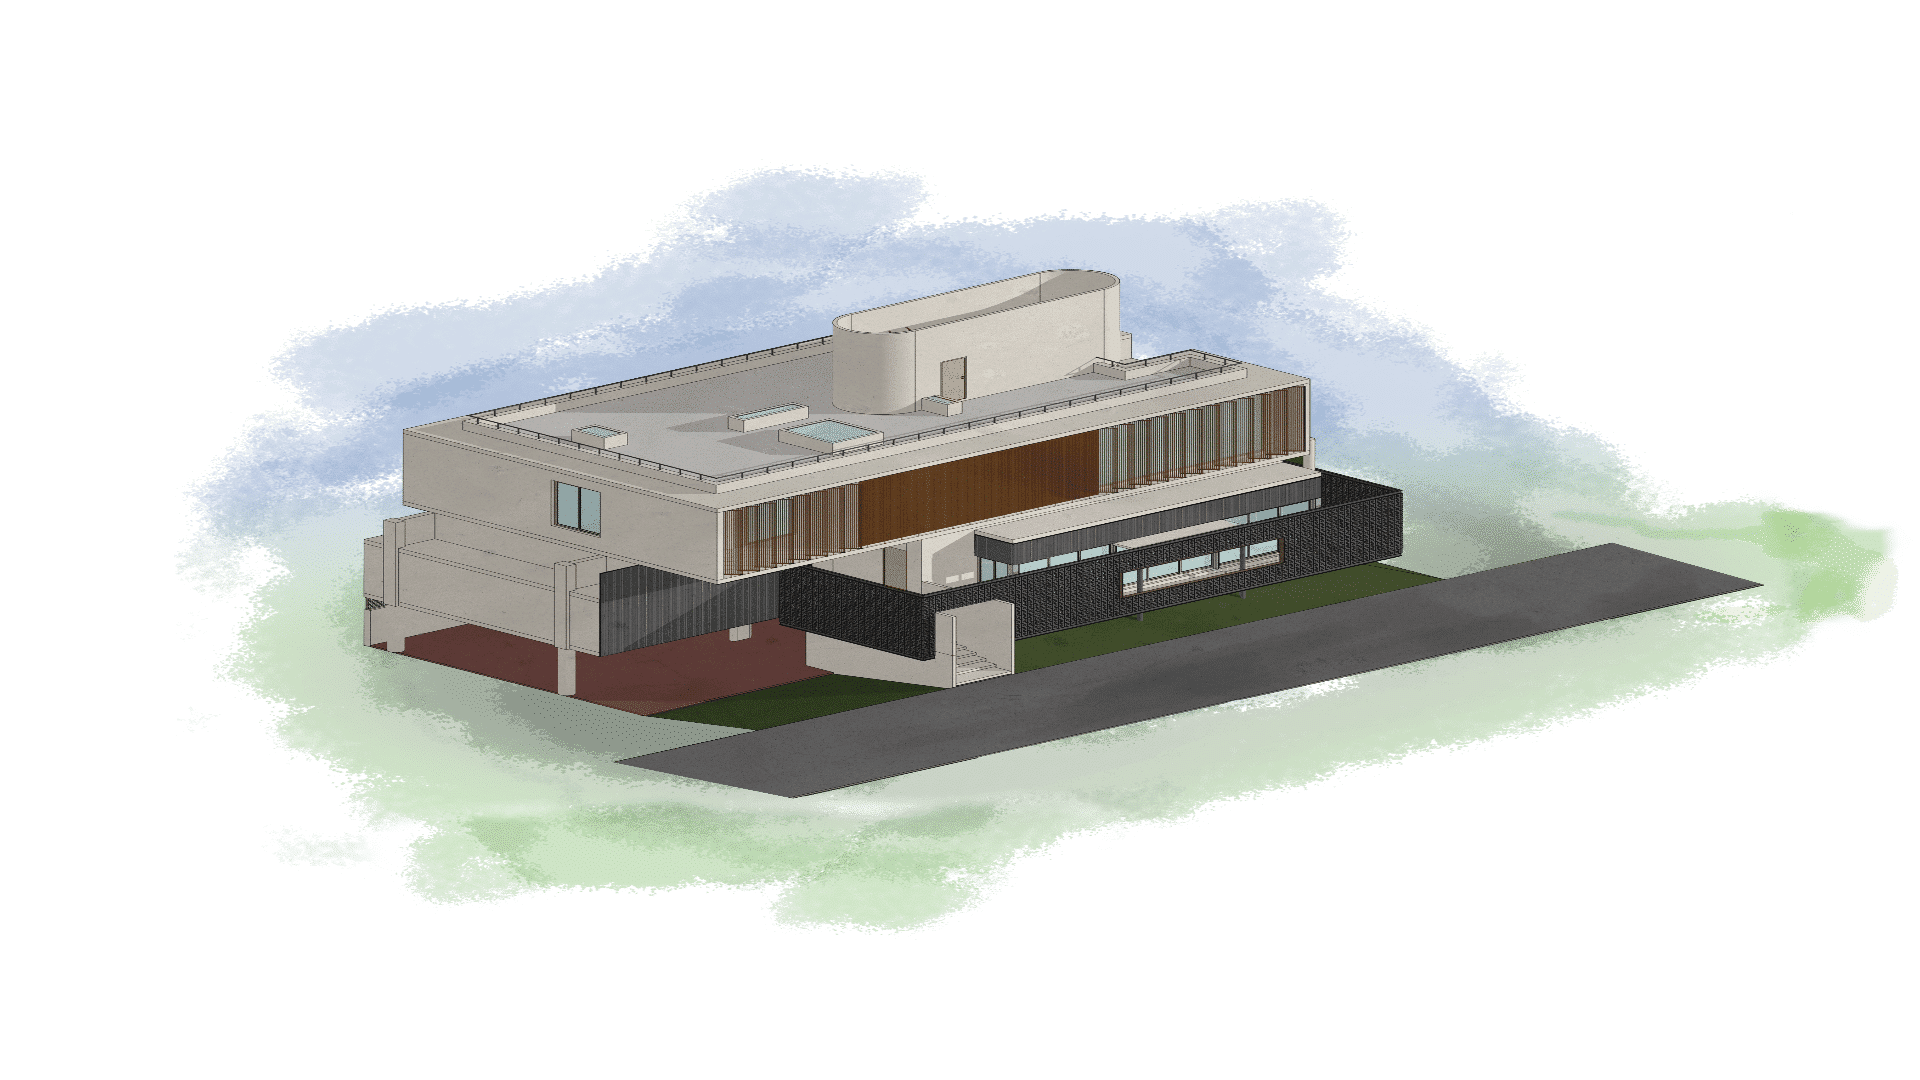
Modeling
We generally build our entire model in SketchUp as we are comfortable in it. So after doing basic modeling, we import it in Autodesk 3dsmax. After that, we refine our model by doing further detailing in 3dsmax.
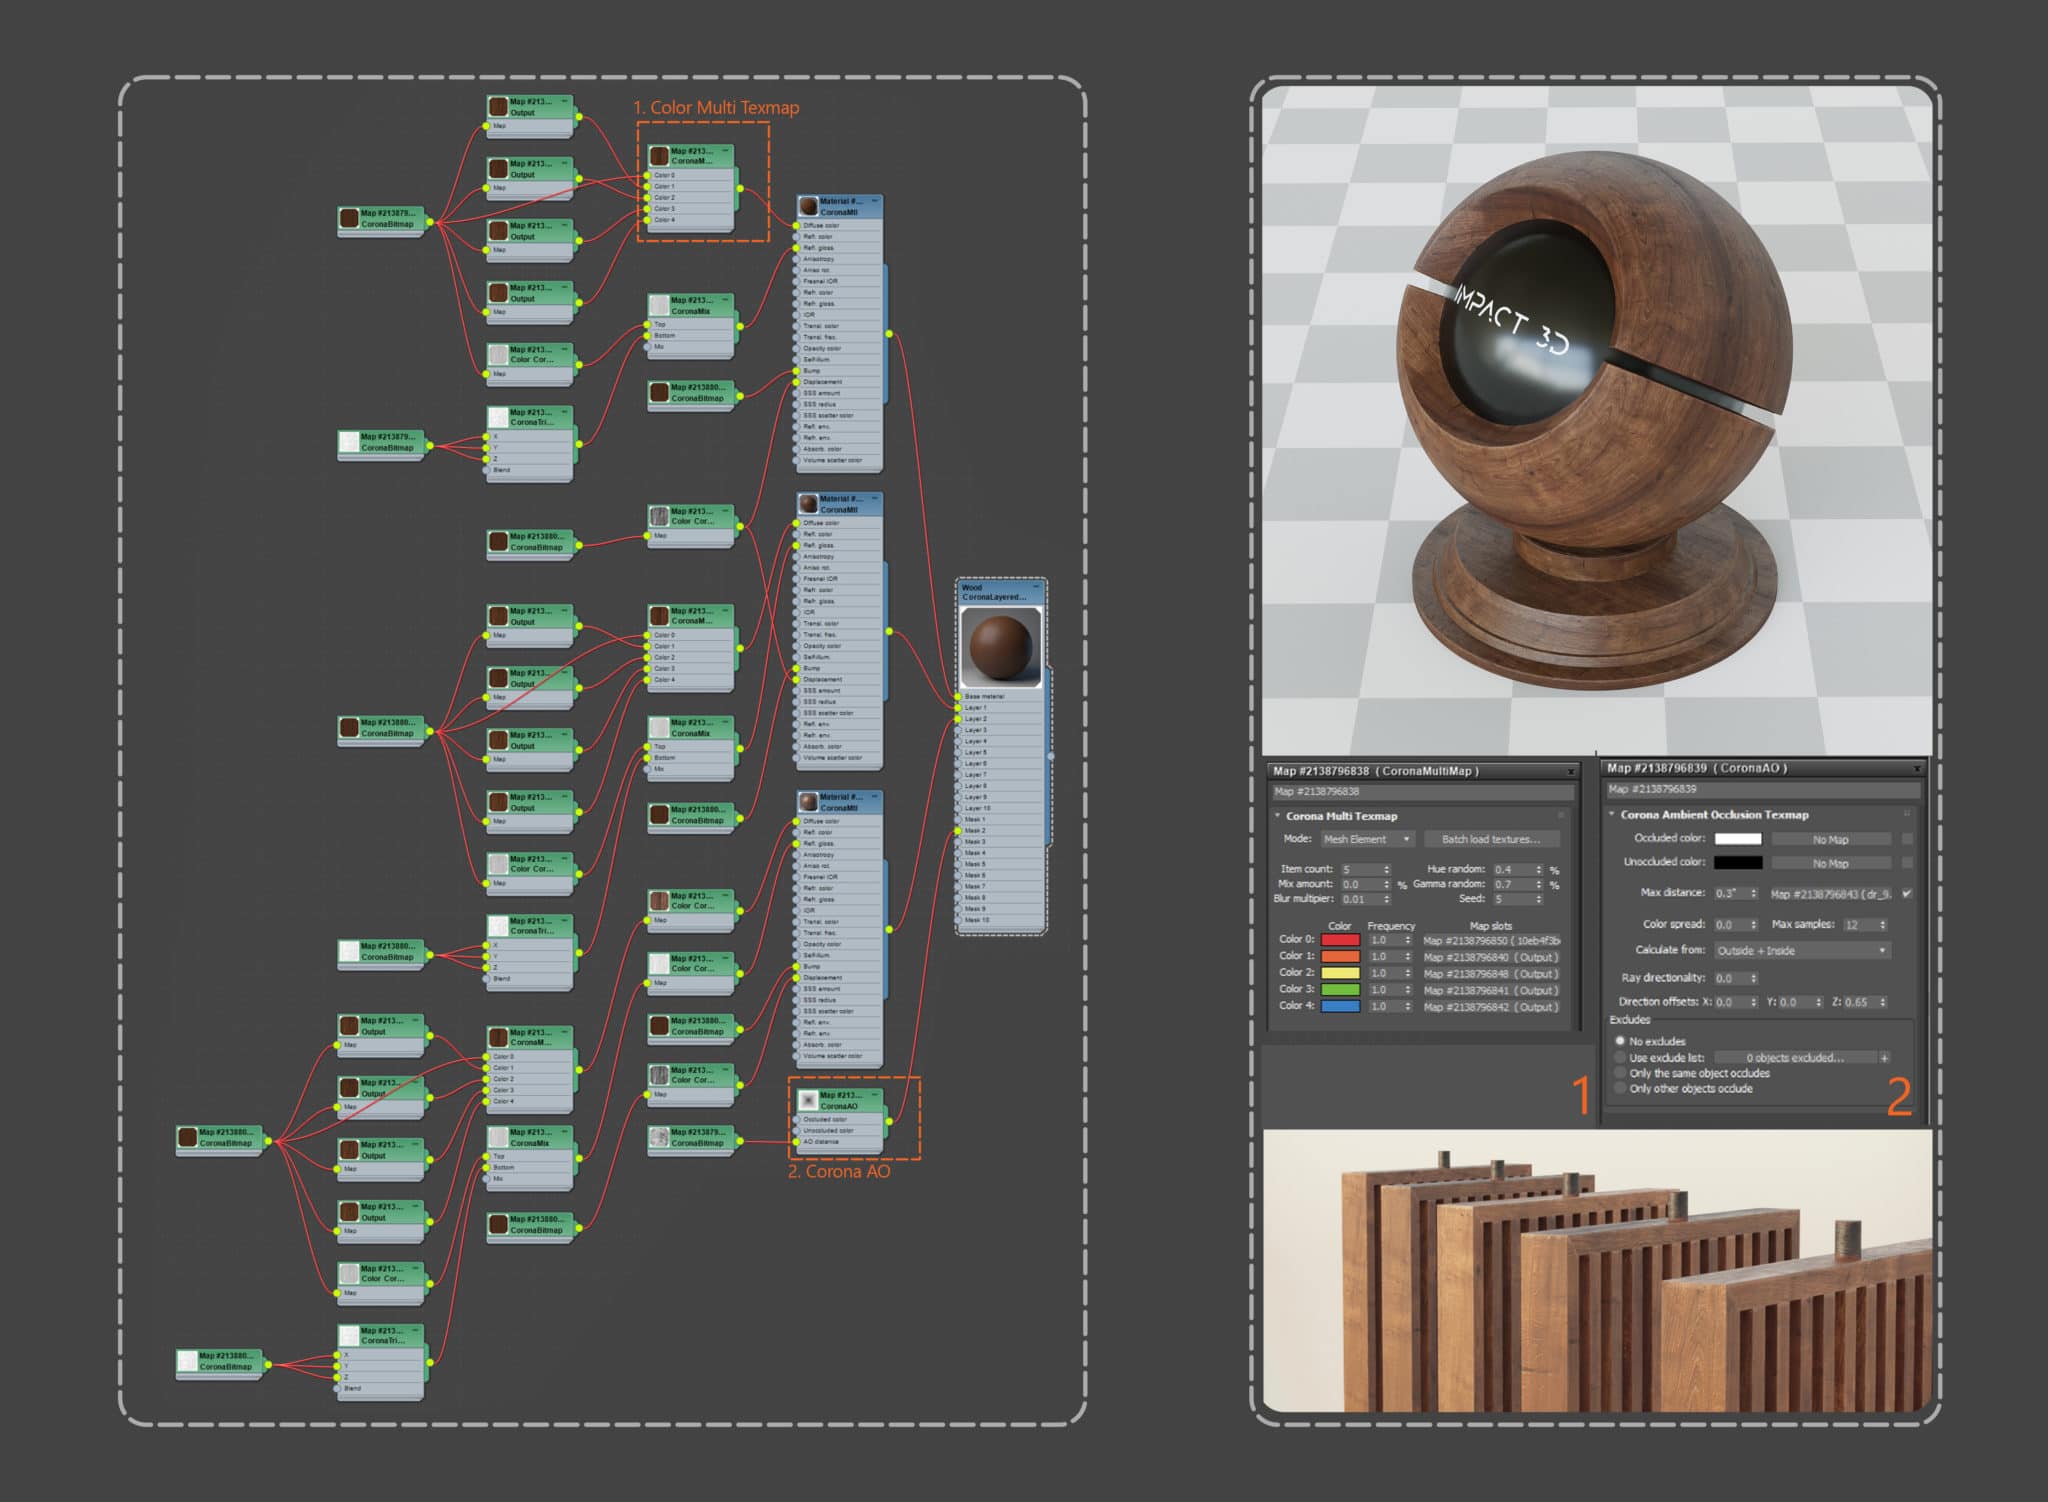
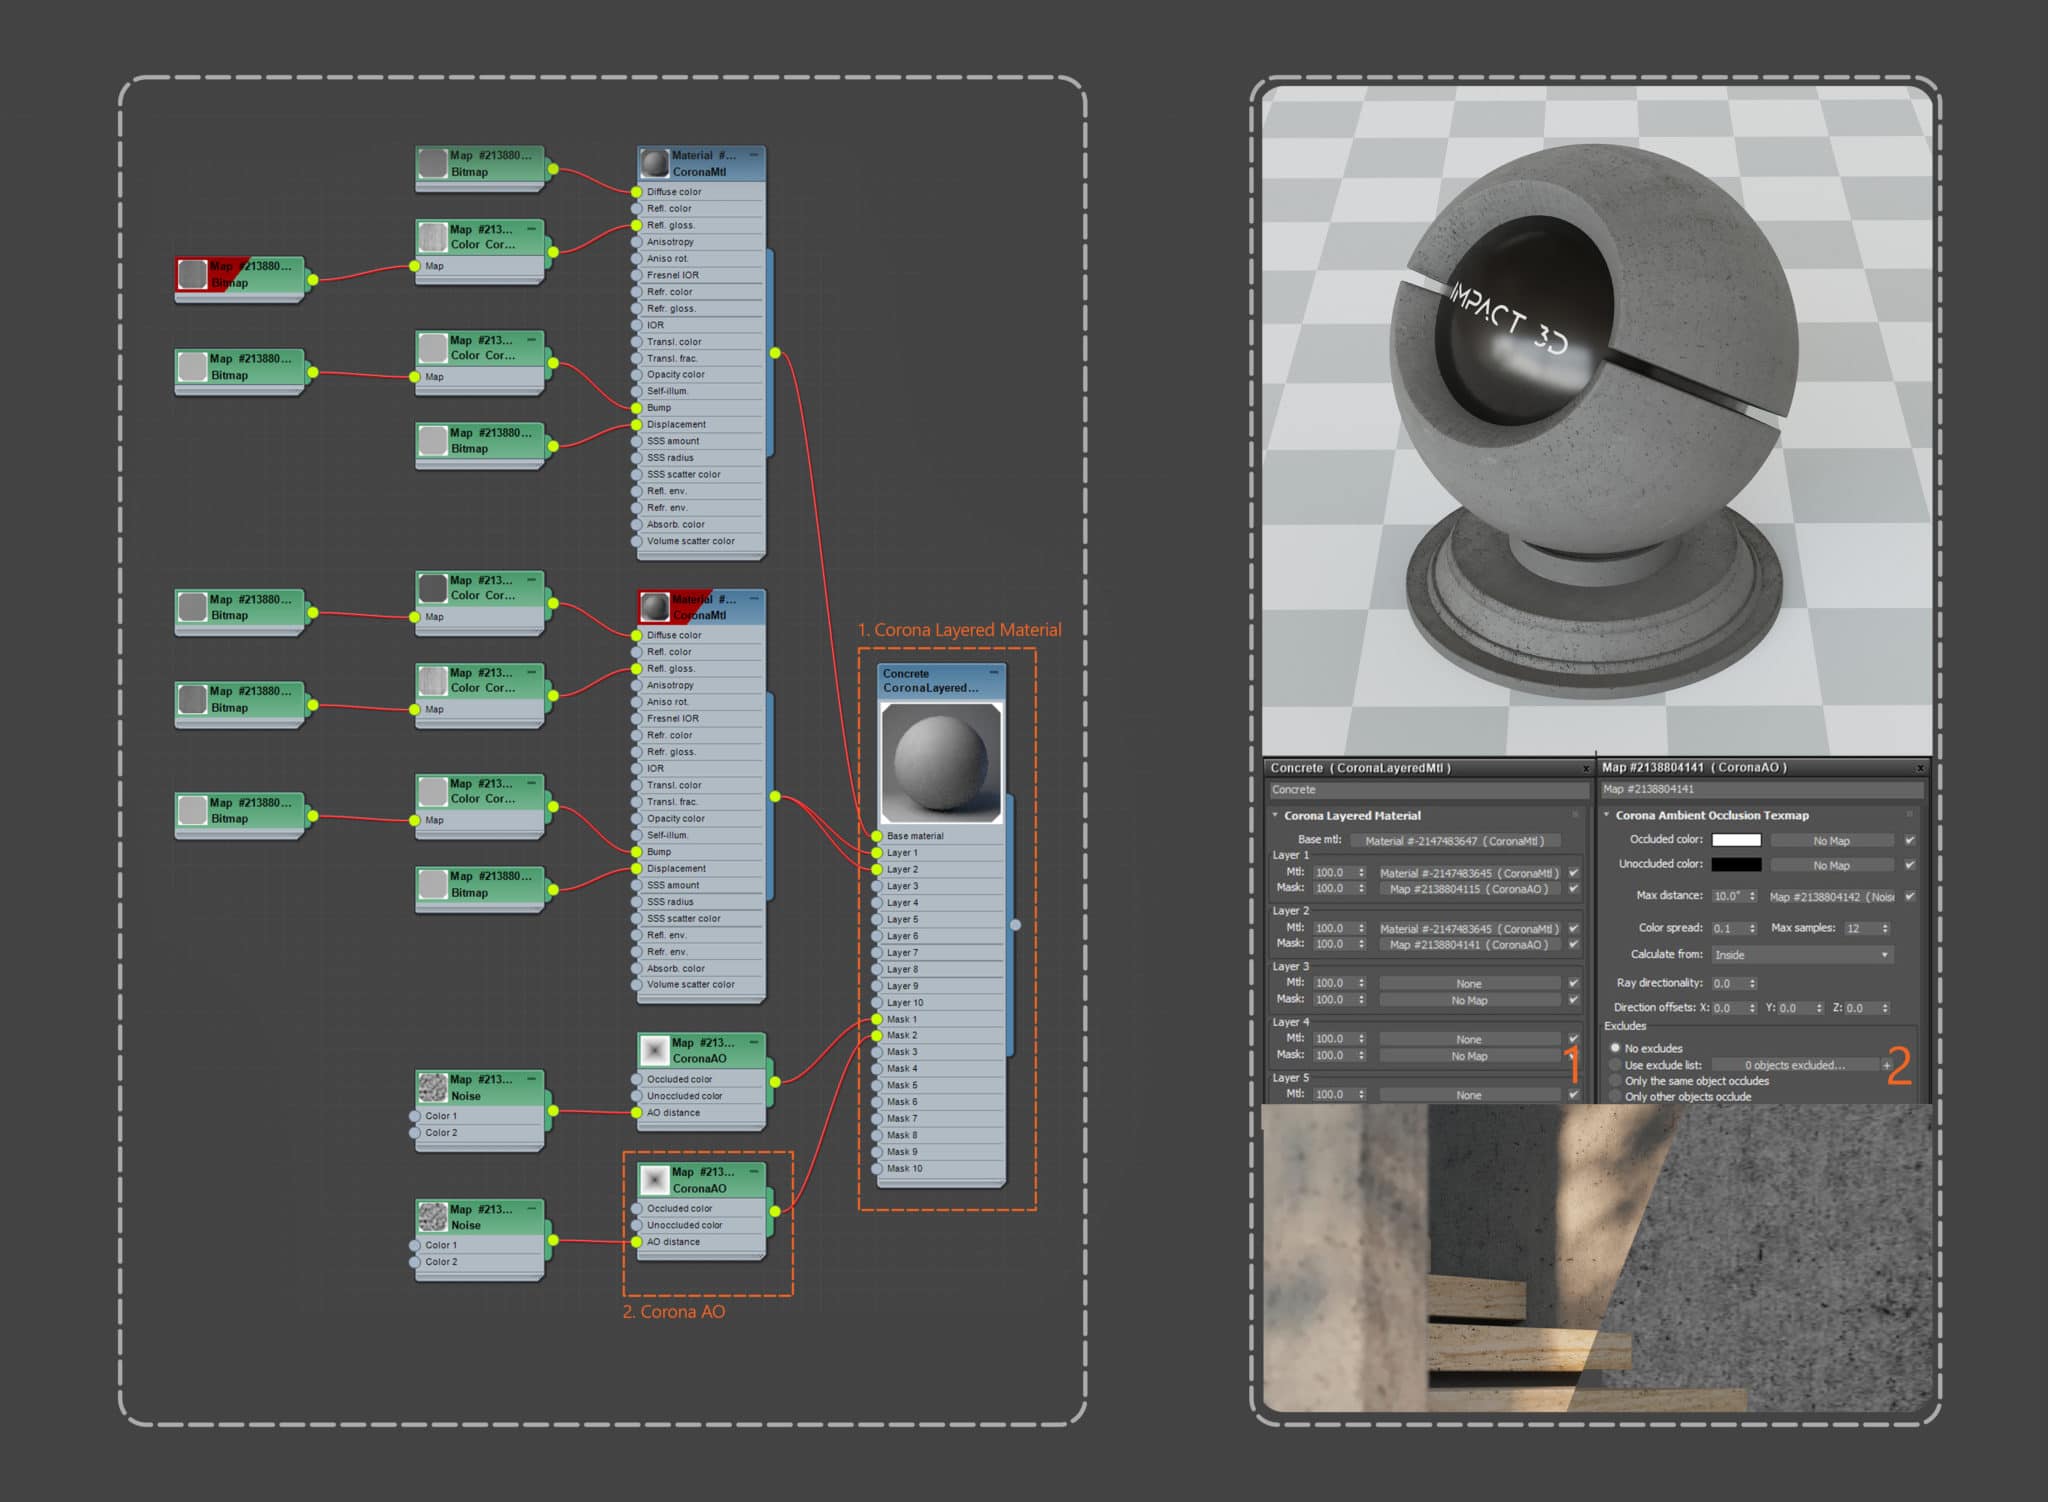
Texturing and Materials
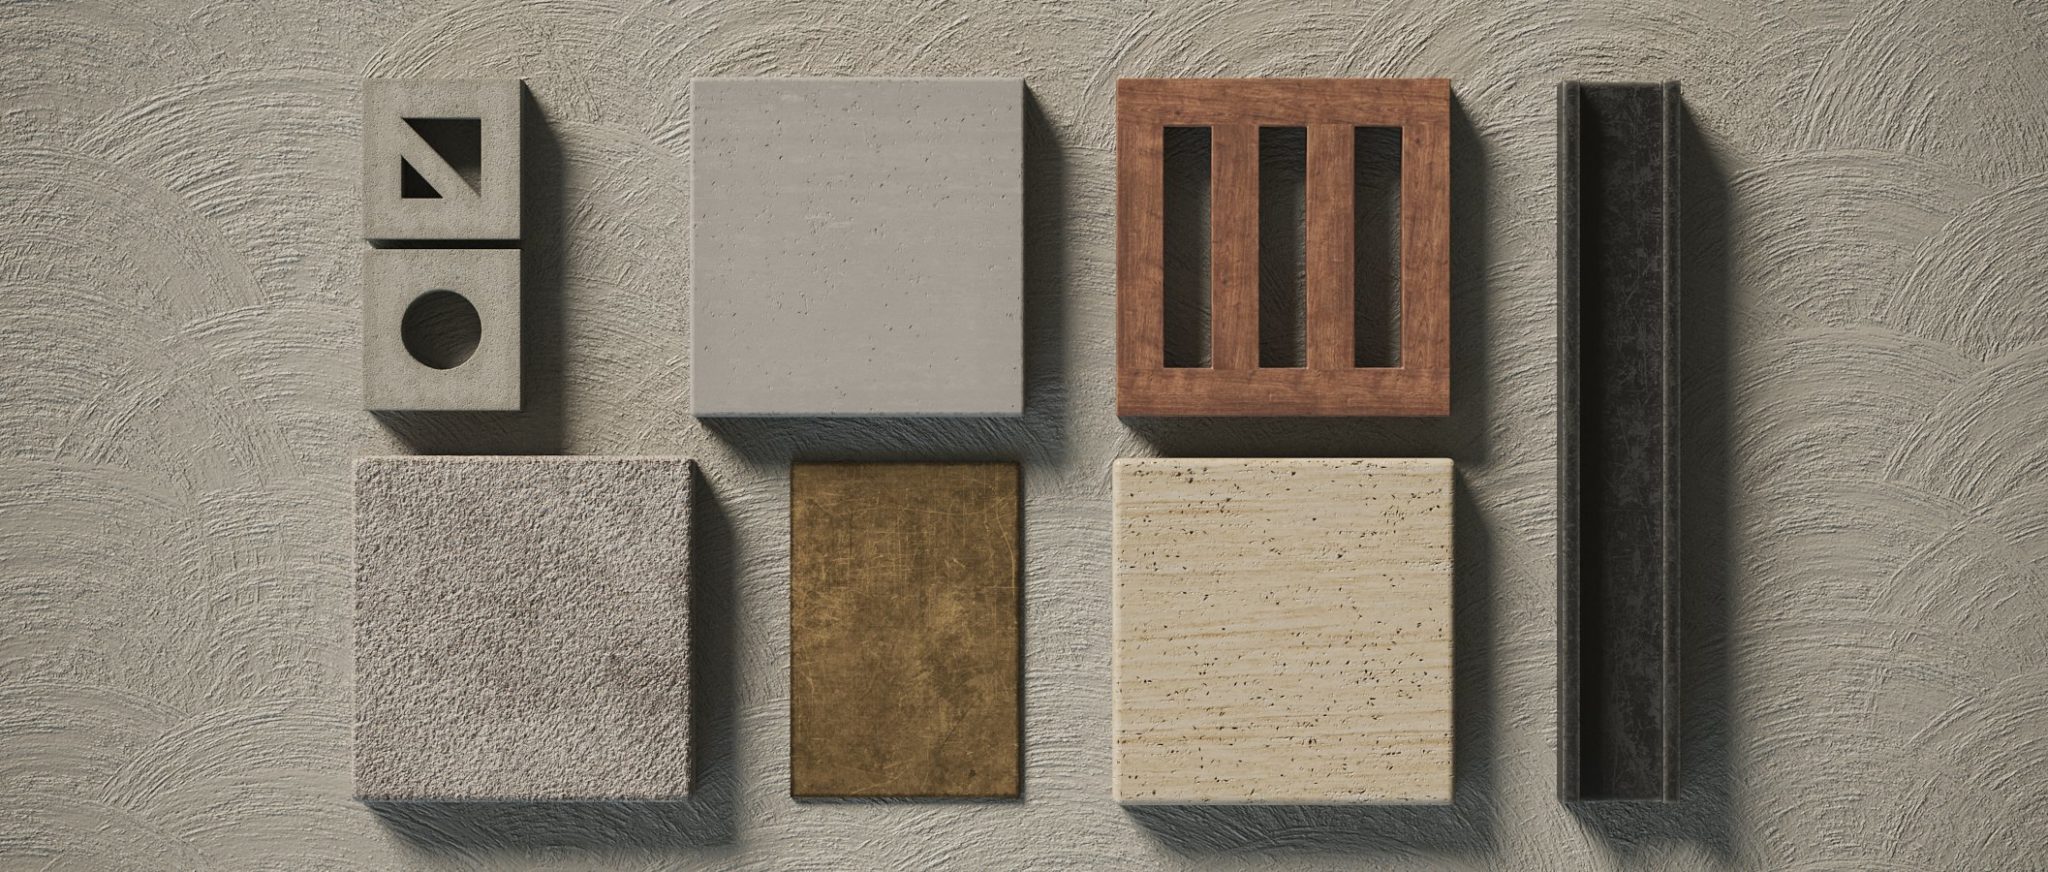
Since textures and materials play an essential role in any animation and since the entire architecture played with materials, we dedicated special attention to these. We had used corona renderer, and our supreme focus when it came to this part was to make every surface texture and every single material feel as naturally realistic as possible.
Here are a few material previews for your better understanding.
Landscaping
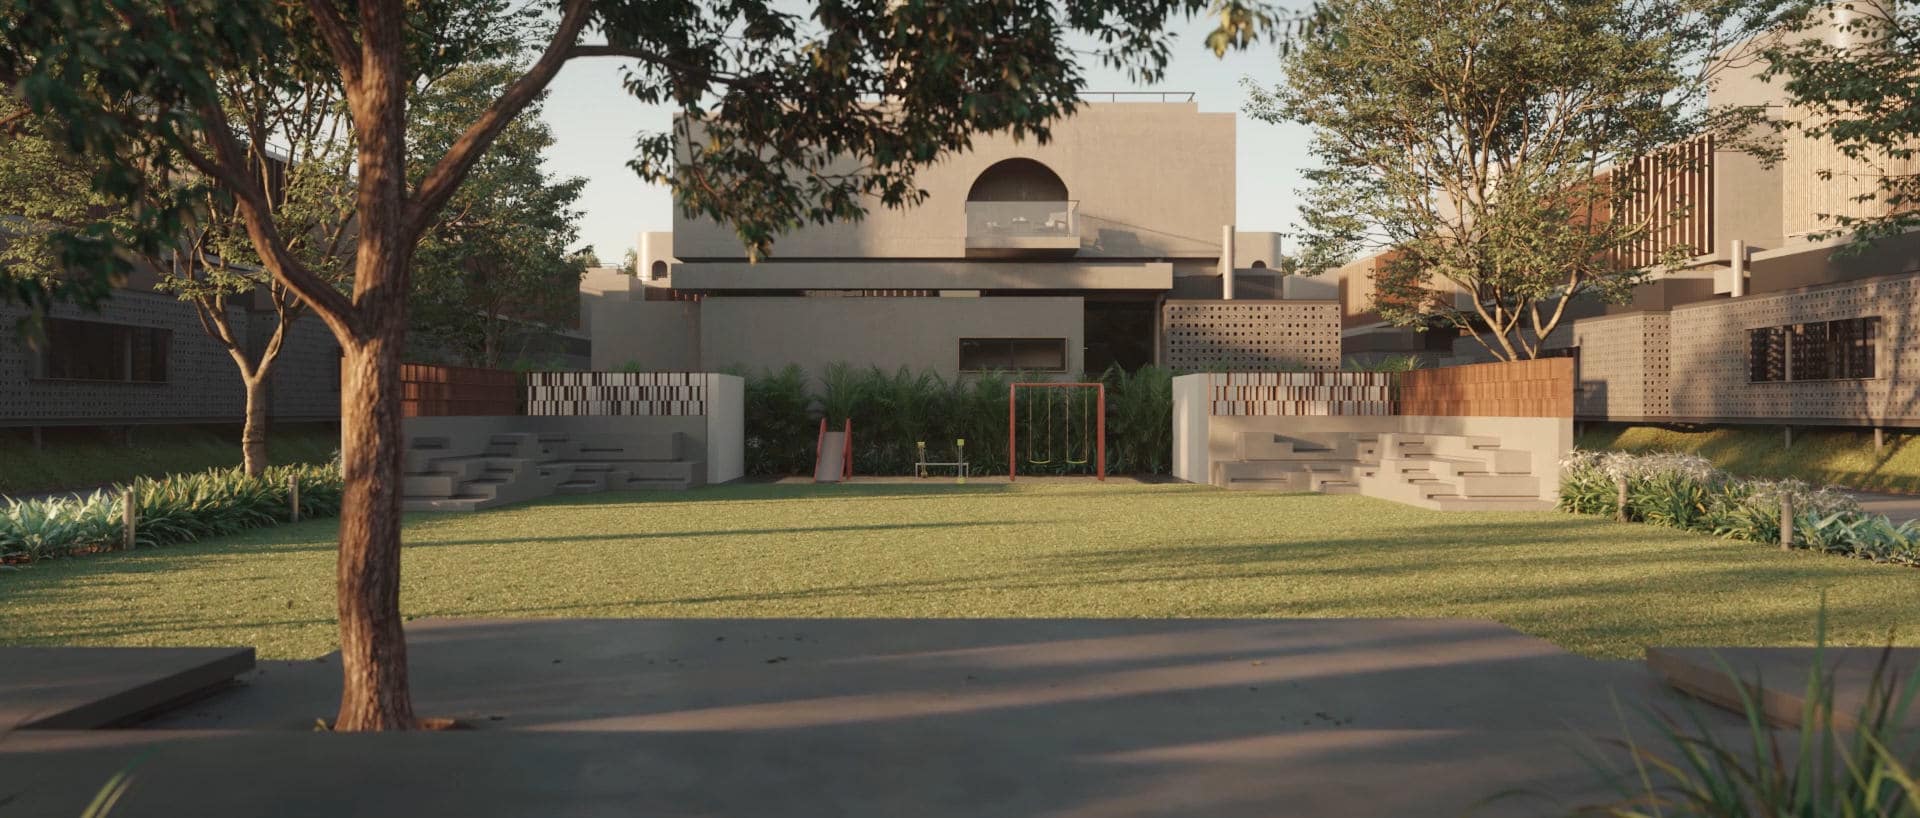
We’ve implemented the landscape design delivered to us by our client, representing what they aim to plant once the house is complete.
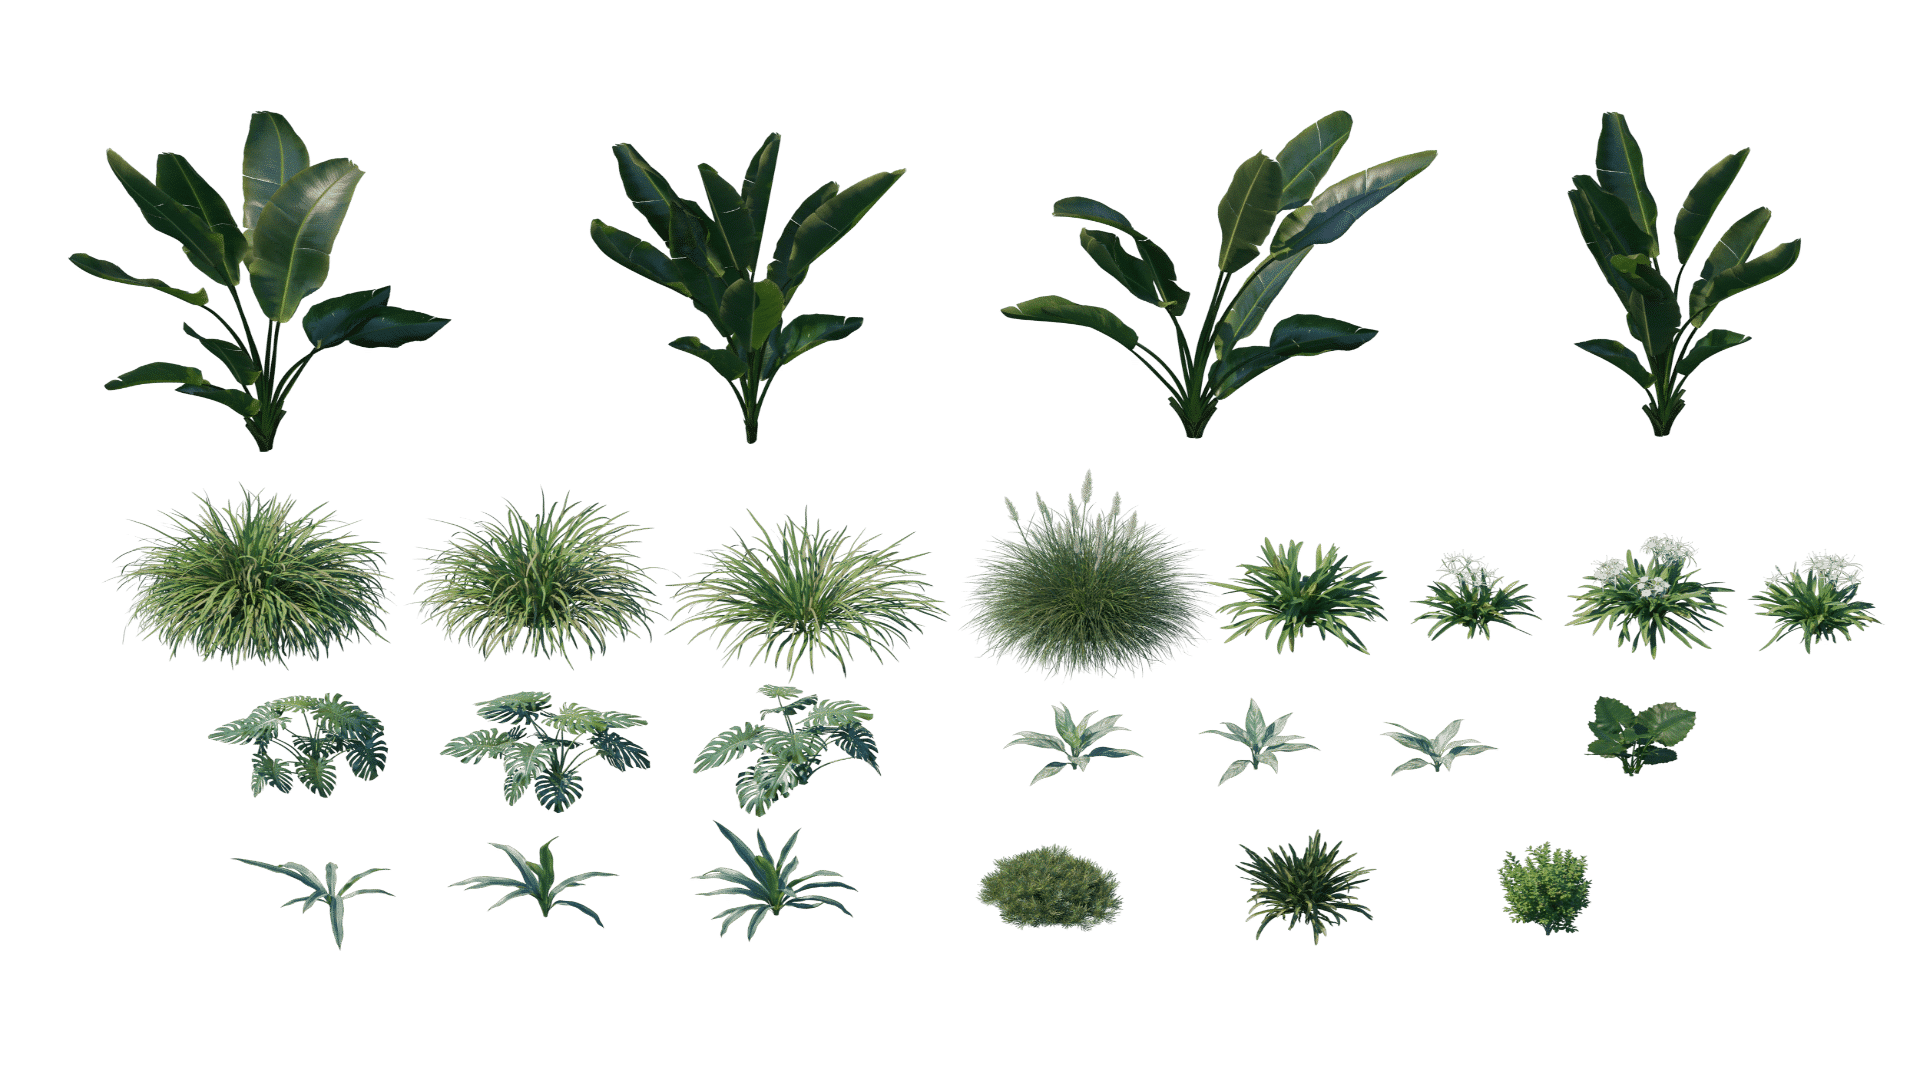
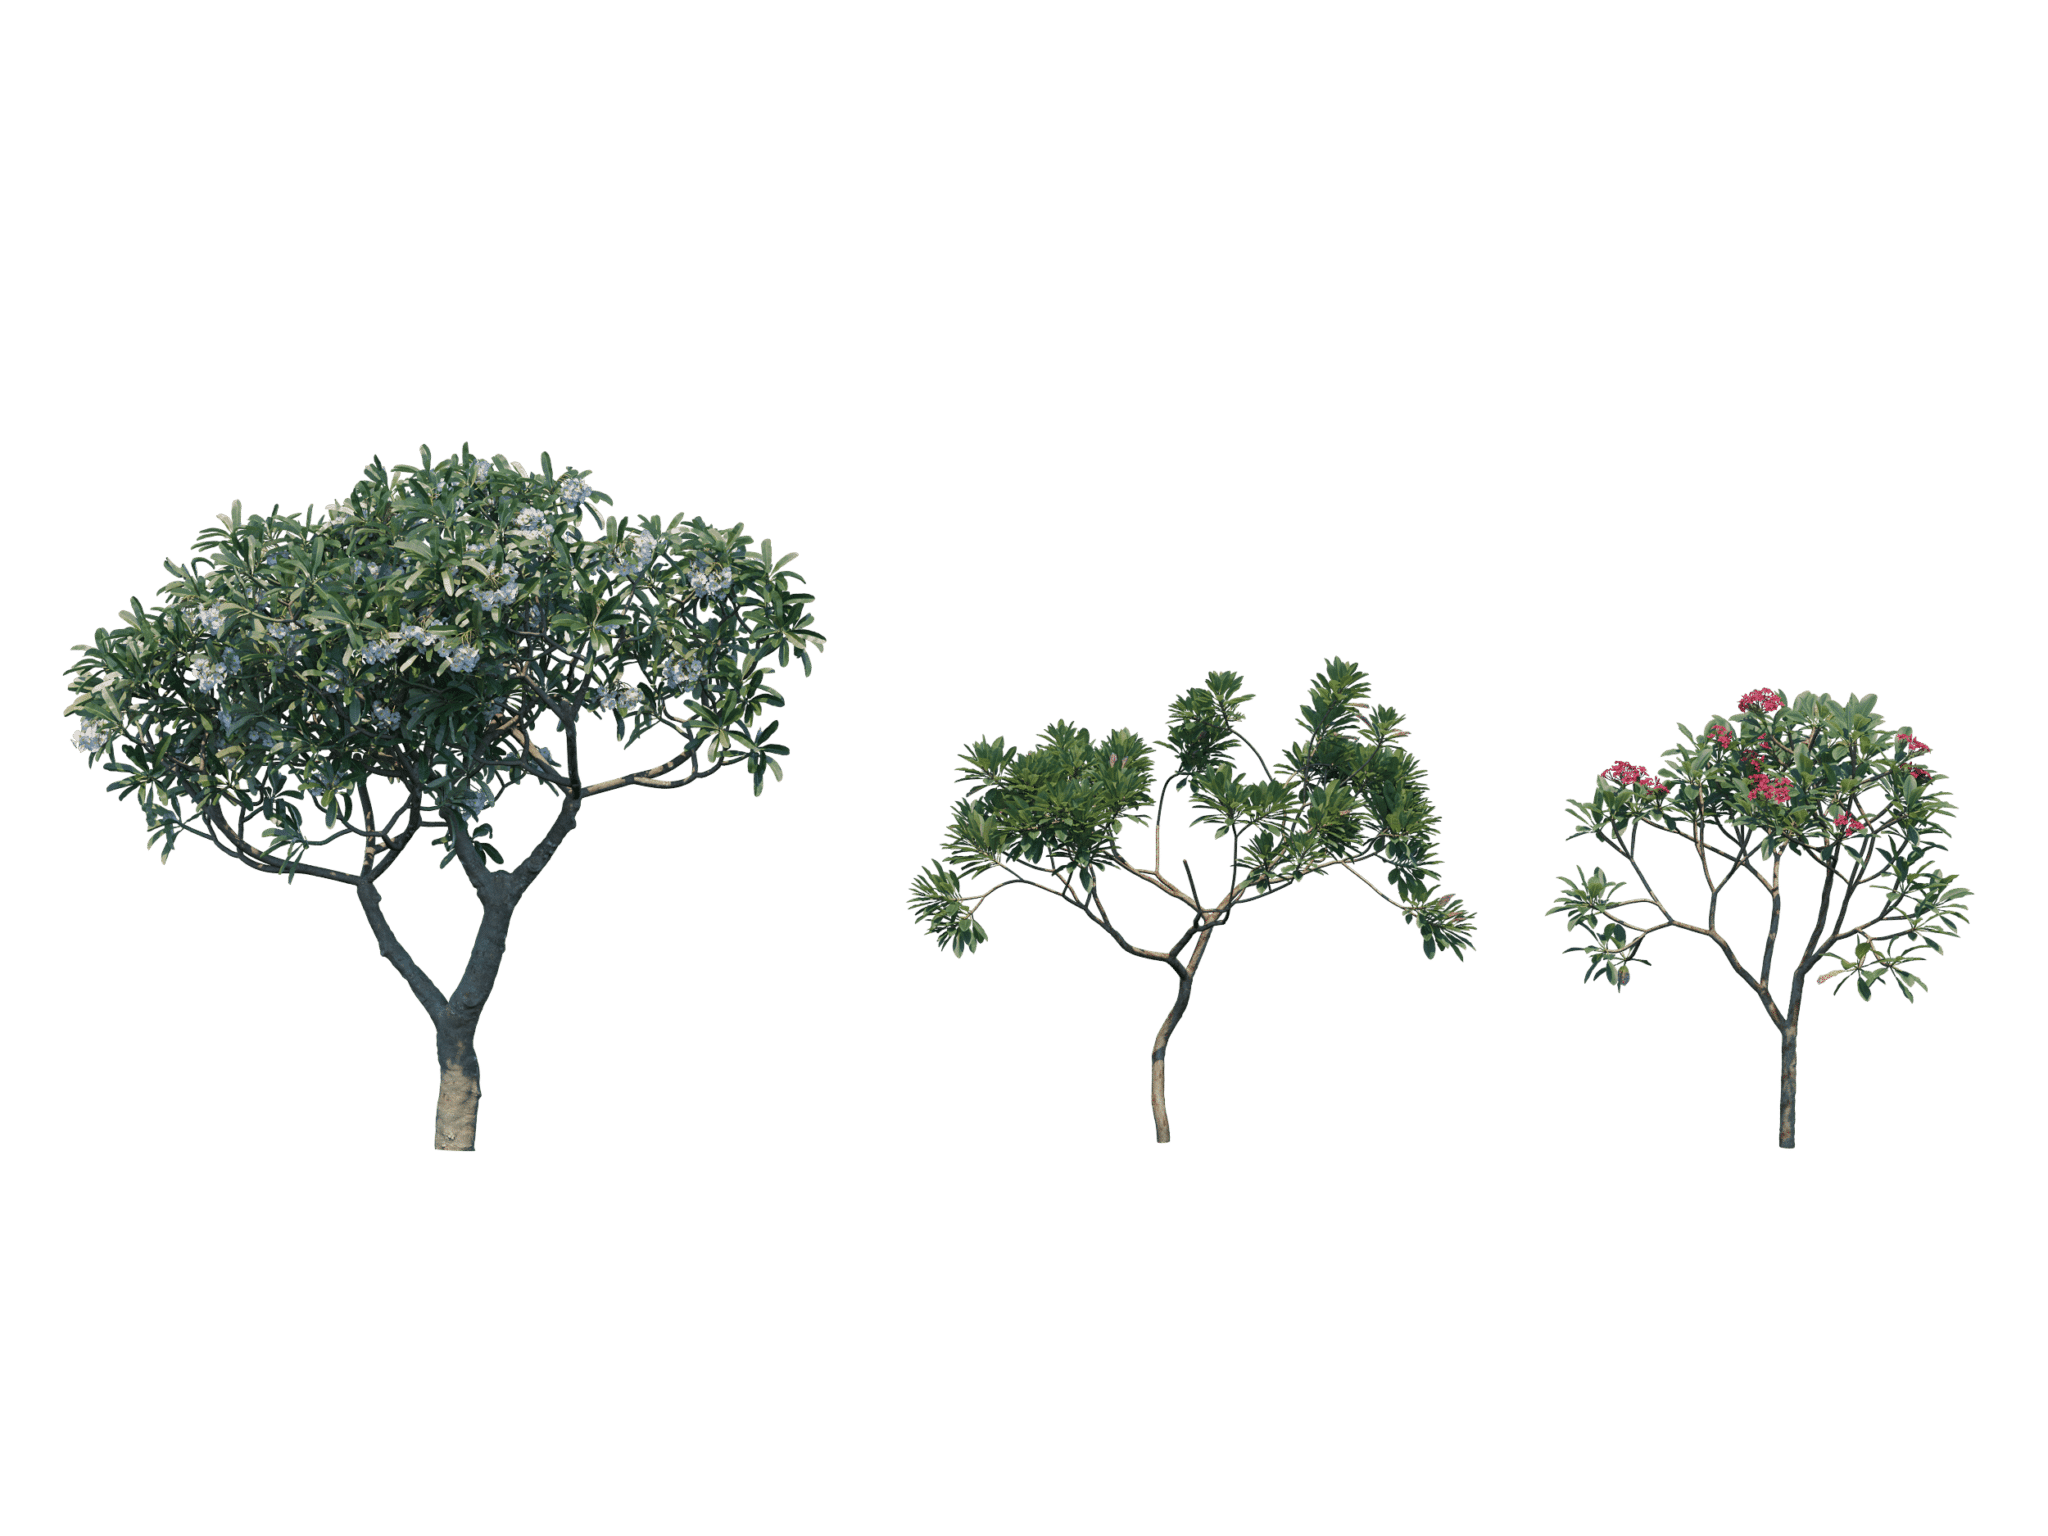
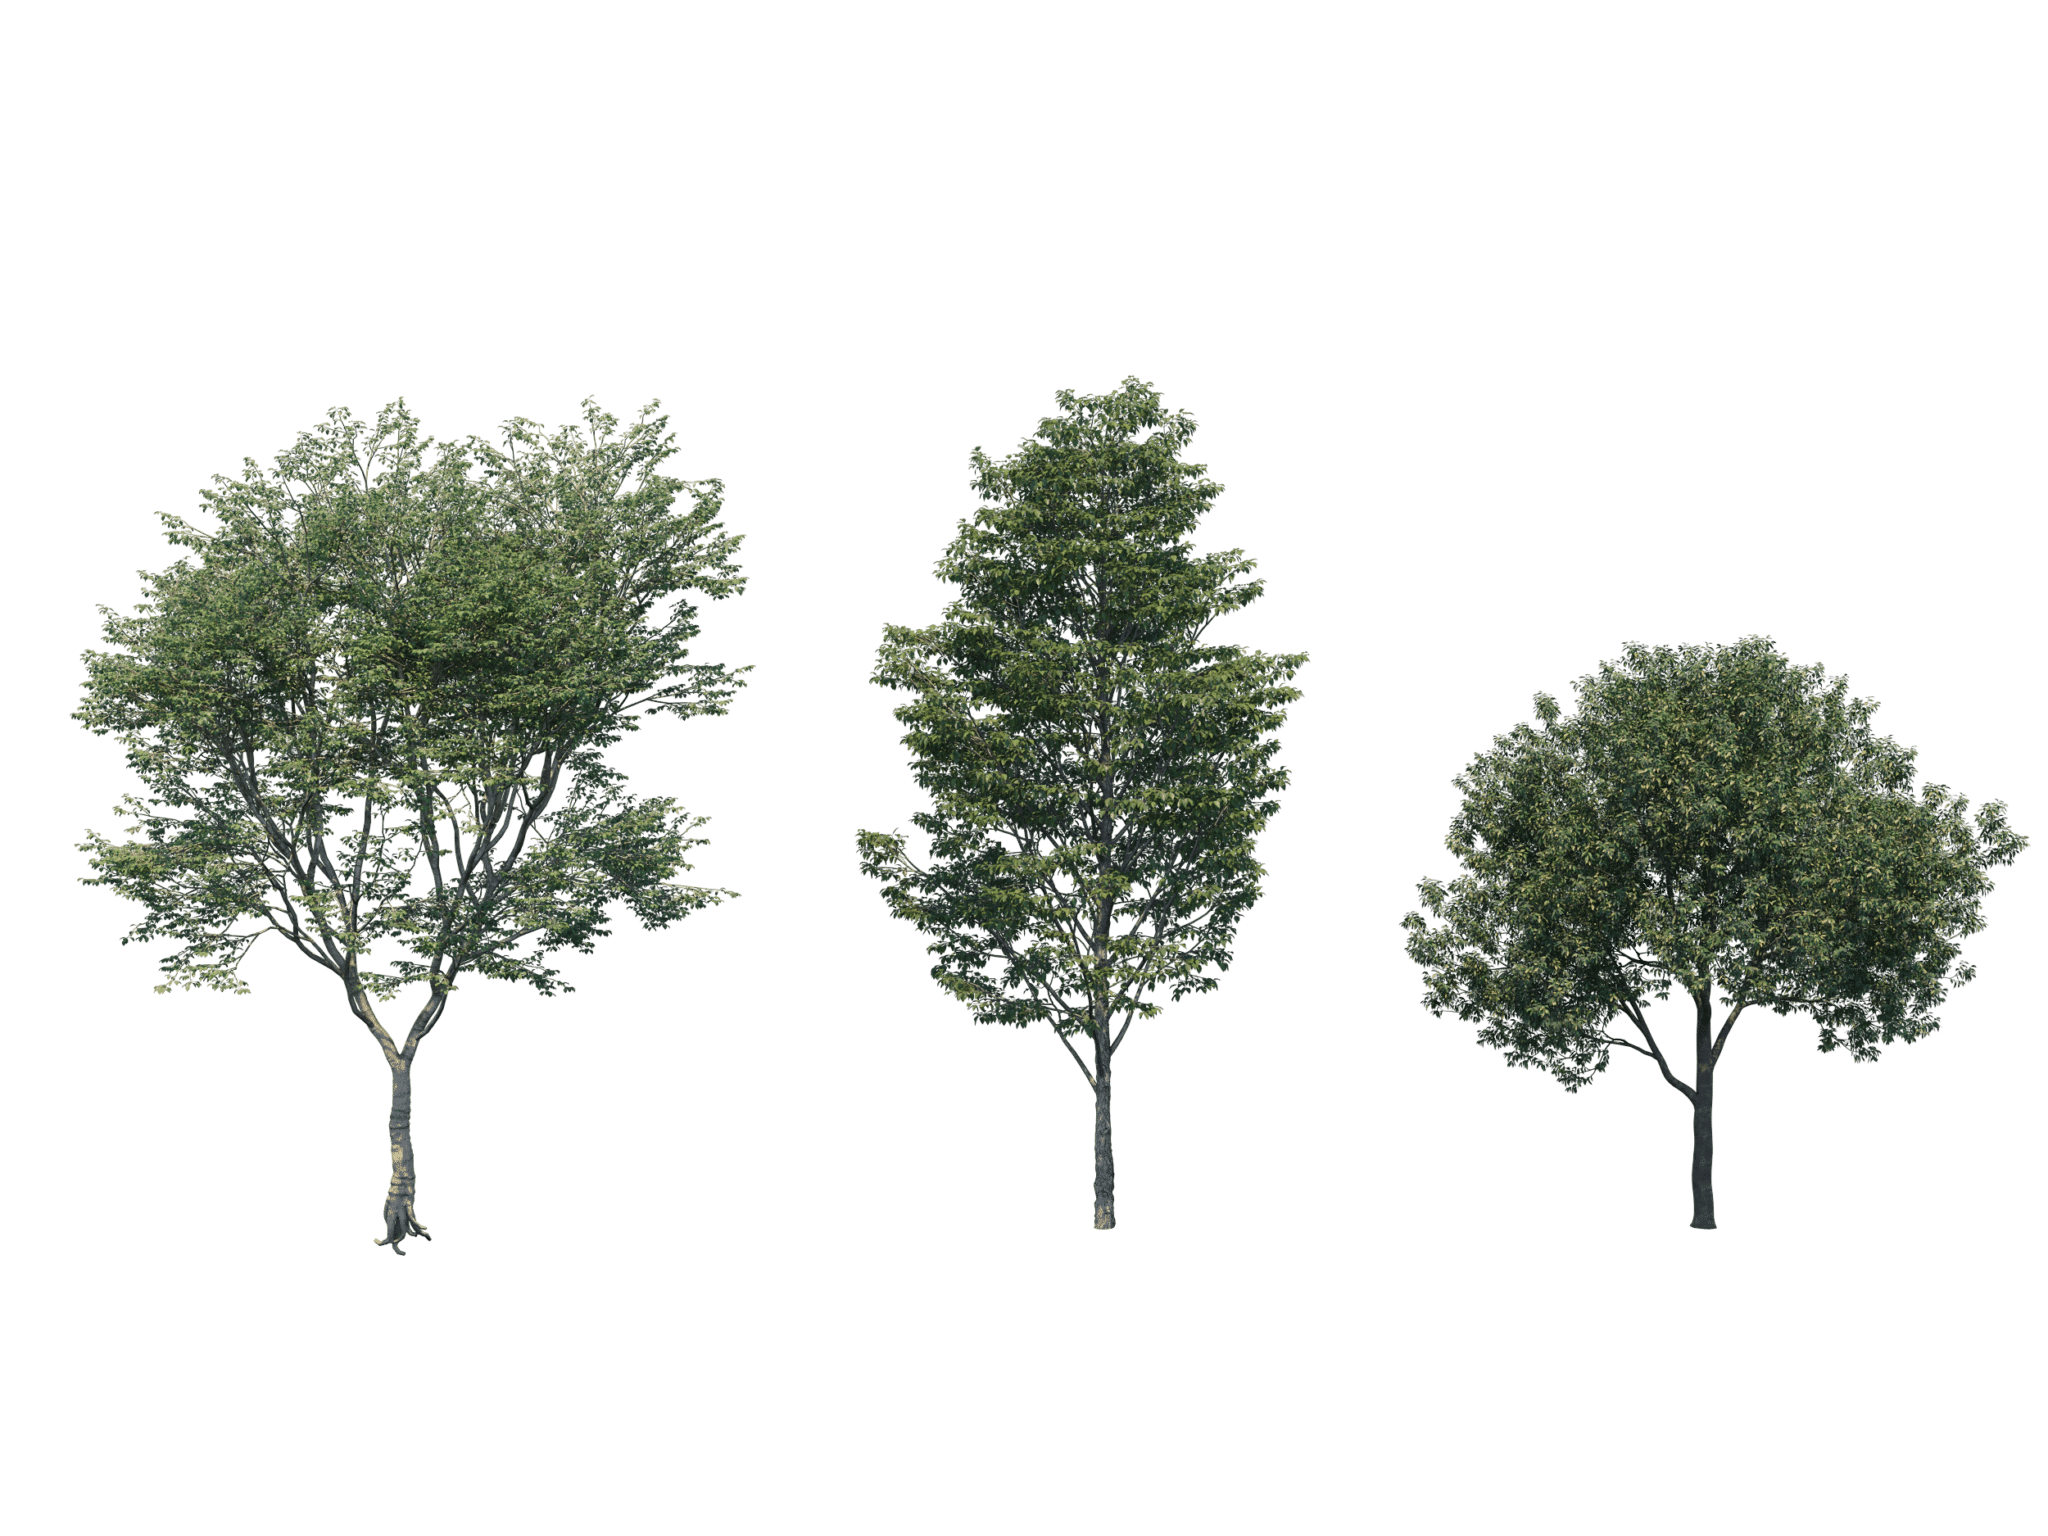
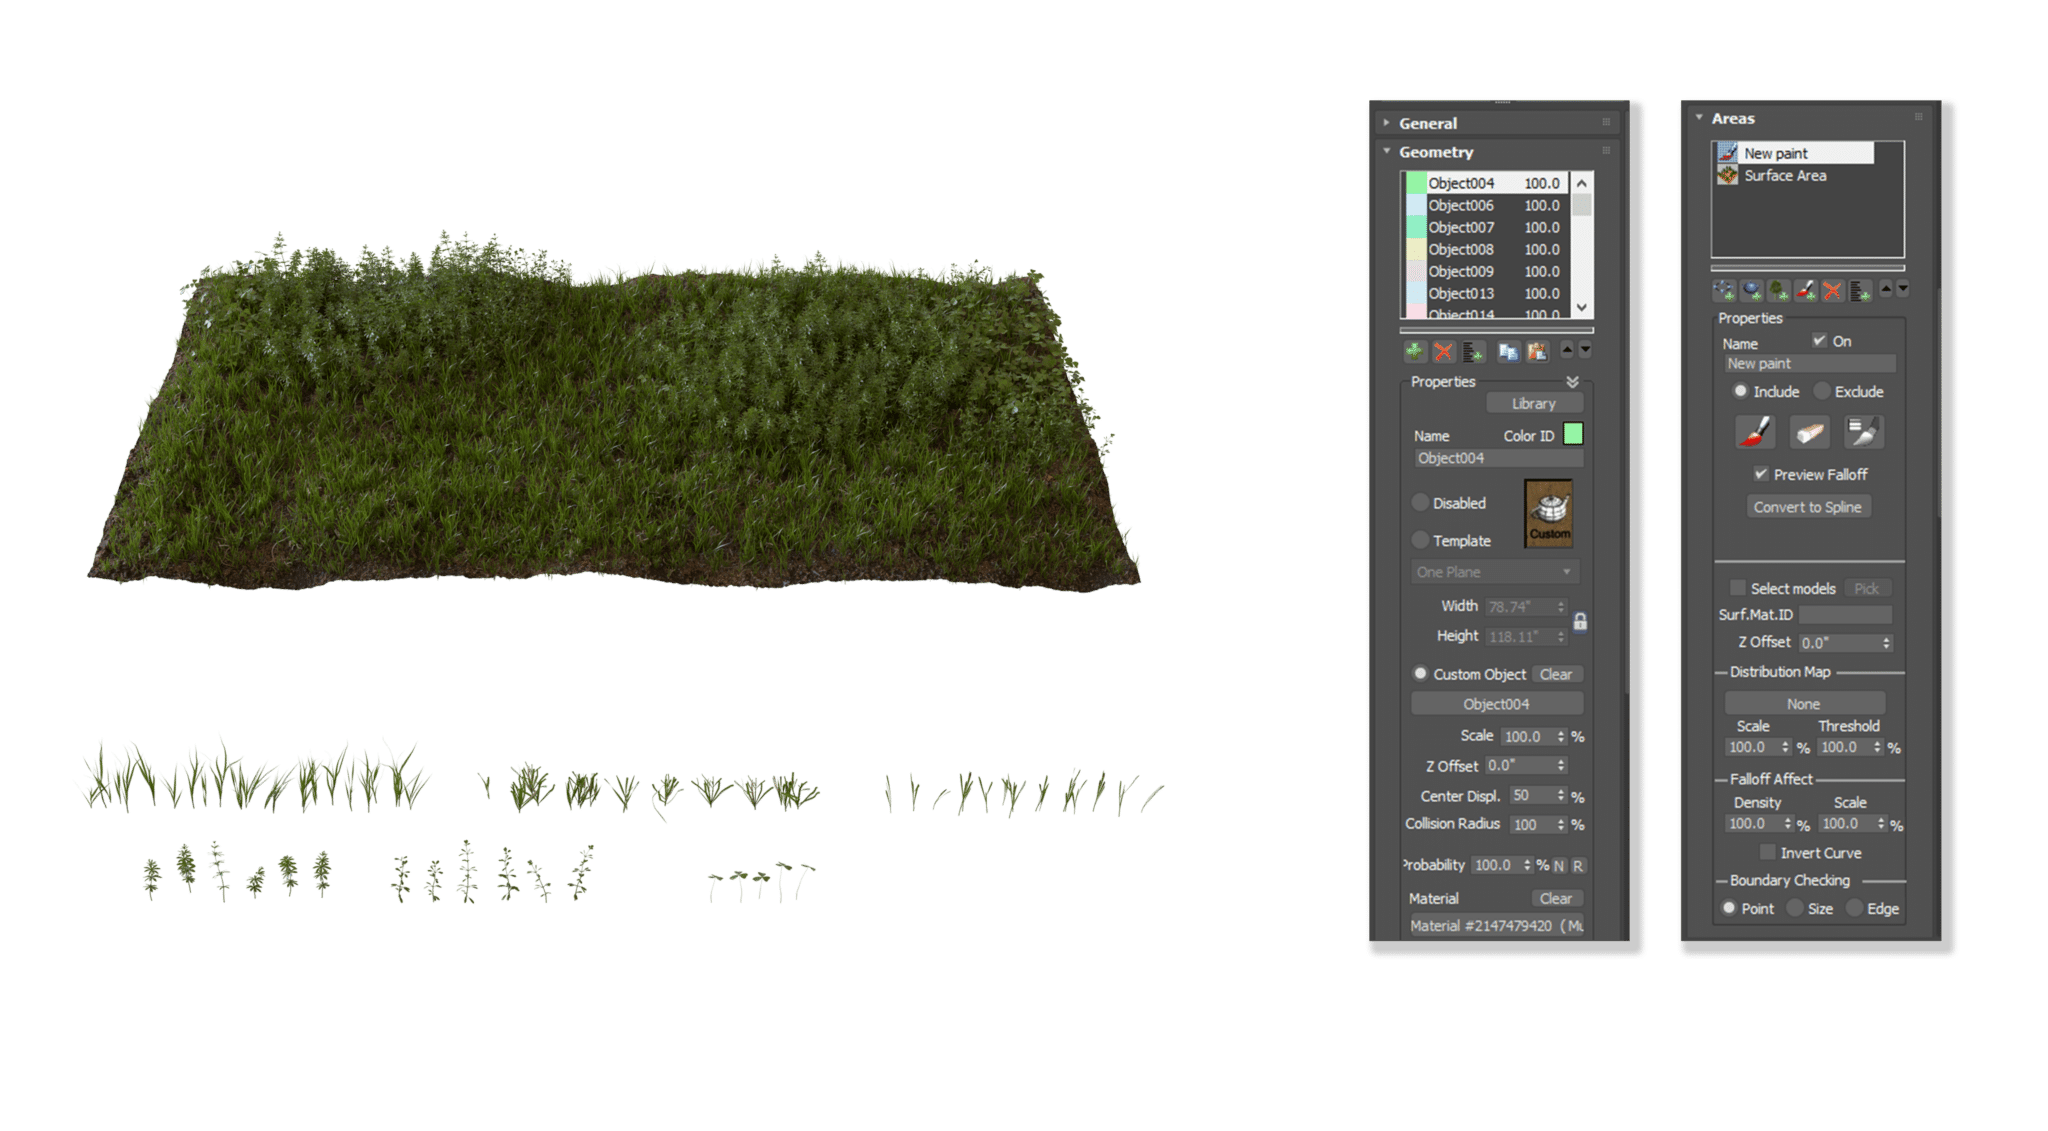
Scattering the Foliage
For scattering the objects, we generally use Forest Pack by iToo Software. With this plugin, anyone can achieve quality scattering with a natural feel by experimenting with various attributes.
Simulations
In this project, by using dynamics, we attempted to make natural elements look live. We’ve added snapshots of water and tree simulations for better understanding.
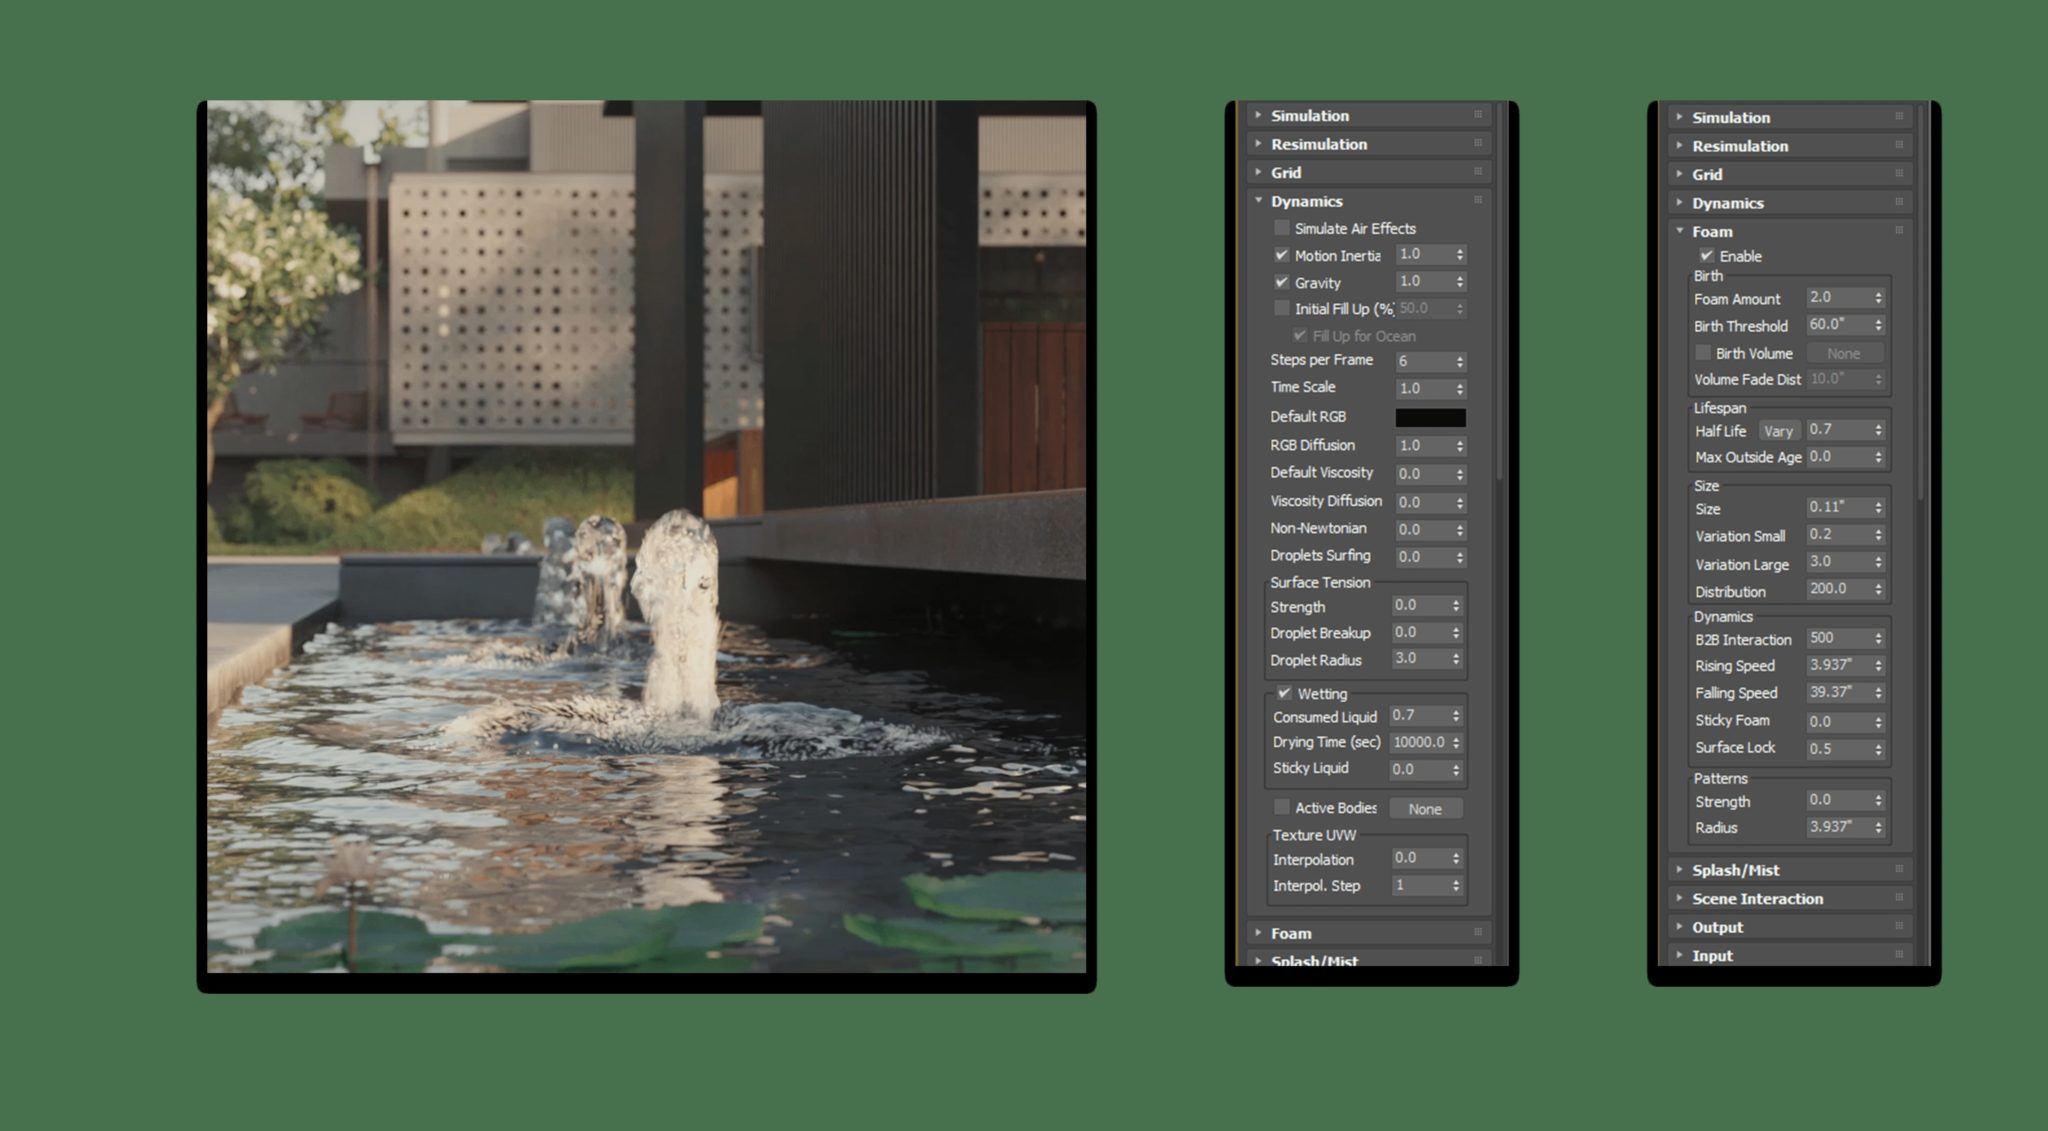
Water Simulation
Here are some of the parameters for water simulation. We had used the Phoenix FD plugin in 3ds max for it.
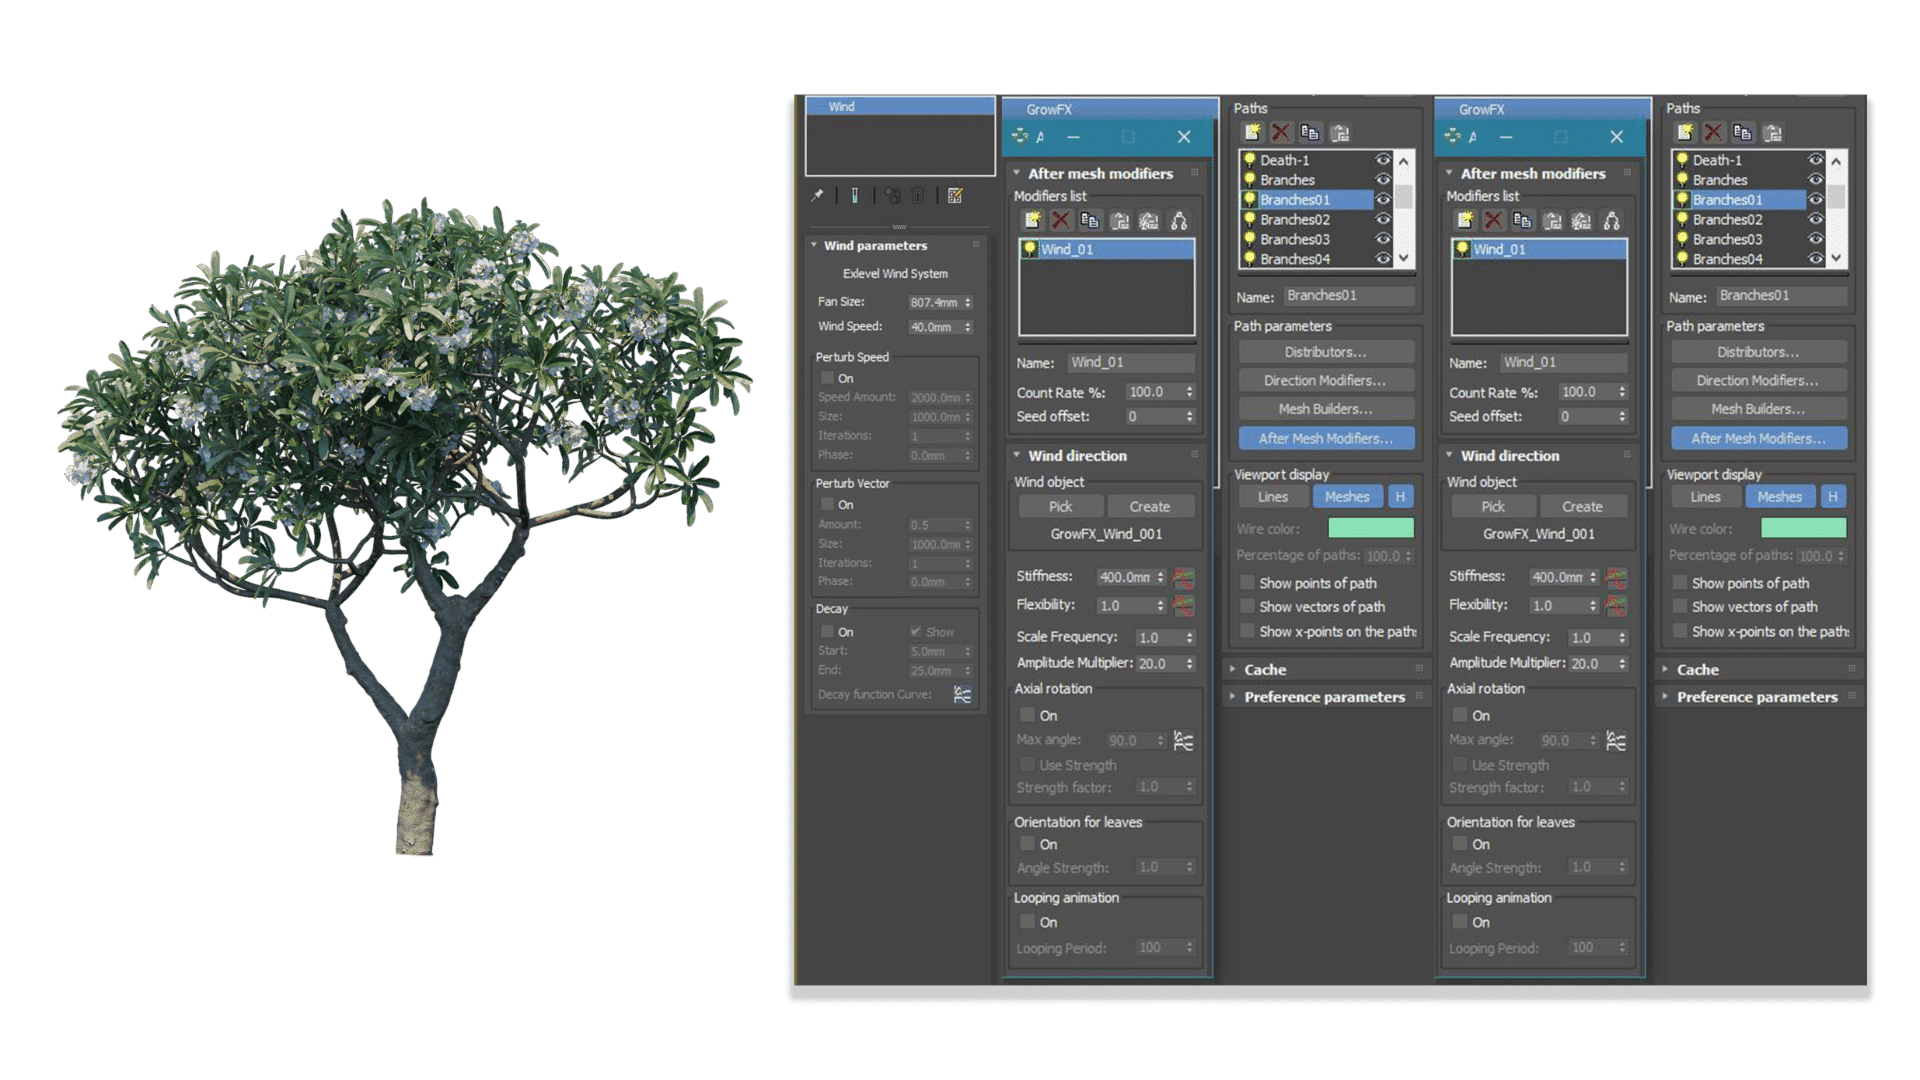
Tree Simulation
Here are some of the parameters for tree simulation. We had used GrowFX for it.
Lighting Setup
Lighting plays the most vital role in any animation when making one feel any scenario’s ambiance. In this, we tried to cover certain times of day like early morning, early evening, and moonlight to give some idea of how an entire architecture performs under different lighting conditions.
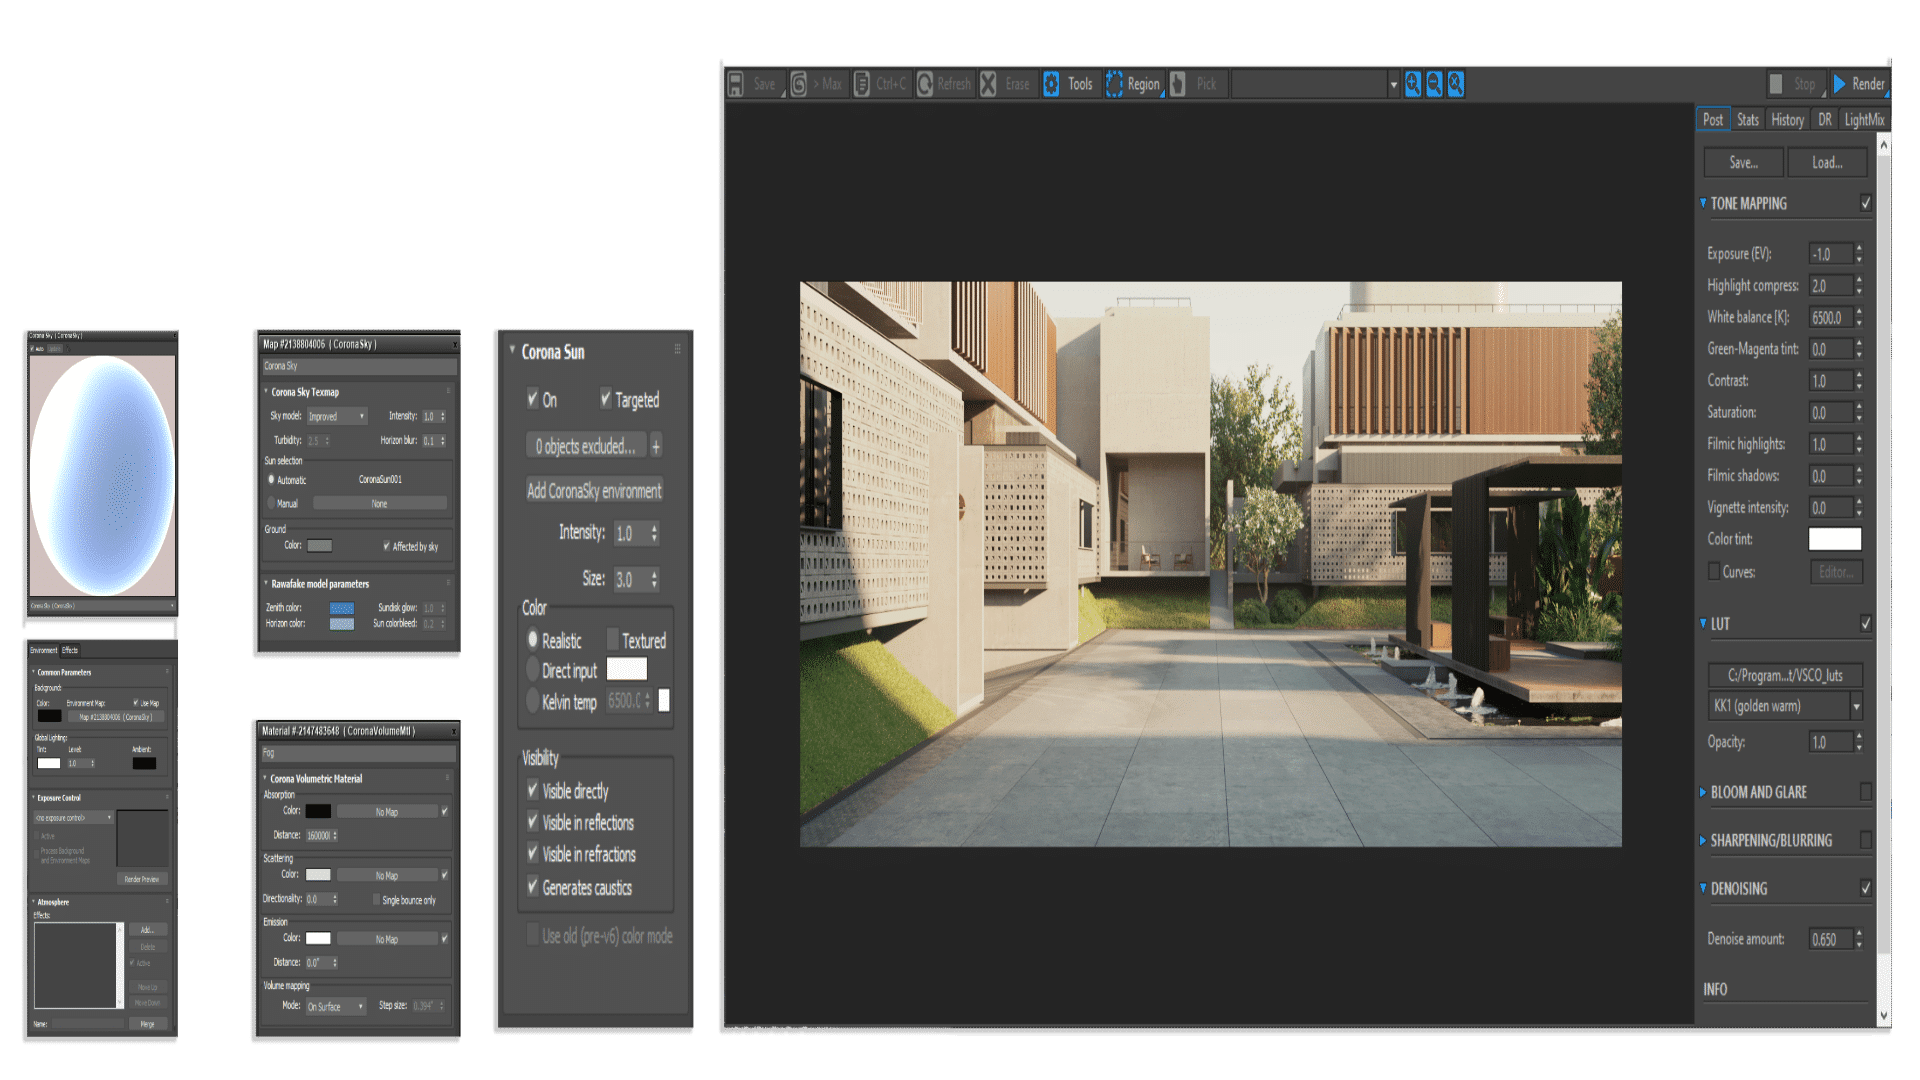
Daylight Setup
Here are some of the basic parameters of the daylight scene. We also had introduced some fog for giving a little bit of soft lighting in some locations.
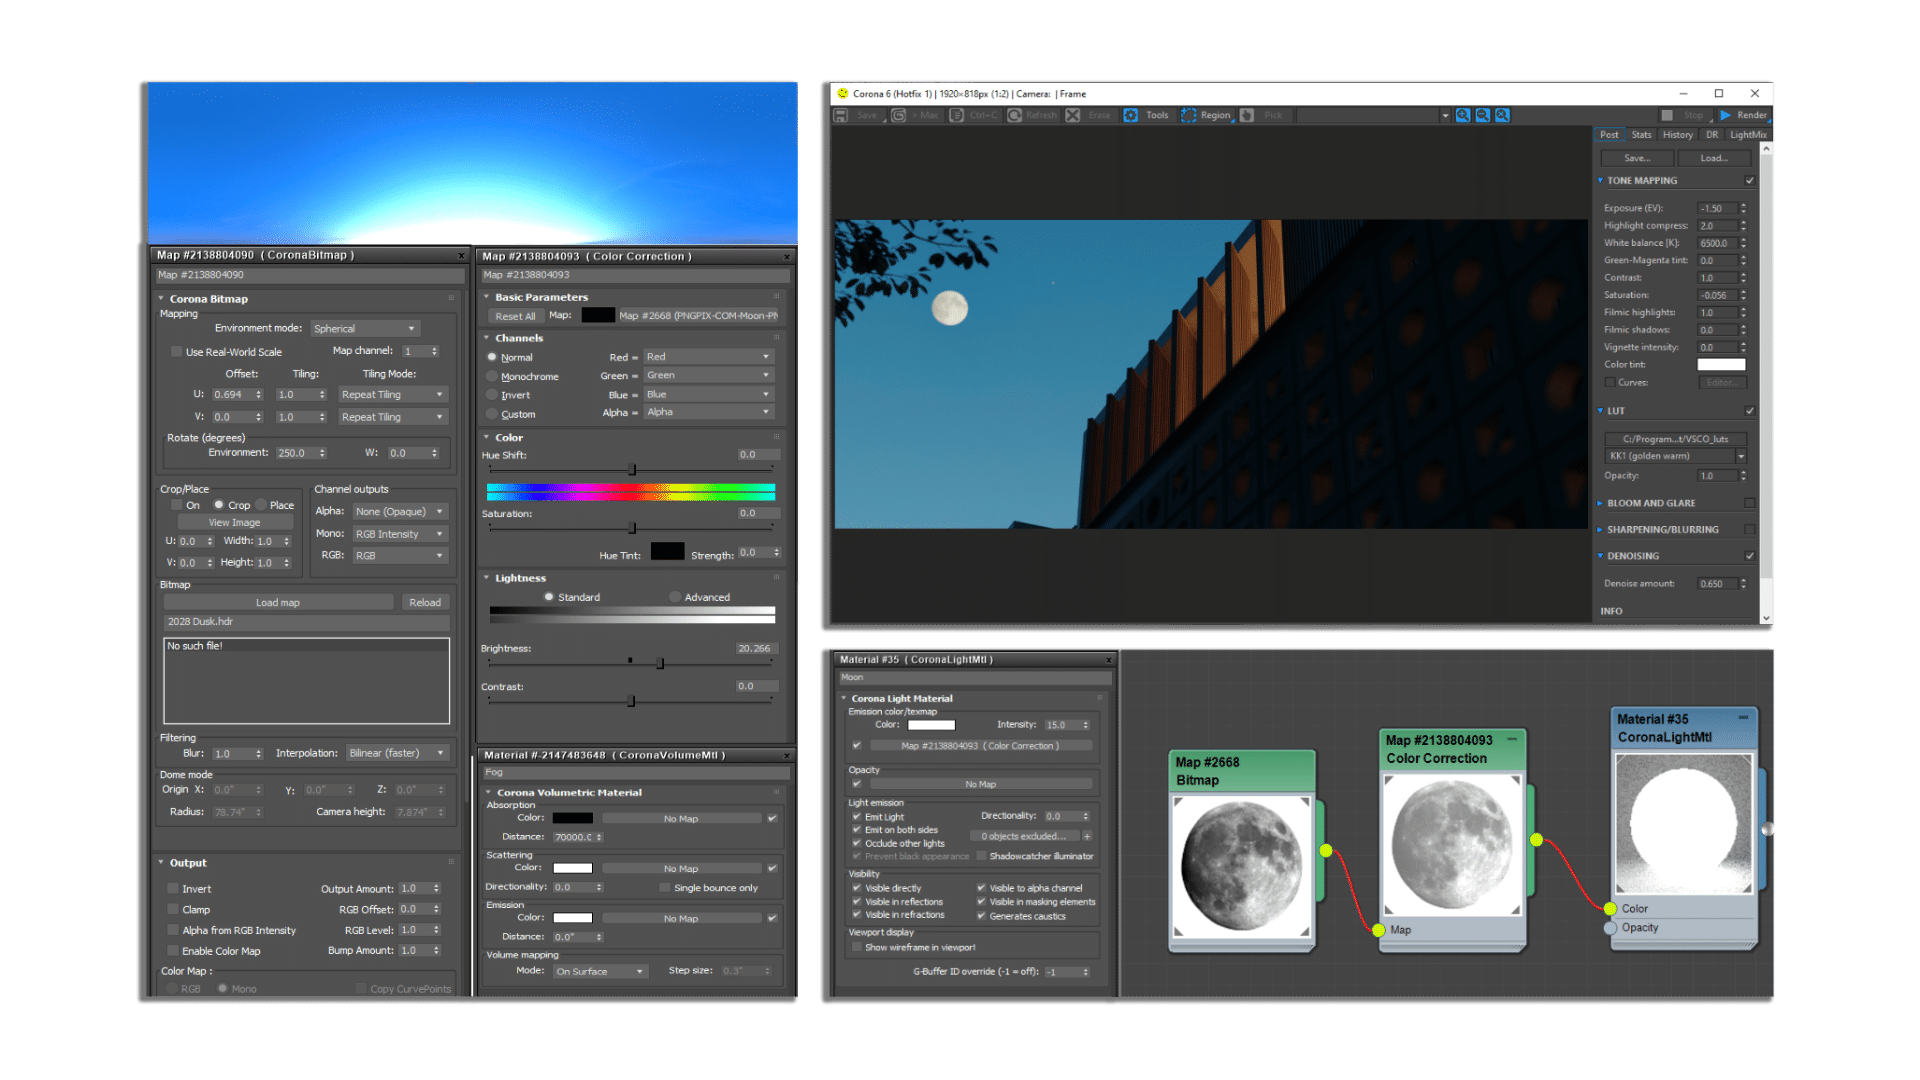
Nighttime Setup
Here are some of the basic parameters of the nightlight scene. We especially kept the full moon as it can incredibly illuminate the entire set.
Camera Animation
Throughout this animation, we attempted to cover architecture’s space and its connectivity with various indoor and outdoor areas. During camera compositions, we kept Rule of Thirds, Leading Lines, and Depth of Field in our mind to guide our viewers effectively.
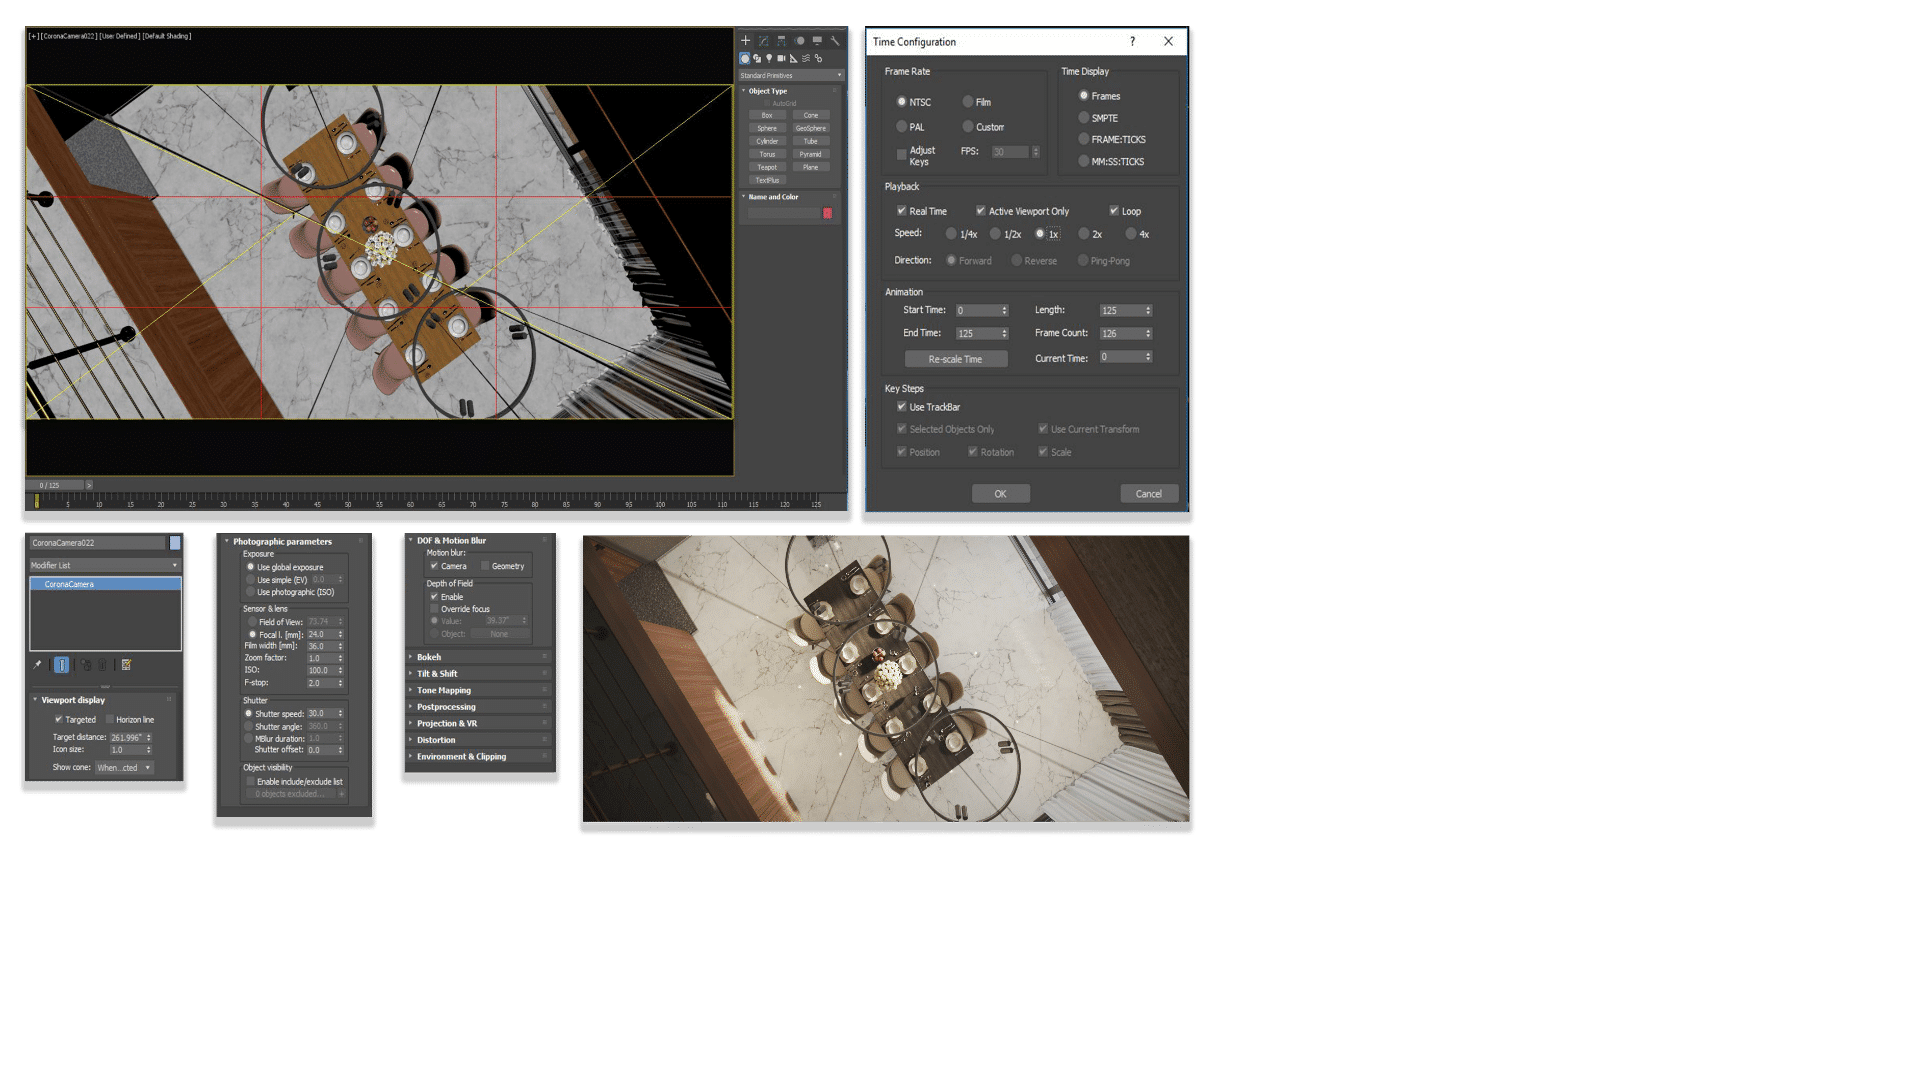
Camera Animation Setup
After getting all the camera angles with the background music, we edit the raw stuff as given below.
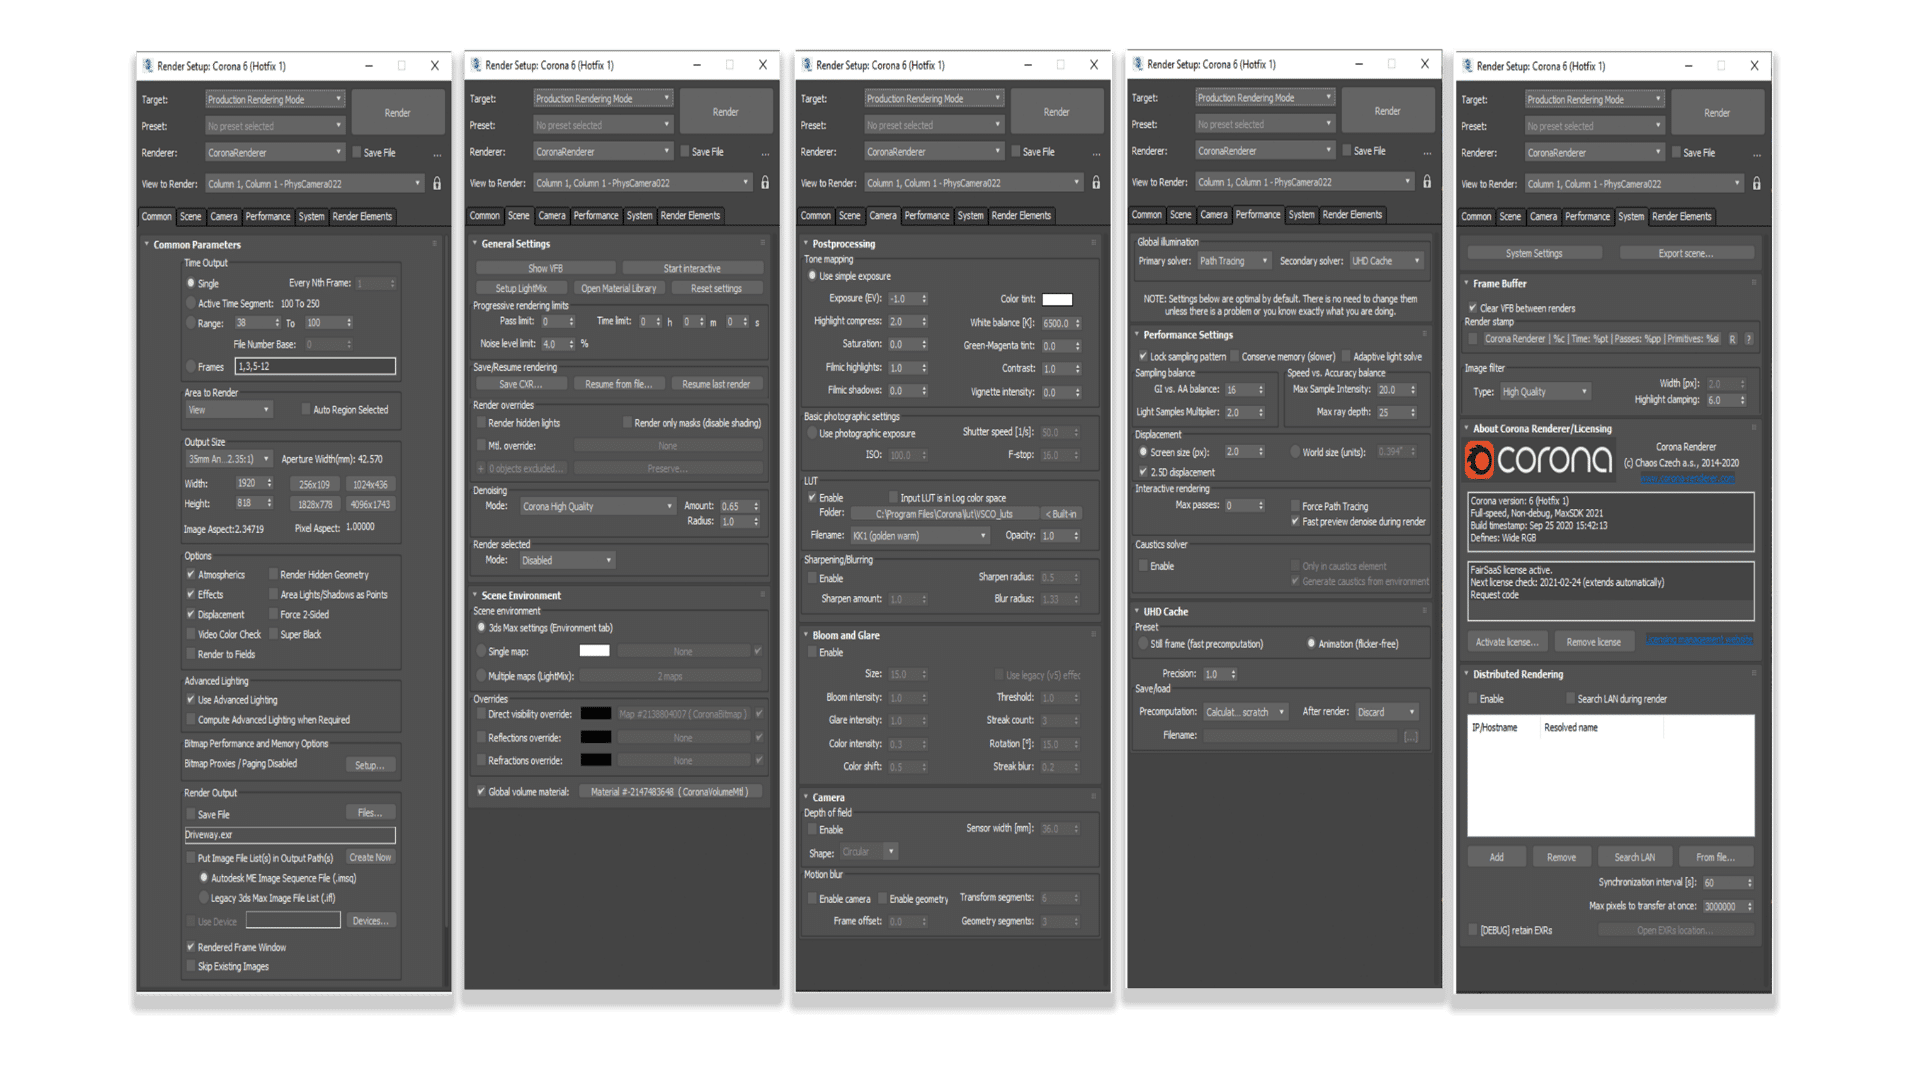
Render Setup
Finally, it’s time to start the render process of all the scenes. Given below were the settings which we had used for this animation. We hope that you will get a clear idea of the rendering system from this information.
Post Production
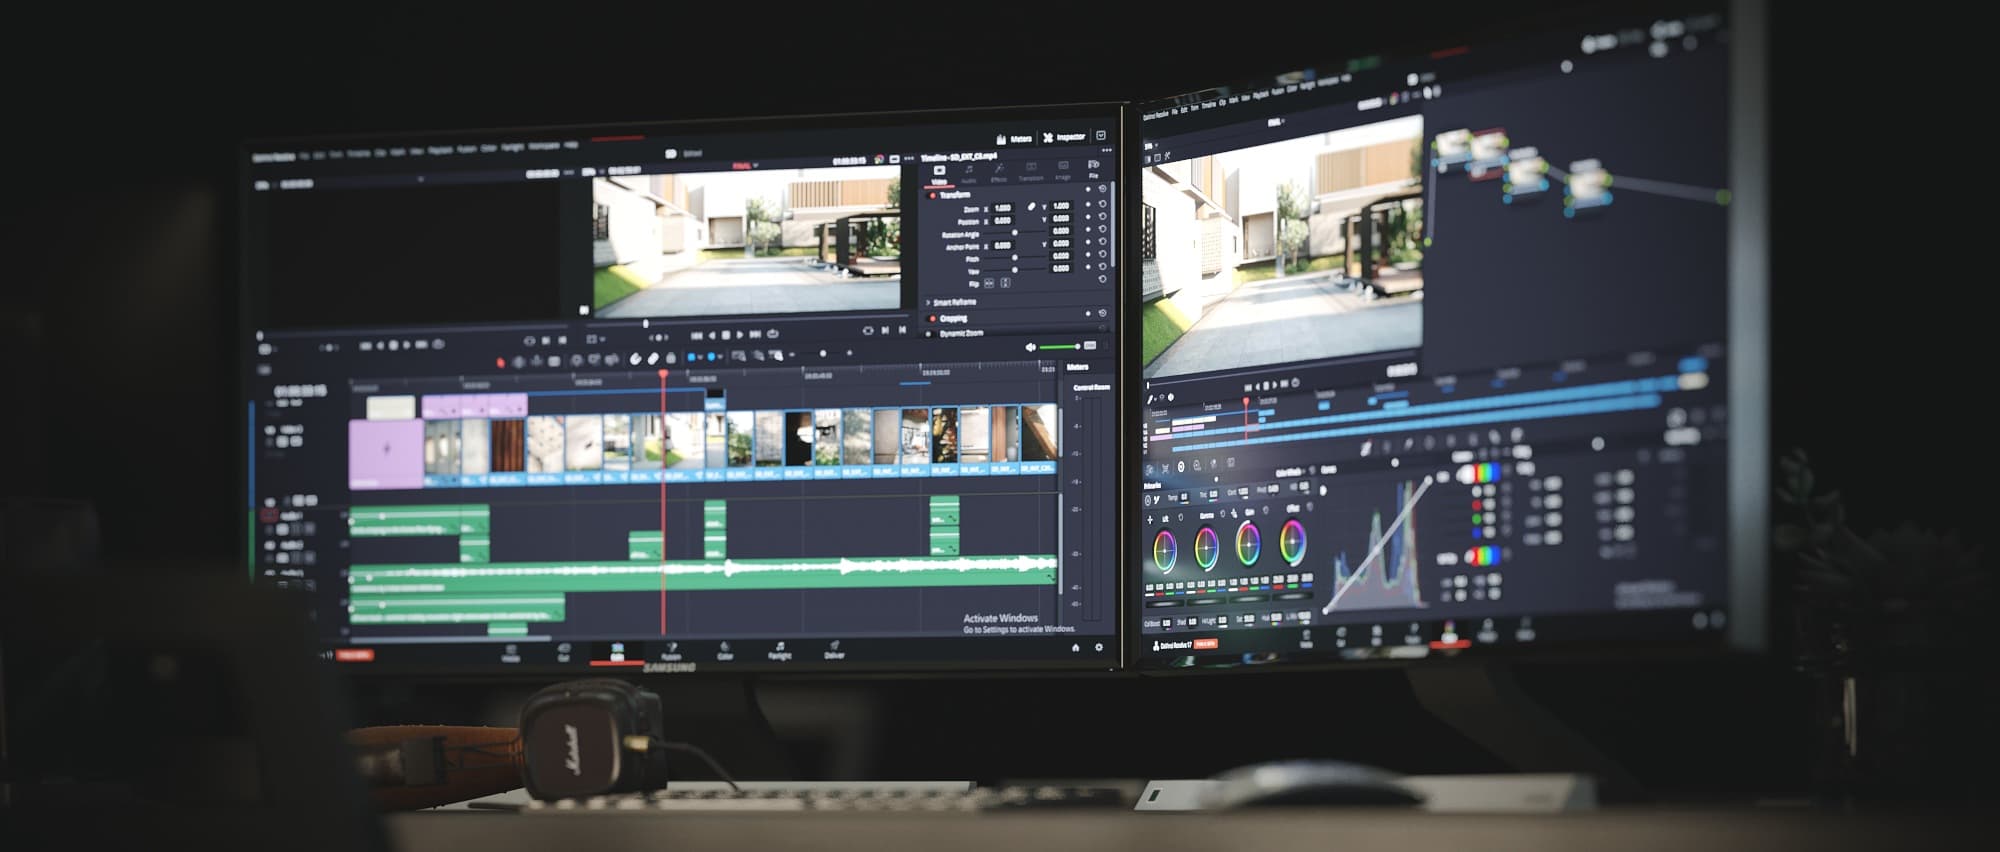
After rendering, we edit all the footage, sounds, and other small kinds of stuff. Few footages required some color correction and also some effects to beautify the scene. We often try our best to get good render quality in the raw render.
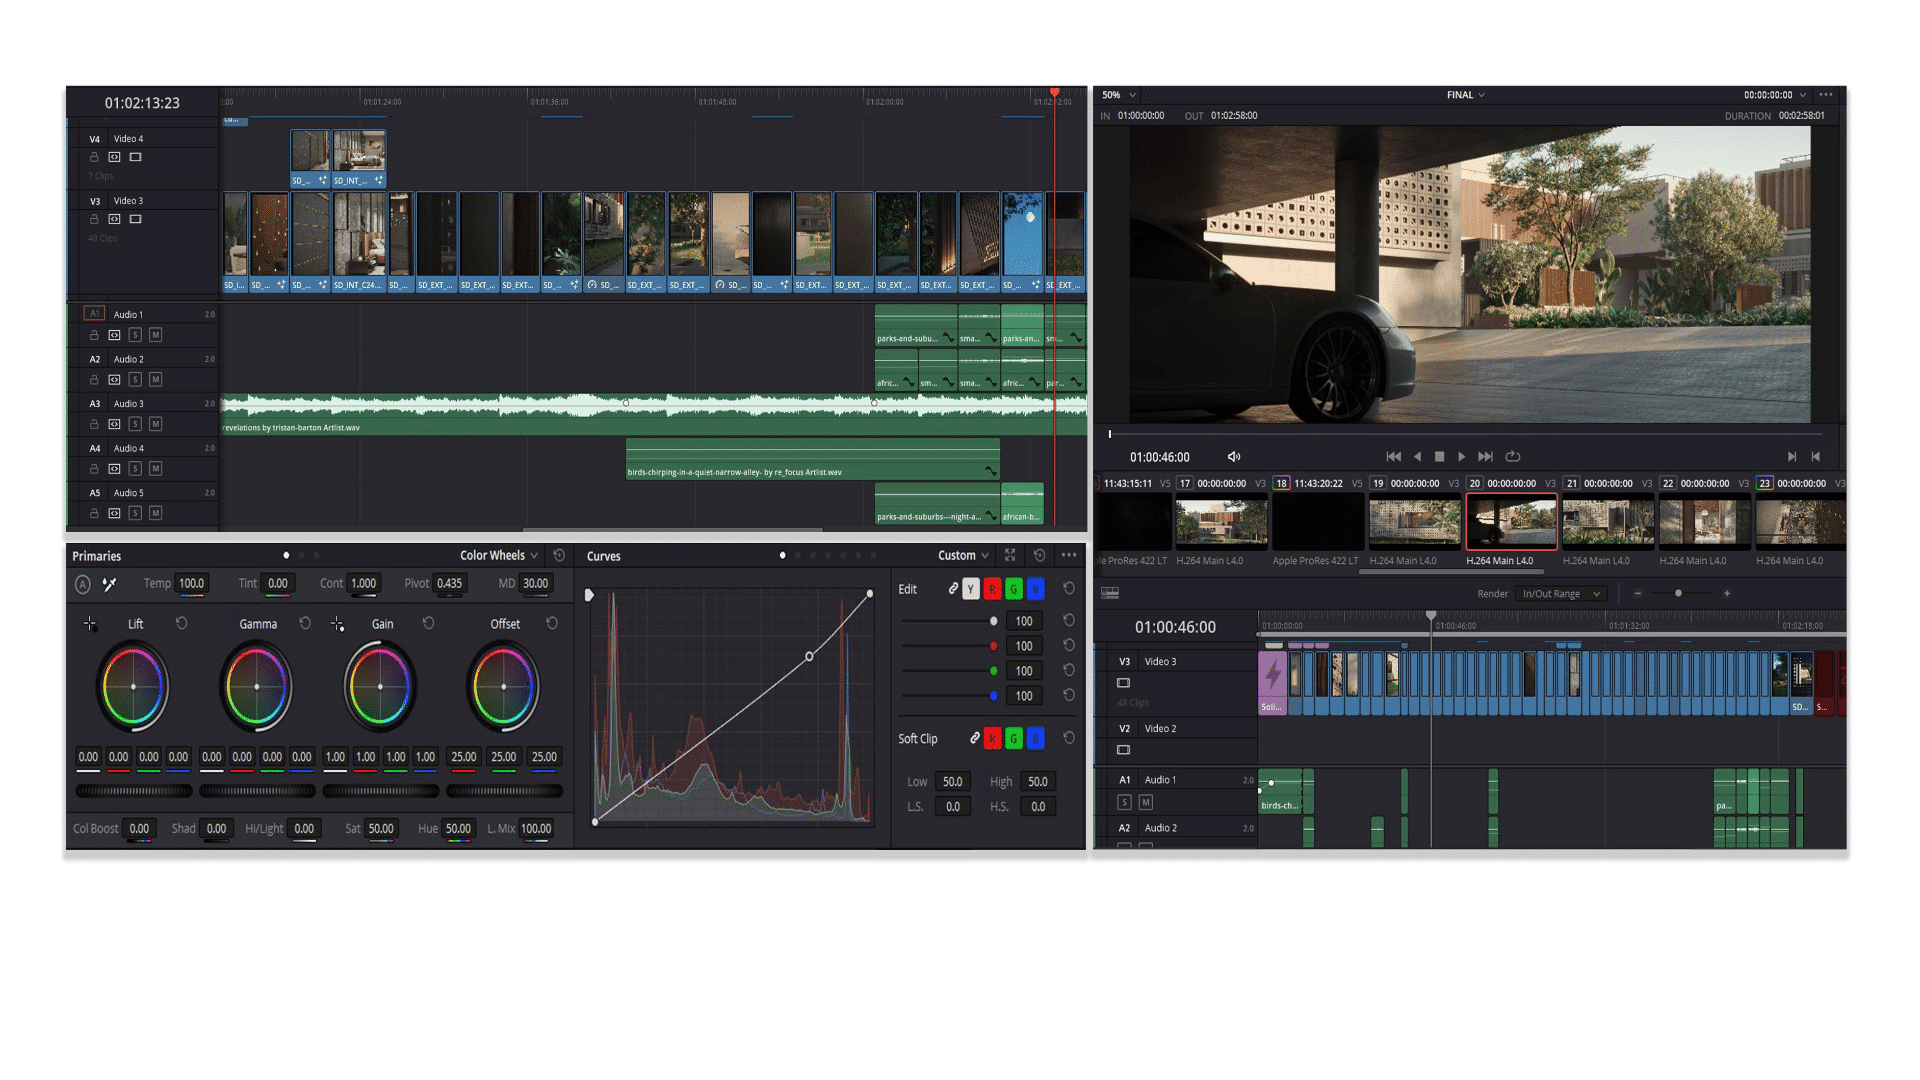
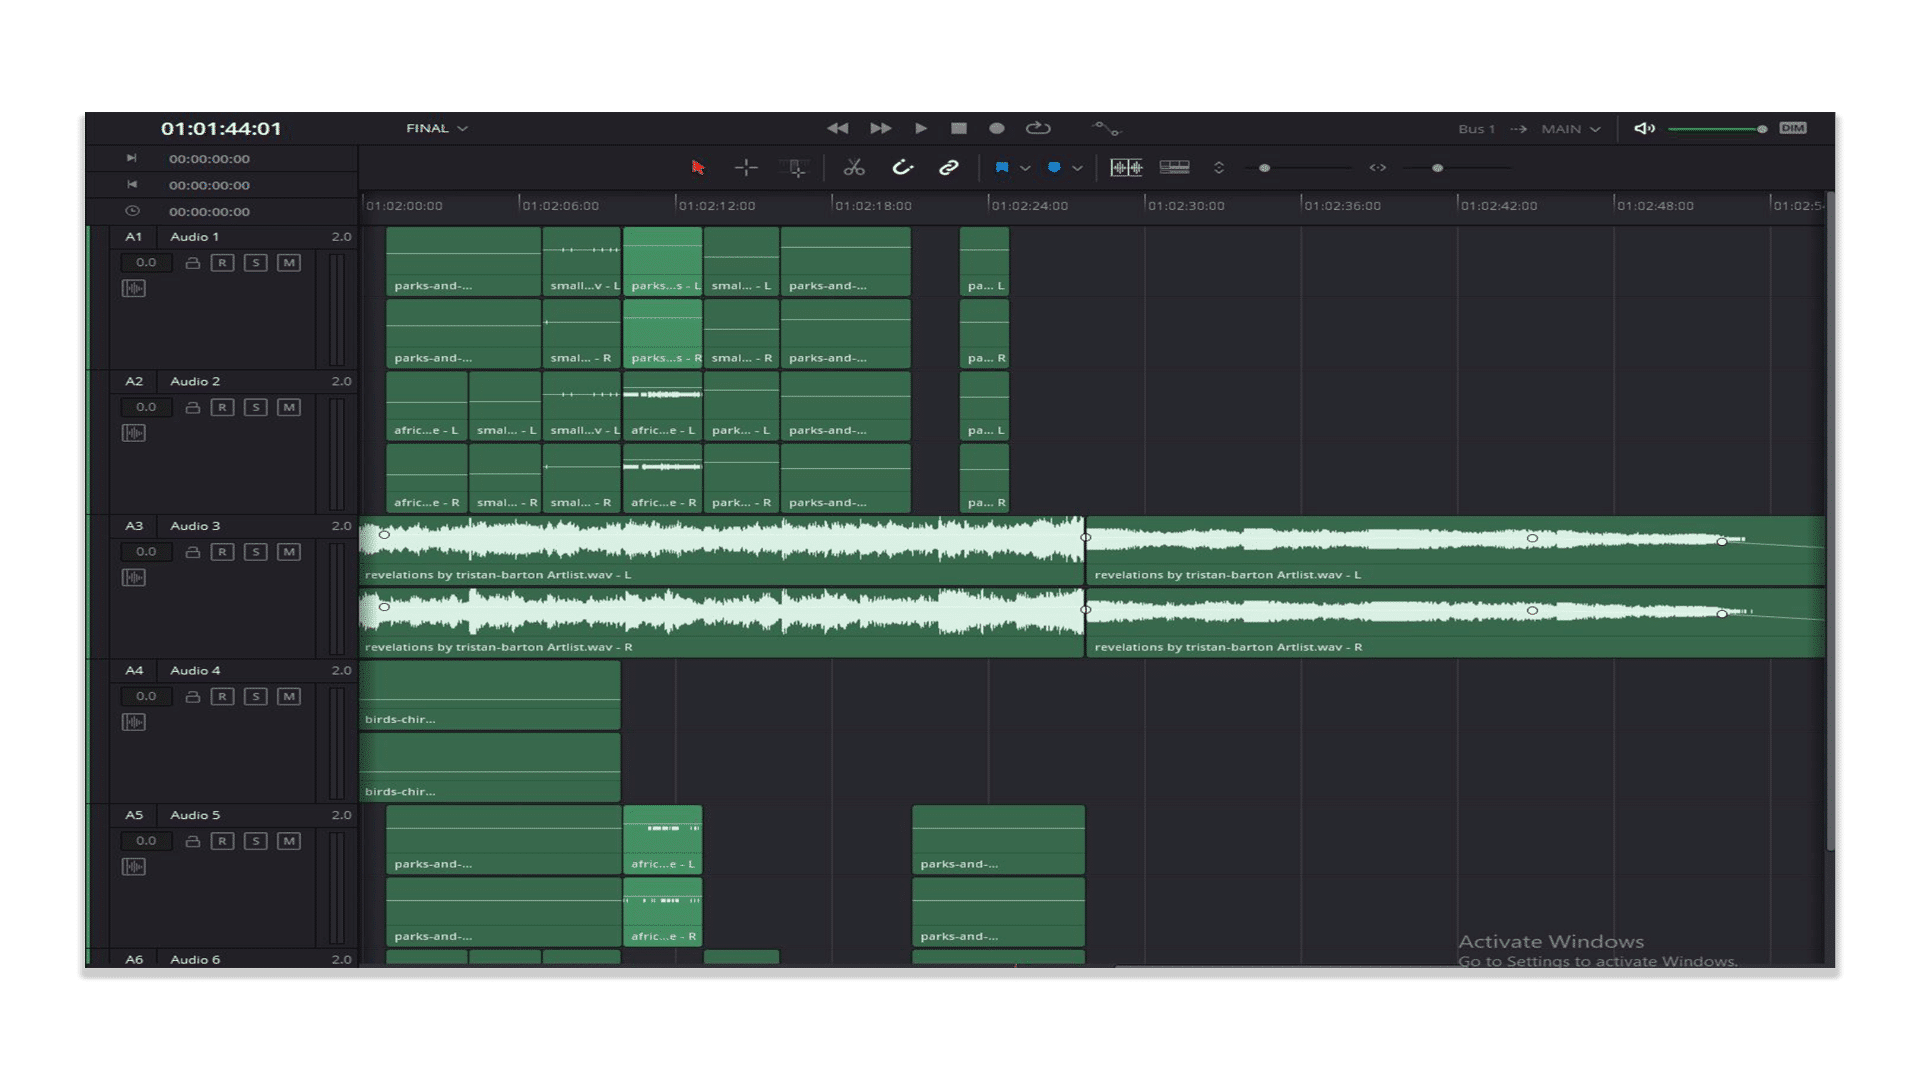
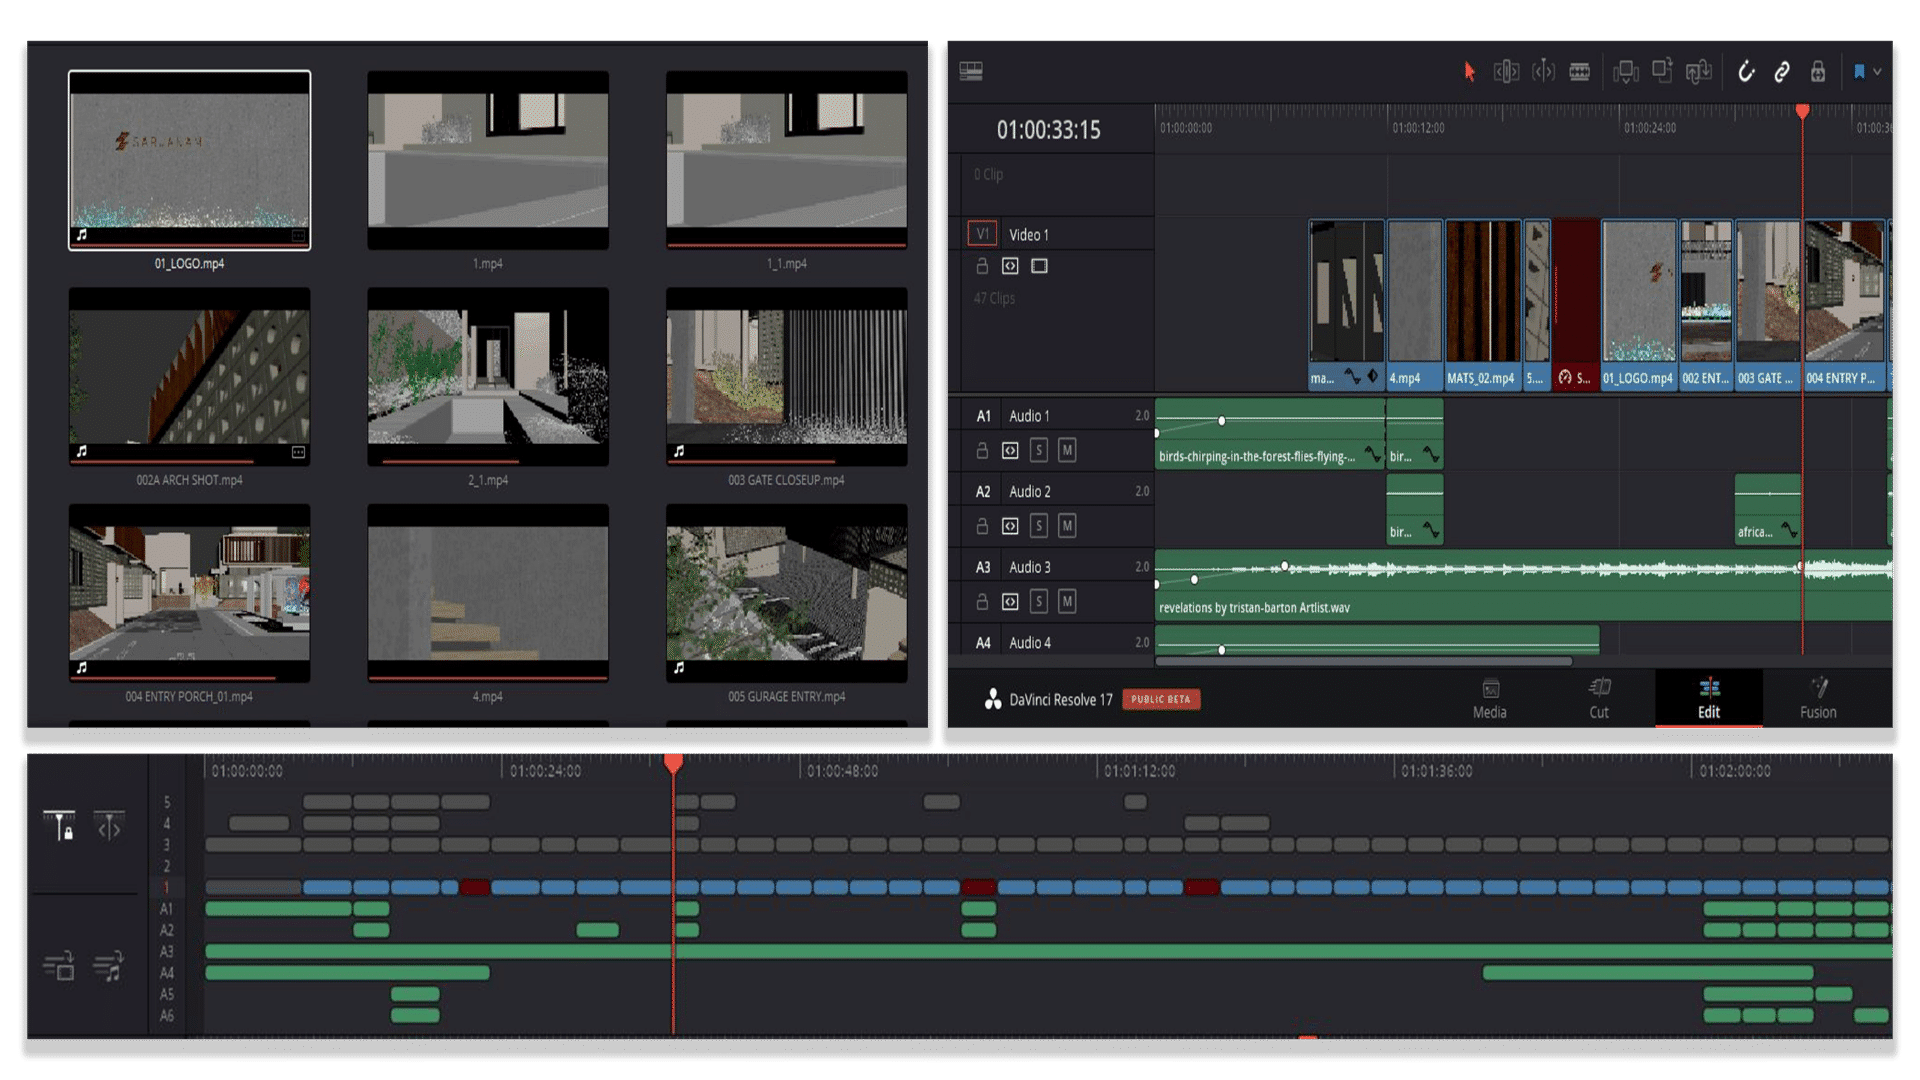
Editing and Color Grading
As you can see, there are a few color correction parameters and an arrangement of all the clips according to the music. We hope that you will get a clear idea of the post-process from these snapshots.
Thank you so much for reading our blog. As you can see, by using fundamentals and with the help of a few popular software and plugins, one can easily make this kind of animation. We hope you find it helpful and might as well implement whatever you’ve discovered from this in your respective upcoming projects. For any further queries, kindly ask in the comment section.


Start the discussion at talk.ronenbekerman.com