


antonotto
lambo
Access the Best Articles about Architectural Visualization. Learn about all aspects of crafting images that tell stories.
Making Of's Case Studies WorkflowsShare your work and get immediate appreciation through discussion, feedback, and a possible nomination for the…
![]()
A weekly experiment, exploring the creative minds in Architectural Visualization and more. Find out what makes us all tick and push the limits.
Listen Now! Subscribe on iTunesOut with the old and in with the new! In Converted, I’m asking you to take an in-depth look at existing architecture near you or one you love worldwide and introduce something new.
See Entries & Join! About Convertedlambo
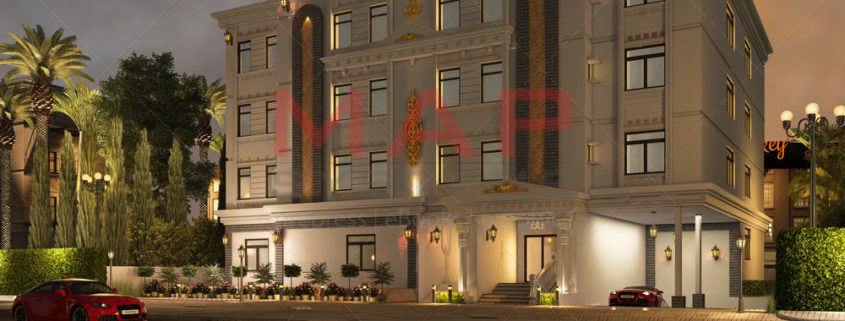
Sample work of 3d exterior rendering design for commercial building

We have followed every steps to make interior design appealing
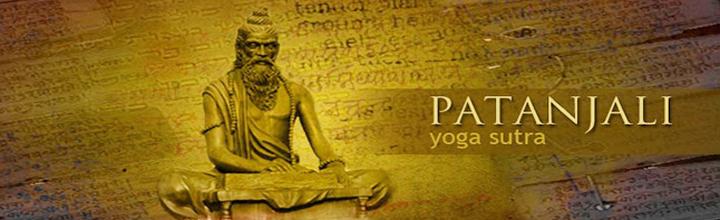
This is the story of Maharishi Patanjali ; how he was born and what a great life he lived.The Patanjali Yoga Sutras is a bible for sadhakas even today. We salute the profoundity of these 196 power packed surtas, which sum up the whole and soul of yoga !

Various samples of interior 3d rendering

Archicad is used for the model and then export to maya for cleaning and rendering with vray.