


Making of The Museum Field Project by Bertrand Benoit
I’m happy to introduce the making-of Bertrand Benoit‘s ‘The Museum’ 1st Runner Up Winner – ‘The Field Project’. Bertrand takes us through several stations in his process of making his work, starting with the concept and on with how he adds geometric and texture detail to the base model (actually – rebuilds most of it). It is great seeing how Bertrand works his way around a large-scale scene using Maxwell Render, which he previously only used for product shots or small scale single images. I hope youll enjoy this article, learn from it and share your thoughts by commenting at the bottom of this articles page.


Author: Bertrand Benoit
Bertrand Benoit is a 3d Artist extraordinaire! Focusing on Architectural Visualization but can easily go deep into the smallest details you can imagine (like sesame seeds on a 3d recreated loaf of bread). He’s a long time follower of this blog and participated in many challenges – usually, ending up as being one of the winners!
Introduction
Before I get started, I’d like to extend a big thank-you to Ronen, for holding this challenge and to the sponsors not just for the great prizes, but for giving us a chance to explore Maxwell Render under what, for me, was a completely new angle.
I’m a long-time Maxwell Render license owner, yet up to now I had mainly used it for small-scale scenes like product visualization and single-view renders. I never used it for large-scale exteriors. This is what appealed to me here, as will become clear below.
Competitions are so much more interesting when they offer an opportunity to learn new skills and tools. This challenge not only got me re-acquainted with Maxwell Render, it allowed me, indeed it forced me, to explore many aspects of it in a much deeper way than I had before!
Preparation
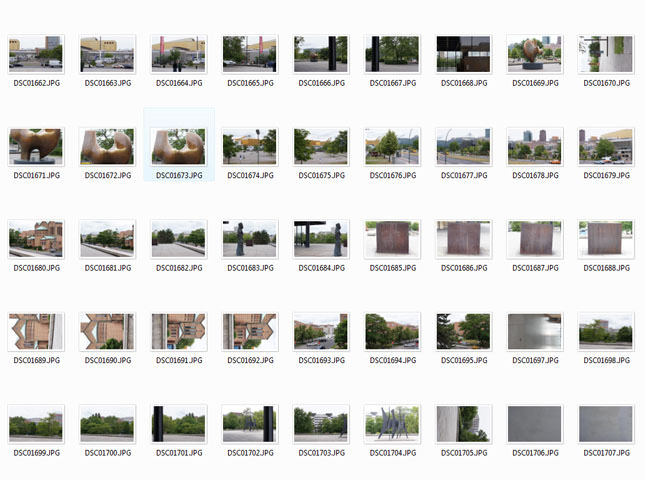
I’m lucky to live in Berlin, so the first thing I did upon entering the challenge was to collect as much first-hand reference of the actual Mies building as I could. After several trips and 250 shots, I had amassed 2GB of reference images, including those provided by Lasse and Benjamin in the challenge forum, not counting countless of images gleaned on the web and various blueprints. This collection served not just as reference for the modeling and to test photographic angles, but also as primary material for most of my textures.
The Concept
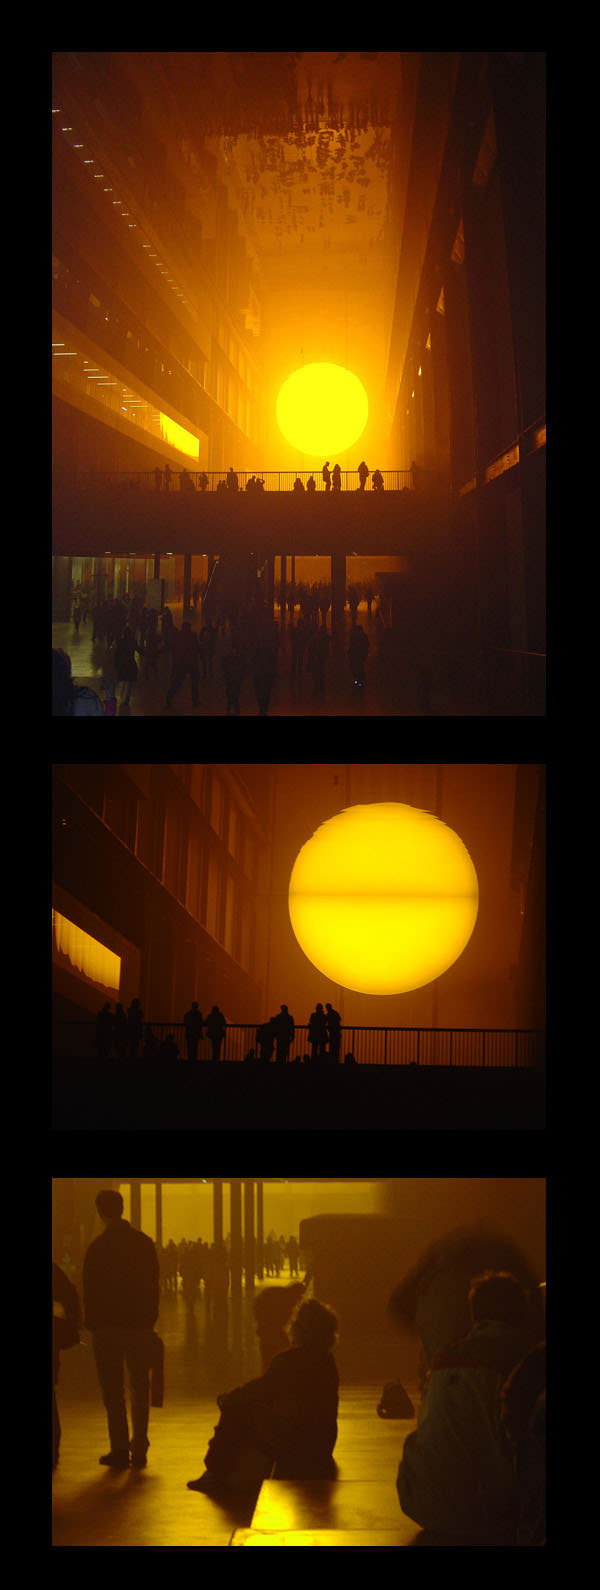
While touring artists studio several years ago, I had the privilege to visit the Berlin studio of artist Olafur Eliasson, which he shared with star photographer Thomas Demand. During my years in the UK, I was awed by Eliasson’s ‘Weather Project’ installation at Tate Modern. Somehow, the words Berlin and Museum immediately conjured up a new installment of the ‘Weather Project’ in the NNG, but one that would go from 2D to 3D (this is CG after all).
It would be called, the ‘Field Project’, a nod to the magnetic field, the main subject of James Clerk Maxwell’s research. I thought it would make for a nice tribute to Eliasson, Maxwell and Mies.
Getting Stuck In
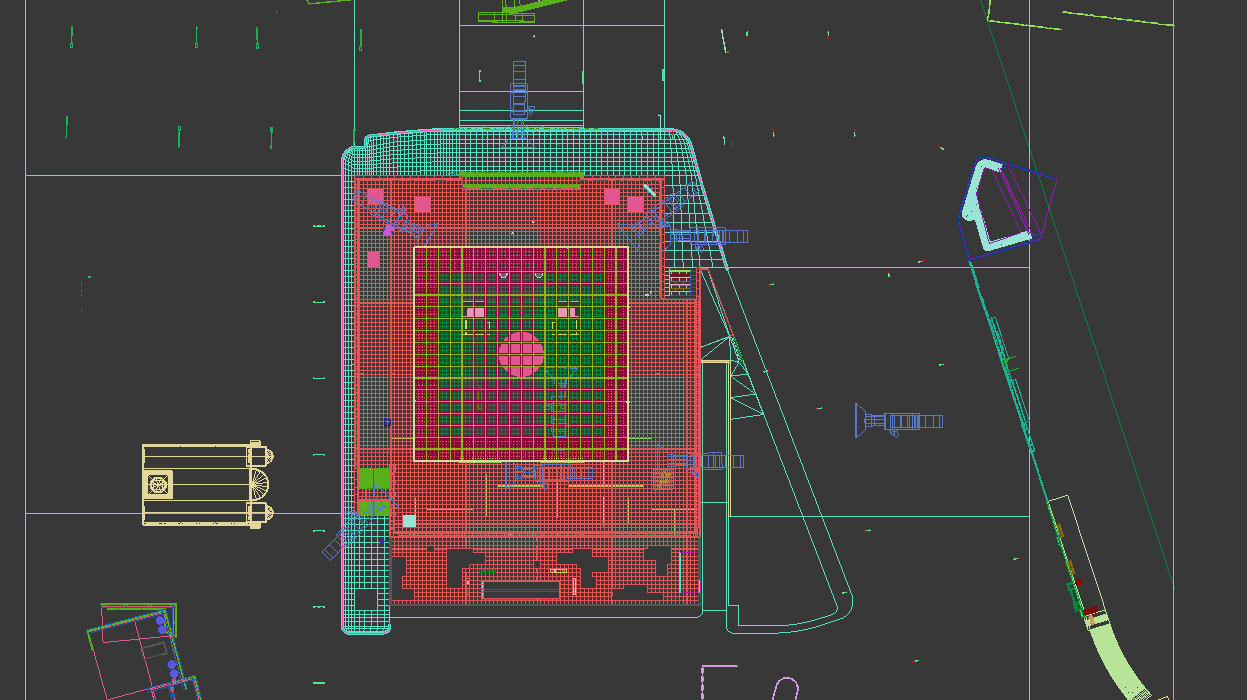
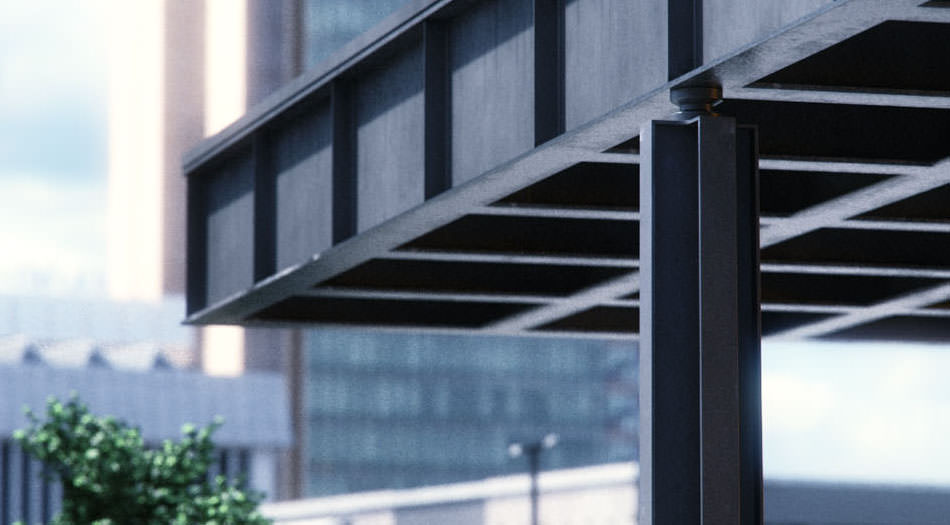
Ronen’s astonishingly accurate model provided an invaluable start, but not the degree of detail I had in mind for this piece. So the first thing I did was to go an remodel most of the parts, adding fine details, such as bevels and chamfers to catch the light, and carefully unwrapping them for more accurate texturing.

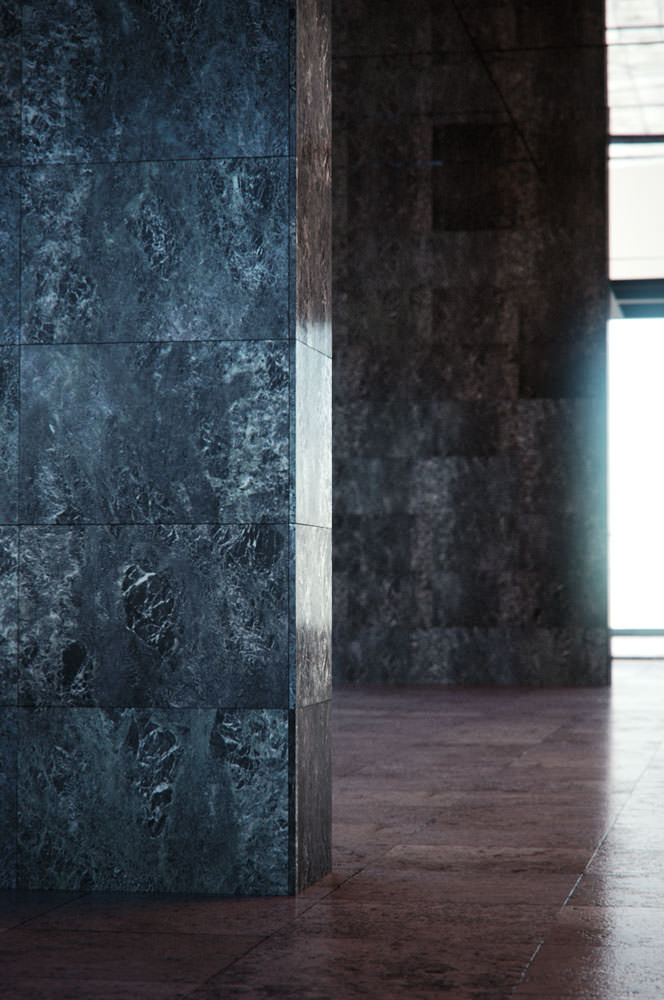
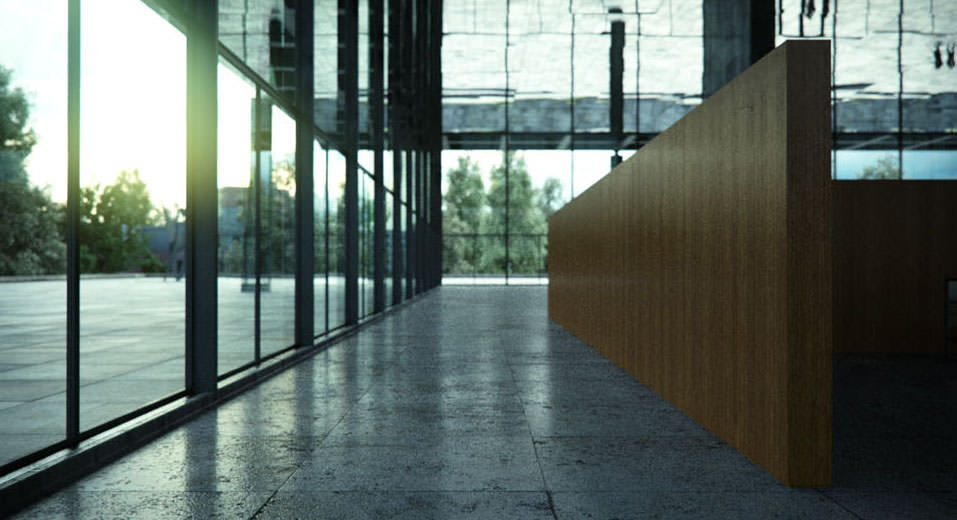
I gave some attention to the interiors and exteriors, including individual marble panels on the two big supporting slabs on the ground floor.
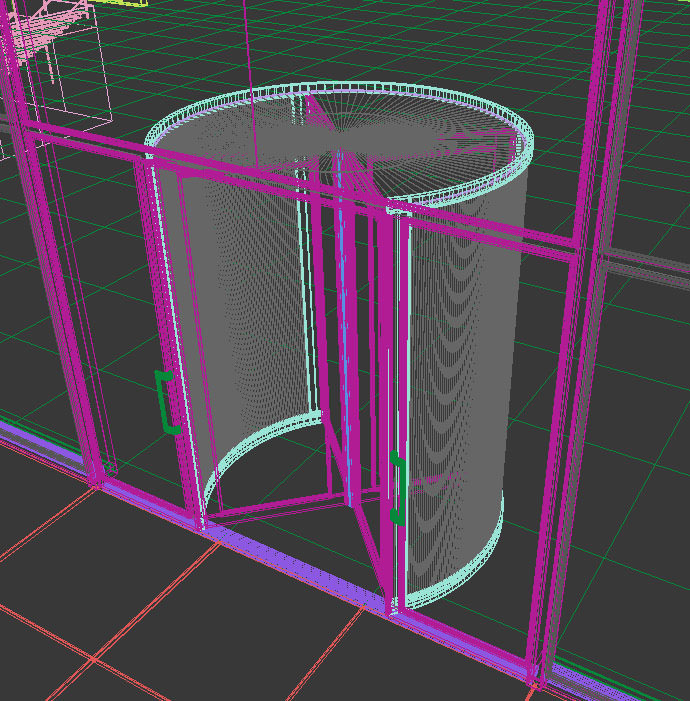
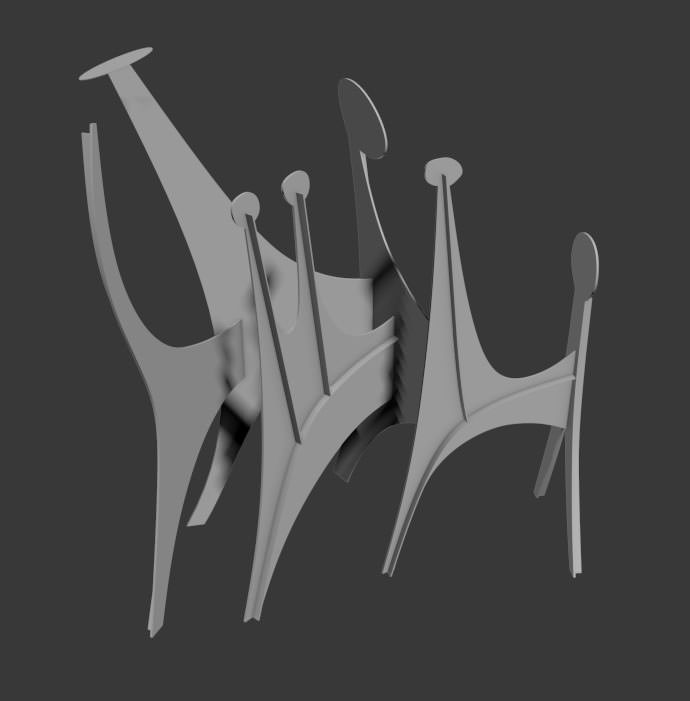
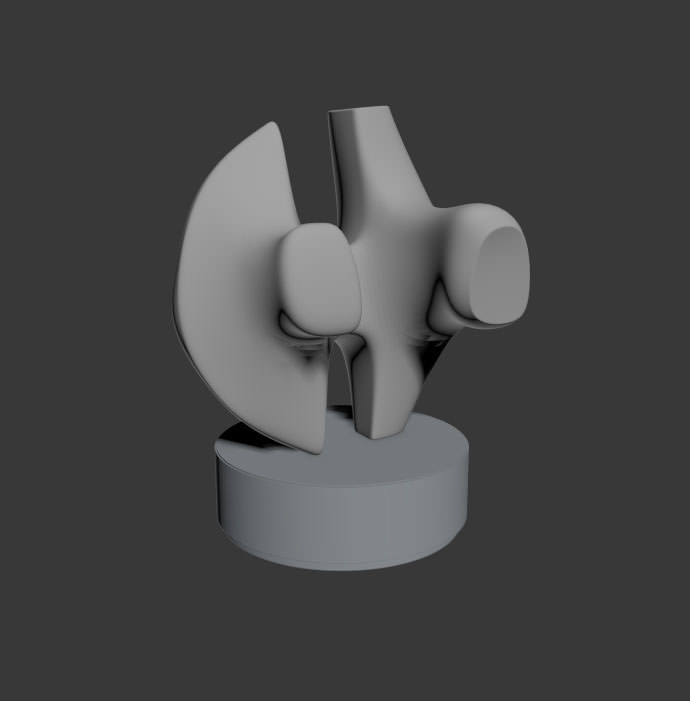
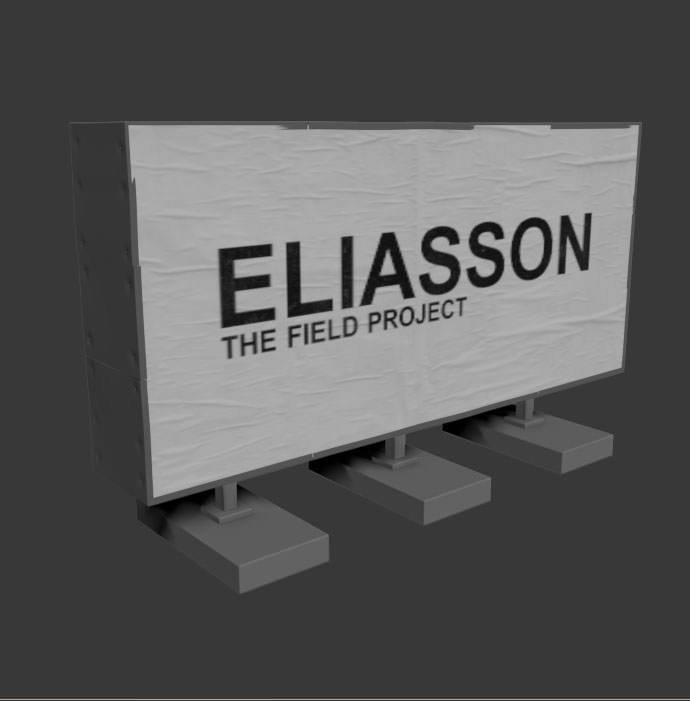
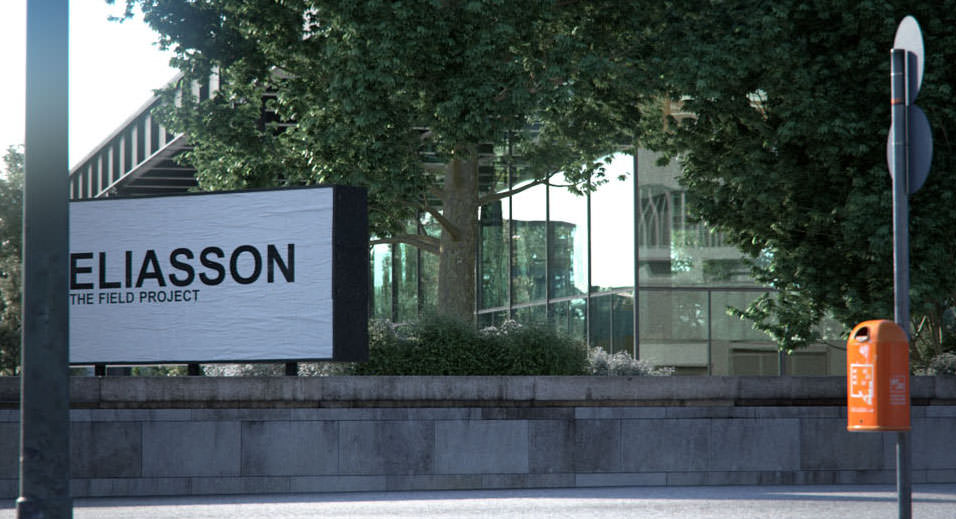
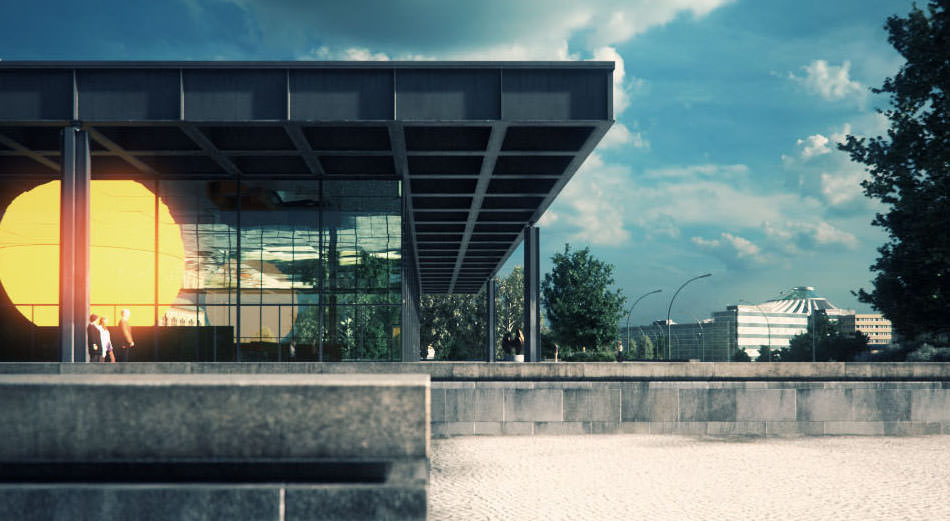
Some additional details were added, such as the revolving doors (practically invisible in the final images), the gallery’s billboard and a few of the artwork scattered across the platform. The Eliasson piece is a simple hemisphere that reflects into a mirror ceiling (individual mirror panels each with minute random rotations and a noise map in the bump channel, both of which add a bit of interesting chaos in the reflection of the sun).
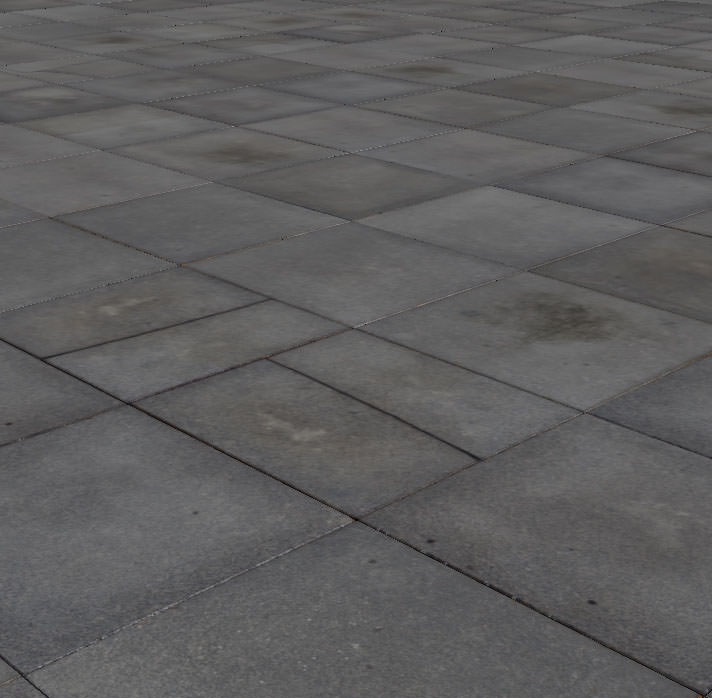
The Platform
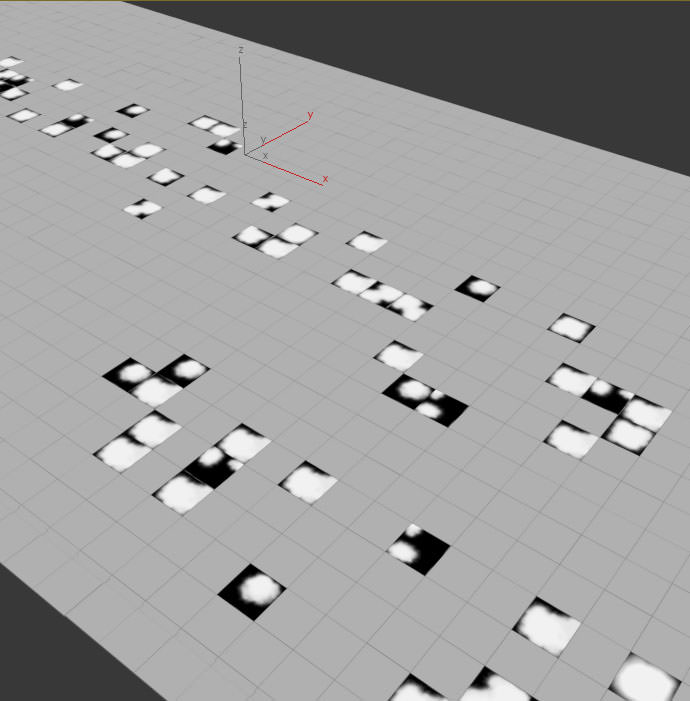
One particular challenge was the tiled platform surrounding the building. Given the absence of Maxwell Render support in such 3dsmax plugins as Multitexture or MightyTiles, that scatter a set of textures randomly on objects depending on their Mat ID or create one seamless textures from a collection of tile images, I decided to try and reproduce the effect by hand.
I first modeled the outline of the platform in splines and created the tiles using CGSource’s Floor Generator script, trying to stick to the original dimensions. The tiles were given 26 different Mat ID’s, corresponding to the 26 individual textures I had created from my photos.
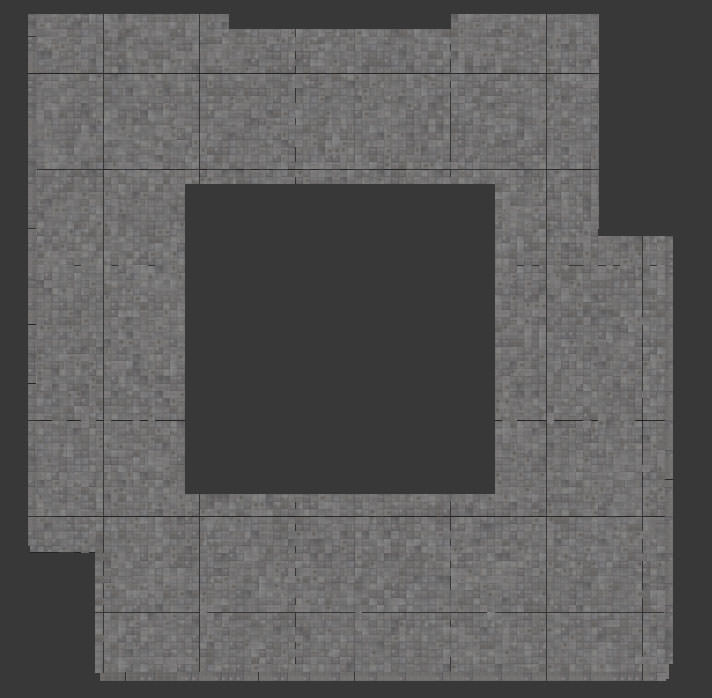
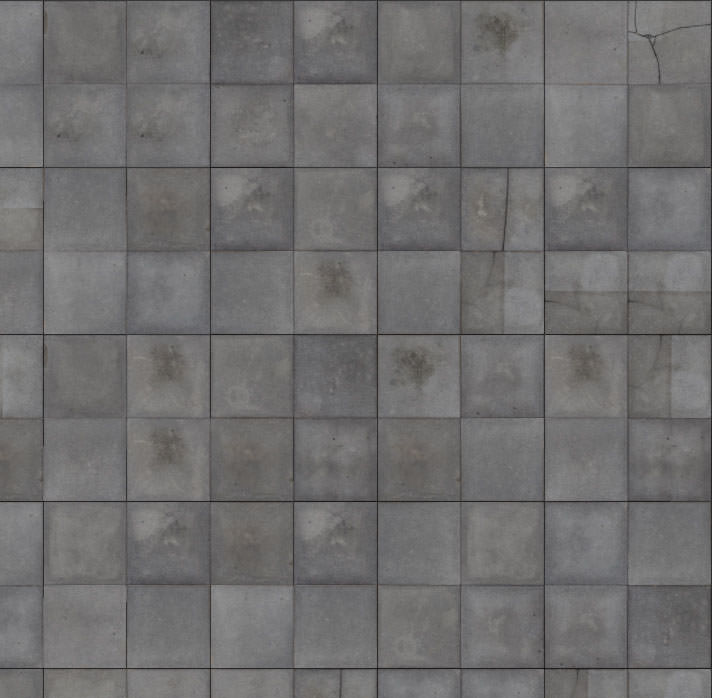
Each texture (multiplied by two for the diffuse and specular channels) were then plugged into 26 different Maxwell Render materials, themselves plugged into a 3ds Max Multi/Sub-Object material, which was assigned to the floor object.
I then detached those tiles from the object that I wanted to be covered in water puddles from a recent rain shower and assigned a separate wet material to them. I reproduced this on the stairs.
The wet material was a copy of the dry tile material with a wet layer added on top and a black-and-white hand-painted water puddle texture used as a mask to mix between the two.
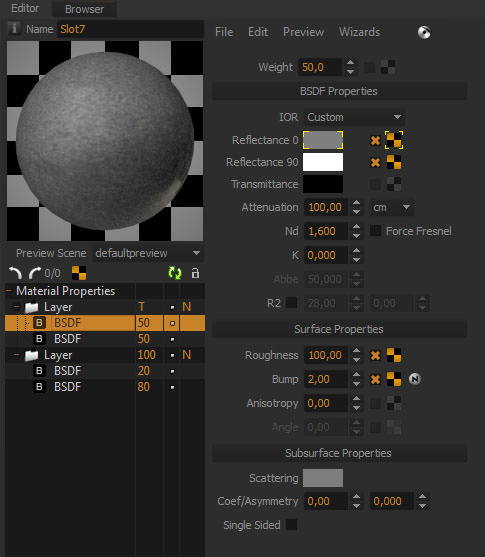
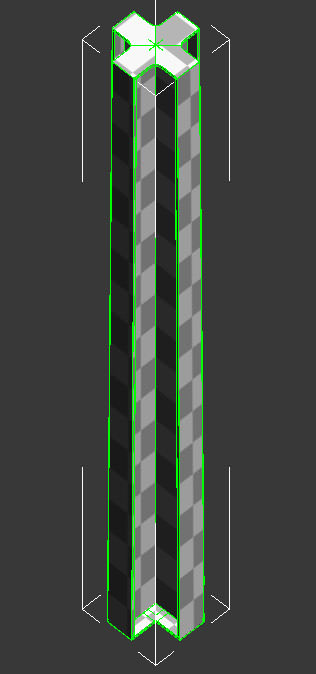
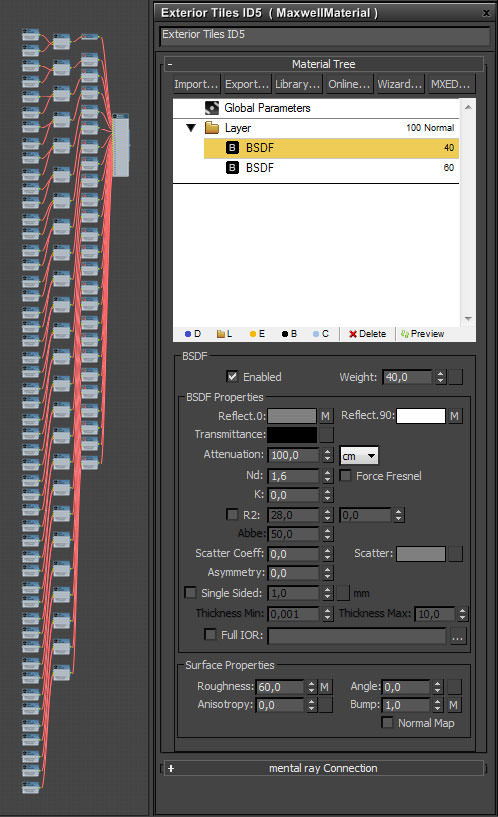
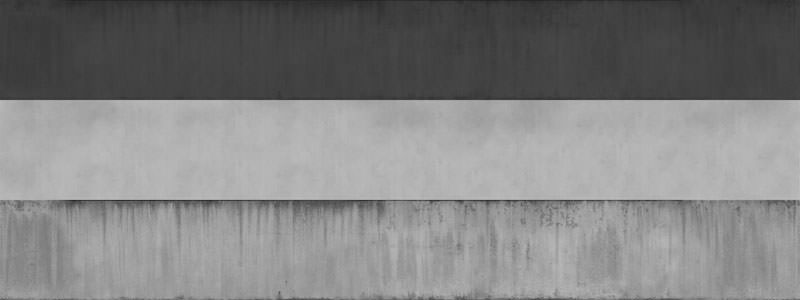
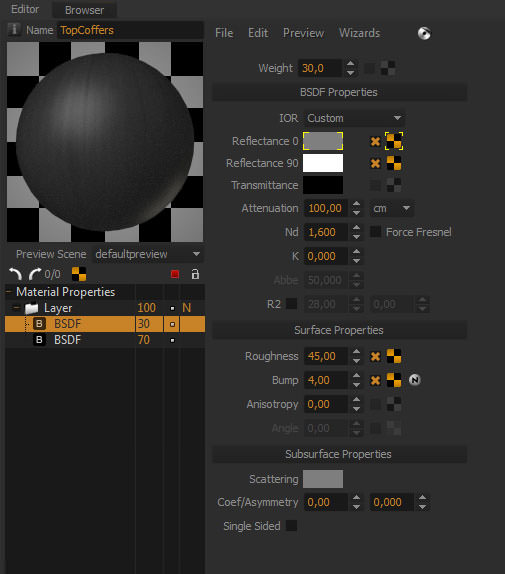
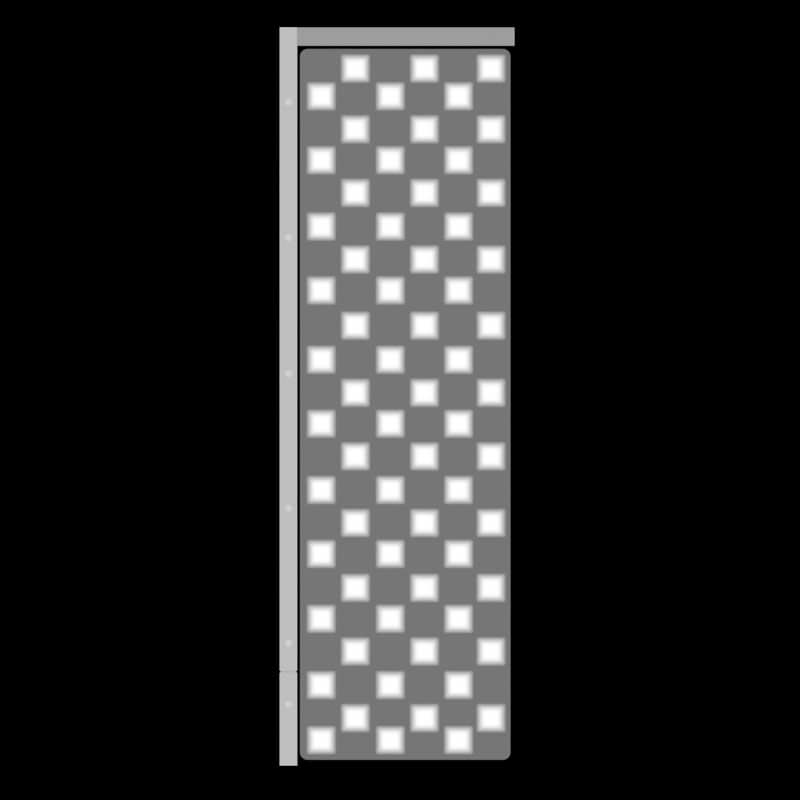
For the main body of the building, I created custom maps for each part, starting from the same base metal map. Here is an example of the textures used for the coffers supporting the roof. From top to bottom Diffuse/Bump/specular-glossiness
And here is the corresponding Maxwell material:
The Environment
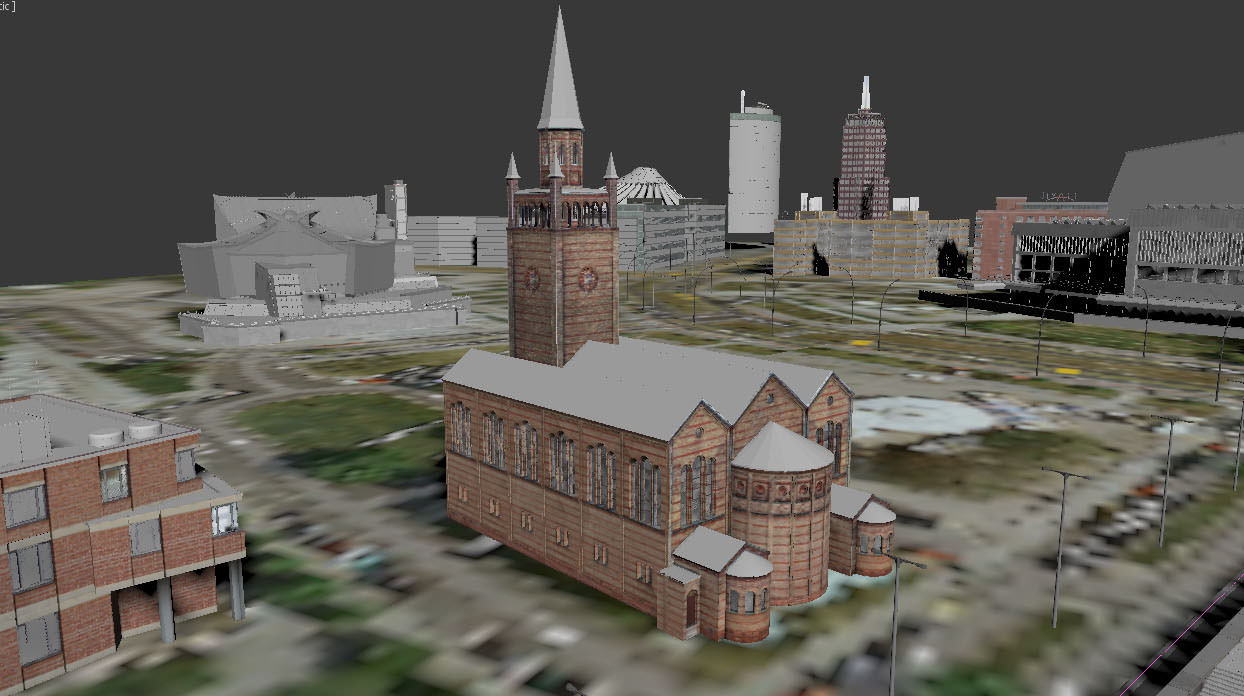
Strangely, perhaps, the pièce de résistance in this scene, at least in term of time spent, was clearly the environment. I decided to go for as full a 3D environment as I could muster, partly for the challenge and partly to give myself maximum freedom of movement for my cameras later on. In a way, I wanted this scene to be as close to the real-world as possible so that I could then shoot it almost as a real-world (amateur) photographer would.
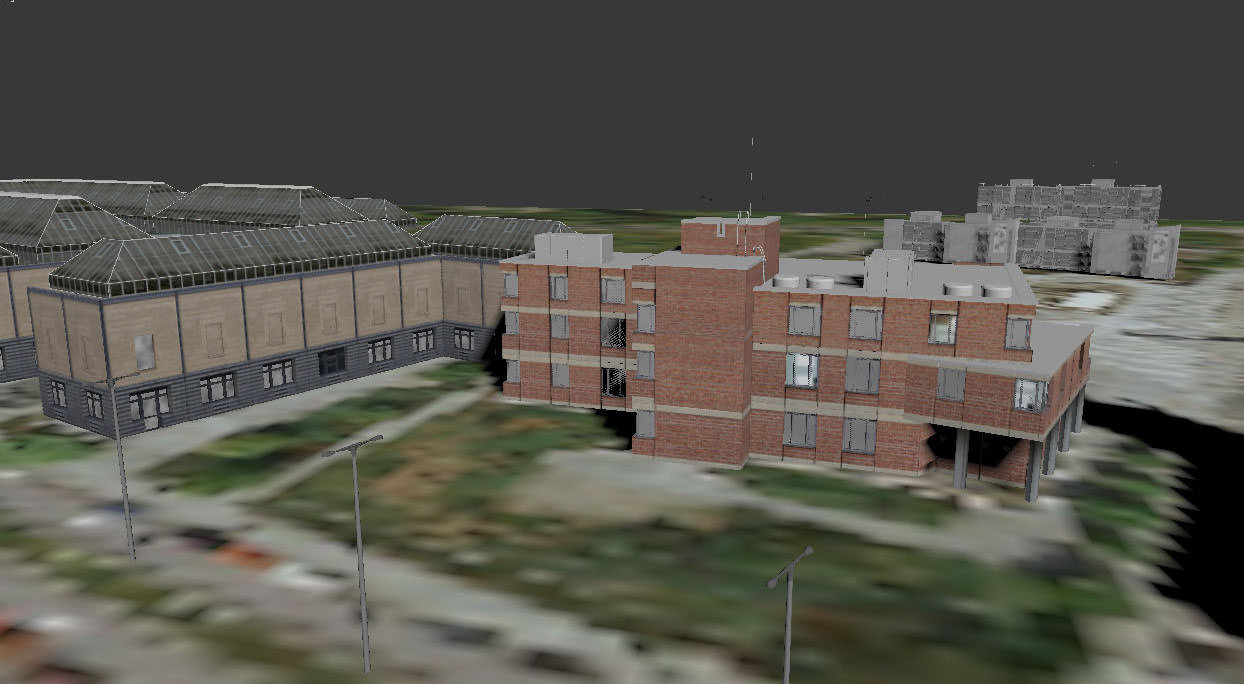
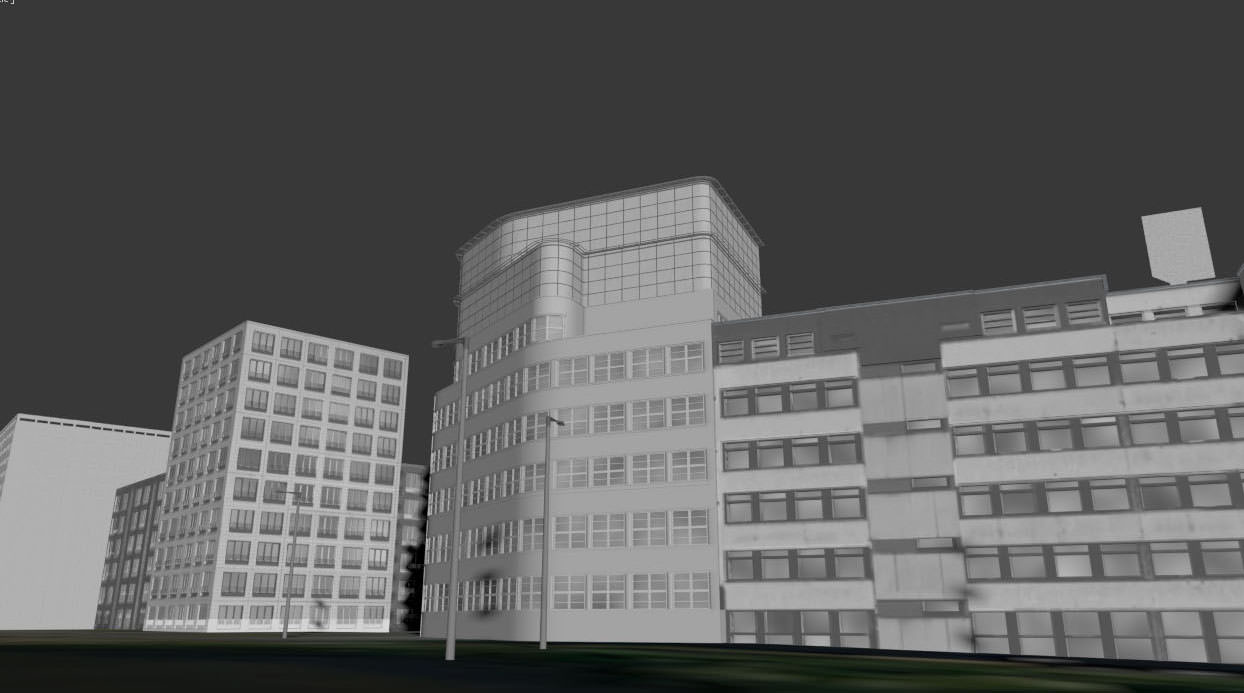
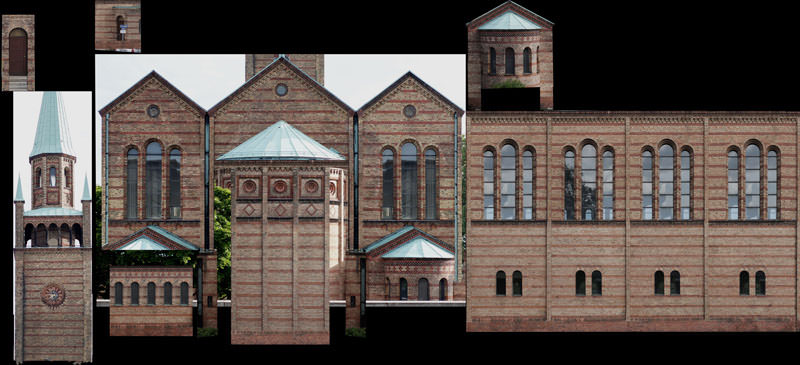
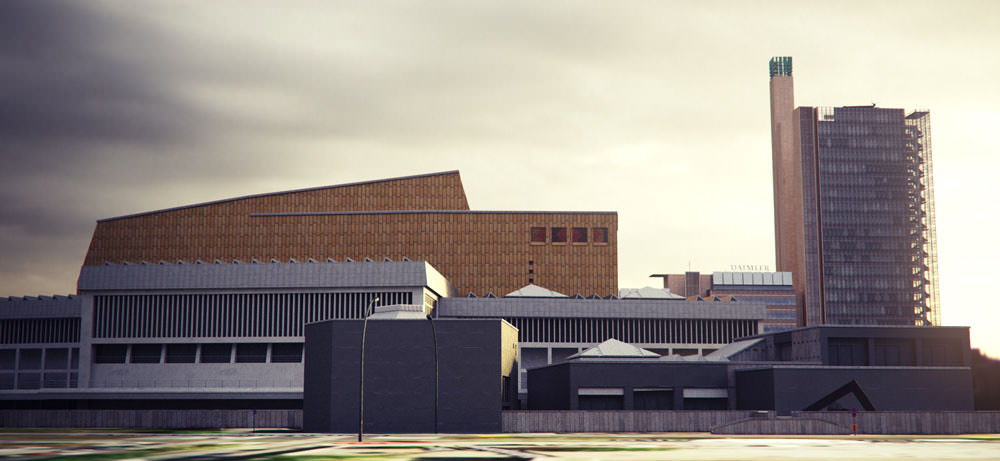
Drawing largely on my photos (I could not find decent sketchup models to get me started), I proceeded to model all the buildings surrounding the NNG one by one. I gave particular care to the Matthäuskirche, the Philharmonie and Scharoun’s public library, with the Daimler-Benz high-rise at its back. I also model some urban furniture – lamp posts, traffic signs, bins that would mainly be seen from a distance.
A lot of the realism of these buildings ended up being in the textures. The Church had high-res textures extracted from my photos and applied to the unwrapped model.
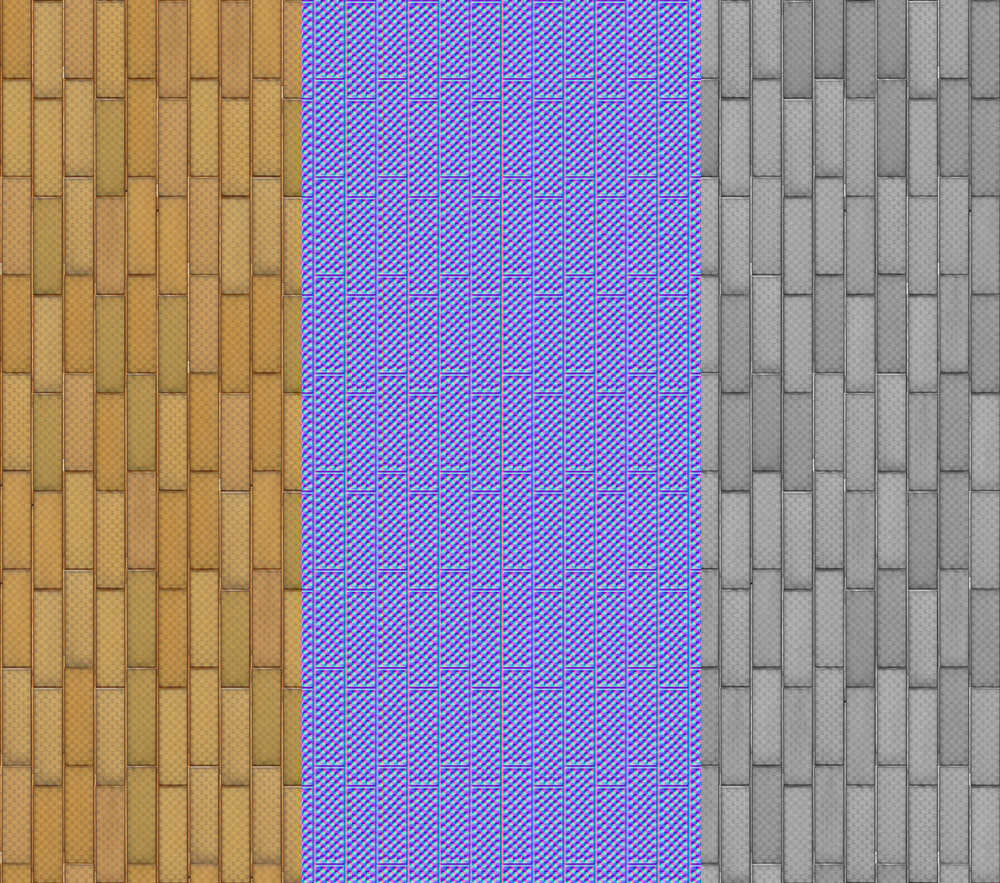
For the gold-colored copper cladding of the Philharmonie, I used an old technique, starting by modelling one tile to fit the proportion of the textures I had extracted from photographs. From this model, I rendered a Zdepth pass that became the base tile for the texture’s bump map.
I then created a tile-able texture in 3ds Max using the MightyTiles plugin and applied it to a plane. I rendered this texture in orthographic view (using V-Ray), generating both a diffuse and a bump channel. Back in Photoshop, I used the bump map to generate a Normal Map (with the remarkably useful PixPlant plugin). The diffuse map was used both in the diffuse and reflectance channel and a black and white version of it in the glossy channel.
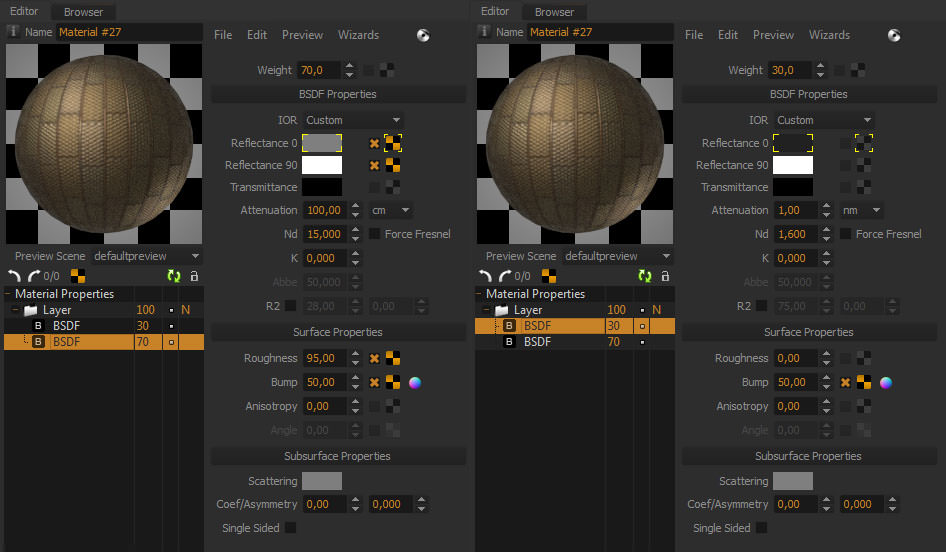
Here is the two-layered material for the tiles.
The Daimler high-rise was also kind of interesting in that the model was basically nothing but a stack of planes, each mapped with a different diffuse texture and with a different alpha map. The resulting transparency resulted in giving the illusion of a lot more geometry than there actually was.

ThePhoto-shoot
The next step was to block the position of my cameras so that I could add some finer-grain details scattered leaves, clumps of grass between the stone tiles – exactly where I need them. The scene was already 12m polys heavy and I could not afford to burden it any more with unnecessary geometry.
One thing I knew from the start was that I was not going to use cutout people in my images. I’m not such a great compositor and I have yet to see really convincing cutout people. Somehow, they always look to me like cutouts and never like they are really part of the picture. So I decided to go for low-poly people (http://www.lowpolygon3d.com), who would be seen from a long distance only as I wanted to accentuate the monumentality of the installation and buildings by making my humans very small.
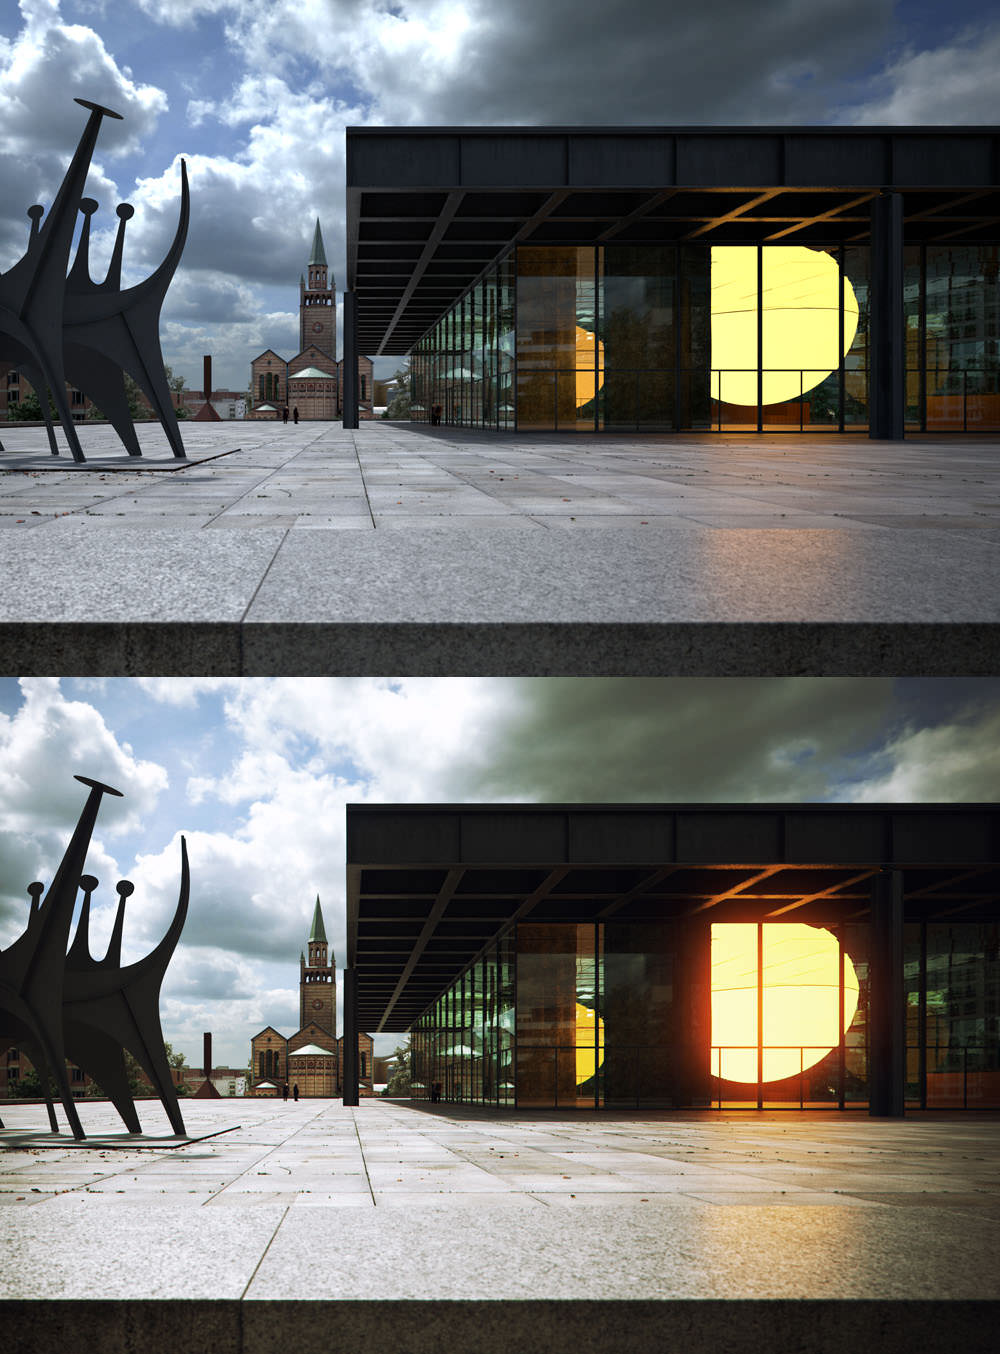
Likewise, I didn’t want to comp the skies in Photoshop. I wanted them to integrate perfectly in the image and to contribute directly to the scene’s illumination. So I decided to use very large HDR maps by Peter Guthrie and CGSkies.com.
This presented me with a dilemma… I wanted sharp shadows from the sun, yet Maxwell Render did not (to my knowledge at least) allow the simultaneous use of a sun system and an HDR image. I decided to test a trick I had discovered in V-Ray a long time ago by lowering the gamma of the HDR map to make it cast sharp shadows on the scene. To my surprise, it worked perfectly, the only difference being that I had to modify the gamma in Photoshop as Maxwell Render offers no such setting in the renderer. The shadows on the resulting images came only from the HDR images, as did the skies in the background.
Maxwell Render is so simple to use and so minimalist in its settings that there is very little to say about the rendering stage. After using Maxwell Render Fire (similar to what V-Ray RT does) to help position my skies and cameras, it was merely a matter of waiting for the final production images to converge.
Postwork
I saved the image as high-dynamic range .EXR files, which would give me maximum flexibility in post-production.
In Photoshop, I used Magic Bullet Photolooks to add a subtle chromatic aberration to the images, as well as some glow, diffraction from the very bright Eliasson sun, and some vignetting to underline the areas of interest. I also used Nik Software’s Color Efex Pro to give the images a slight vintage patina and tweak the temperature.
Here is a before-and-after comparison :
And this is me just fooling around and testing stuff :


That’s it!
I hope that was informative and that you enjoyed reading this half as much as I did going through this challenge.
Thanks for your time and interest.


Comments are closed.