Tugendhat House Interior by Lasse Rode (xoio)
Lasse Rode’s continues to share more insight related to his Tugendhat House 3D Recreation project. This time he writes a bit more about the creation of the interior images (focusing on one of them). Make sure you read the first part about the Making of Tugendhat House Exterior 3D Renders.


Author: Lasse Rode / Studio xoio
The Berlin based studio xoio has been established in 2006 by Peter Stulz and Lasse Rode. It is specialized in high-quality emotive architecture and product visualization. The team at xoio consists of people who have an architecture and design background. That provides a strong understanding of creative processes and the ability to give support in questions of design.
The previous article covered the exterior of the house only and here I would like to share some insight about my workflow on the interior renders. maybe not in the same level of detail and some aspects have had the baseline set for them already previously.
As for the exterior part of the work, I gathered many interior reference images so that I can understand what is going on inside this beautiful house. I actually found out that there is a winter garden on the short end of the glazed open space relatively late in the process, so I got to redo a lot of the images but it was worth it in the end I think.
The Modeling
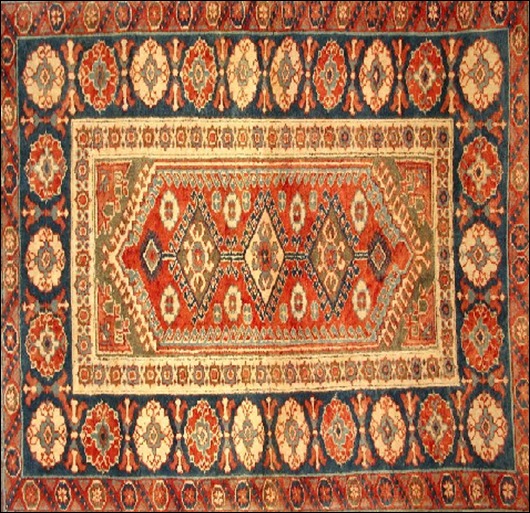
Although I mentioned most of the topics already in the first part I would like to talk about the carpets in this section.
There are many ways to generate carpets in Max I used some of them in the past.
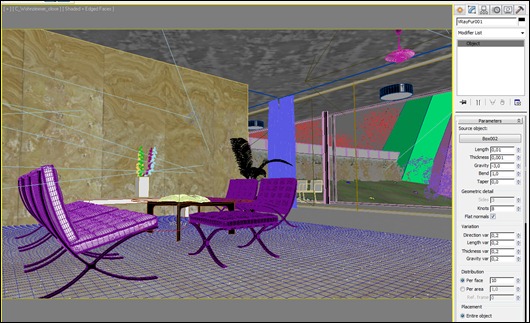
You could do it with V-Ray Displacement, Hair and Fur, Forest Pack Pro, V-Ray Pattern and also VRay Fur which I used in this case. It can get rather RAM consuming sometimes, but in this special project it provided the best result.
You simply apply it on a good subdivided plane and give them both the same material.
This is very important as a low “per face” value renders faster then a high “per area” value.
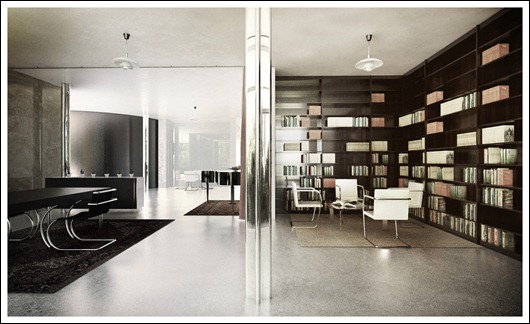
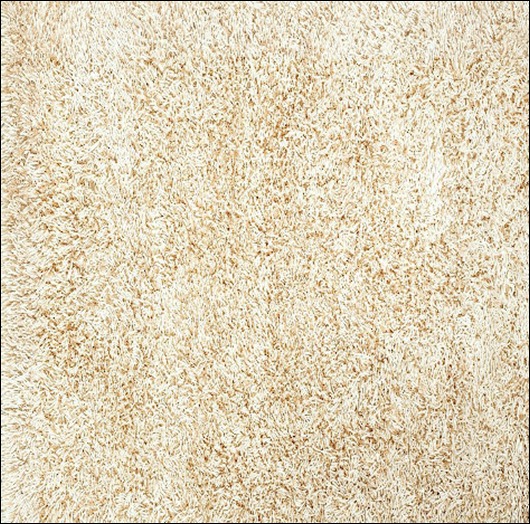
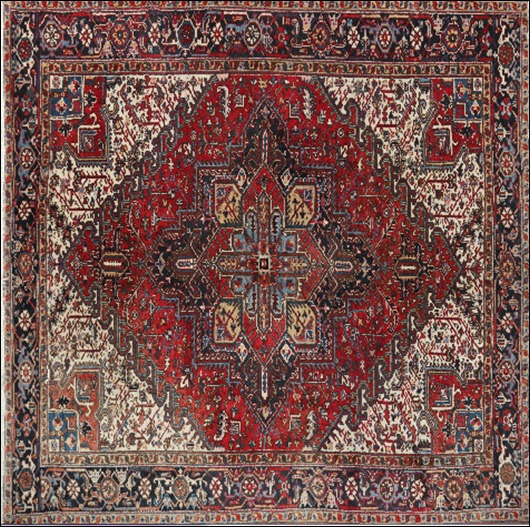
I used three different carpet materials in these Images. They are simple photographs of carpets which get their depth through the V-Ray Fur.
The Texturing
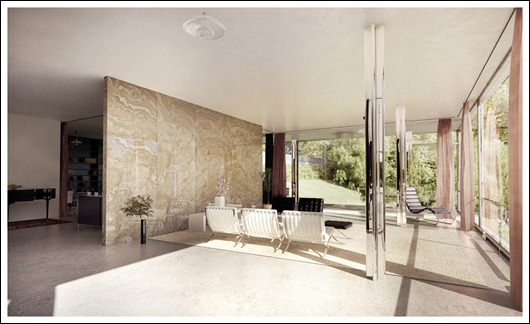
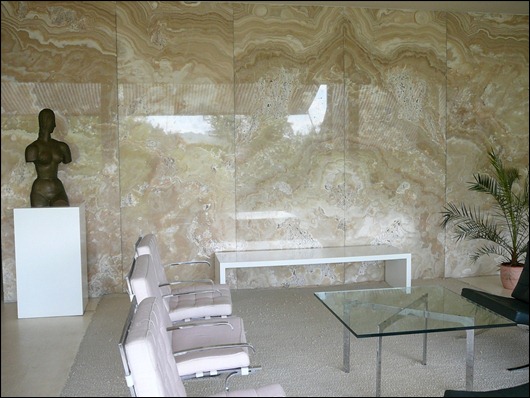
I would like to say some things about the Onyx wall. I searched the web for a long time, trying to get a good photograph of this wall that I could derive my texture from as this is a very special stone and I wanted to get close to the original.
Well I finally found a picture of it which has been taken almost perpendicular to the wall.
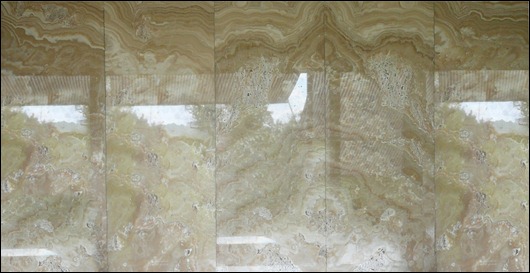
Unfortunately, there have been many objects standing in front of it and there are many reflections showing the outside in an angle that would look strange on my render, and would simply be wrong on the backside in the piano library space.
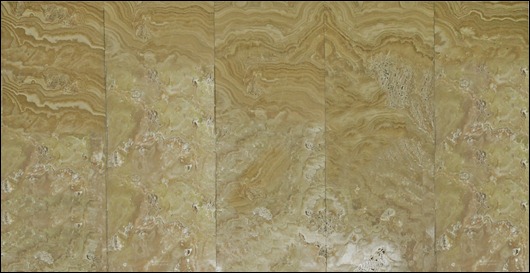
So first thing, I corrected the perspective and stamped and copy pasted the texture to get rid of all the stuff in front. Which led me to this version which I actually used in the first draft renders, but then realized that the reflections are not what I wanted especially on the backside.
The color looked also off in my test renders, so after stamping around again and some color-correction I got my final Onyx texture.
It worked out pretty good – and to be honest, I was a bit surprised with myself for managing to pull this one off.
The Lighting
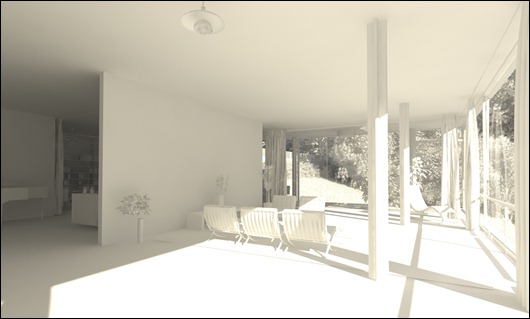
The lighting scheme I used on the interior renders is the same as I used on the sunny exterior renders with a V-Ray Sun aligned to a sunny HDRI Dome. It worked out very well without any additional skylight portal and so on. The lit scene looks like this
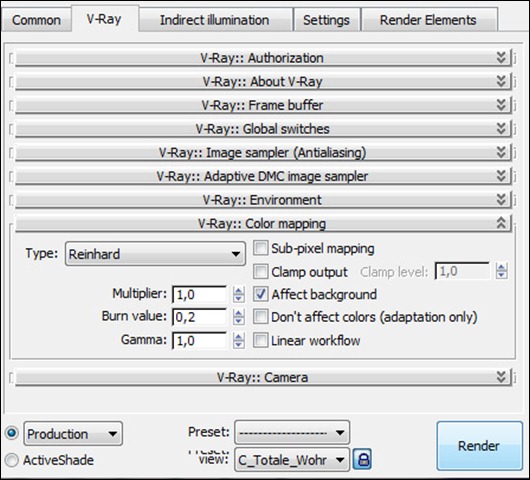
In this project I experimented with the Reinhard color-mapping.
It is a kind of color-mapping that mixes linear multiply and exponential color-mapping.
For more information on this topic try the V-Ray documentation on spot3d.com is a very good read.
What does it do?
Well all of you probably know the problem that if you take a photo inside the outer space burns out, but if you look with your “real” eyes you can see both the outer space and inner space with no burnt out areas. Briefly said your camera works linear, your eyes work exponential.
For better understanding I will show some test renders with different “burn values” the value in V-Ray where you control the mixture between linear and exponential color-mapping in reinhard color-mapping (1 is 100% linear, 0 is 100% exponential).
Don’t be fooled by the gamma value of 1.0. I do work in linear color space, but in our studio we decided to manage that with the max internal gamma LUT settings. This is just our own workflow.
The Rendering
Once Everything is set up properly I go on with the rendering. As always I rely on some render elements I save separately with the help of the PSD-Manager add-on.
My render settings for the interiors don’t differ from the exterior settings that much Maybe they could to give a more realistic straight from render image but, well on the interiors I did a lot more postwork than on the exteriors.
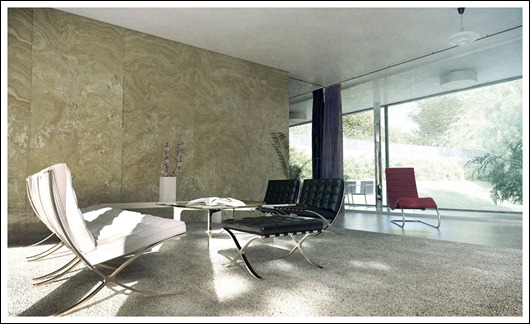
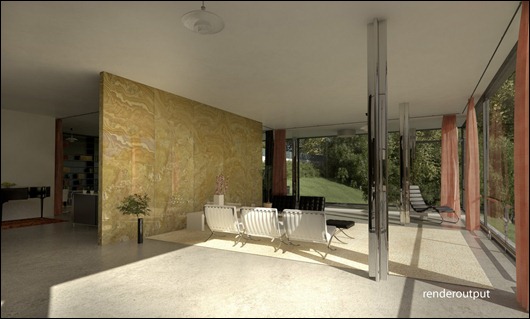
What drops out of V-Ray looks like this
As you can see this isnt very special and some colors are quite off. But so far this is an OK render one could build upon in the post production.
The Post Production
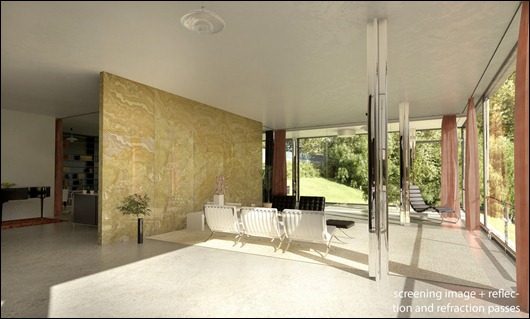
After opening the saved PSD file, I screened the render onto itself and did the same with the reflection and the refraction passes.
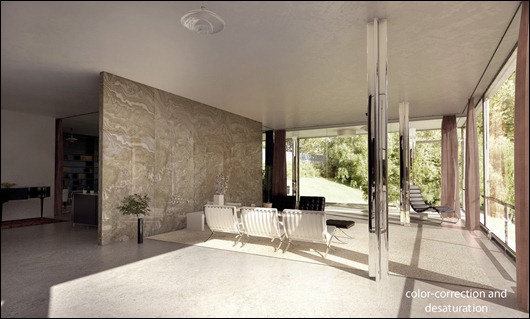
Then I did some basic color-correction and desaturated the image. The masks which the PSD-Manager generates helped me a lot to improve the color of the curtains.
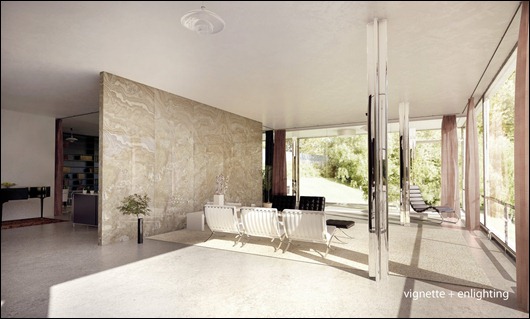
Then I painted a vignette and made the righter half of the image a bit brighter.
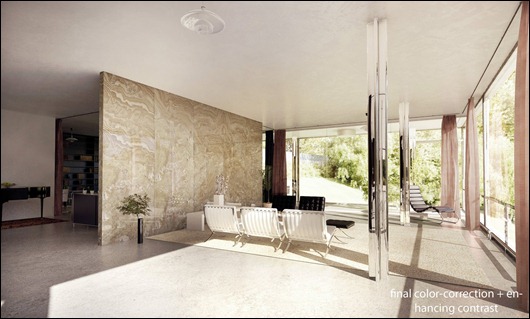
And finally I used the brightness/contrast tool to give the image a bit more of a punch.
I hope you found this interesting and could carry out some of the things I mentioned here in your own workflow
thank you for reading,
Lasse Rode,
xoio.




thank you lasse, very beautiful picture!can you tell us about resolution and render time. by the way, I expect the foliage outside is not a photo?best thomas from berlin
@ThomasGruender
Hey Thomas,
I rendered theimages in a 4000px width resolution for the most part. The rendertimes differ a lot from one to the other between 1,5 hrs to a lot more (actually i don’t know for sure anymore, but I think the Image with the carpet in front rendered quite long, maybe 6 hrs. due to rhe large ram consumption of the fur-element). The foliage on the outside is full-3d – We create them with Grow-FX
Best regards from Berlin as well 😉
Lasse
@xoio huch, stimmt gruesse nach Xberg!
thomas
Very inspirational. I think I’m going to have a go at it, having seen this. (If only there was more time!)
@BBB3 thank you bertrand!
btw: just purchased your loft-scene 😉
regards
Lasse
@ronenbekerman Great to see psd-manager used by so many ArchViz Pros – Get 10% OFF – Use Coupon SAVEPSD at checkout http://t.co/uZq2xcOE
wow you and good
Great!
Beautiful set of images, and perfect architecture chosen.
I am always bit puzzled when I don’t learn anything new from makings-of, all those things I found myself over time with some experimentation. I even use the same color correction :- ).What this shows though, is that your images are perfect because of great craftmanship, eye for detail and color and not some Vray and Max tricks that are ellusive for others.
Inspirational and outstandin work !
Wow – great how you got rid of the reflections in the Ony texture.
I love the photos you have here and this is one of the best actually…Thanks for the inspiration…
Beautiful work!
Thanks Lasse,
a bautiful set of images. But for the most amazing thing is your work on the onyx texture.
Thanks Lasse,
a beautiful set of images. But the most amazing thing for me is your work on the onyx texture!
Thanks again…
IM speechless and i allways happy to see more and more Vray tutorials.
(hope to see some Maya Tutorials 🙂 )
Great work!
thank you….i like tut
@DirtbagToonsfan @ronenbekerman Good stuff, thanks!
hi lasse,
thx for sharing! could you please give me more detailed information about lighting the interior with the combined method? what are your adjustments for the sun, dome and hdri? would be very intresting . . .
greetings from stuttgart
jörg
บย