


Making of Mountain Hostel
Beautiful Chill! Great looking snow, composition and light are the characteristics of AESDE‘s ‘Mountain Hostel’ visual that was shared on the forums and awarded them Best Visualization of the Week NO. 21/2014. Today they share the process of making this great looking visual. Enjoy!


Author : Maciej Józefiak / AESDE
Maciej Józefiak is an Architect and 3D artist. The Owner and founder of AESDE studio in Poland – A Multidisciplinary studio involved in architecture exterior and interior 3D visualization, graphic and industrial design projects.
Project Forum Thread : Mountain Hostel
Introduction
Hi all!
At first I would like to thank Ronen Bekerman for inviting me and giving me the possibility of presenting my project ‘Mountain Hostel’ in the Making-of section of this great blog.
I’ll start with a few words about the project itself…
This project was lying in my drawer for a few years because of chronic lack of time (sounds familiar?) and I just didn’t manage to finish it. The Mountain Hostel is a personal project I conceptualized due to my needs for testing winter scenery and snow materials. It was designed right inside the 3D program, fueled by my own imagination and references of winter and snow. I would like to present shortly the stages of making this visualization.
Software
The whole scene was made in 3ds Max, rendered with V-ray and post-worked in Photoshop.
Let me begin…
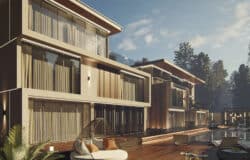
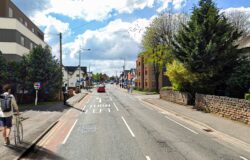
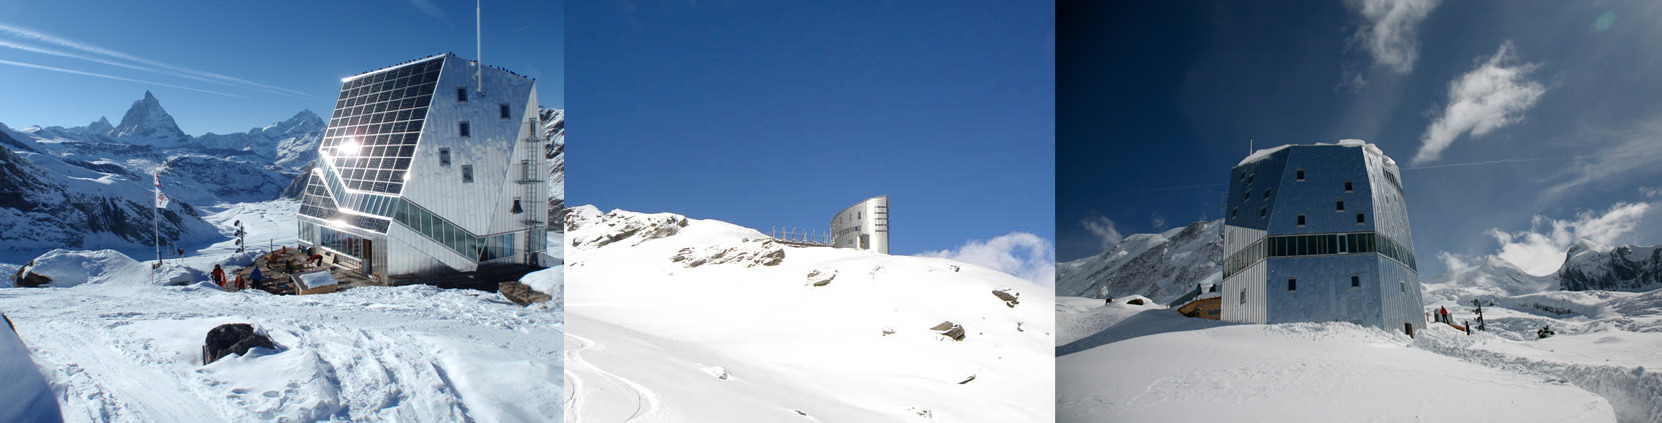
Inspiration
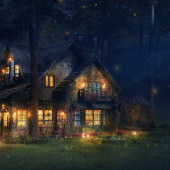
Here are some of the visuals I used as reference for capturing the atmosphere of winter and snow.
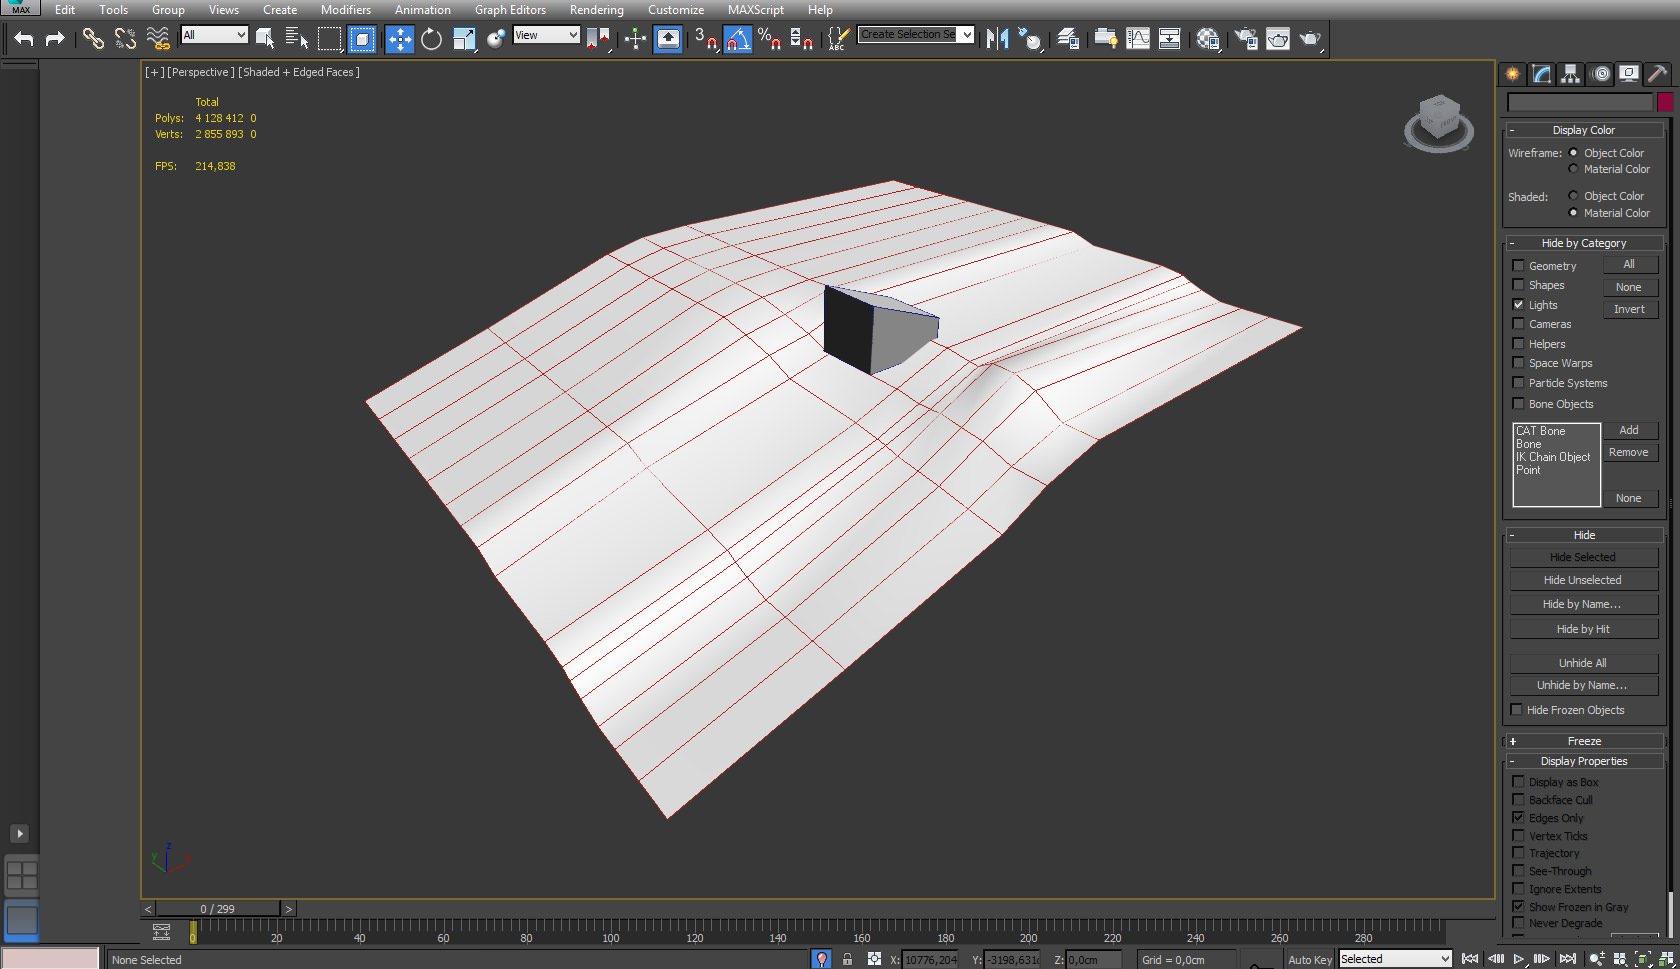
Modeling
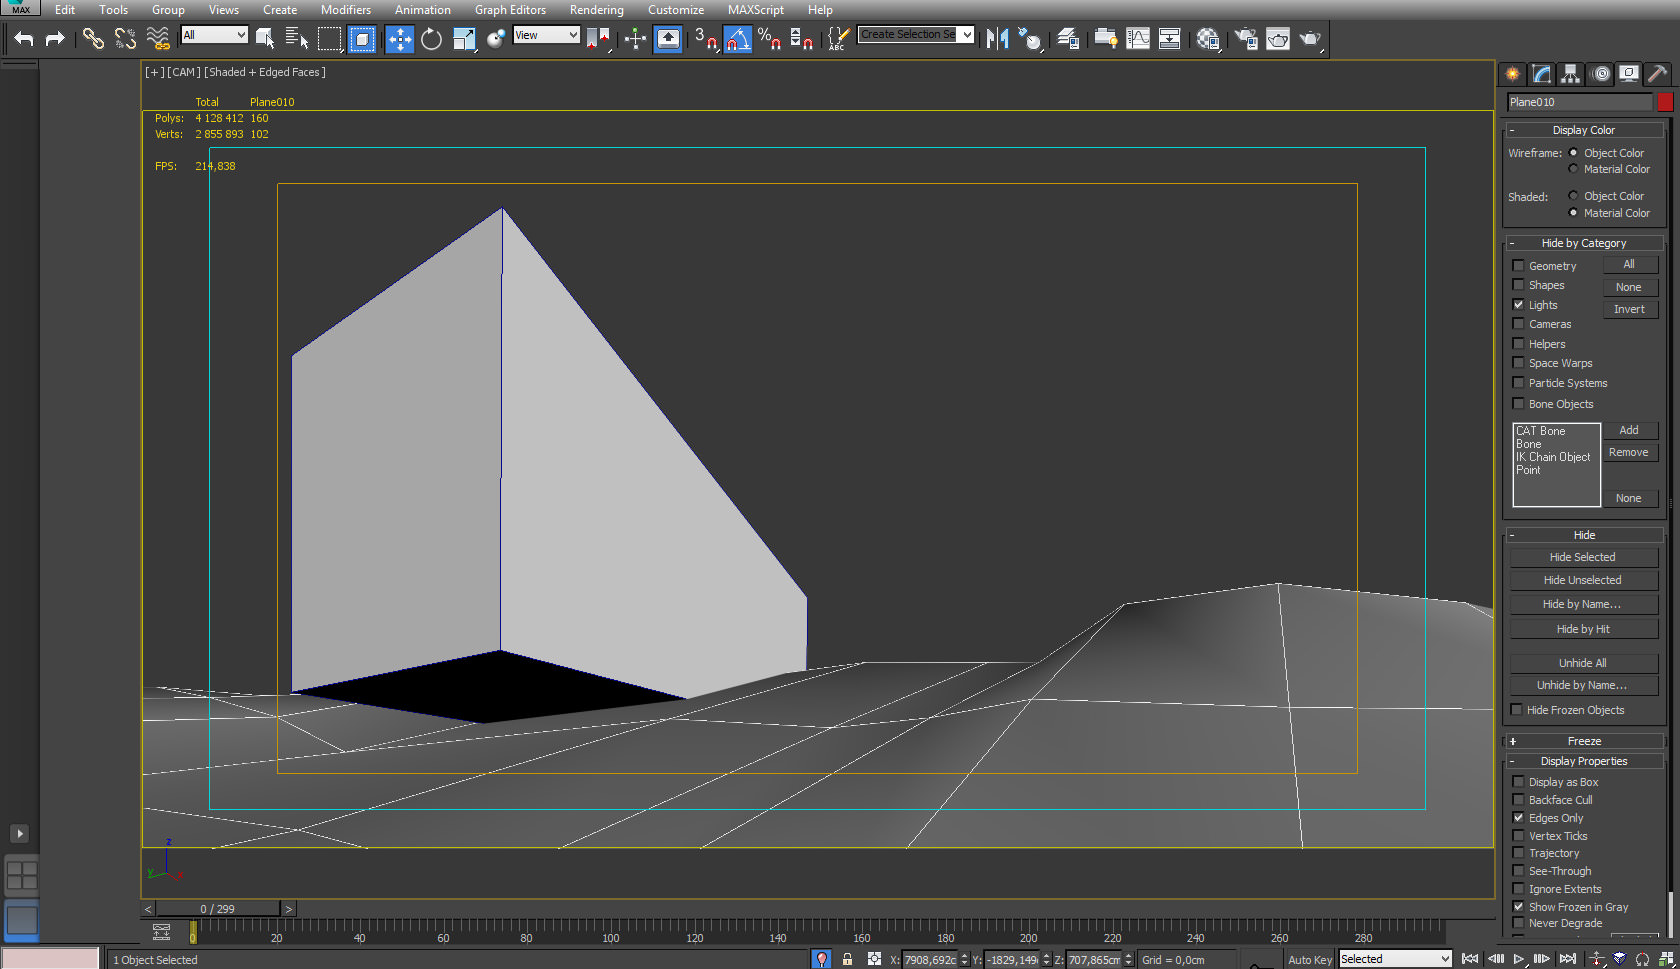
Firstly, preparing demonstrative object box and the field where the building will be set.
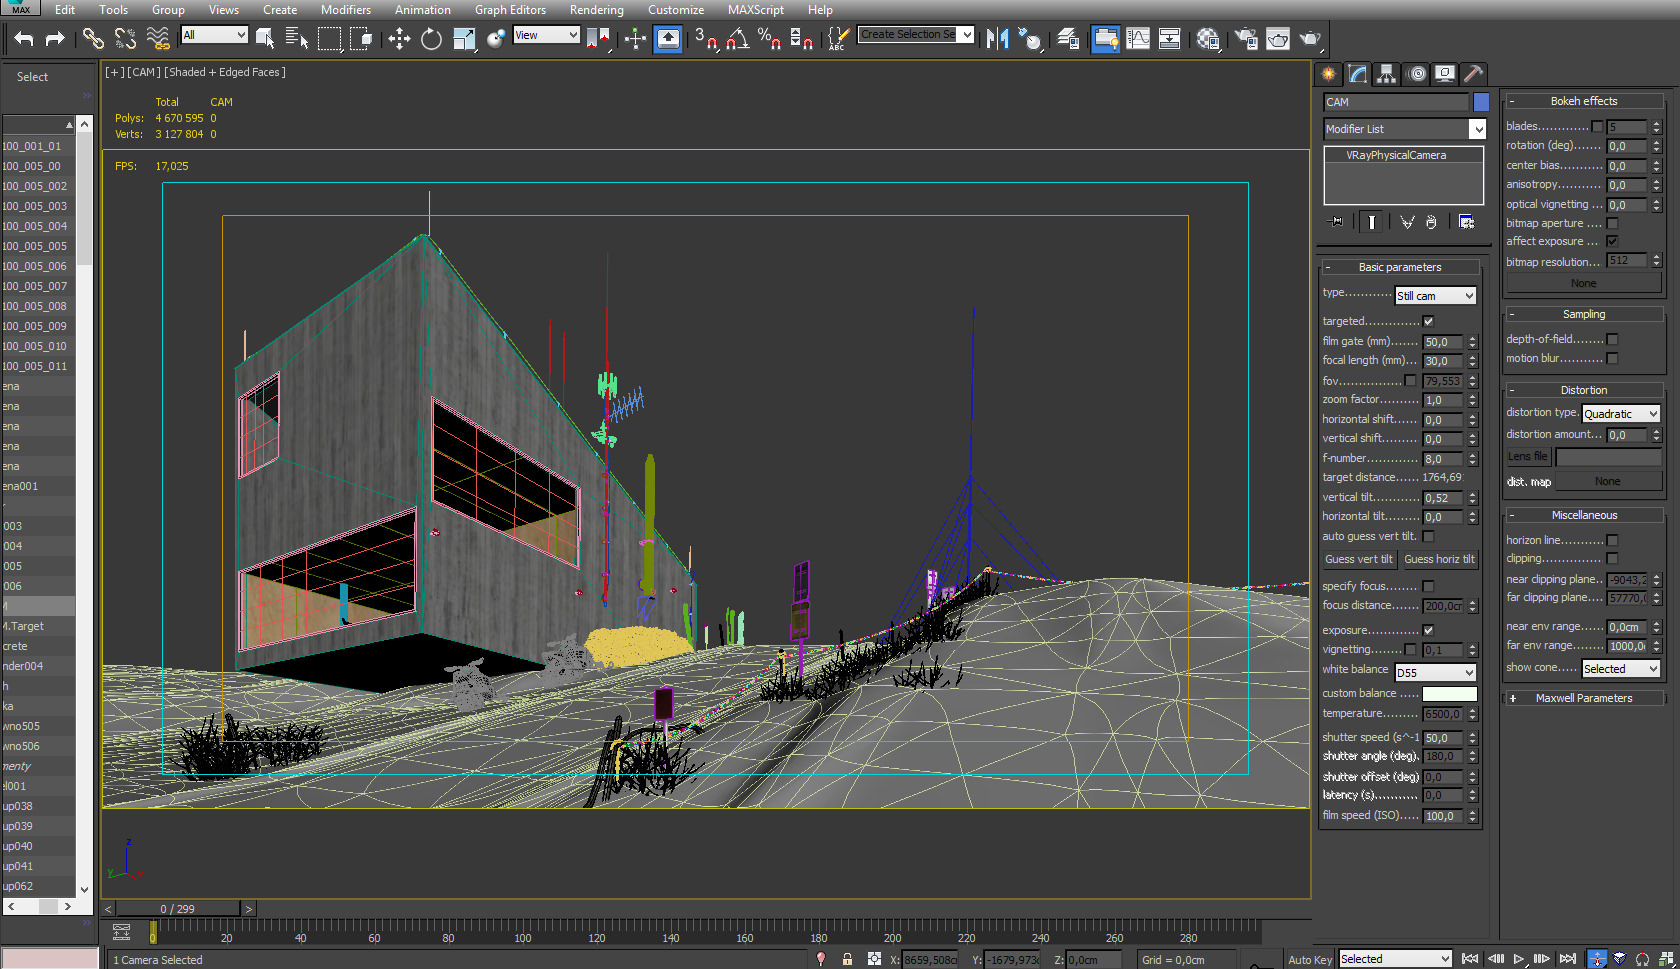
Next, as we have the scenery drawing, we can set the camera because all the elements of the scene (composition and lighting) will be set for the specific shot.
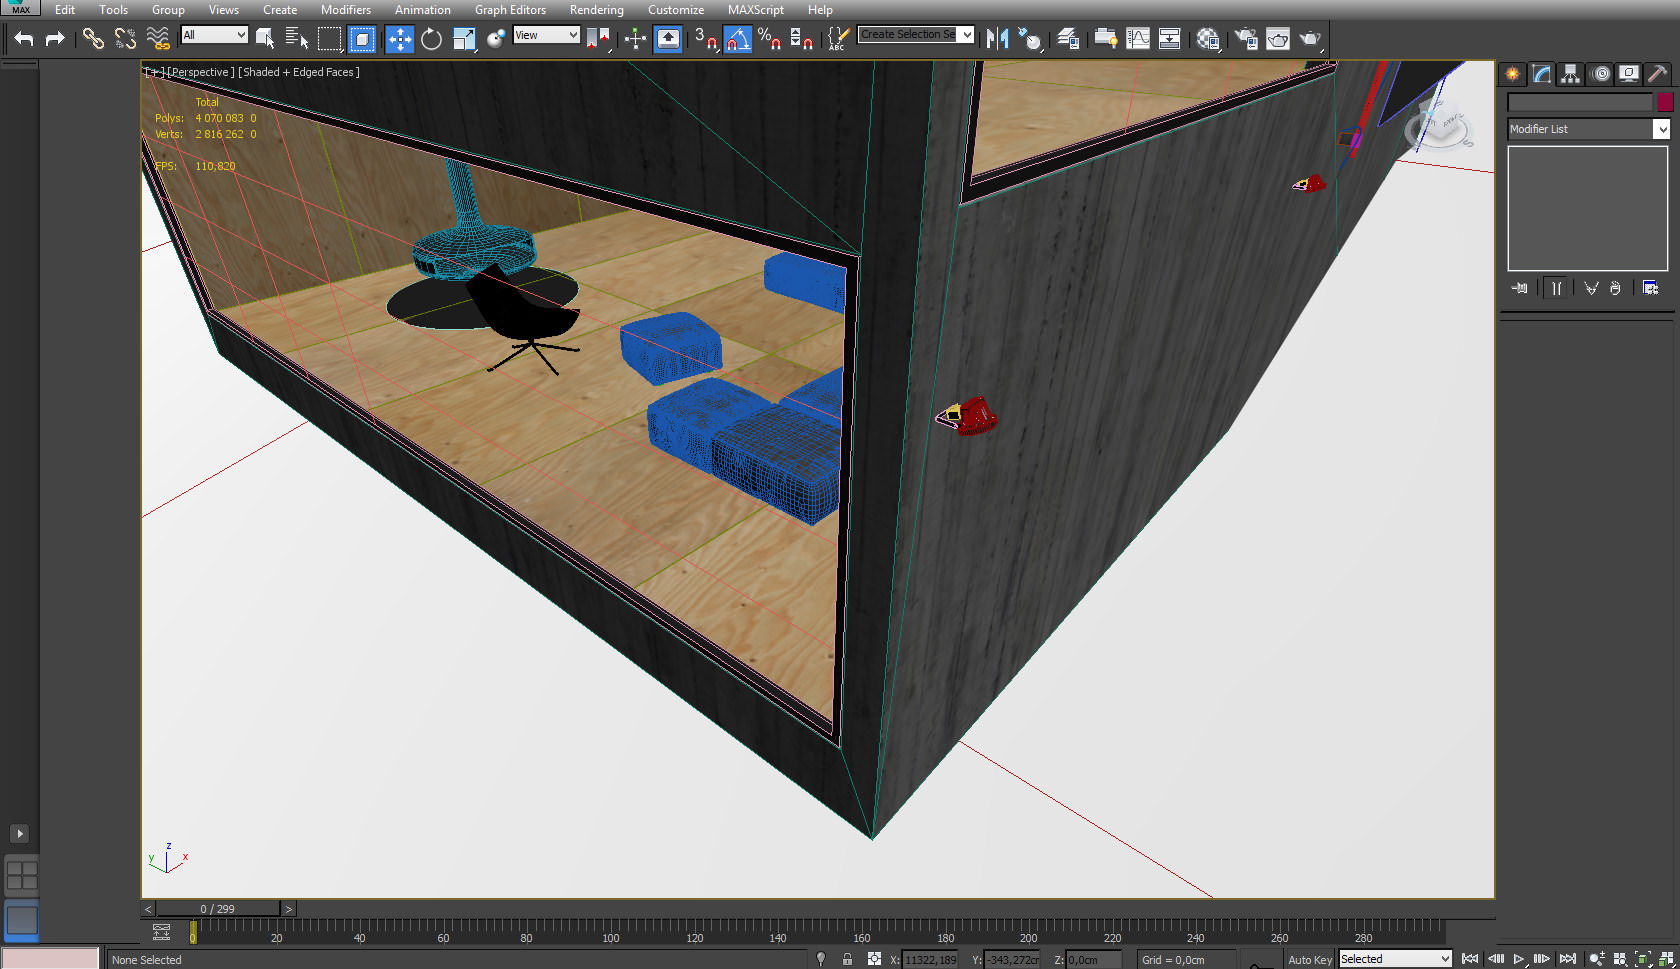
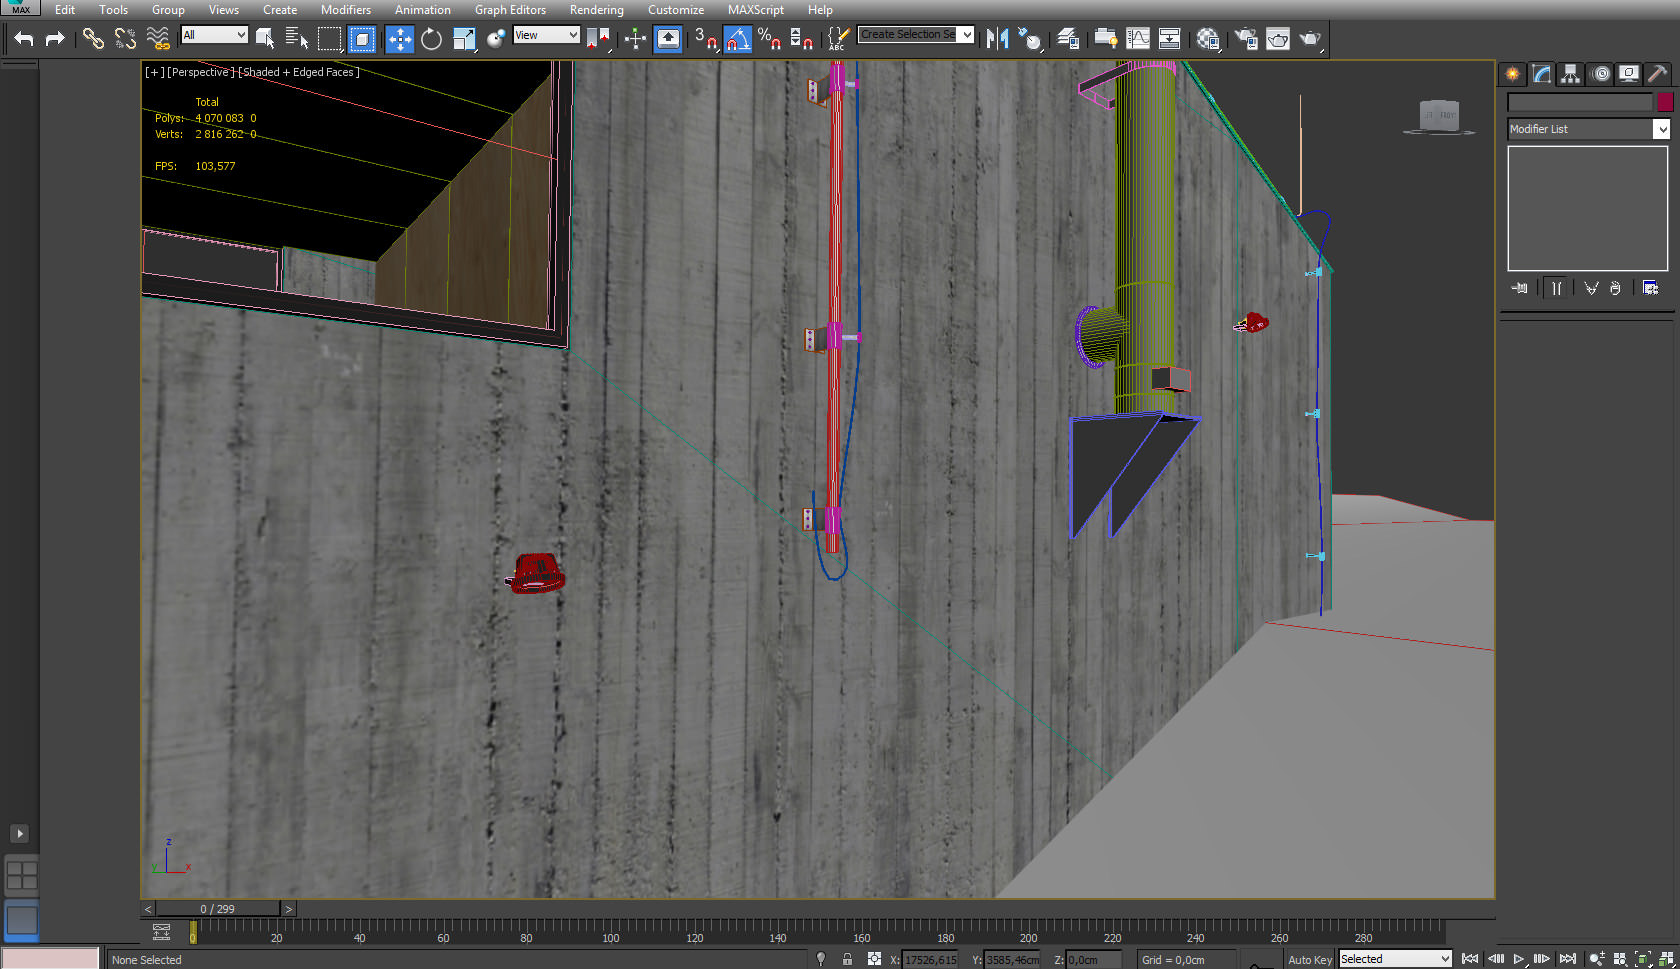
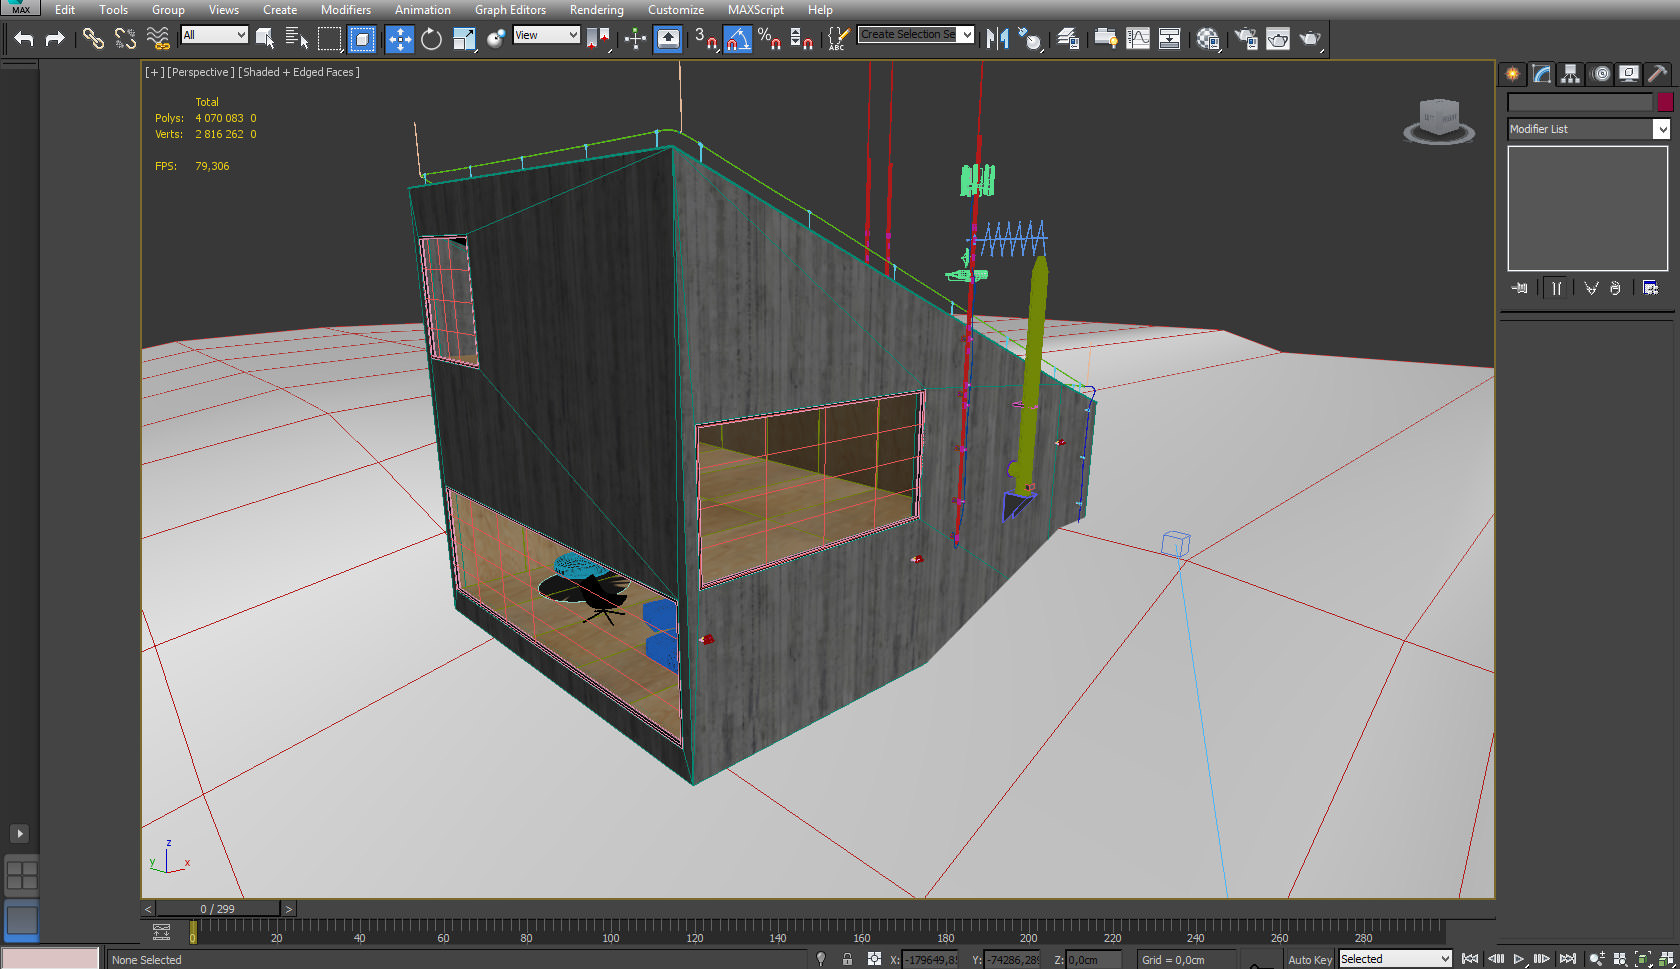
The next step is to make our object much more detailed.

A few more model detail shots…
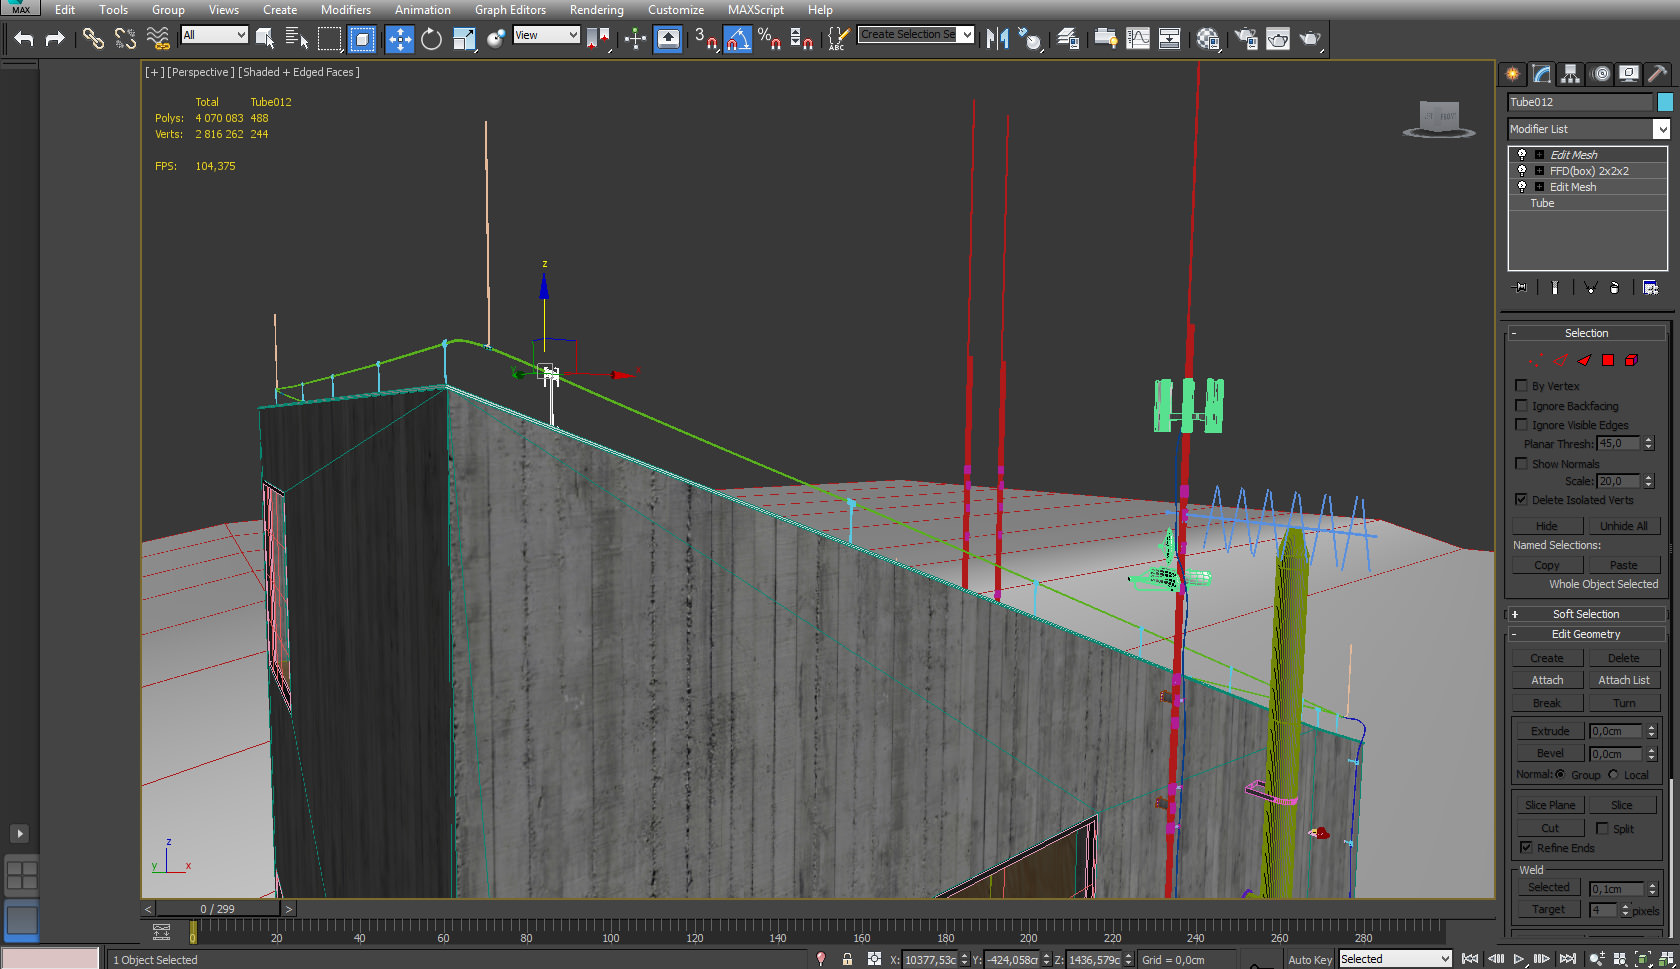
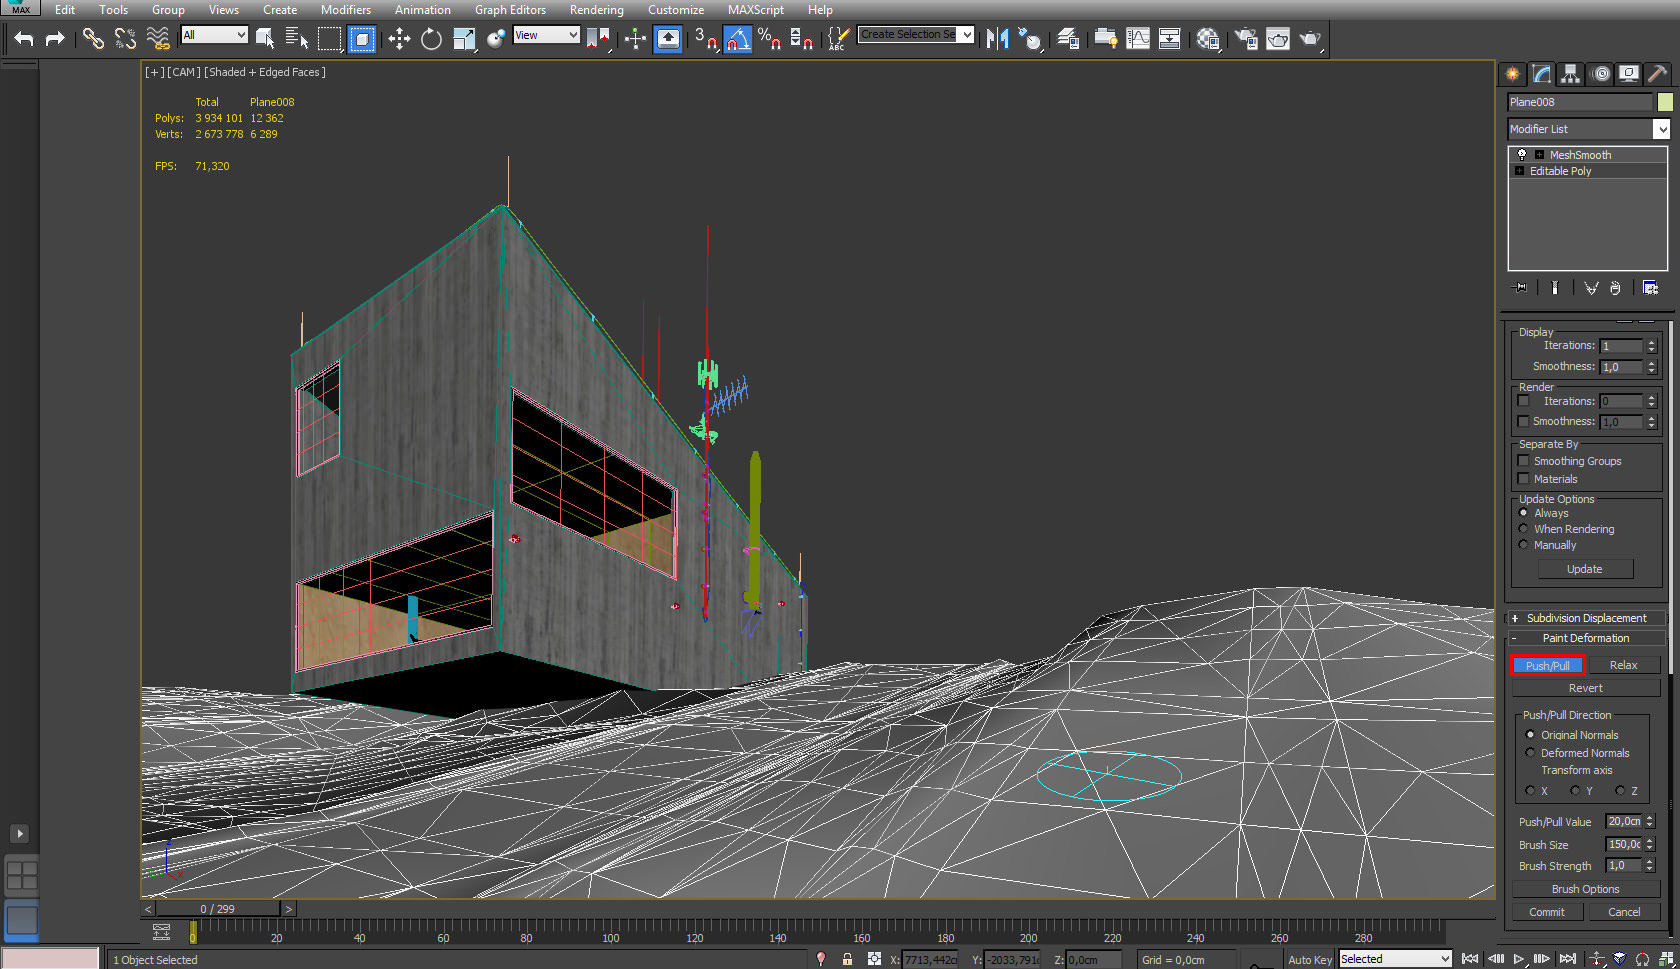
Now we are moving to the field. We are thickening the mesh using the subdivide function and edit it using editable poly. We are using the push/pull function from the paint deformation folder to create our snow structure where necessary. There is no need to model the surface of the snow more specifically because for this function we will use displacement texture and we will describe it later.
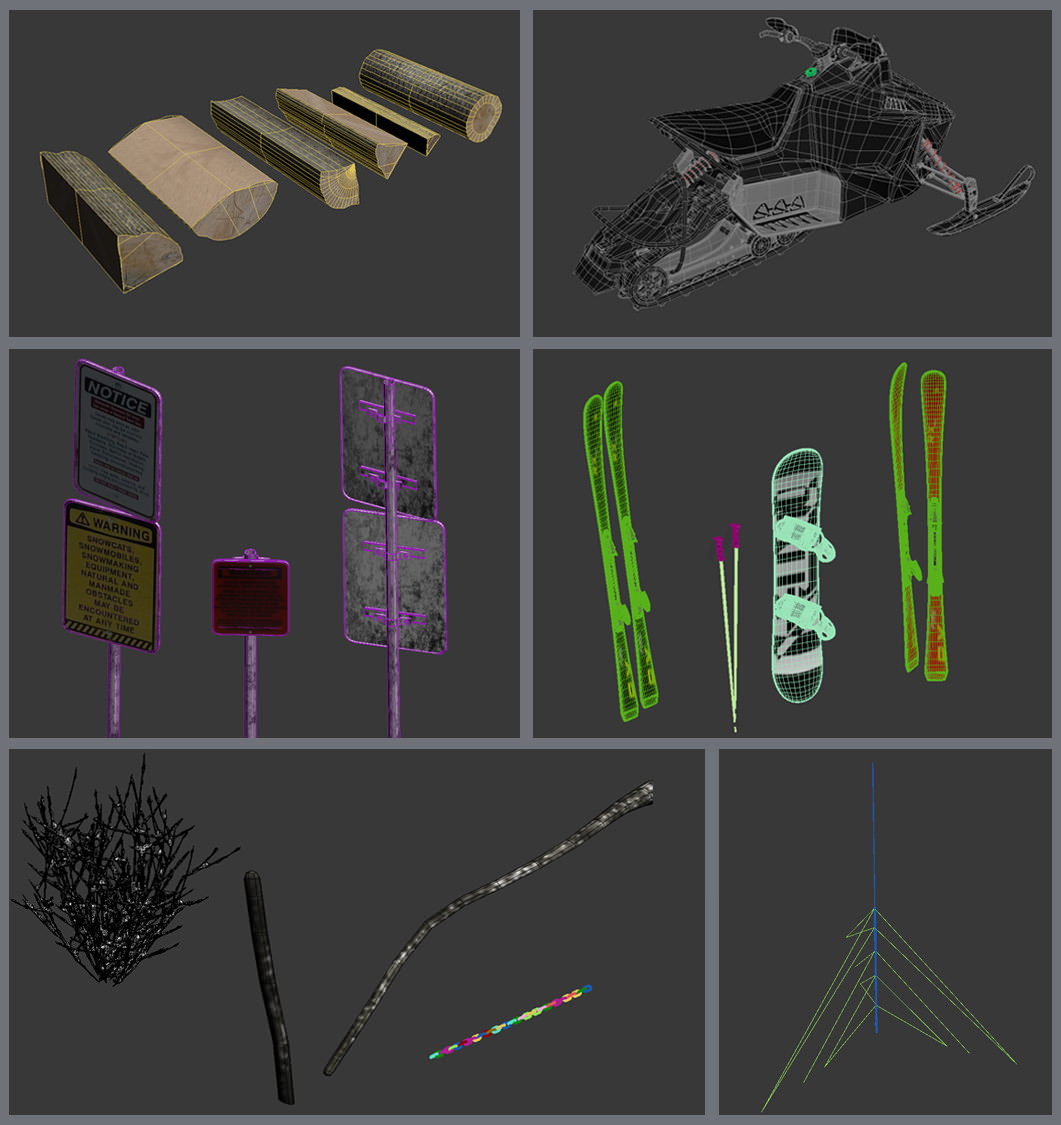
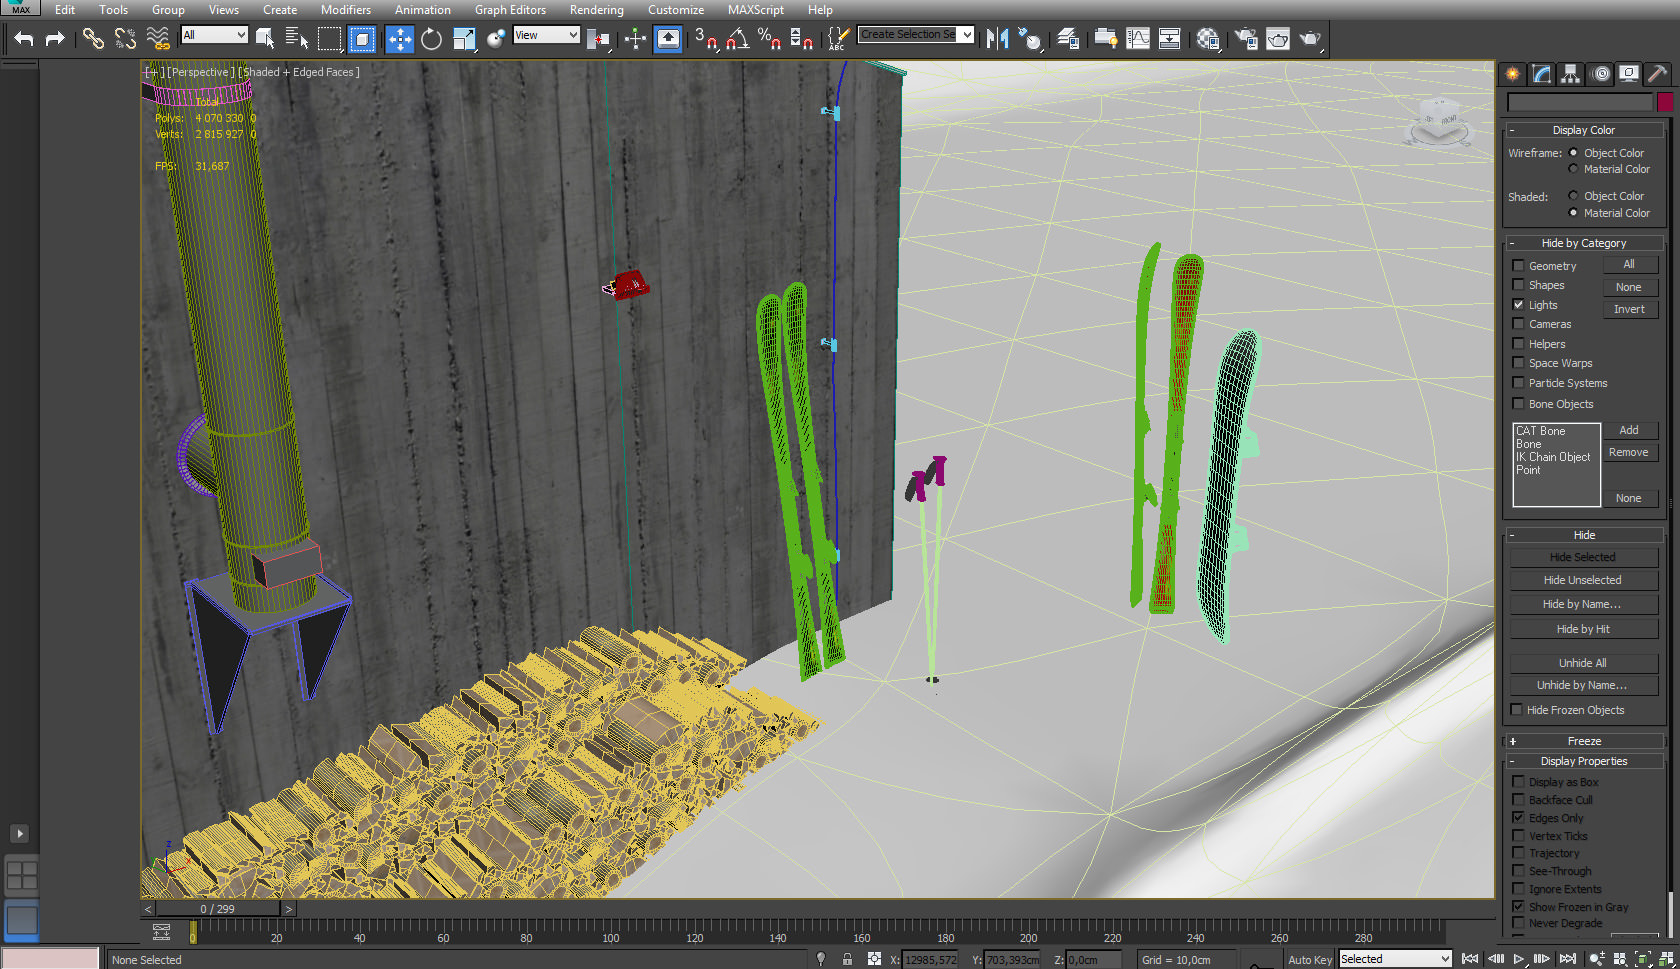
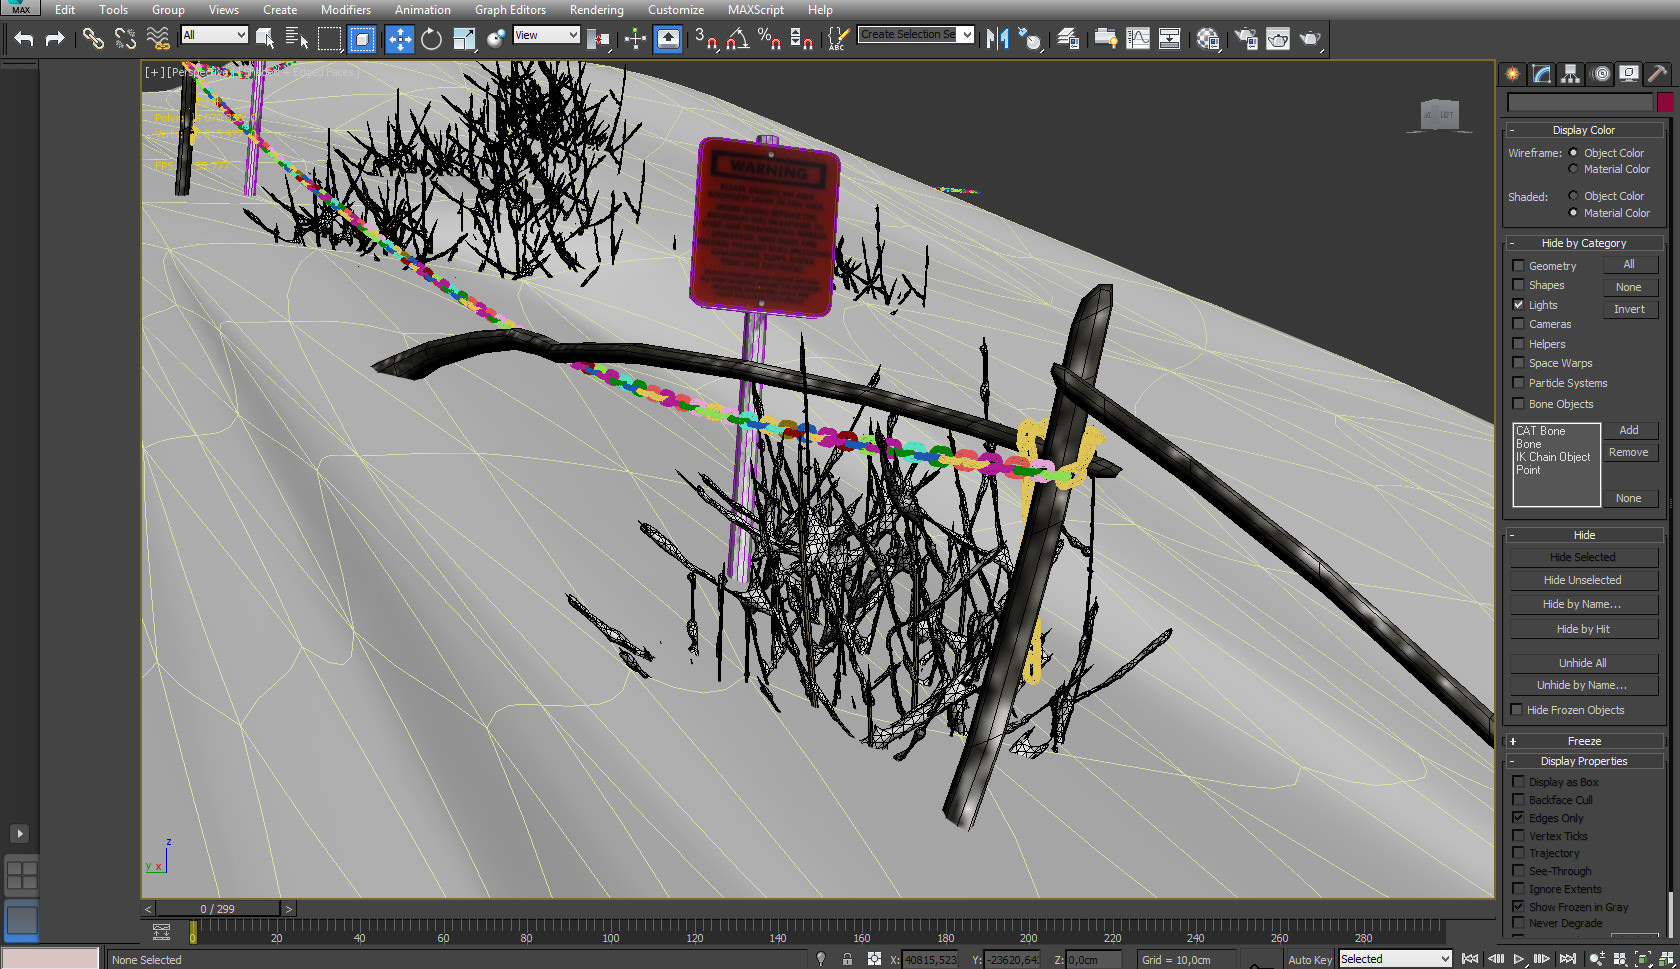
Next, we are adding previously prepared and textured elements of the outside scenery such as fire wood, information signs, ski equipment etc.
We are composing all the elements.
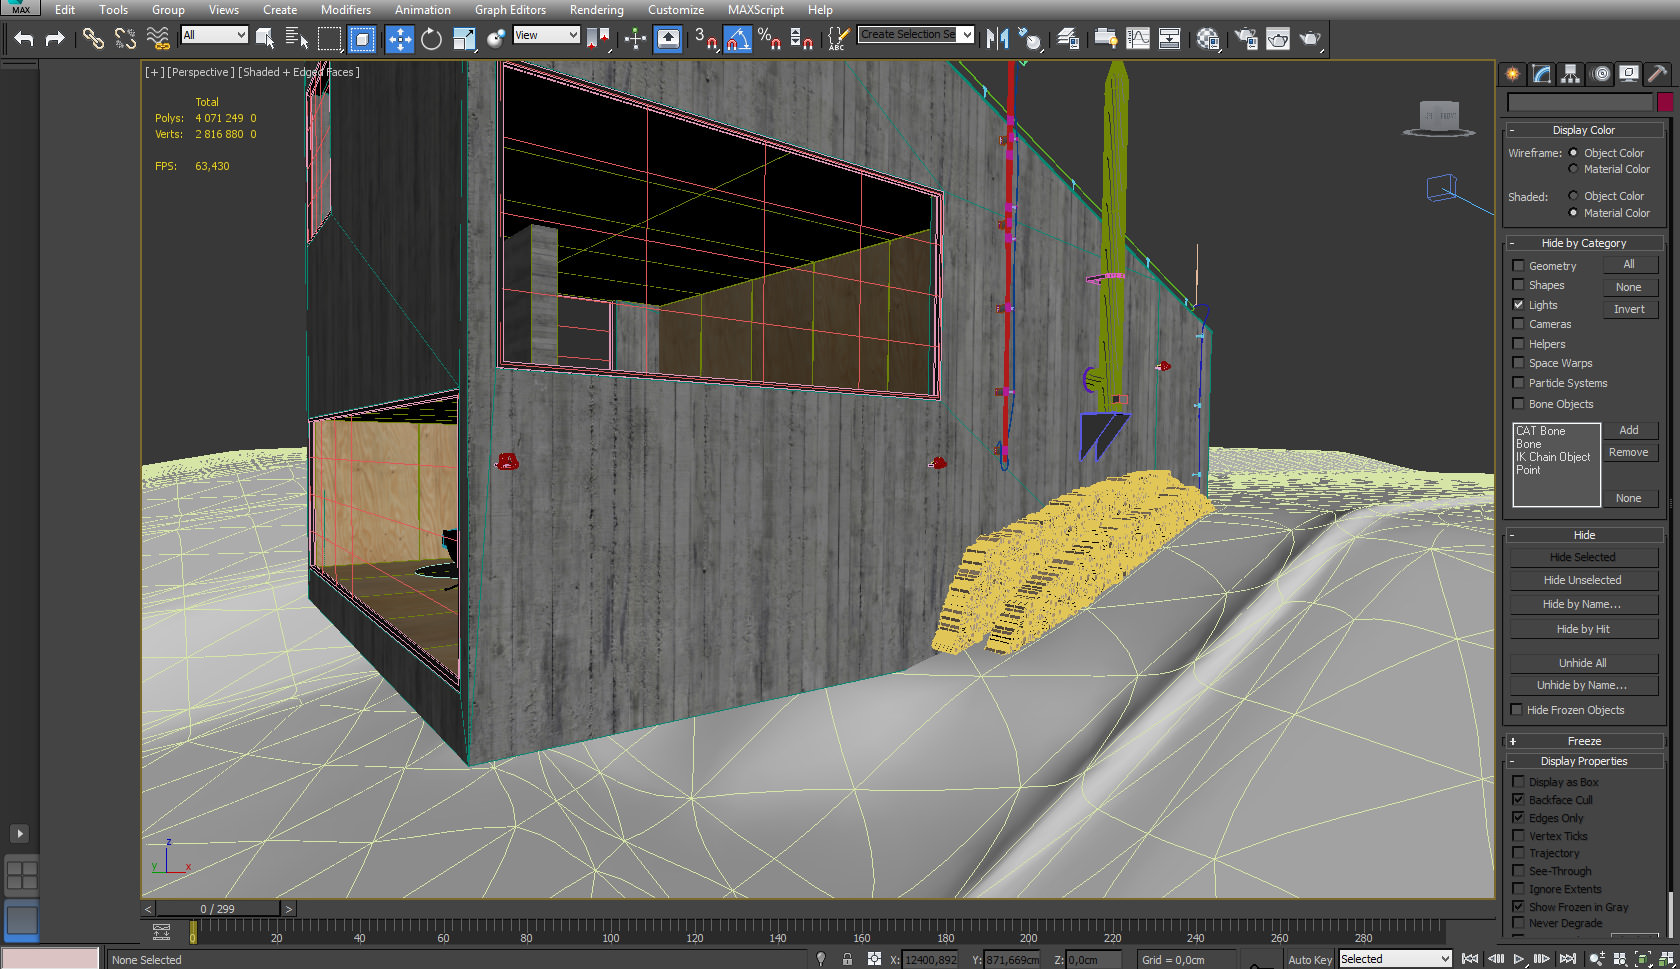
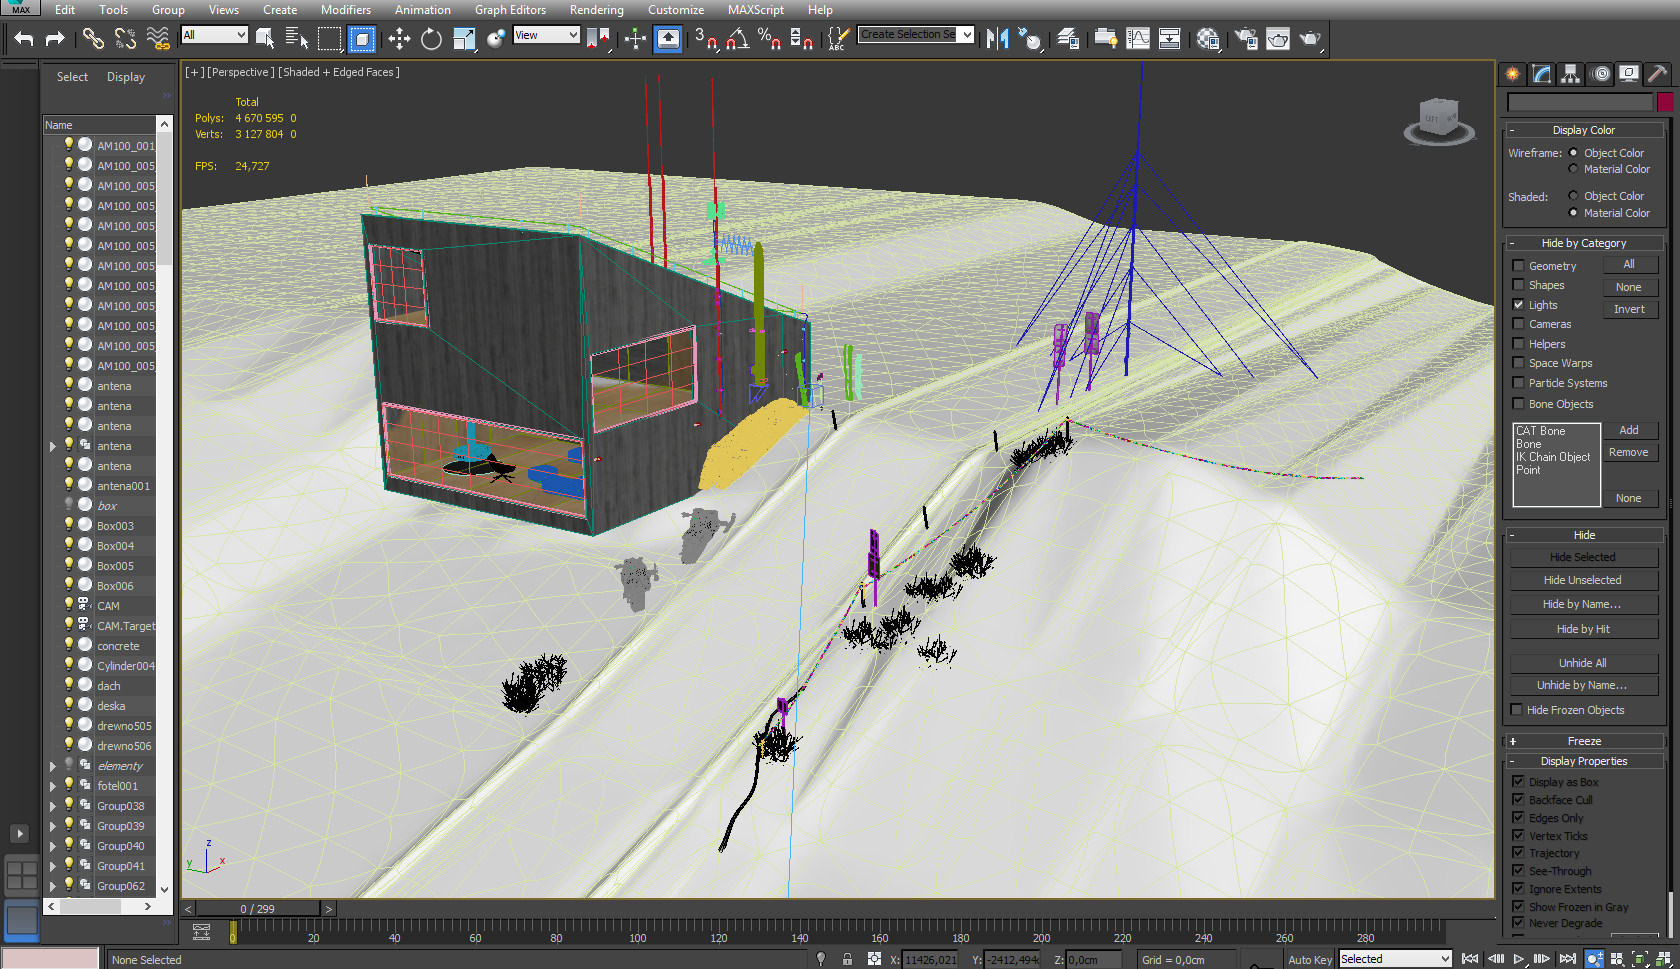
This is how the ready scene is presented.
Textures and Materials
Here are the most important materials and textures used :
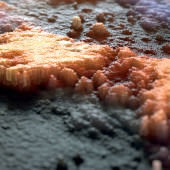
SNOW
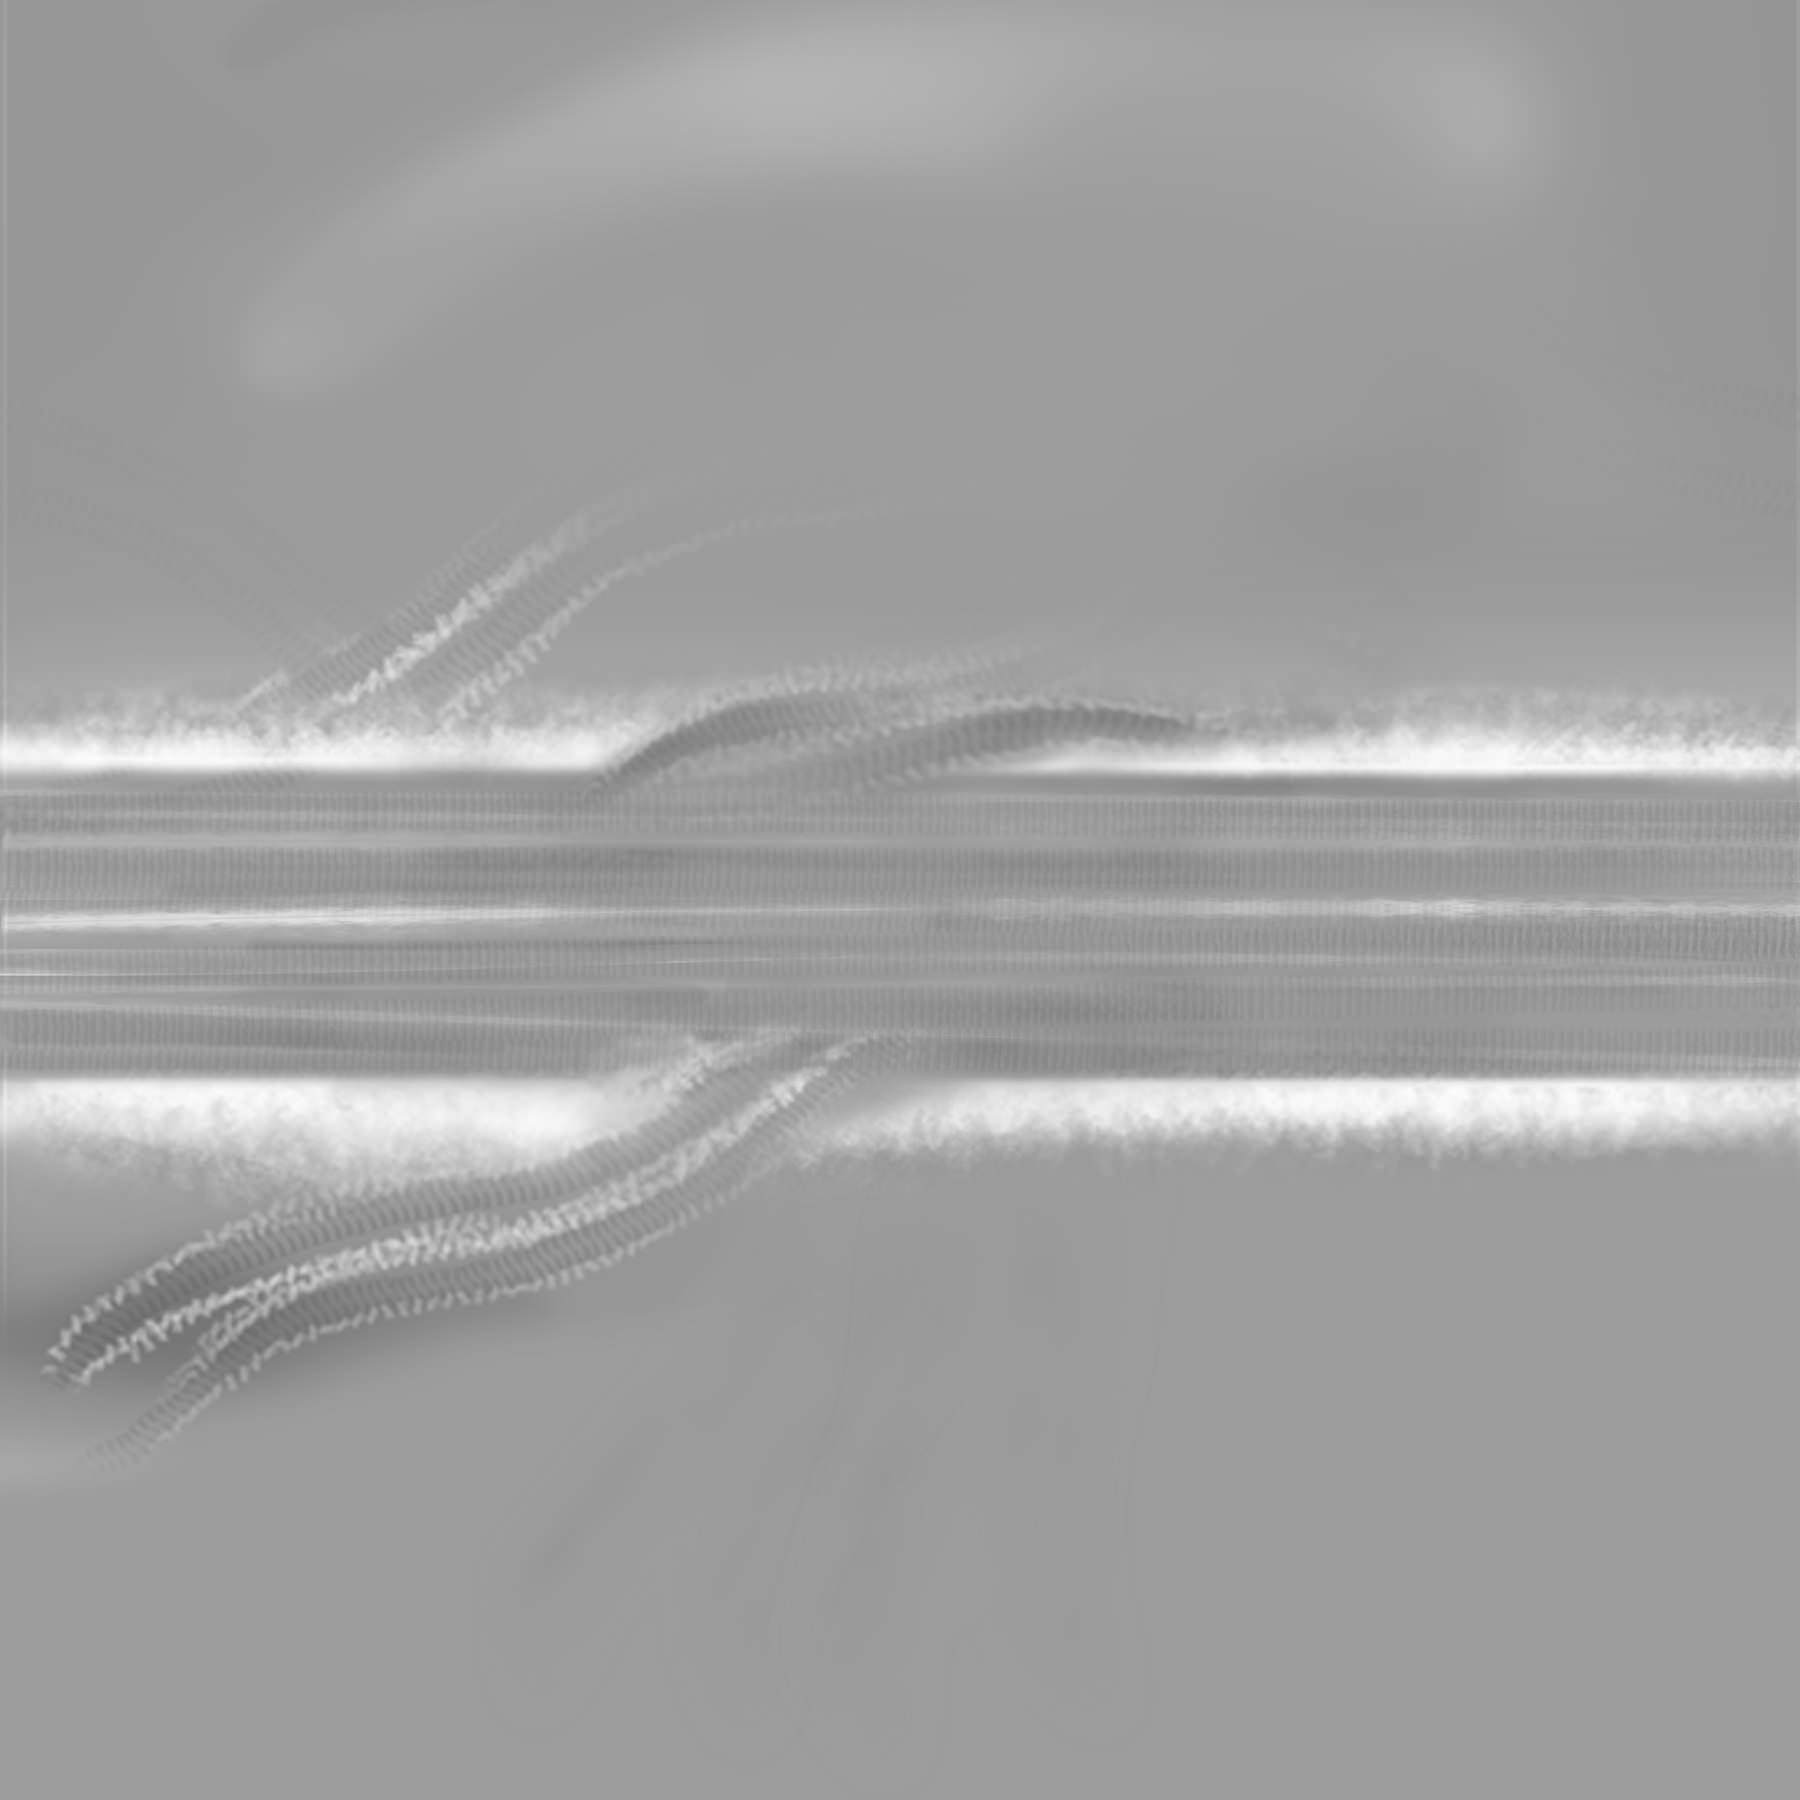
To make the snow layer look more realistic, we are using the displacement texture. We are preparing the texture with all the elements needed such as scooter tracks etc. It gives us more realism.
This i show the ready texture looks like :
Preparing the material.

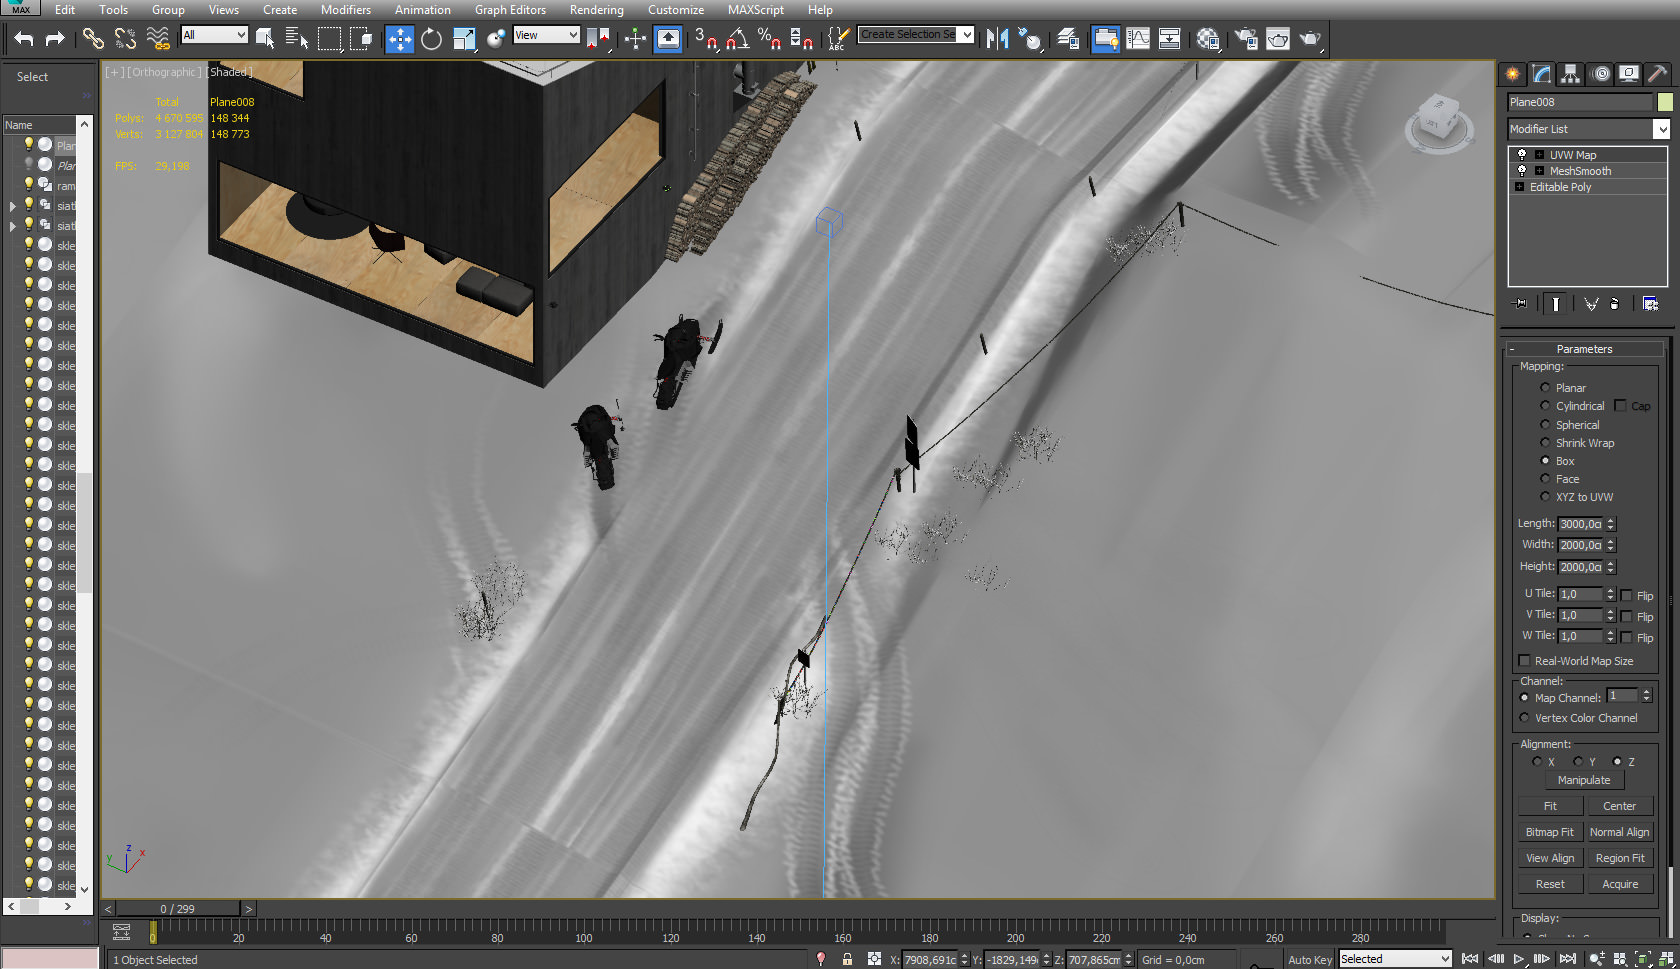
This is how it looks in the end. Of course we have to remember to make all the deformations from the displacement function in places we want to, so in the worksheet window we are setting the texture using the UVW Map function.
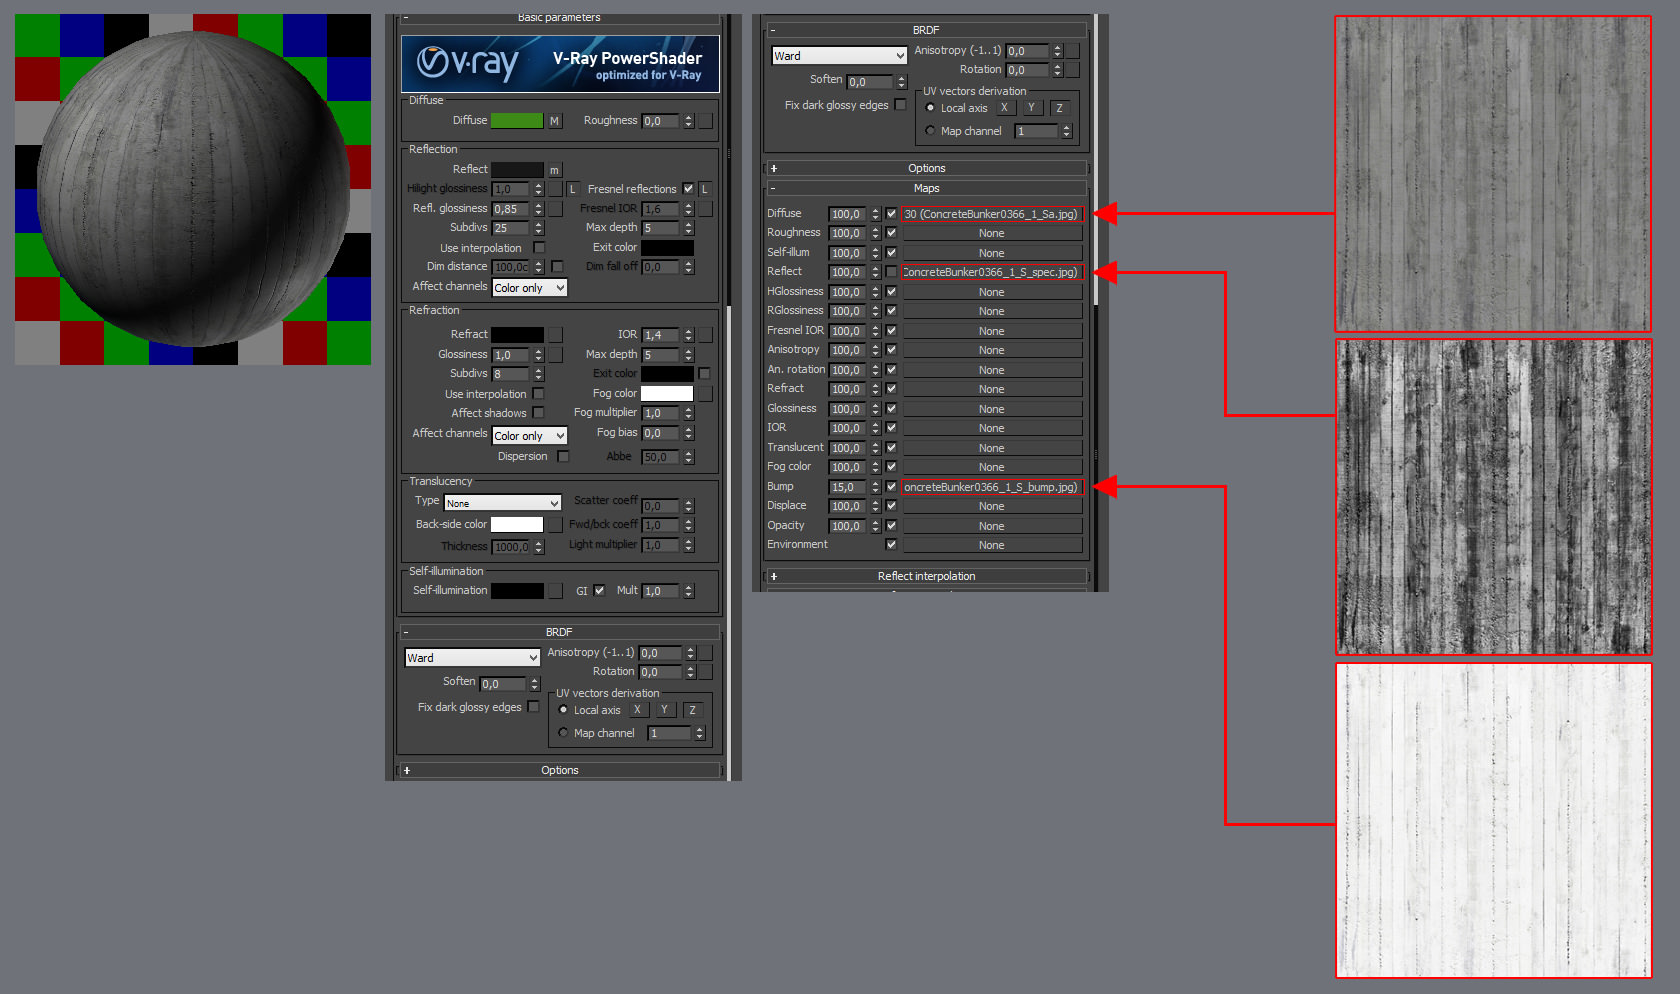
CONCRETE
The materials of the outsider walls of the building.
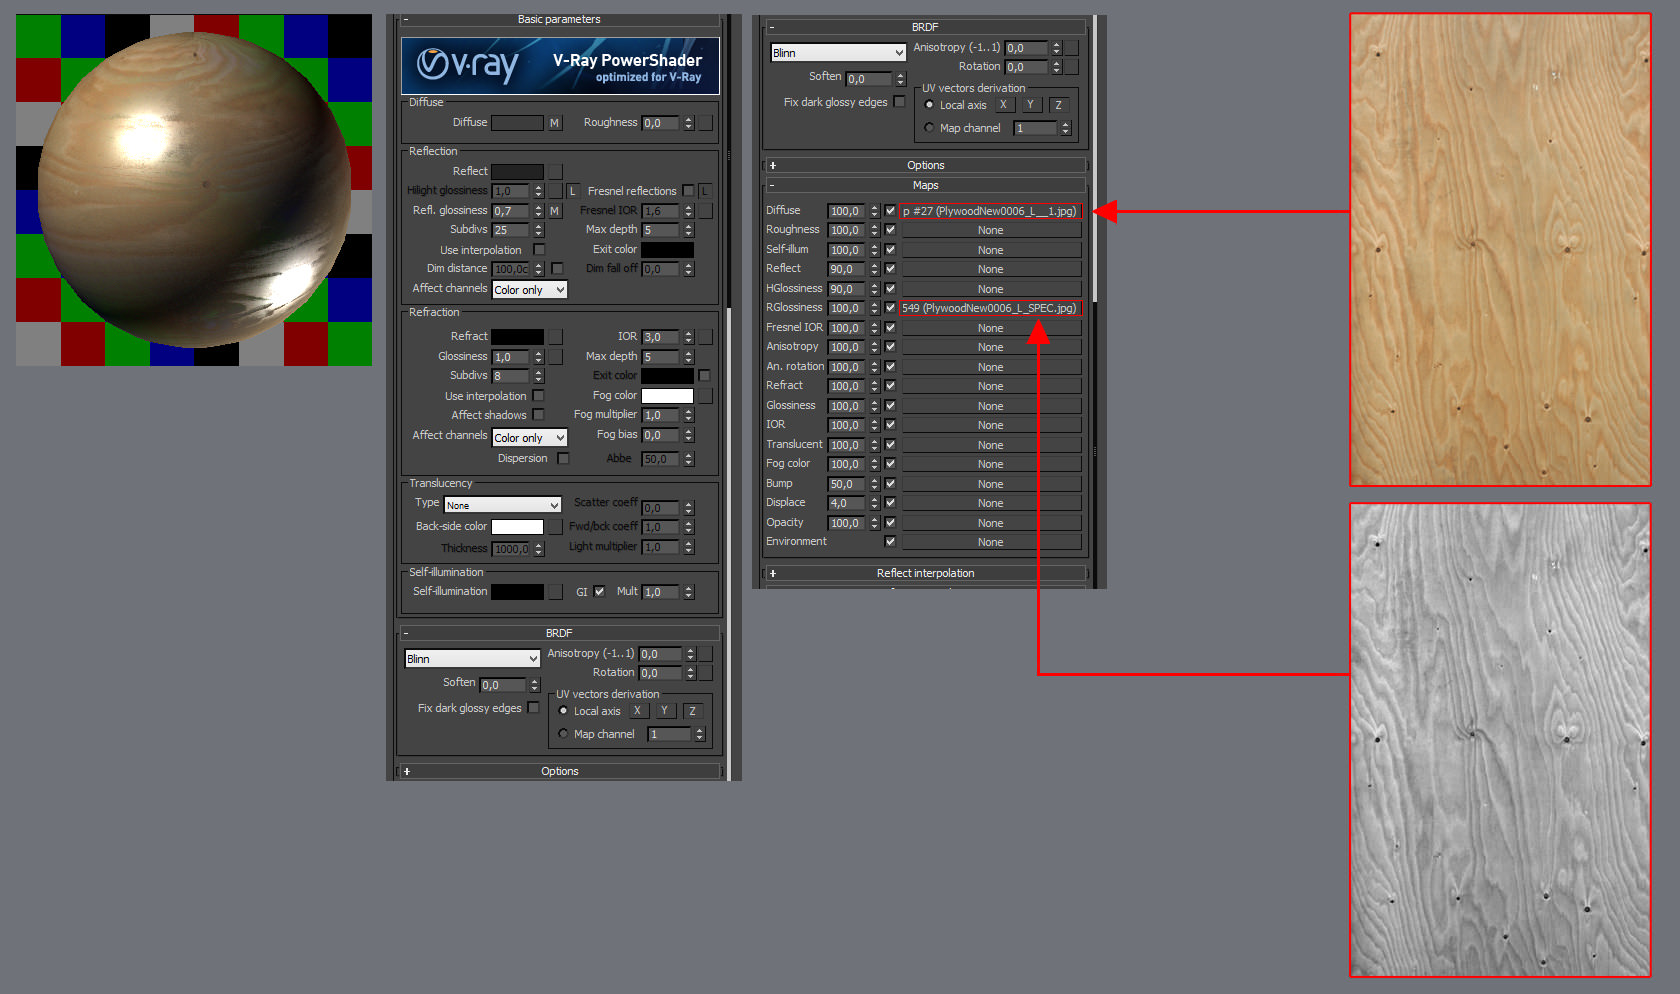
PLYWOOD
Finishing material of the interior.
Lighting
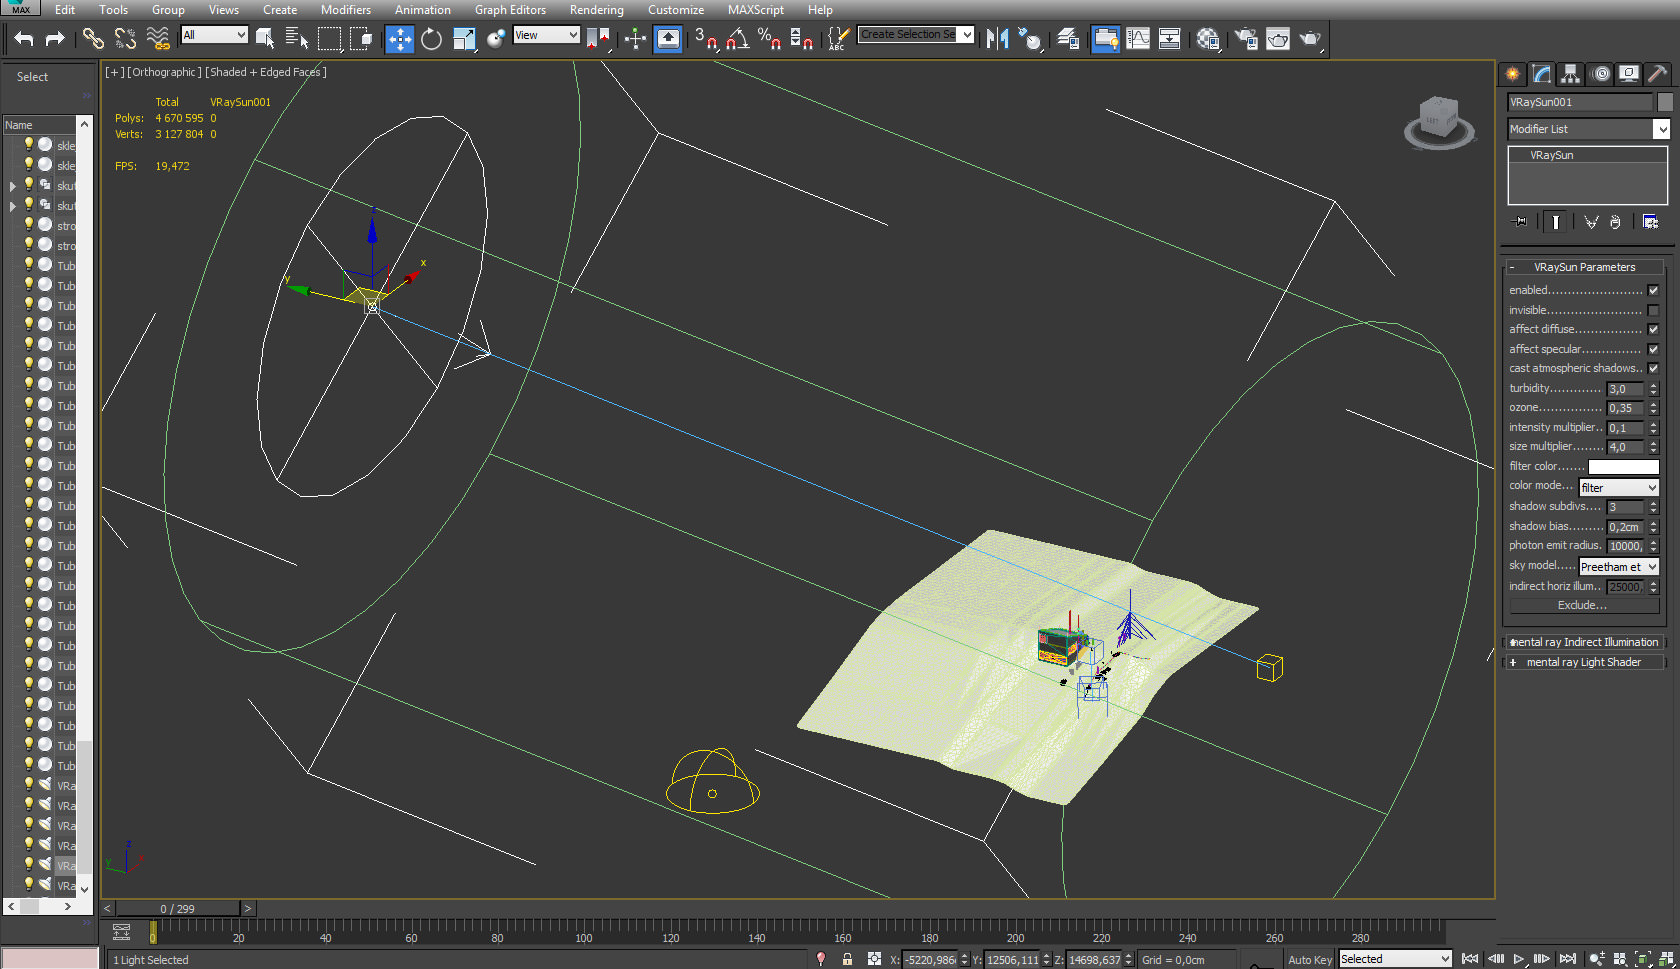
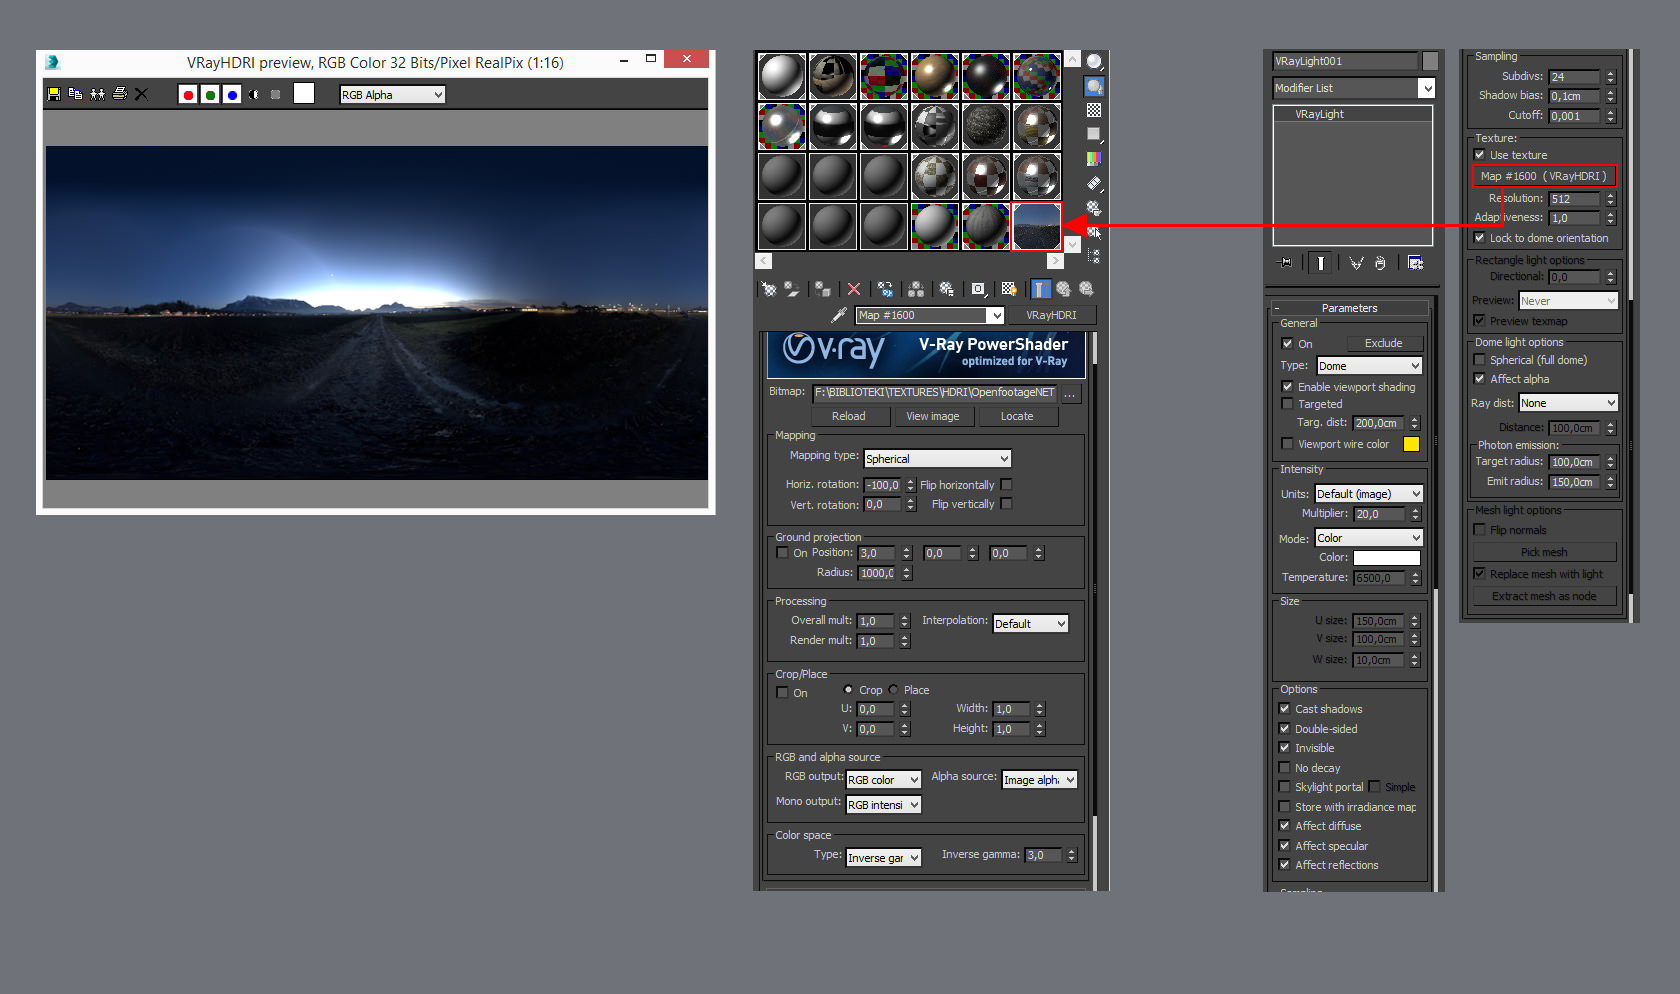
To lighten the scene we are using two light sources : V-Ray Light (Dome) with the HDRI map and VRaySun. The parameters below are for the particular sources of light.
VRaySun
VRayLight (Dome)
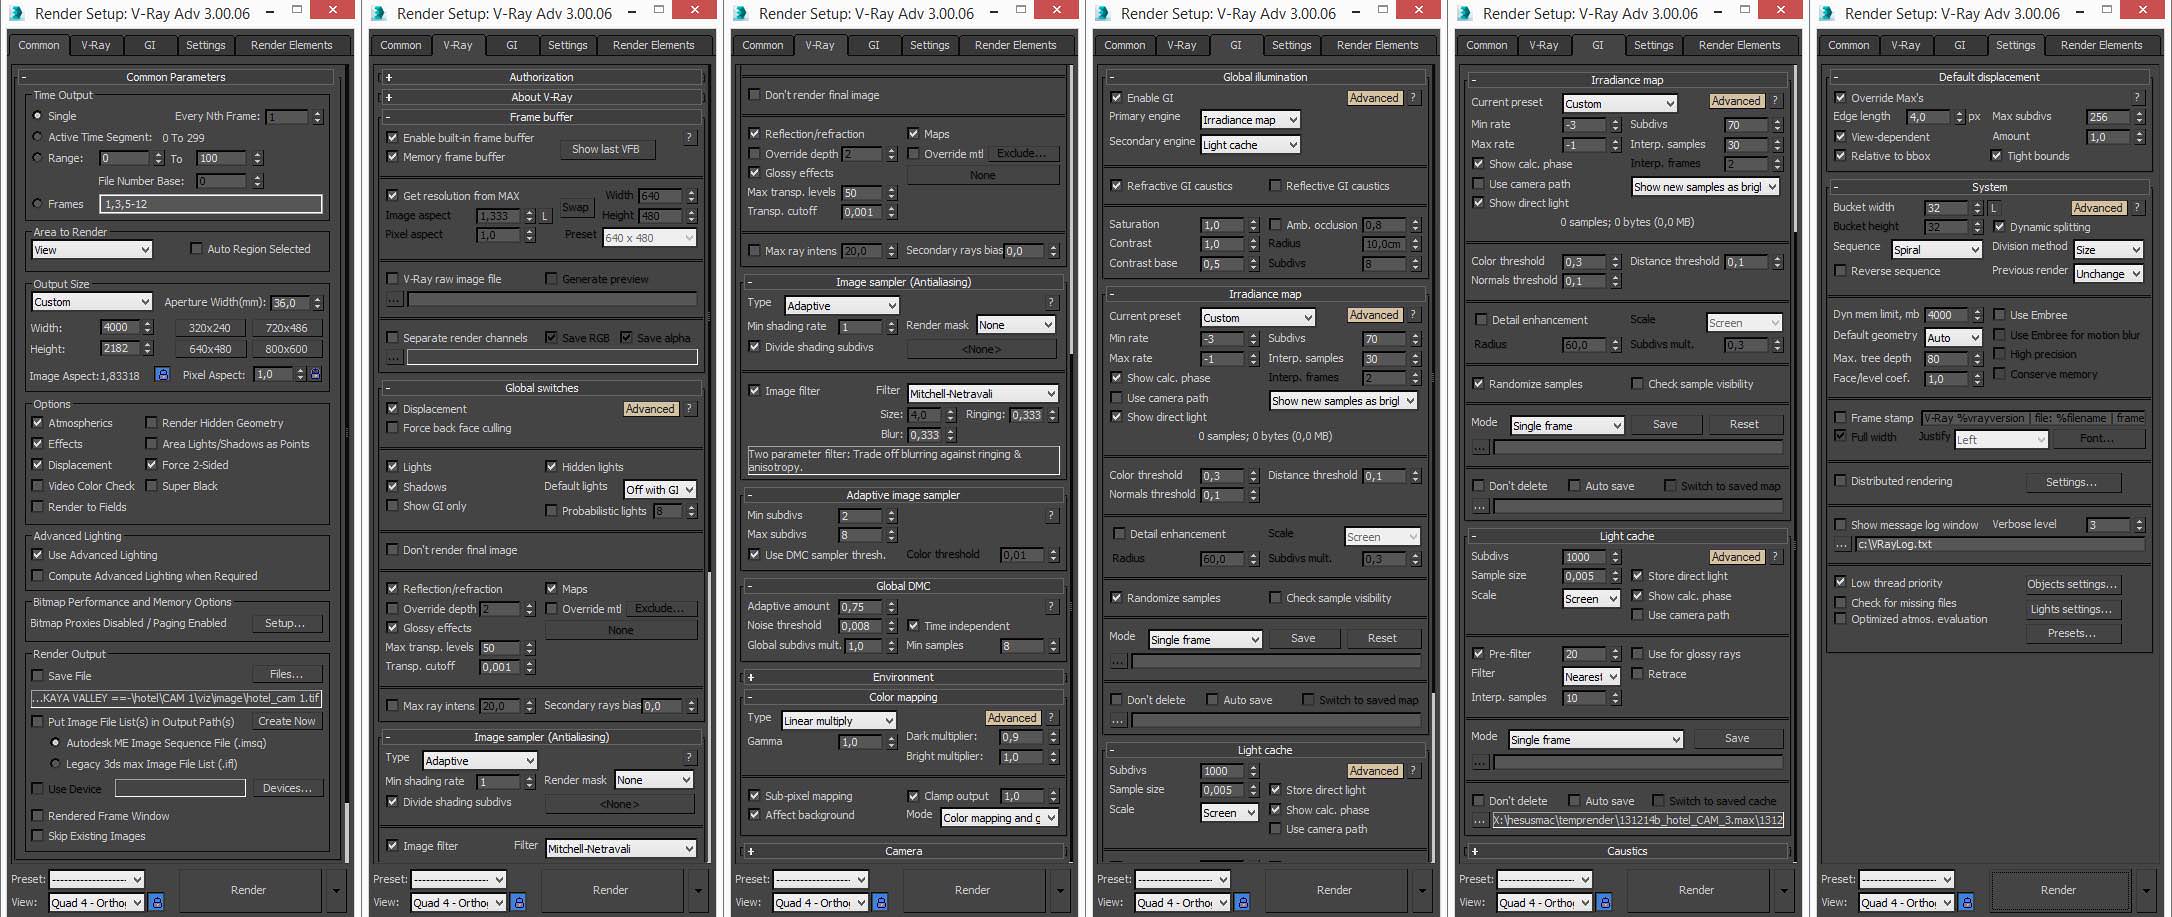
General Settings
Lighting check
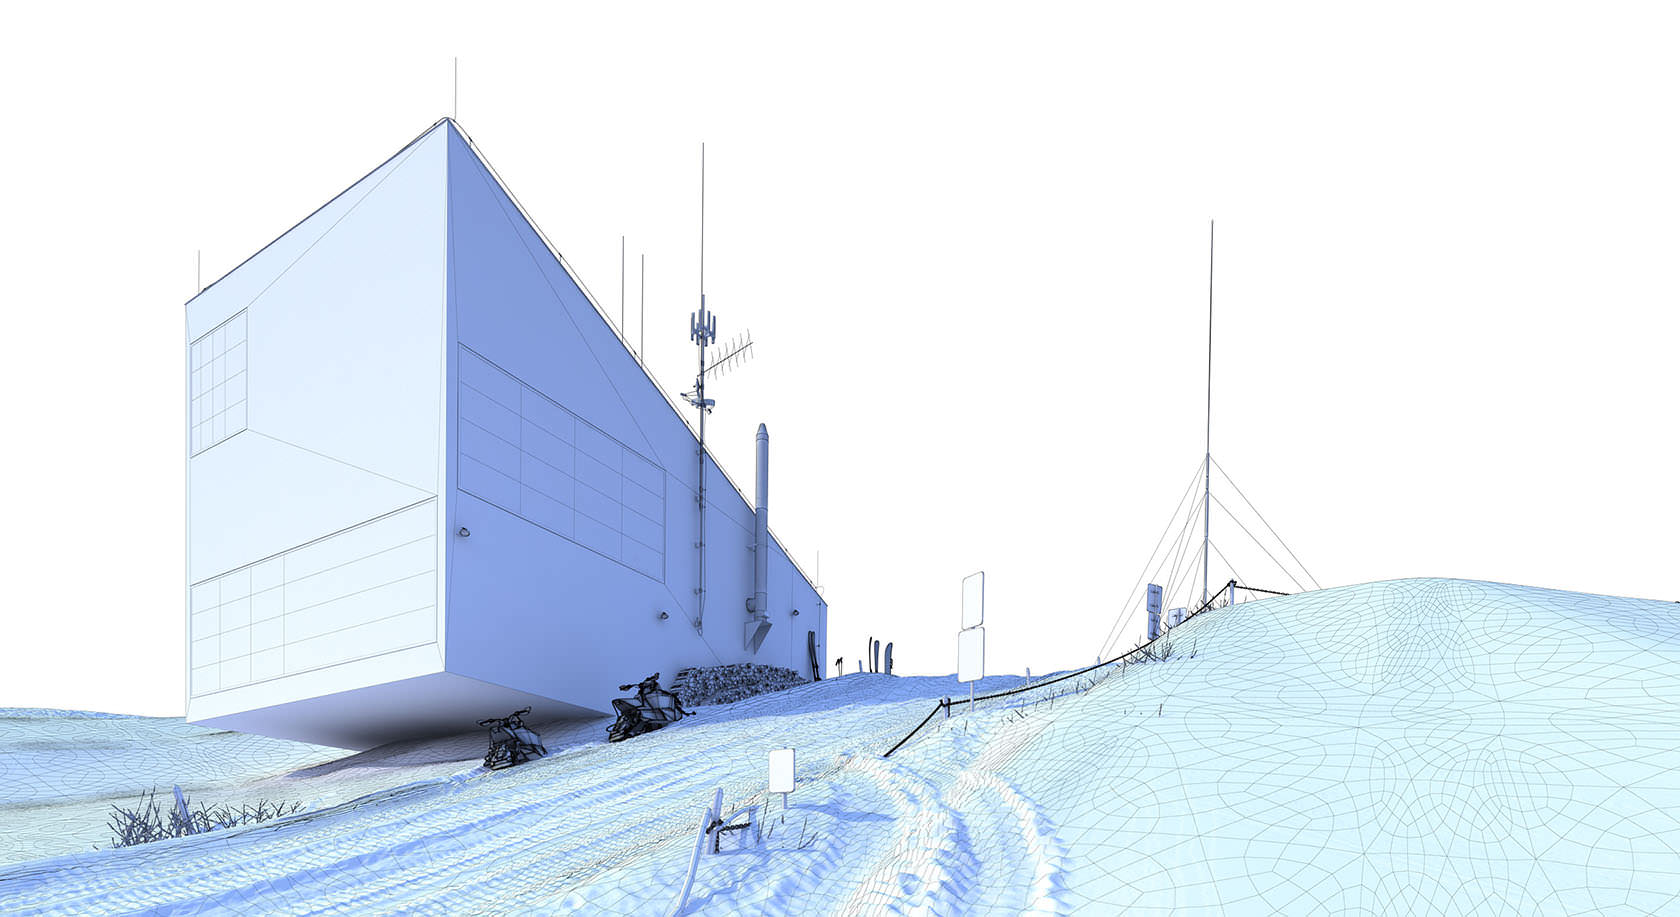
Raw render

Post Production
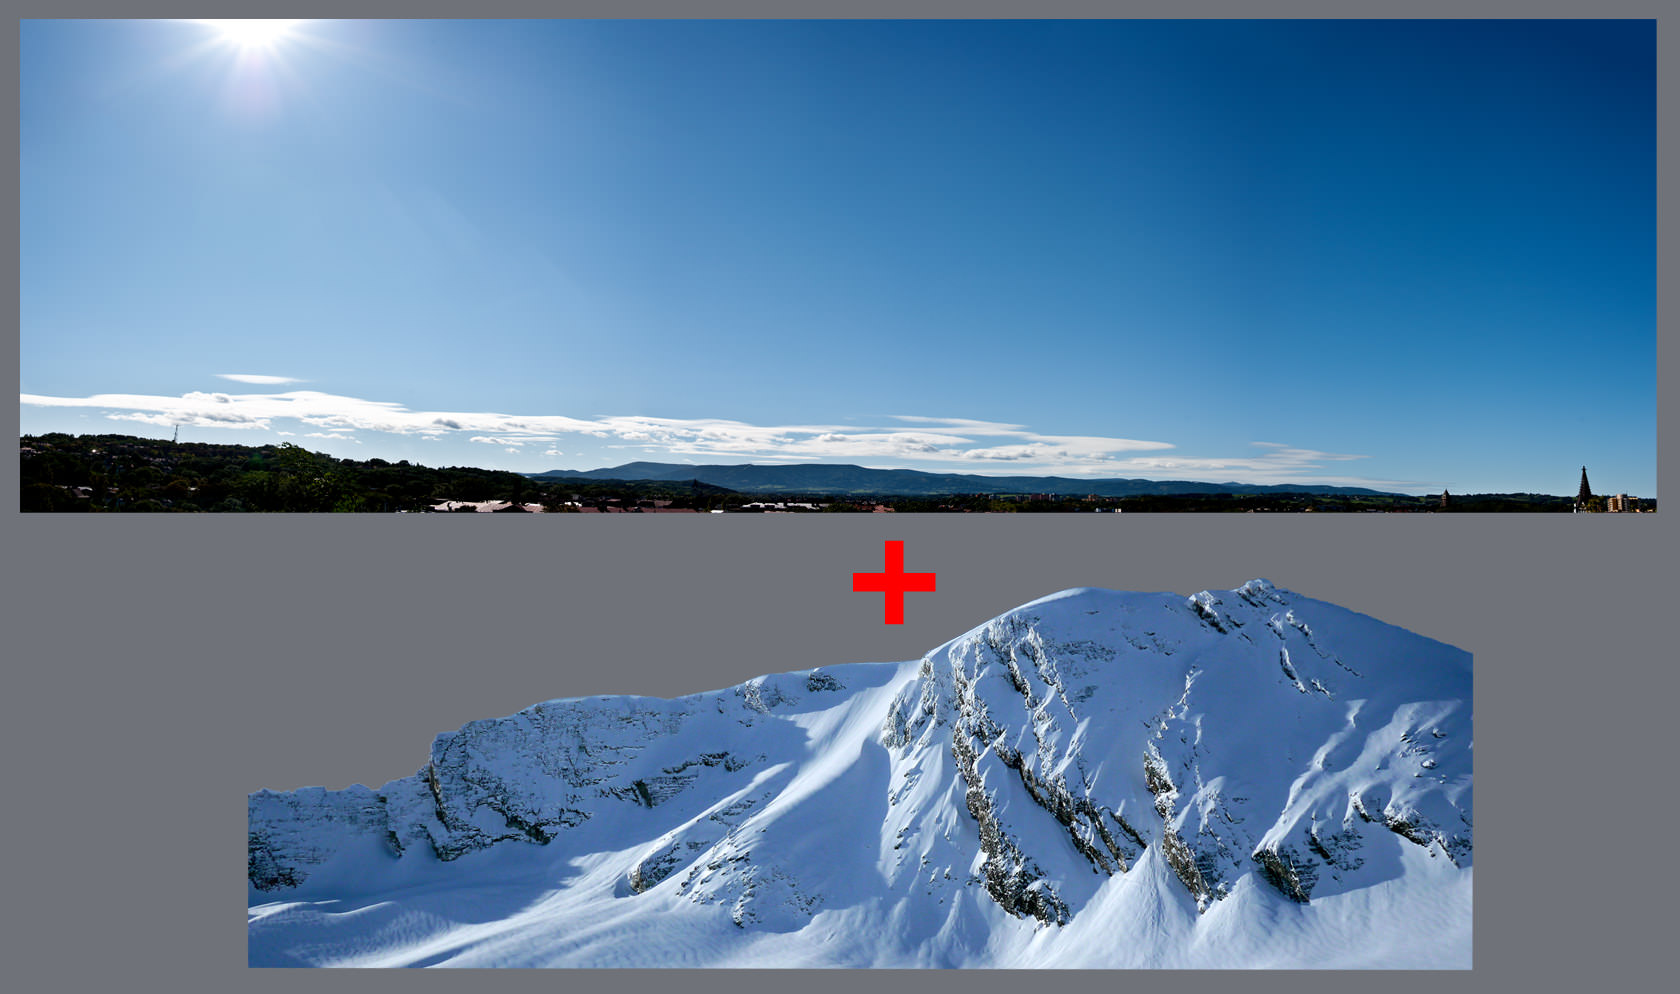
After rendering the scene we are moving to the post-production in Photoshop. Next we have to prepare the proper background for our scene which will capture the atmosphere of the picture as we assumed at the beginning.
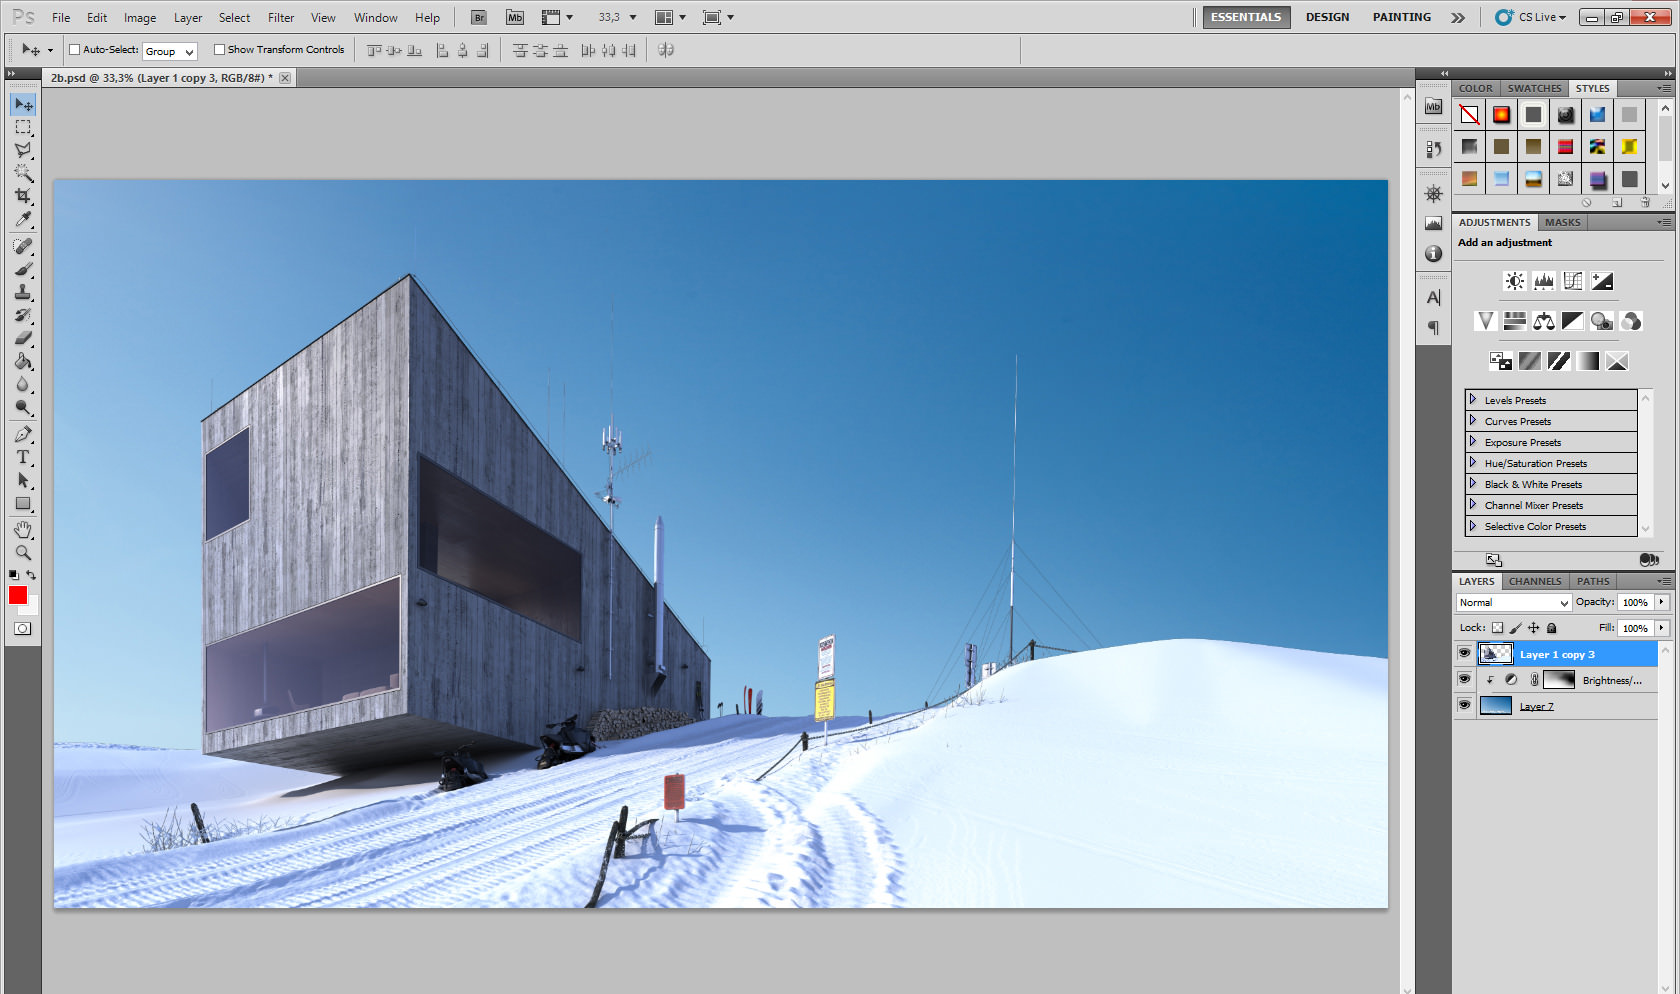
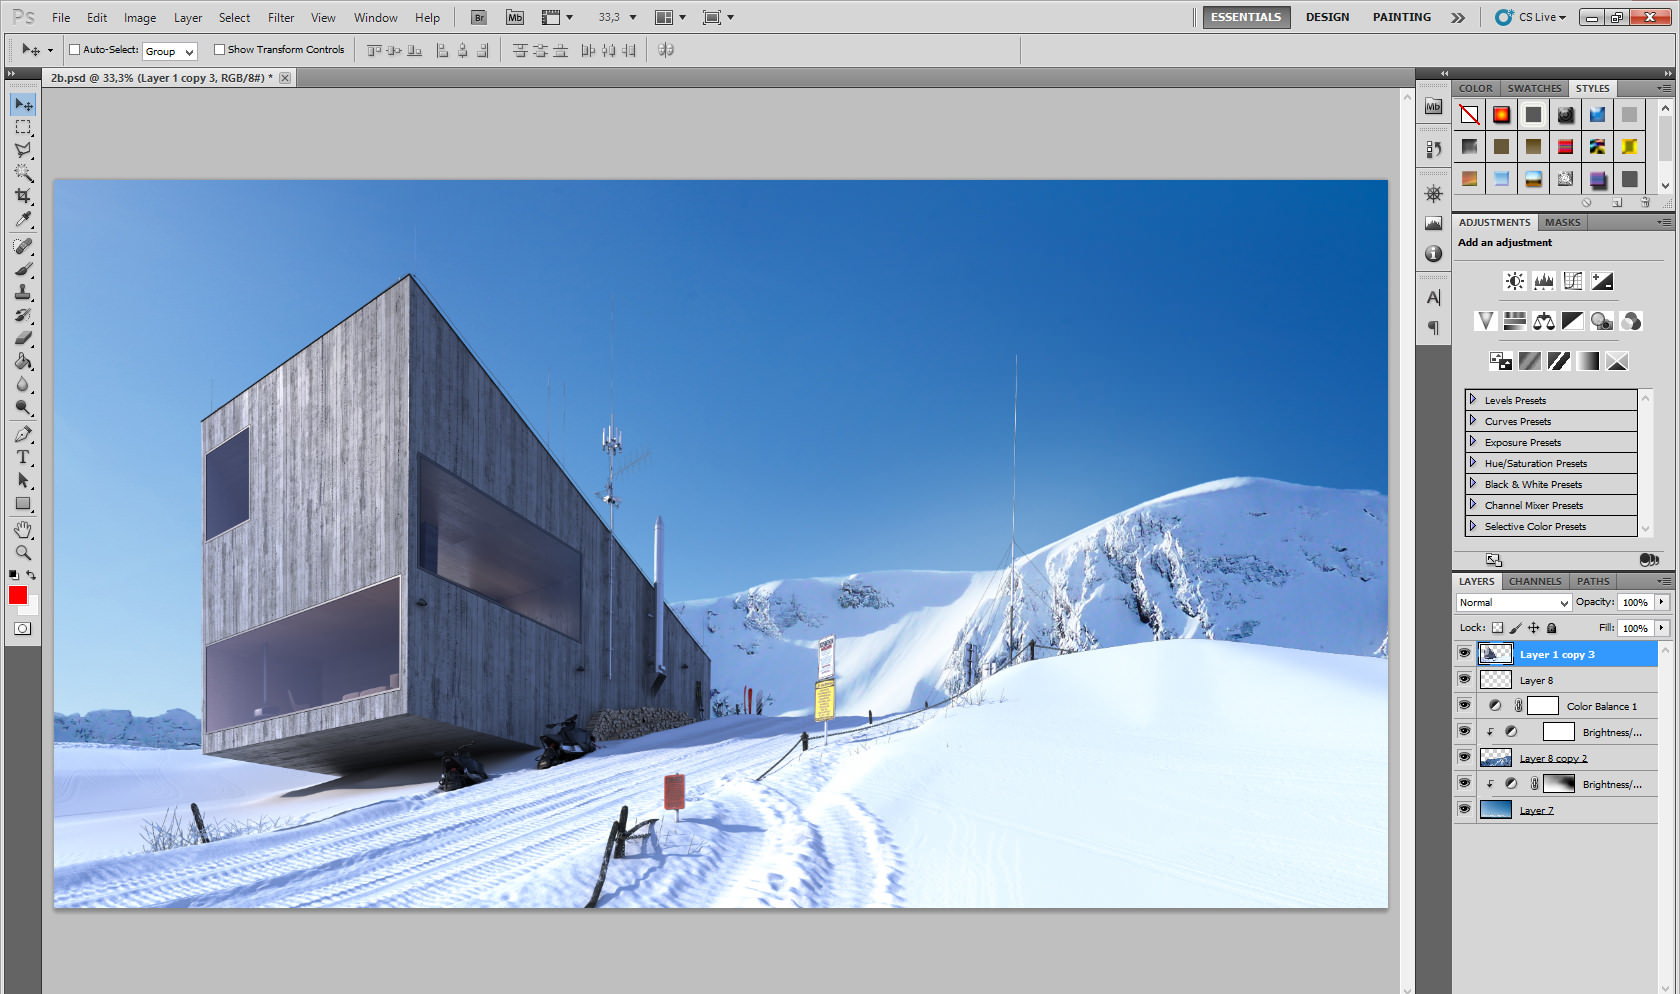
We are applying the layers to make the background fit our scene elements. We are also correcting the color and brightness.
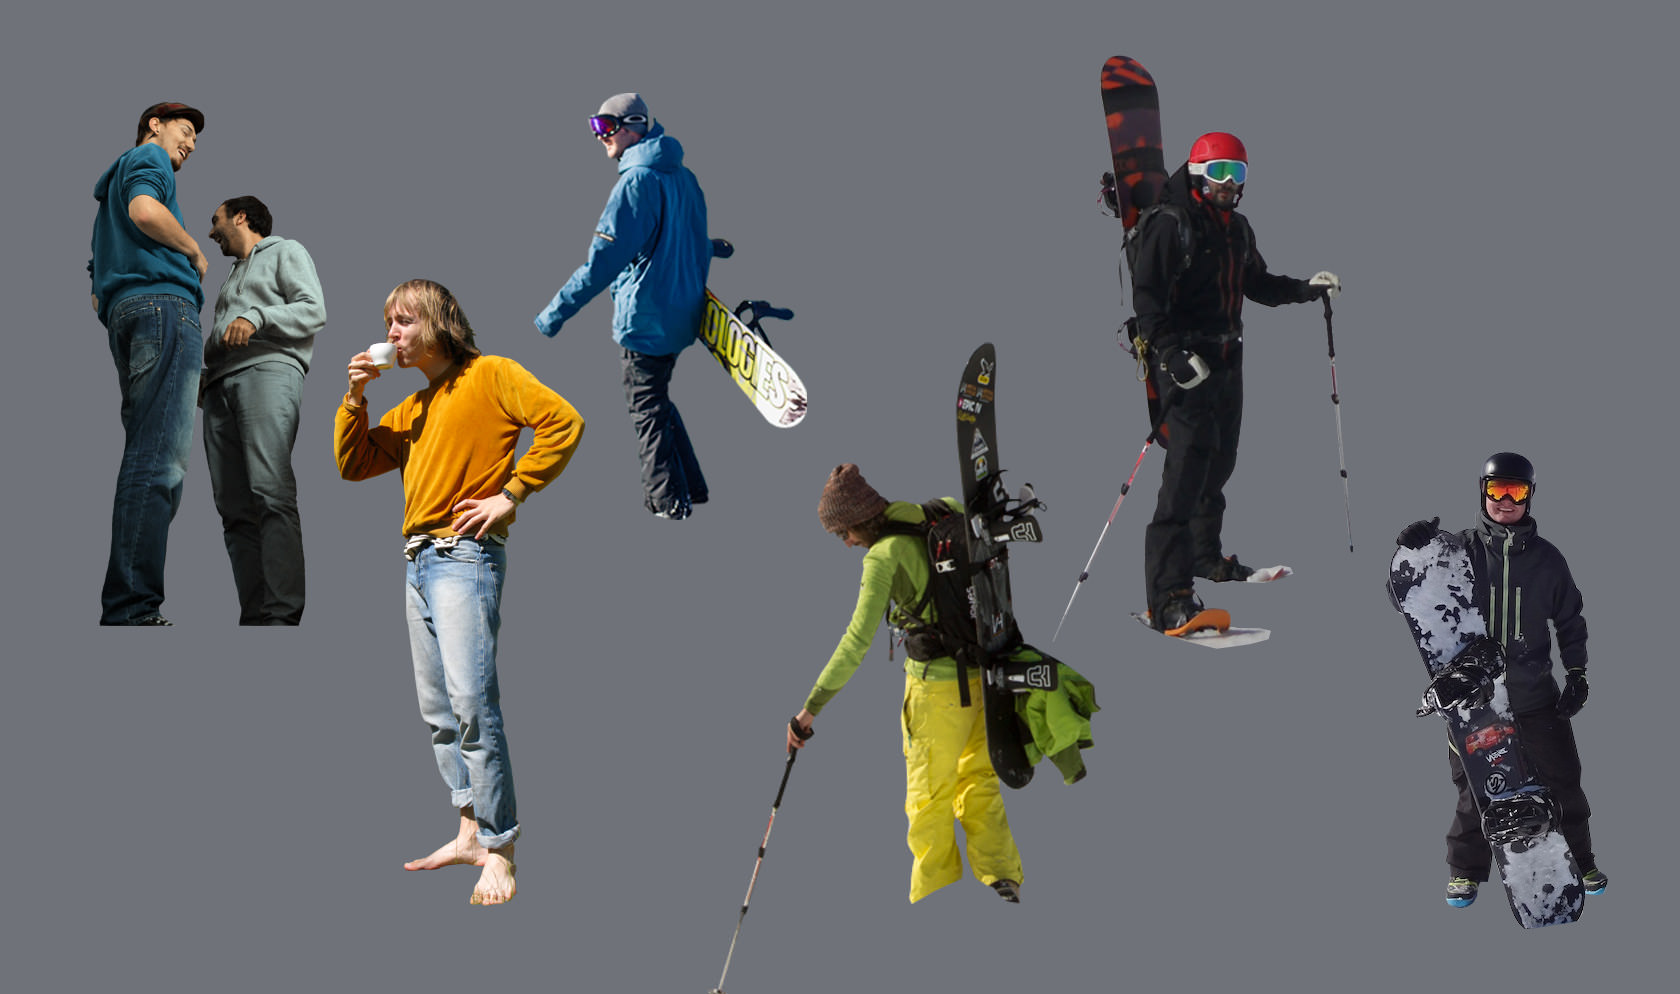
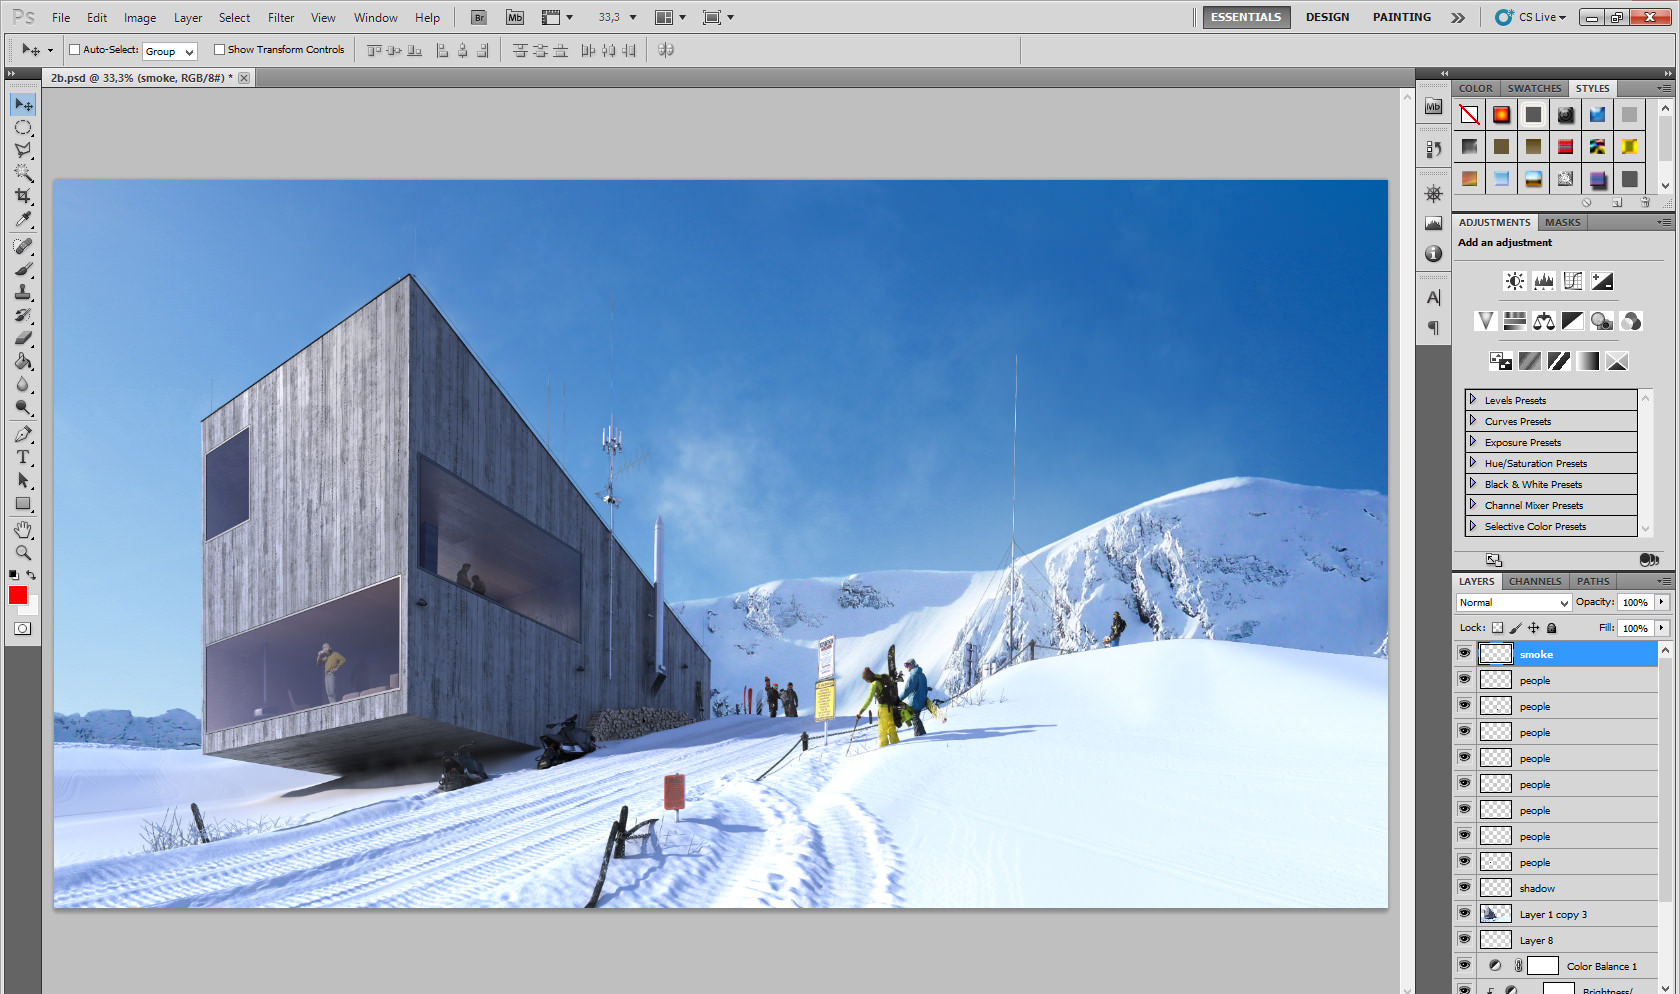
Next we are adding some people to make the picture more alive.
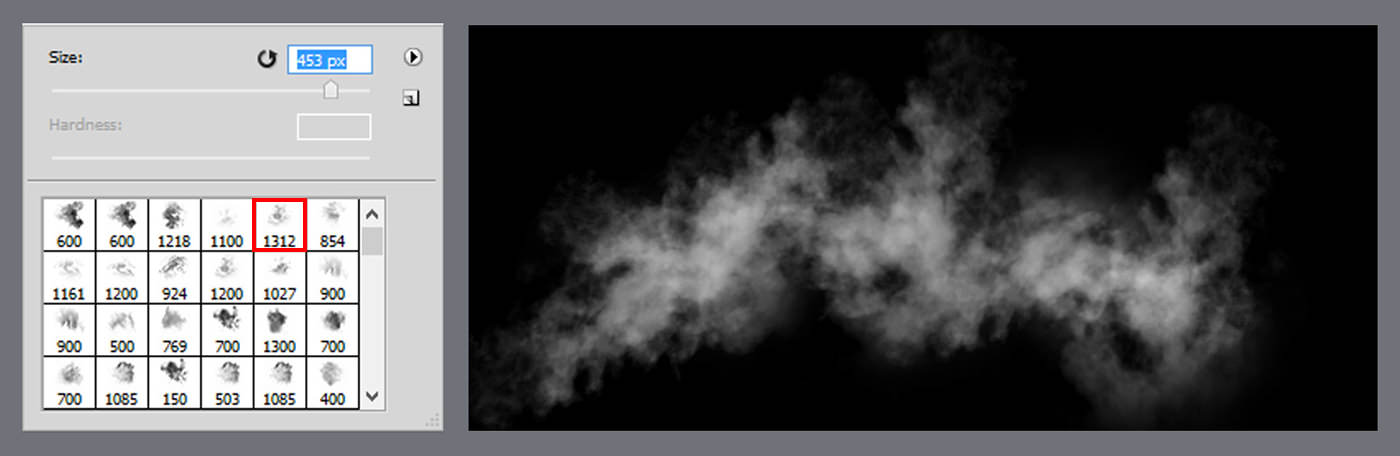
We are adding some smoke. I am using “Ron’s Steam and Smoke” Photoshop Brushes.
Finally, some little corrections (color, contrast and brightness).
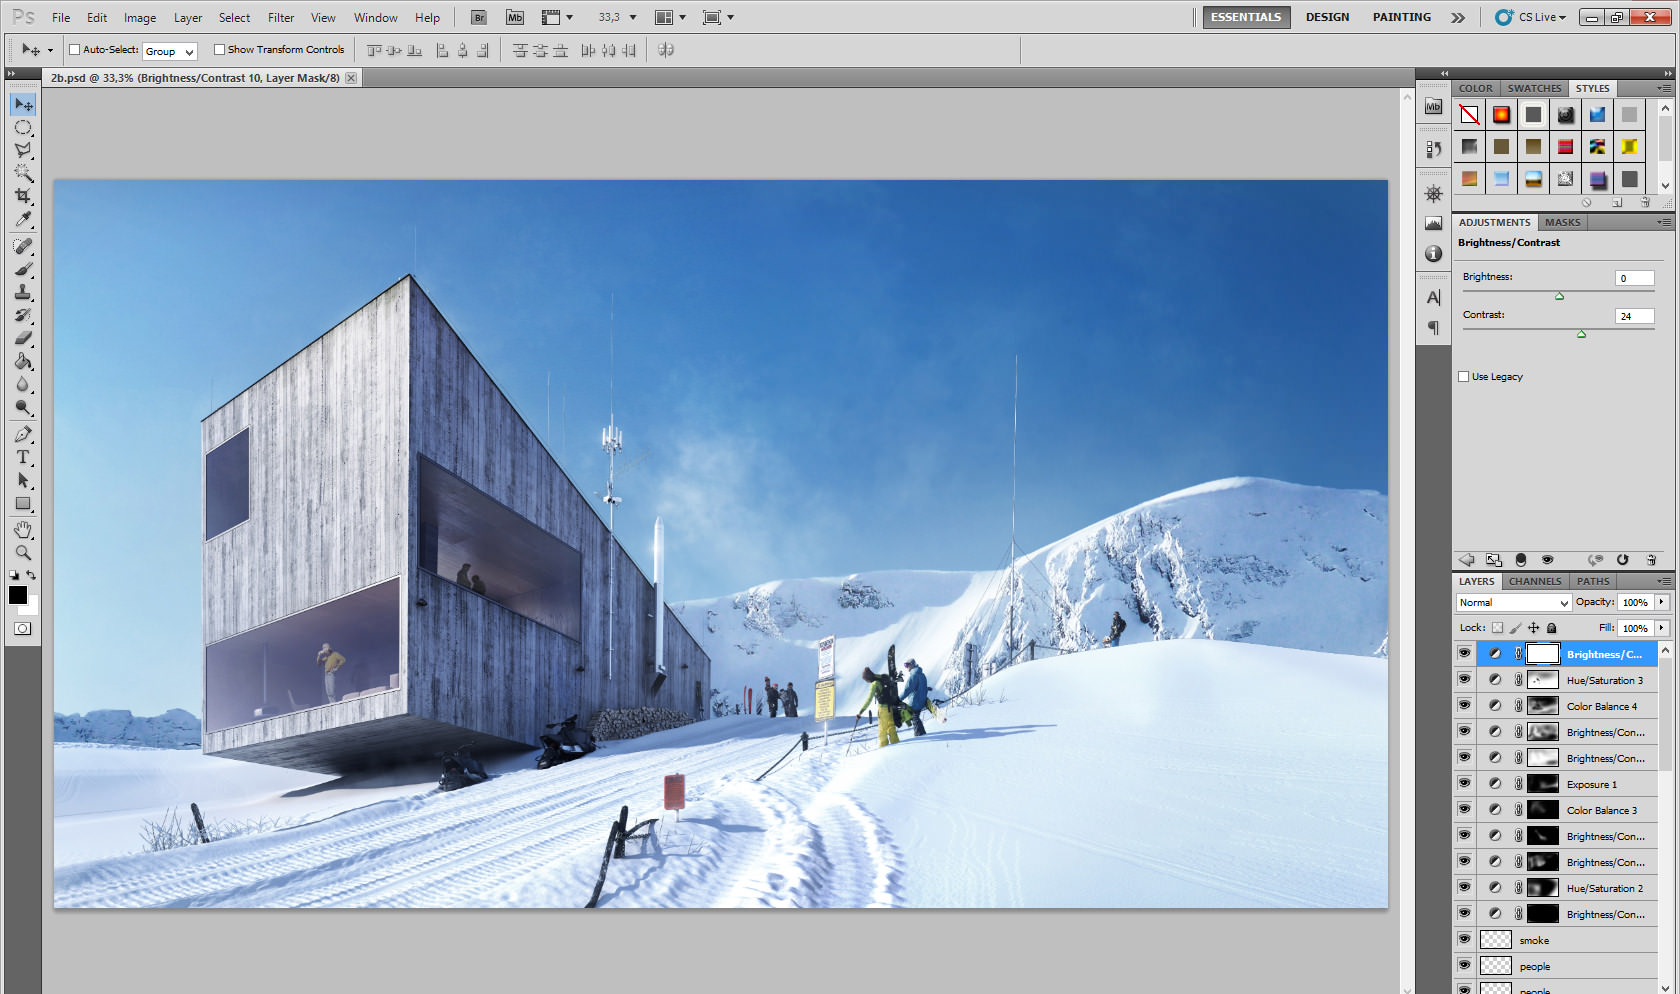
This is how the visualization presents after framing the shot :

I hope you enjoyed it and I hope that you found something interesting and useful in this article. Maybe it will be helpful in your own projects.
Once, again, Id like to thank Ronen Bekerman, and please don’t hesitate to comment or ask questions in the comment section below…
Best regards,
Maciej Józefiak


Snow material is great, i really thought that it was cutout picture instead of 3d…
Chronic Shmonic! No project should be hidden in any drawer… thank you Maciej for sharing this one as well as the making-of 😉
Chronic Shmonic! No project should be hidden in any drawer… thank you Maciej for sharing this one as well as the making-of 😉
this is some tasty stuff.. im gonna make a cup of coffee and read it..
Nice.
How did You make the displacement texture? Just simply drawing in PS (how? With track brushes???) or some kind of geometry and rendering z-depth pass?
Where is the hdri from? 🙂