3D Cloth Modeling with Marvelous Designer
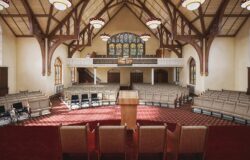
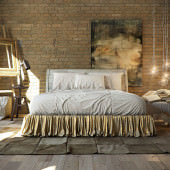
Back in January I featured Ramon Zancanaro’s ‘Second Floor, Block 1…’ work featuring amazing 3d fabrics utilizing an application named Marvelous Designer. Ramon promised to come back and share his 3d Fabric / Cloth workflow using Marvelous Designer with us. It took some time, but today I’m happy to publish this article about how he used it to create various fabric elements in the scene you see in the image above. Enjoy!
Introduction
I would like to thank all of you for the great feedback and appreciating my work on the ‘Second Floor, Block 1’ scene. As promised back then, I decided to post a series of 3d fabric / cloth making tips that relate to the making of that scene.
This was my first attempt at using Marvelous Designer, a software that changed the way I model fabrics and cloths in all my scenes since then. I also seen many of my fellow 3d artists start using what now seems to become a tool fundamental for interior visualizations workflow.
Originally intended for use in the fashion Industry but trust creative people to come up with special case use for it as we do in the Archviz BIZ.
So Let’s Start!
I focused on 3 elements in my scene and went into the detail of creating the fabric / cloth part in each of them.
The Bed Lower Bar with Wrinkled Cloth
Marvelous Designer supports a great amount of polys in its simulations, However, I decided to break up this part into smaller pieces of cloth that will be cloned (4 parts in each bed side). This way I could save on resources and have more control over the process.
1. I created the base in 3ds max using a simple box slightly away from zero point. I use a good amount of subdivision because Marvelous Designer simulation works better that way from my experience with it so far.
2. I organized the cloth shapes in Marvelous Designer as you see in the image below. The smallest pattern stays deactivated Meaning, the seams are visible, but it behaves as a static object.
3. It’s important to get the amount of fabric element subdivisions right (named particle distance), as it might intersect with the base object if the amount is too low or too high. It is really a case of trial end error. See below some tests
4. After the Simulation, I had to activate the smaller cloth. Remember that this part can be made with less faces than the one in front that will be seen in the render. Using the Pins (Shortcut W), I fixed some points above the bar so the cloth won’t move there. Then, on the pattern edition tool I just increase the dimension of the back part, making the cloth dropping to the floor a bit.
5. I placed some pins on the front of cloth too.
6. And moved them in order to achieve some more wrinkles.
7. With the simulation paused, I removed all the pins and placed only four pins on the extremities to avoid the cloth to have old pin marks.
8. I reduce the particle distance on the bar and left that to simulate a few more passes for the dropping to look more natural for that subdivision.
And that is it for the bed bar.
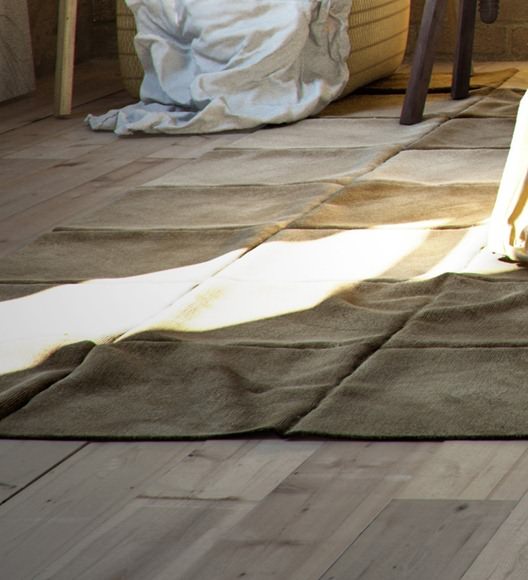
The Rug
The great trick of this rug is the thickness. The models in Marvelous Designer contain far too many faces, rendering the use of global thickness for an object useless (or just highly impractical).
Let’s see how to make it…
1. The rug starts with some seaming squares. A tip on that is give a bit of movement on the small bends on rug. For that, you have just to use small differences on size like you can see in the right side of the image below.
2. To achieve the effect on the seam, you need to change the angle of the bend (Fold Angle). You may also need to change the intensity of the fold (Fold Strength) .
3. The result is already interesting, and you only need to subdivide a bit more and make the simulation run for 3-4 additional passes. This is probably one of the best tips for cloth simulation – Start with a base mesh, Simulate, Pause, Subdivide it more and iterate until you get the desirable result.
4. In 3dsmax, I imported the rug and converted it to an editable poly. The procedure that I make with all the models from Marvelous Designer is using the Quadrify All command.
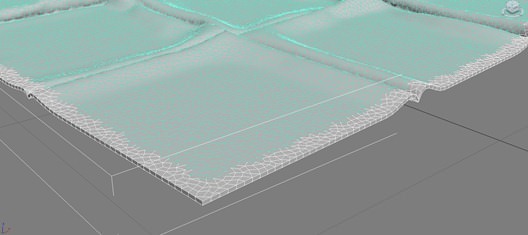
5. Select the border and convert into Poly.
6. Utilize ‘grow’ on the edit poly commands panel. Select some other faces growing 3 steps in this case.
7. Split the faces from the original model (Detach). In this object I use shell to give the thickness only to the borders.
8. I converted this piece into editable poly and selected the edges of the object using ring, so I deleted the selection;
9. Now, select the faces of the all edges and use grow again (step one once again).
10. Apply mesh smooth and editable poly on faces to smooth them.
11. Attach all the edited object (edges) on the rest of the rug, welding the vertices.
12. And at last, the result is that…
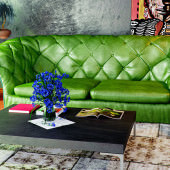
The Chair
The creation of that chair is very simple, even with the cloth with lot’s of volume and wrinkles.
1. For starters, I model a very simple base in 3ds max, leaving that a bit away from the zero point (on the Z axis).
2. After importing the object to Marvelous Designer, I use a circular pattern. This is important to define the ideal position and dimension for the pattern related to the base mesh (Avatar, in MD terminology). You can only define that after making some tests, so don’t give up if you make it wrong in the first few attempts.
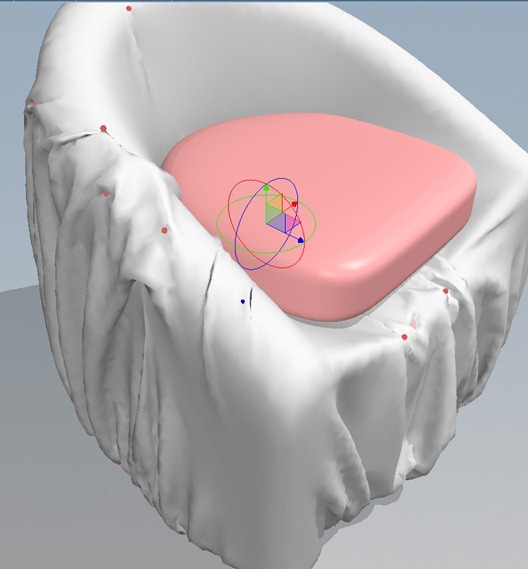
3. After simulation, the borders should look similar to what is shown in the image below.
4. Now, Activate the option ‘elastic’ for all the cloth edges. It’s necessary make the ‘elastic ratio’ value smaller and also the ‘elastic strength’ bigger for the cloth to ‘hug’ the Avatar as seen in the image below.
5. Place some pins (W) on the seat region and move that down with the objective of removing the volume from that region, and then pause the simulation.
6. Going back to 3dsmax, increase the Avatar to conform the seat cloth.
7. In Marvelous Designer, import the new avatar and remove all the pins and let that ‘react’. This technique of working with a partial Avatar is interesting in many cases, such as making towels react on tables and chairs.
8. Add some pins and move them to create wrinkles on the cloth and so it doesn’t look too stretched. Pause the simulation.
9. Remove all the pins, so that there aren’t any pin marks left on the fabric, and lower the particle distance. The important part here is that if we continue the simulation without the pins, the cloth will set back to its initial formation, so so place some pins just to hold some wrinkles.
10. Let that simulate a few steps only for the cloth to conform with his new subdivision.
11. Remove all the pins and that’s it.
In case you have some unnecessary pin marks, just let the simulation run for one or two more passes.
Thats it!
I hope you enjoyed this tutorial, I tried to be objective and also gather some important tips to create the best result for this type of cloth. If you feel I left something out (like more MD viewport snaps for example), let me know in the comments below and I’ll add things here later on. Thank you very much!













Amazing modeling. Really appreciate your effort for doing all this. I would also try it by my own at least once.
http://www.curtains4u.co.uk/bedding.html
Plz any help,
How to get a 4 point circle in marvelous designer 3 ?????????
thanks in advance.
Great tut! thank you a lot!
Great tut! thank you a lot!
JurajTalcik
Plz any help,
How to get a 4 point circle in marvelous designer 3 ?
thanks in advance.
amazing! That is what I was looking for…thanks!