


Making of House 59
Blender is picking up in ArchViz, and I’m looking into it at The Craft as well. Today I’m very happy to share the Making of House 59 by 77 Studio. They took it upon themselves to create this all with Blender & Cycles. Dive in as they describe their process and let’s discuss this on TALK.
About 77 Studio.
Seventy-Seven is a small studio located in Medellin, Colombia, founded in the year 2017, with the vision of helping architects and interior designers. Our primary focus is to create still images, 360 renders, and cinematics.
Lately, we have been very curious about interactive VR, and we wish to create some tests very soon. We hope this blog will help you to know a little more about us, our workflow and rhythm of work, as well as about Blender.
Let’s start!
Introduction to the House 59 Project
Before introducing you to the Making of House 59 project, I would like to thank Ronen for inviting us to write this article and talk a little bit about Blender and our process in this project.
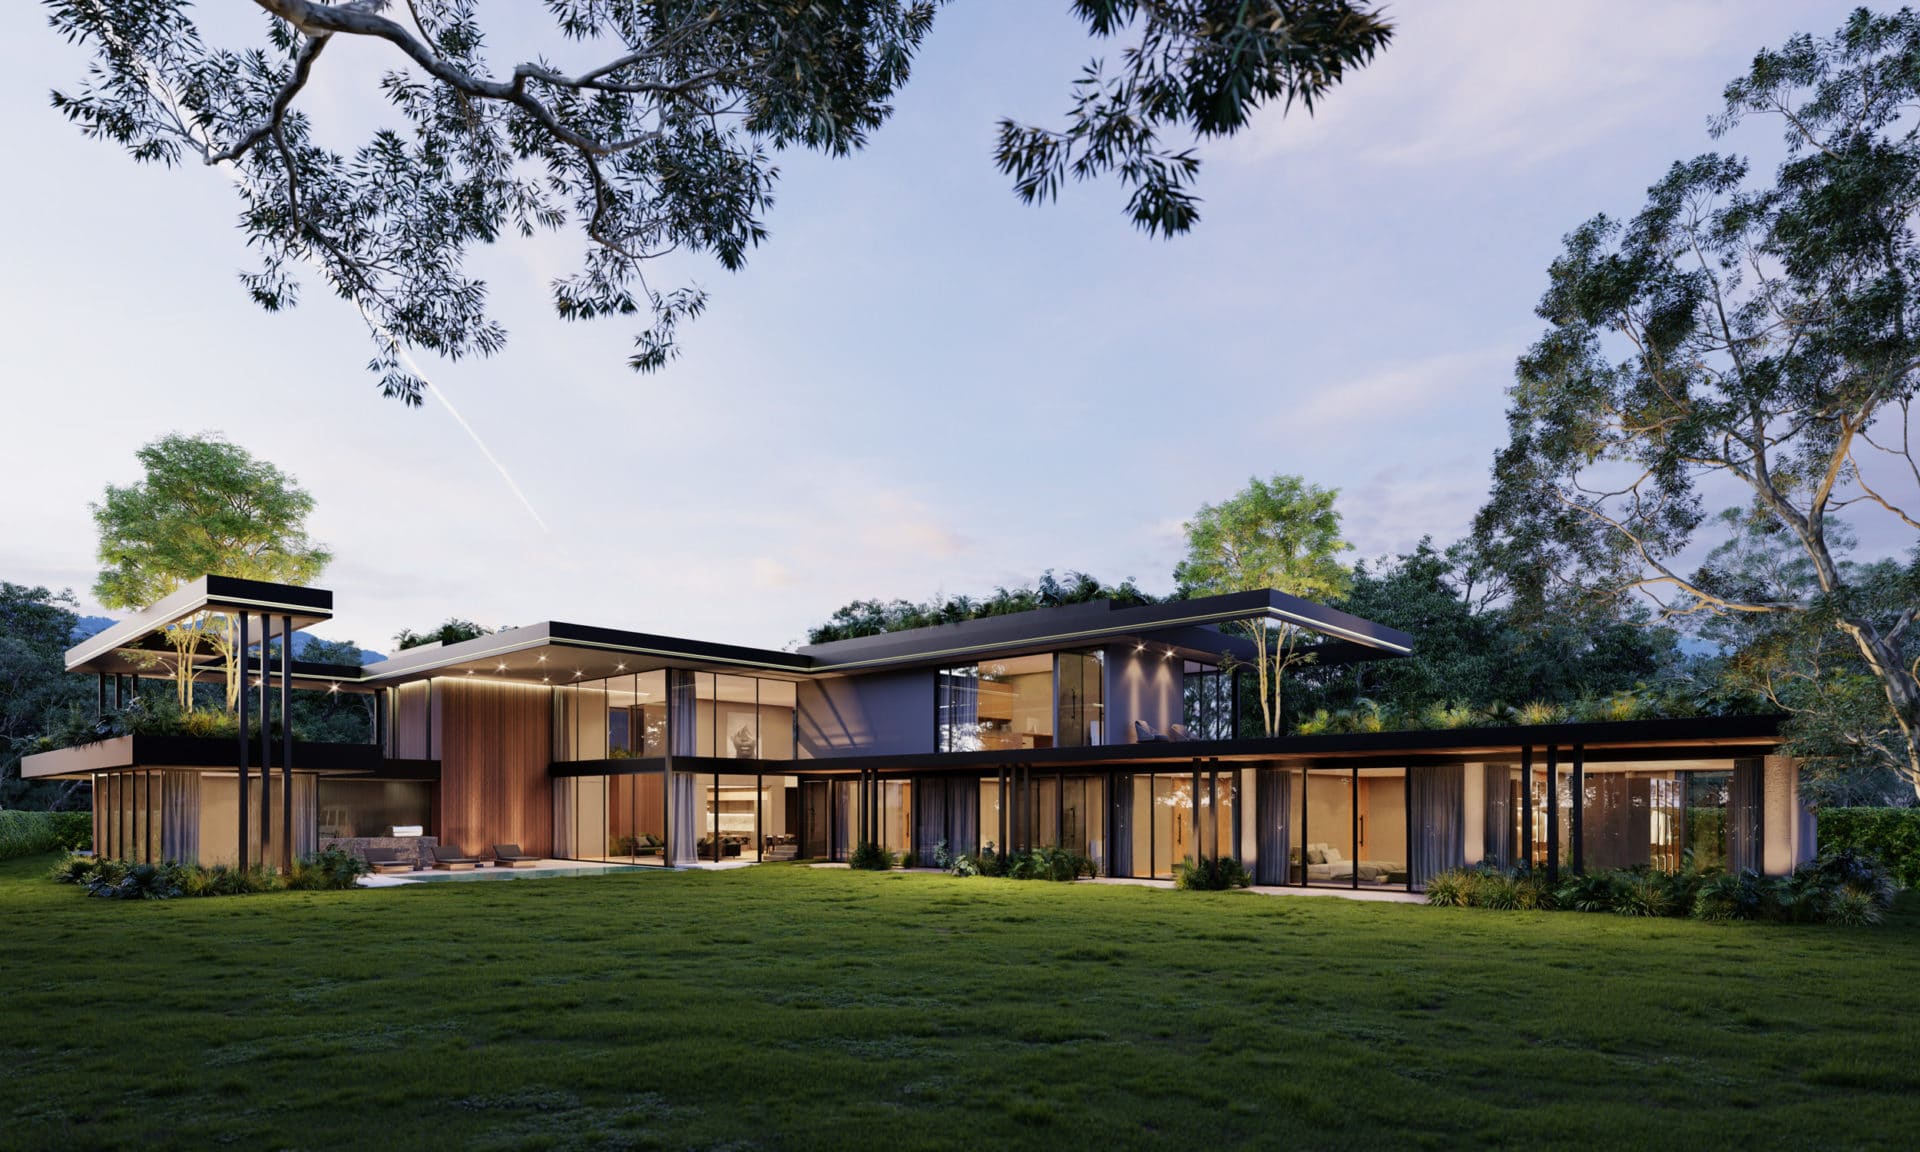
House 59 has a special feeling since it was the first project of this year and brought us significant challenges and lessons.
Initially, our client hired us to create six images in total, but we fell in love with the project, and finally, we made a few more. We wanted to create some beautiful cinematics, but more work came that stopped us from making a small video (tribute) to this architecture.
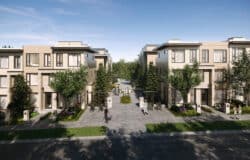
The project is in Llanogrande, a place on the outskirts of Medellin. It is the perfect combination between the city and nature, everything you are looking for is there, we can add a good climate, quality of life, beautiful landscapes and a great option to be, stay.
One of our goals with this project was to demonstrate all the capabilities that Blender has, being a program that allows creating the whole project from scratch and renders with Cycles.
From another perspective, it was possible to take advantage of this house’s modern architecture to give a beginning to the consolidation of a portfolio that attracts more clients.


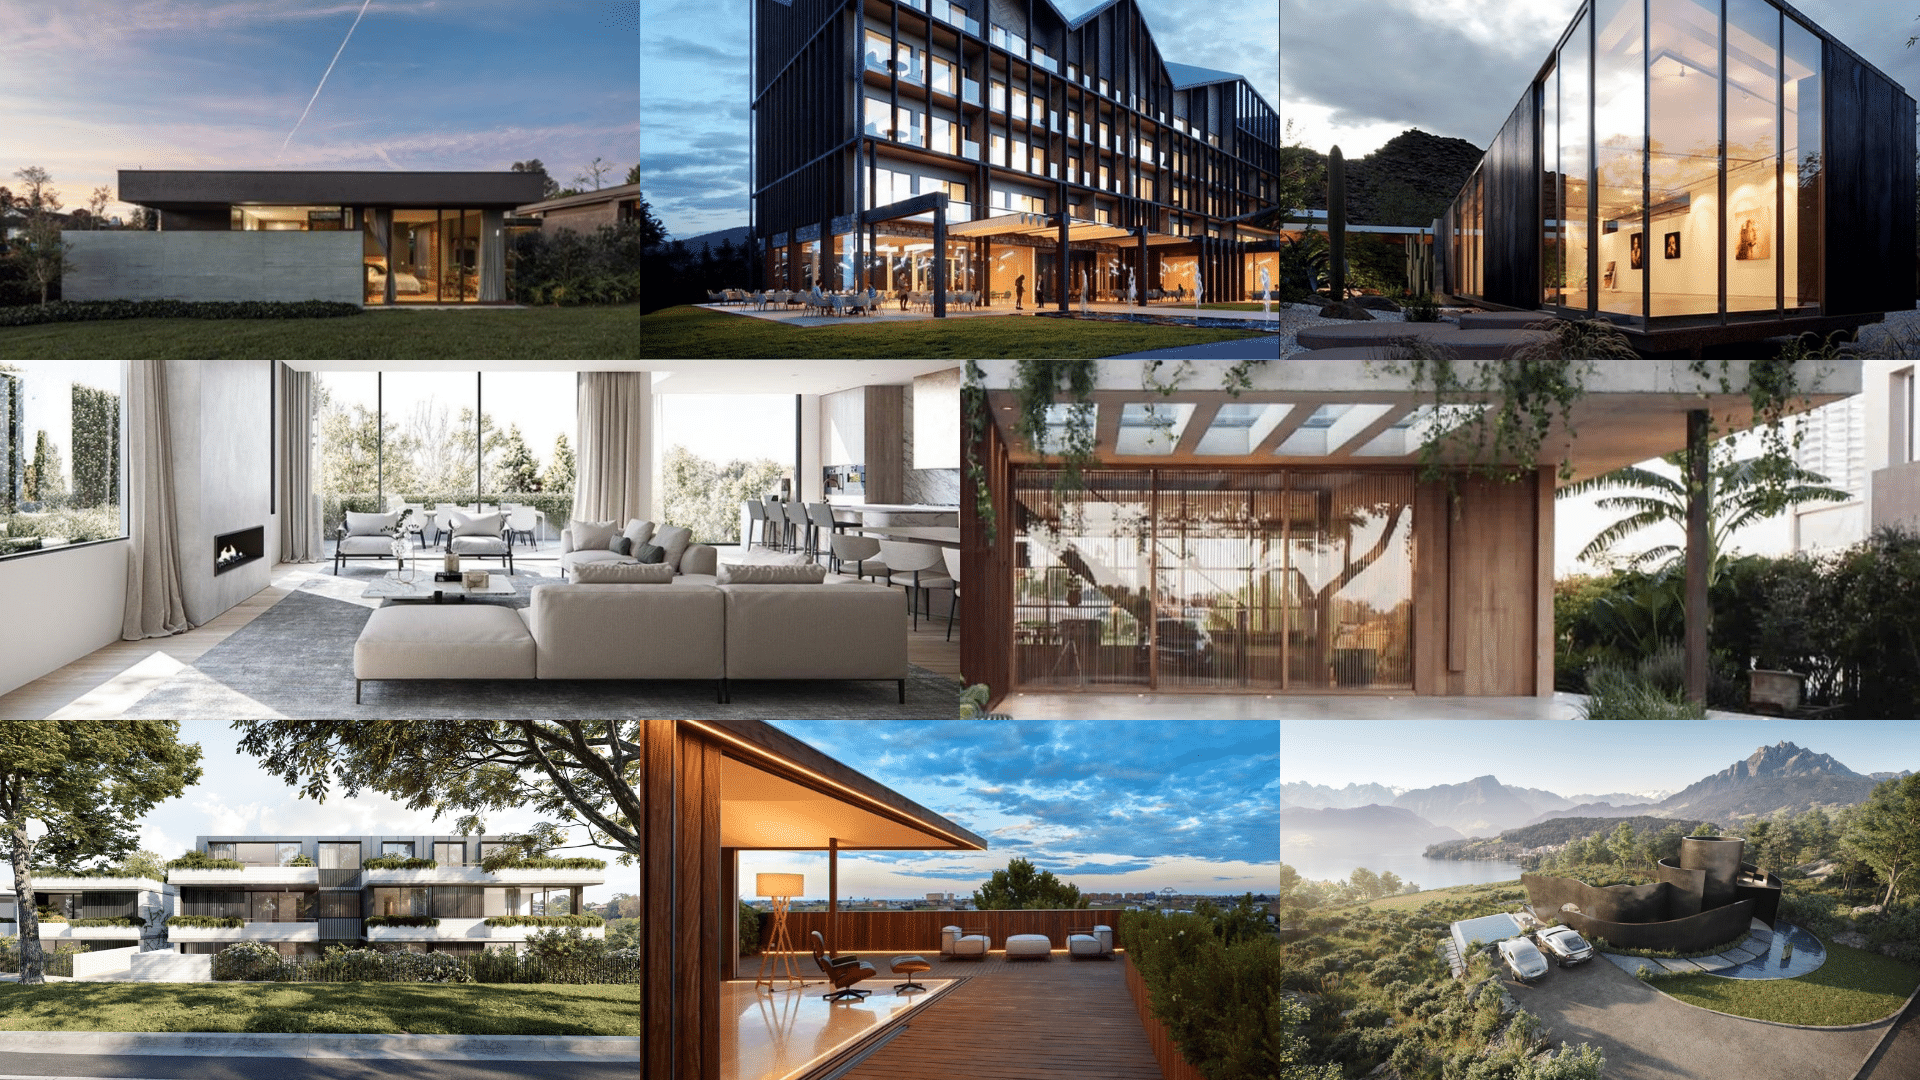
Gathering of References
We used many studies for the references, which we have admired along our journey in the 3D. We also save photographs, which we collect while surfing the internet from our social networks. It is essential to be surrounded by multiple styles and trends worldwide because by translating them into our language, we achieve more attractive and persuasive ideas.
3D Modelling of House 59
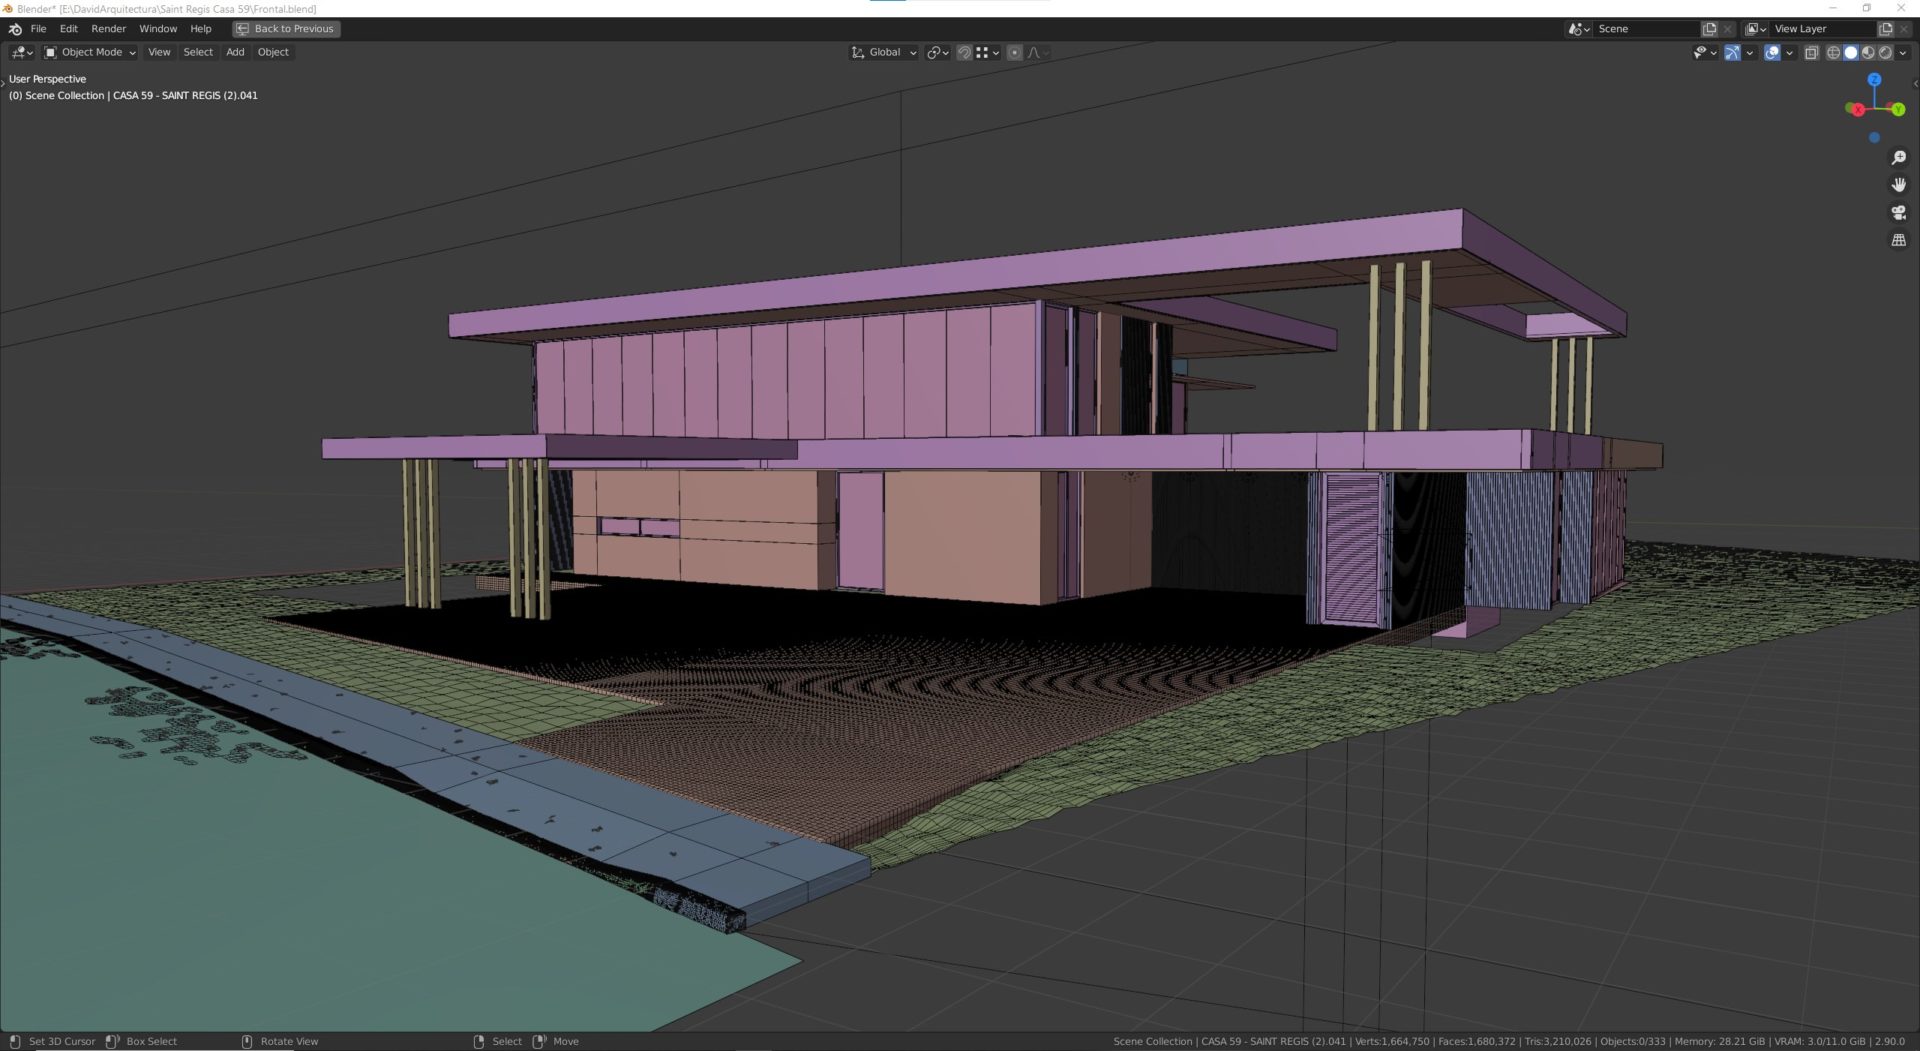
First, our client gave us the files in Autocad, with each of the project plans and a Sketchup file. At first, we imported the Sketchup file into Blender, but the mesh did not give us the results we wanted, so we used the file to remodel the whole project within Blender and achieve the desired result topology.
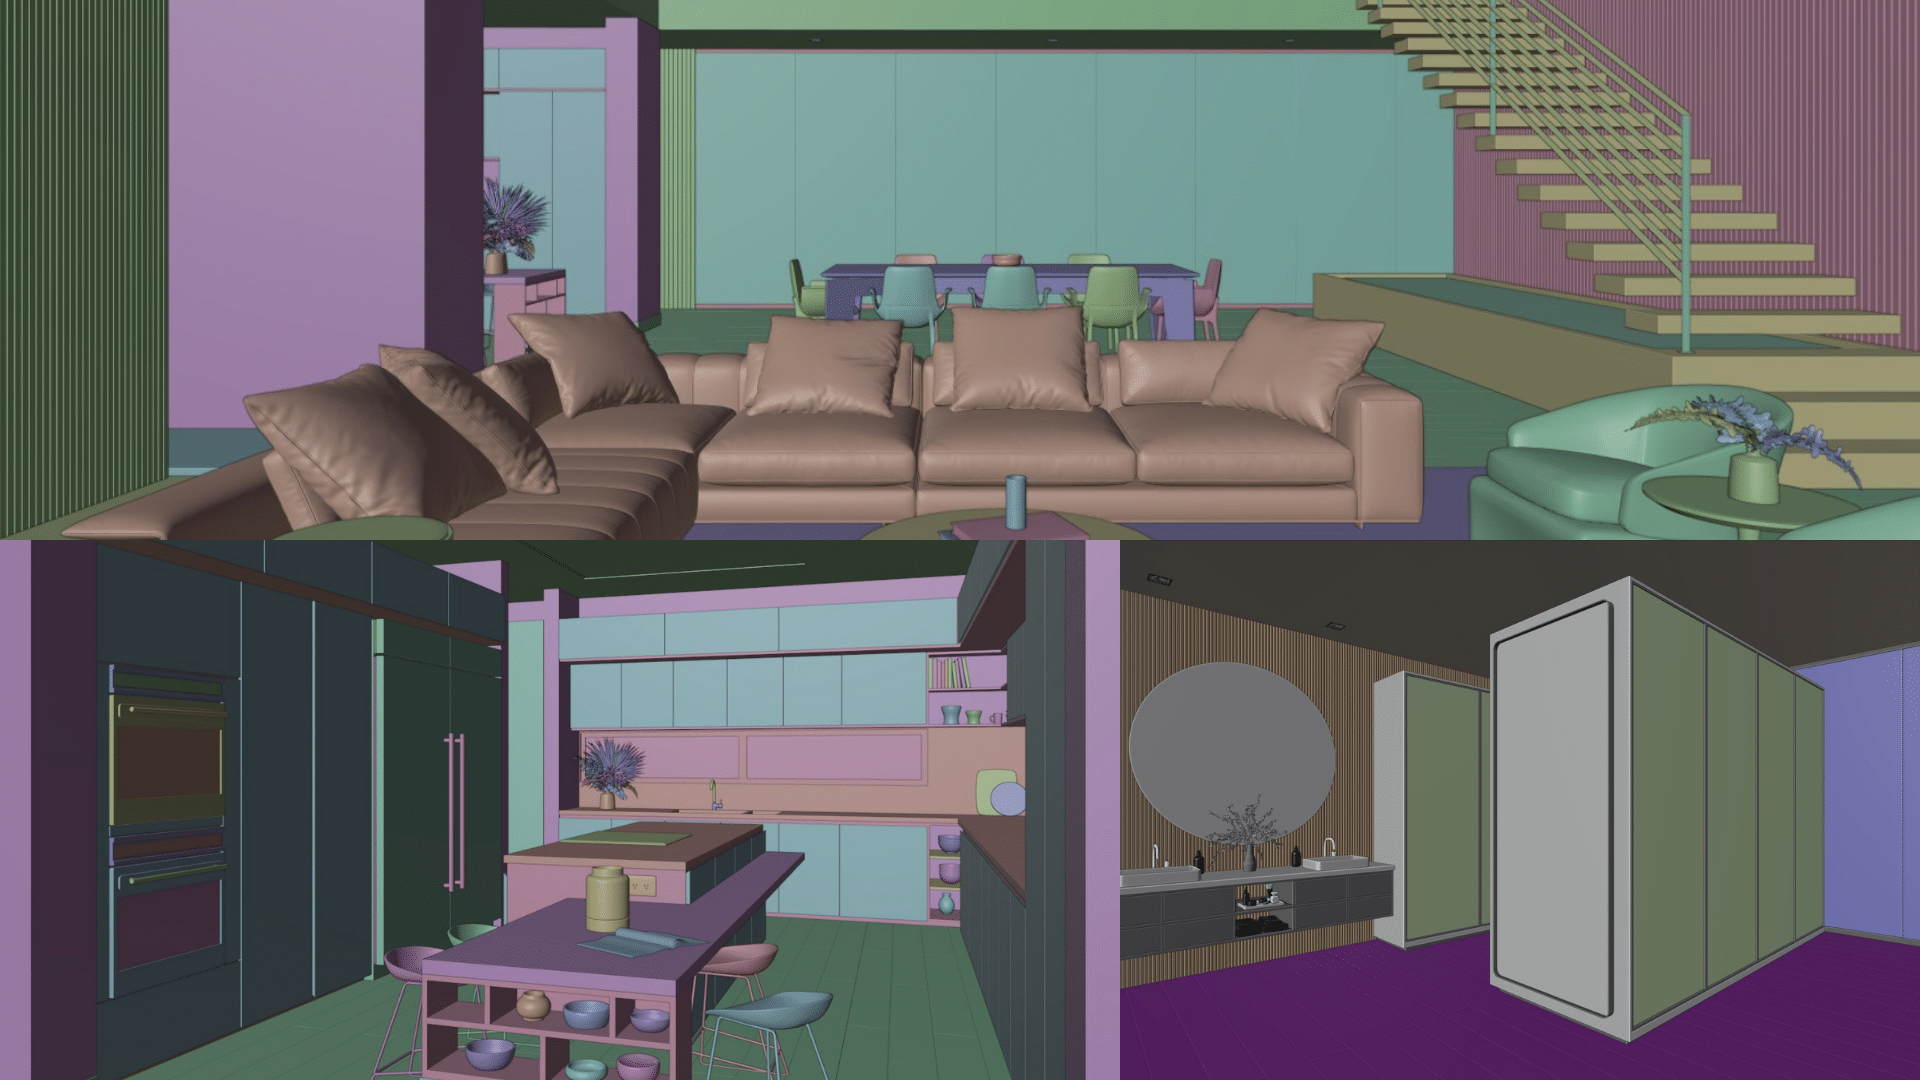
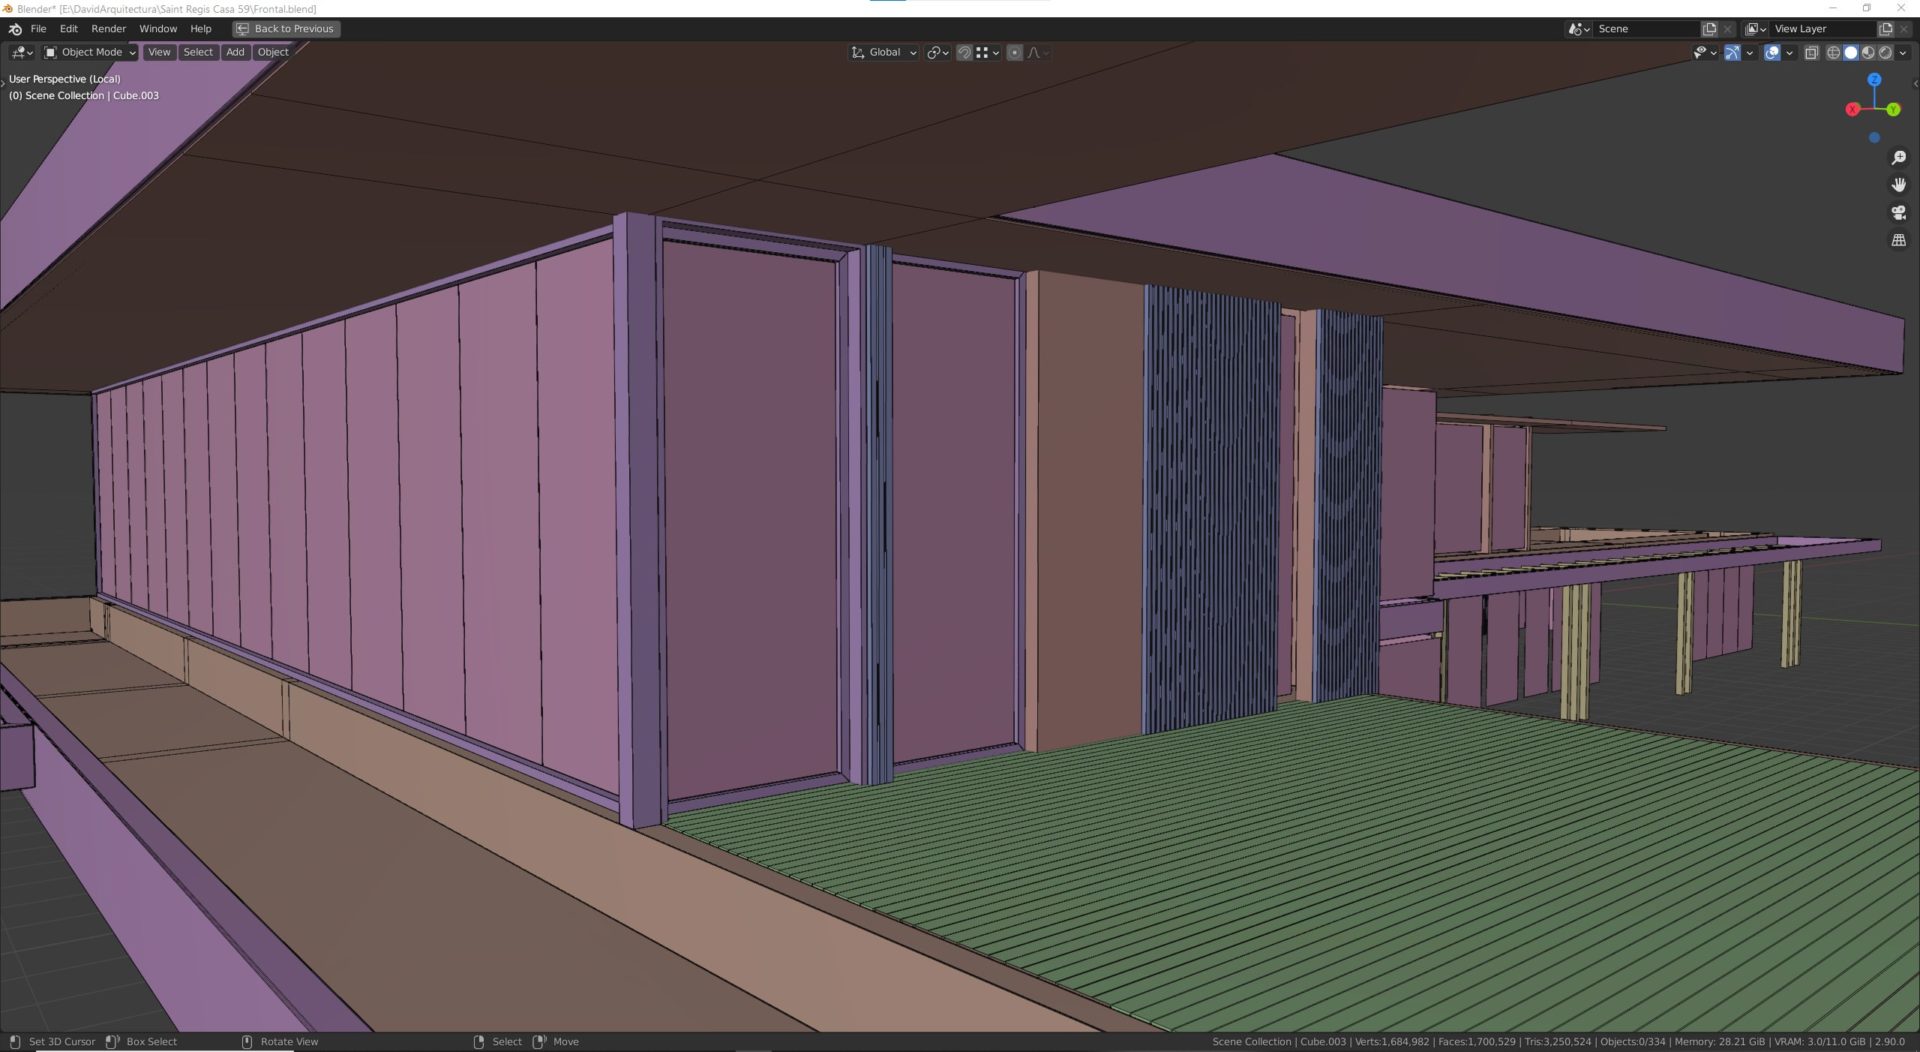
In the modeling of the house, we like to obtain a great level of detail and for this, we decided to model the wood slats and not use a texture. For this, we simply used a slat and then played with the array modifier to create the others (then you must move the Uv’s to eliminate the repetition of the texture). The same thing we did for the wood floor both exterior and interior.
In some cases, we have a lot of polygons because we use a displacement map.
In the windows, we modeled each one of them and then distributed them in each place.
In everything else we use planes and cubes to achieve the desired object, finally, we always apply a modifier (Bevel) to smooth the edges.
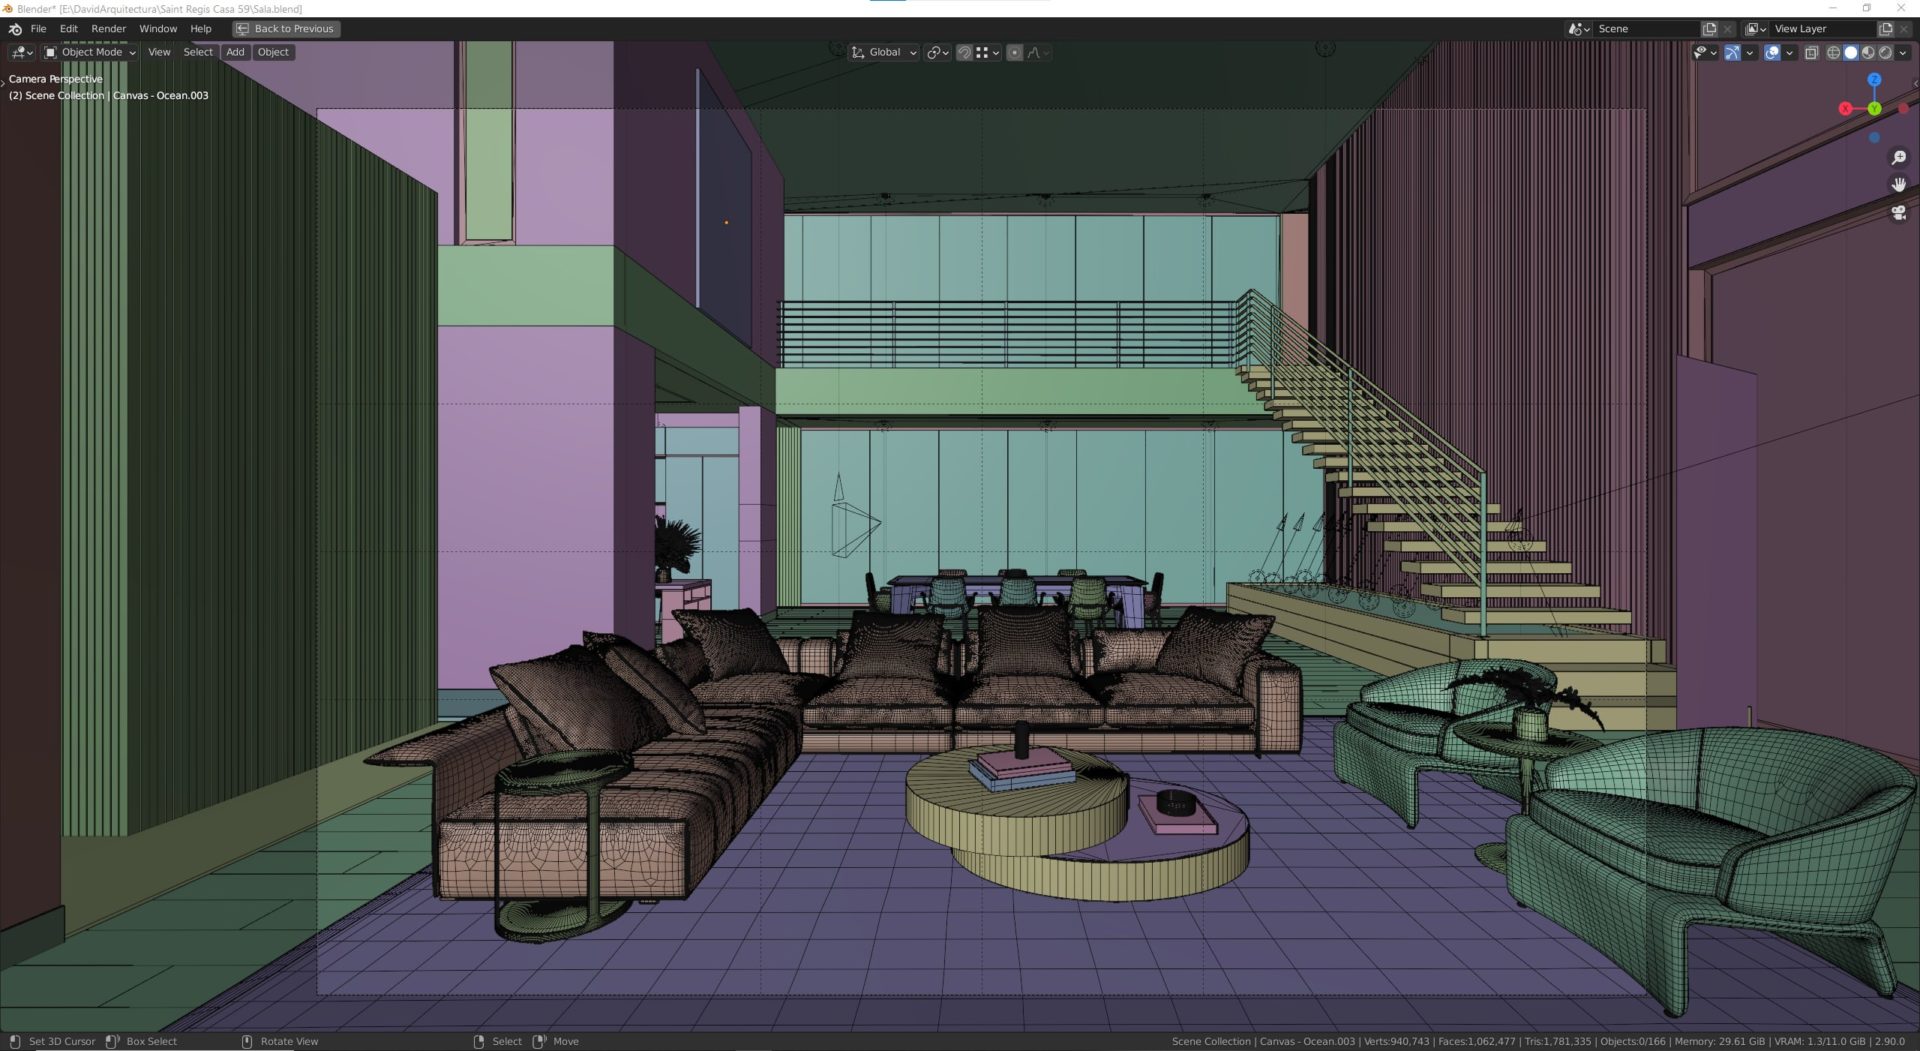
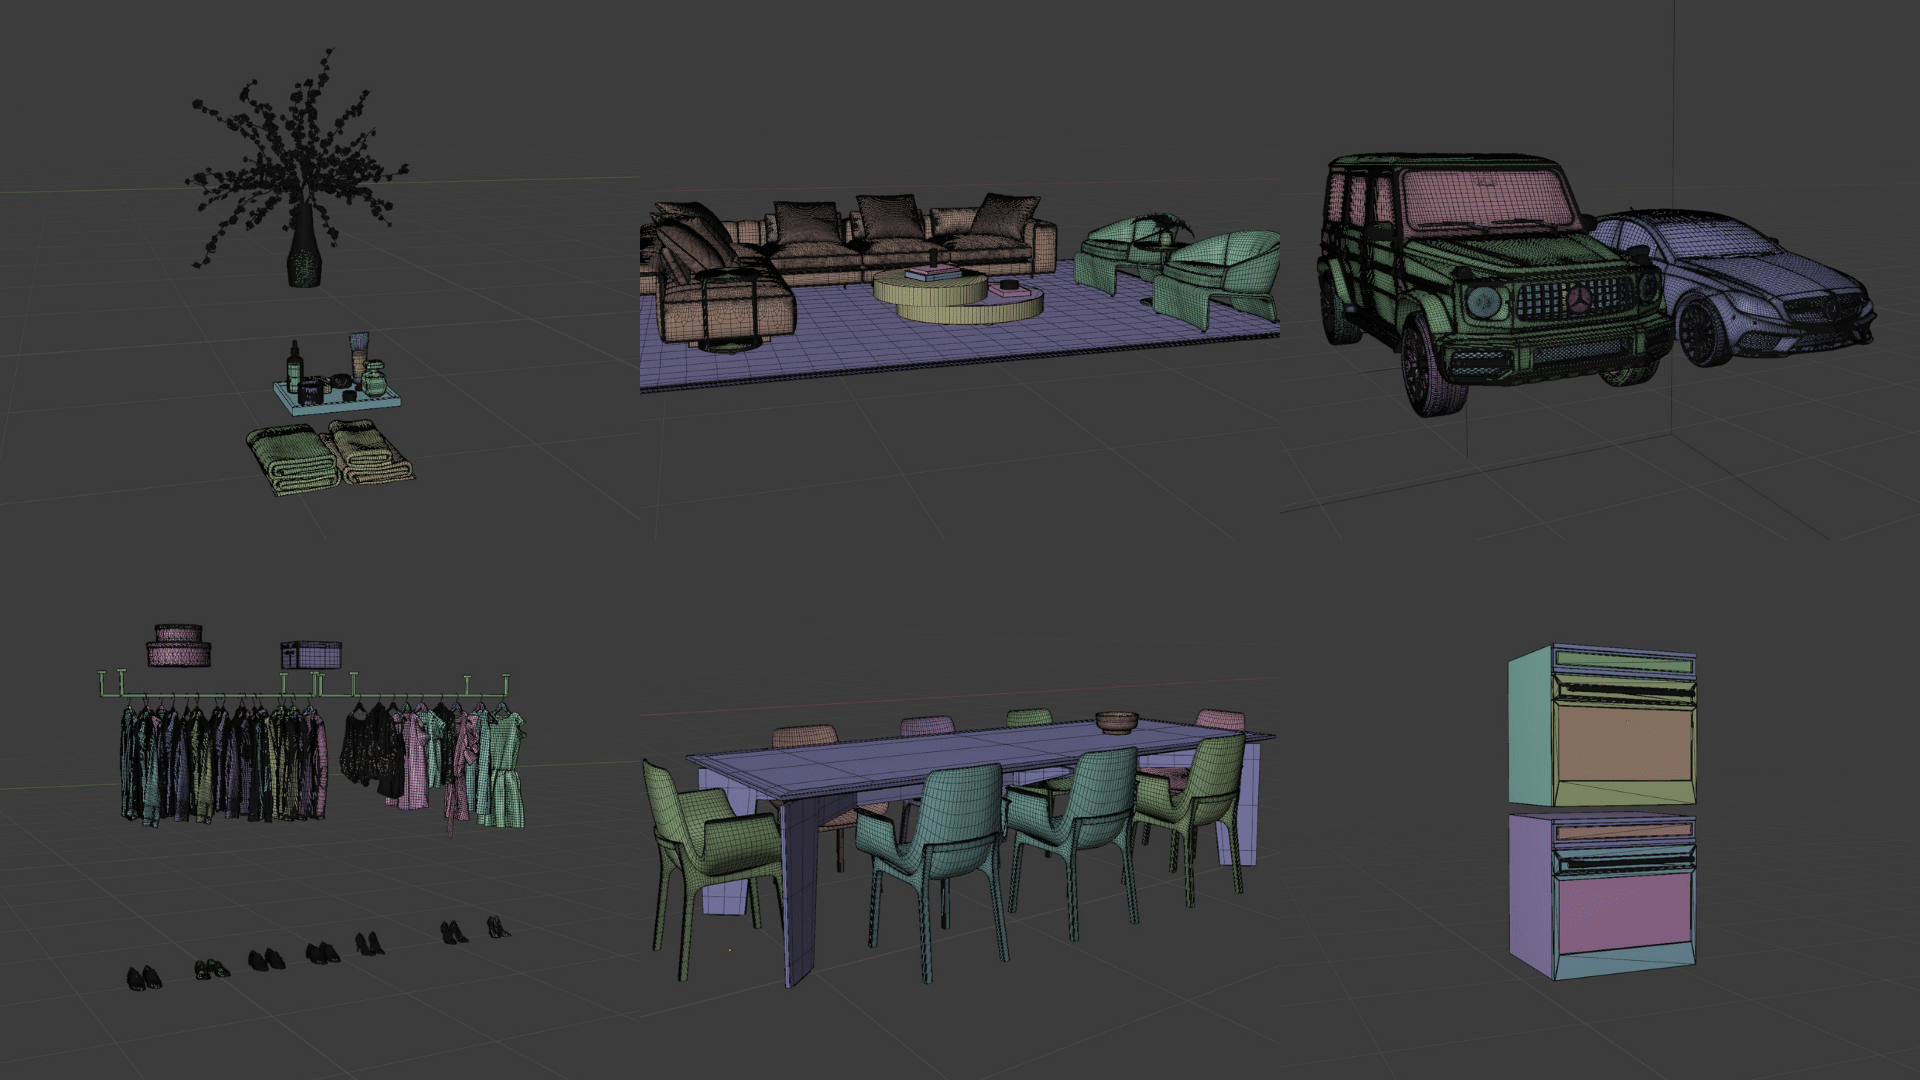
To speed up the production process a little, we use multiple platforms for 3d models, such as 3dsky and design connected for the interior design.
We also use some models directly from the furniture factory, such as Molteni, Minotti, or Cassina. However, some models do not have an adequate topology sometimes, so you can make small arrangements and manage to use it without affecting the quality.
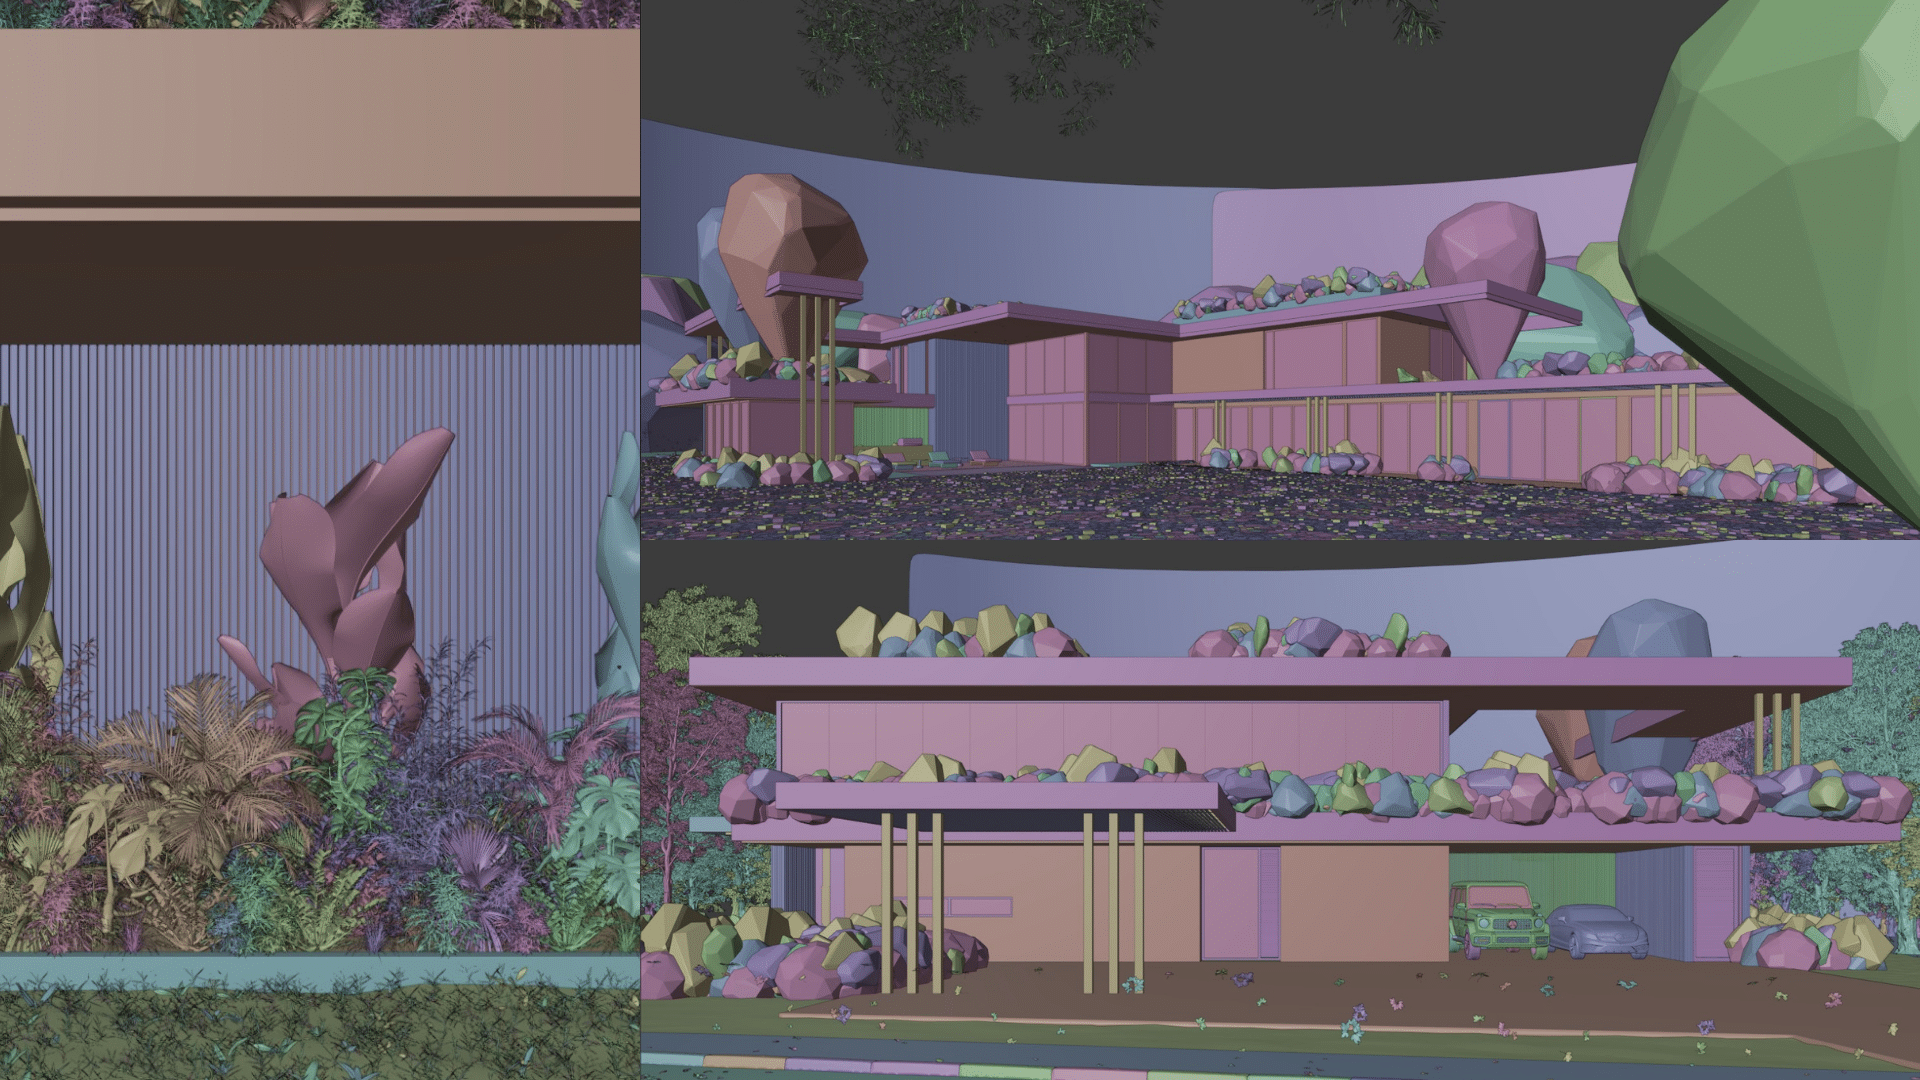
3D Vegetation
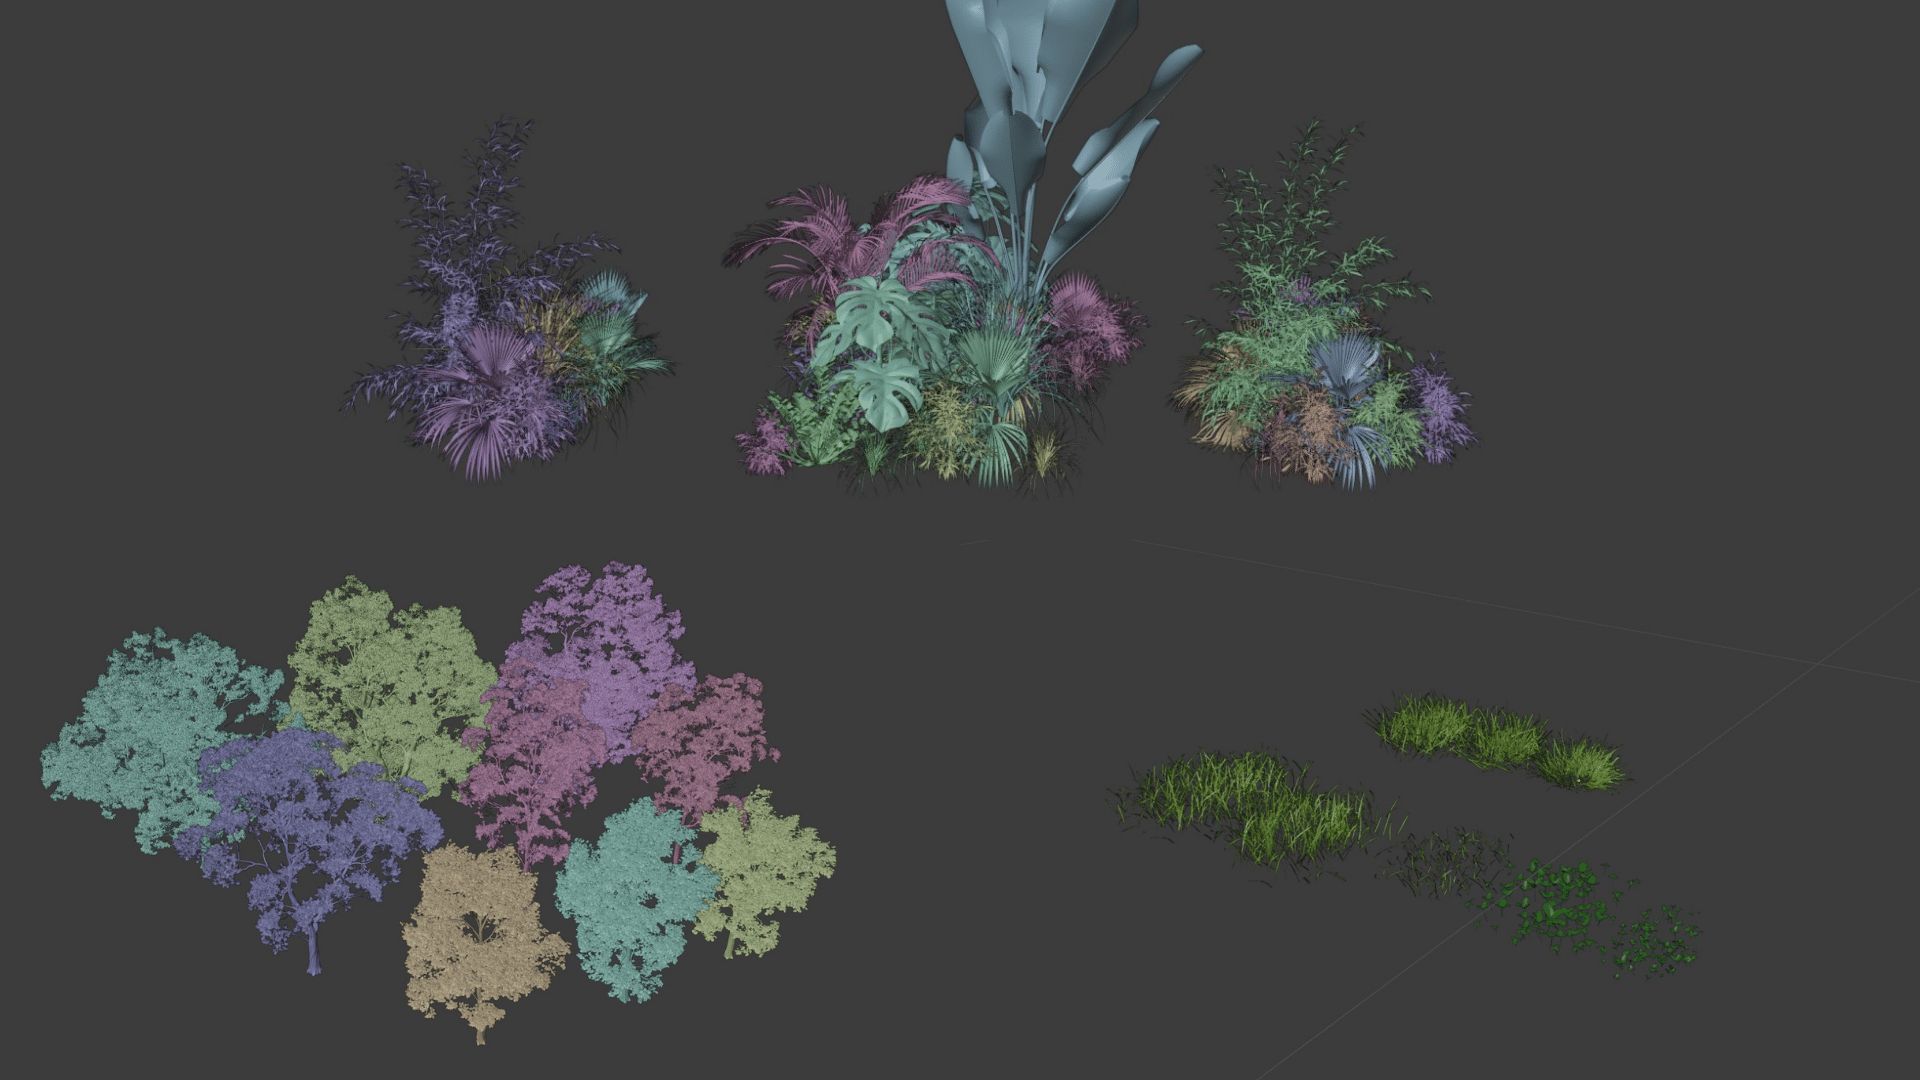
For our landscaping, we used Maxtree, Evermotion, and 3dsky models. We implemented particles for much more optimized distribution. In this phase of creation, we had many problems because it was the first time we modeled a scene so extensive in vegetation models (you know, millions and millions of polygons) it was almost impossible to manage the scene.
In the beginning, we added everything to the scene, but one of the biggest lessons we learned was how to optimize the memory of our equipment and thus allow us to create much larger scenes.
We started by linking the file, but it was not very useful because the vegetation pattern was very noticeable. As we tried to create it manually (good memory management but bad management with the aesthetics) so we decided to buy an add-on called Scatter for Blender. This add-on helped us a lot. We could create proxies for our vegetation and create all the required vegetation; we also used scatter to create biomes for the grass.
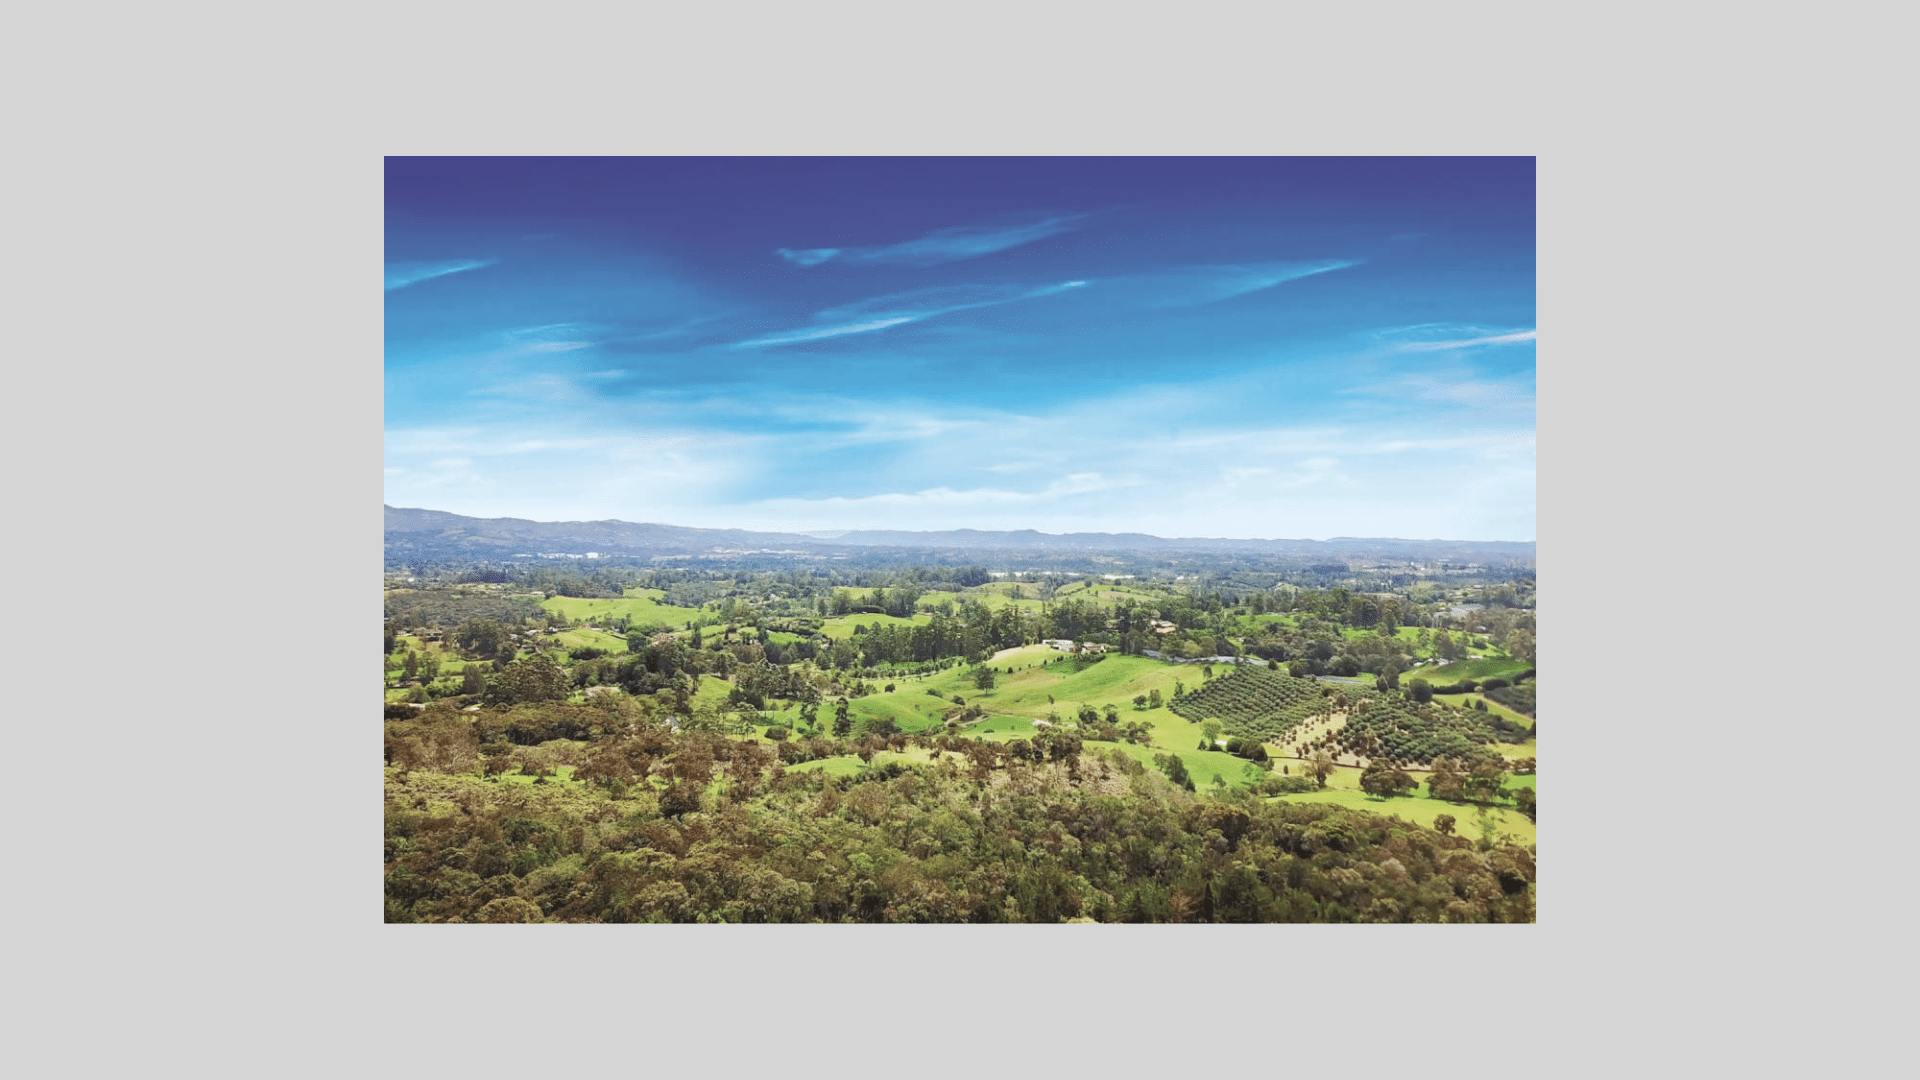
Finally, to close the scenes behind the trees, we created a plane with a photo of the project site’s landscape.
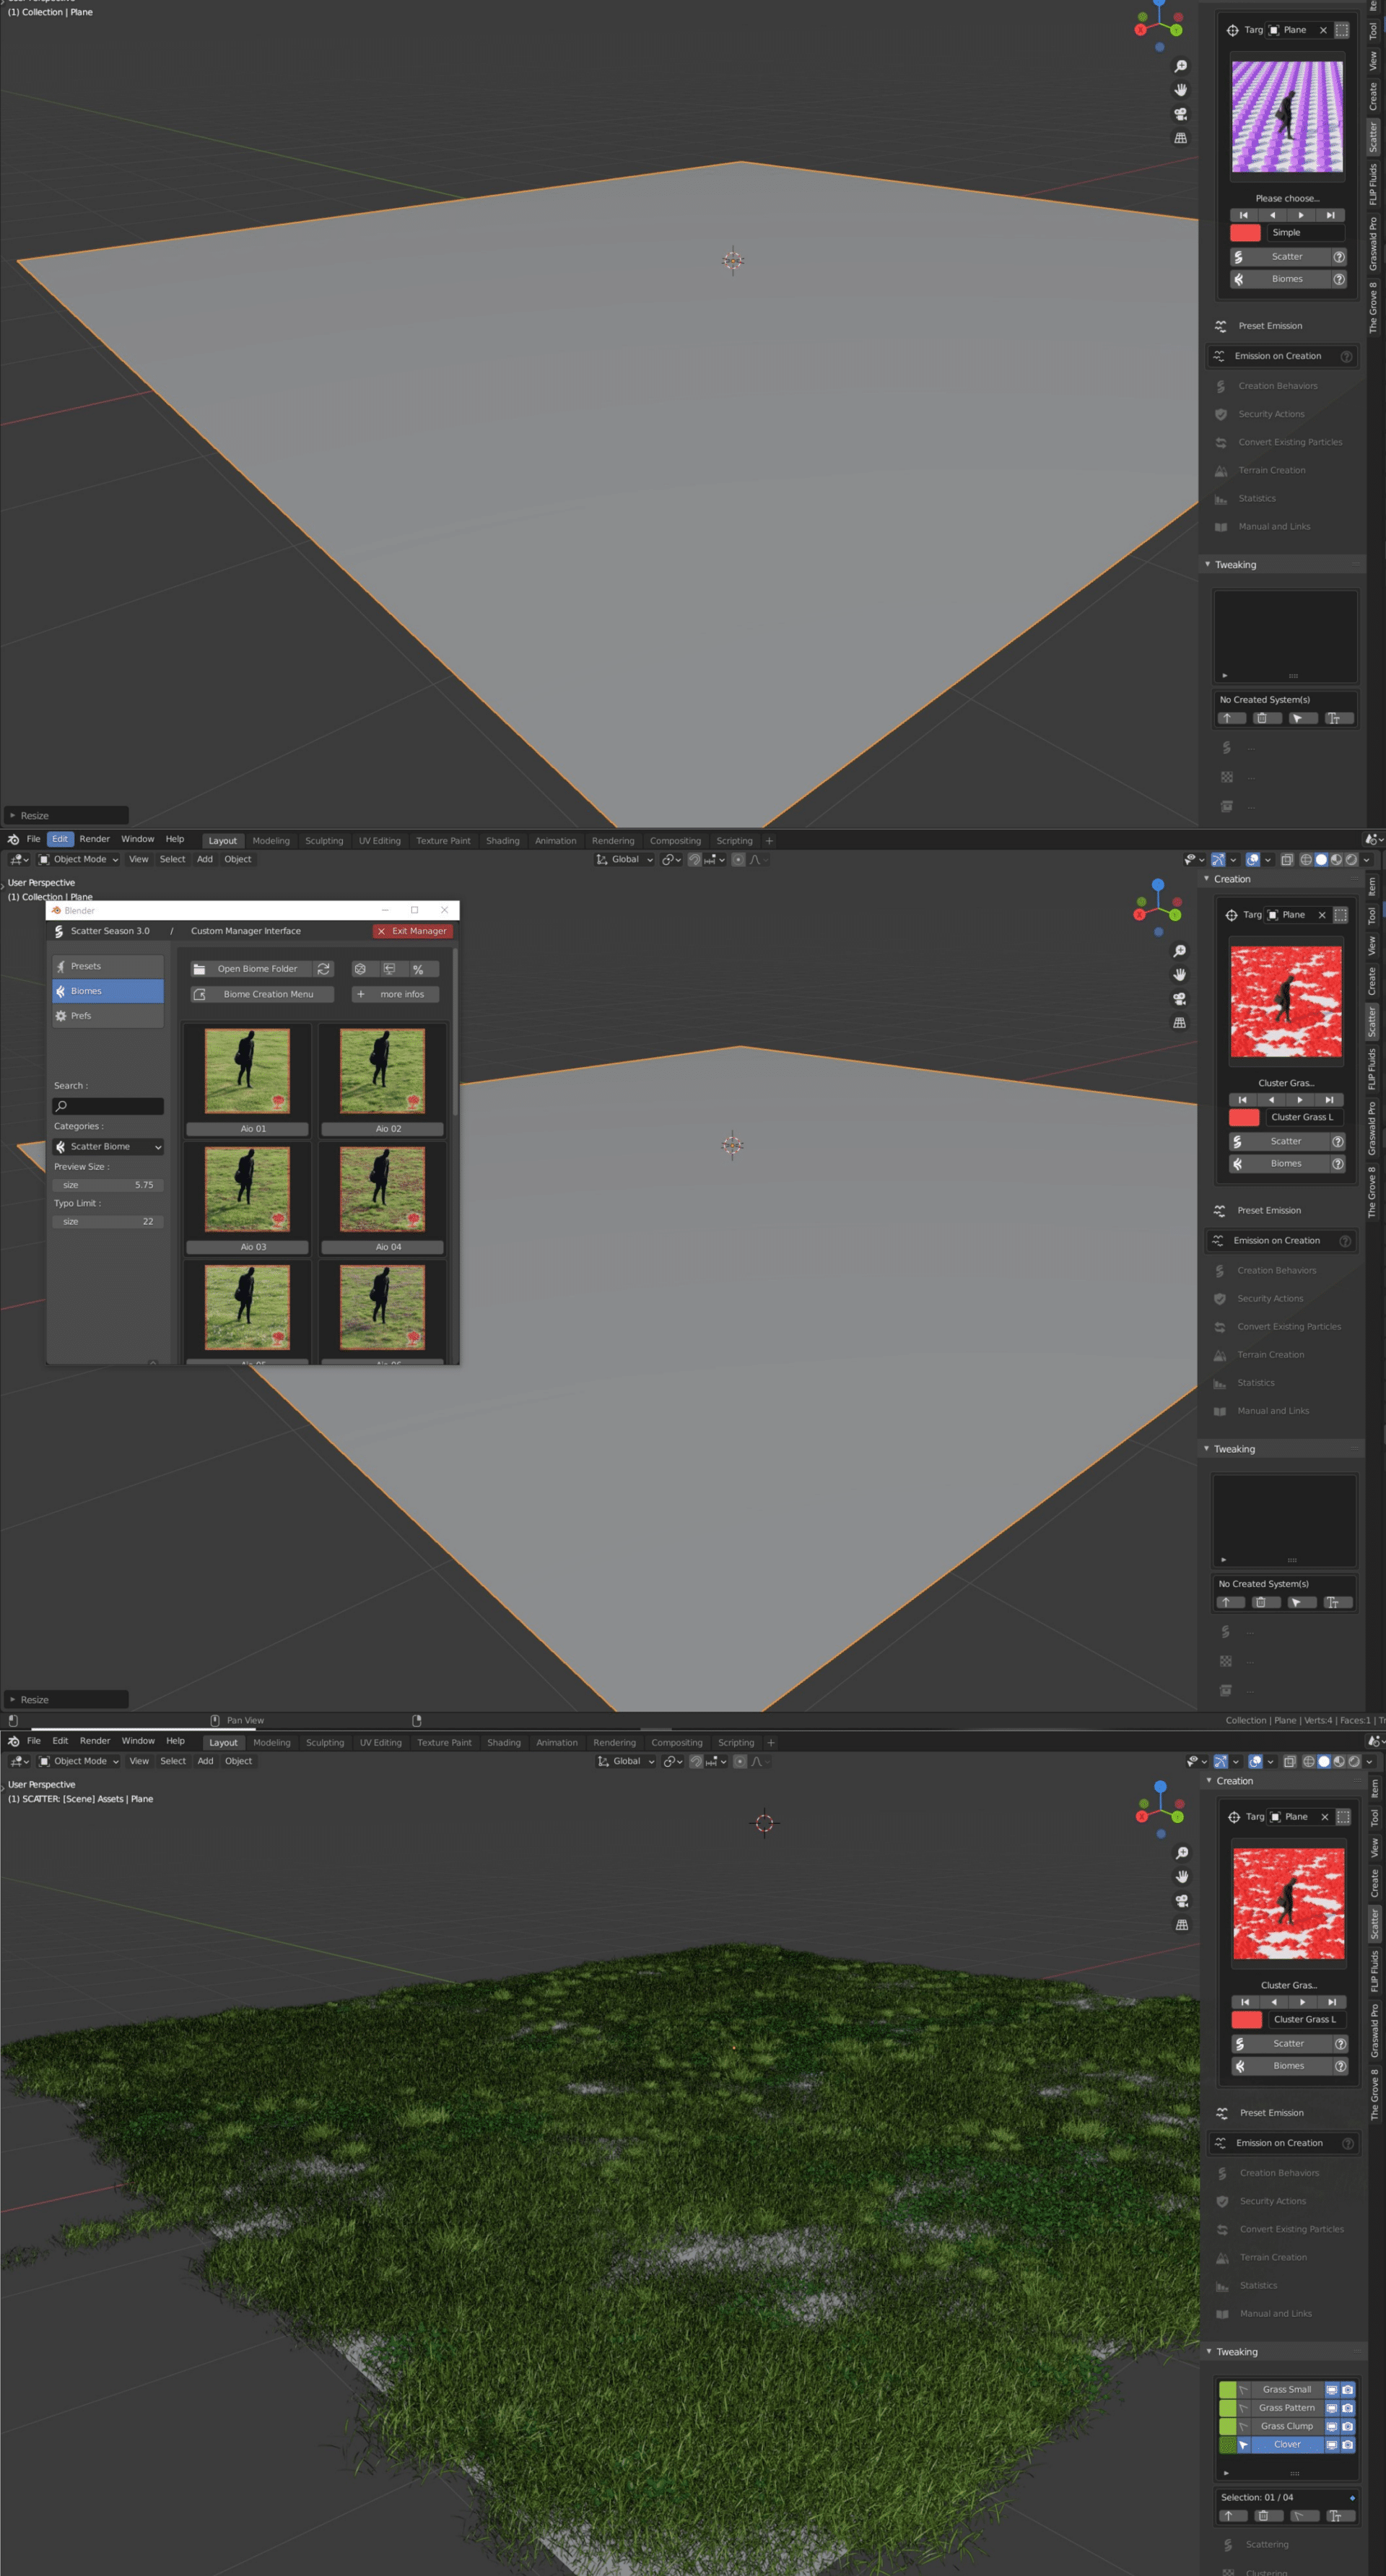
The Scatter Add-on
With this add-on we add all the vegetation, we simply choose an object where we want our grass to be applied, then we select a distribution pattern and finally we choose previously created biomes. We also use this add-on for the trees and the bushes around the house.
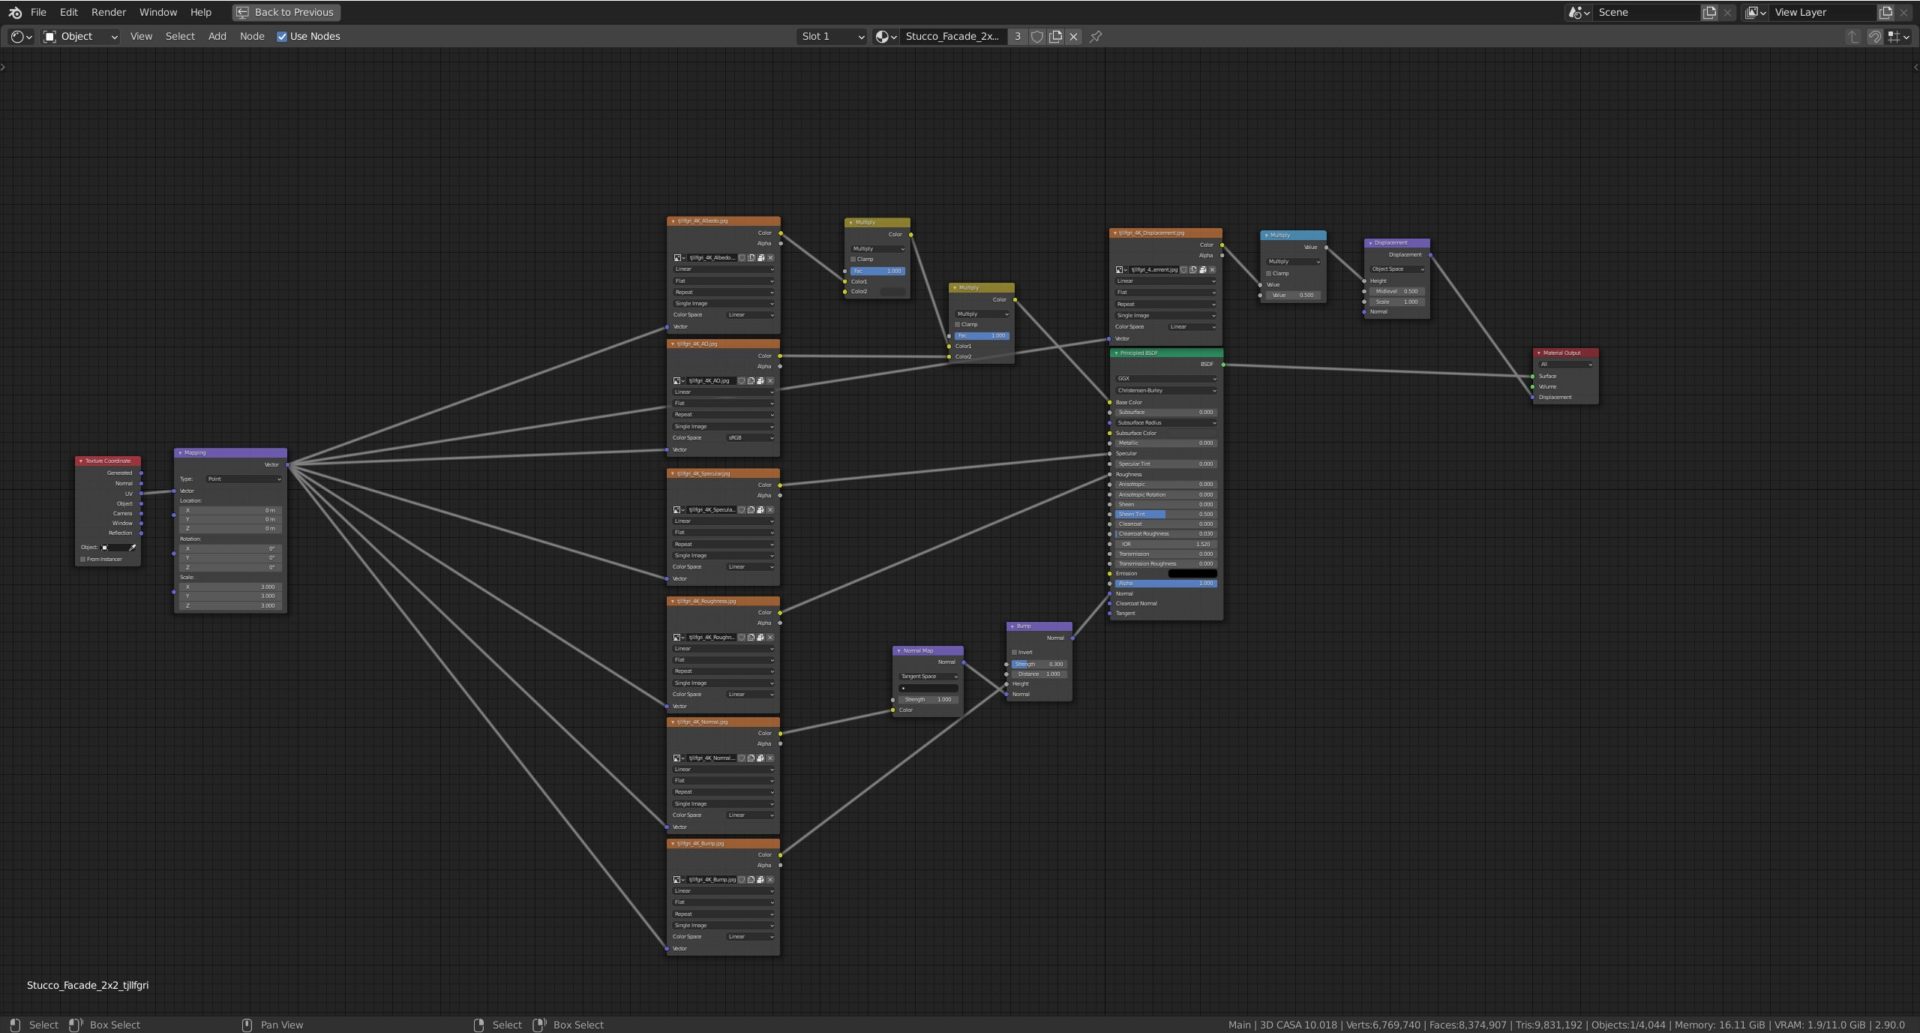
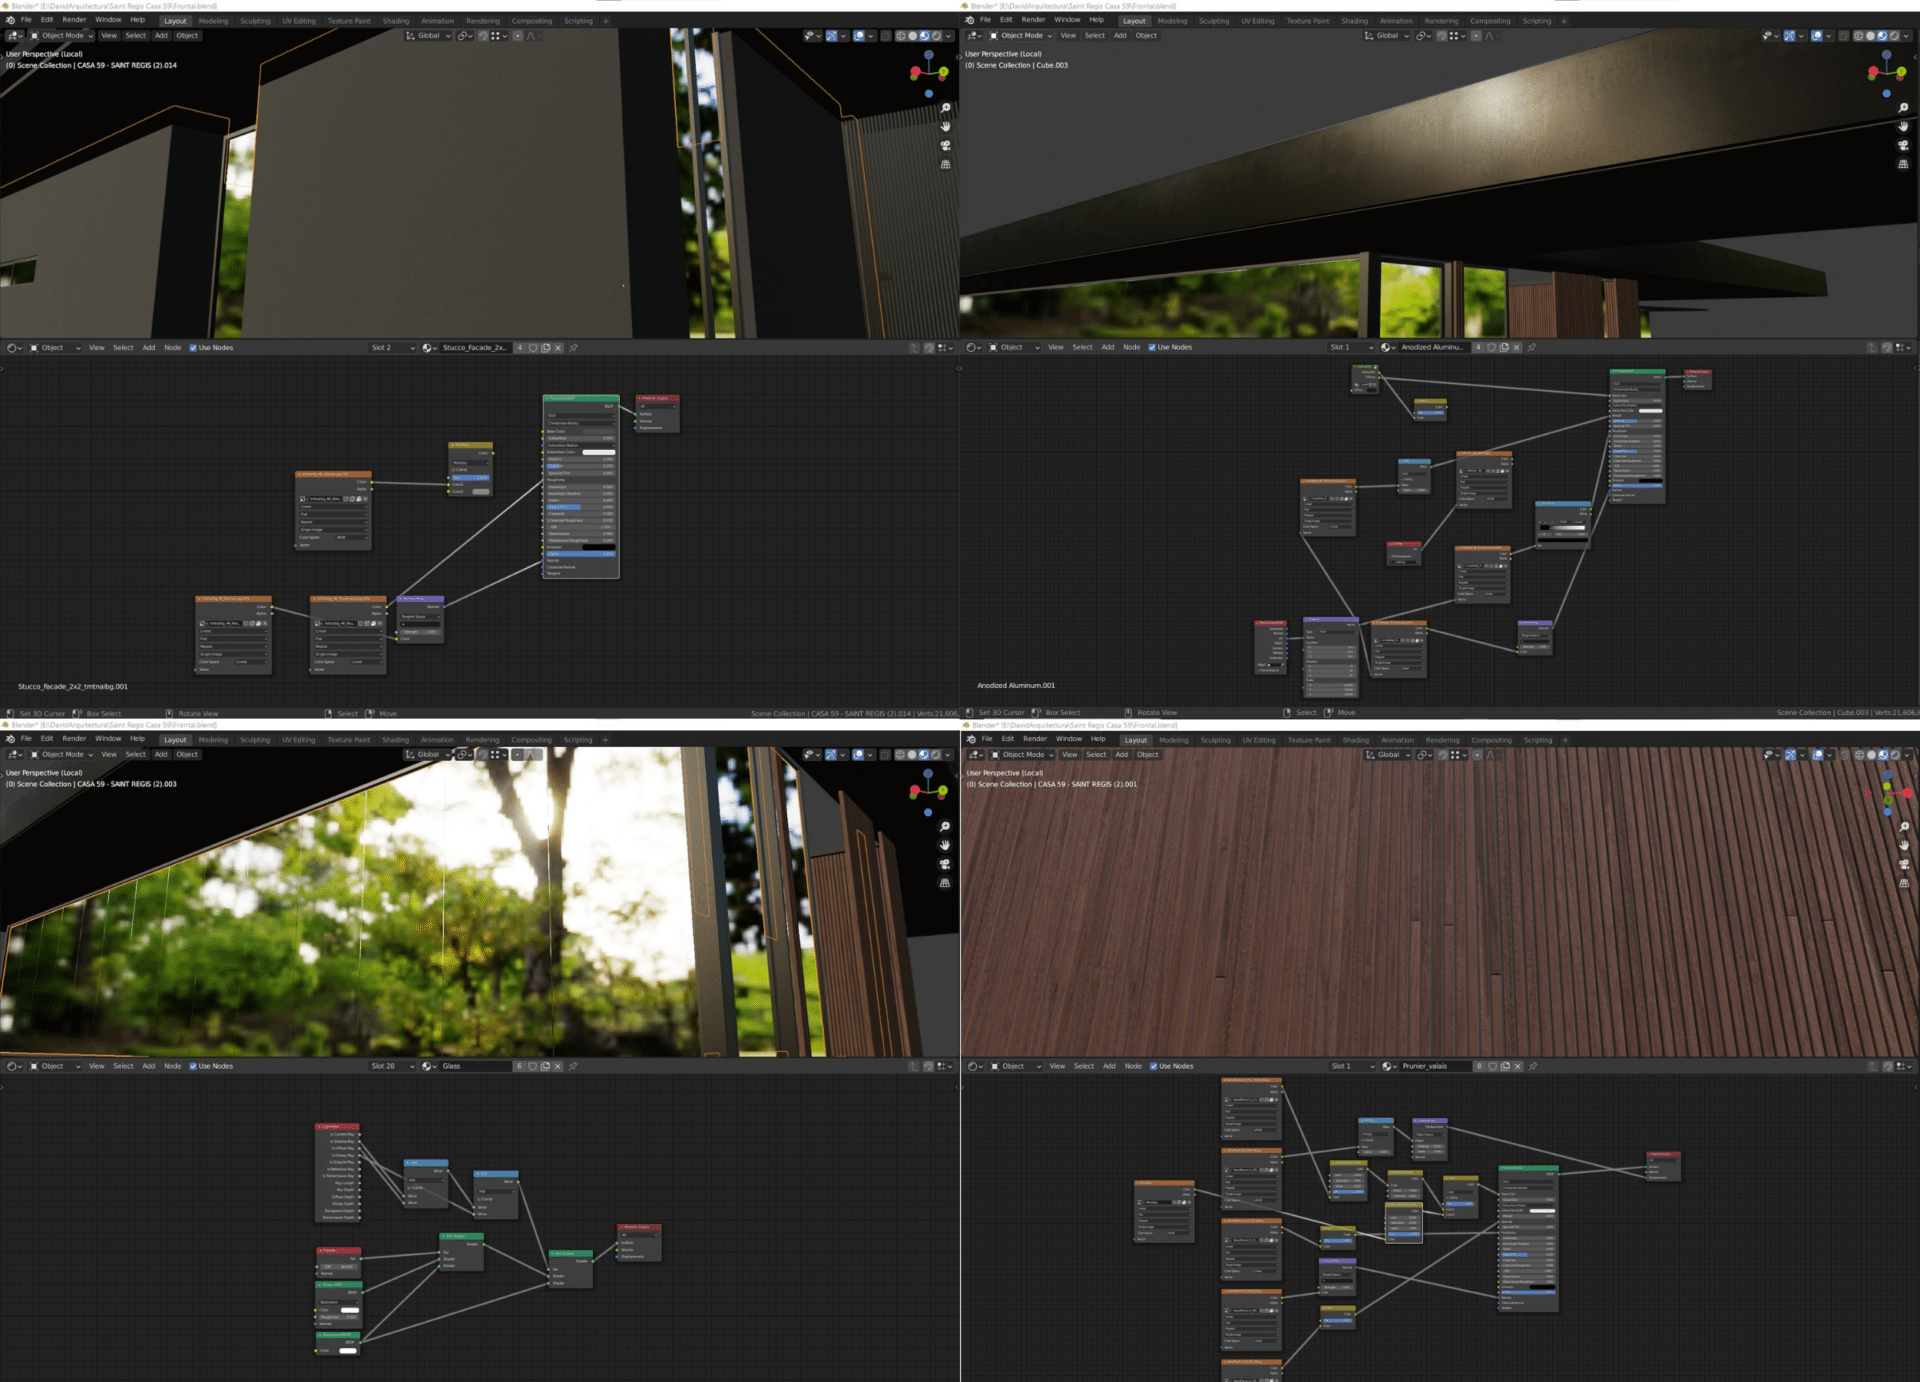
Materials Development
To create the materials we always use PBR materials, we buy the textures and try to add each texture to our material to give us a greater approach to realism, if you find photo scanned materials BETTER! These materials are incredible and have a lot of information, which is incredible to achieve spectacular results.
There are many banks of textures. In our case, we mostly use :
- FriendlyShade
- Poliigon
- Quixel Megascans
Almost always, to get the colors you want and to be able to make the material fit perfectly to our scene, we make some adjustments within Cycles.
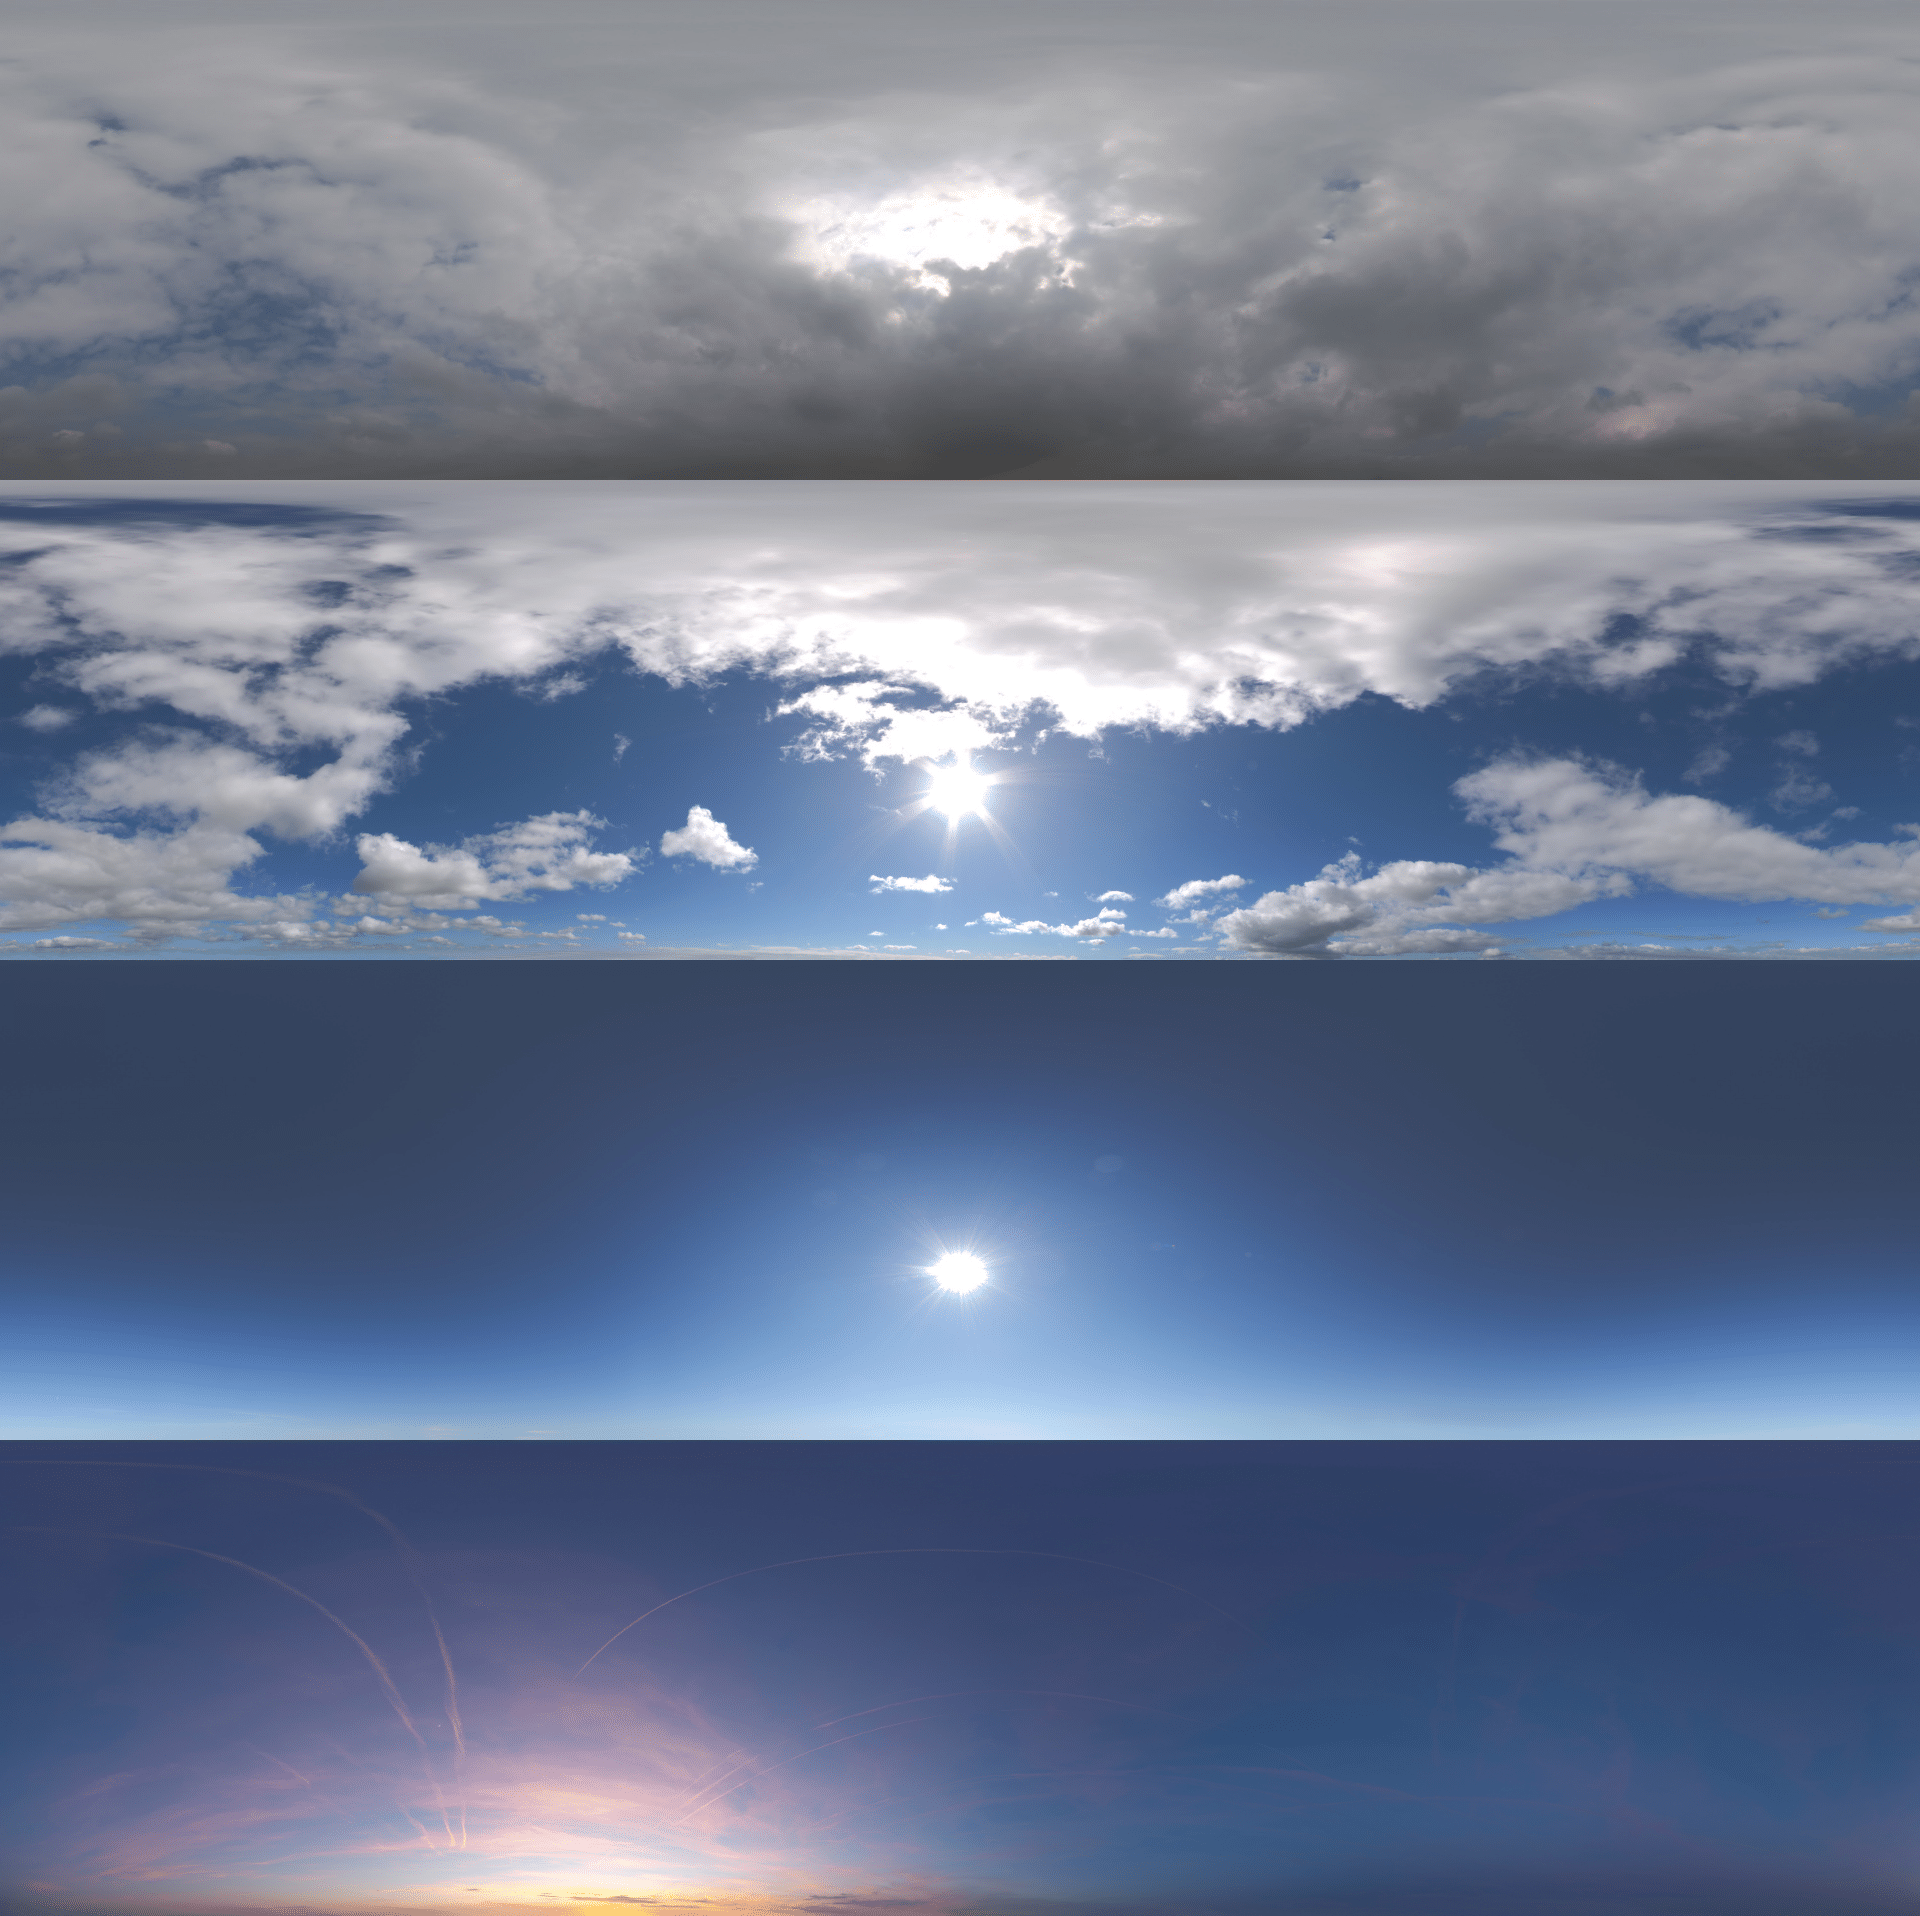
Lighting Setup
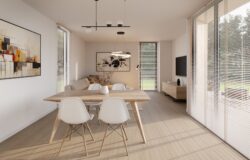
For the illumination of the interior images, we use a very pale HDRI to create a bit of a cold atmosphere and then adjust them with IES lights.
For the exterior images, we used multiple HDRI’s to check which lighting applied best.
In the end, we used :
Production and Post-Production
Software used :
- Blender
- Cycles
- Marvelous Designer
- Megascans Bridge
- Adobe Photoshop
In post-production, we don’t usually create much outside the main program (Blender in this case) when it refers to images.
In all images, we made minimal adjustments in color correction in Photoshop.
Summary
For us, this project took us one step further in our knowledge. As artists, we must always believe that every small or large project must help us grow.
Finally, we managed to create this project inside Blender. We are very proud of what we achieved. We also hope that this article will be useful for all those passionate about architectural visualization, no matter the program.

Start the discussion at talk.ronenbekerman.com