


Making of Dune House
Lichtecht‘s ‘Dune House’ visuals, inspired by Matthias Arndt’s vacation to the Danish North Sea Coast and based on the Hurst House by John Pardey Architects + Ström Architects, awarded them Best Visualization of the Week NO. 17/2013, Best of April 2013 and still in the running for Best of YEAR 2013. Follow Matthias Arndt as he describes the process of creating the ‘Dune House’ visuals using 3dsmax, GrowFX, Floor Generator, V-Ray and just a bit of postwork. Enjoy!


Author: Matthias Arndt
Matthias Arndt was born in 1973. He comes from a small town in Germany near Rostock on the Baltic Sea and studied architecture in Berlin. More than 10 years ago he went to Hamburg and became co-founder of lichtecht. lichtecht is a team of architects, designers and graphic artists that work mainly on architectural visualization projects with 3ds Max, V-Ray, Photoshop and After Effects.
Back in April 2013 I have finished and posted a personal project called “The Dune House on the Danish North Sea Coast”. Last week I found out it turned out to be the best visualization of that month and Ronen Bekerman invited me to write a making of about that project, which I am very glad to share with you today. Thanks to Ronen and many thanks to all of you who have commented and liked the post.
The Dune House
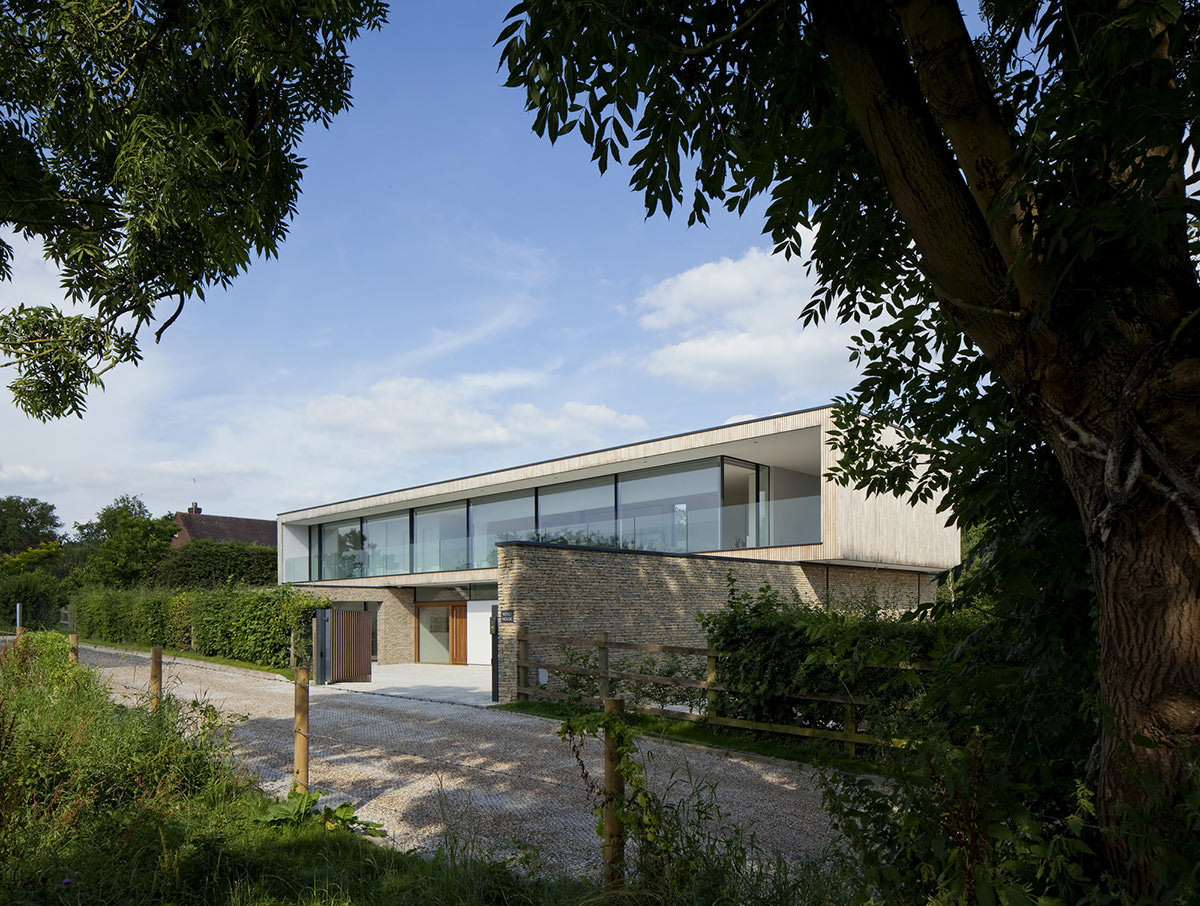
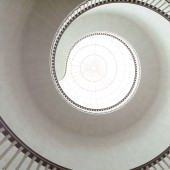
My family and I spent our last vacation at the Danish North Sea coast. The scenery there impressed me a lot and inspired me to create this project. Days before that, I had seen the Hurst House by John Pardey Architects + Ström Architects on archdaily and thought this was a great house which I could imagine well here. In particular the location of the living, dining and sleeping area would allow a great view to the sea.
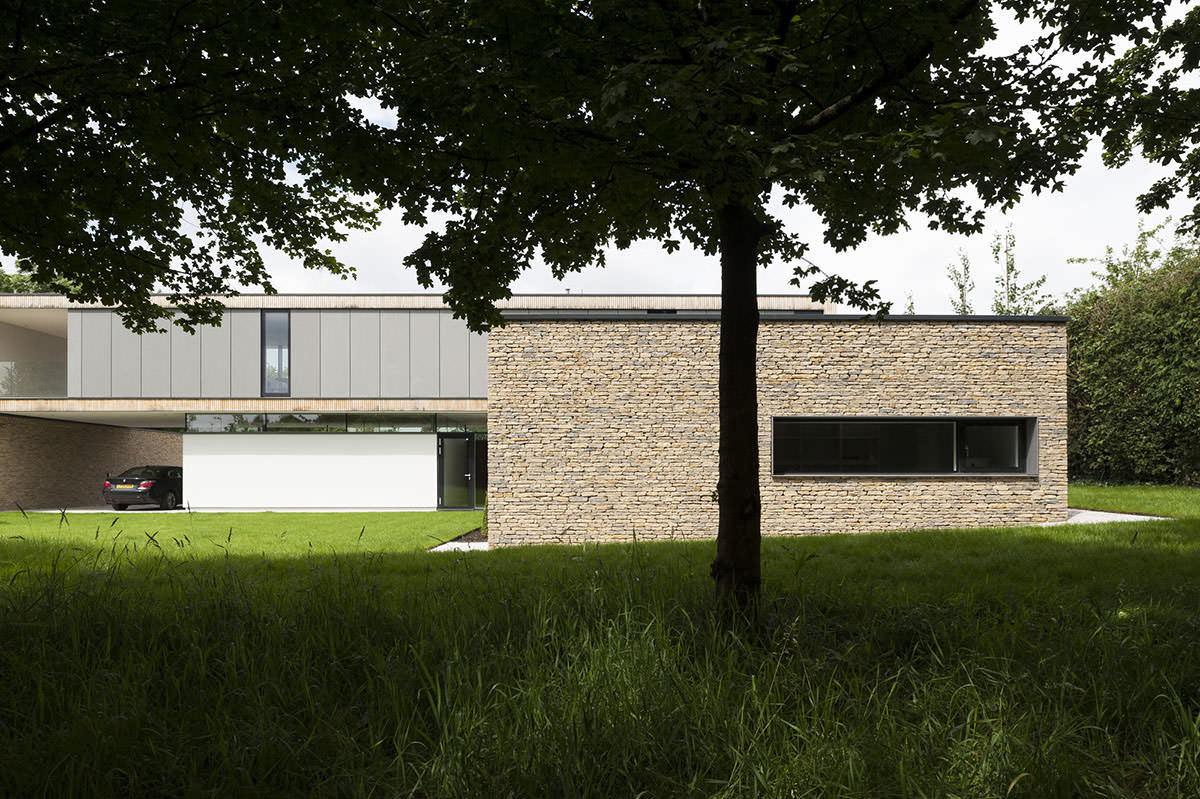
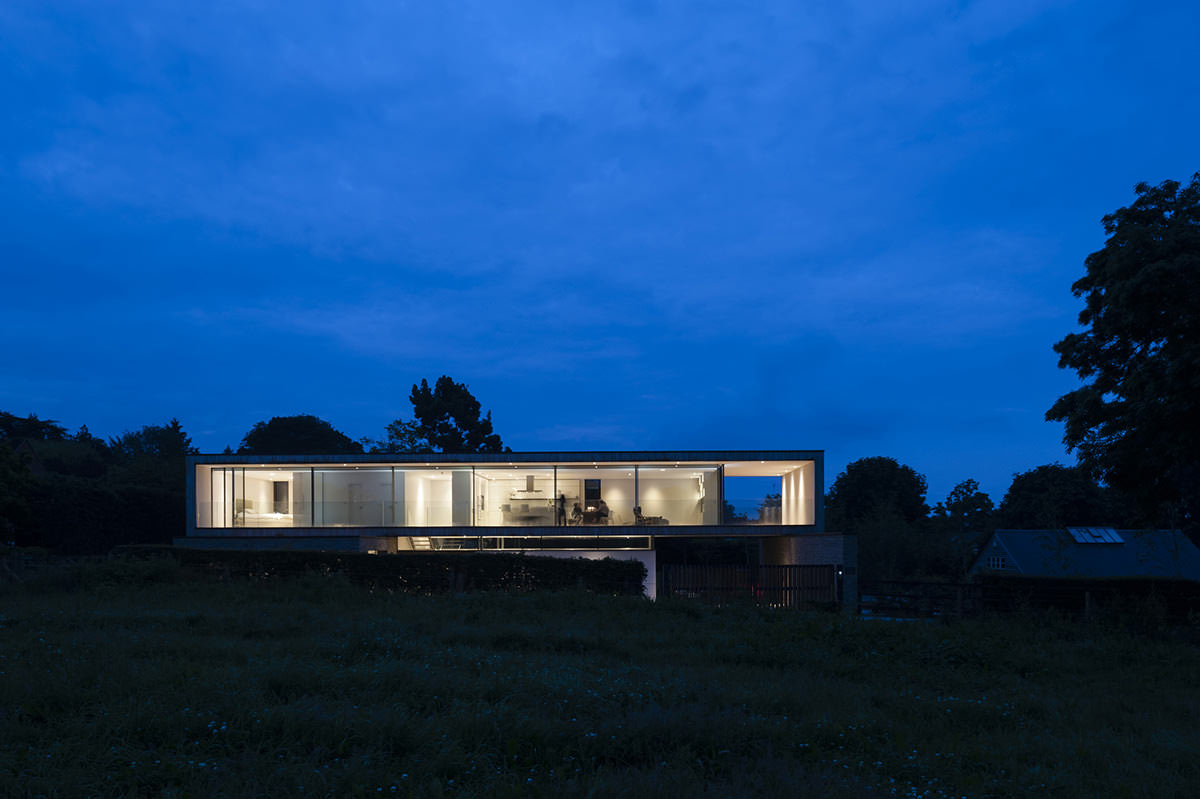
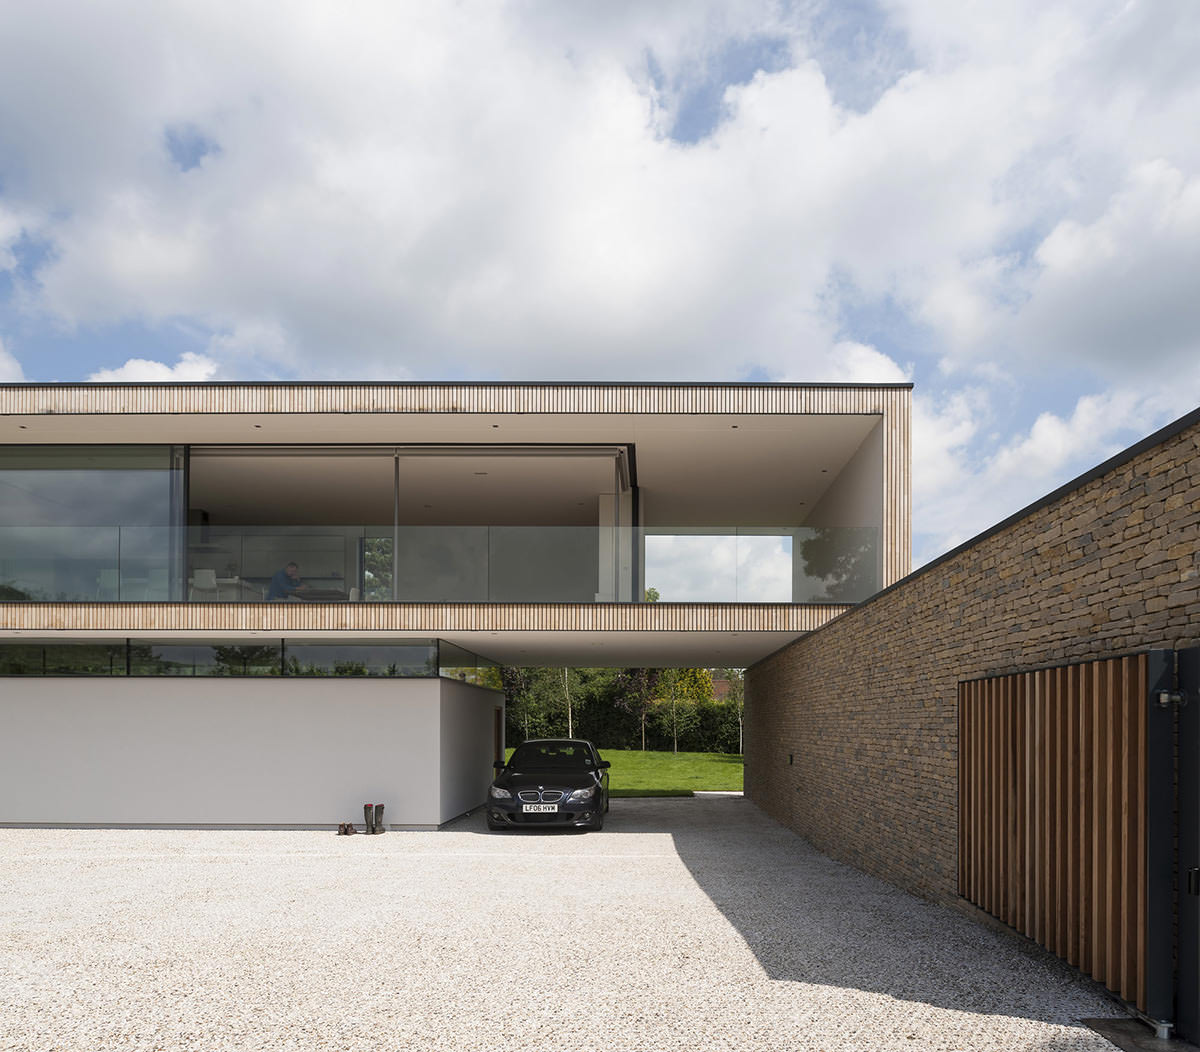
Photographs by Andy Matthews & Andy Stagg
The landscape at the danish north sea-coast is full of old concrete bunkers. So I changed the materials from the original a bit.

Photo by Emily Mankowski

Photo by LEGO George / lekgodt.no
The exterior walls on the ground level are made of concrete as a reminder to the bunker.


Lets follow through the realization of this project…
Modeling
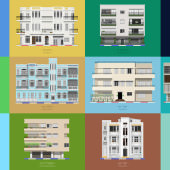
I am a big fan of doing most of the things in 3D, particularly for projects with multiple perspectives, as it works so much easier than if I would have done things in post production. First, I created the building. CAD plans were not given and so I mapped the floor plans and elevations on planes, arranged them in correlation to each other and built the geometry on it.


Otherwise there is nothing special to say about modeling. The only thing would be the use of the great Floor Generator by Thomas Suurland from CG-Source for the flooring and terraces. There was already a tutorial about this by Bertrand Benoit.
Using the Floor Generator Script
In this how-to article Bertrand describes in detail the way he uses the Floor Generator Script using the GH House model as an example. Check Bertrands full GH House making of article for more information about his work.
The Environment
For the background I needed a 360 panorama from the central point of the house which I recorded in one day with diffused light in the dunes on the spot. I removed the sky from the panorama so I could use an HDRI in a Dome Light for the sky later.


I used a few reference photos from my vacation for the modeling of the dunes. It seemed to me to be the best way to use the displacement of 3ds max with a noise map. This gave me good control over the hills. Once I was satisfied I collapsed the whole thing to a mesh.
The next big issue was the surrounding plants…
The vegetation required was quite manageable and I would not use any pre-made plants and so I asked Peter Oldorf from our team to create beach grass and rose hips. Peter created various plants based on pictures with the GrowFX plugin. We created V-Ray proxies and distributed them in the scene.

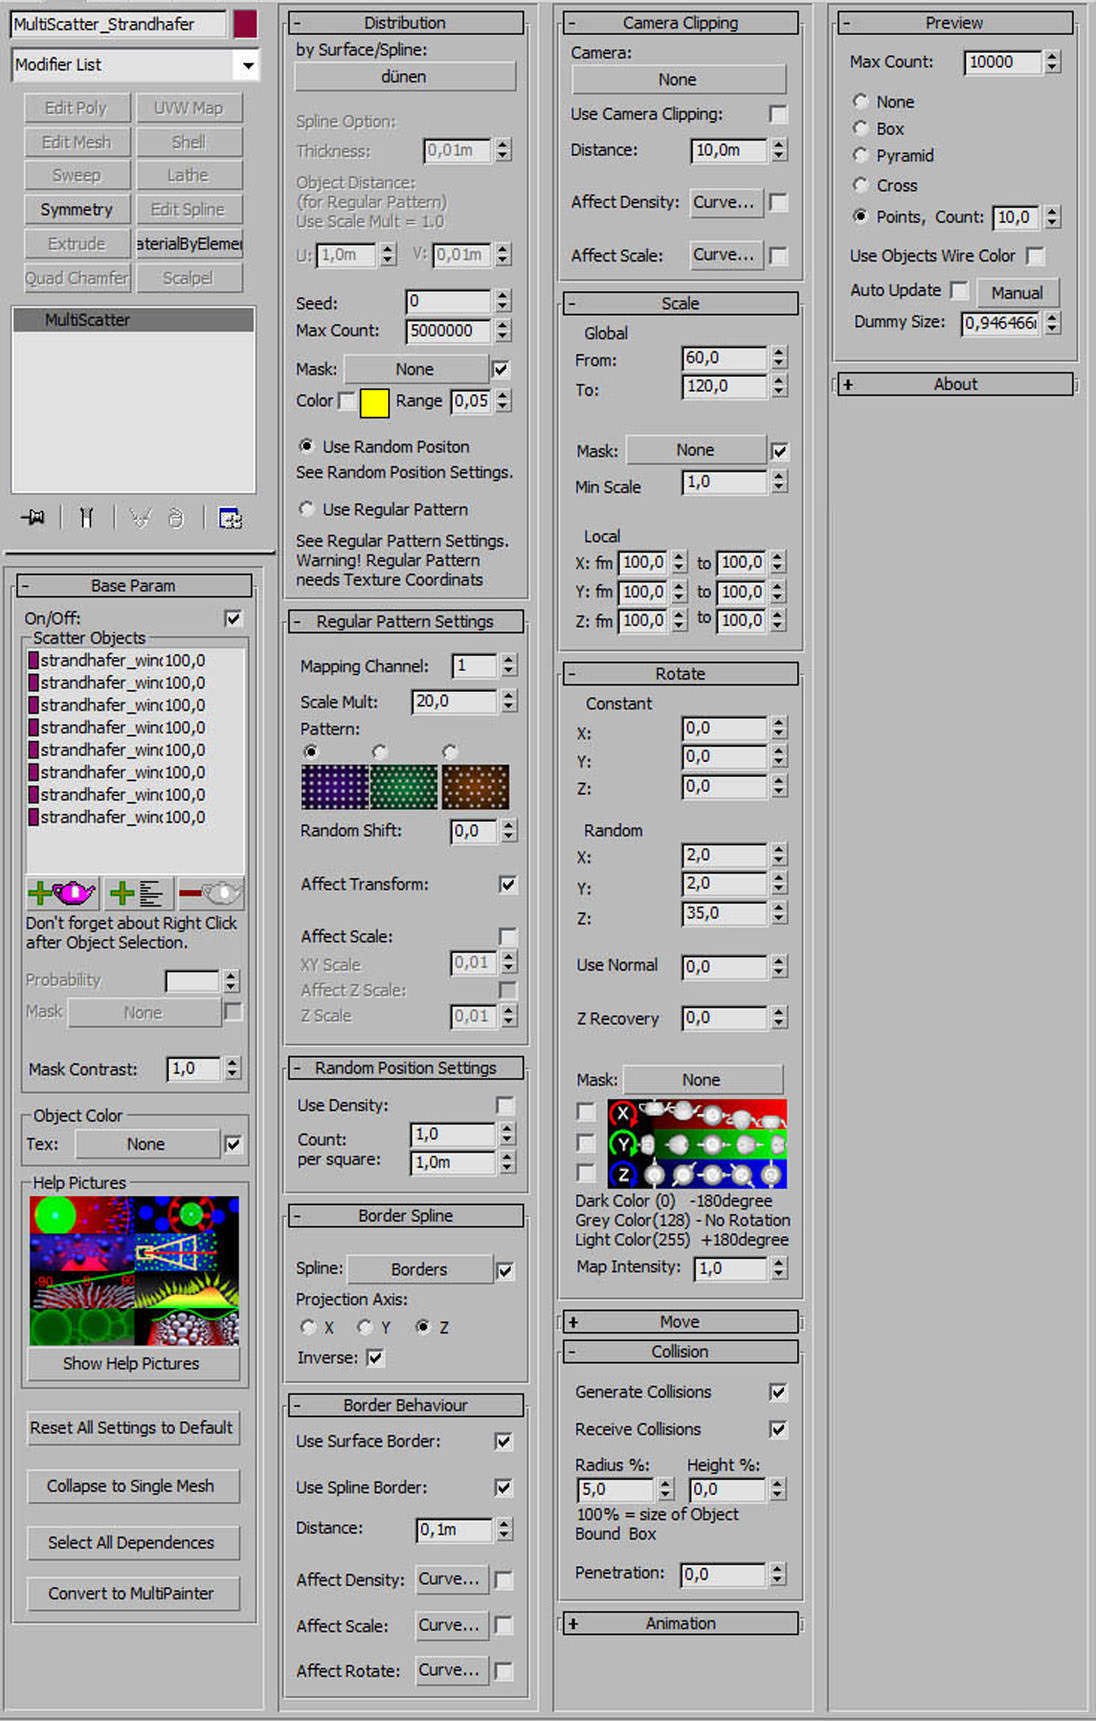
The Beach Grass Pack
A great tool for scenes with many plants is MultiScatter from iCube which I used here. The areas that should receive no beach grass I closed out by border splines.
In the same way I distributed the stones.
Texturing
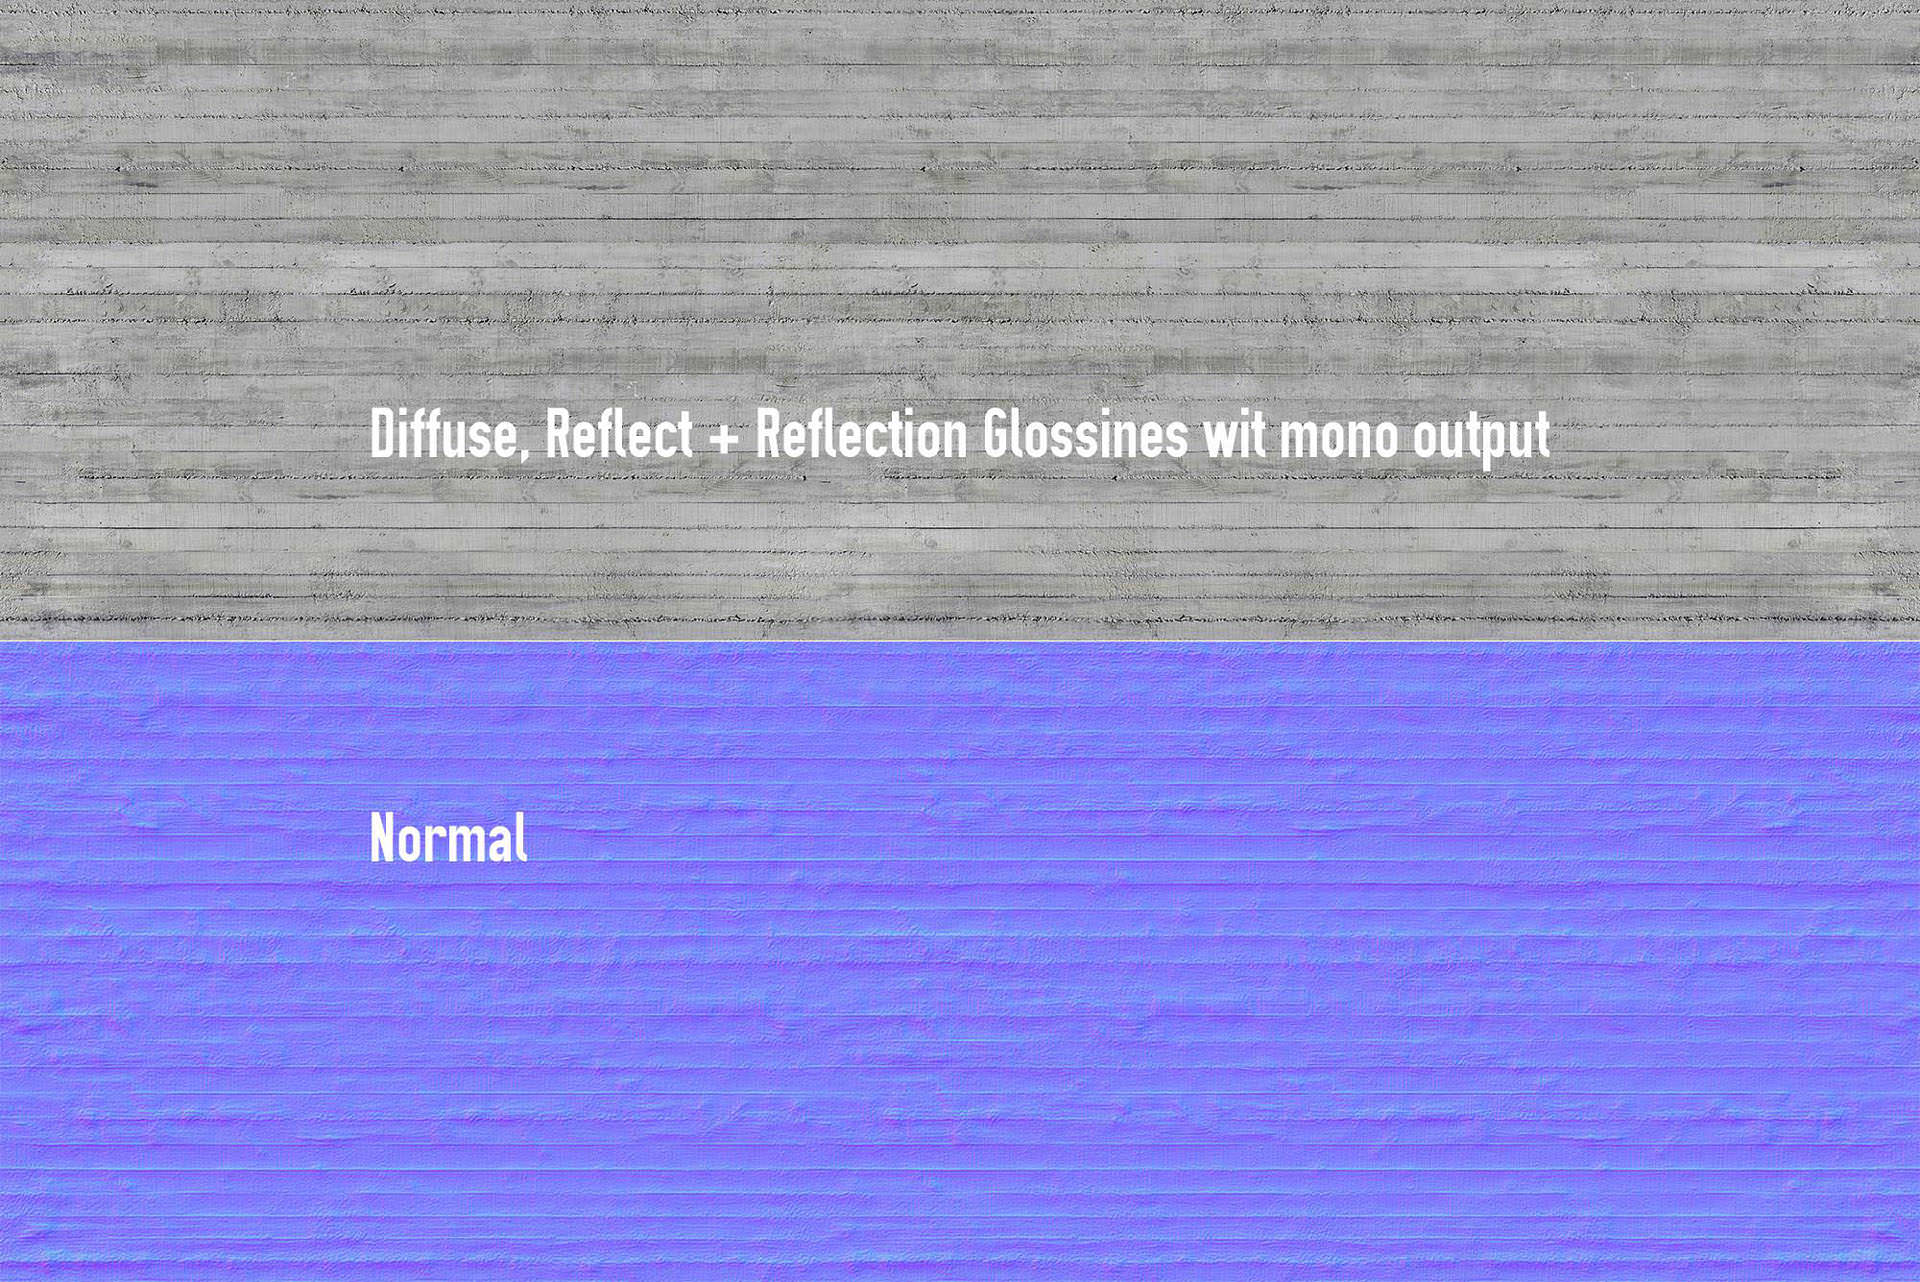
Again, nothing special. Most of the materials are quite simple. I used some textures from CGTextures, which I edited a bit in Photoshop for the concrete. The PixPlant software helped me to create a normal map for bump mapping.

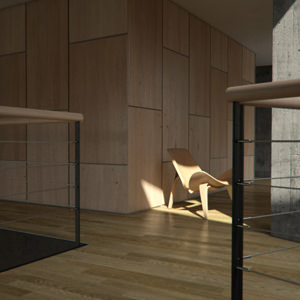
The dune sand is a very simple sandy texture that is not seamless. But this is not noticeable because of the dune grass and thus saves some work. The boards in the interior are textured with the help of the MultiTexture plugin.
Lighting
The lighting of the day scene is exclusively a V-Ray Dome Light with an HDRI by Peter Guthrie. I wanted to achieve a diffuse mood lighting to enhance the photo-realistic feel.

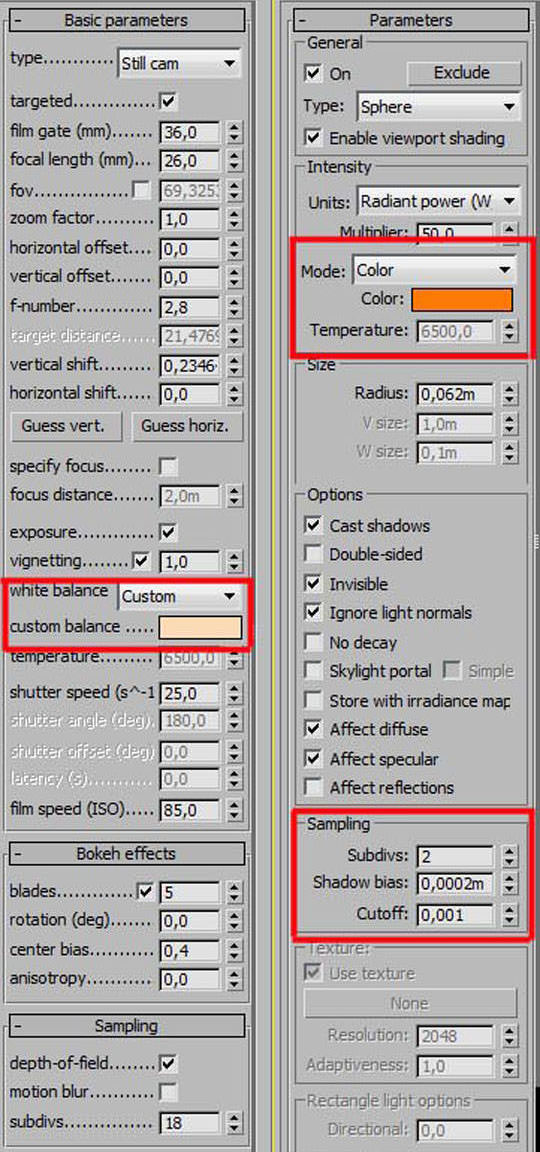
In the Night scenes I used some additional V-Ray lights with a deep orange hue. The white balance in the camera must be set to a slight yellow. The shadow samples are relatively low to keep the processing time short. The exterior lights have a V-Ray IES Light with a manufacturer-supplied ies curve.
Camera Settings
What we do is in my opinion nothing more than virtual architectural photography. The goal is to stage the image and I like drama! This is usually achieved with wide-angle camera settings. One must be careful that objects do not look too distorted in the foreground. In some images, like the central perspective shots, I used a wide angle of 18mm. To boost it even further I also added a nice dramatic vignetting. Further guidelines are a beautiful foreground and background relationship and the Rule of Thirds. To comply with the latter there is a small tool, the Image Comp Helper, which I like to use.

As I wrote before I’m a fan of making as much as possible in 3D. In my opinion calculated DOF looks more realistic than DOF created in post. Day image exposure was set to f-stop : 2.8 / Shutter Speed : 1/25 / ISO : 55
Rendering
I render day time images usually with an Irradiance Map and Light Cache solution with moderate settings. With an AO pass, you can still enhance the details in post. I render the night views preferably with brute force. This usually means longer computation time, but you don’t have problems with any unwanted lighting leaks or spots. From my experience you can keep the subdiv samples in the Brute Force Dialog around 20 samples, helping with reasonable computing time. I probably should mention that I also have the advantage that I can use a nice render farm!

Postwork
My retouching is not really exciting. I use a couple of render elements such as VrayRaw Reflection, VRayRawRefraction, VRayReflection, VRayLighting, VRayWireColor, VRayZDepth and VrayExtraTexture as AO pass. These I multiply or negative multiply and experiment with the opacity. In each picture the settings vary. Inverted VRayZDepth is a nice way to simulate haze.


Then I use some Magic Bullet PhotoLooks filter on a small scale. Finally chromatic aberration in Photoshop helps to increase the photorealism. You can see it barely, but you can feel it.
That’s it! Maybe I was able to help you with some tips. Thank you for reading. And many thanks to Karol from our team for translating the text!
All the best,
Matthias.


“”Matthias Arndt was born in 1973. He comes from a small town in Germany near Rostock on the Baltic Sea””
Hallo Matthias, nahe Rostock trifft auch auf mich zu, wo kommst Du her? Ribnitz, Wismar?
MfG
Very nice images, you made a great job. I prefer even your choice of changing the material from original.
Thanks much for sharing your workflow and tips.
awesome!!!
Thanks for this! Can I are you using an opacity map with your environment cylinder as well or have you somehow managed to get vray to recognise the alpha/transparency of the png file?
how did you achieve that amazing glass??? I never seem to do it right (((