


Making of Art Gallery Part ONE – Corona Renderer and V-Ray
You’ve seen this work by Pavel Huerta as part of AXYZ Design’s new ANIMA release, and today I’m very happy to share the first part of a making-of Pavel wrote, diving into the process of making the “Art Gallery Animation”. He did it with Corona Renderer, V-Ray and Unreal Engine which makes it a unique case study!
Hi, my name is Pavel Huerta, and I’m honored to be showcased in this fantastic blog and pleased to show my work and making of my latest project.
I like to say thanks to all the readers on the various social networks for the kind comments about this project because it inspires me to improve my skills every day.
Introduction
My recent finished project and the one I will break down for you here is the “Art Gallery Animation.”
I designed this project, but since I’m not an architect, I had to find some references to the forms and finishes. In the beginning, my mission for this project was to create a big space where I can test all the possibilities of crowd and animation using AXYZ Design Anima features. With time, it grew to show other options like using different offline render engines and the fantastic real-time Unreal Engine.
In this making of, I will focus on the process of setting up and transfer the 3ds Max scene onwards to be used with renderers like V-Ray, Corona Renderer, and Unreal Engine.
I will also cover the use of the Datasmith plugin and the crowd system setup in AXYZ Design Anima.
One more thing I want to add is a big thanks to CGIFarm and Alex Gradea for all the help provided in the process to render all sequences using V-Ray, Corona Renderer, and Anima. Alex offered all the support necessary to get my job finished, and I’m very grateful for that! It was key to get things done.
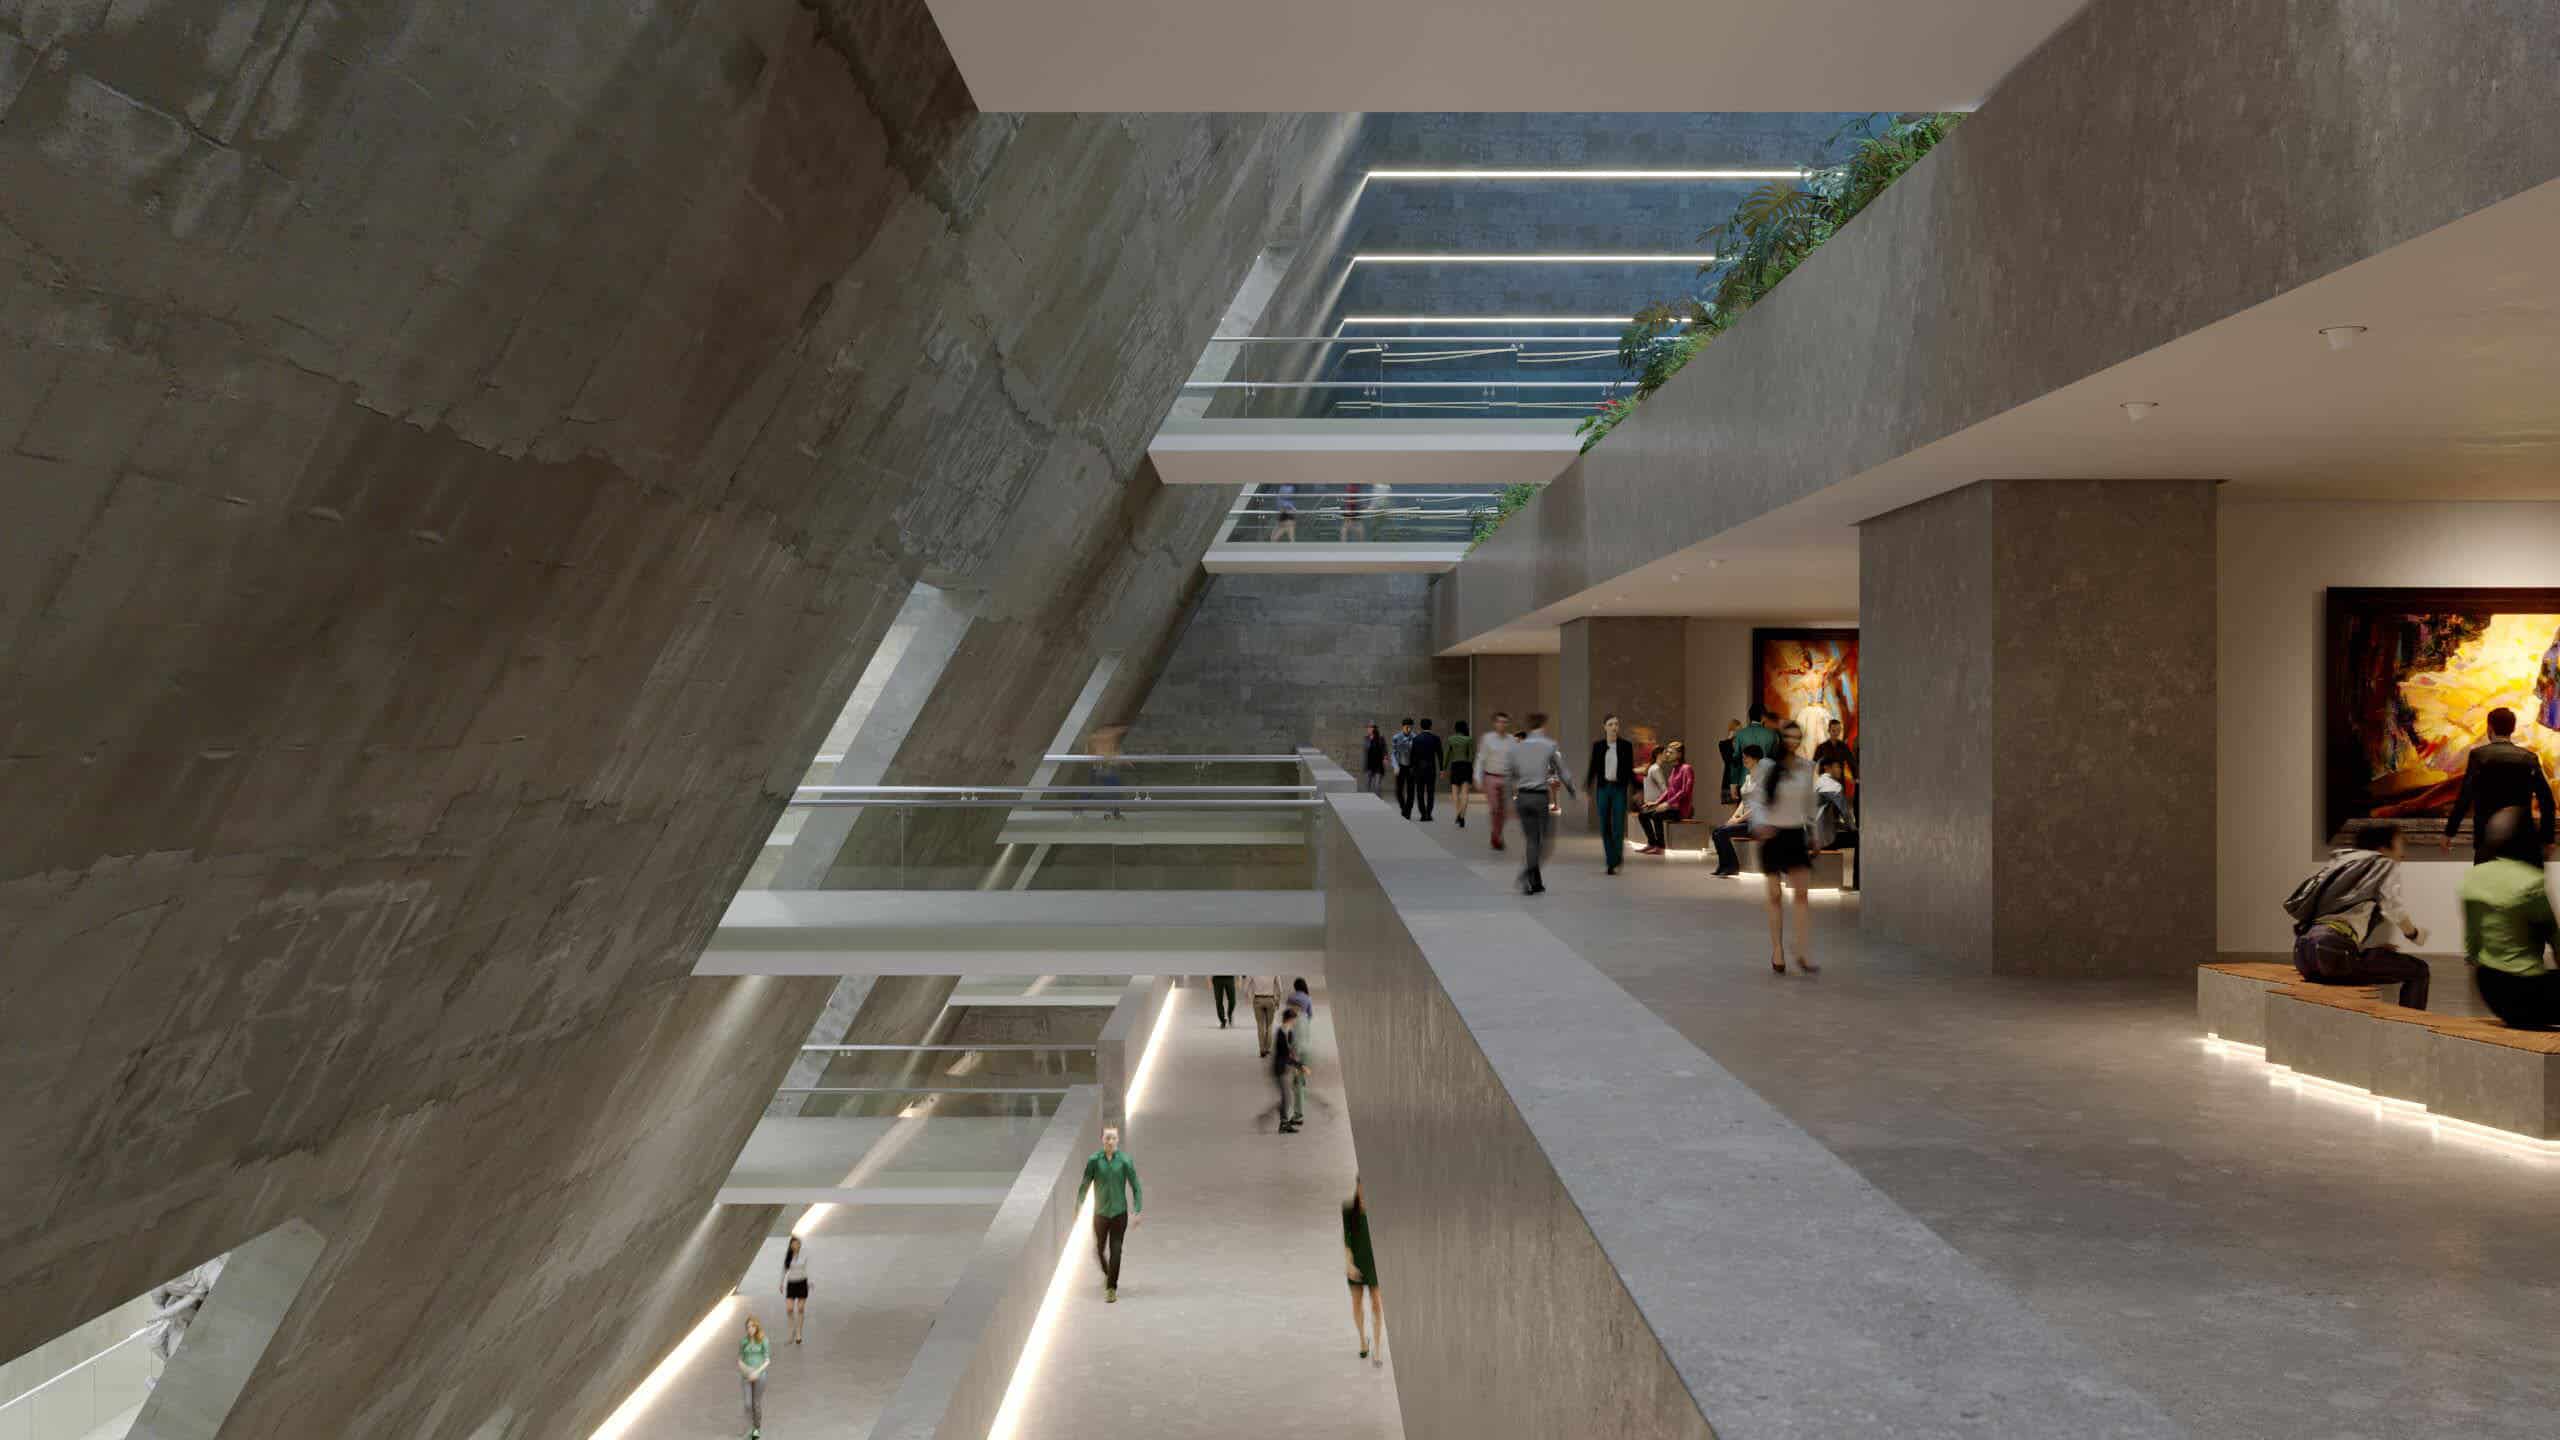
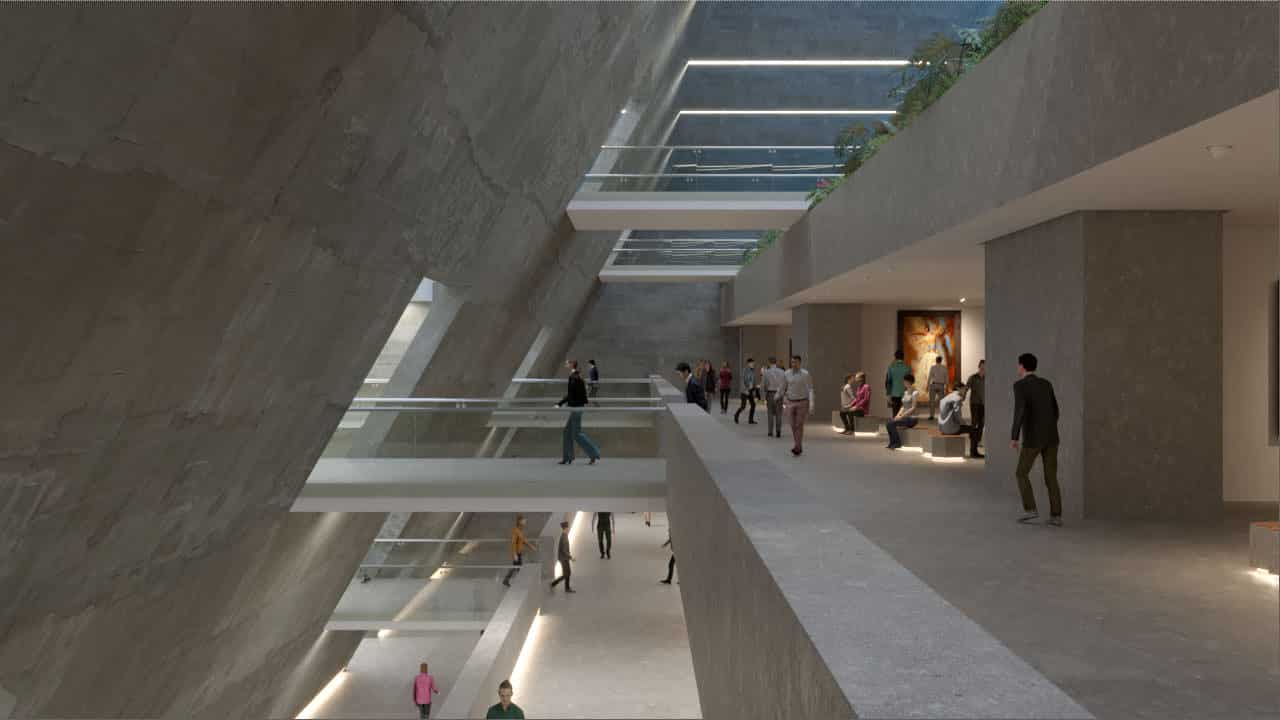
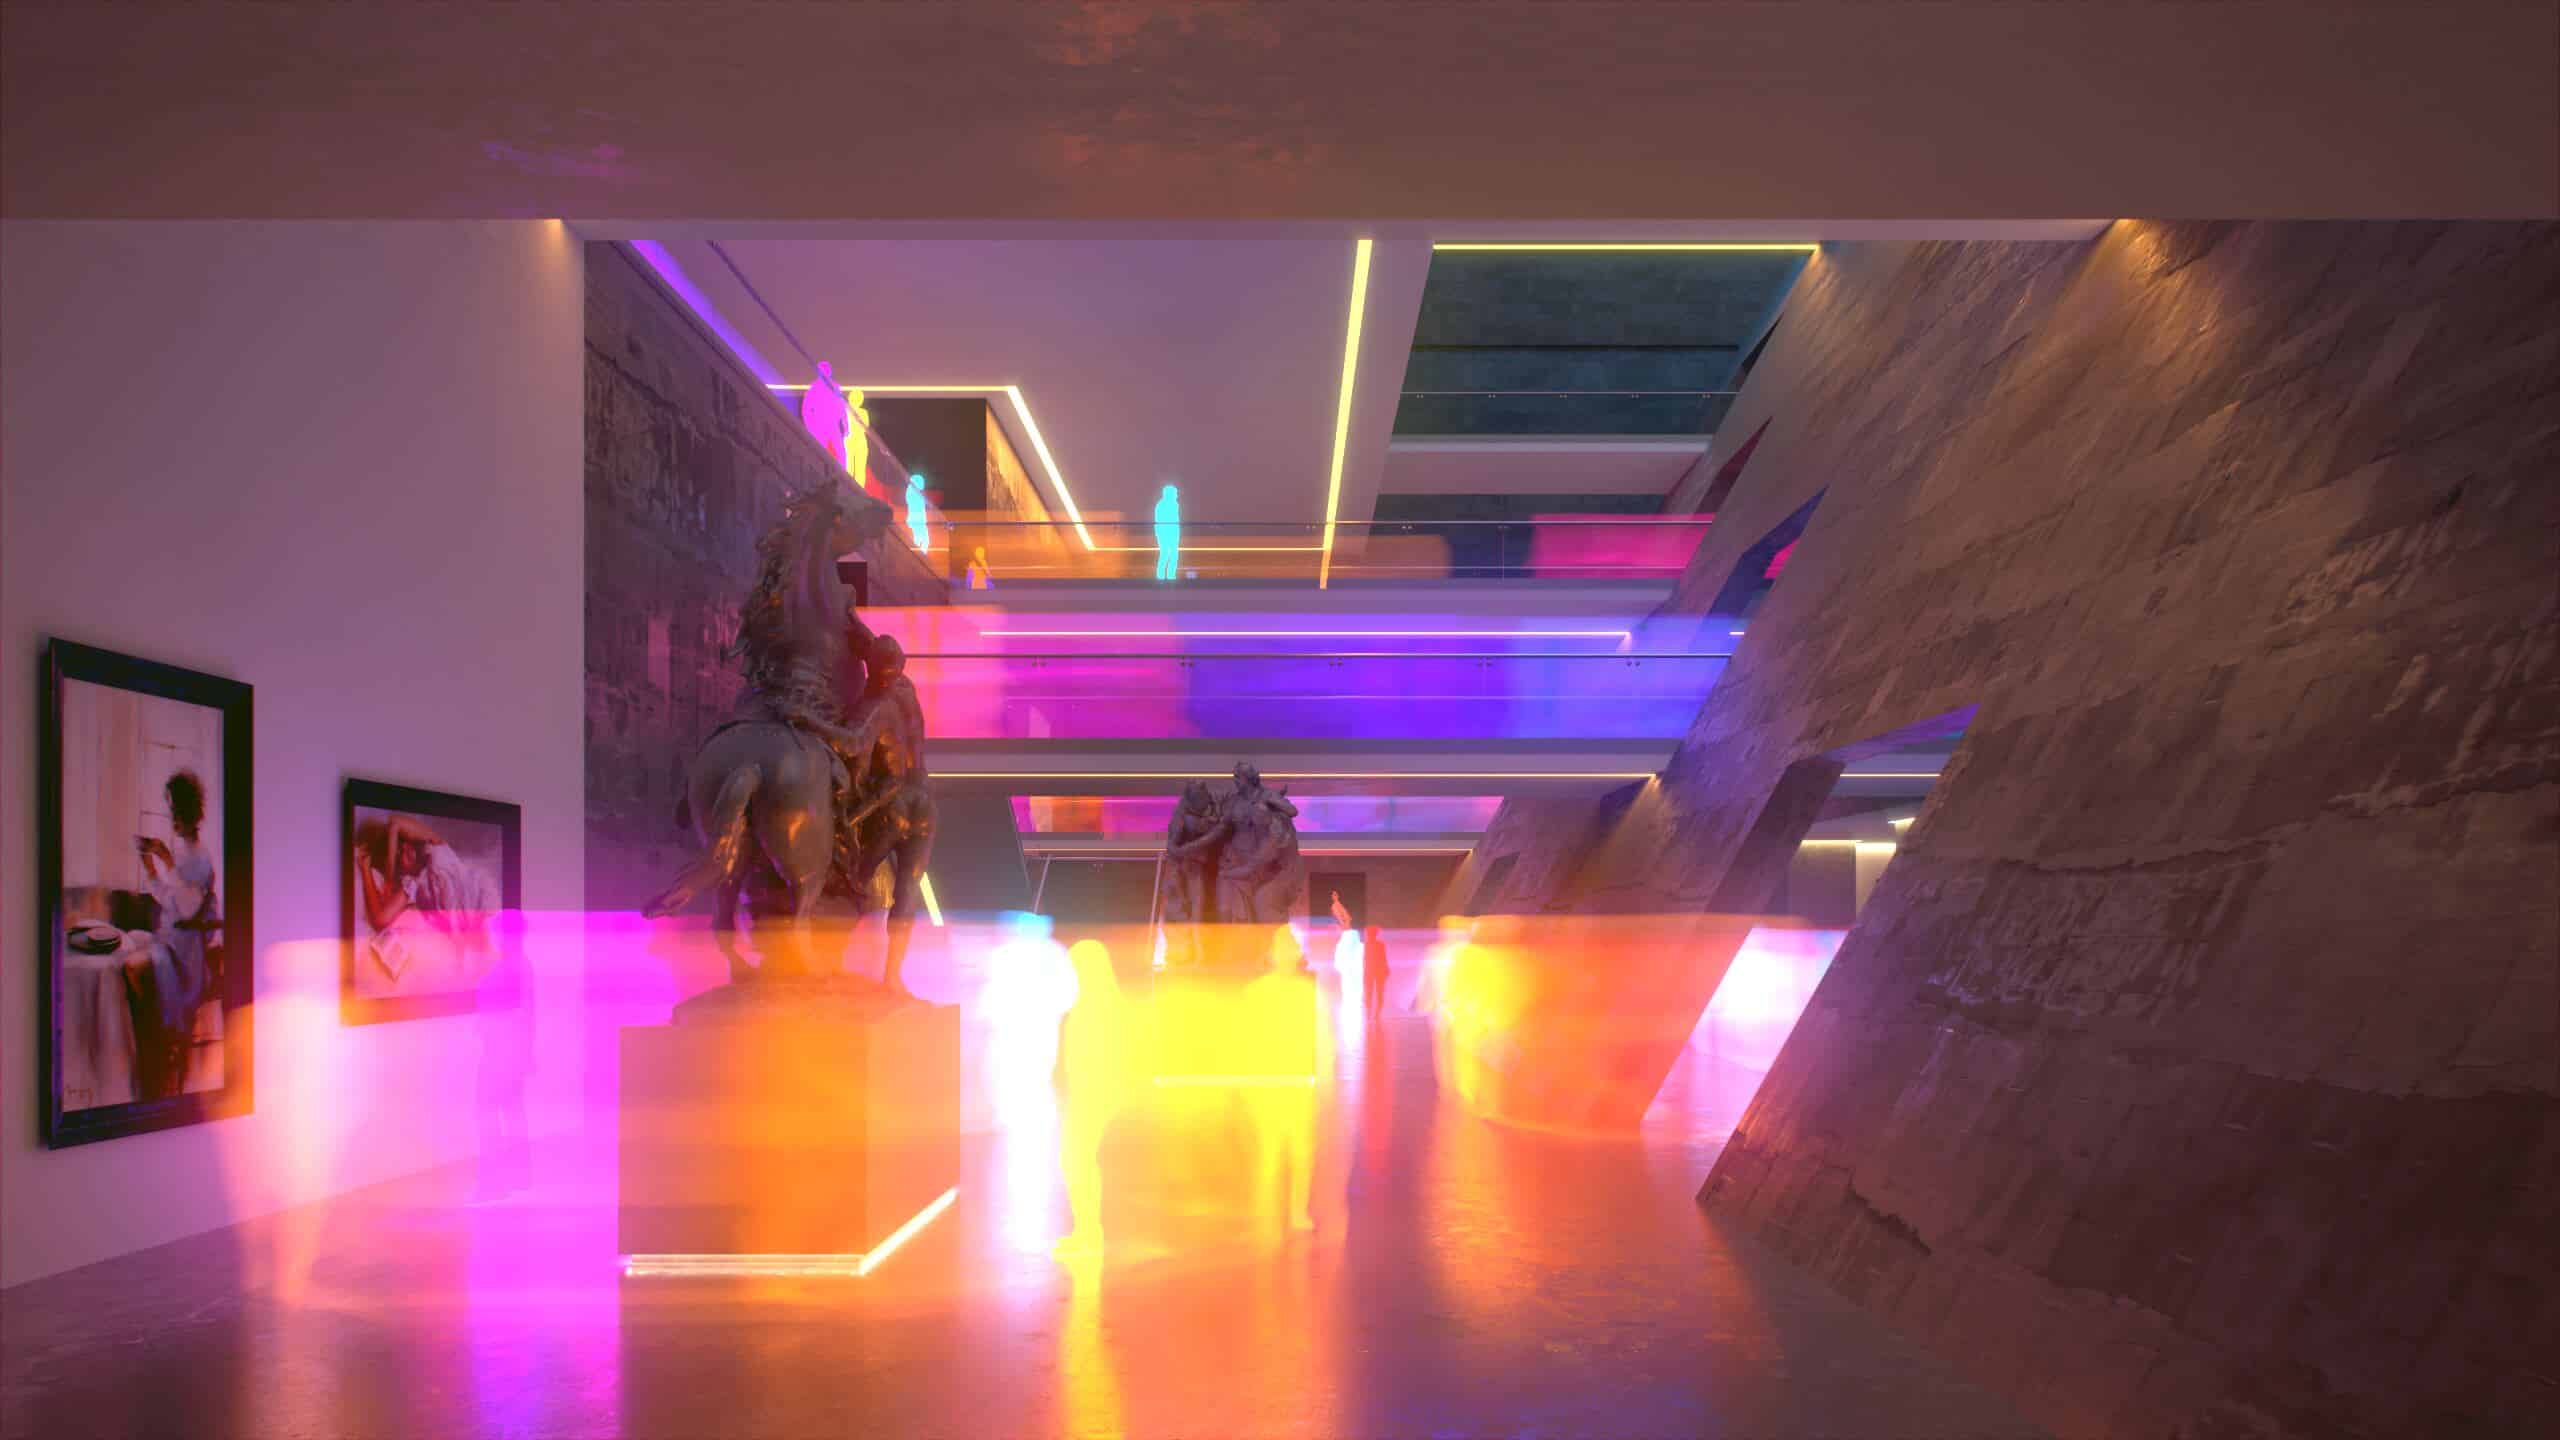
Stills generated in 3ds Max and Corona Renderer.


The final animation is showing different results using 3ds Max, V-Ray, Corona Renderer and Unreal Engine.
Hope you like it!
Let’s get started with the process…
Inspiration and the 3d Model
Like any other mortal and straightforward human, I found my architectural references on Pinterest.


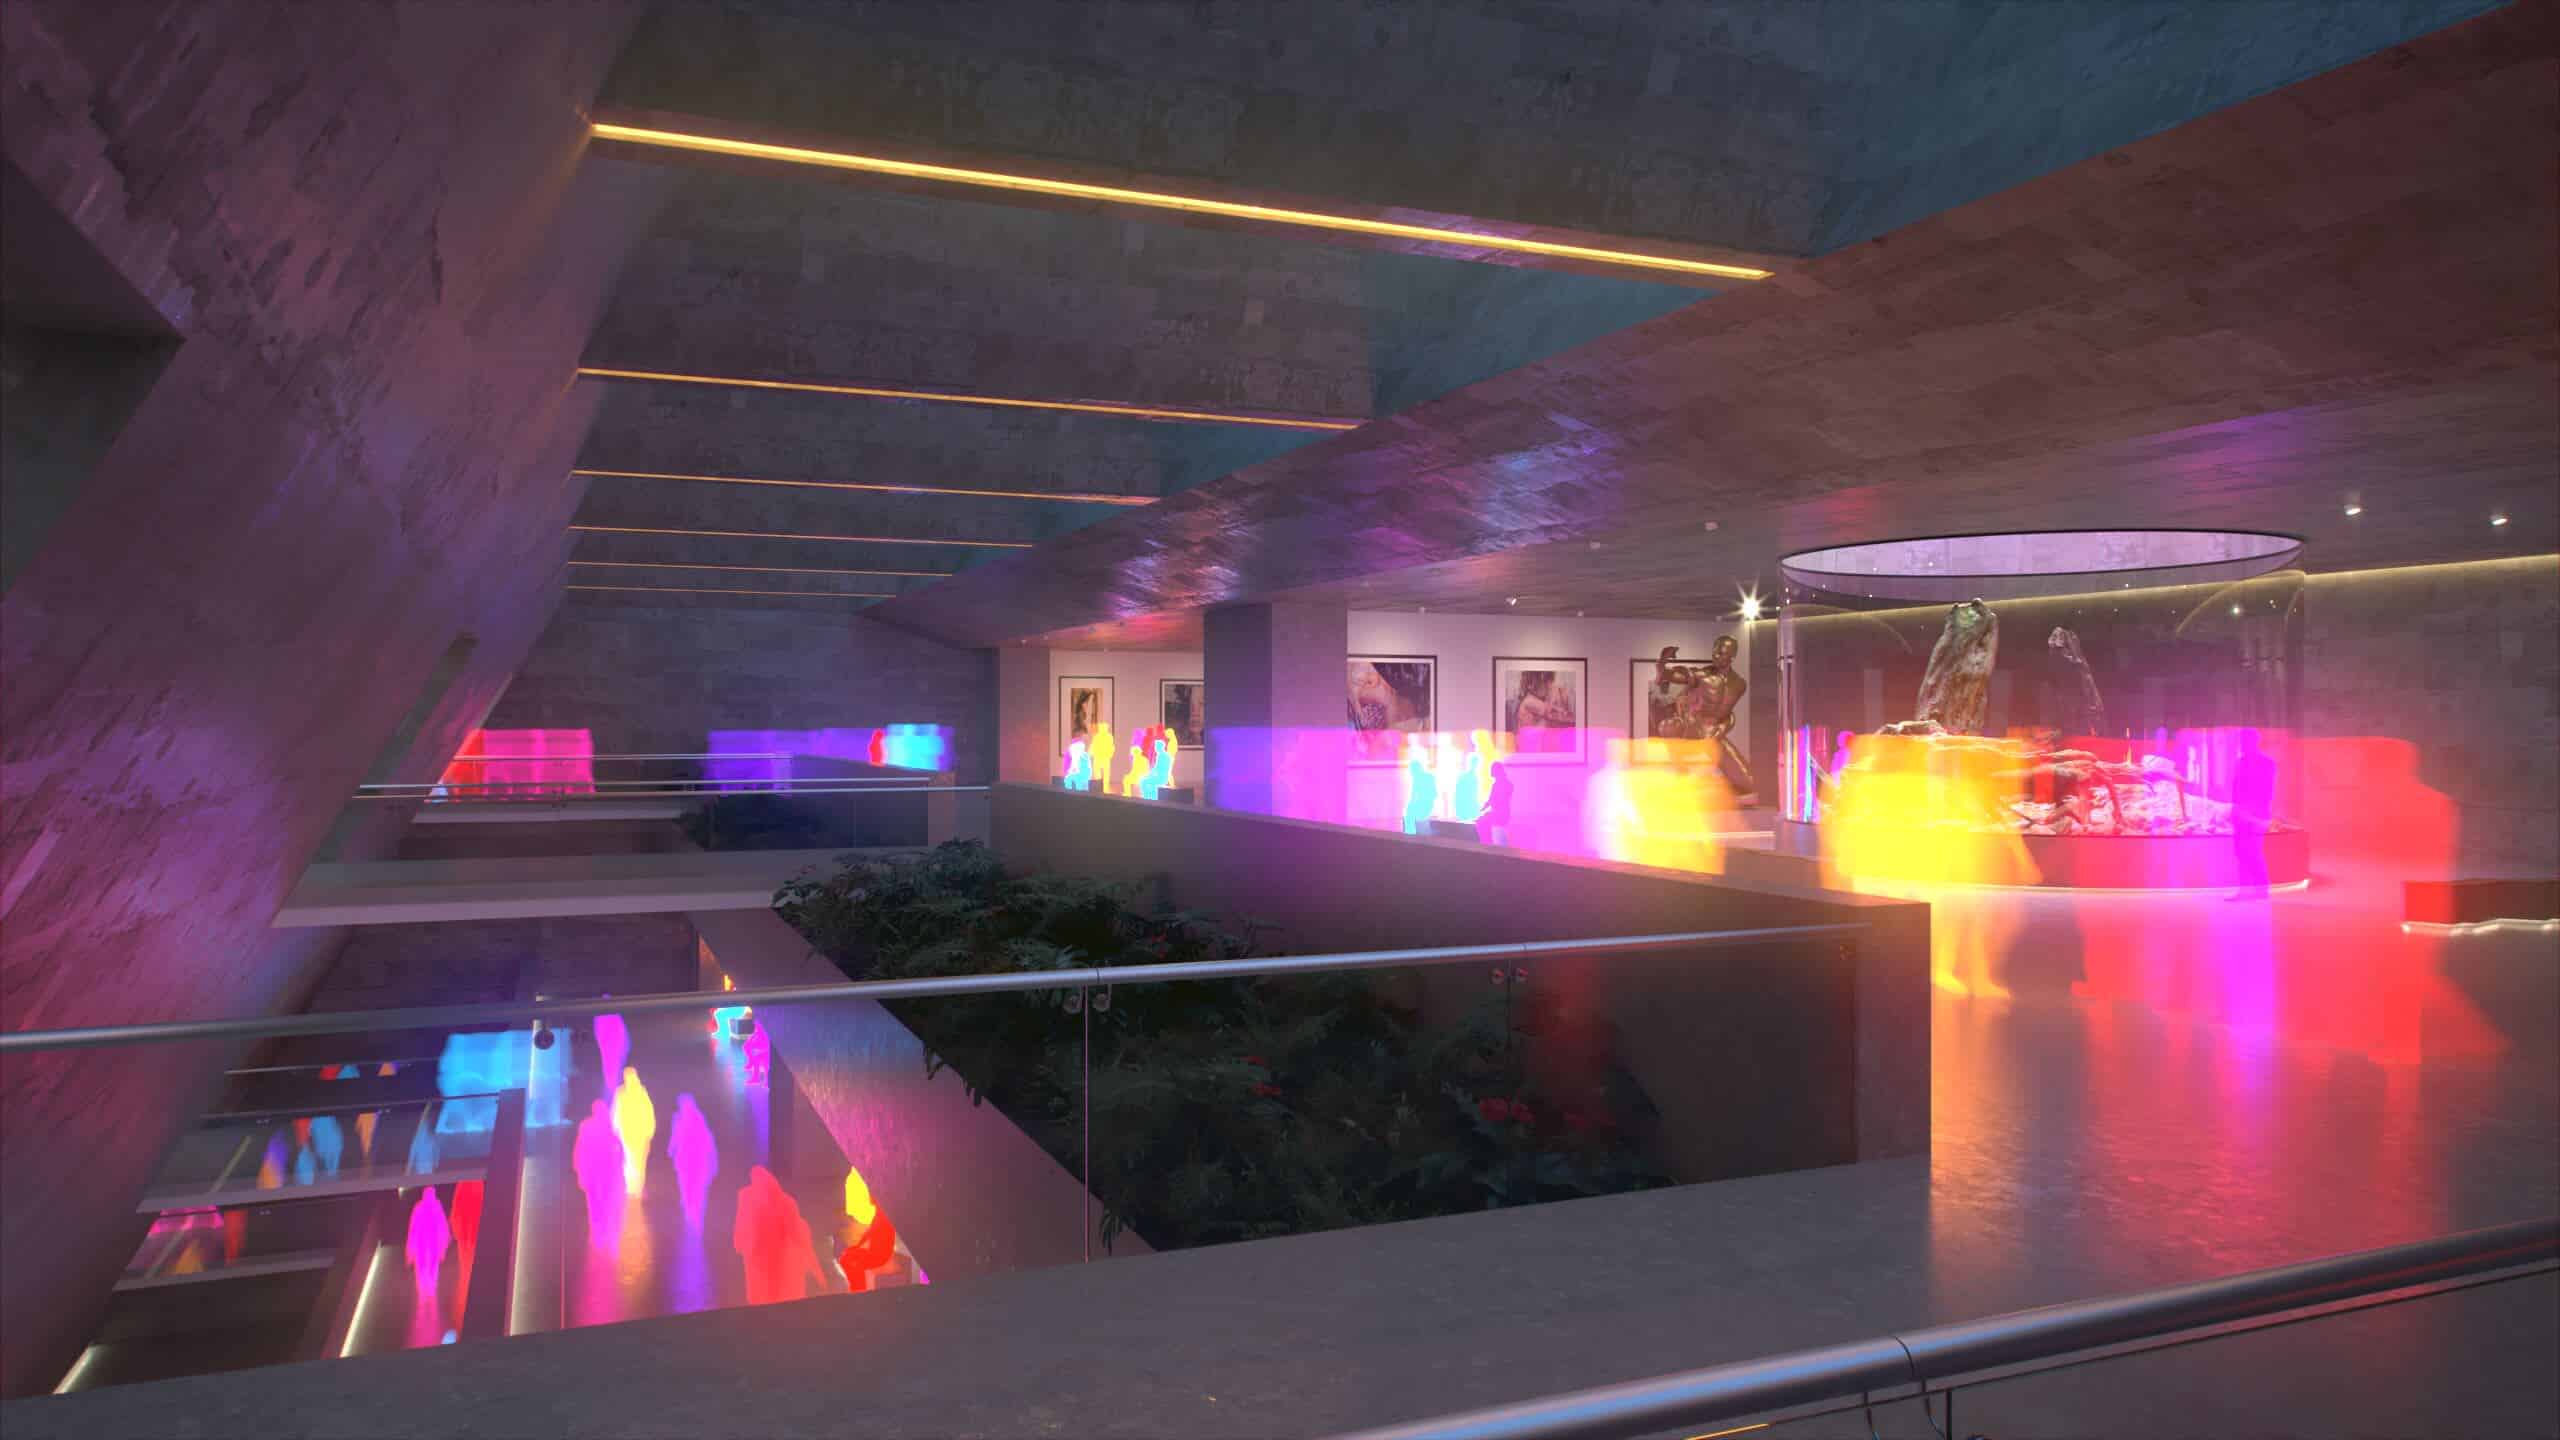
You’ll see most of my references show big spaces with concrete as the primary material. I’m also showcasing the entire and not complex model in 3ds Max. The most “complex” thing about the model was the last level where I put a glass wall that will have a garden inside.
The 3D Model.


Textures used for the architecture finishes are white plaster and two types of concrete. One concrete for floor and another concrete for the walls.
I sourced the textures from CG Textures and texturelib.com.
Applying the textures to the model.


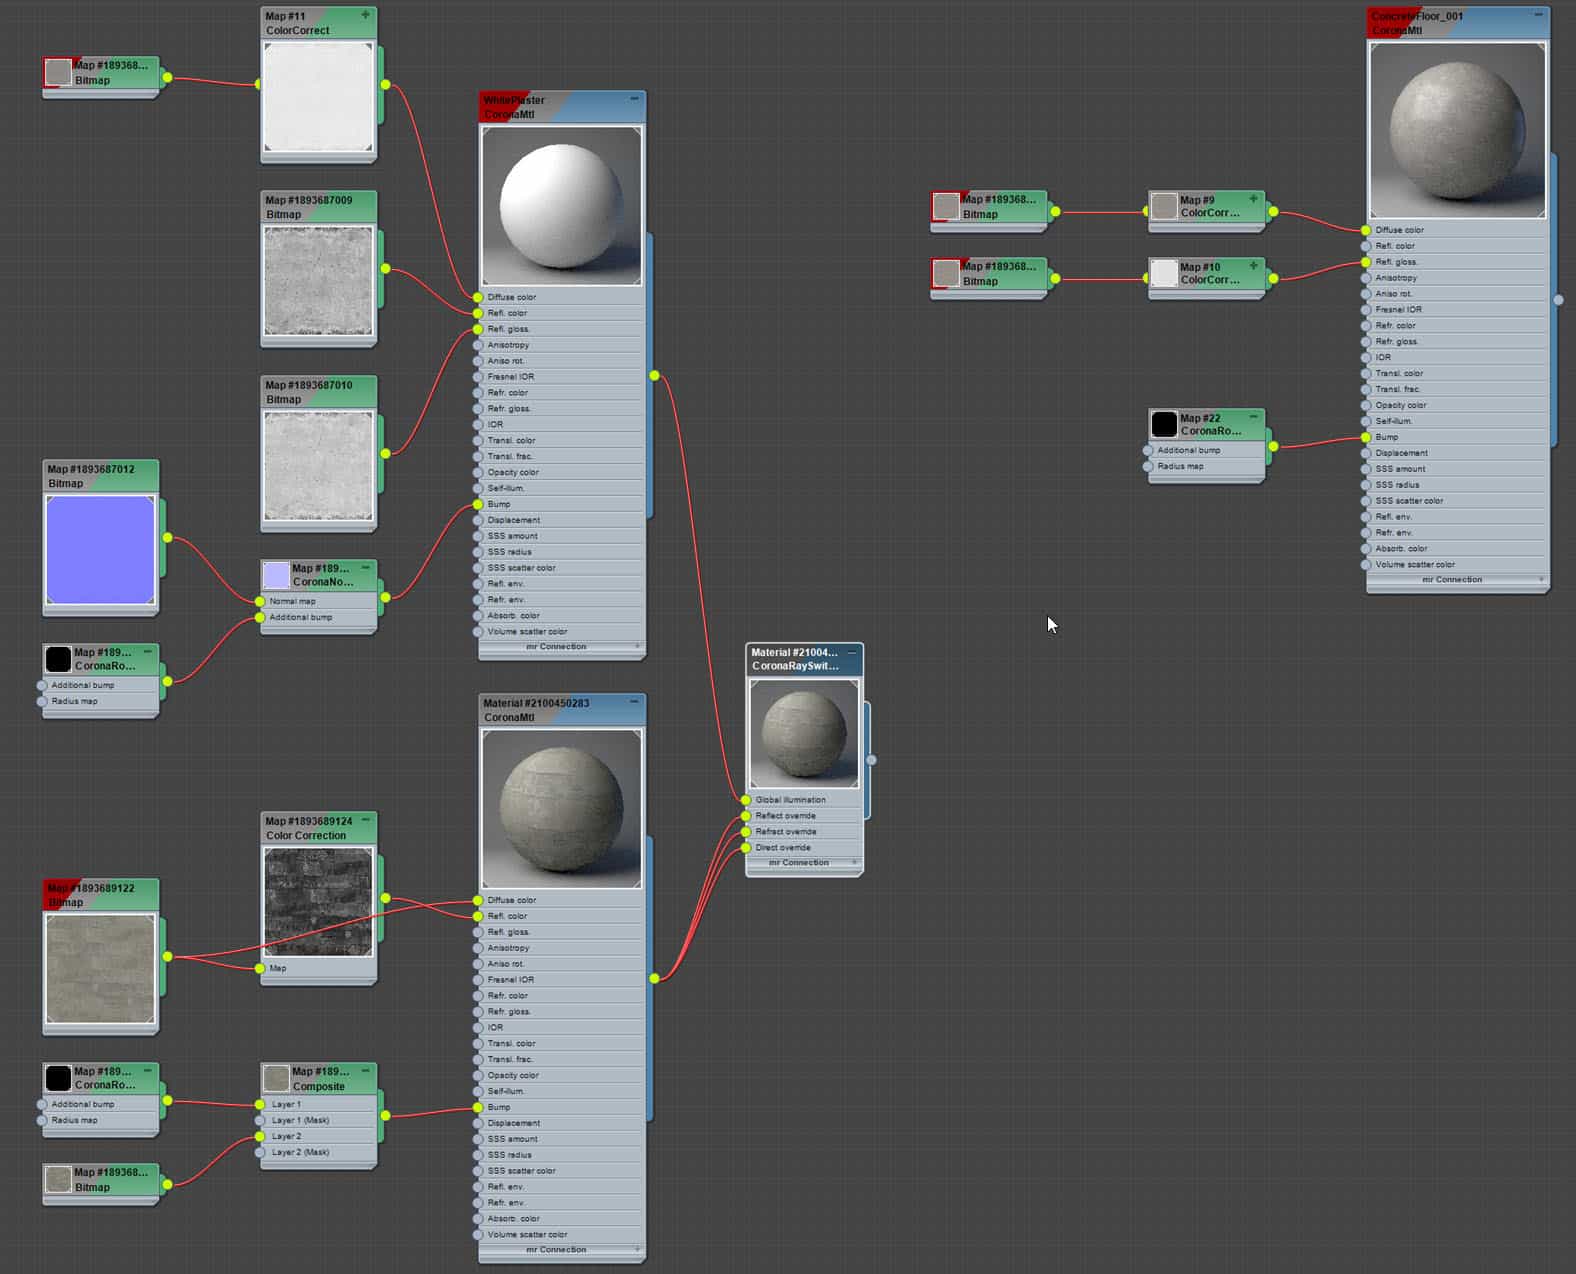
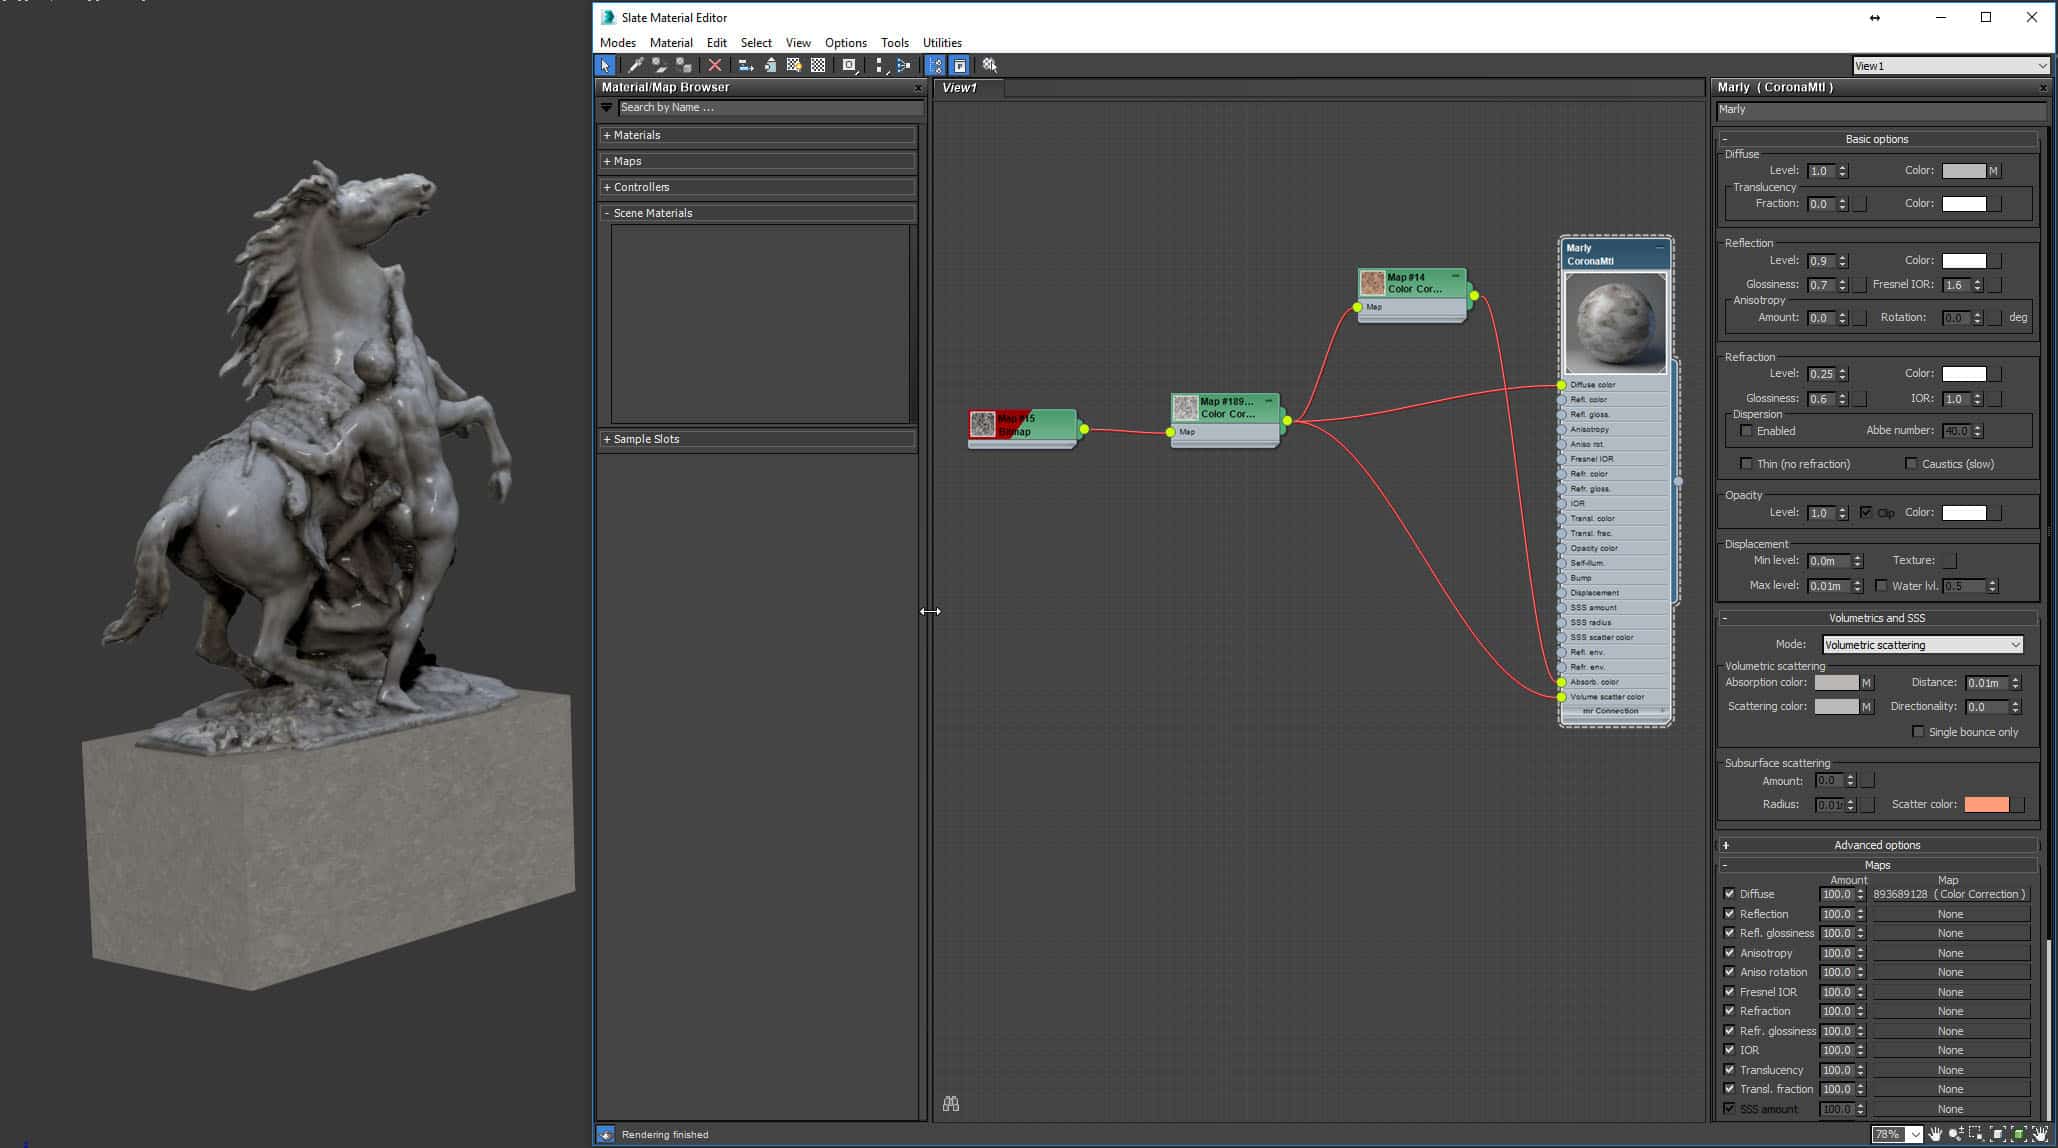
The architecture shaders were very simple because I didn’t want a lot of finishes in the space. I had just three major shaders created using the previous textures in Corona Renderer.
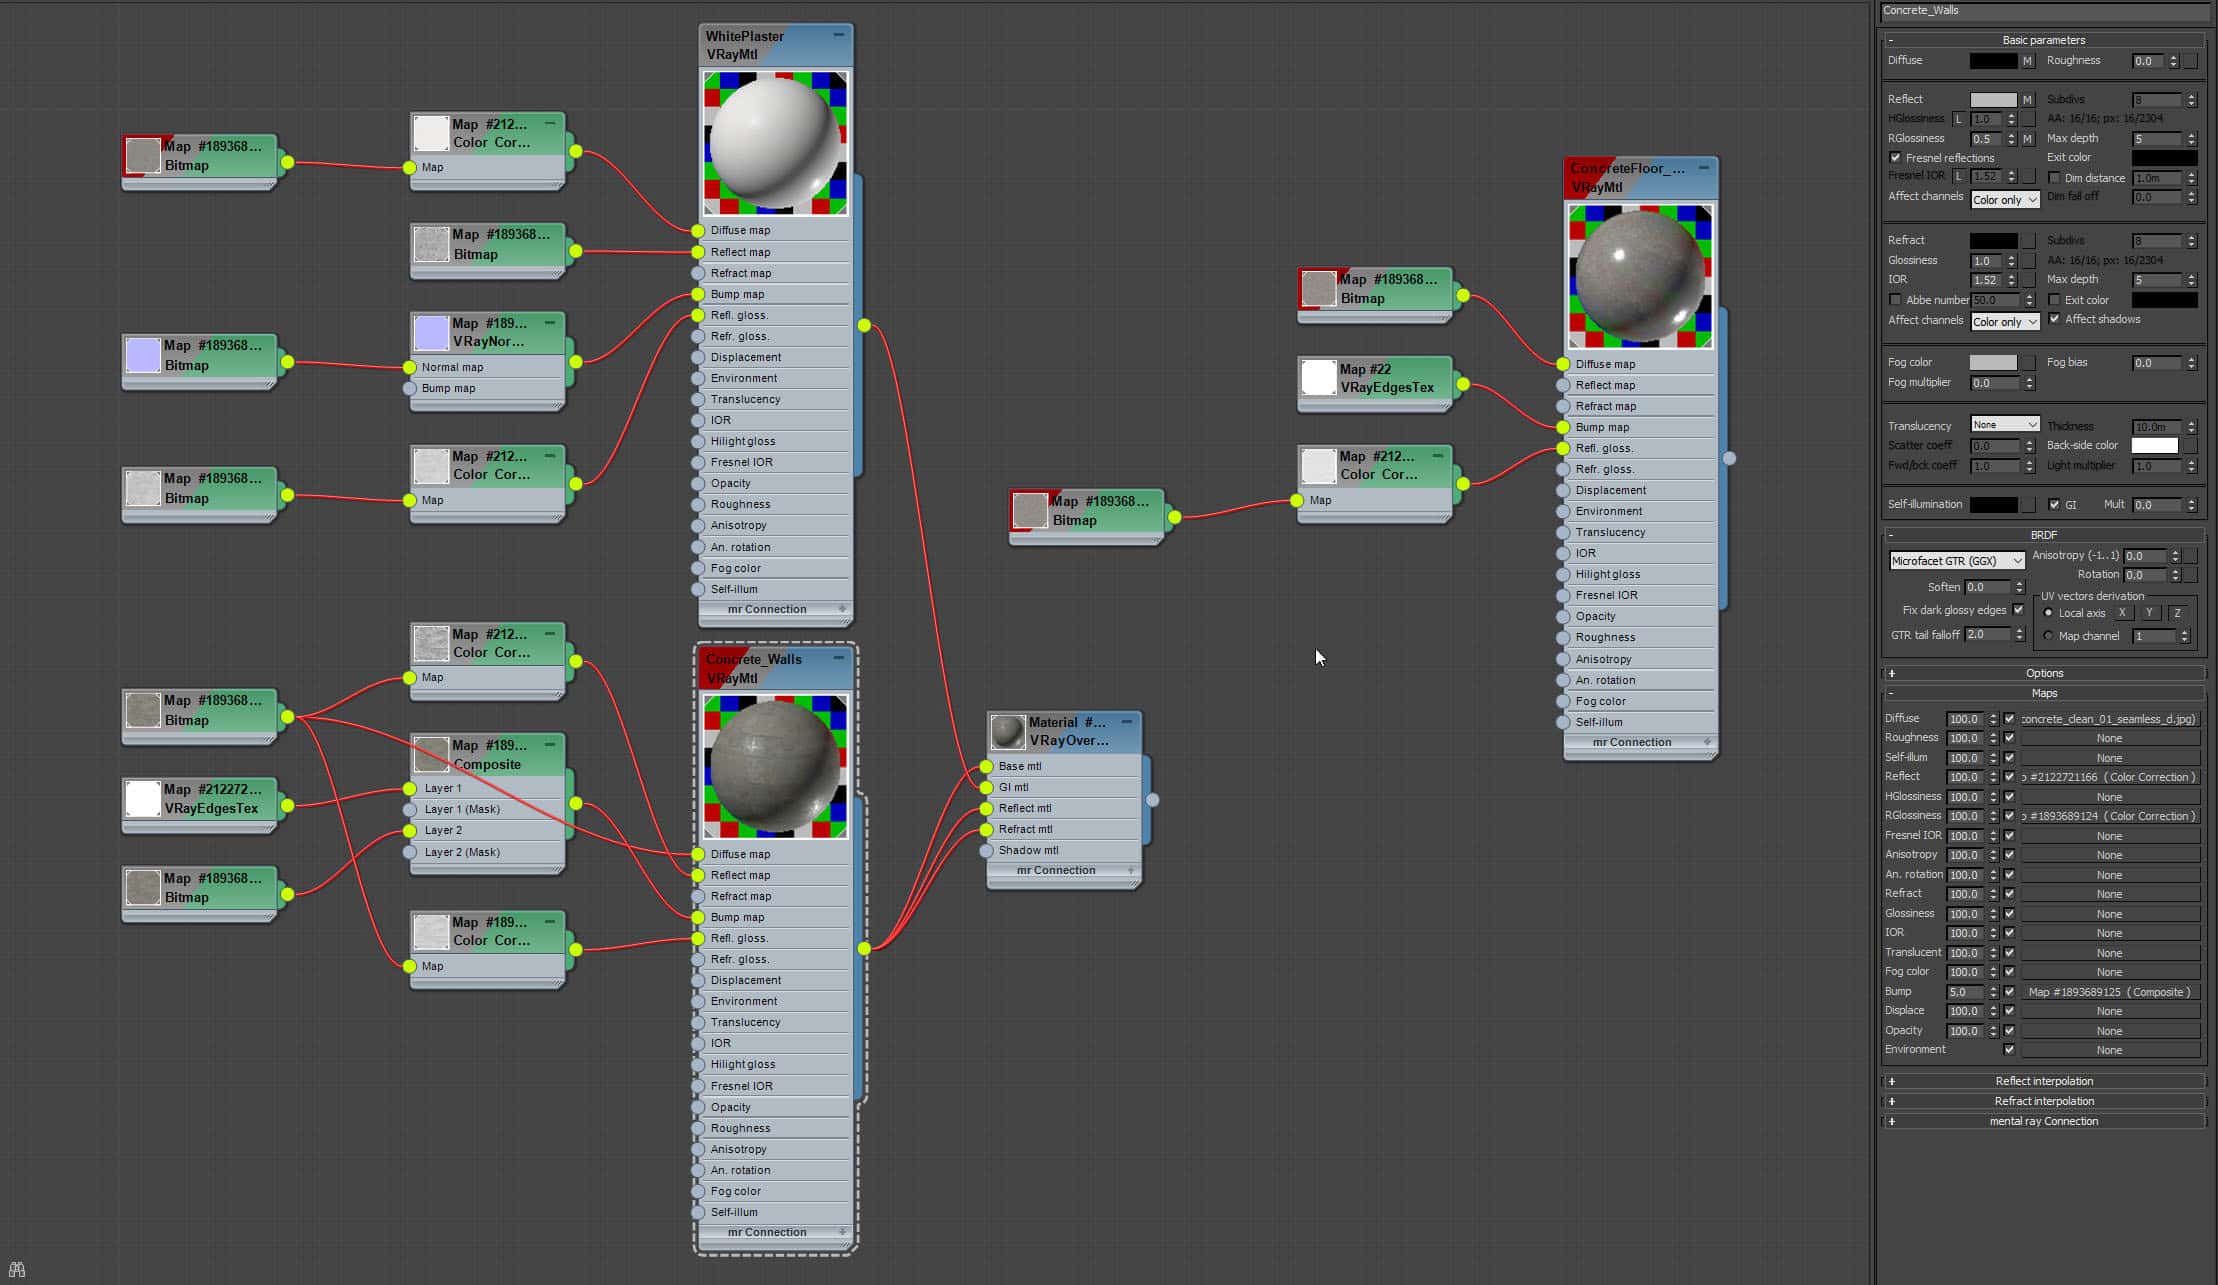
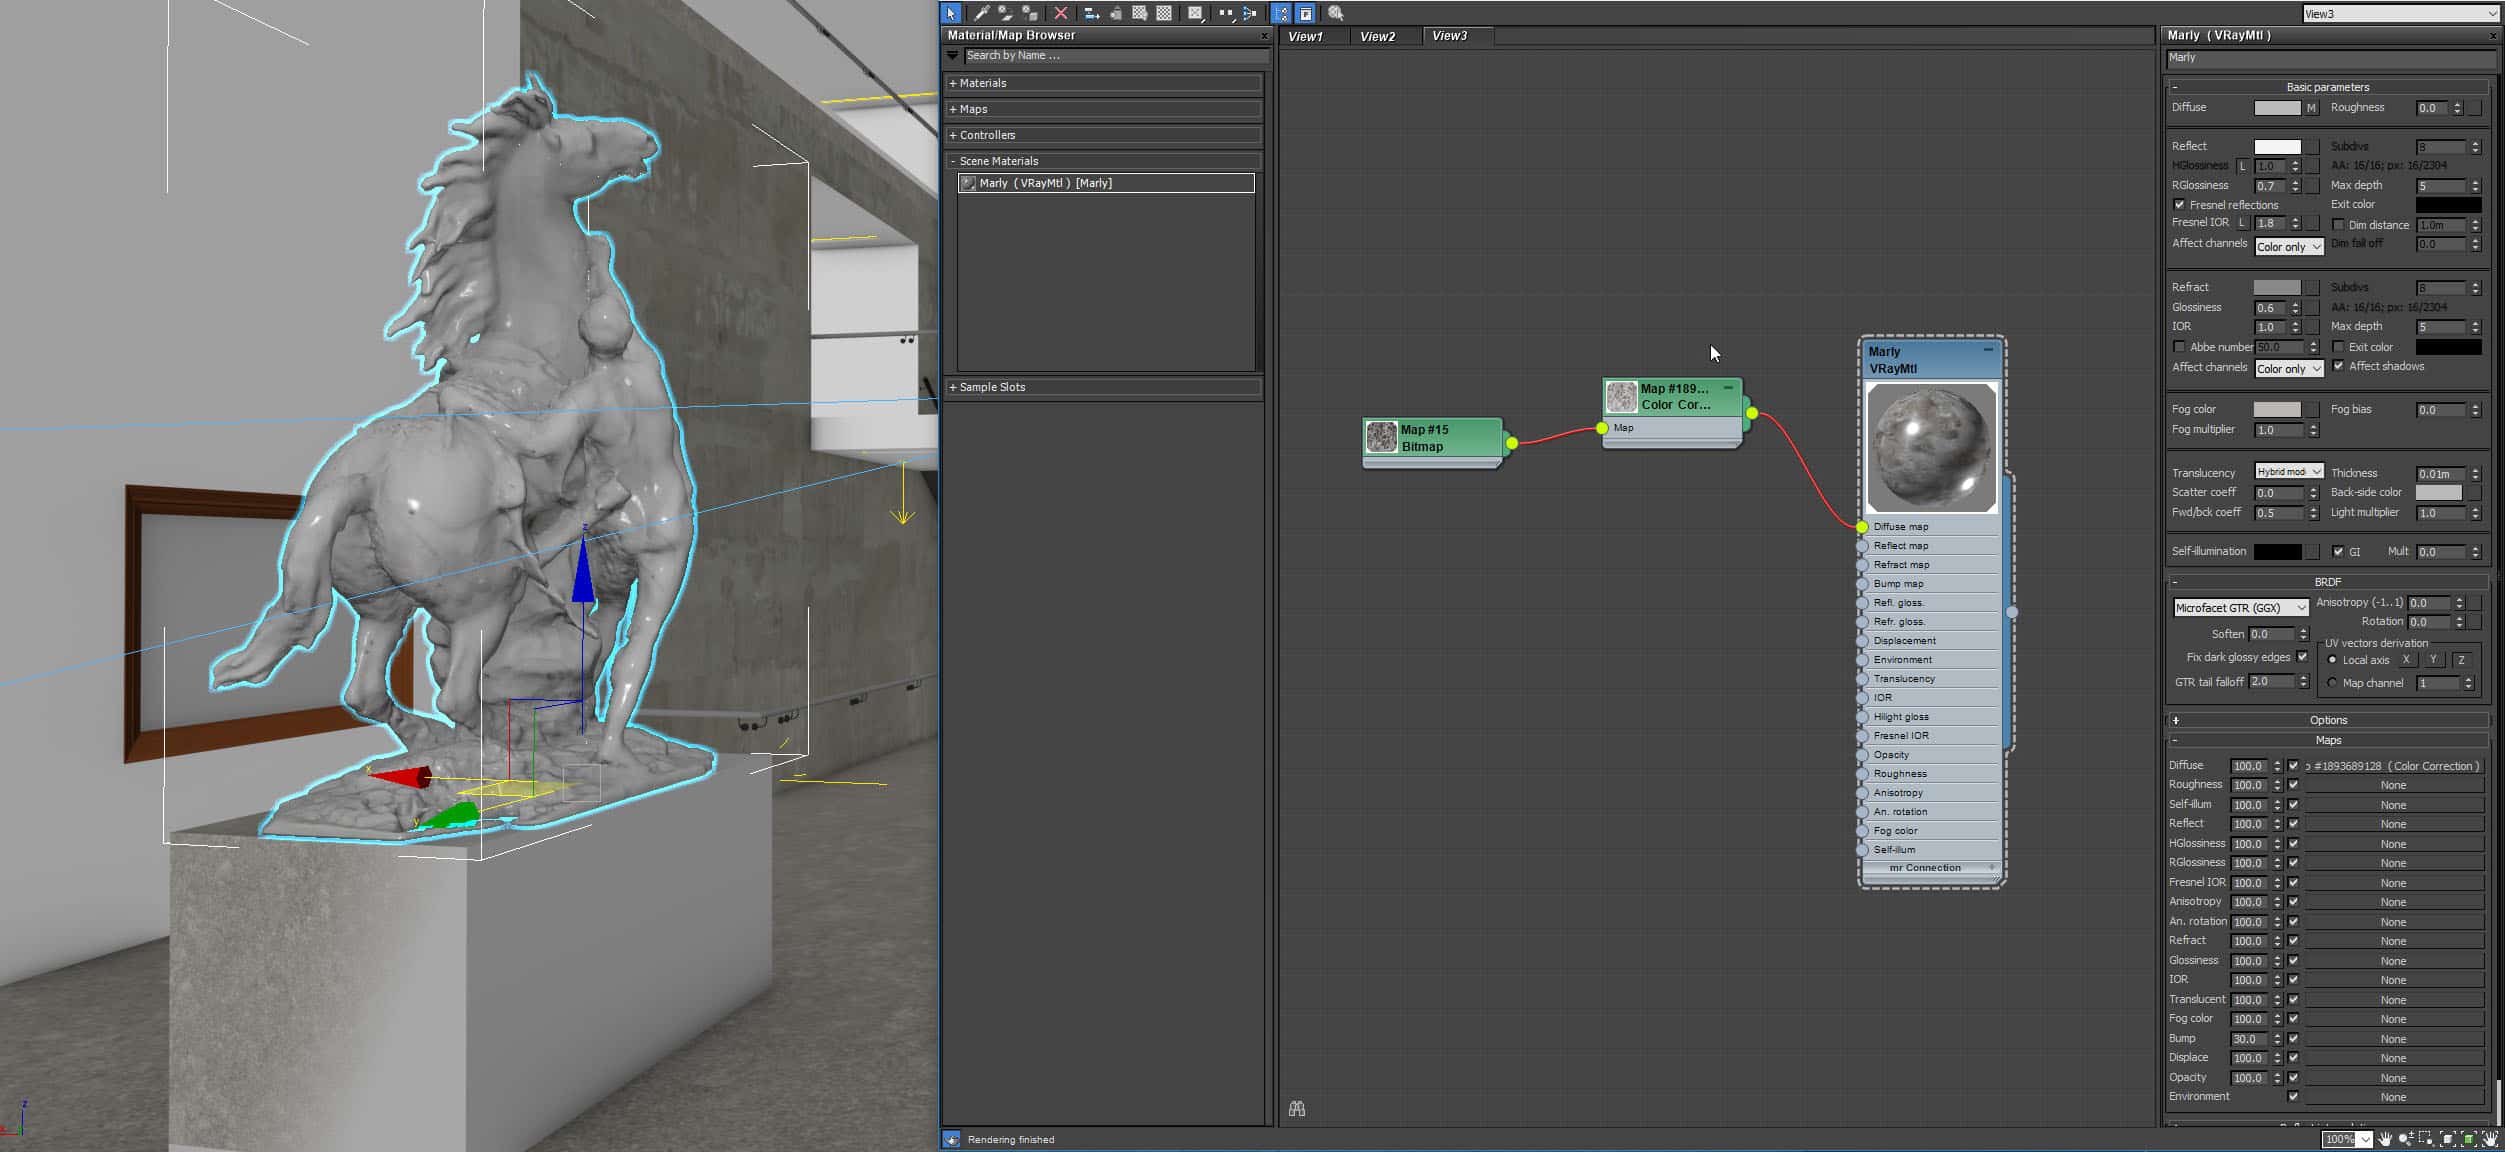
Following, the same walls and floor shaders in V-Ray, but this time a bit different from the Corona Renderer ones, with fewer glossiness effects. It has been a nice challenge to match both renderers!
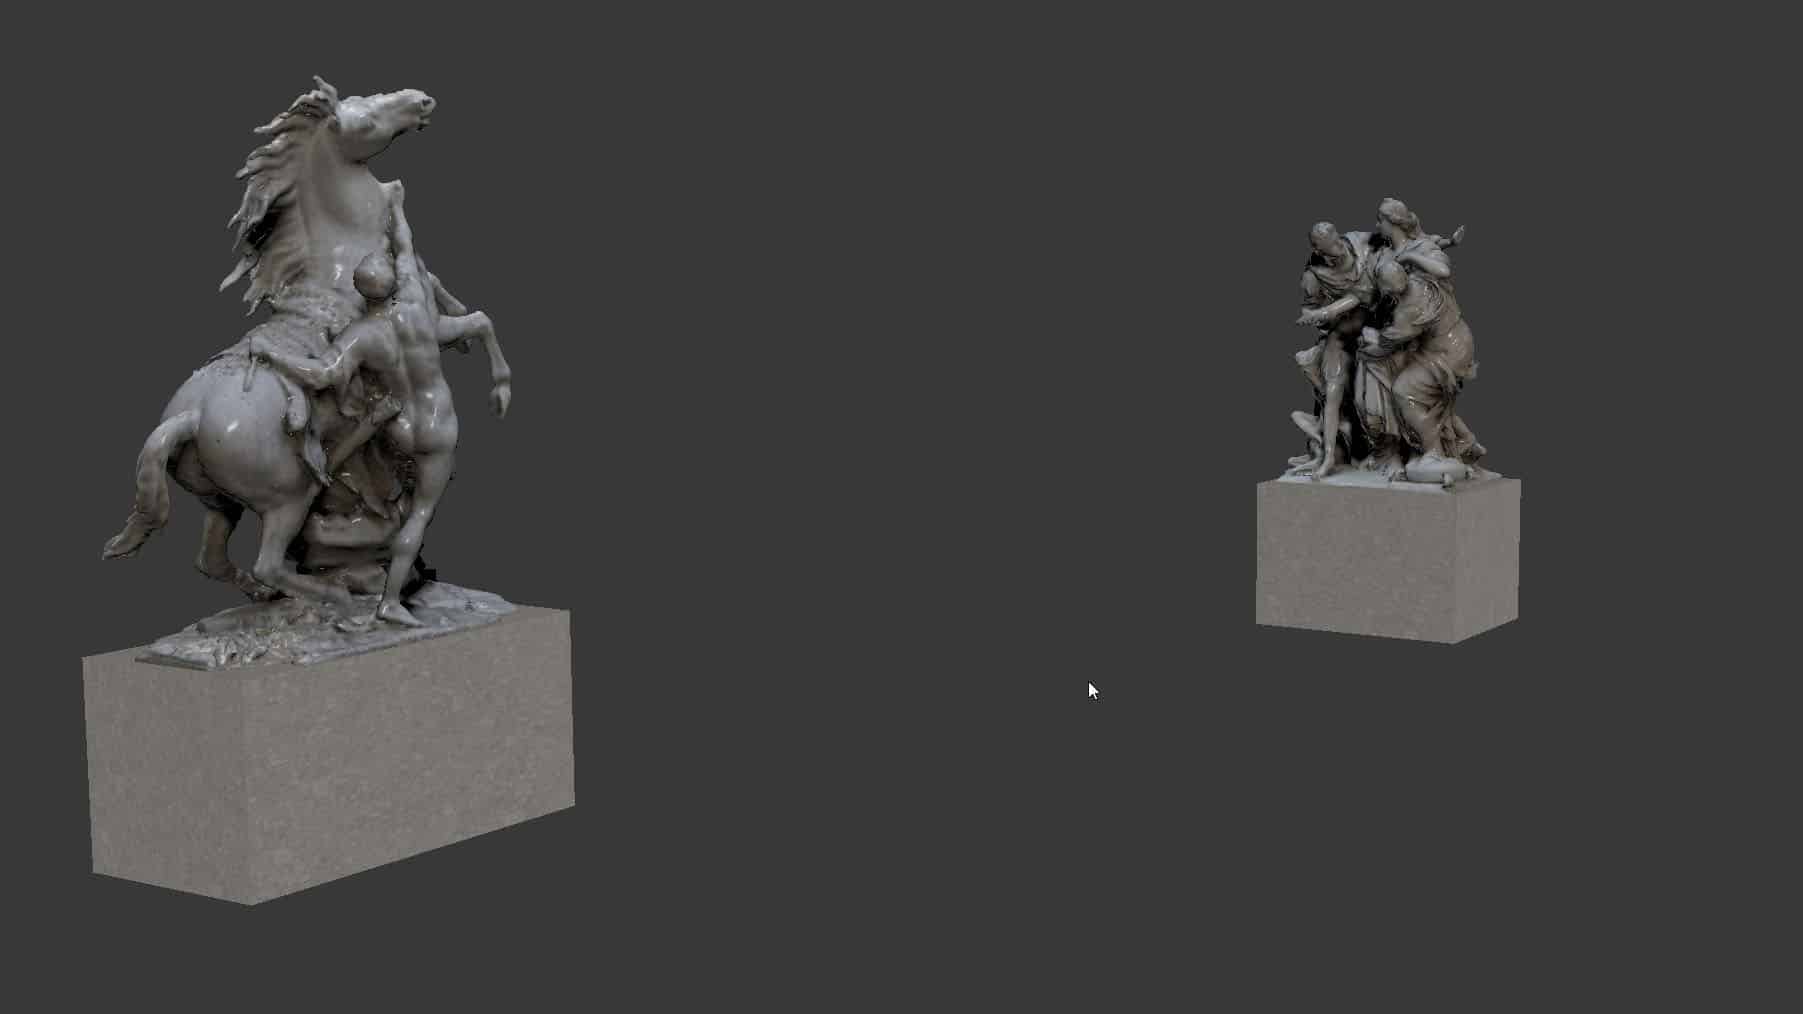
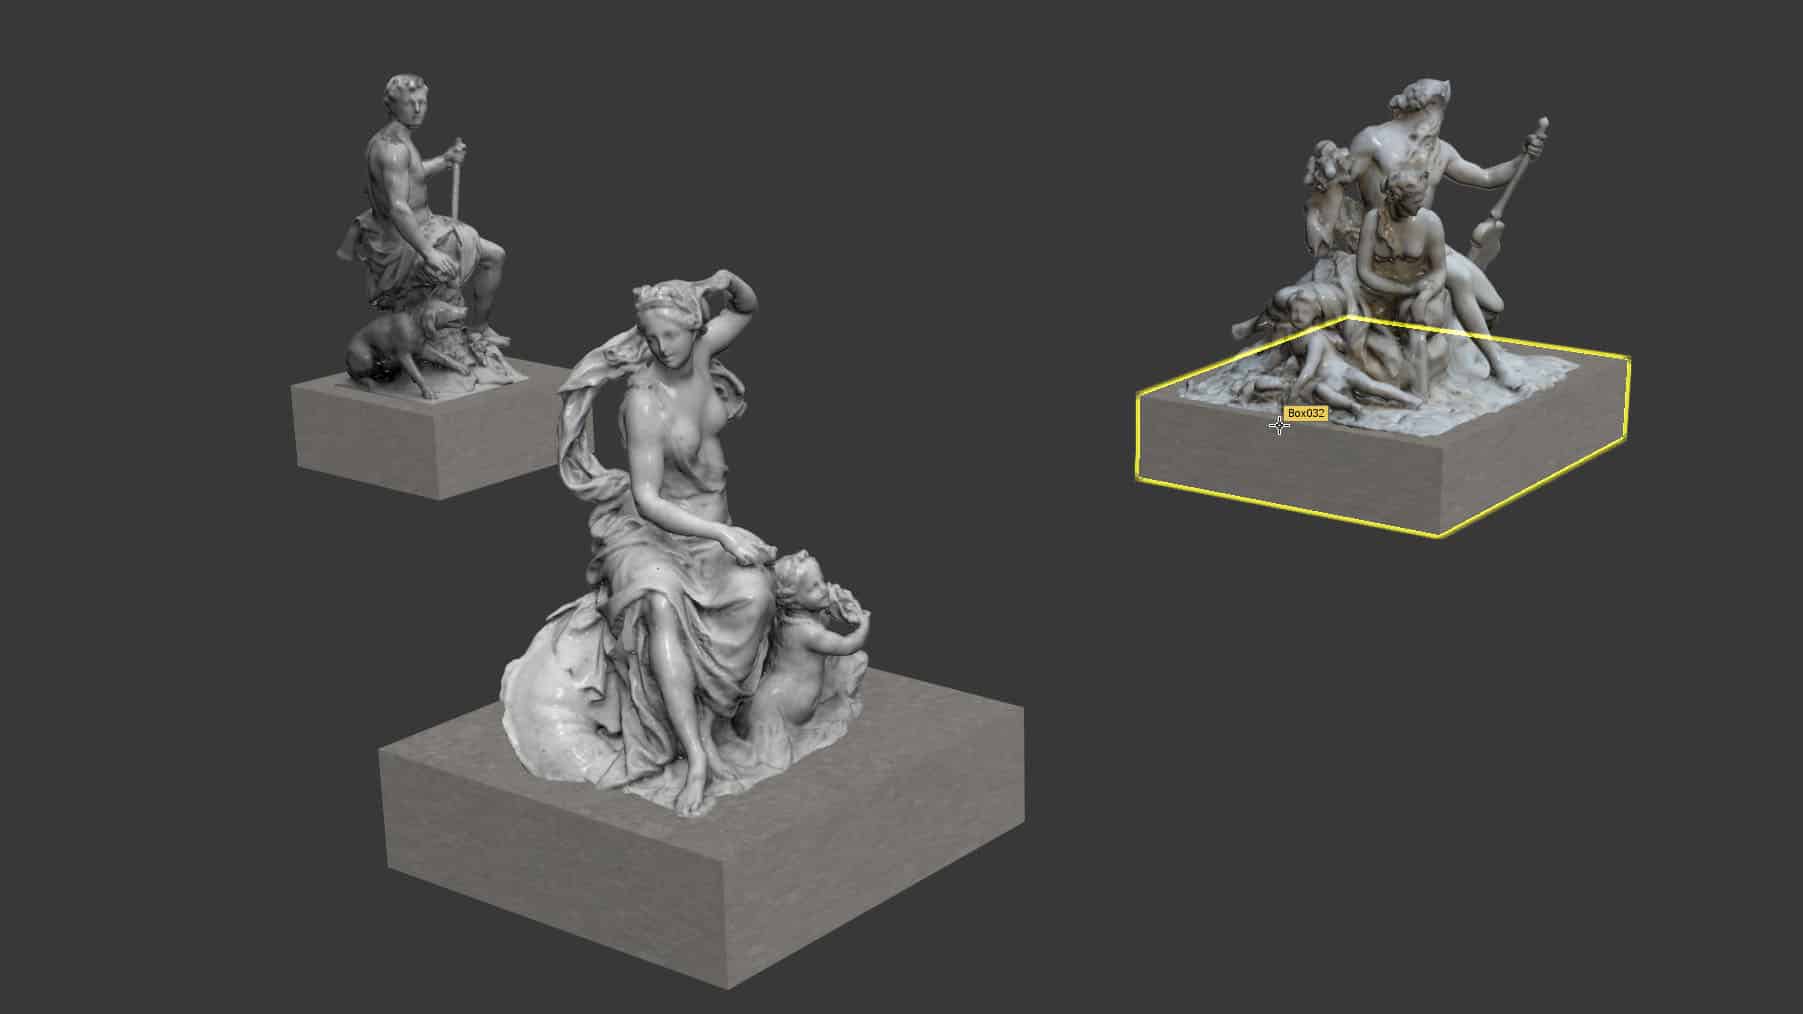
Some assets used are from Evermotion, others from MAXTREE and of course the sculptures are from the Louvre Museum in Paris. Twenty-five 3D models scanned and shared by the artist Benjamin Bardou.
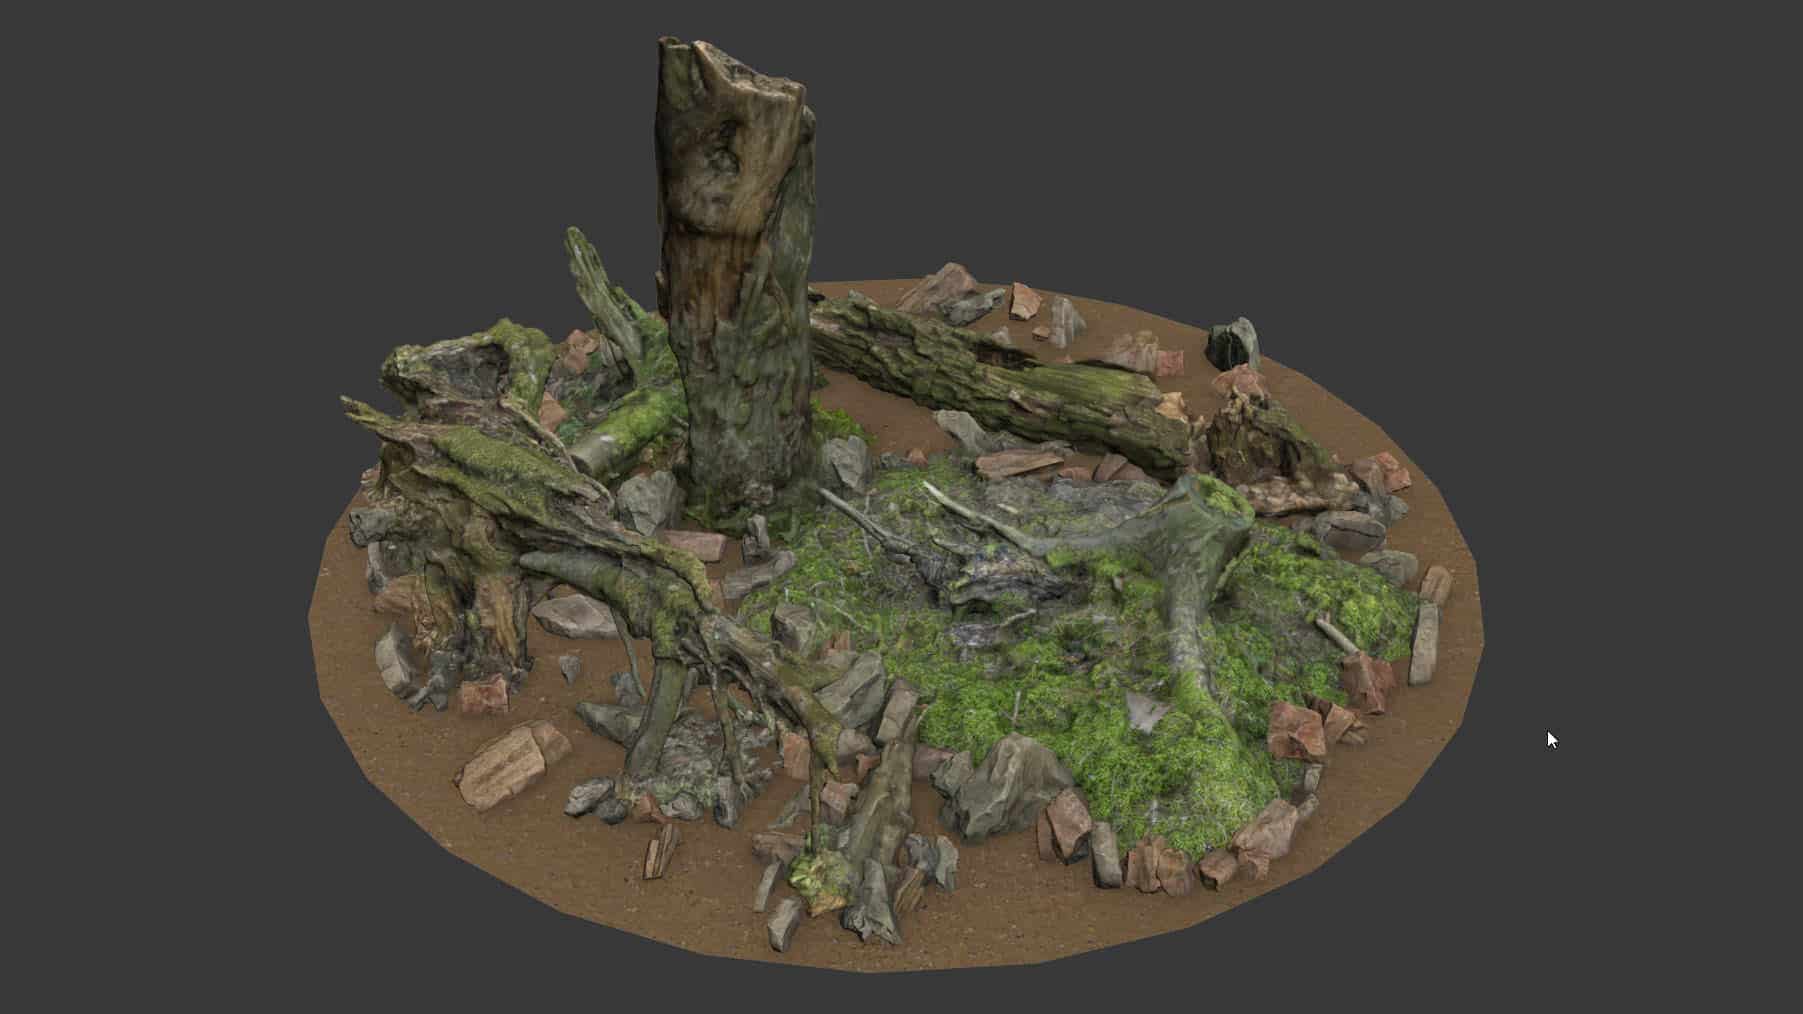
The Evermotion Models.
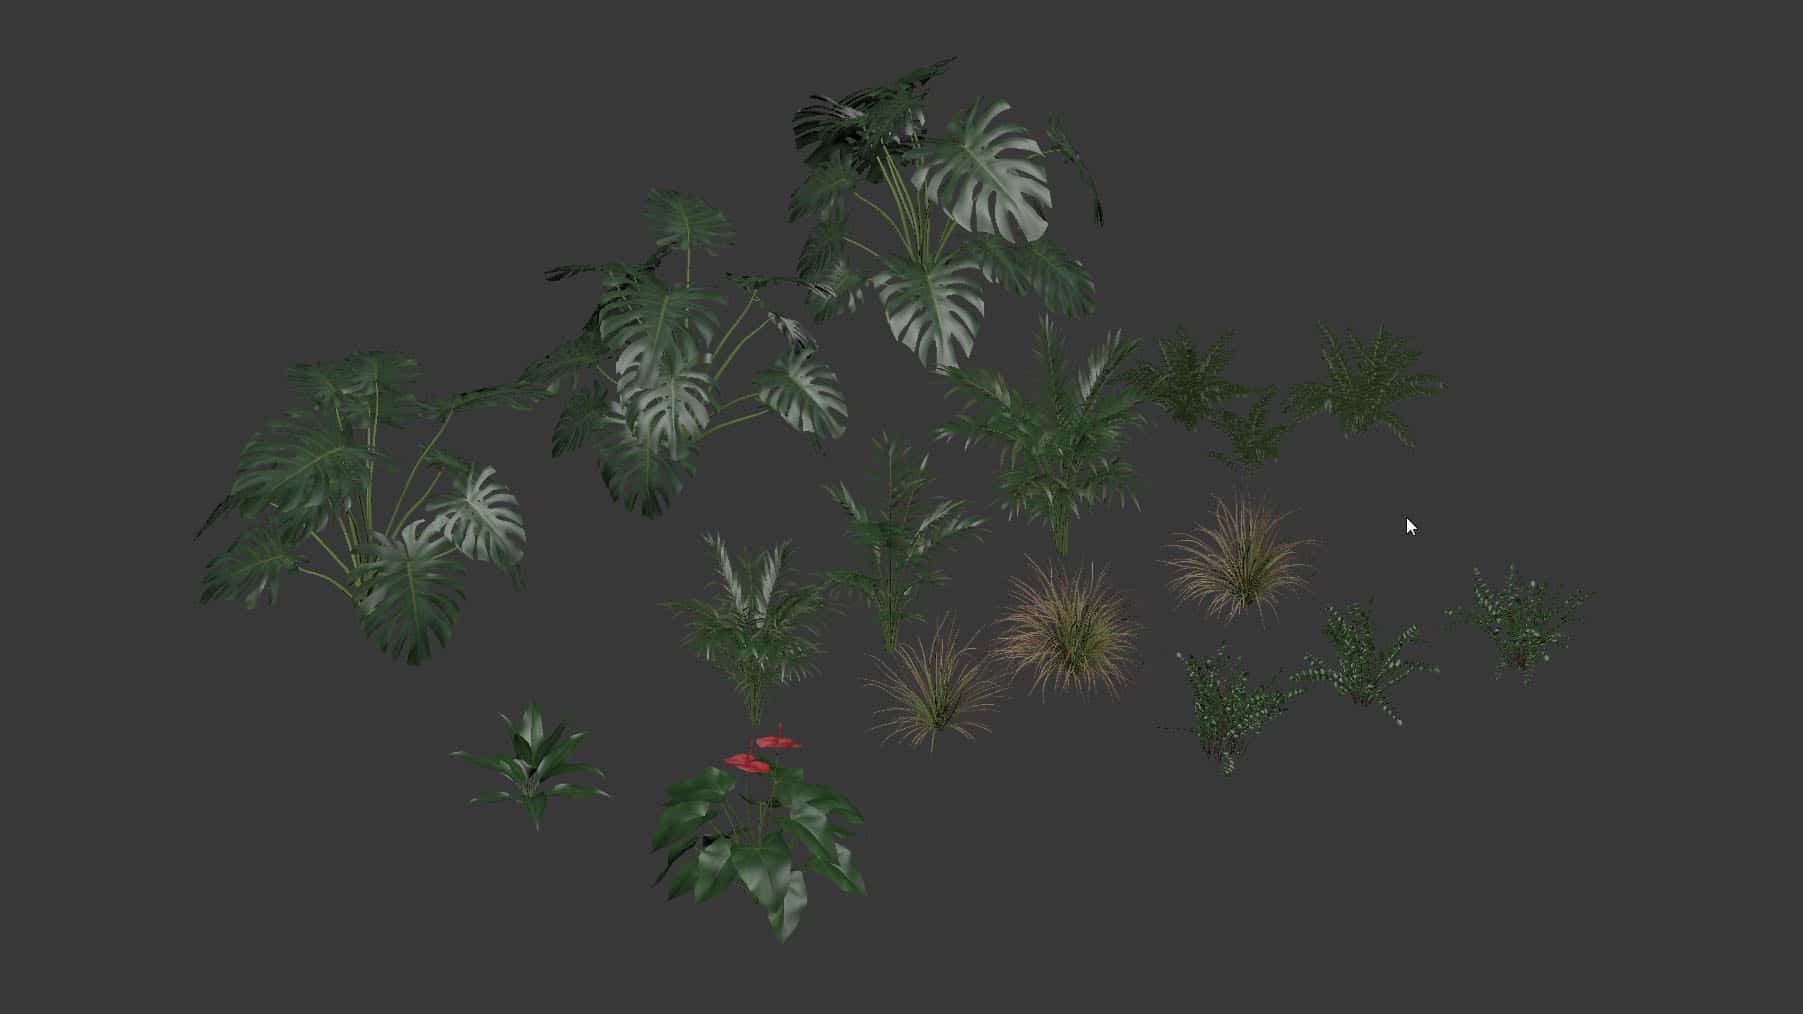
The MAXTREE Plants Models.
The Sculptures from the Louvre Museum.
Another challenge was to imitate a real-world marble material. To achieve it I set up a simply Sub-Surface shader.
And this one is using V-Ray.
Lighting
With Corona Renderer
Initially, the project was intended to be rendered in Corona Renderer only so all project was developed for that engine, after that I decided to swap all to V-Ray render engine and try to achieve the same results. As many elements on the scene, the lighting was a simple task too. I was mainly done using Corona Light Material applied to geometries on the scene, except for the spotlights, that was done using Corona Renderer Light Object. Next, you can see how the project was changed over time.


After many testings, the lighting that I felt works better for animation rendering was the same as for final stills images. The previous one was intended for use in stills but I didn’t like the idea of getting different results on animation and stills.
The light setup of every element is shown in the images below.


With V-Ray
With V-Ray, it was a little bit more difficult than with Corona Renderer, because in this render engine using V-Ray Light Material is not suitable to get the same light quality and intensity as with a V-Ray Light Object. So, I did replace all geometry based lights with V-Ray Light Object in the entire scene.


Populating Crowd with AXYZ Design ANIMA
Now that my scene and assets are ready, I moved to the crowd creation aspect of the project with the help of the marvelous and easiest software for that to add life to the scene. That would be ANIMA by AXYZ Design.
I skipped the simple walking approach as it felt too ordinary and boring. I decide to play with time-lapse animations. ANIMA has many cool features for that.
First, I created sequences long enough to play with the speed of the actors. Second, to save time checking if things are correct, I created each scene on ANIMA for each camera view of each shot in a single ANIMA project.
Wonderful!
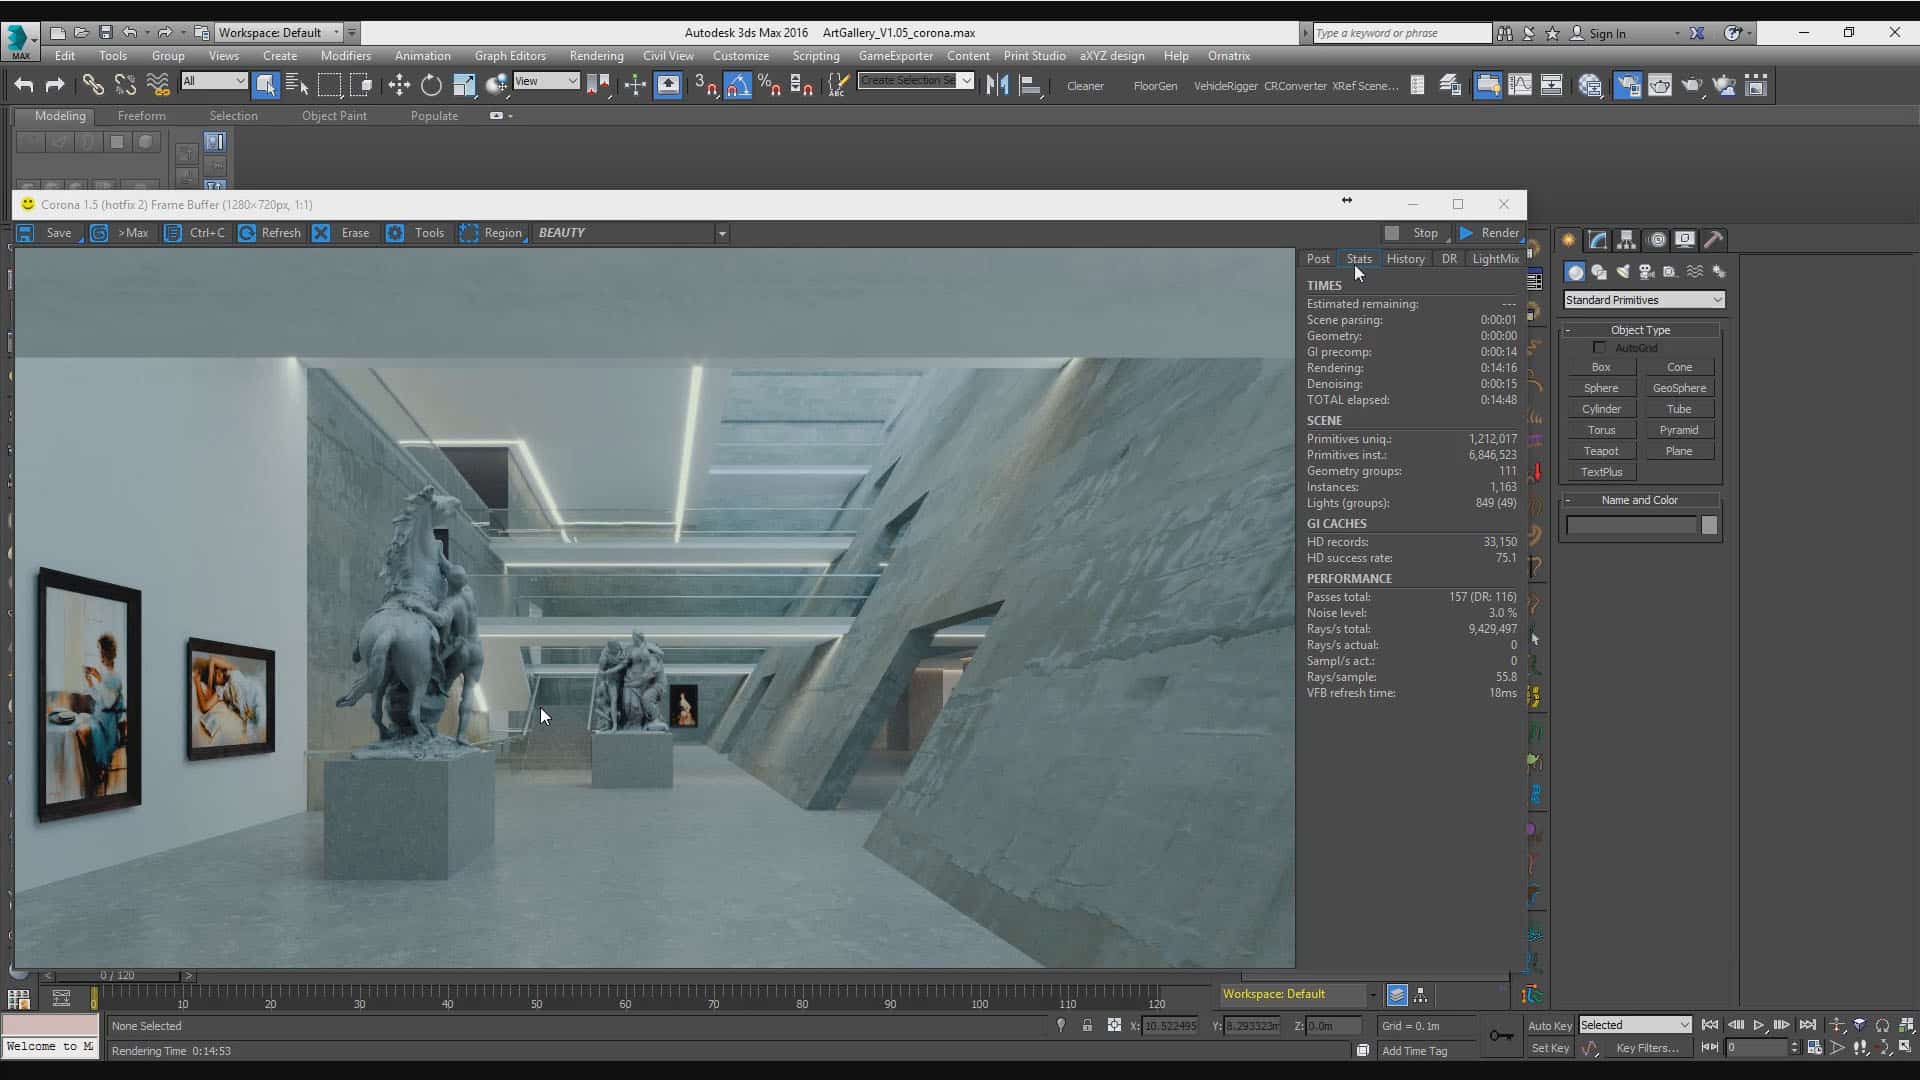
The scene finished and testing Corona Renderer result.
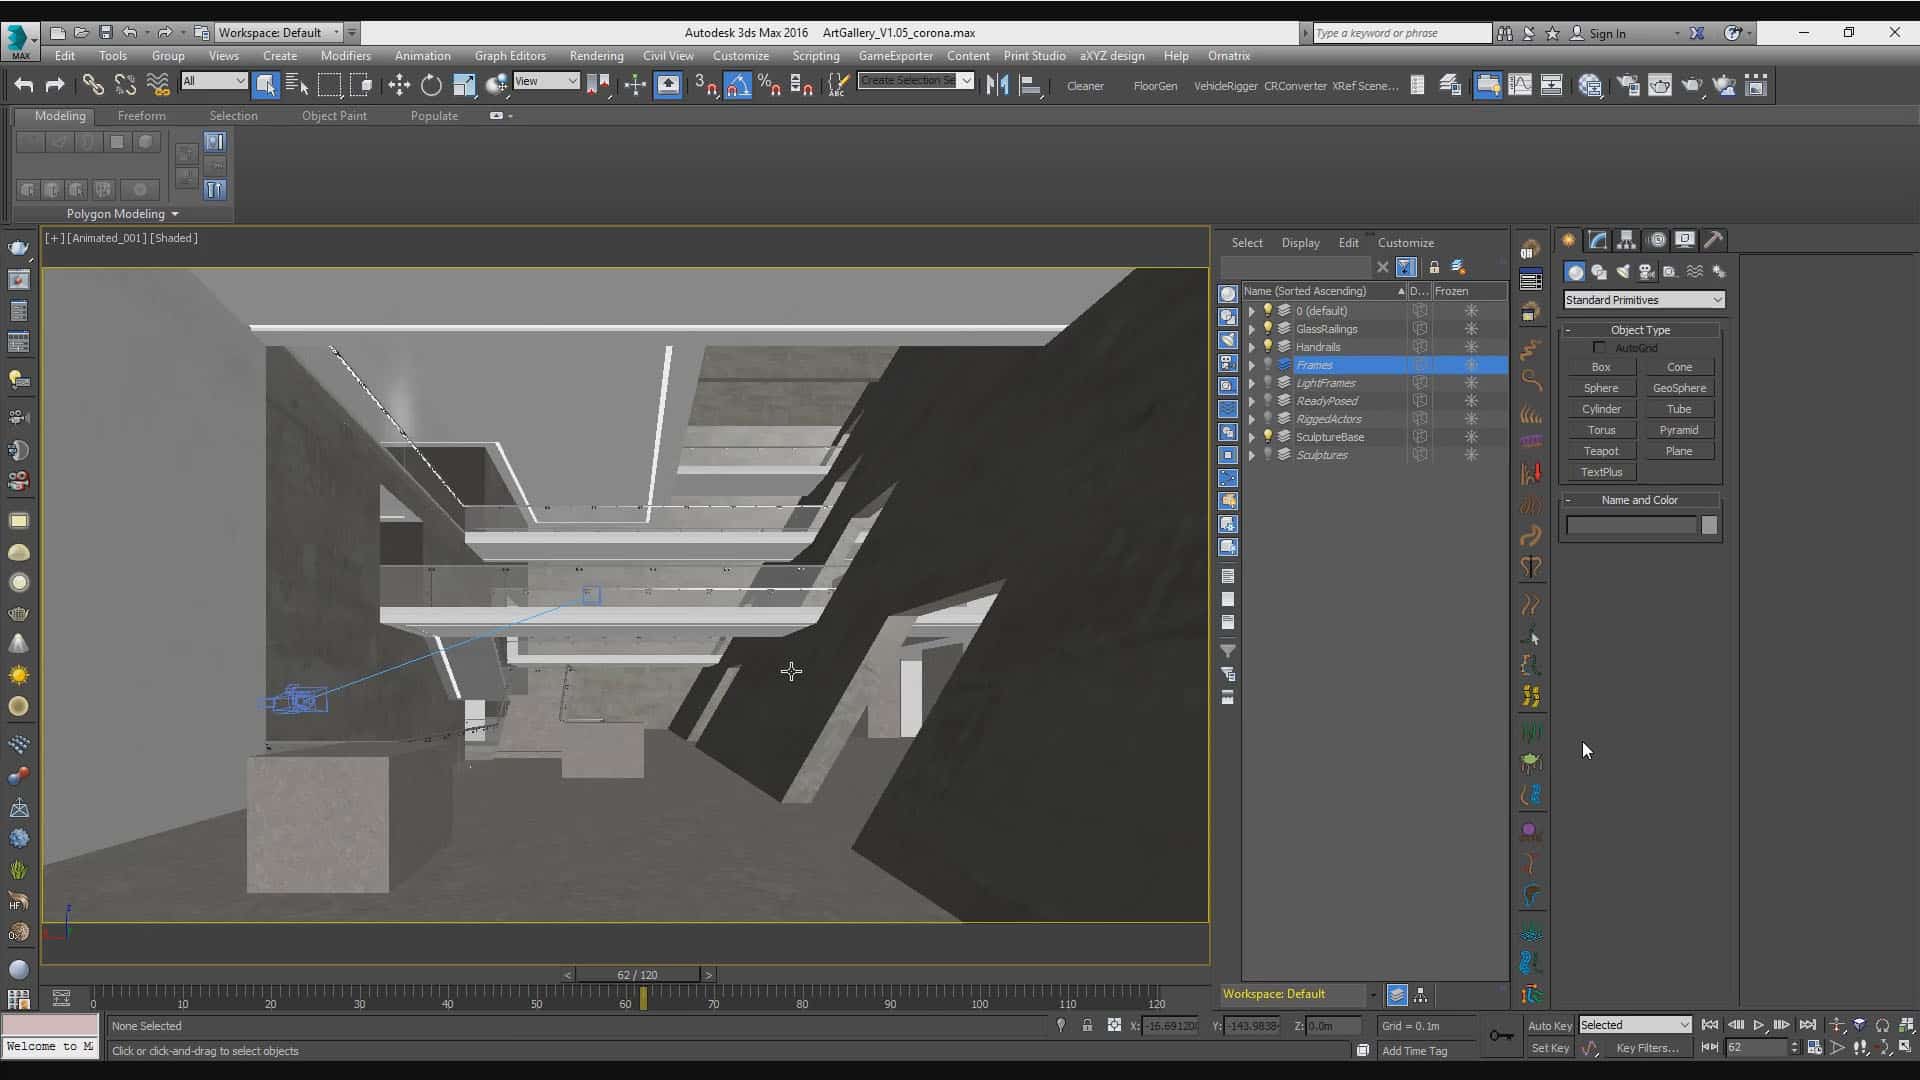
Hiding all unnecessary elements for export to Anima.
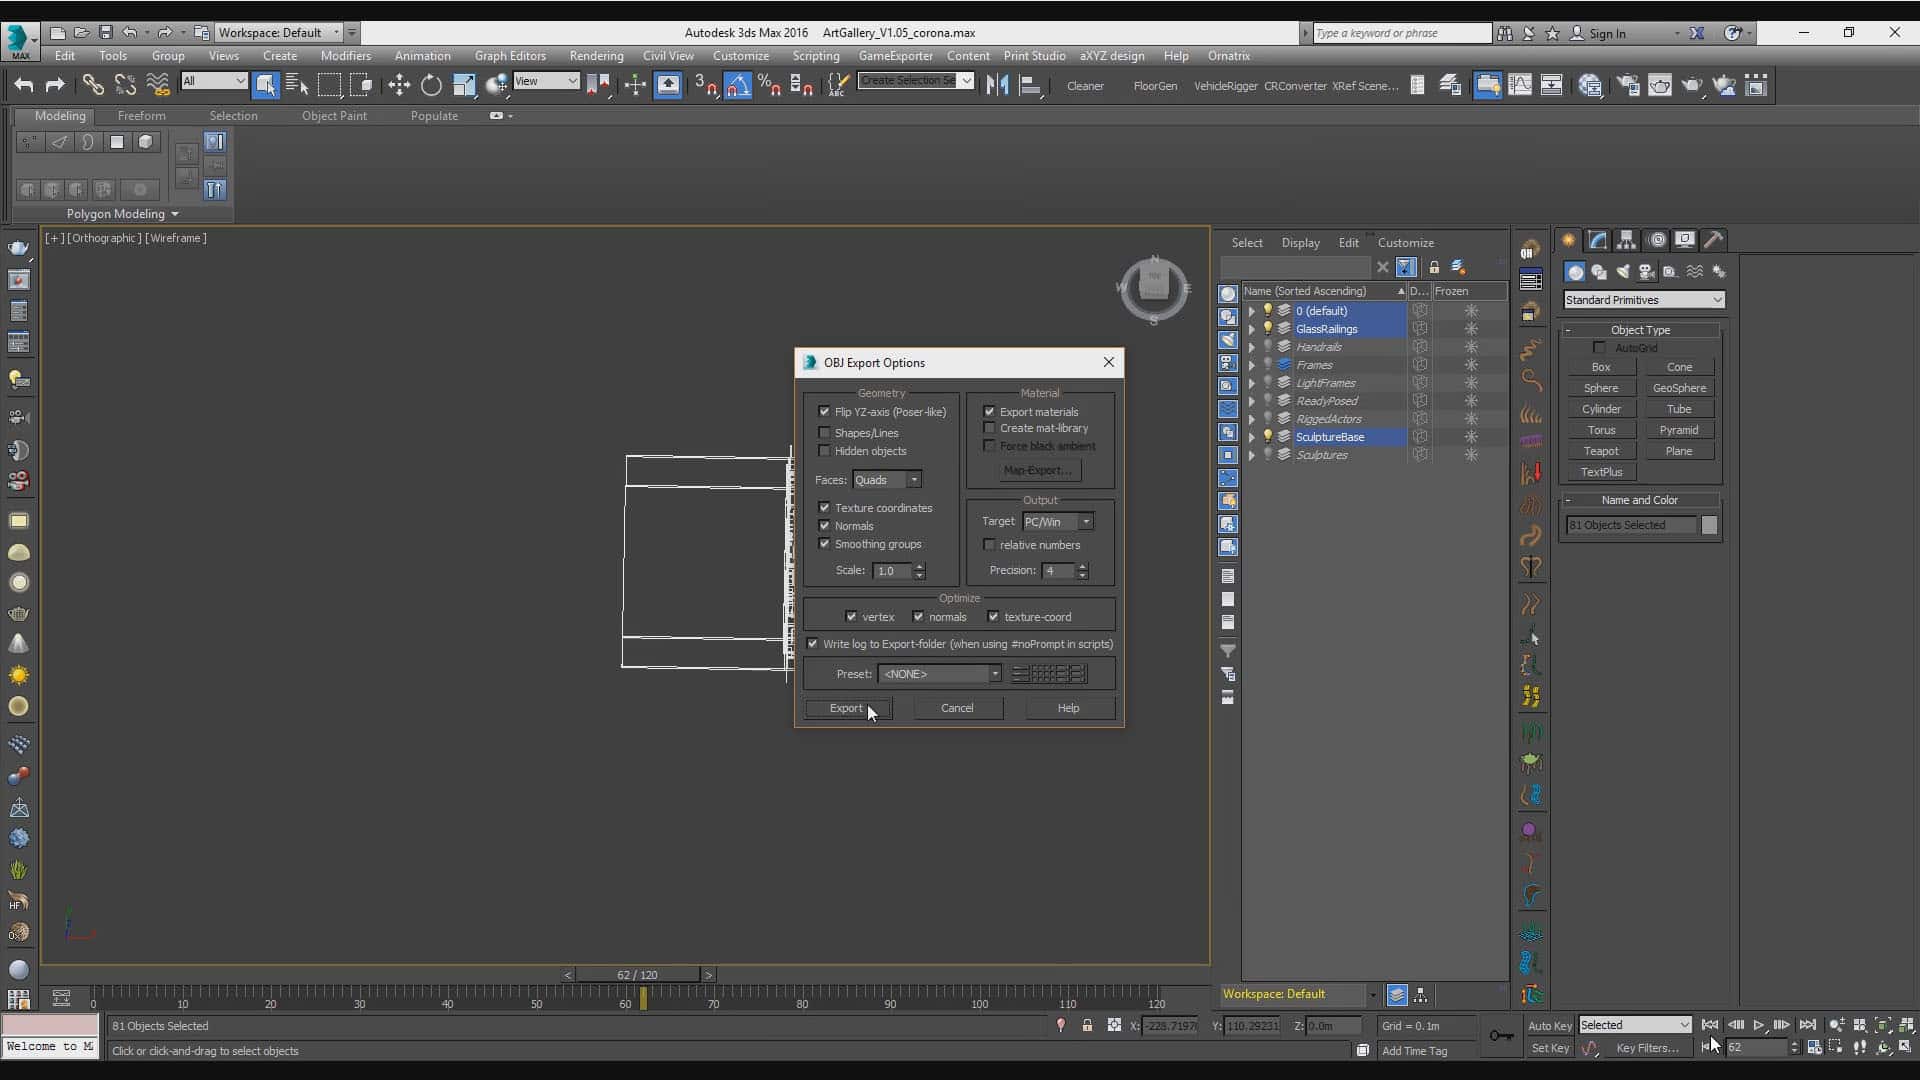
Exporting the selected geometries to OBJ file.
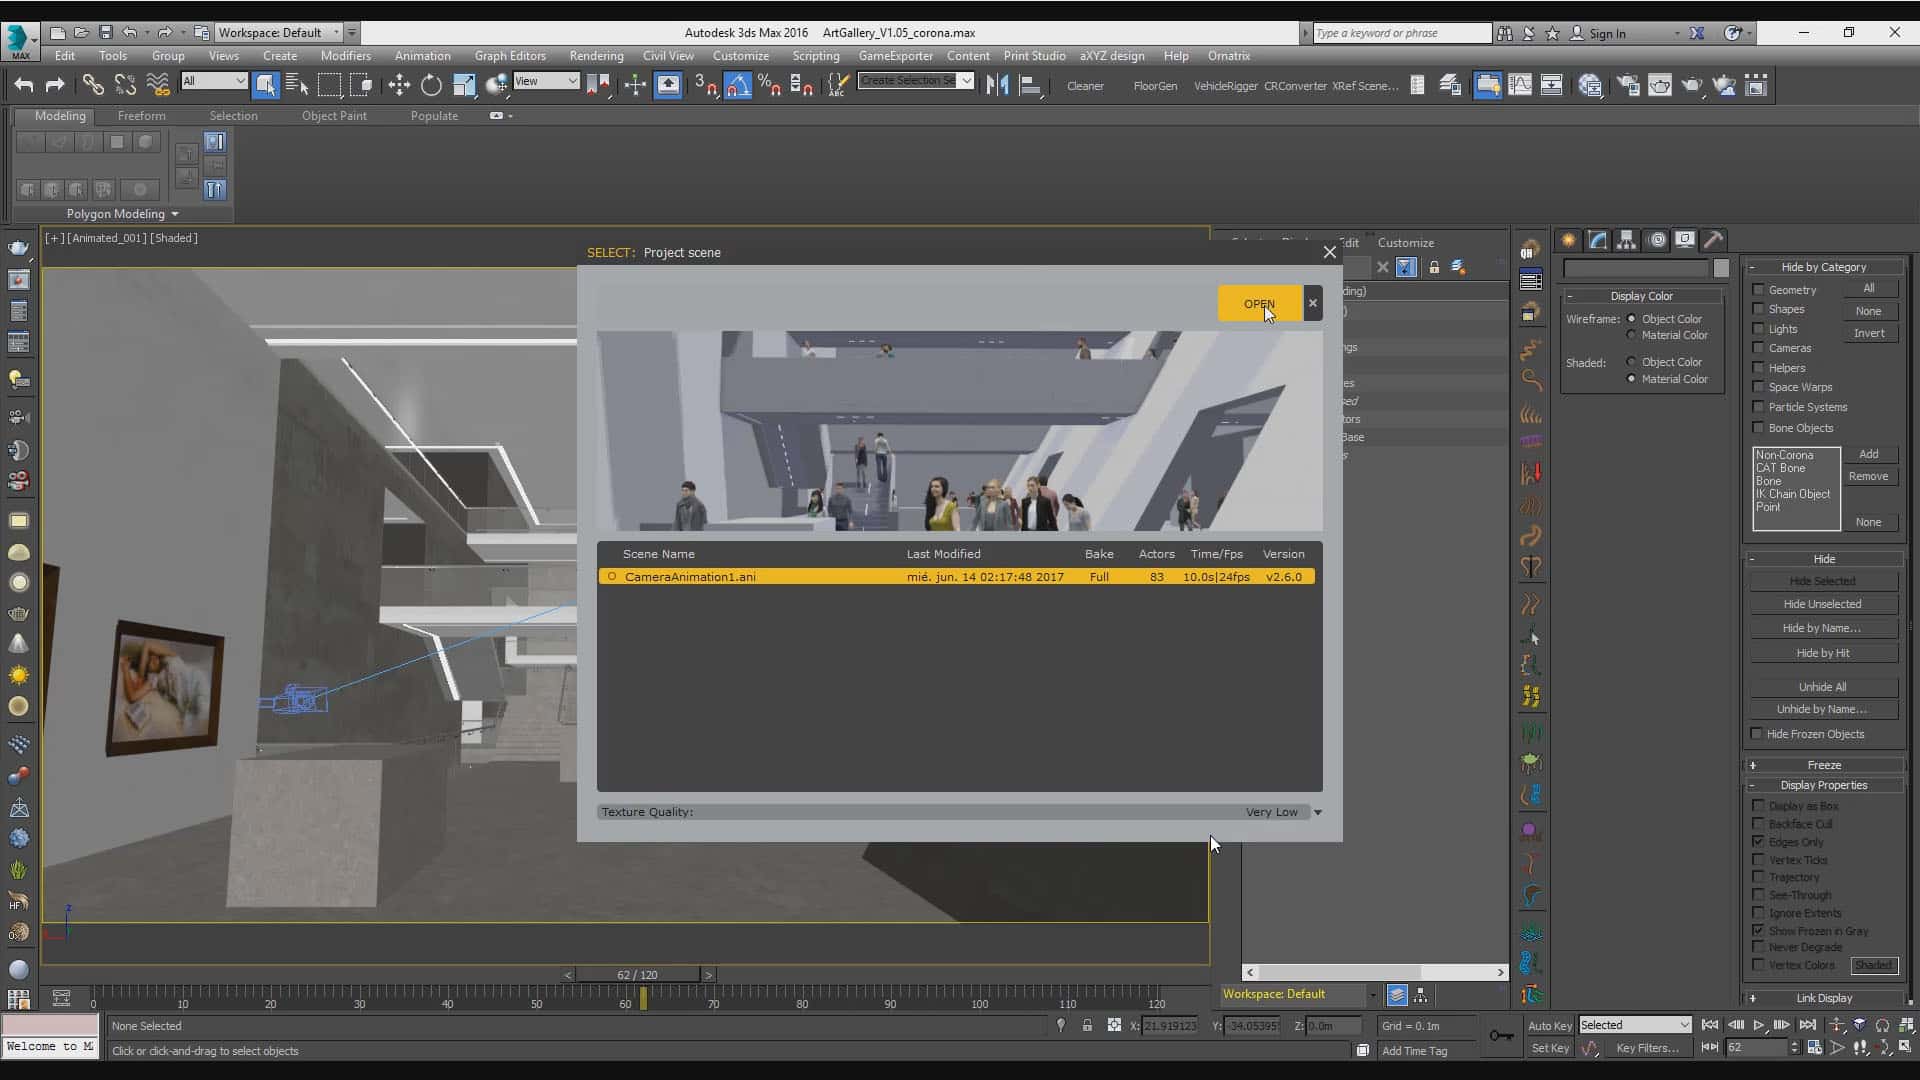
Note: In this making of I’m using Anima 2.6. So probably interface may differ in some aspects. The importing process for a background model and the option to have many scenes opened at the same time is something you will find since new version 3.0 release.


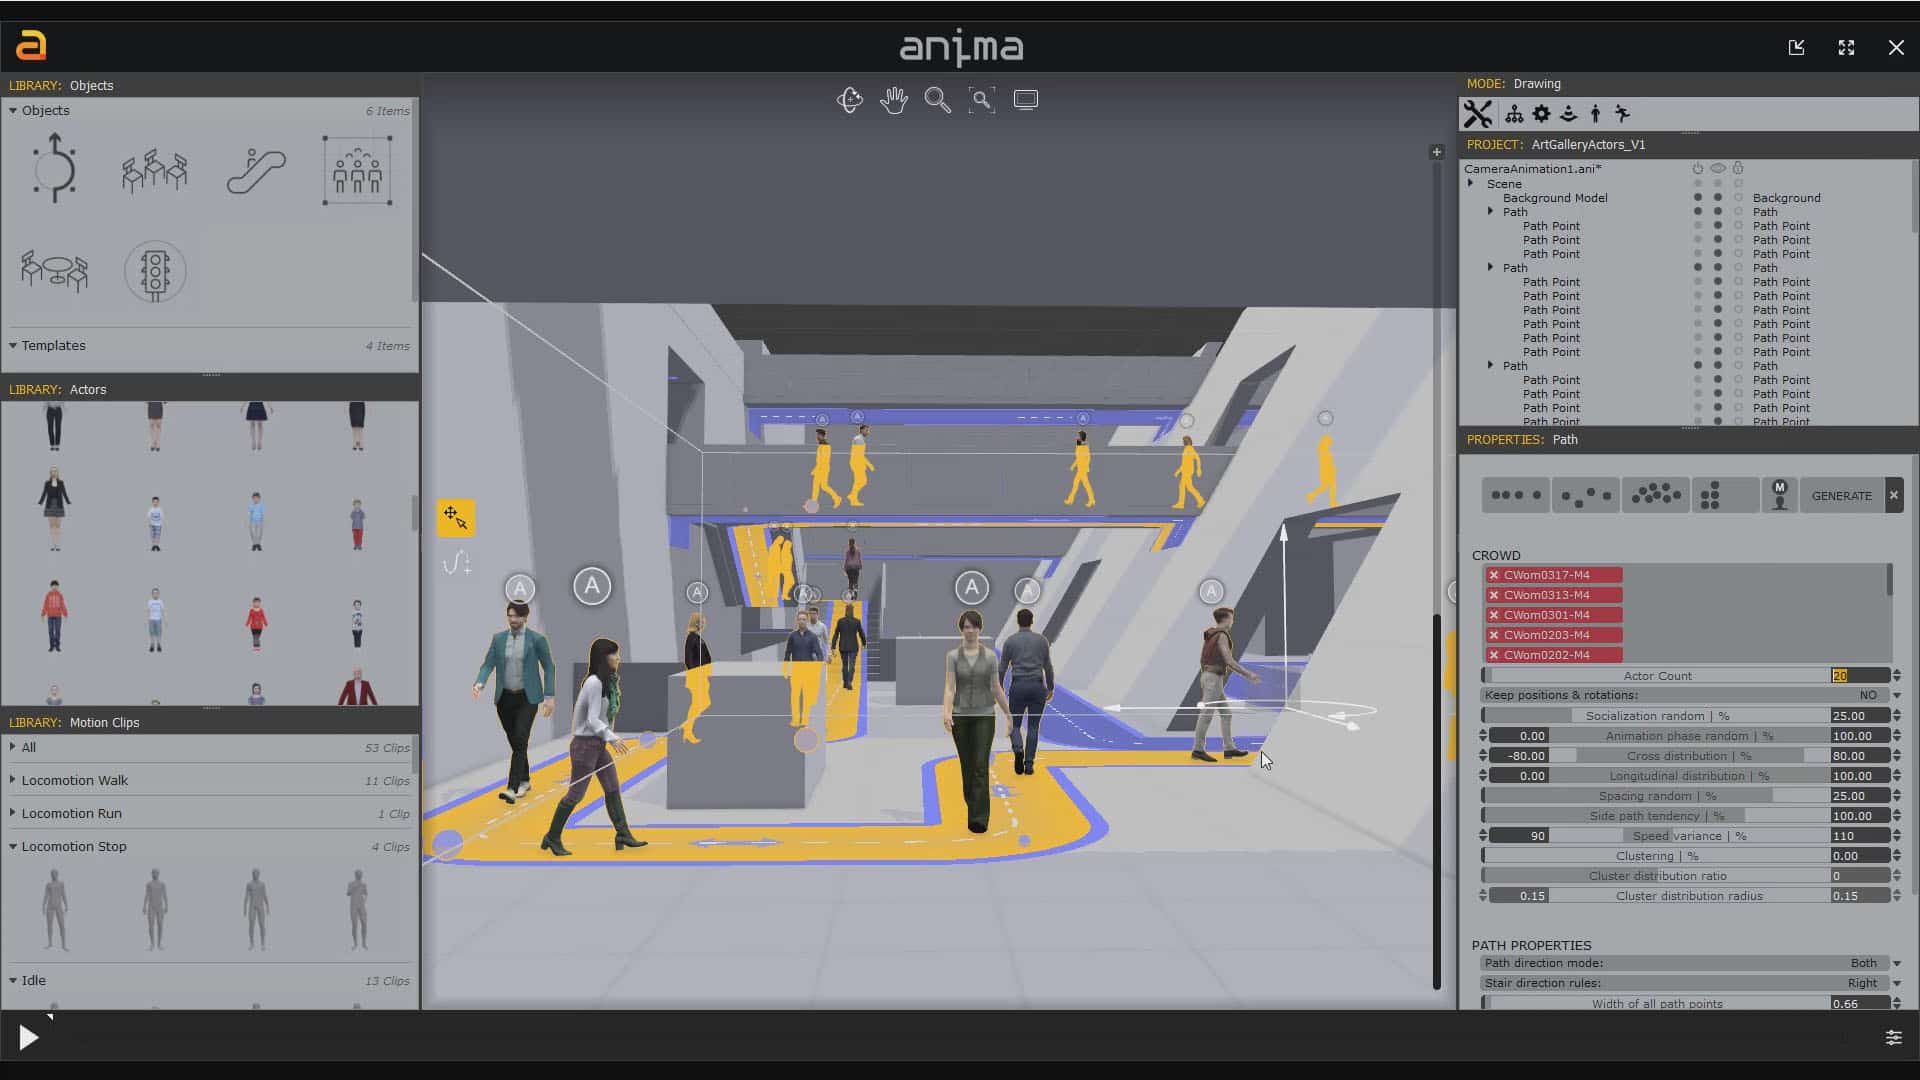
Adding actors to the Anima scene.
At this point, the speed used for final animation was of 800% of the normal speed of the actors. That is for every 10 seconds of animation at 24 fps I needed at least 1920 frames to be calculated from ANIMA.
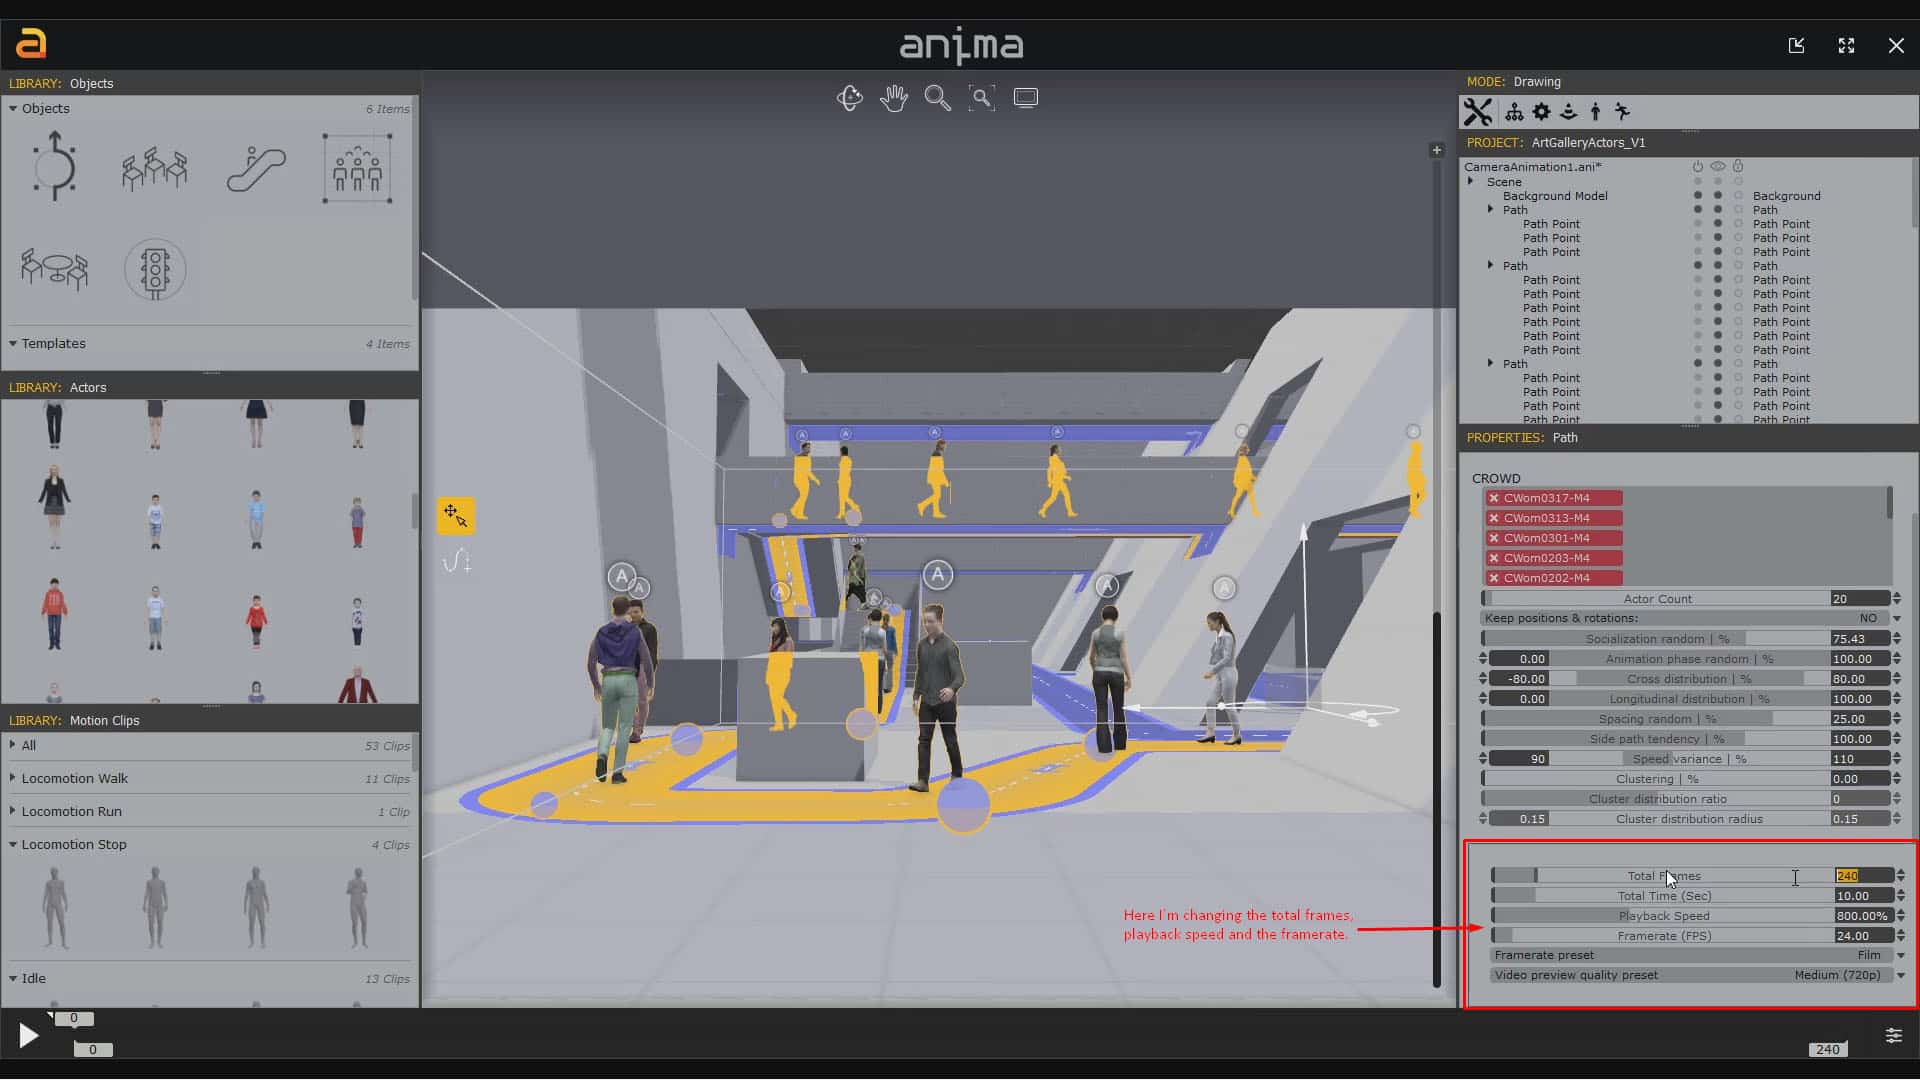
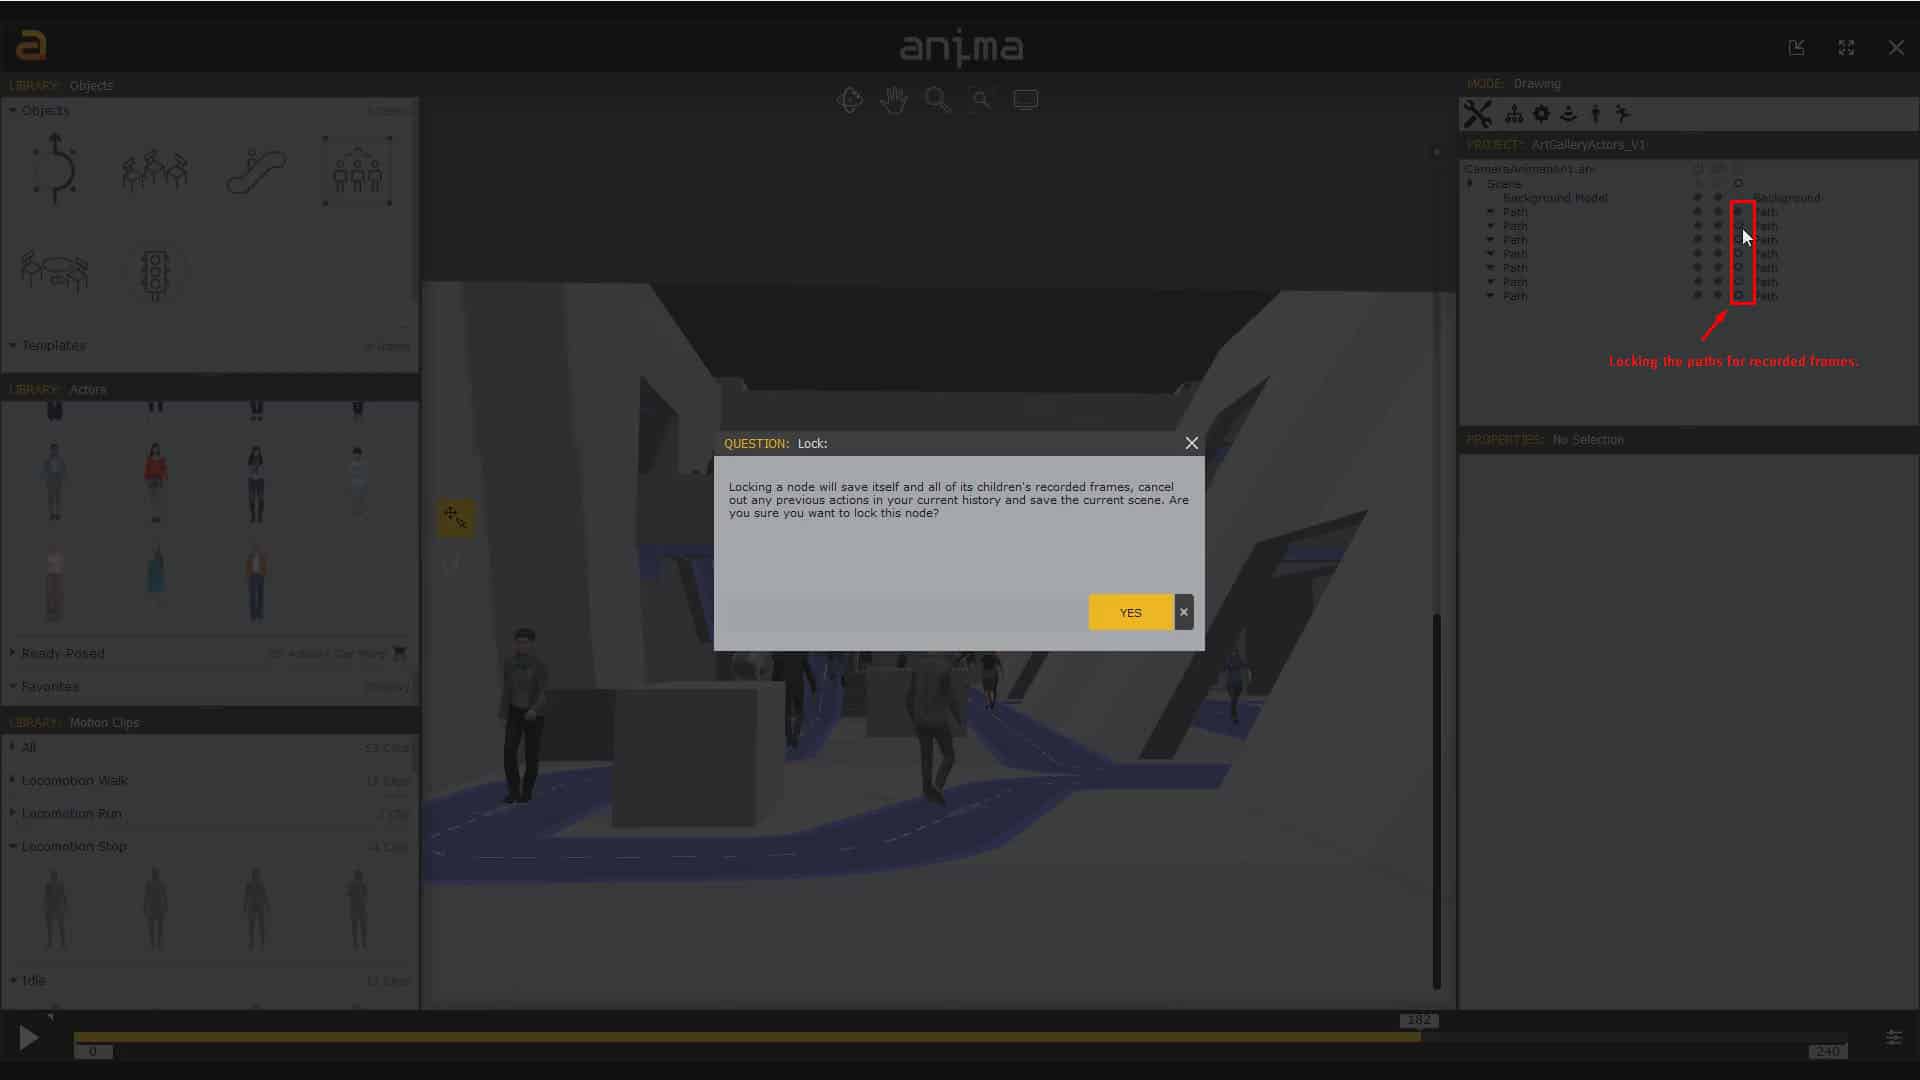
Locking paths preventing unexpected animation result in the host program.
Importing in 3ds Max.
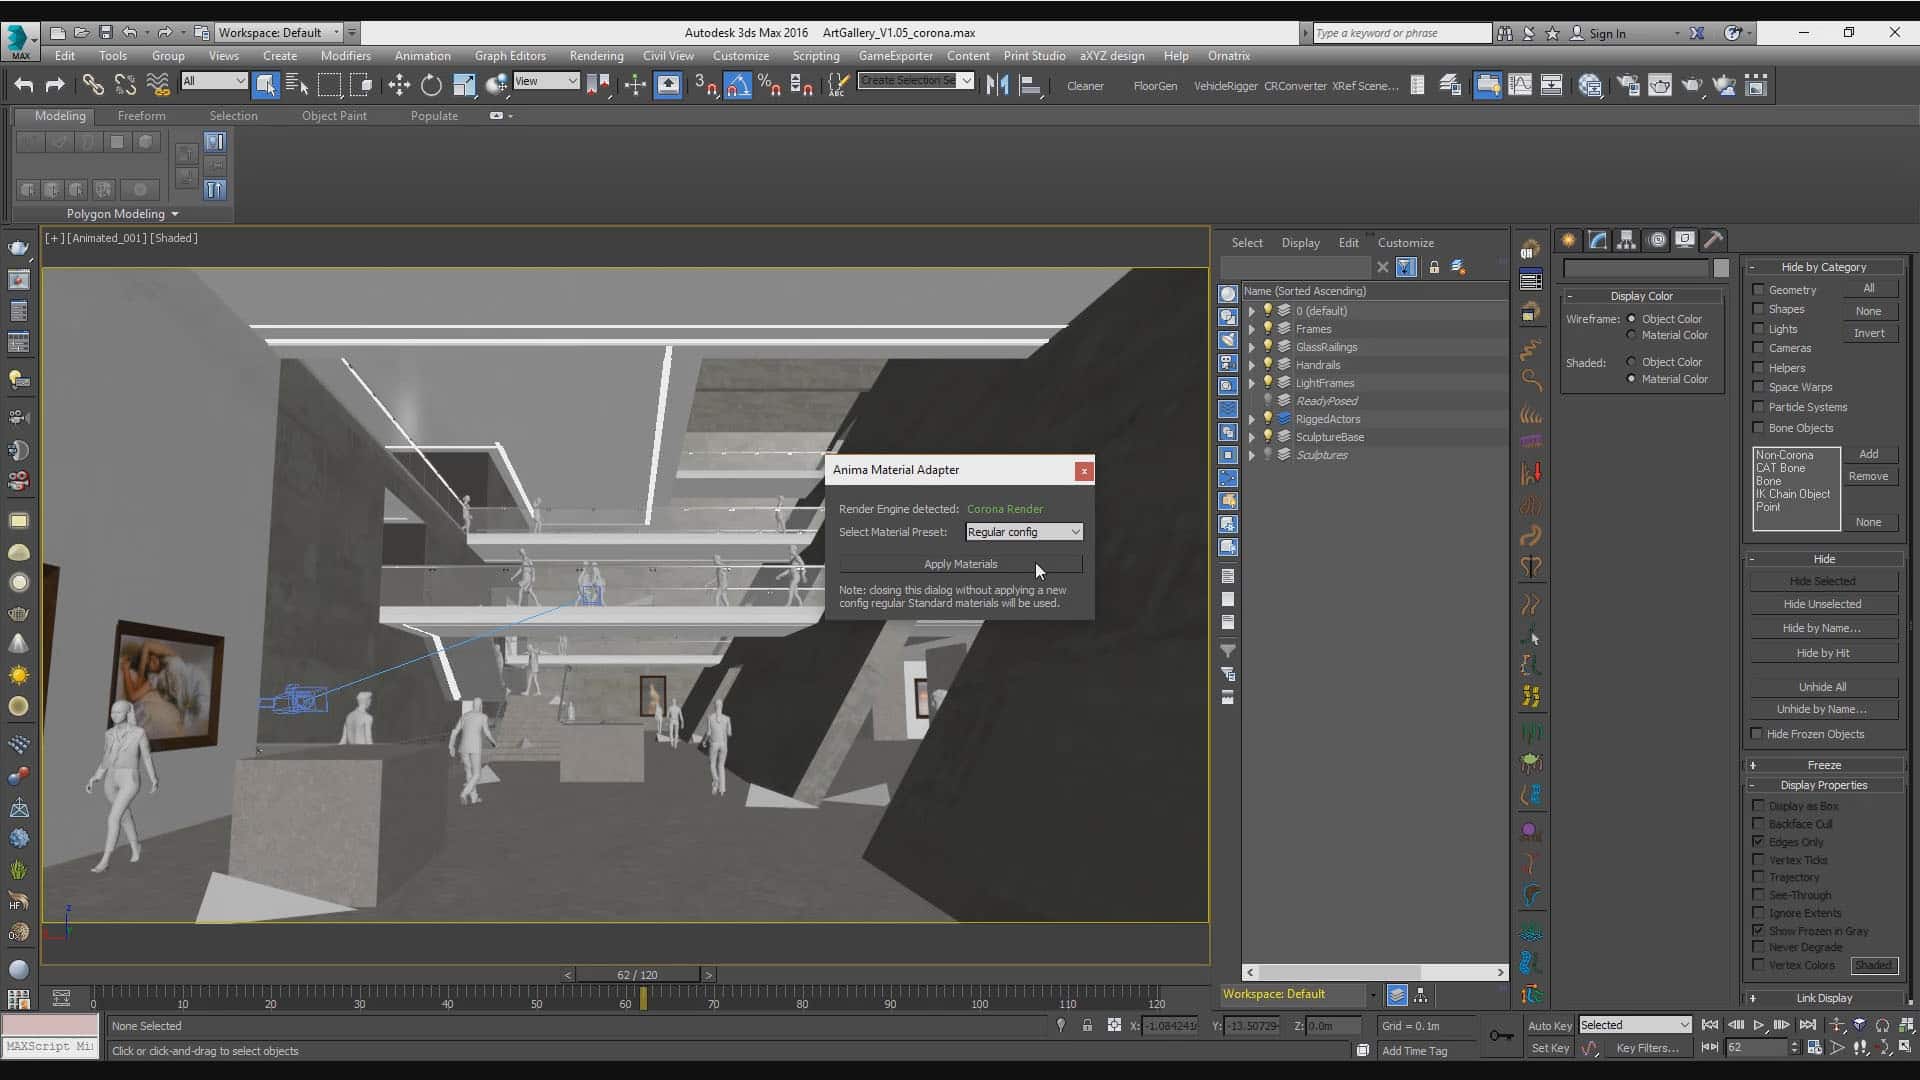
Applying the regular material setup.

Adjusting the Actors speed and Display parameters to see all actors in the scene.
Rendering
With Corona Renderer
This section will have two parts because the animation setup was a little bit different from the stills. So, I will start with camera parameters for the stills rendering.
The camera setup was simple too because I don’t use any exposure control. The only exciting thing about the camera was the shutter speed value that was very useful for the motion blur on the actors.
The actor’s speed for stills was normal; it means 100% of playback speed multiplier on ANIMA parameters. The shutter value can be lowered to 1/4 sec, and this provides enough motion blur to make the feeling of movement in actors.
The render settings mainly have the default parameters, an exception of the Scene and Camera tabs. In the scene tab only the parameters that limit the number of passes and the amount of denoise in the final output. In the camera tab the parameters of Tone Mapping, Camera Motion Blur, and Bloom/Glare.


Here is the raw render of that camera.
The second part is the parameters of the camera for the animation output that are very similar to previous for stills, but the only thing that I changed for it, is that the output has no motion blur. The effect of motion blur was done in post-production.
Raw render from an animated camera.
All animated sequences using Corona Renderer was rendered using CGIFARM.
With V-Ray
For the V-Ray camera parameters, as in Corona Renderer, I used the same Physical Camera from 3ds Max, but in this one, I set up an Exposure Control that was managed as Target EV. With this, I have free control over the shutter and depth of field without affecting the exposure of the image.
Using V-Ray, I only have rendered the animation, and as in Corona Renderer, I just rendered the output without motion blur effect. But have tested the motion blur parameters for an additional output that I will show later.
The render setup has some tweaks, but I mainly used the universal settings for rendering the animation that is Brute Force + Light Cache and using bucket mode changing the min shading subdivisions, some tweaks on the DMC sampler, color mapping and in the GI tab making less saturated GI solution.


So as a bonus I will show you some examples of how the result can be managed through V-Ray using motion blur. Each image has details about camera parameters.
Camera Animation 1, raw renders.


Camera Animation 2, raw renders.


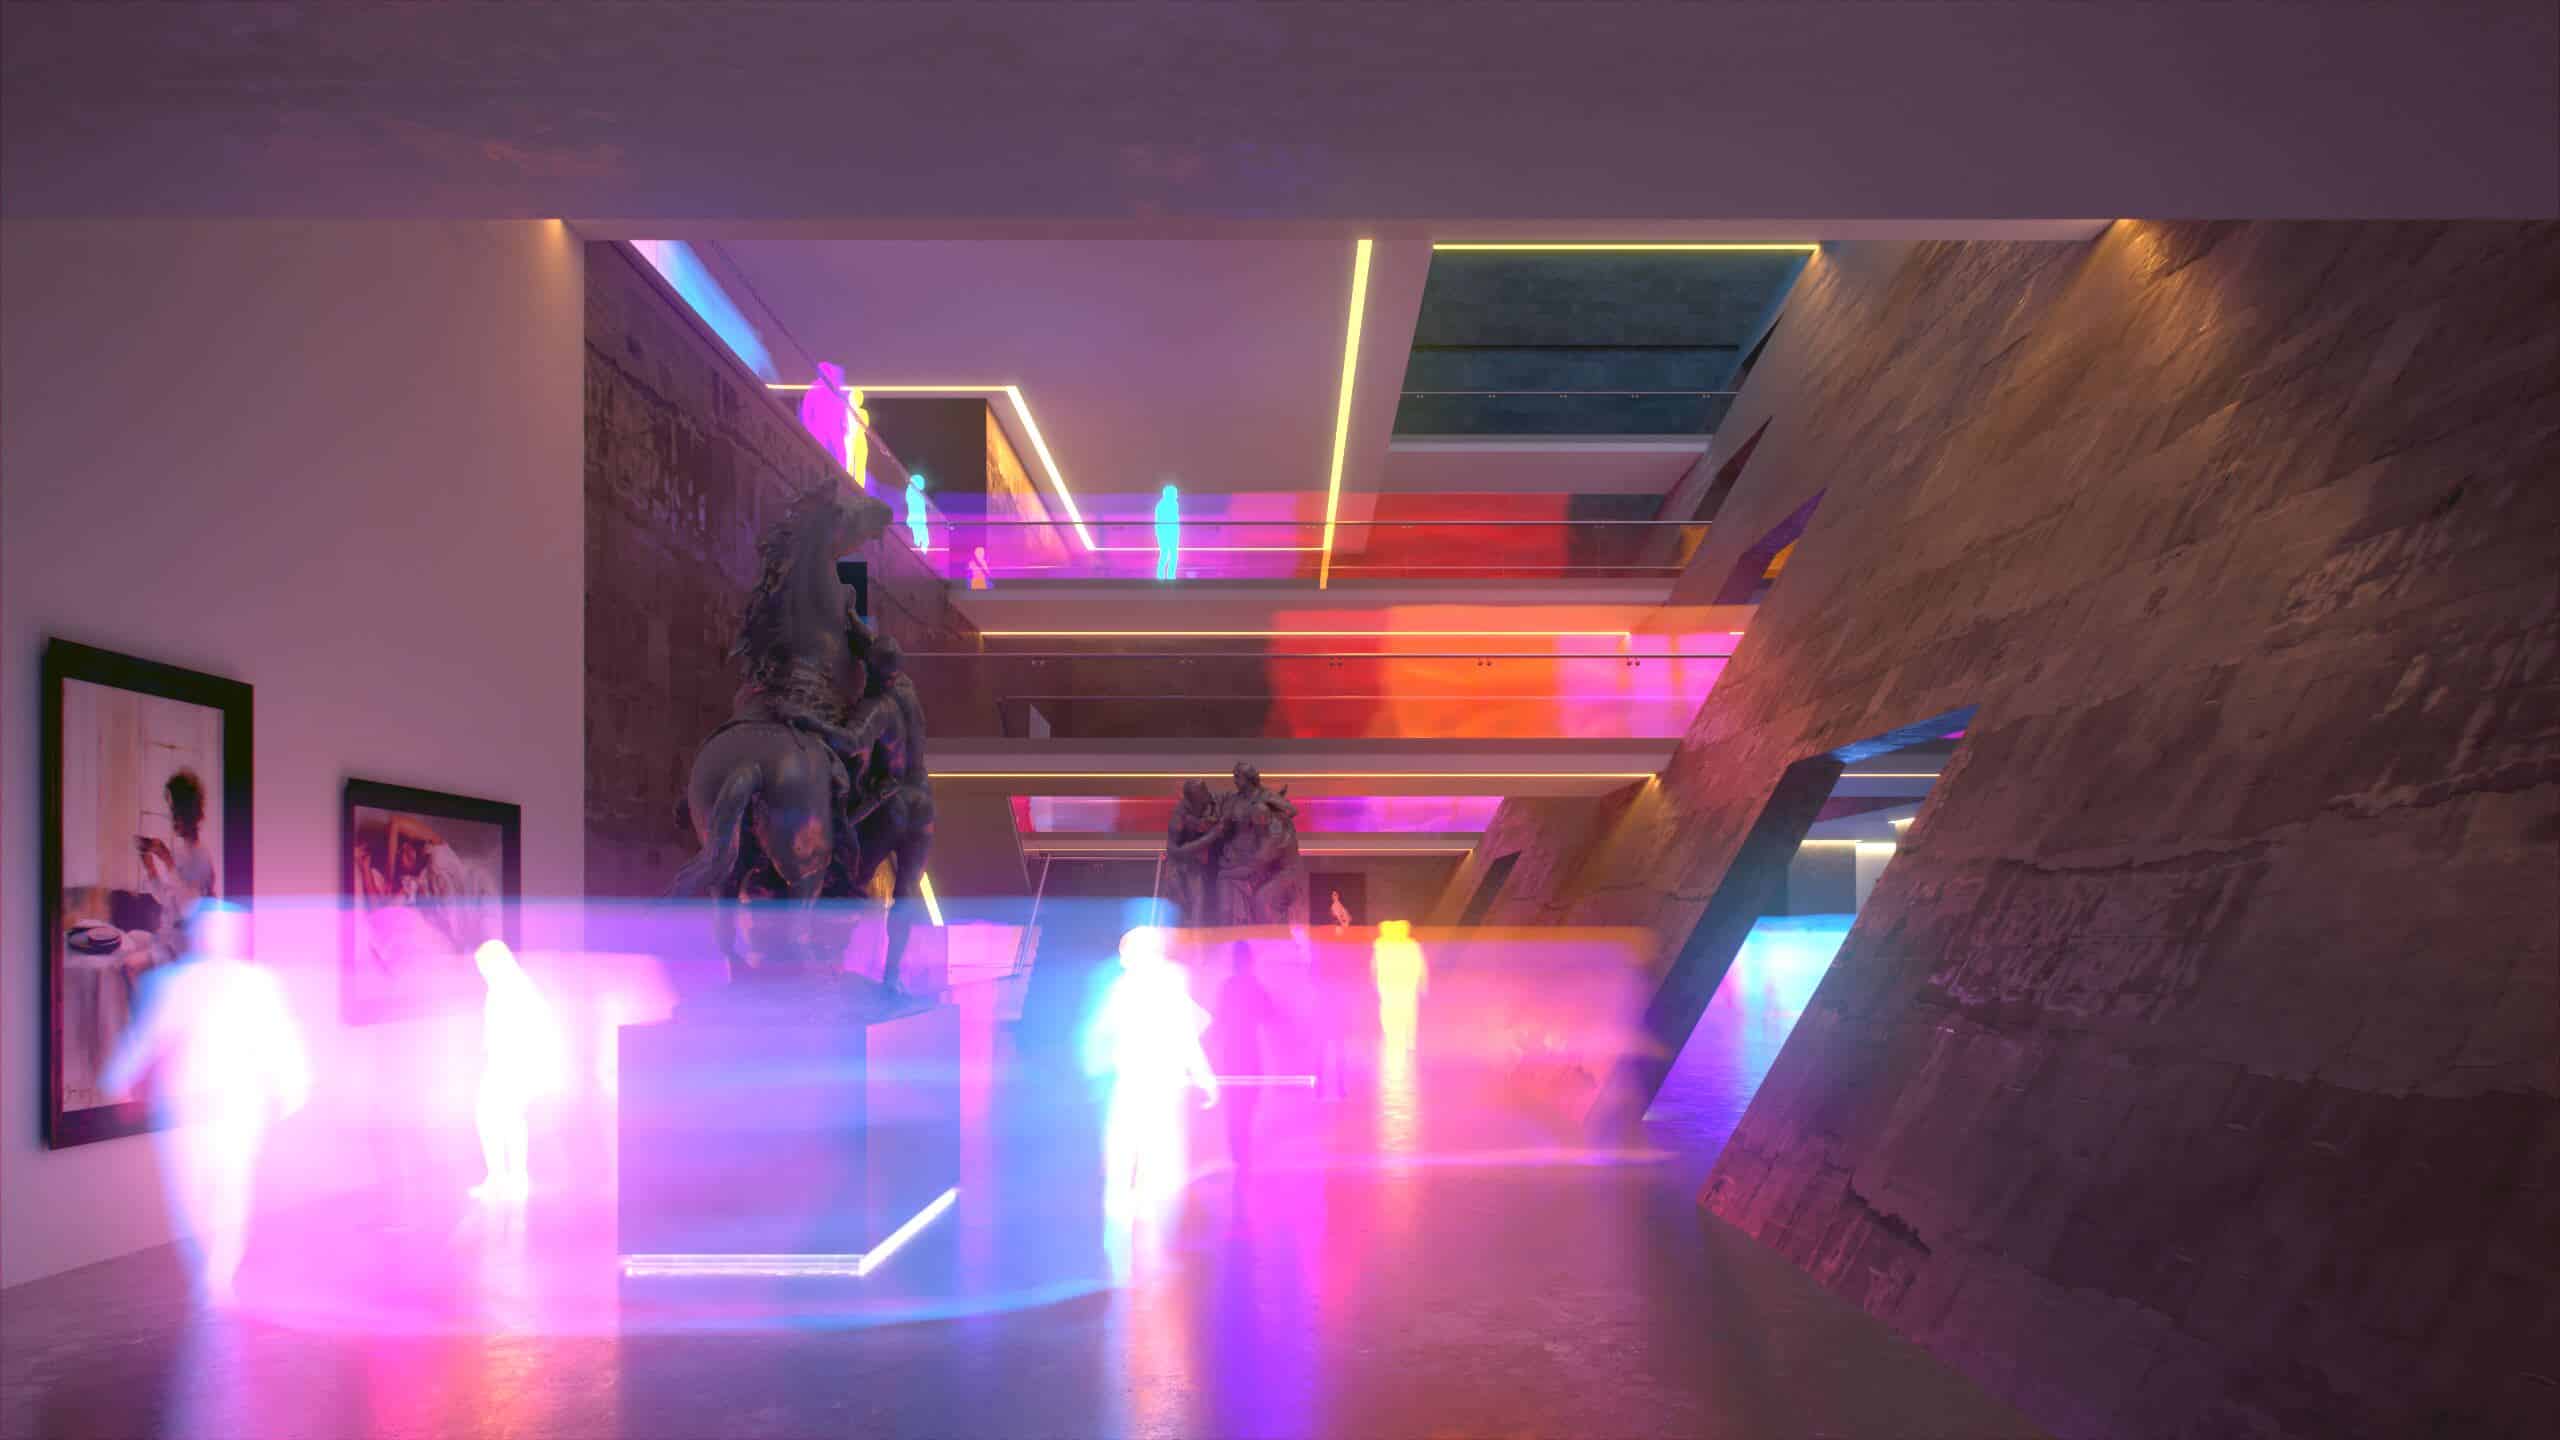
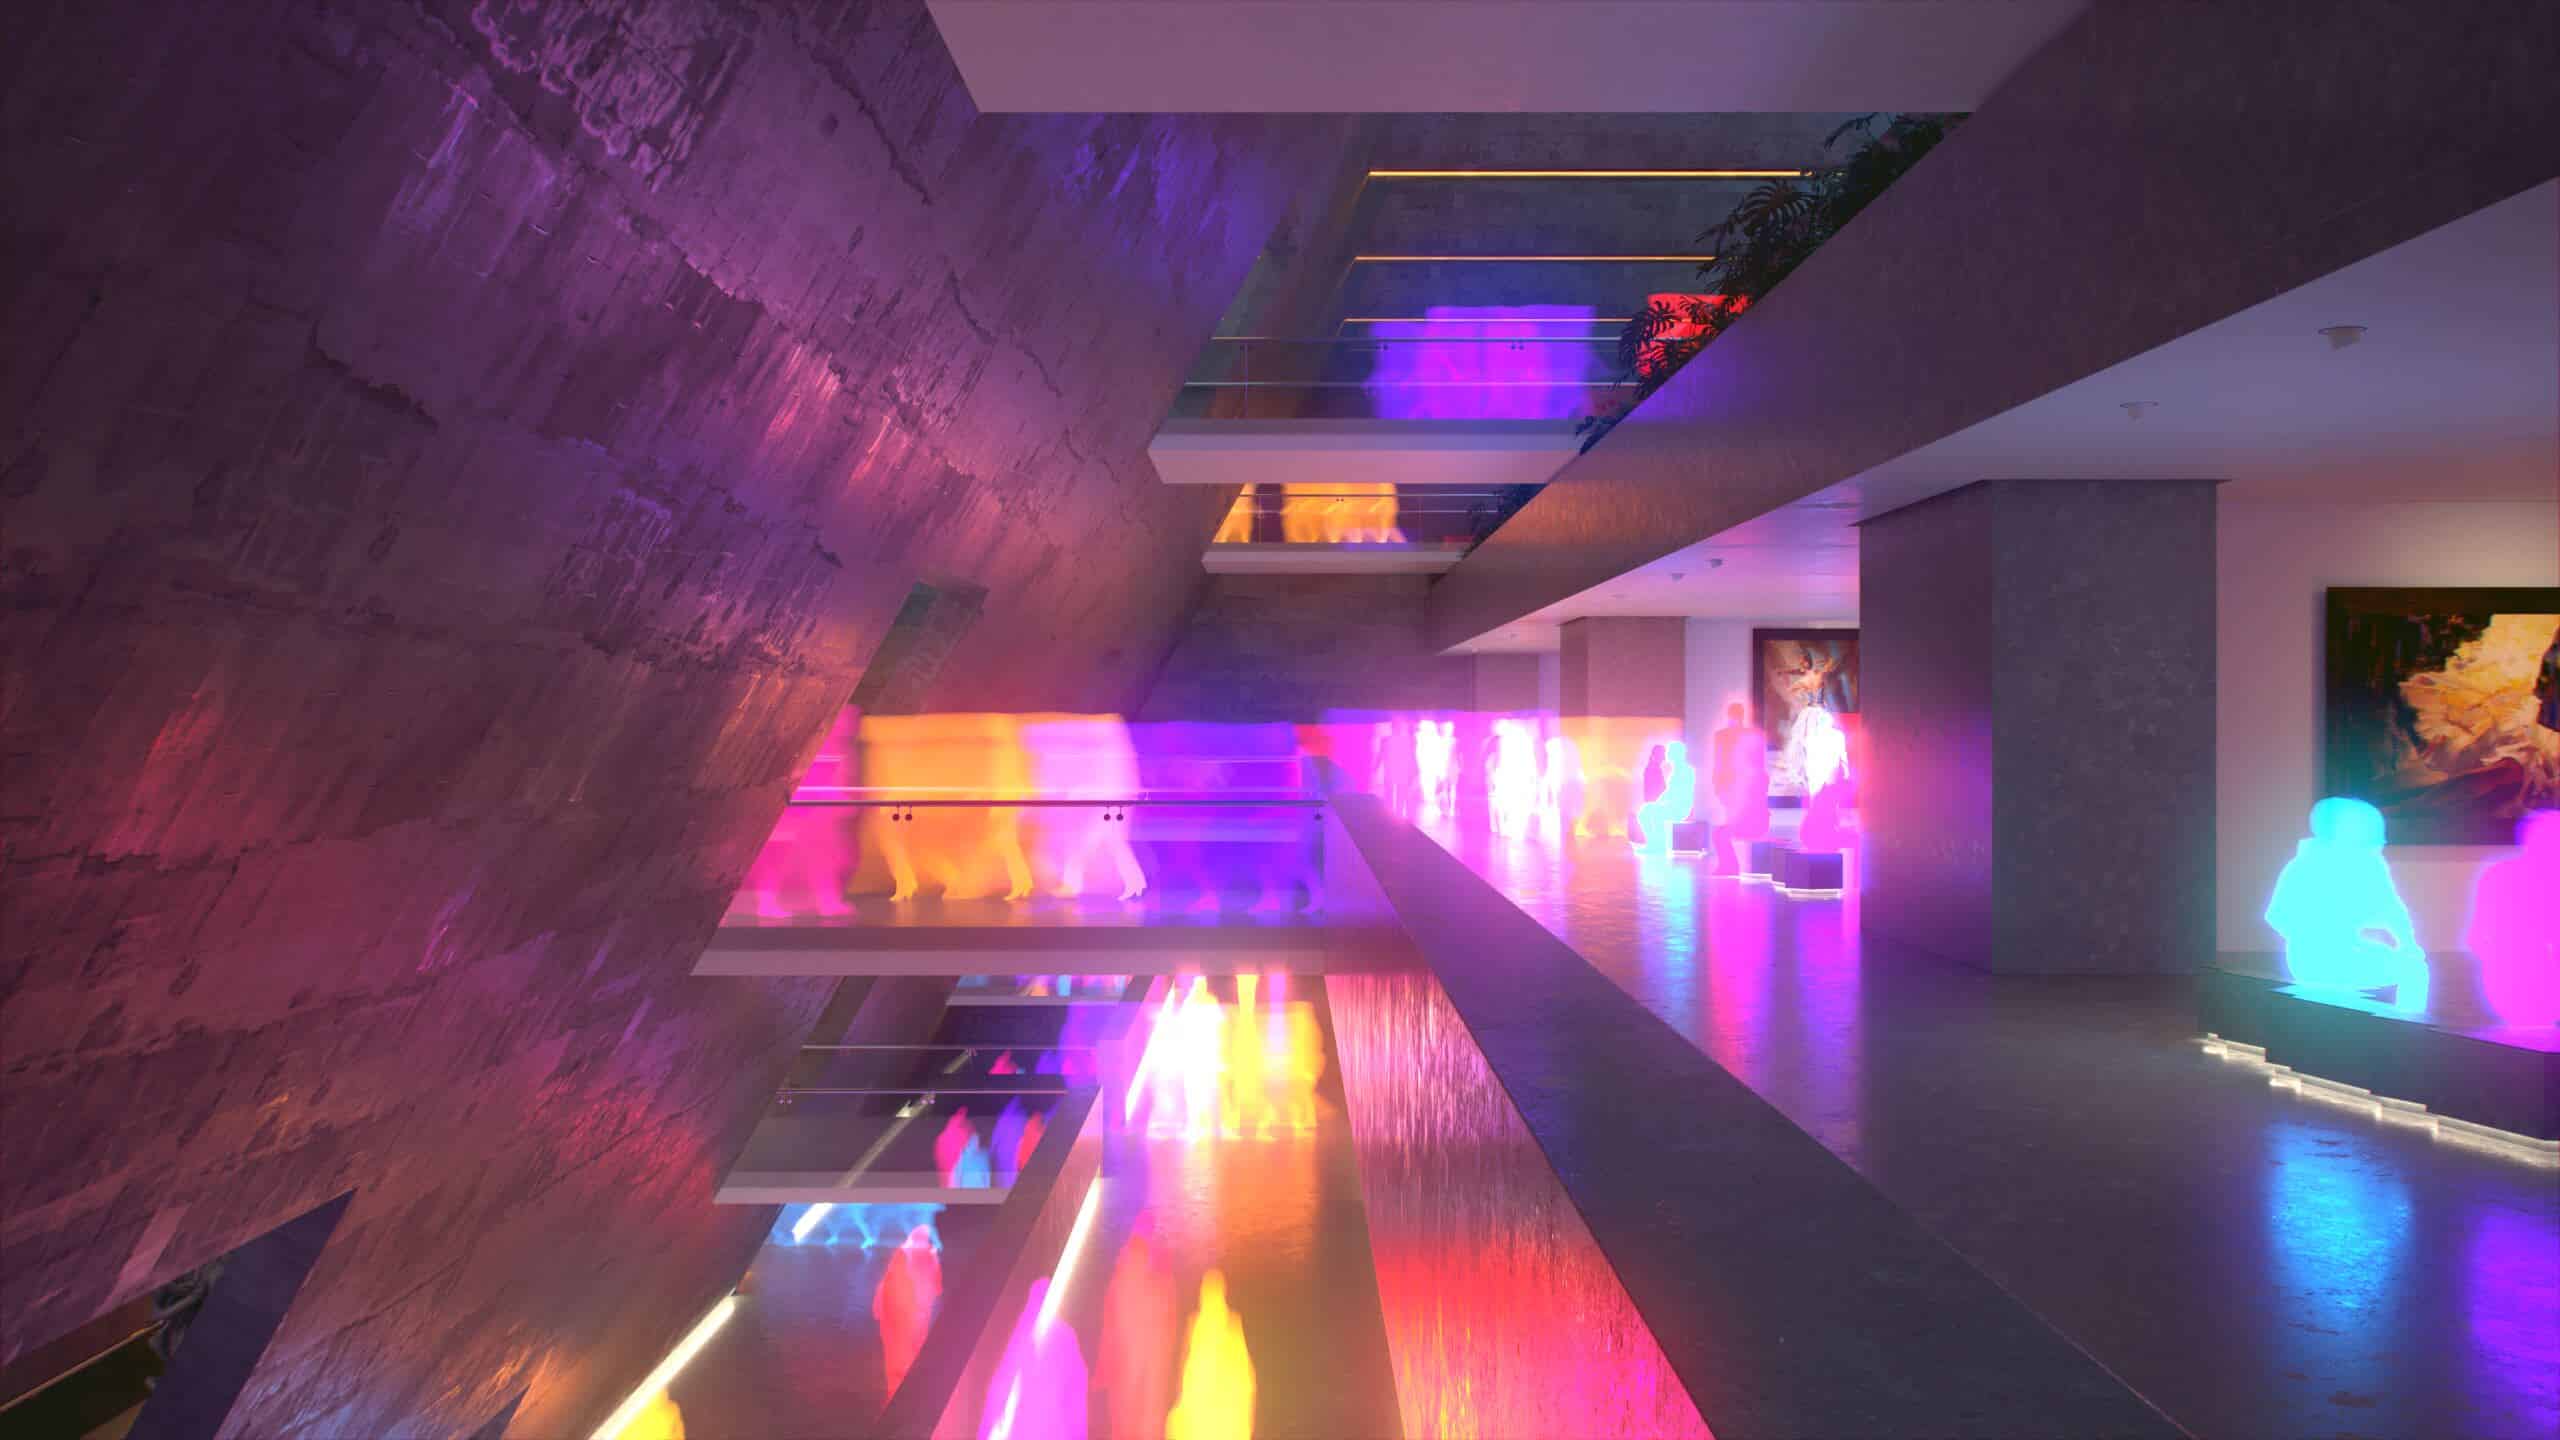
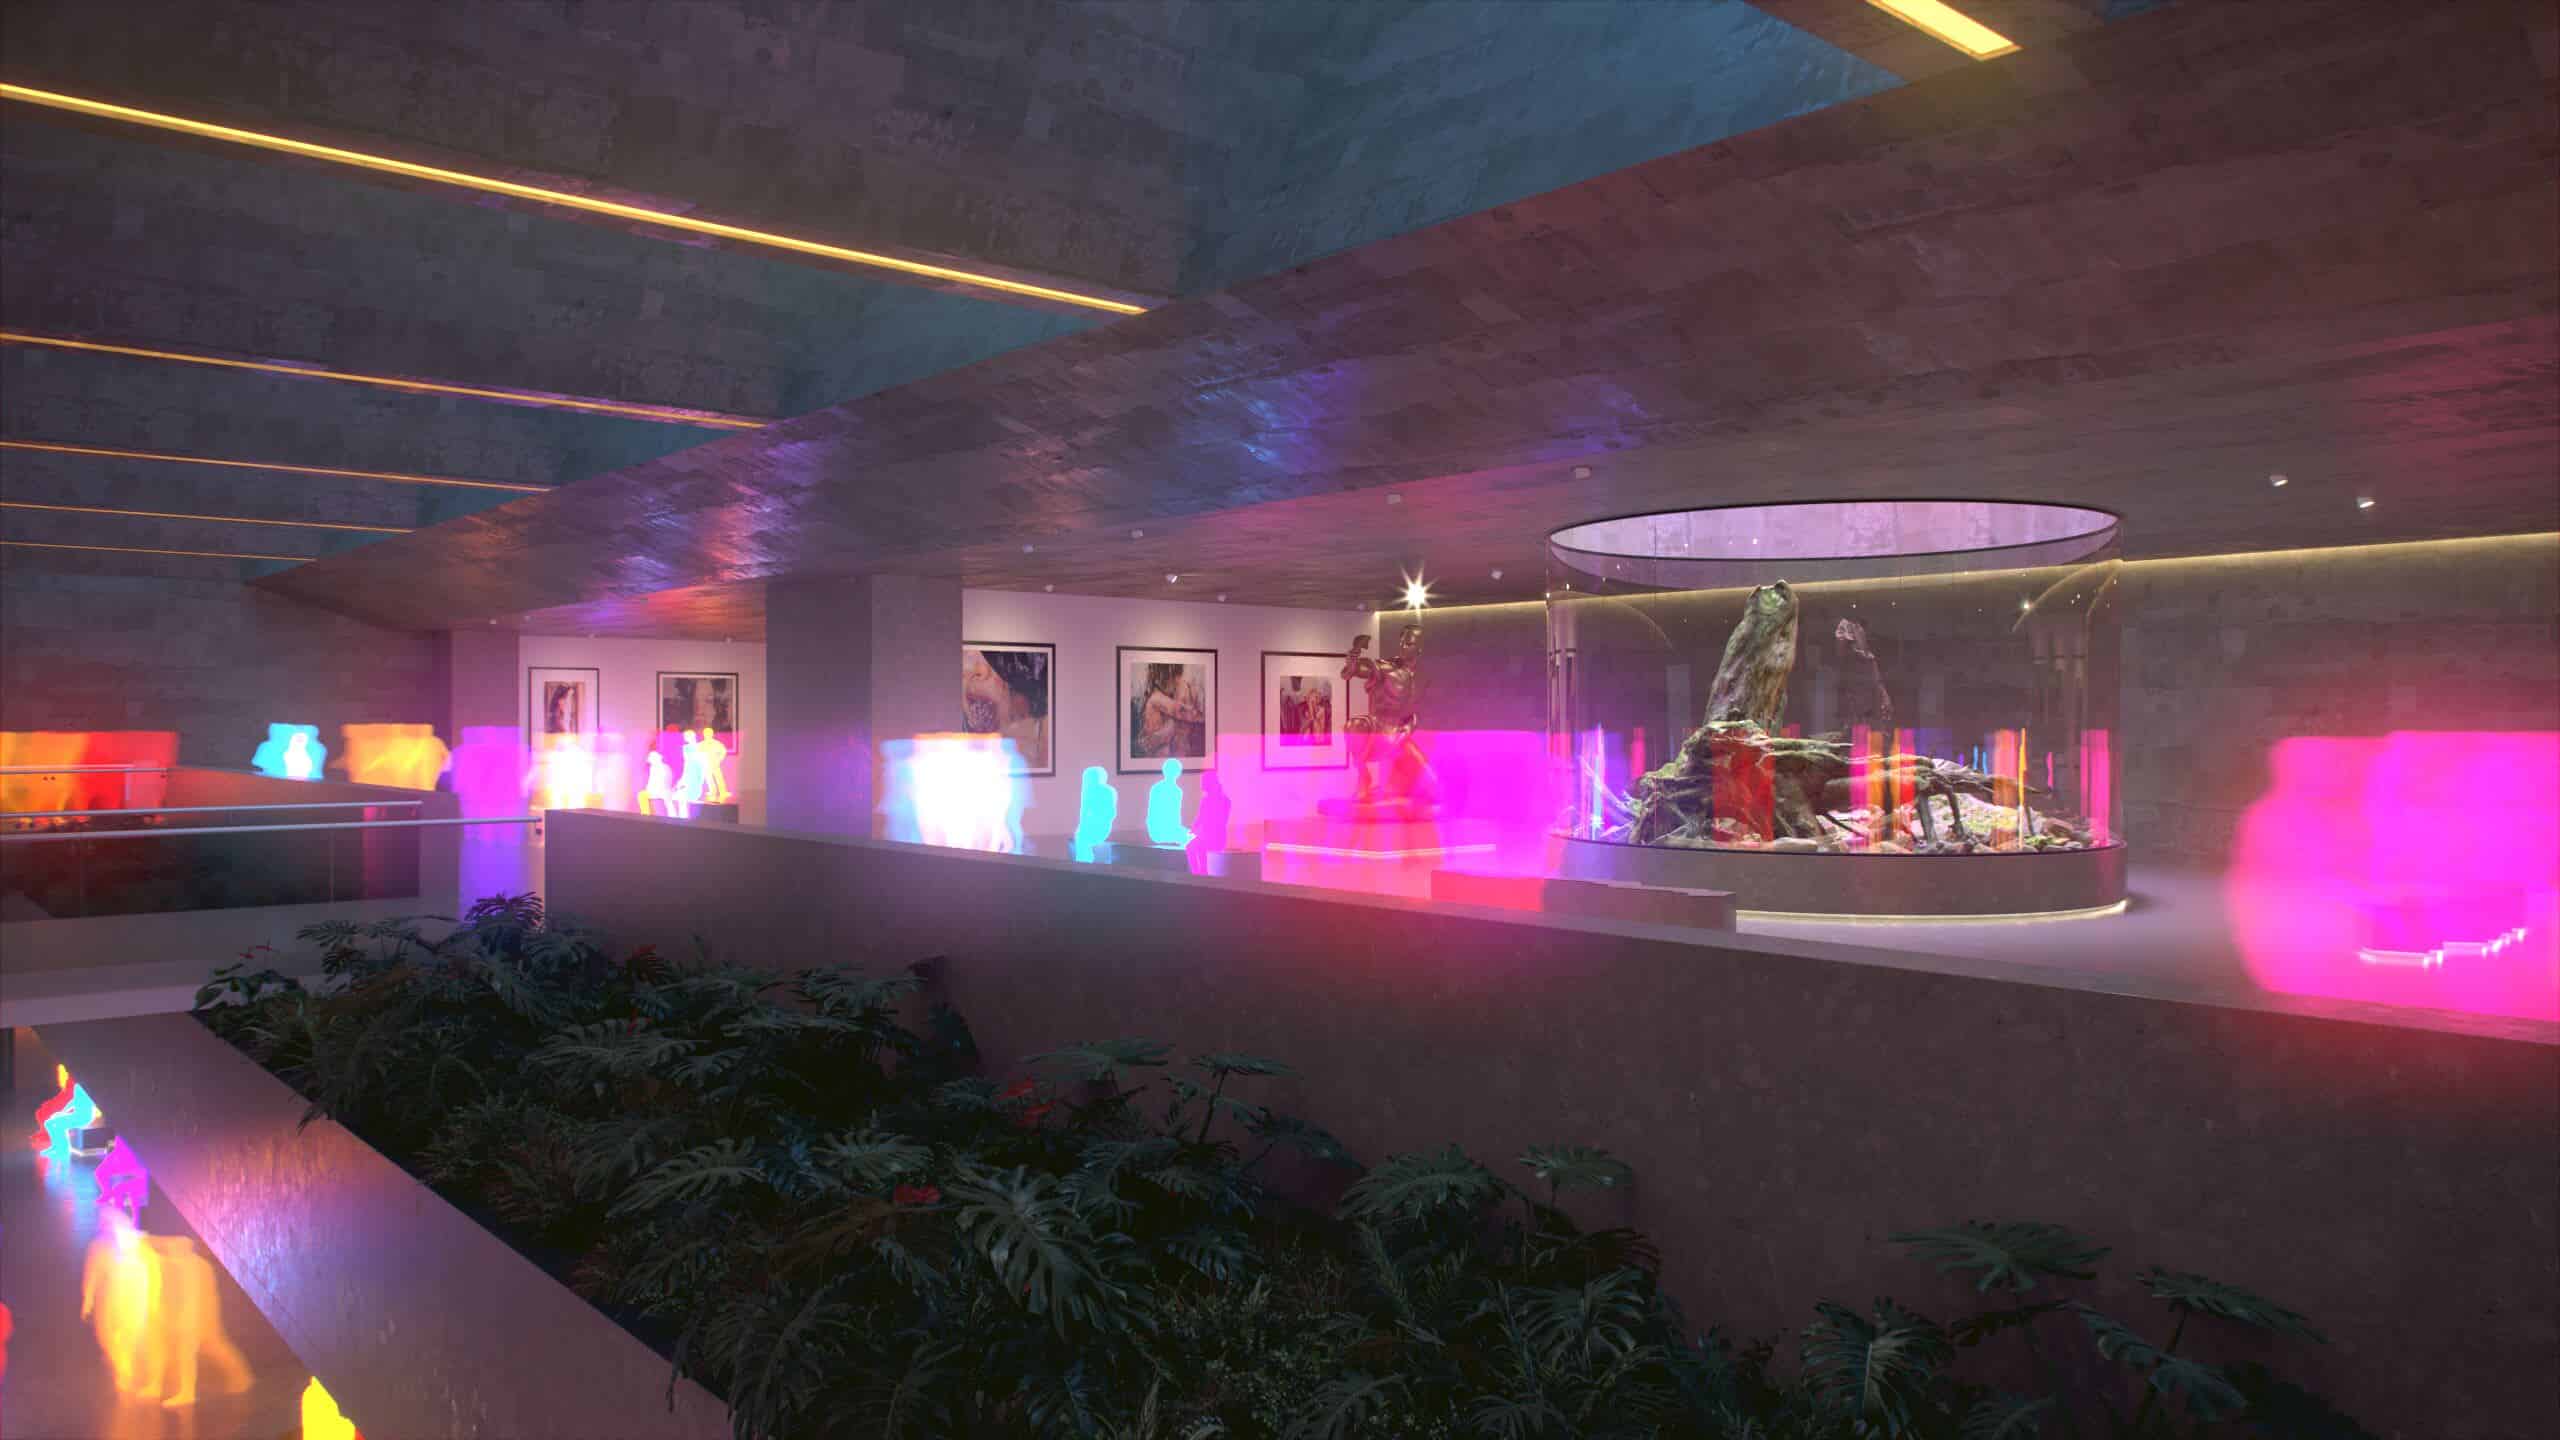
I will show some special effect that can be achieved with V-Ray using very low shutter values and adding more geometry samples to the motion blur effect. In this one I changed the lighting in self, using very low values of scene lighting and changing the actor’s materials to something more colorful. The result was interesting IMO.
Hope you like it…
Light Trails, rendered with V-Ray.
All animated sequences using V-Ray Render Engine was rendered using CGIFARM.
Post Production
The post-production process was easy to do because the resulting render from Corona Renderer was good enough. The final image is not very different than the raw source.
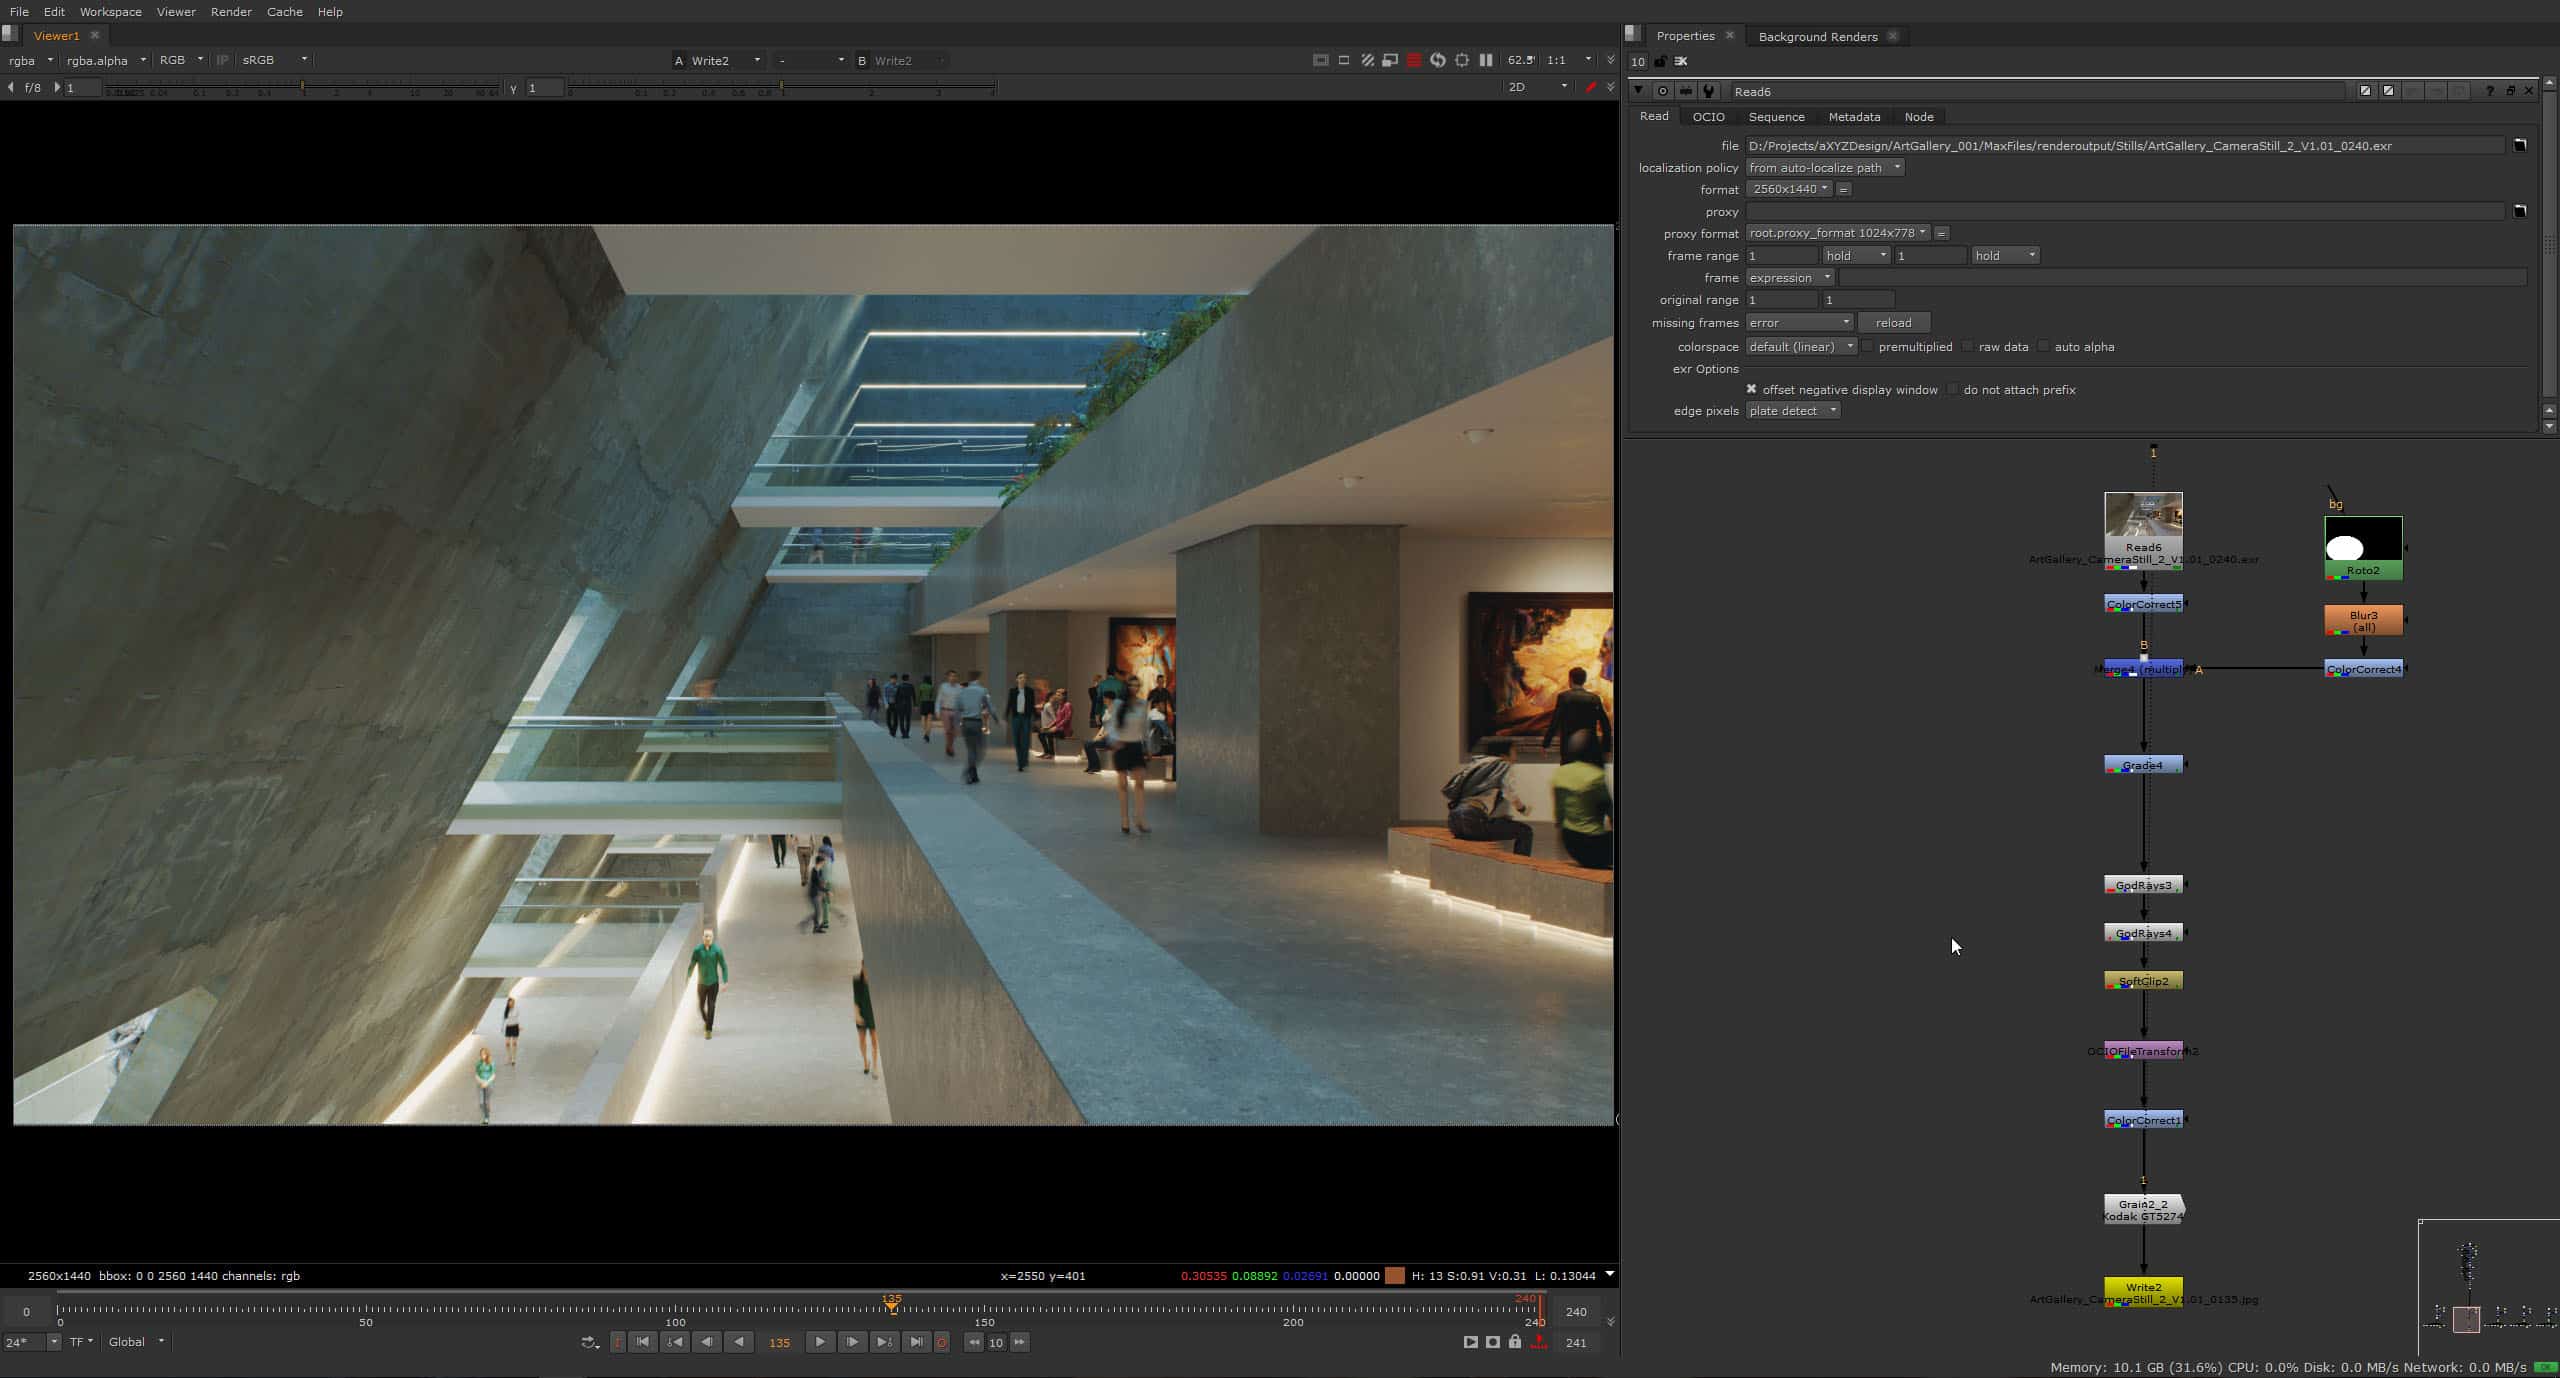
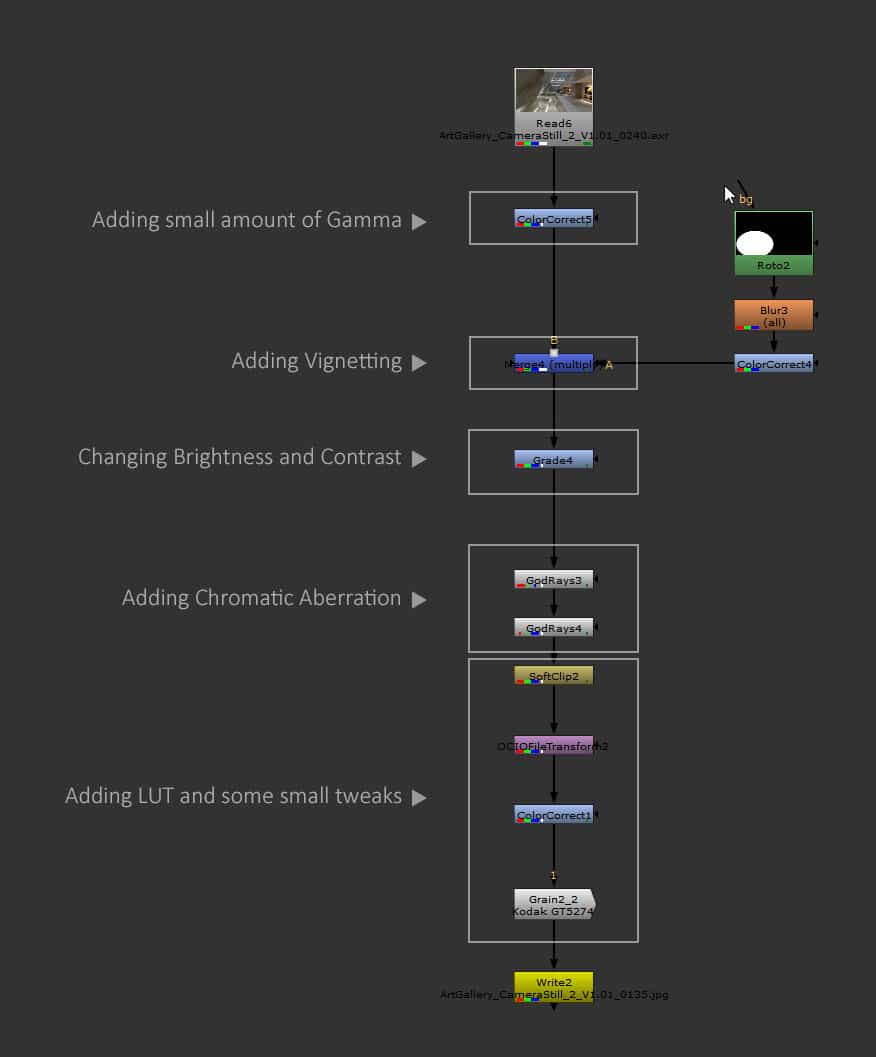
Just adding some tweaks in the Contrast, Intensity, Chromatic Aberration, Vignetting, and LUT. This time all the post-production was done using Nuke because it has an excellent Motion Blur solver.
Stills Post-Production.
Animations Post-Production.
This concludes Part One!
I hope you liked it and I’ll see you in the Making of Art Gallery Part TWO with Unreal Engine.


👍 Great work! Making-of on 5 stars out of 5!
Super nice, though i prefer the clay model version of the humans. Makes it less distracting 🙂
To bad some of the 3d people have super bad modeled hands and such. Probably the older axyz models. Also hand placement is weird, but its tons of work getting all right.
Big respect for such a massive project!
PS thanks for that link of the Sculptures, looks awesome!
A really inciteful walk-through. It helps me understand that I demand too much of a single piece of software at times.
I never thought I would’ve enjoyed the colored light trails as much as I have, but they are quite nice.
😀
Great job! Anima has a hell way to go yet. People look bad and somehow spoil the whole animation. I would suggest next time to think about specific space. It is not a Plaza Shopping mail, it is a Gallery, Art, Heaven. Have you ever seen such Rush Hour while visiting Gallery? I know that author tried to have this intentionally, what I am trying to say ” it is not wrong” ” it looks wrong”. The story is not there. Nevertheless the amount of job is outstanding! Full respect!
Haha you haven’t been to a famous gallery I guess it’s even more crowded. This looks like a artistic view of it. PS it’s some models which are to low poly, I believe that’s is not due to anima. Anima is just the engine controlling it.
Well that’s what I meant – there is not about low or high poly models. It is about animation. When the model is still – it looks ok, while animated they become bent and unnatural. And it is definitely nothing about how crowded is the area or how busy is. It gave wrong impression of running or rushing to work instead of enjoying the moment. It is a breaking philosophy, breaking the Meaning and the reason and purpose. The fundamental goal for any piece of art is ” Freeze the moment” ” Stop the clock” and ” Enjoy!” ” Look how wonderful life is!” What I can only think while watching this is ” Get a .. out of the way!” Let me be there let me enjoy being part of your story… I could be wrong, that is my only humble opinion. All respects for the author
Ever seen a time laps 😉
With all my due respect, we are talking about absolutely different things. Read again and now please do not skip key words ” impression”, ” story”. Ever heard of ” Opinion”?
I wanted to explain that why they look bad. Thats is because these model are low poly, some are probably not build for animation perhaps. Animation ready models have better topology so you wont get weird joint folding. Also its clearly visible on the hands, for example the woman sitting and on that bench. Look at those hammer fists 🙂