


Making of Maison Hermes
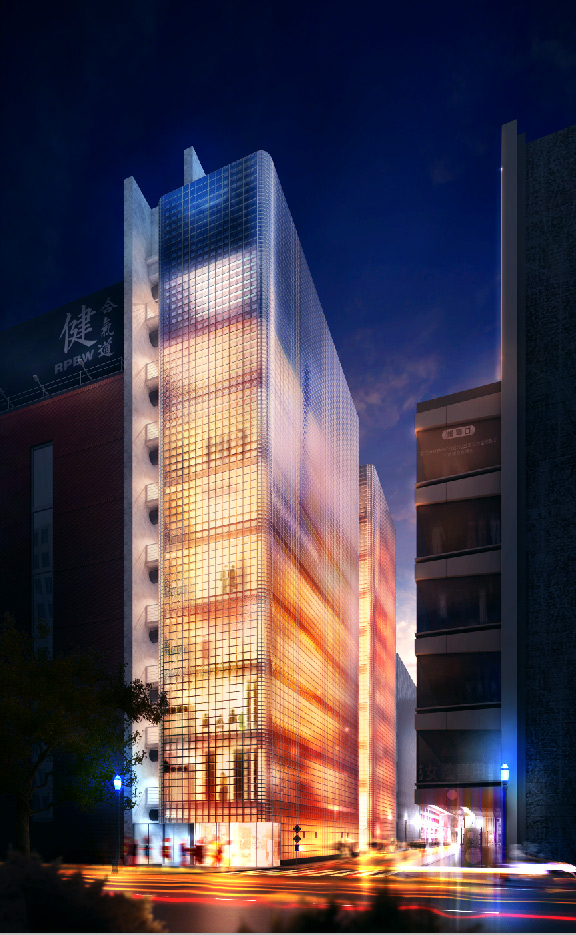
Roberto De Rose from State of Art studio posted his great ‘Maison Hermes’ image at the forum not long ago. I was very impressed with that 3d rendering of Renzo Piano’s building and asked him to share with us how he created it. I hope you’ll enjoy this article and learn from it as much as I did!
 Author: Roberto De Rose (Cepp)
Roberto is a Director at State of Art Studio – An architectural visualization studio based in Italy.
Visit their website at – www.stateofartstudio.com
Introduction.
Hi everyone, welcome to the Maison Hermes Making of. Its difficult for me writing this because I worked without saving step by step information. All that I can show here is the workflow, models and how I get from the rendering to the final image. The actual 3d rendering process is less important since it is, for the most part, a painting job and its all about mixing channels.
Lets start!
Reference Material
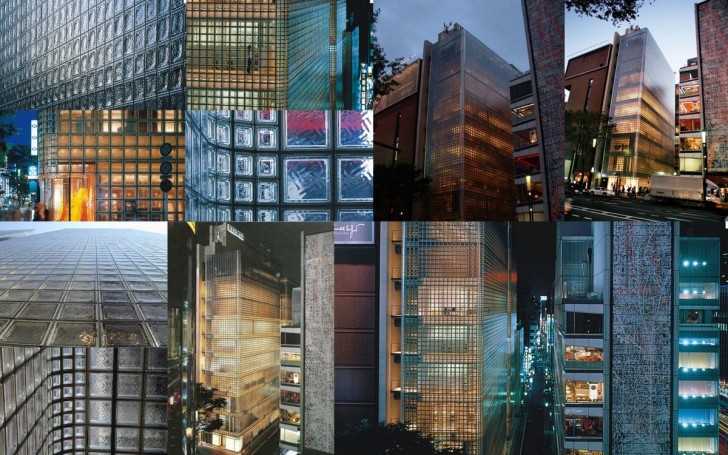
First of all, references!
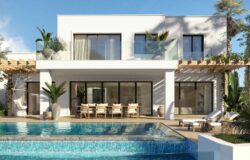
I cant make an artwork (dedicated to our favorite architects) without photos. Famous buildings have something magical about them and I need to understand where I can play with colors and lights to recreate that magic. On the other side its a matter of respect for the architect, i cant make a mistake on proportions or materials. After watching a lot of photos, from various angles and at different time of the day I had an idea for the artworks final mood.
 Modeling & Lighting
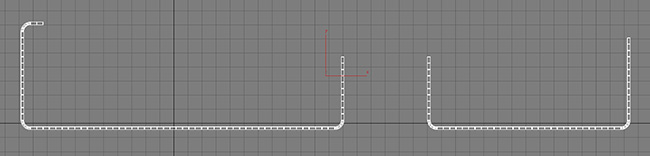
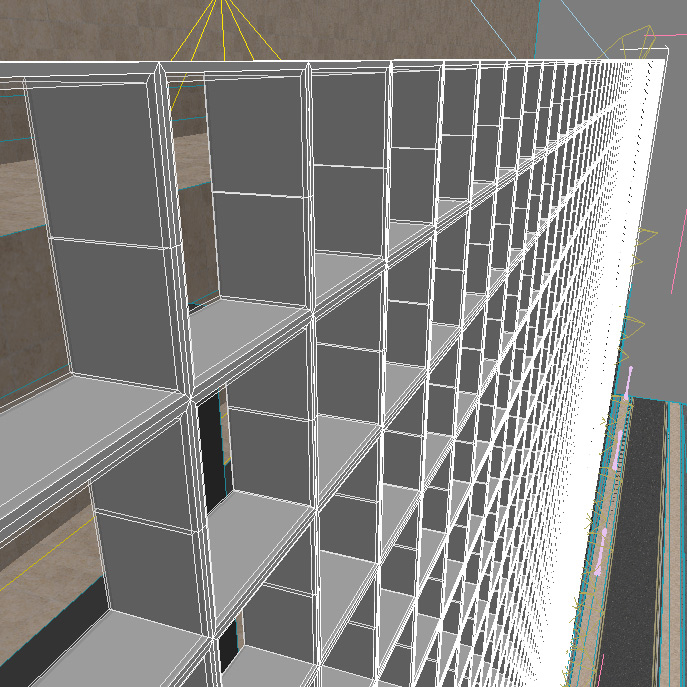
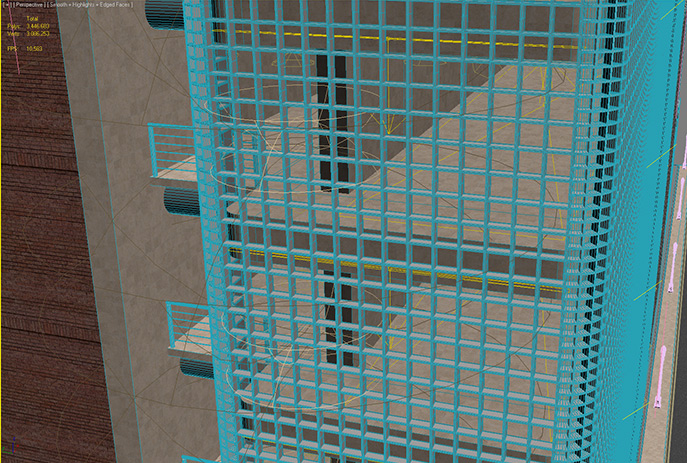
The modeling stage was the easy part, just the 12,000+ glass-blocks gave me a little problem. I made a single mesh for the structure merging the linear 42,8cm glass-block with the 21,4cm angular one. The glass is a unique spline extruded and mapped with a noise to reproduce the distortions.
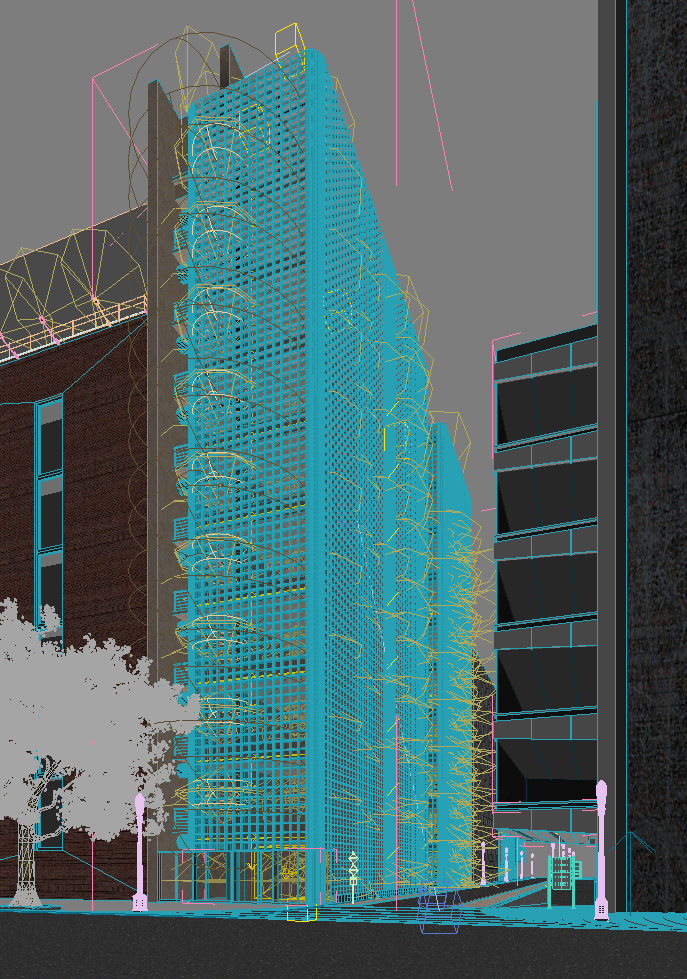
There are 9-12 spot lights on each floor, no HDRI, only a VRay sky with night settings. VRay lights are used on the slabs to improve the illumination. Street lights were made with a VRay light material. In the scene there are a lot of cubes mapped with textures of building to add reflections.
Materials & Rendering
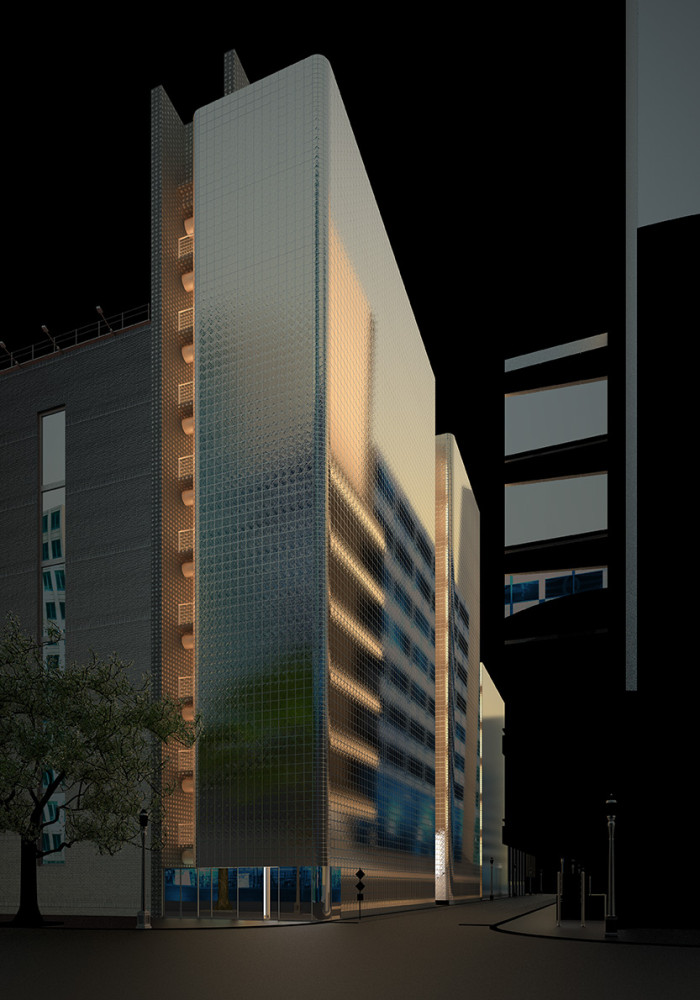
3D Studio Max (3dsmax) & VRay were used to render out an A3 300dpi image (4960×3500). Render time was around 4 hours on a Dual Xeon 5550.
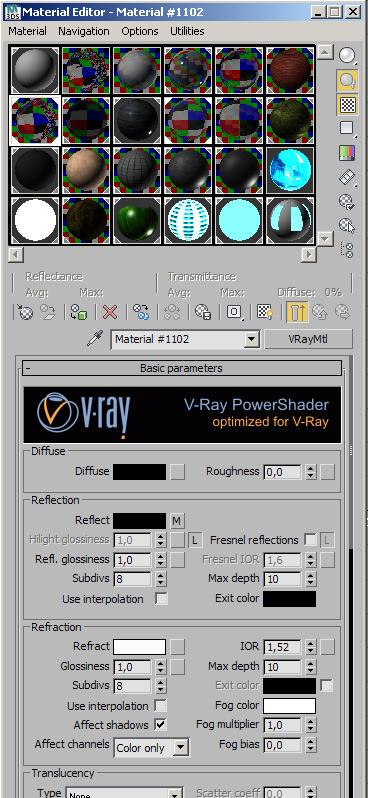
Materials are very simple. I made 3 different type of glass, one for the main structure, one for other buildings and a last one for the mirror effect of the palace at left. Street and pavement mats have a falloff in reflection, no bumps except for the normal map of red bricks.
Render Elements activated are raw-reflections, raw-refraction, diffuse and z-depth. Two Ambient occlusion passes were made, one fine with 40cm and one large with 500cm diameter. Just for fun, I rendered a pass of VRay sky with clouds… this is not really needed but give you some might be used later for making a background.
Post Processing
Finally, we can start with the most fun part of the job!
The Photoshop file is 1.8 GB with dozens of post-production layers so I cant show you every single step. Heres the key points of the work.
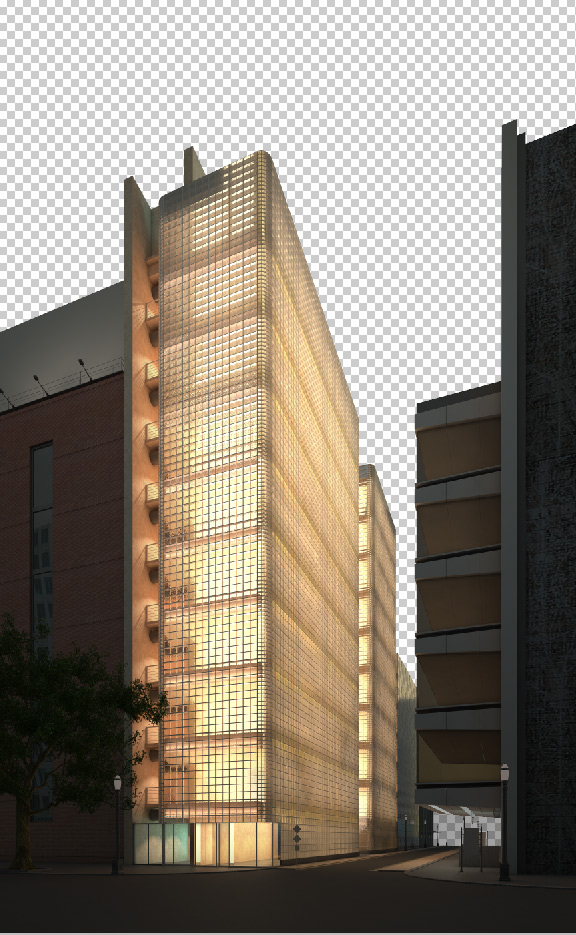
Base Render :
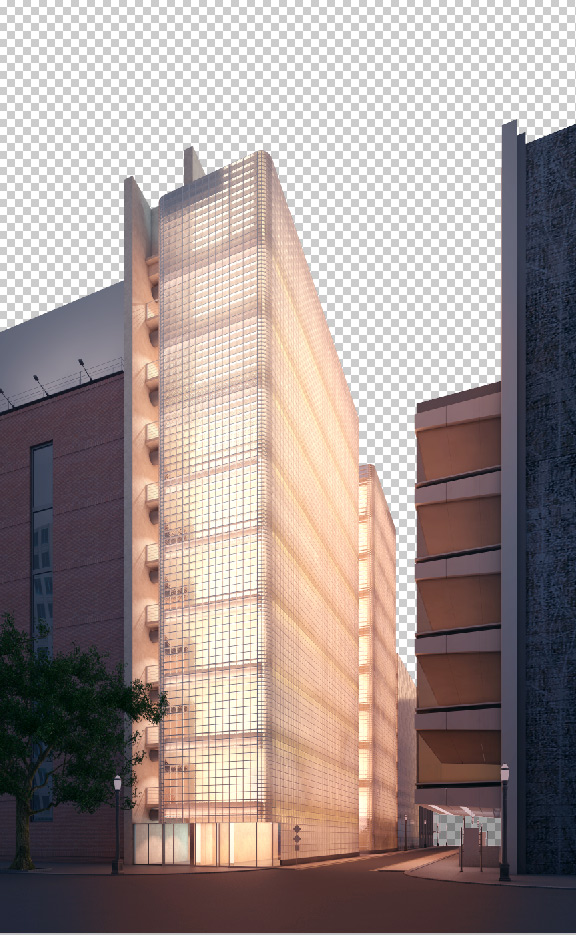
Color Correction for Dusk Time :
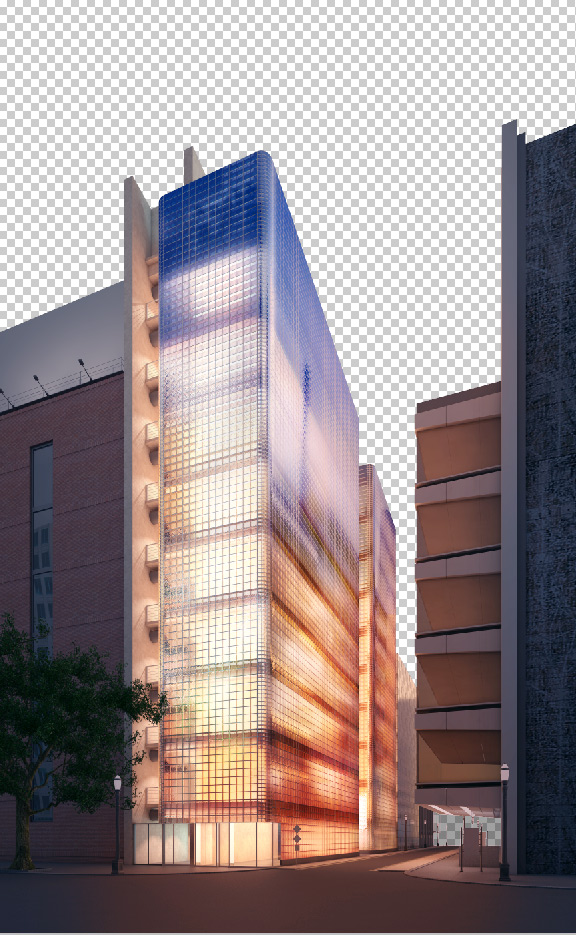
Starting to Paint on Render :
Darkening the Image & Adding the Sky :
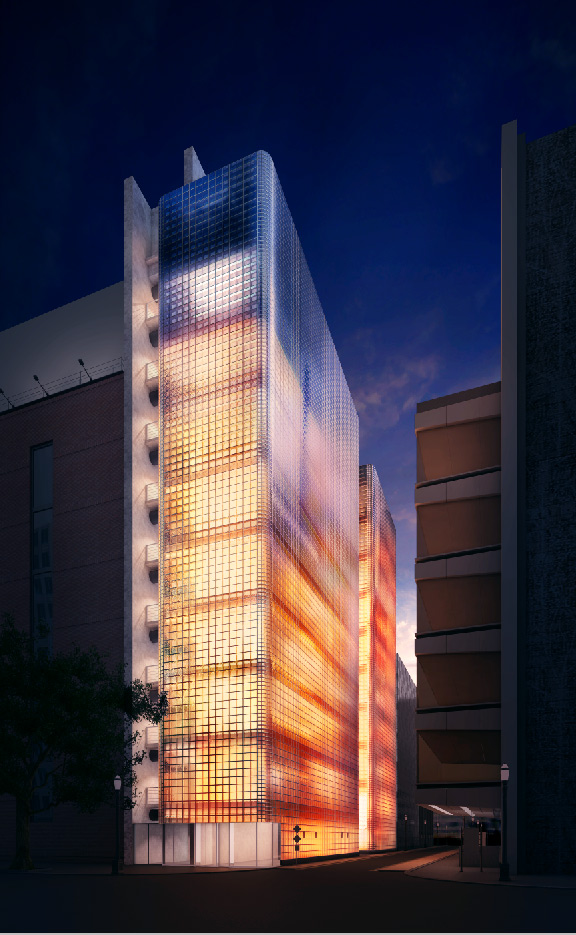
Adding Background, Shops & Car :
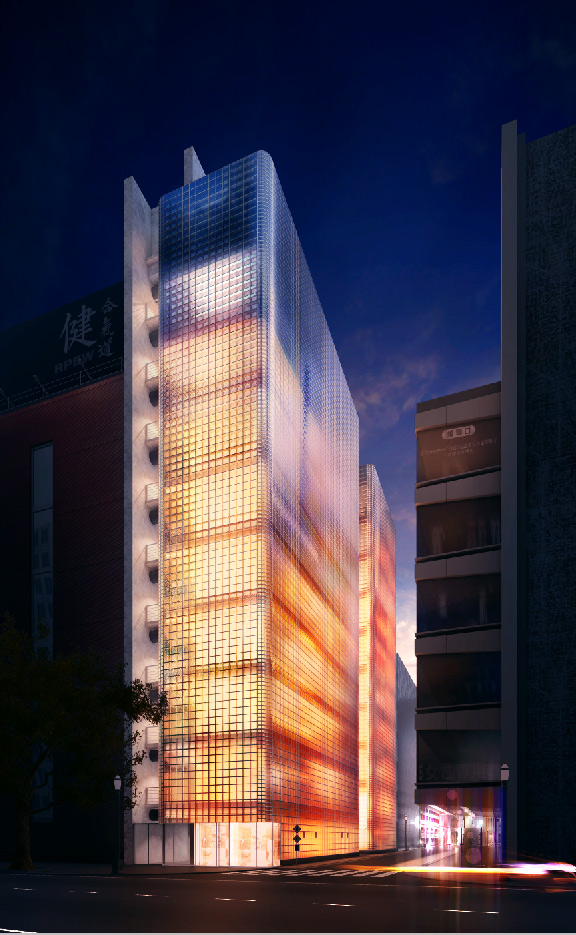
Final Result
Just adding people, more lights and vegetation is left and then we have the final result as you can see below.
You are welcome to comment on this article and ask questions using the comment box below!


very interesting learning material, but could you send me the .max file to get more details … i need it so much
thanks again
Well, this article is a great resource as it is… and Roberto doesn’t have to share the source file if he doesn’t want too.
at least you may make a detailed steps
What do you feel is missing?
thank you for your interest, and about “what is missing” I wish you help me by explaining the materials used in the scene and their parameters also kind of lighting especially of the interior. finally in “post processing” steps need to be detailed.
thanks again
That’s some incredible rendering right there! Looks gorgeous
video tutorial ???
can you make a video tutorial to understand better the process, thanks!
Heya
Nice and interesting tutorial mate! Thanx for sharing…
For the above comments, this image is nothing else than matte paiting… the 3ds max was used only to get base shape and some reflections… no biggi!