


Making of A Kitchen with Corona Renderer
Tomek Michalski, the Founder of Triangle Form, shares the making-of this Kitchen scene with Corona Renderer. This one was built to showcase his Kitchen Equipment collection. Follow him as he describes his process, relying on Corona Renderer and Photoshop for the final touches.
Introduction
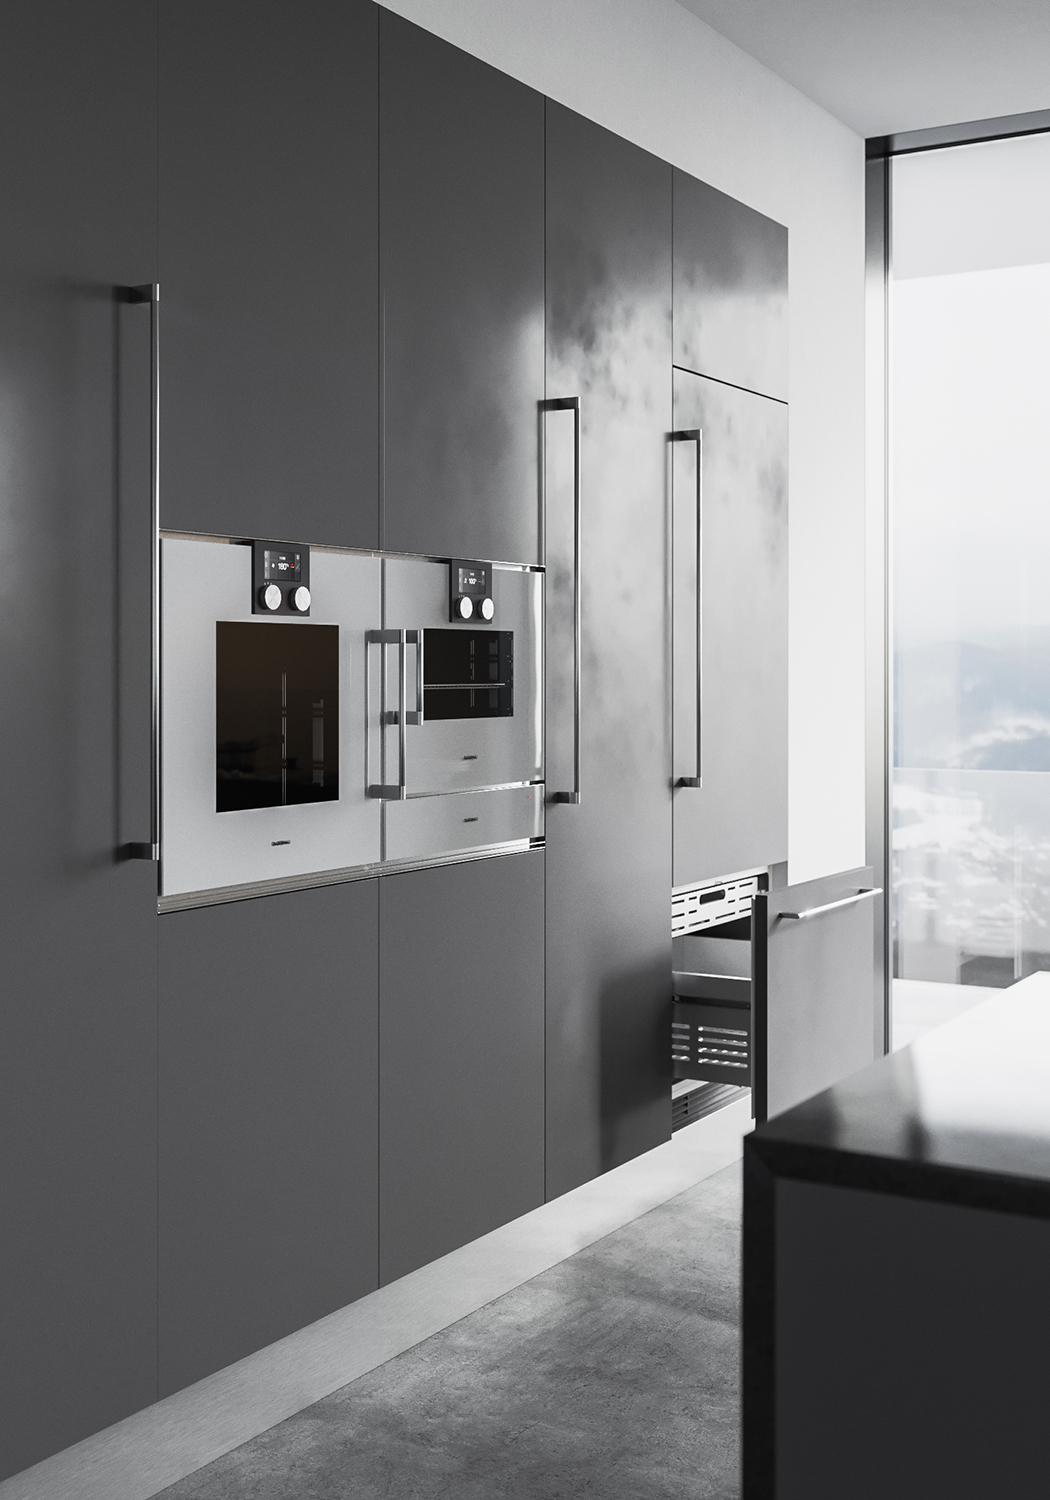
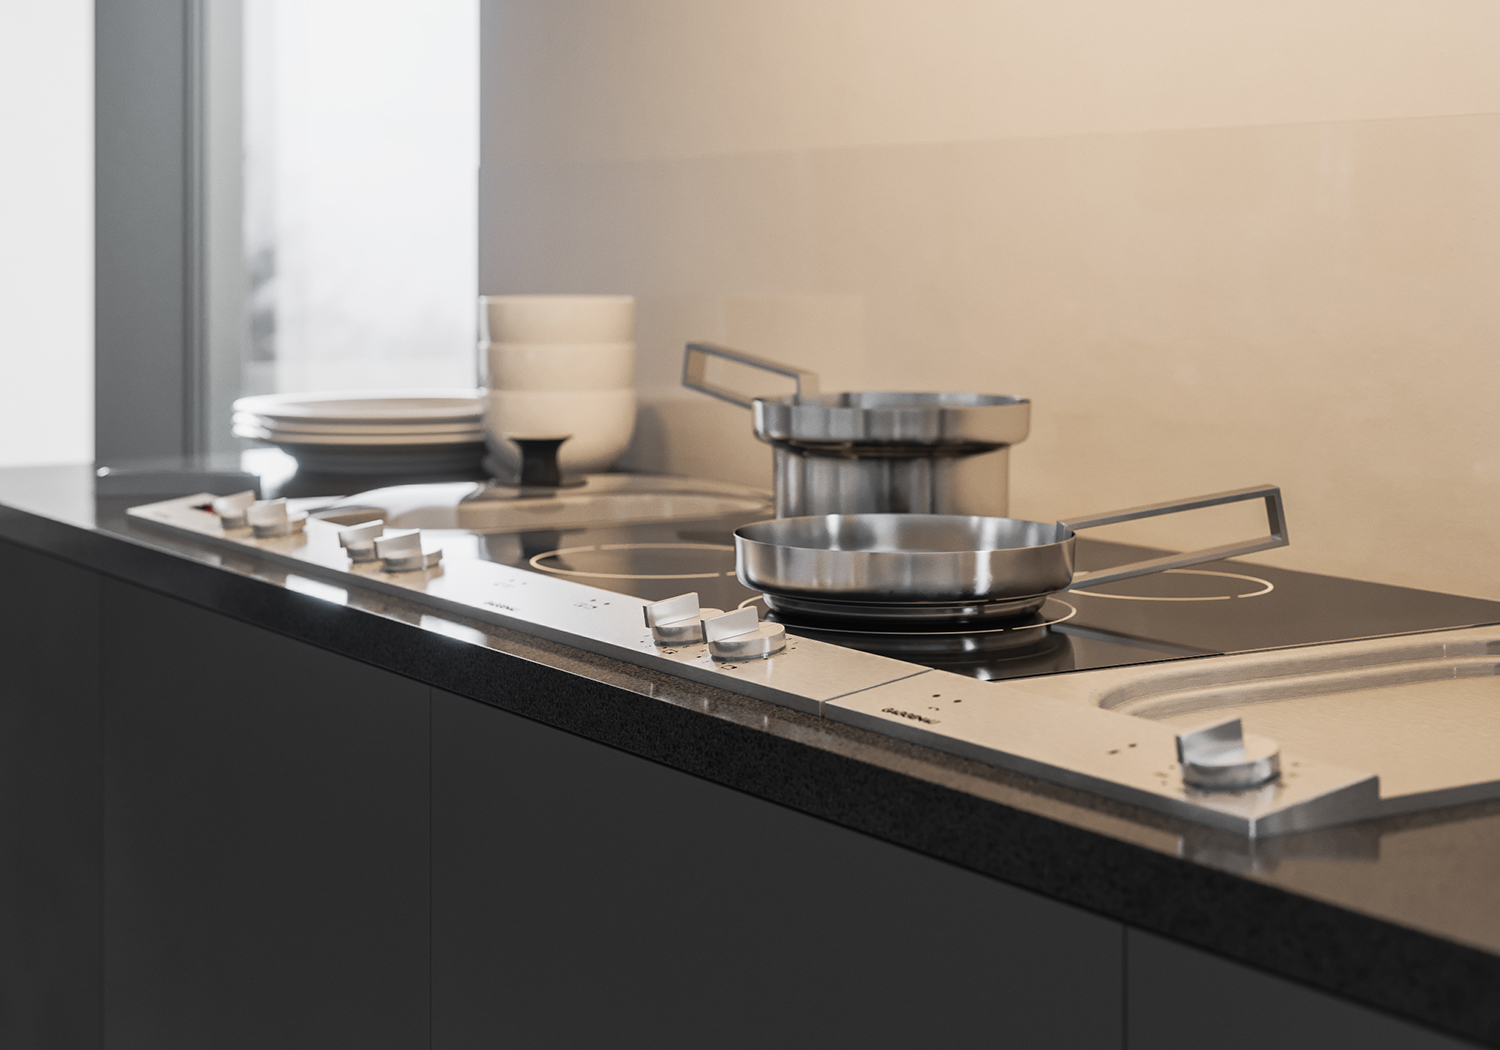
This kitchen scene was made to showcase Triangle Form‘s Kitchen Equipment 3d model collection. Showing them in their original environment seemed the most logical thing, and so a Kitchen scene design and built for this task.
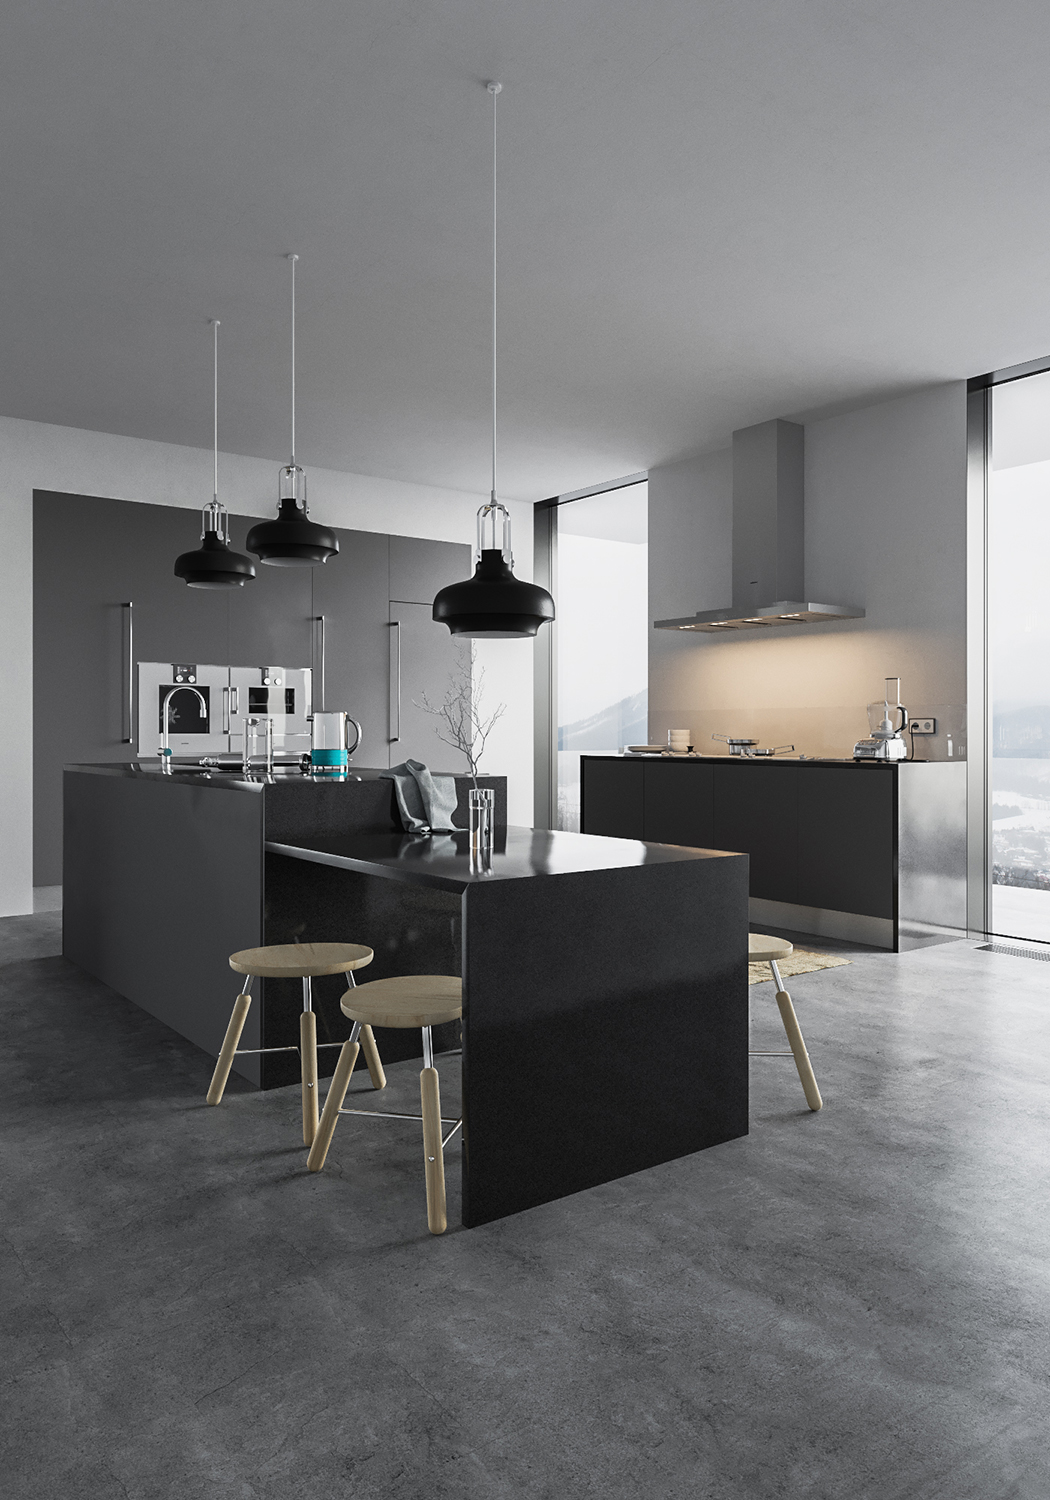
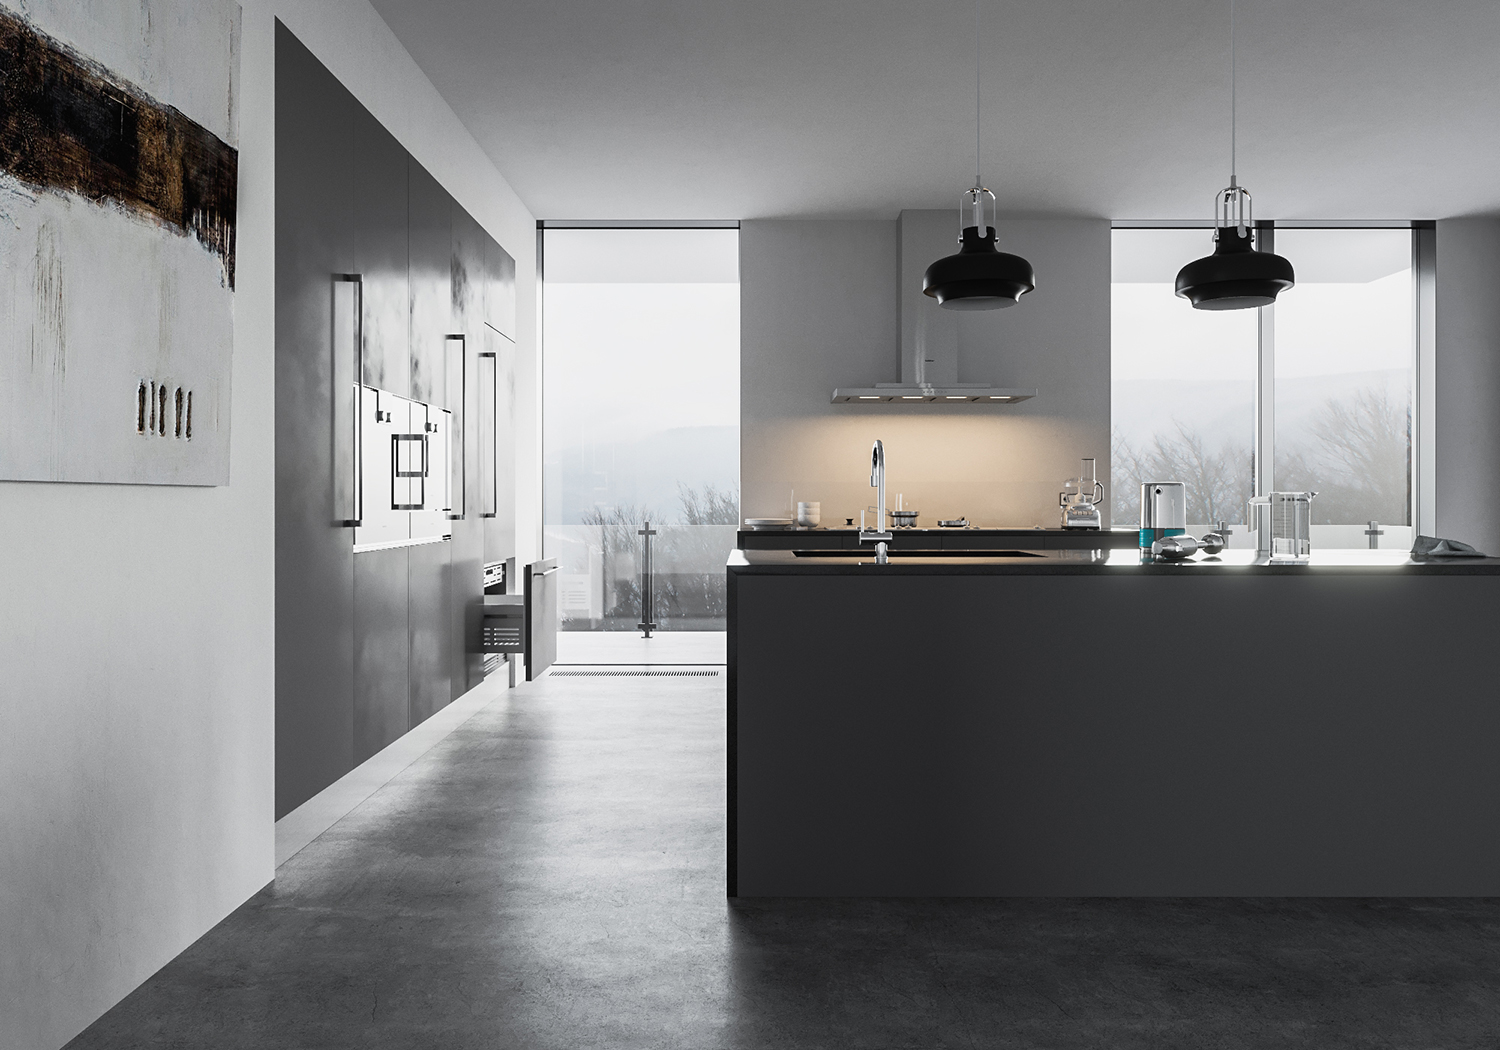
Here are the final images produced for this purpose…
All renderings were done using 3ds max and Corona Renderer.
I had to find a way to fit in all of the 21 items in this rendering series, making sure the overall kitchen look & feel is a good one. For that one must search for some inspiration first!
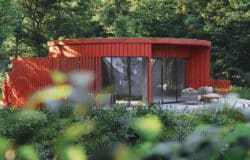
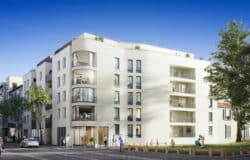
Inspiration
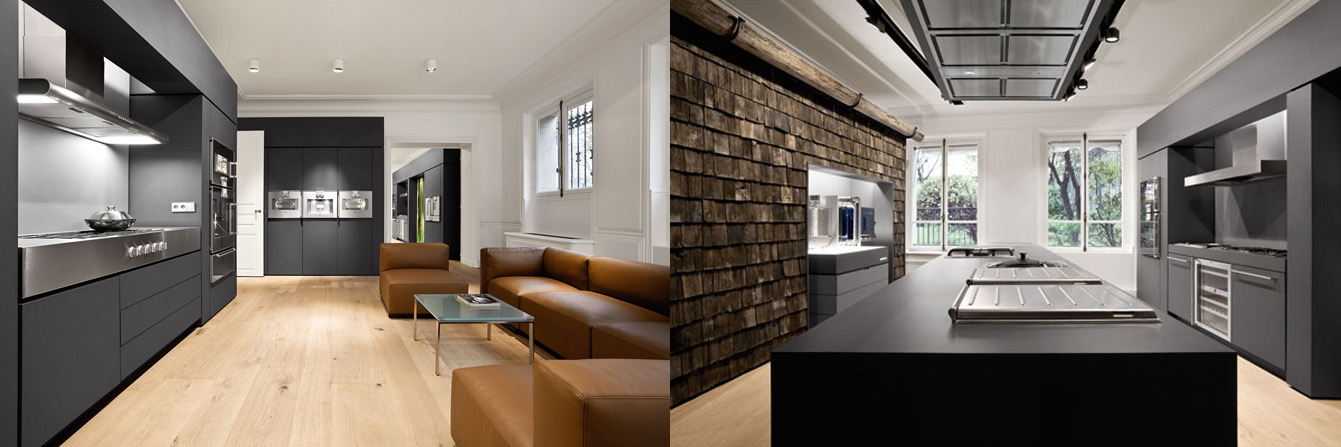
So, searching the web I found mainly two pieces of inspiration shown below. Showing a toned down approach and a really nice blend of dark cabinetry and wood tones, which I used as an accent in my final design.
Among my usual sources for inspiration you can find :
Pinterest is really nice with the board making feature, serving as a BIG moodboard eventually.
The Moodboard
I usually set a project moodboard, gathering the characteristics of the project on one board in order to stick to the chosen colour scheme as much as possible. I can always refer back to this one in a short glance and keep my focus as new ideas always try to sneak in!

The Scene Setup
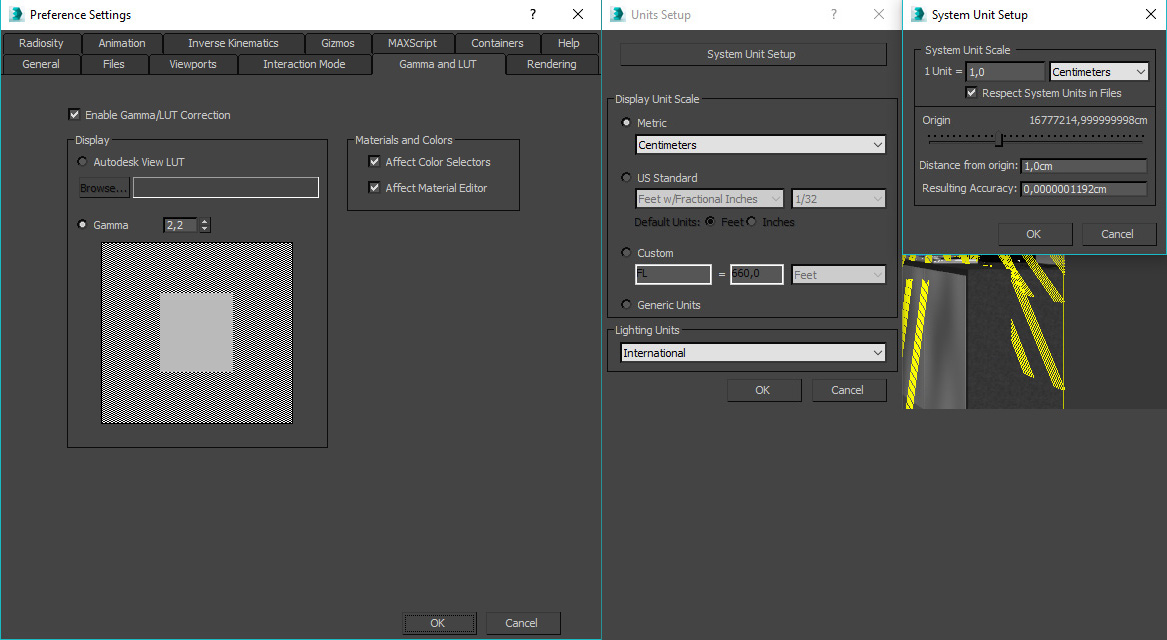
Gamma settings in Corona Renderer are the same as in V-Ray.
Units setup that I’m using is centimeters. They are for me the most universal to both exteriors render and interiors render.
3D Modeling
You probably see I aimed at making that part easy for me 😉
I didn’t spend a lot of time on 3d modeling. The models are very simple.
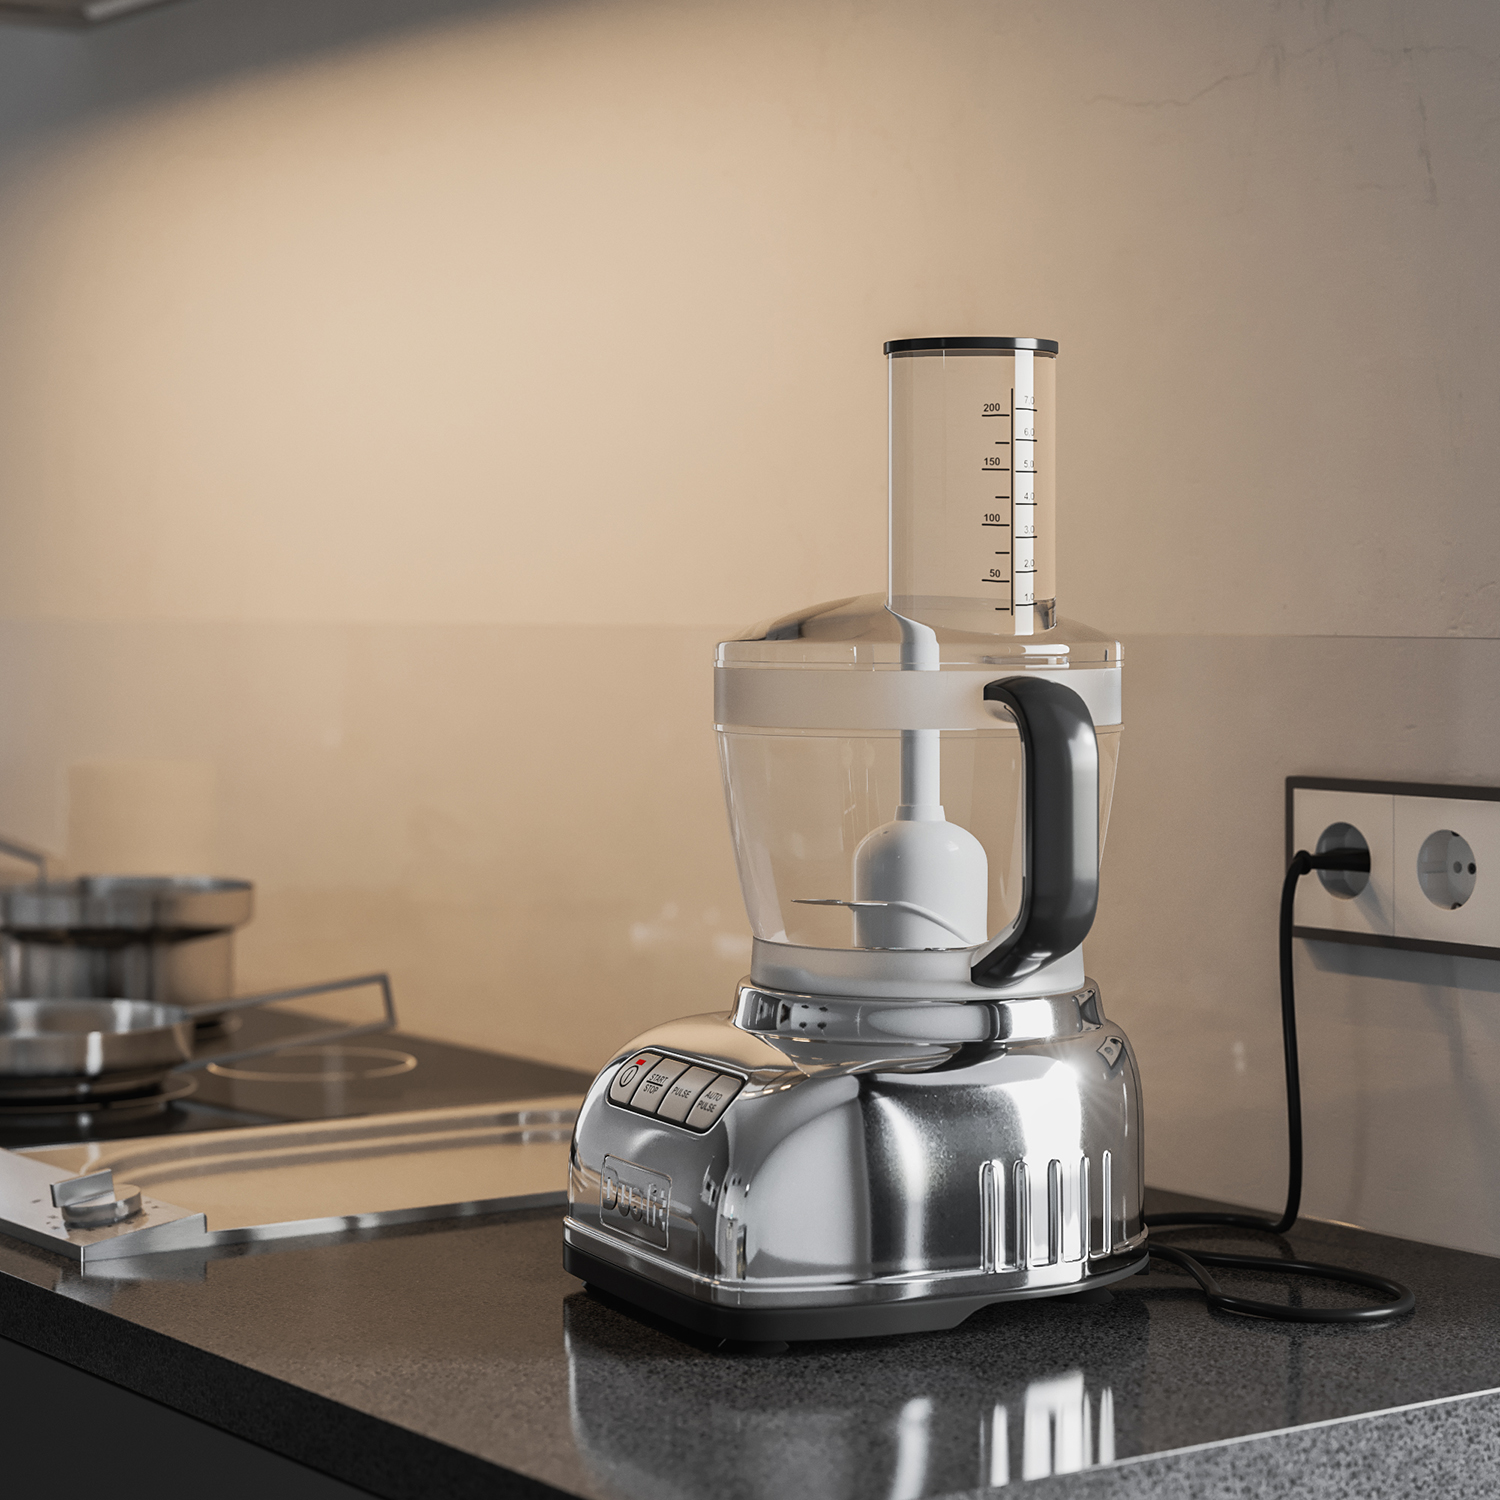
The importance for me was in the lighting and photographic quality of the shots. I used models from the Kitchen Equipment collection to populate the scene, which works with 3dsmax V-Ray and Corona as well as Cinema 4D + V-Ray for those who use that platform.
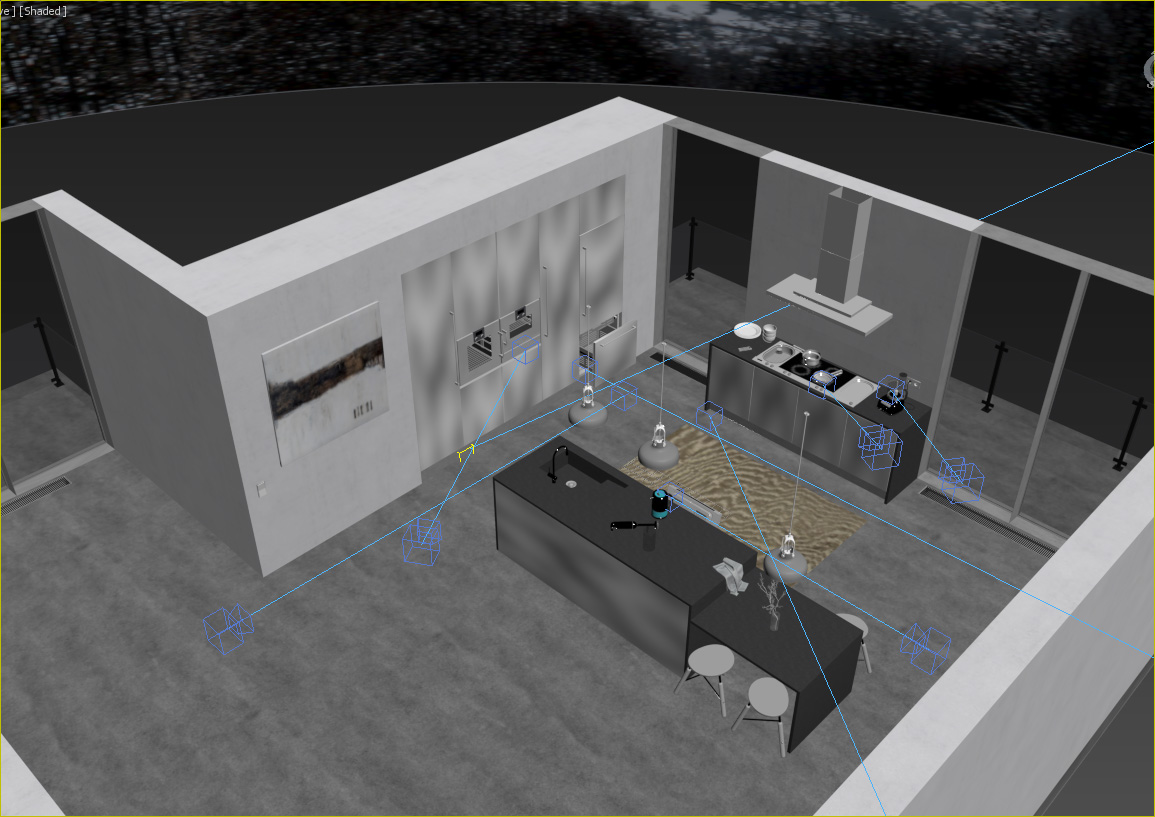
Here is the kitchen scene overview :
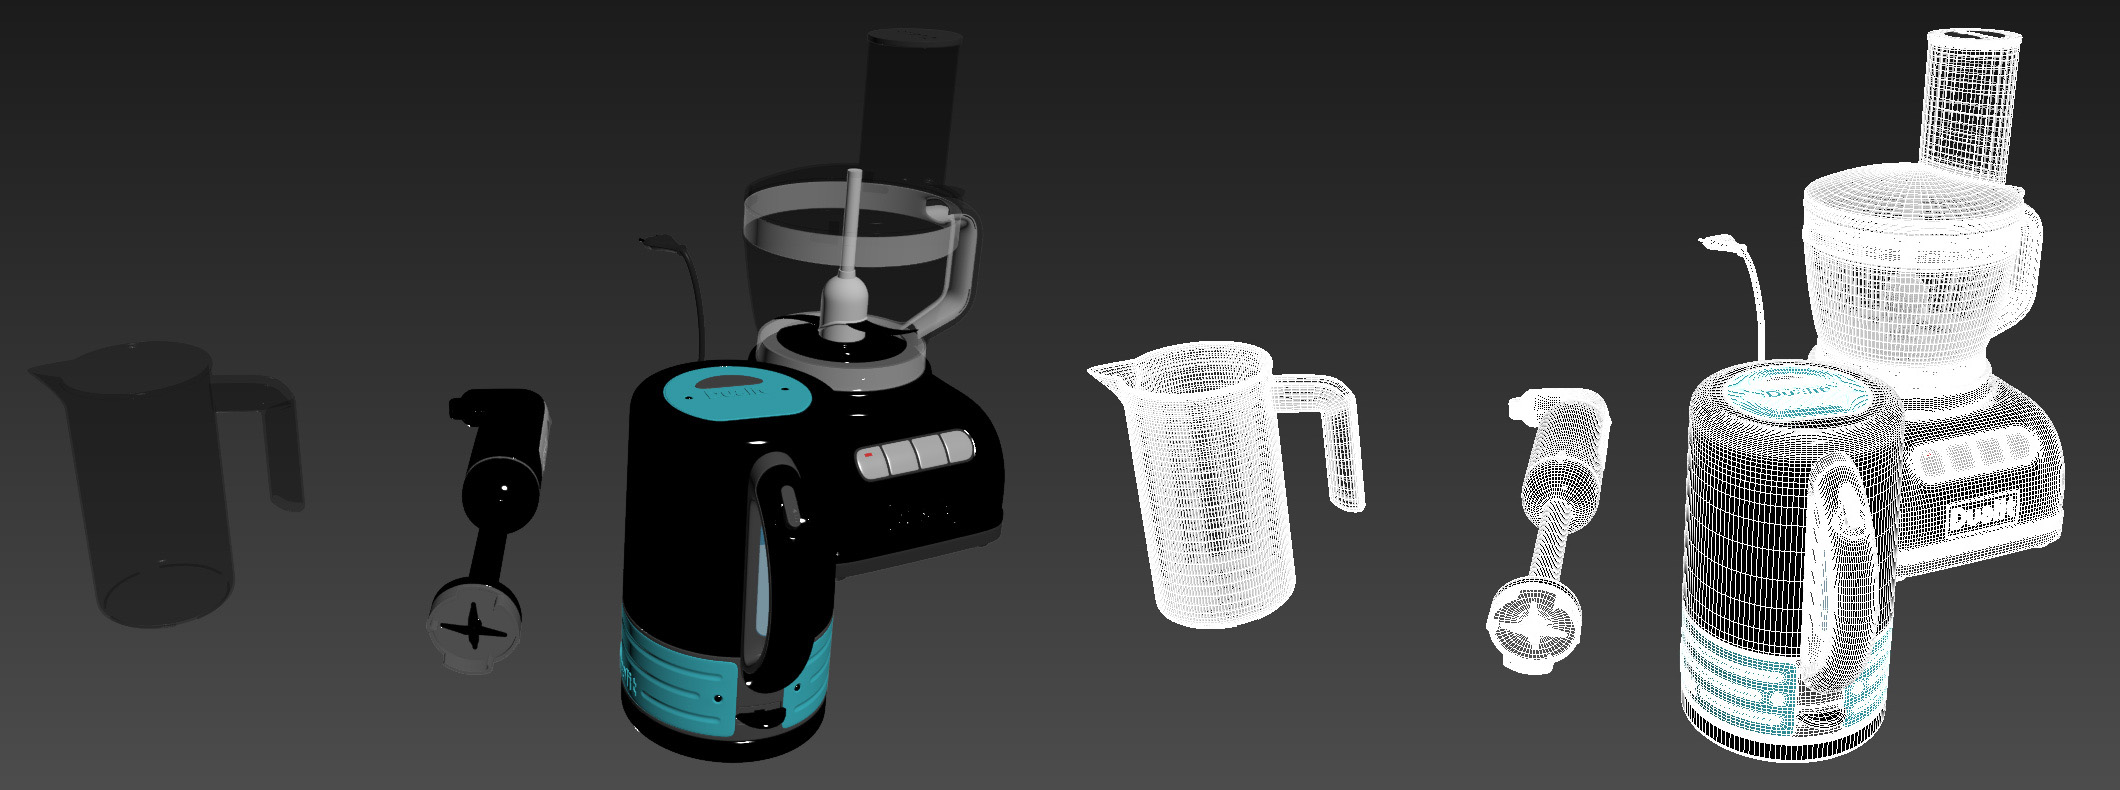
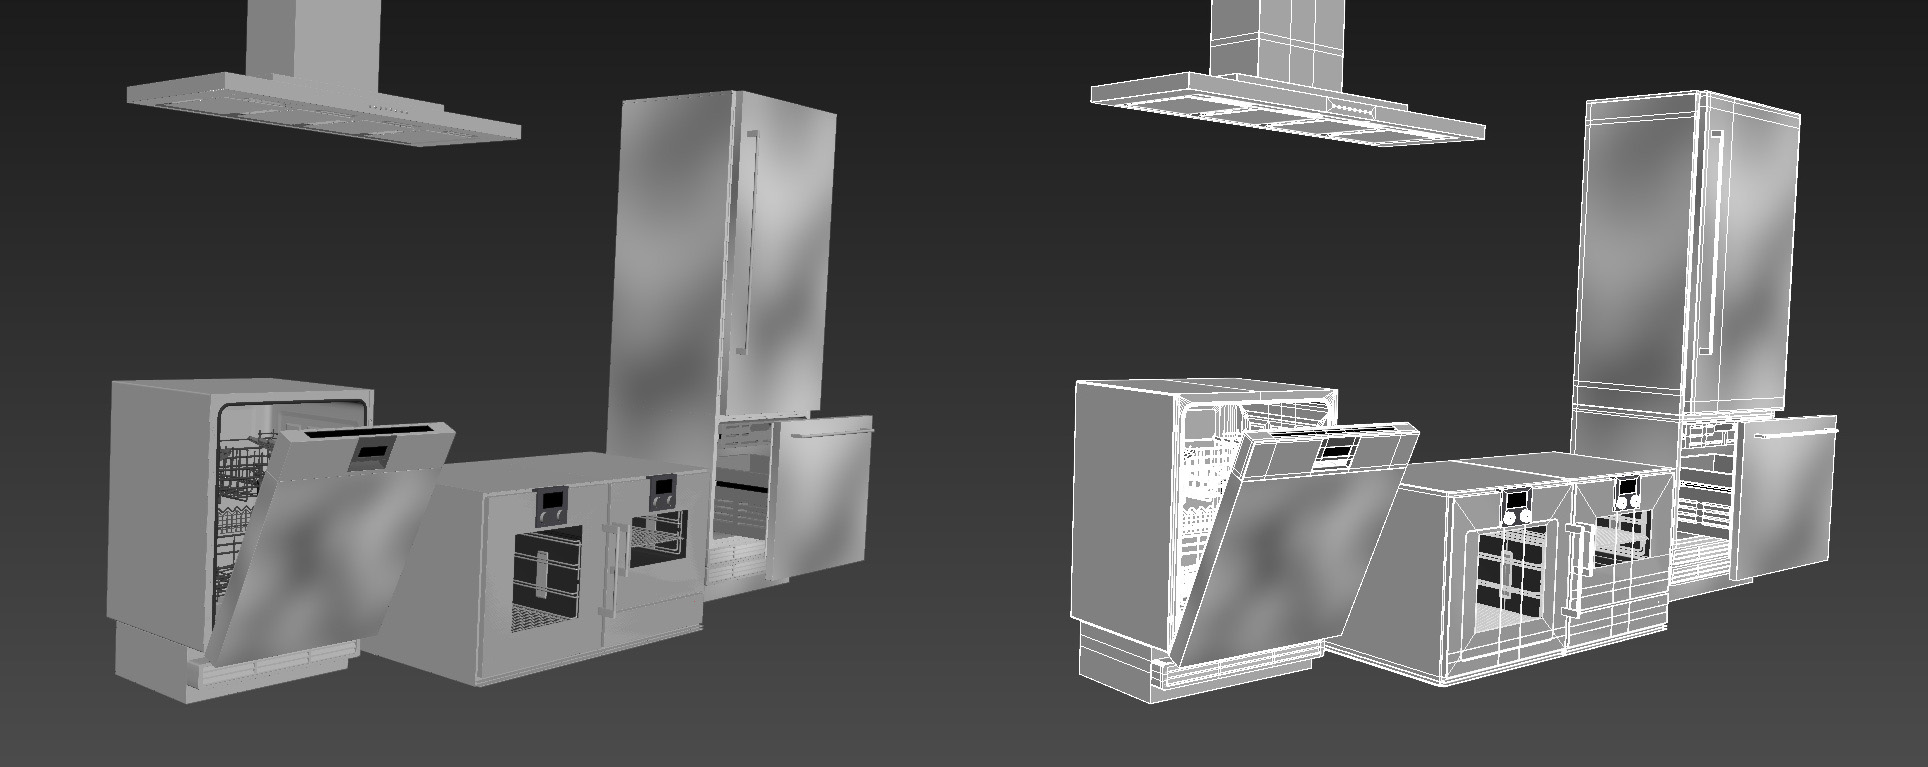
And some of the collection models too :

Lighting
Here also, I took a very simple approach which Corona really allows you to do and get great results with.
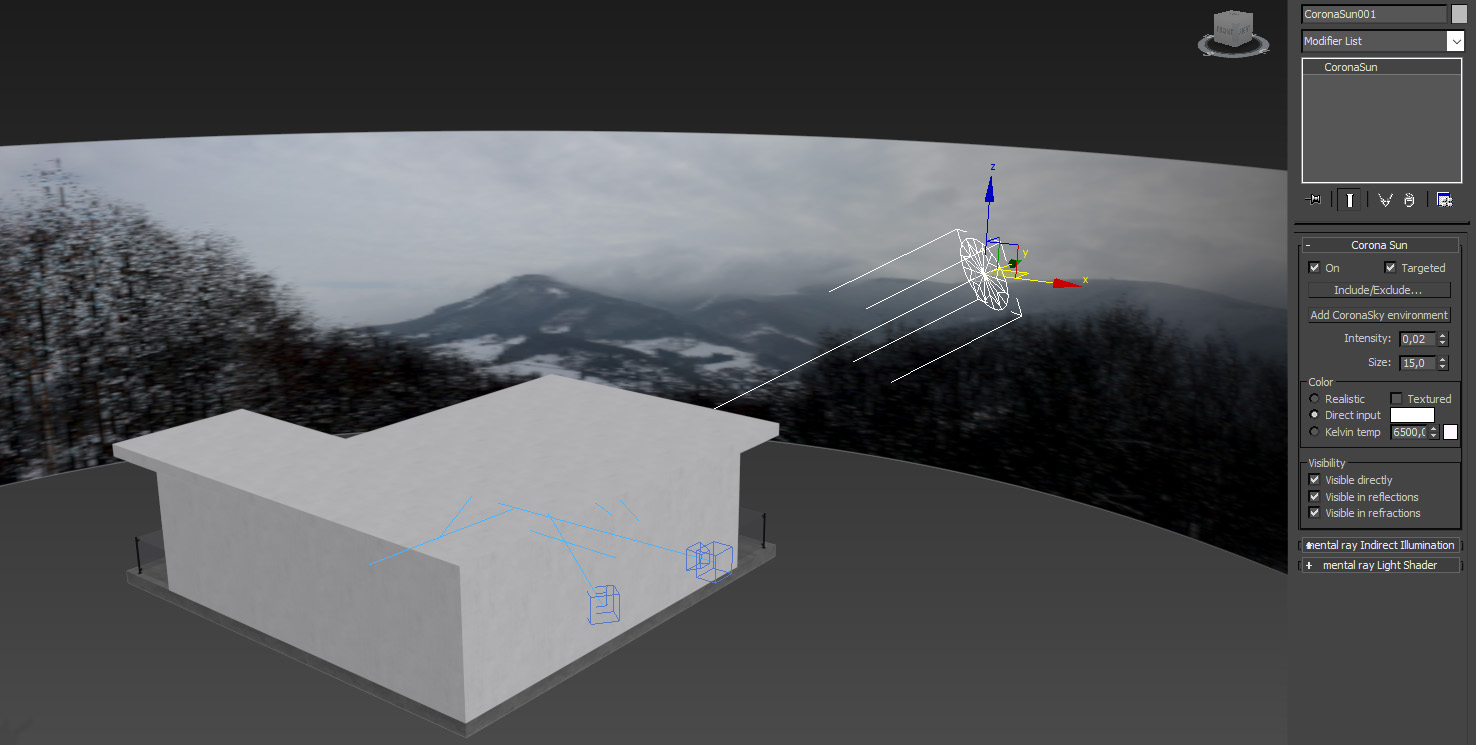
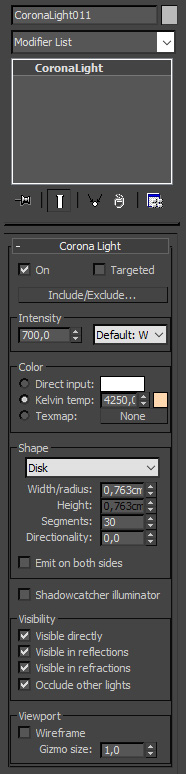
I only used Corona light : Corona Sun and Corona Sky as well as Corona Light for the ventilation hood lighting.
- The Corona Sun is slightly blurred and fragile so that it fits with the hazy, cloudy background behind the window.
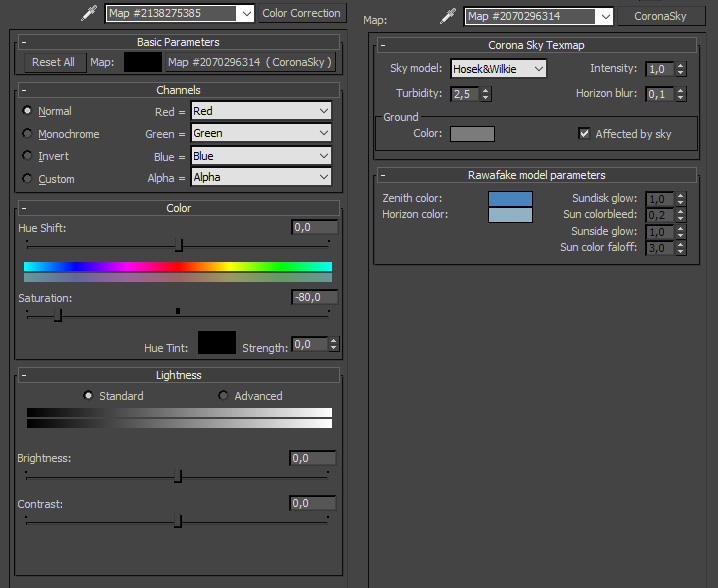
- The Corona Sky is tweaked so that little blue light enters through the windows.
- The light coming out of the hood is warm.
Corona Sun Setting
Corona Sky Setting
Corona Light Setting – The Hood
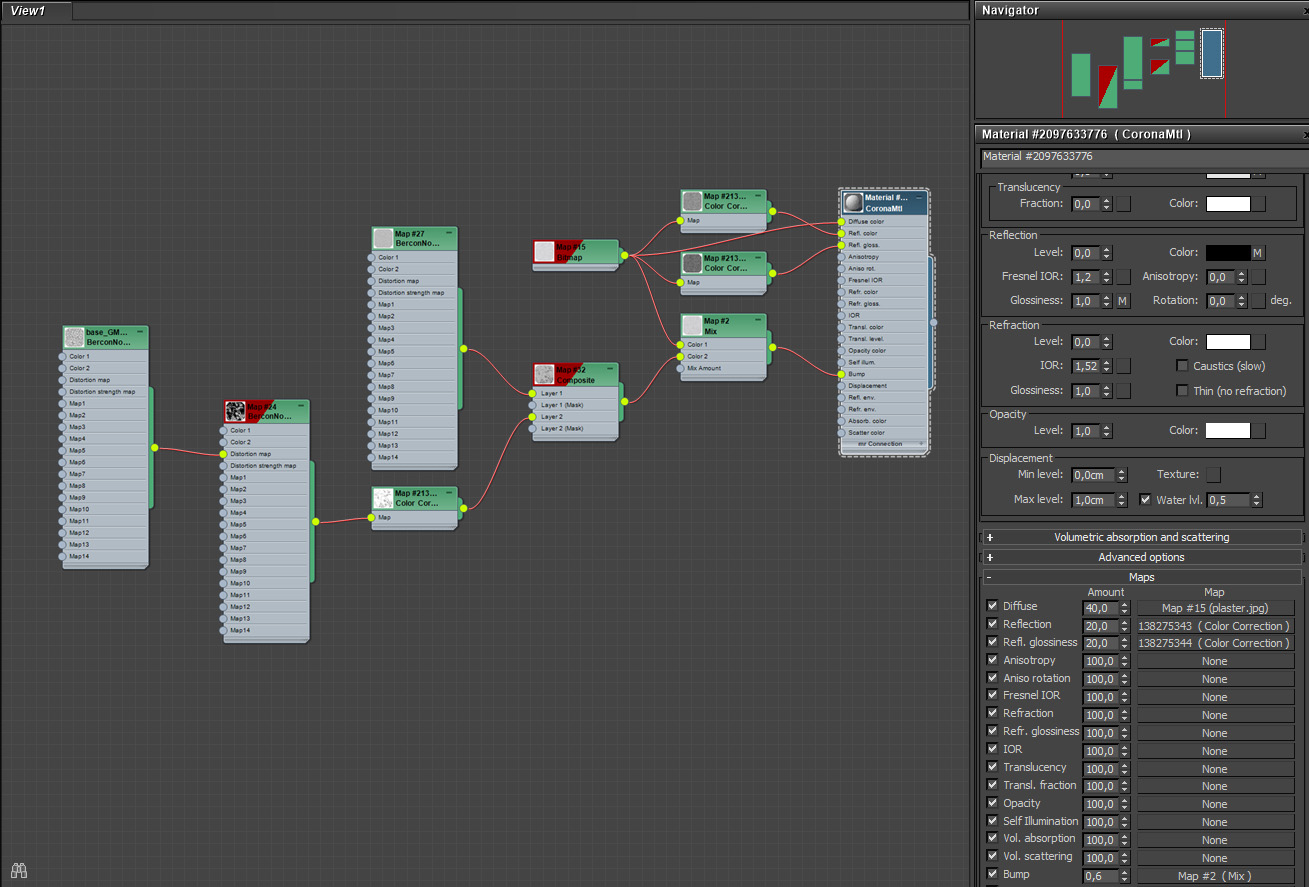
Materials
Shaders are very simple and there aren’t many to be shown.
I prefer normal map for bump maps. A Normal Map gives better results, and I use Bitmap2Material to create my Norml Maps.
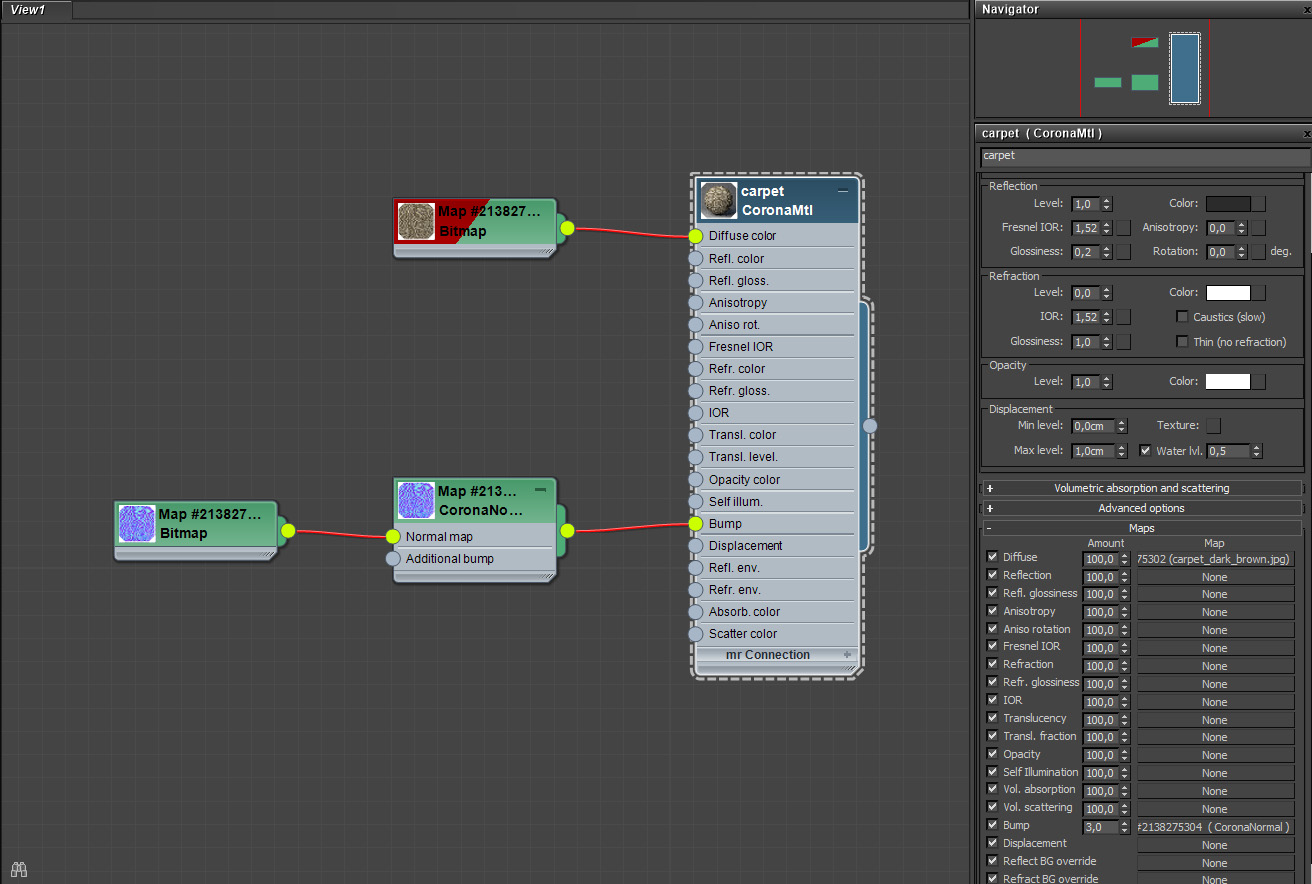
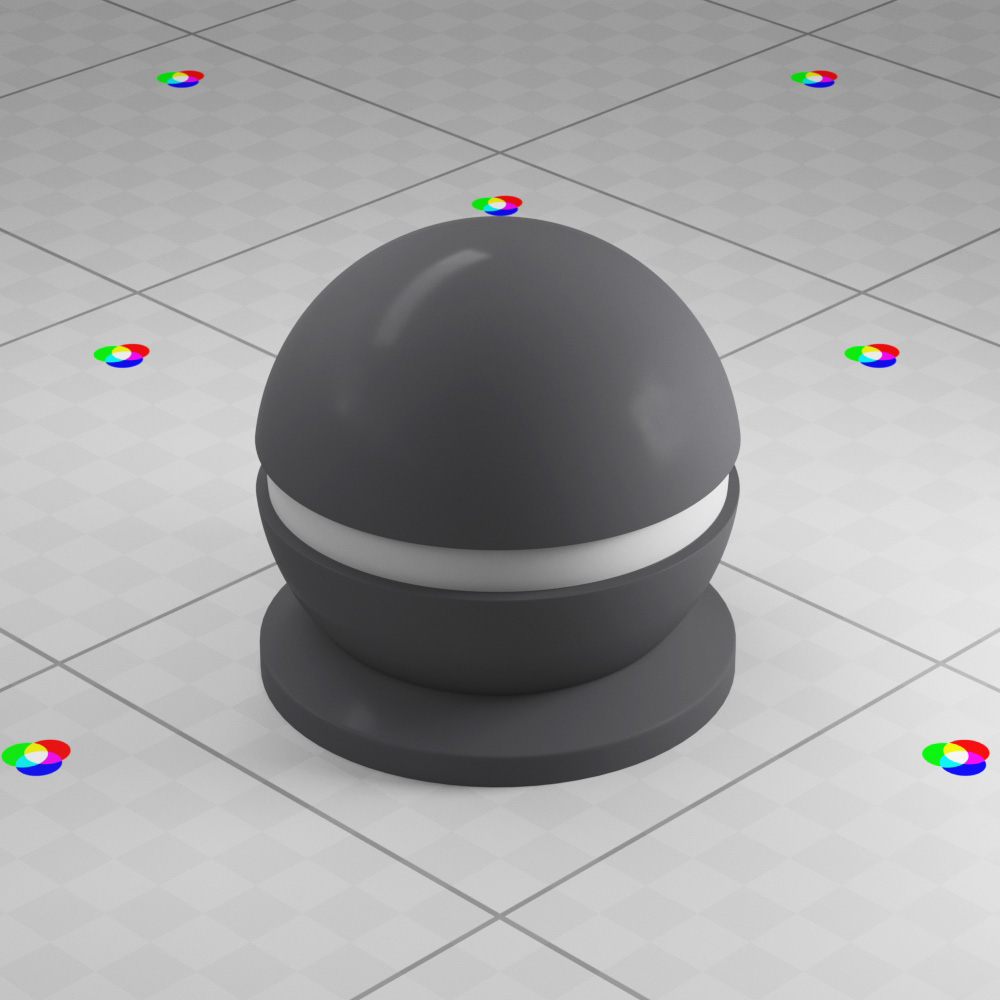
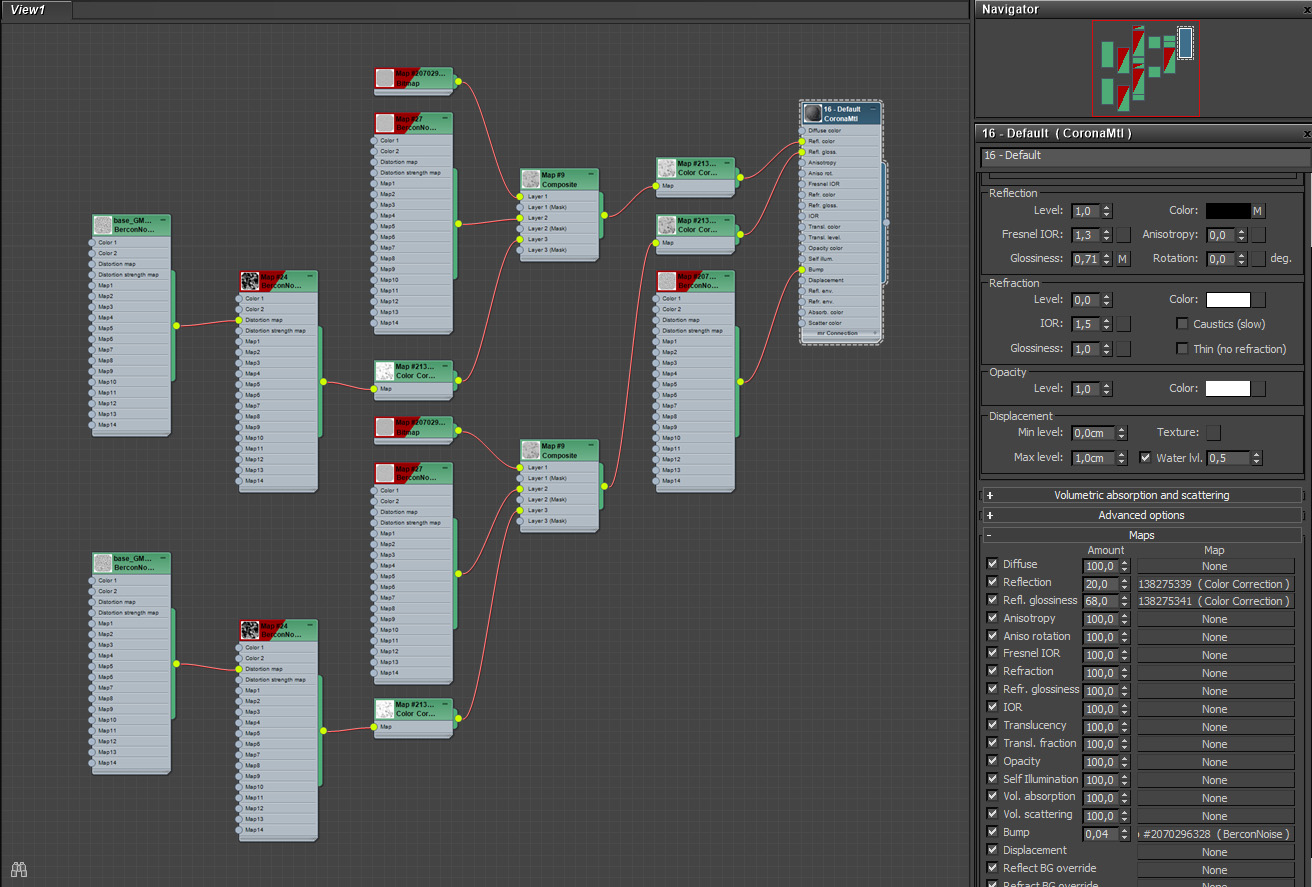
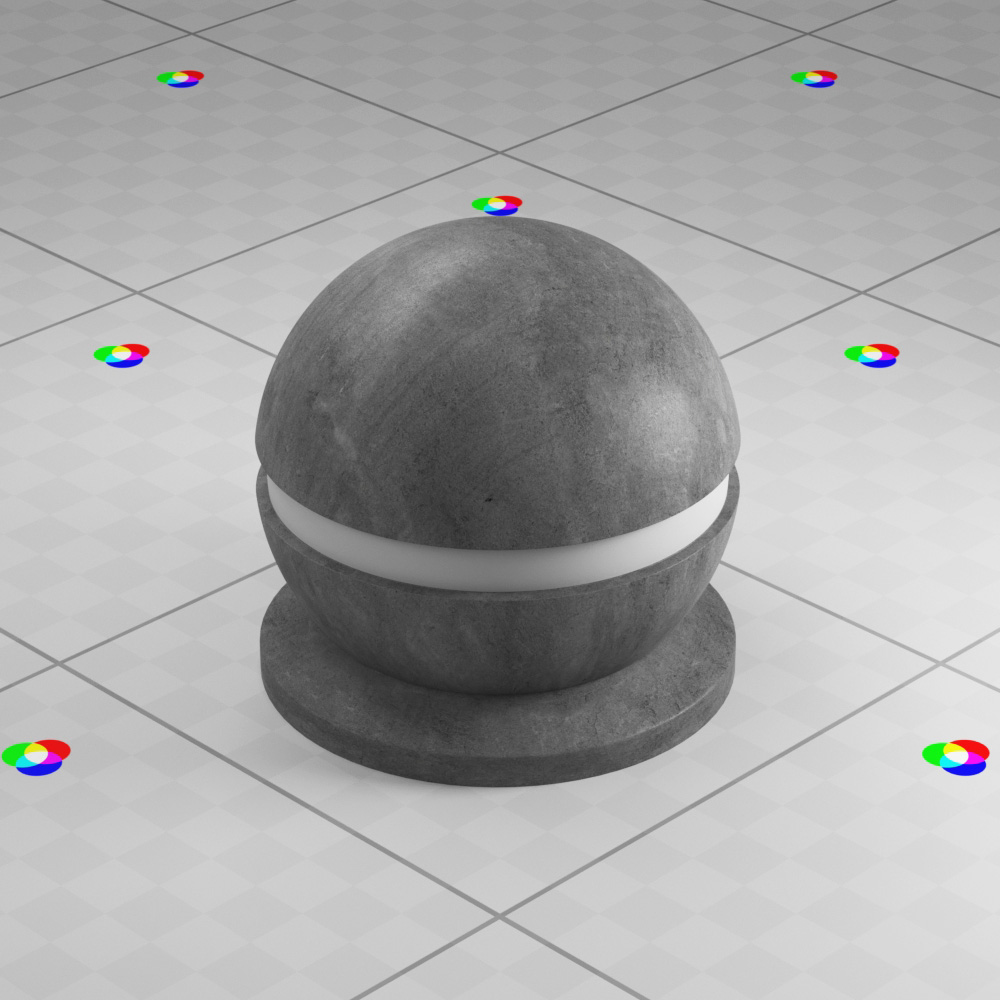
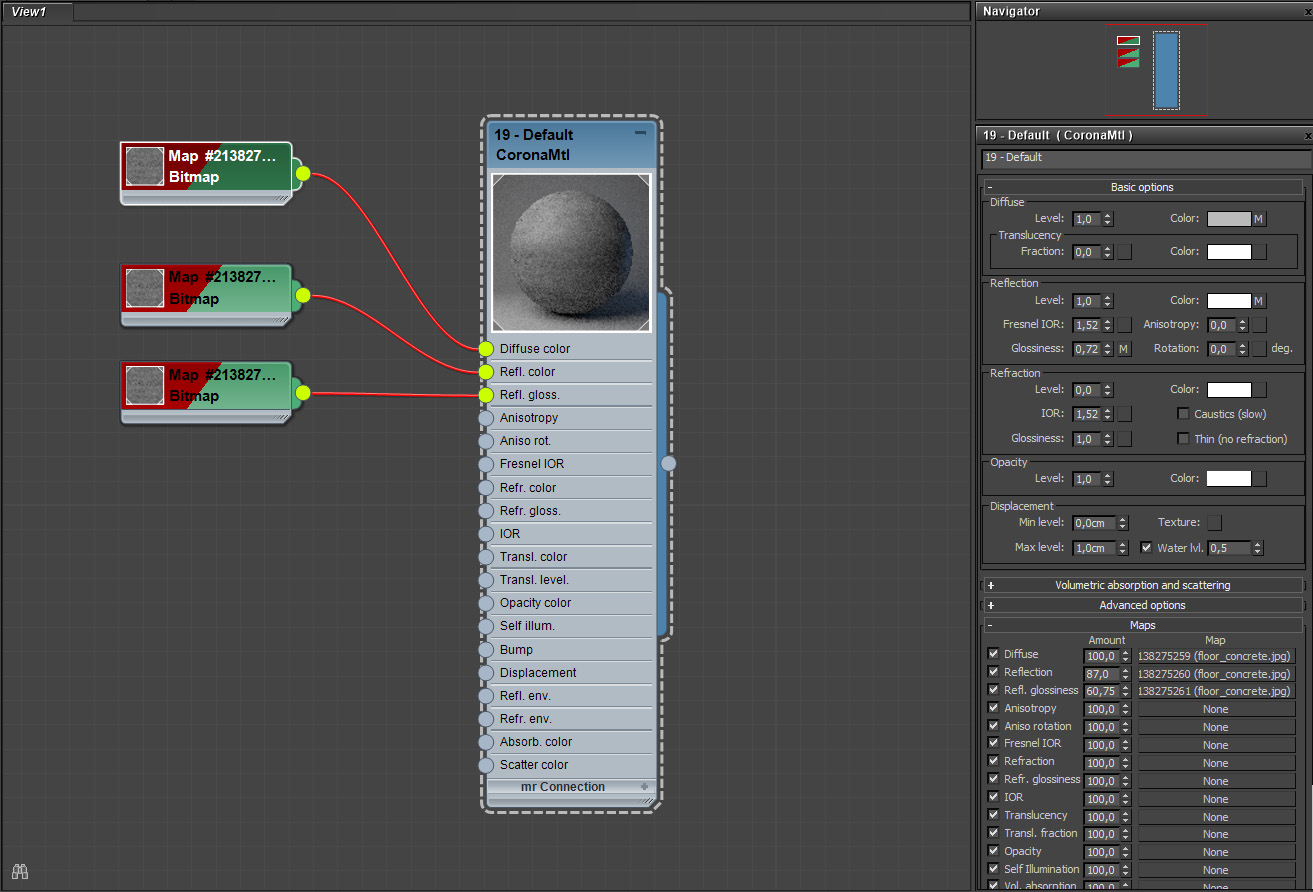
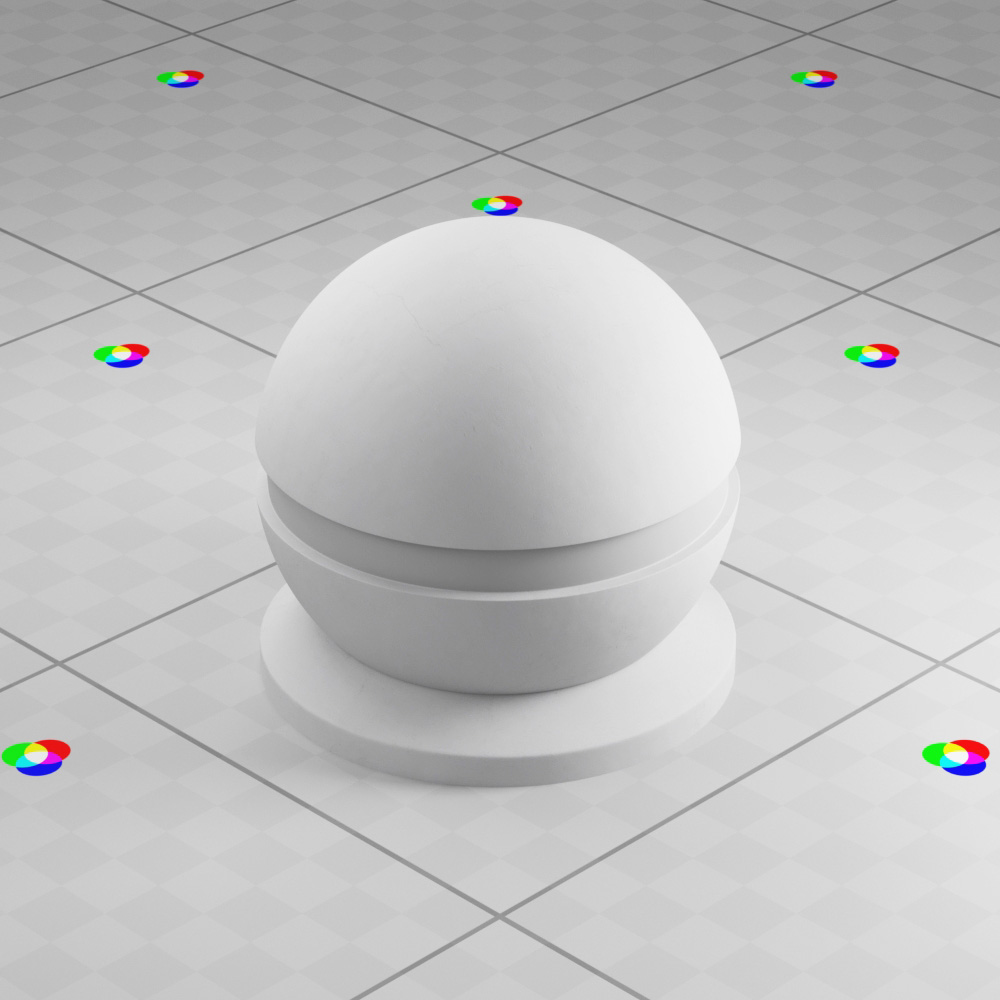
I chose a few important ones which you can see below : the carpet, gray cabinets, floor and walls.
Carpet Shader

Gray Cabinets Shader
Floor Shader
Wall Shader
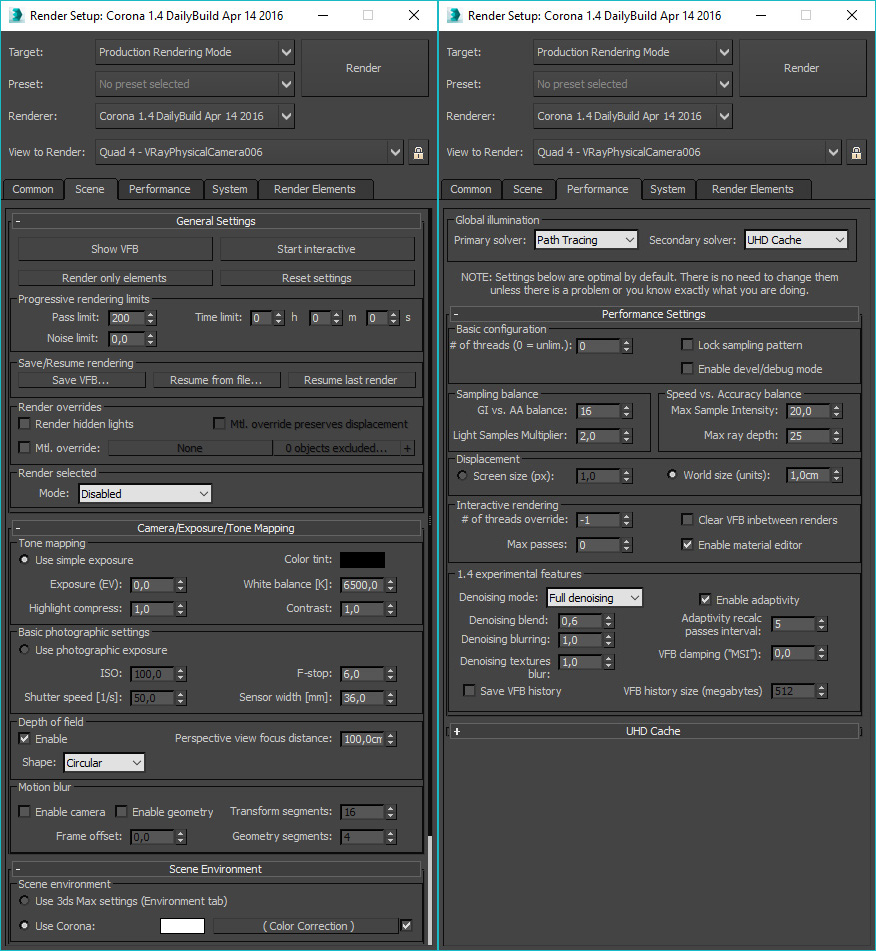
Rendering Setting
The default render settings have been used in this project.
To render this project I used one of Corona Renderer 1.4 daily builds which includes a great feature – denoiser.
This one shortens the rendering time you can invest since the noise is reduced after and you get a cleaner image – as if rendered longer.
You can read more about the denoiser and Corona Renderer pros here : https://corona-renderer.com/blog/corona-renderer-1-4-for-3ds-max-released/
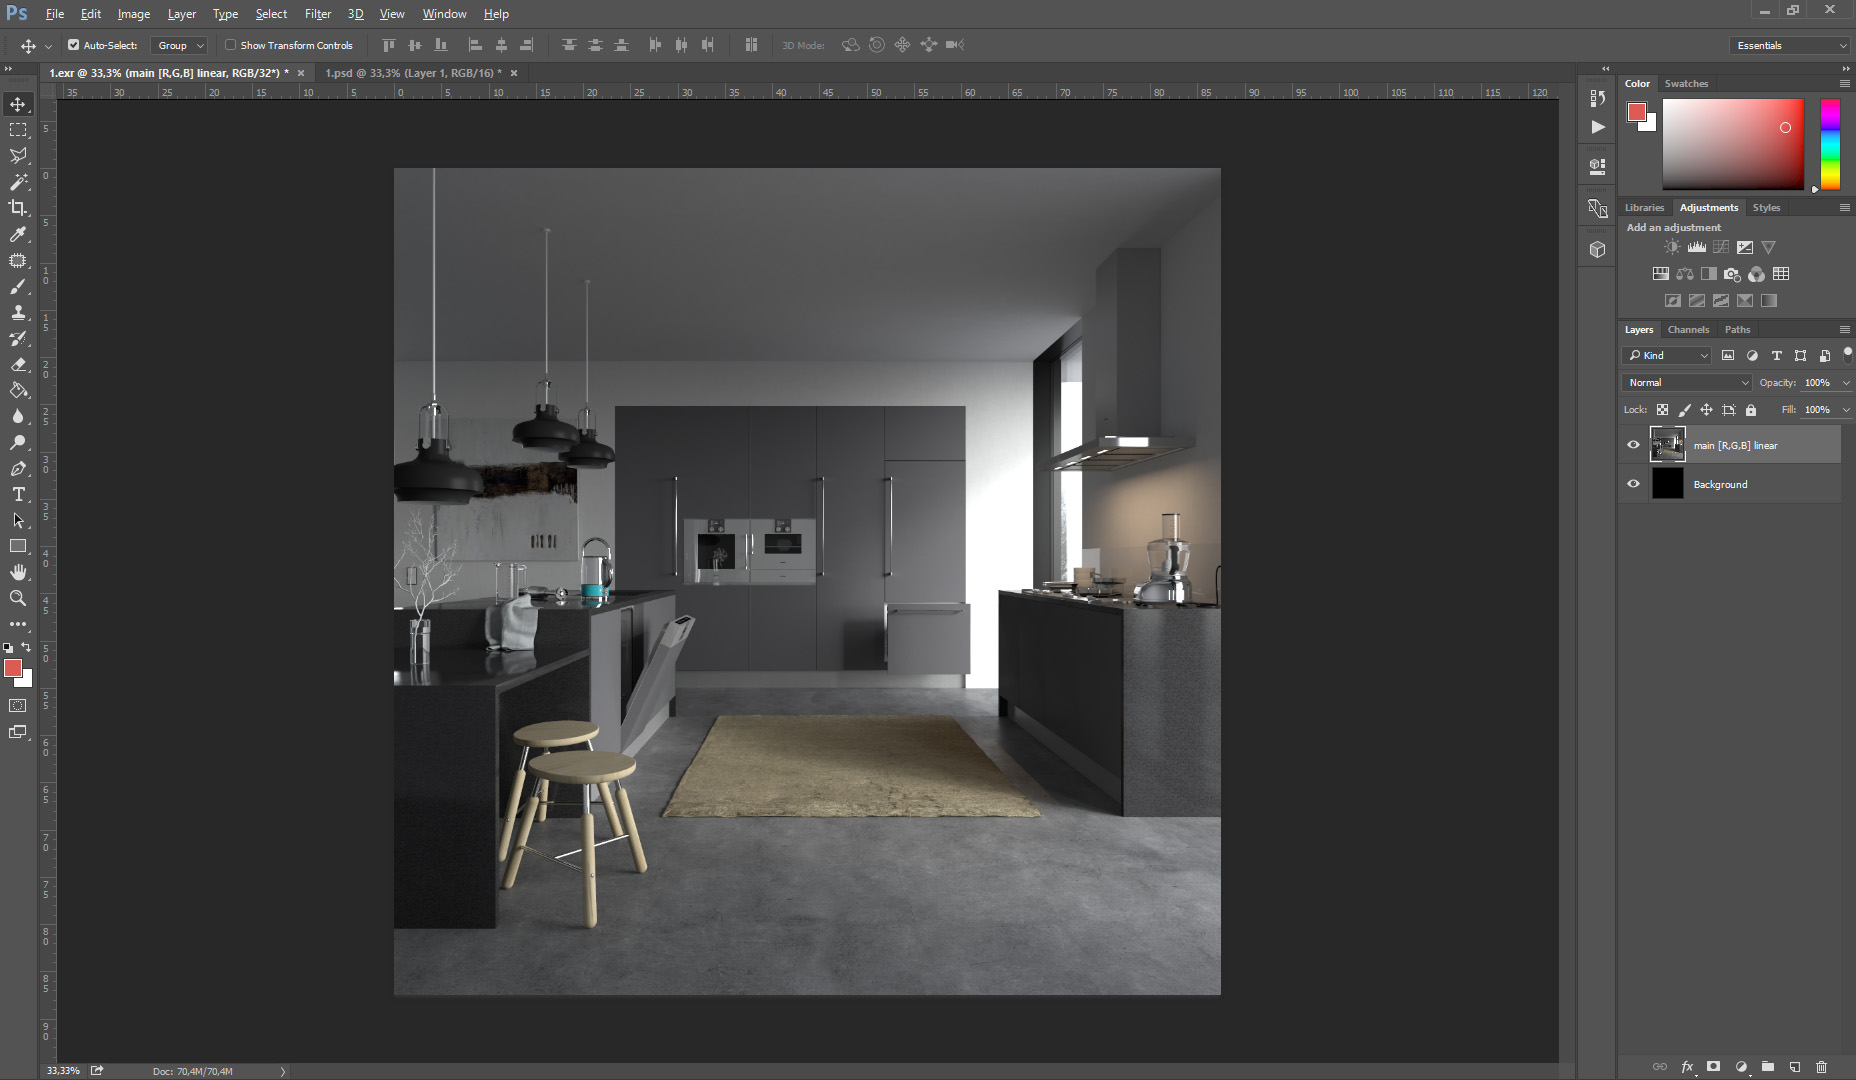
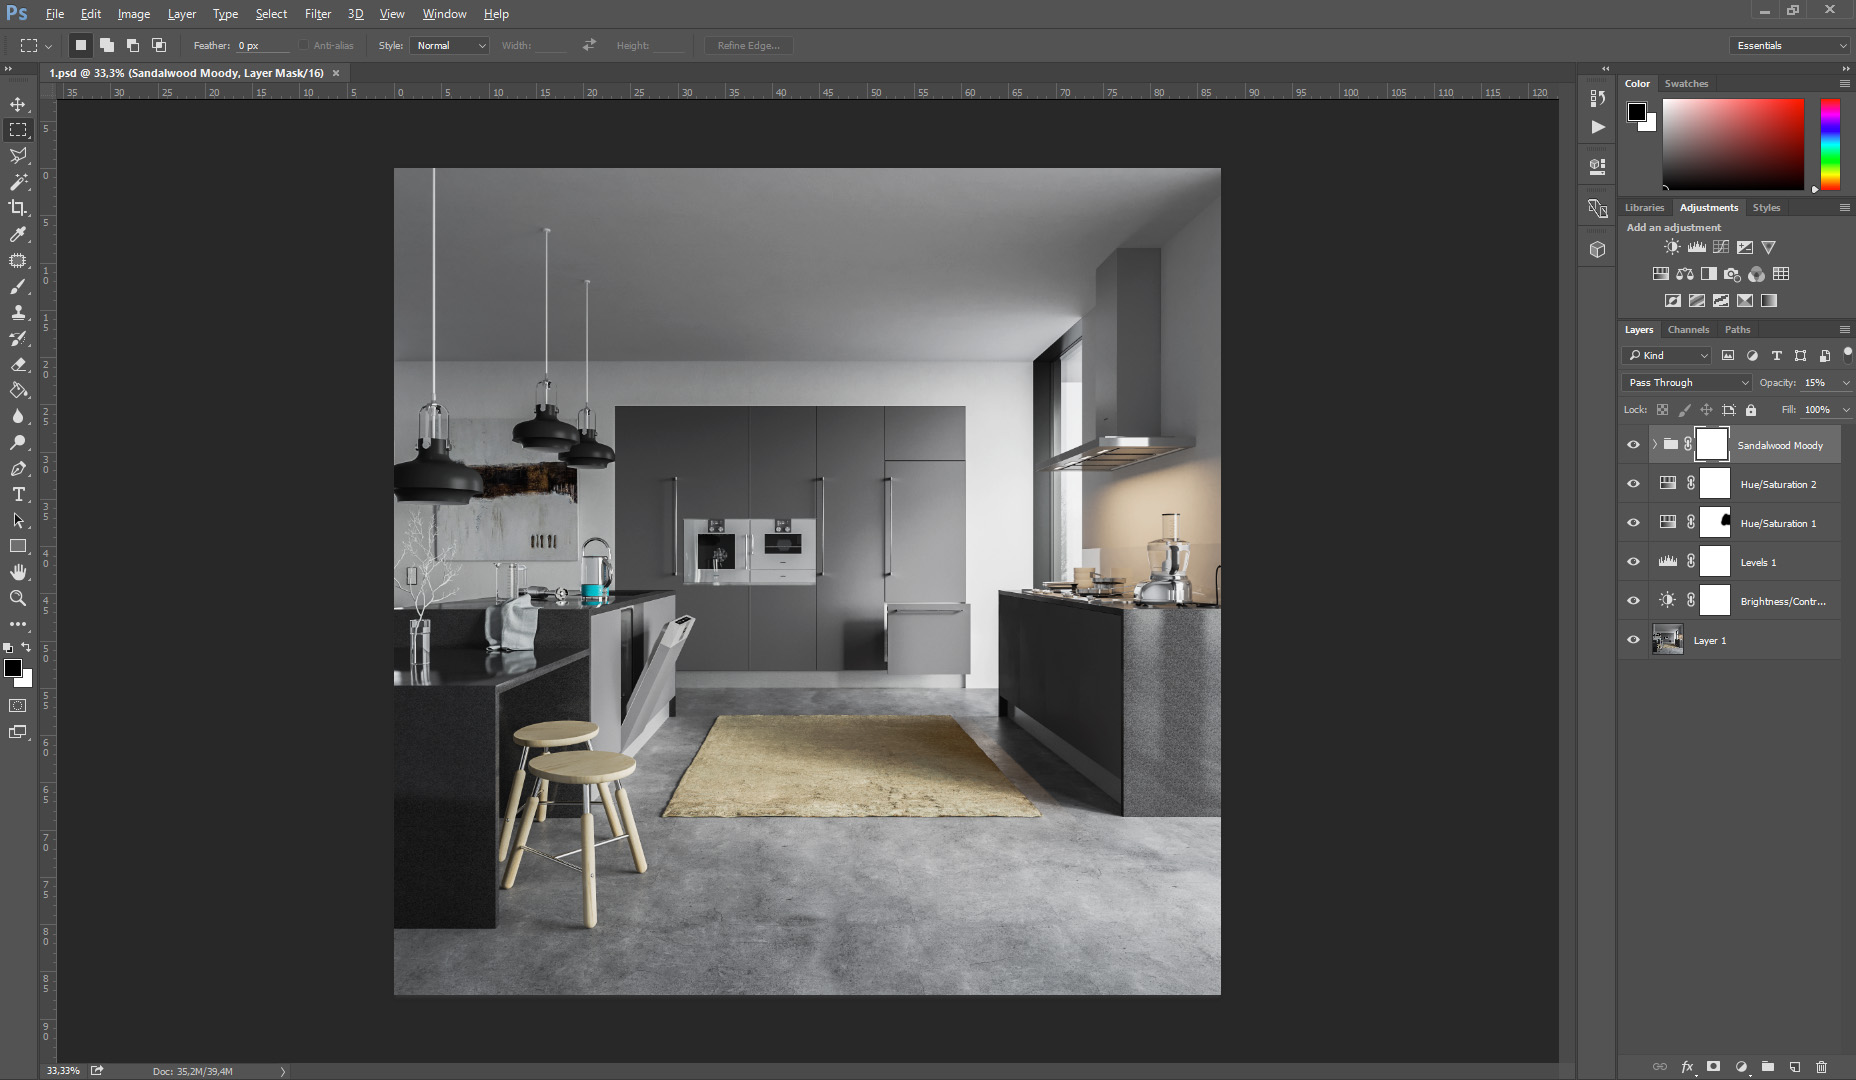
Post Production
This is a key stage in my process. Balance and a good instinct are very important here, so as not to go overboard with the contrast, colouring using natural effects.
I use Arion FX for Photoshop and Adobe Photoshop CC.
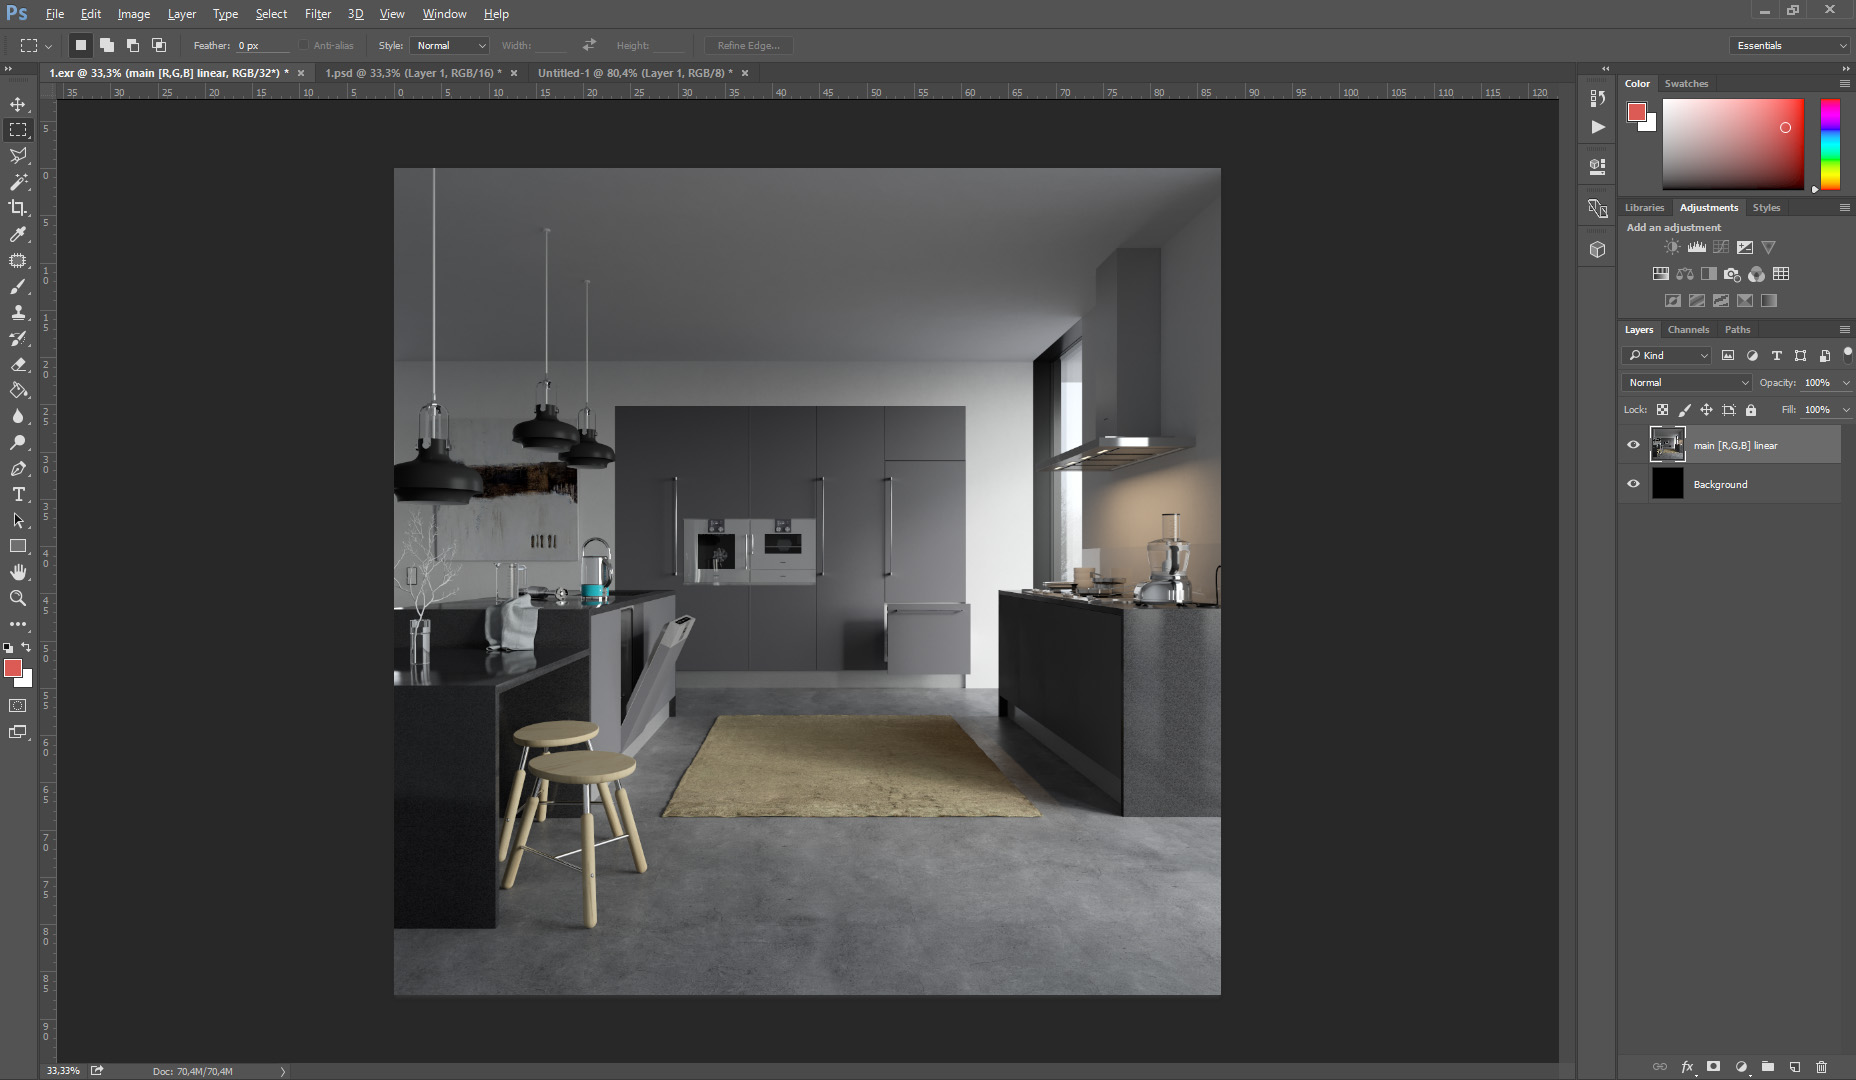
See the clean render before Arion FX :
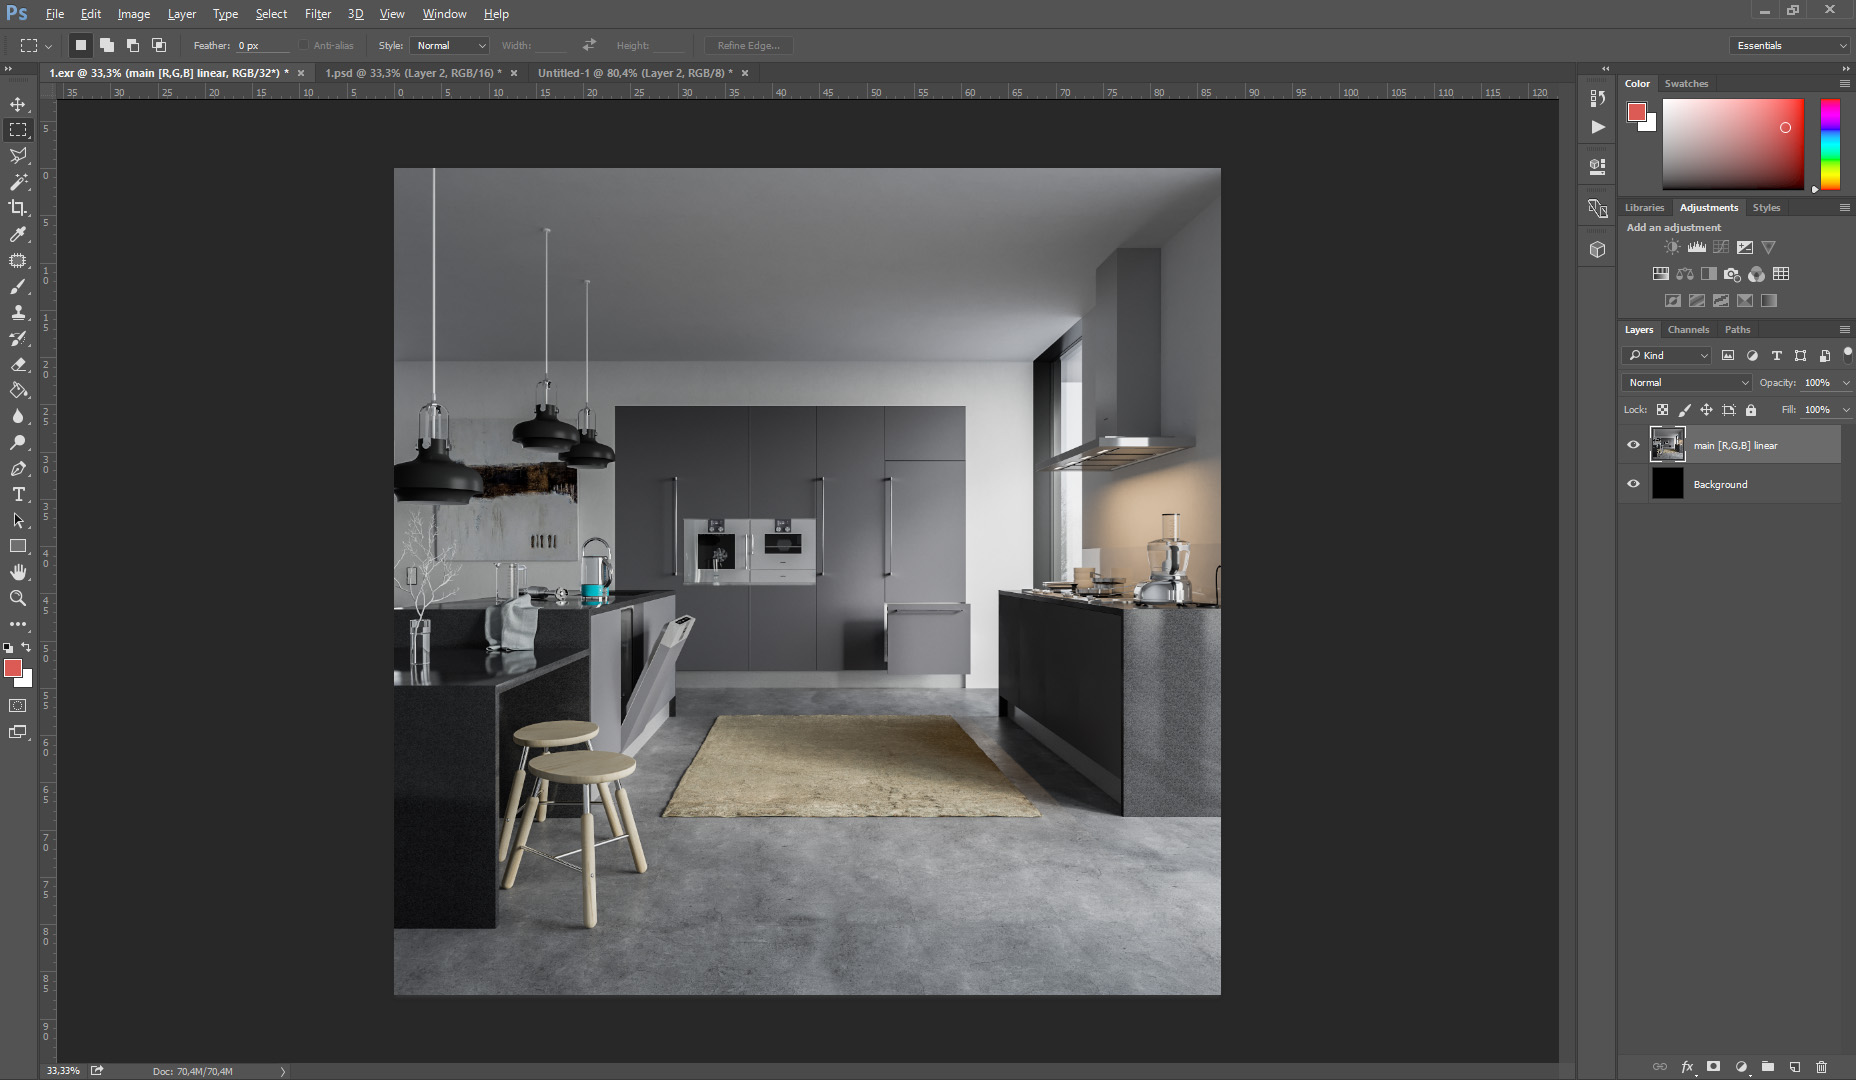
In Arion FX, I added natural effects like glow, bloom, controlled burn, tones, etc. Below is the image after Arion FX :
Next step is post-production 32-bit file in Camera Raw in Photoshop.
You can do it in Adobe Photoshop CC.
Image after Camera Raw :
As a last step I turned 32 bit file to 16 bit file and added little color grading.
Final render after Color Grading :
A detailed video tutorial on my workflow in post-production can be found below. You can learn about every step of my work with the .exr file.
So that is it!
Big thanks to thank Ronen. It is thanks to him that I can share my approach to working with projects and my workflow with a wider audience. I hope that at least some of you will discover something new and useful thanks to this making of.
–
Portfolio : tomekmichalski.com
Store : triangleform.com
Be sure to check out the Kitchen Equipment Collection too.


Really nice renders man. great models and excellent showcase
Levely renders !
I don’t get the wall shader. It’s a noise, into a noise, composited with another noise, mixed with a bitmap just for the bump… and in the end it’s just a flat white surface ?
Excellent!
Thanx for vodeo.
Very nice tutorial ! I want the Max file 🙂