Making of The Museum 60’s Car Show by Jamie Holmes
I’m happy to introduce the making-of Jamie Holmes‘s ‘The Museum’ 2nd Runner Up Winner – ’60’s Car Show’. Jamie takes as back to the late 60’s… to an opening night at the NNG featuring the cars of that time, describing the concept and execution of the exhibit that includes the modeling of the 65 Shelby Cobra 427, a figure 8 race track, tweaks to the NNG model and finishing up with post production to the final render. Enjoy!
![]()
![]()
Author: Jamie Holmes
Jamie Holmes is director and co-founder of One to One Hundred Architectural Visualization Studio, based in Auckland, New Zealand.
Introduction
I would just like to start with thanking Ronen Bekerman and the Sponsors – Next Limit Technologies, Designconnected and 3D World Magazine for putting on another great competition.
These competitions are important to me as I can step out of the mundane reality of most architectural visualisation commissions and push myself further and learn from the other entrants who are some of the best in the game!
Personal work for me is pretty few and far between these days and competitions provide a forum to reconnect and strive for the best possible outcome and to get feedback by others is an invaluable resource, so thanks to those who follow and take part.
Using Maxwell Render was completely new to me and I was sure I was going to be in tough time but as it turns out not so much. I was very surprised to find that right out of the gate I could get some pretty decent renders with little effort. This was a good start and meant I could focus on other areas like modelling and texturing.
Concept
Most times when I start one of these competitions I struggle with the direction to take, or a concept if you will, so I usually just jump in and start free styling ideas in 3d. This time around having the building provided by Ronen made for an easier start.
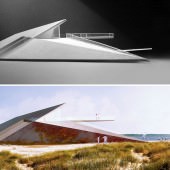
From the outset I wanted to do some sort of automotive exhibition in and around the NNG. It just felt right all those beautiful curves contrasting with the linear geometrical construction of the NNG. I also decided that I wanted the feel of my images to fit the time of construction completion of the NNG. This proved to be quite difficult in the end as the city around the NNG had most likely changed considerably since it was built and sourcing cars of the era was tough.
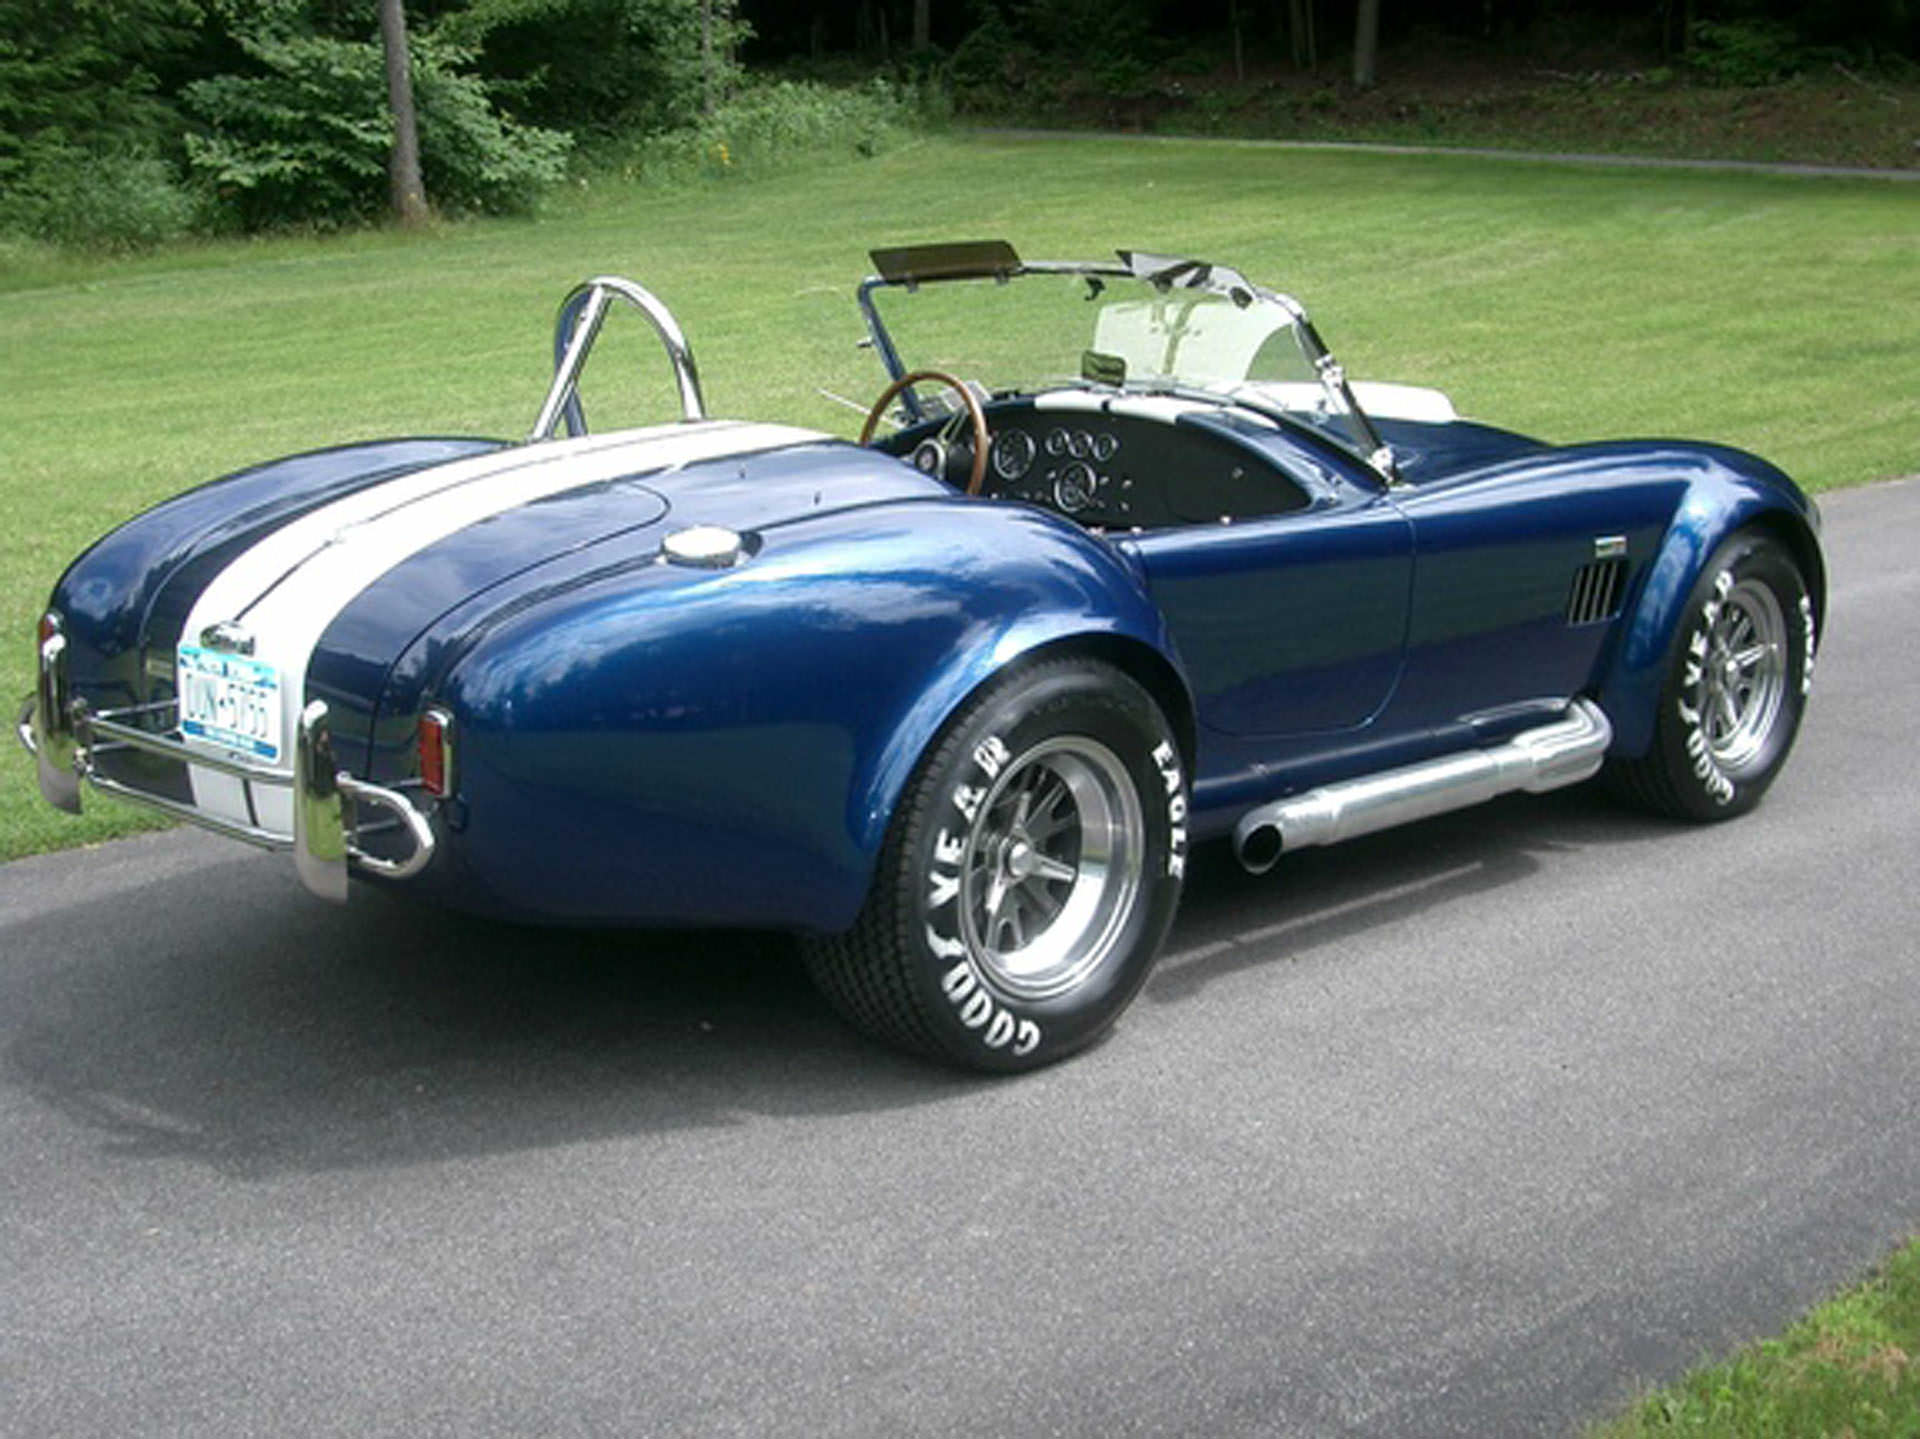
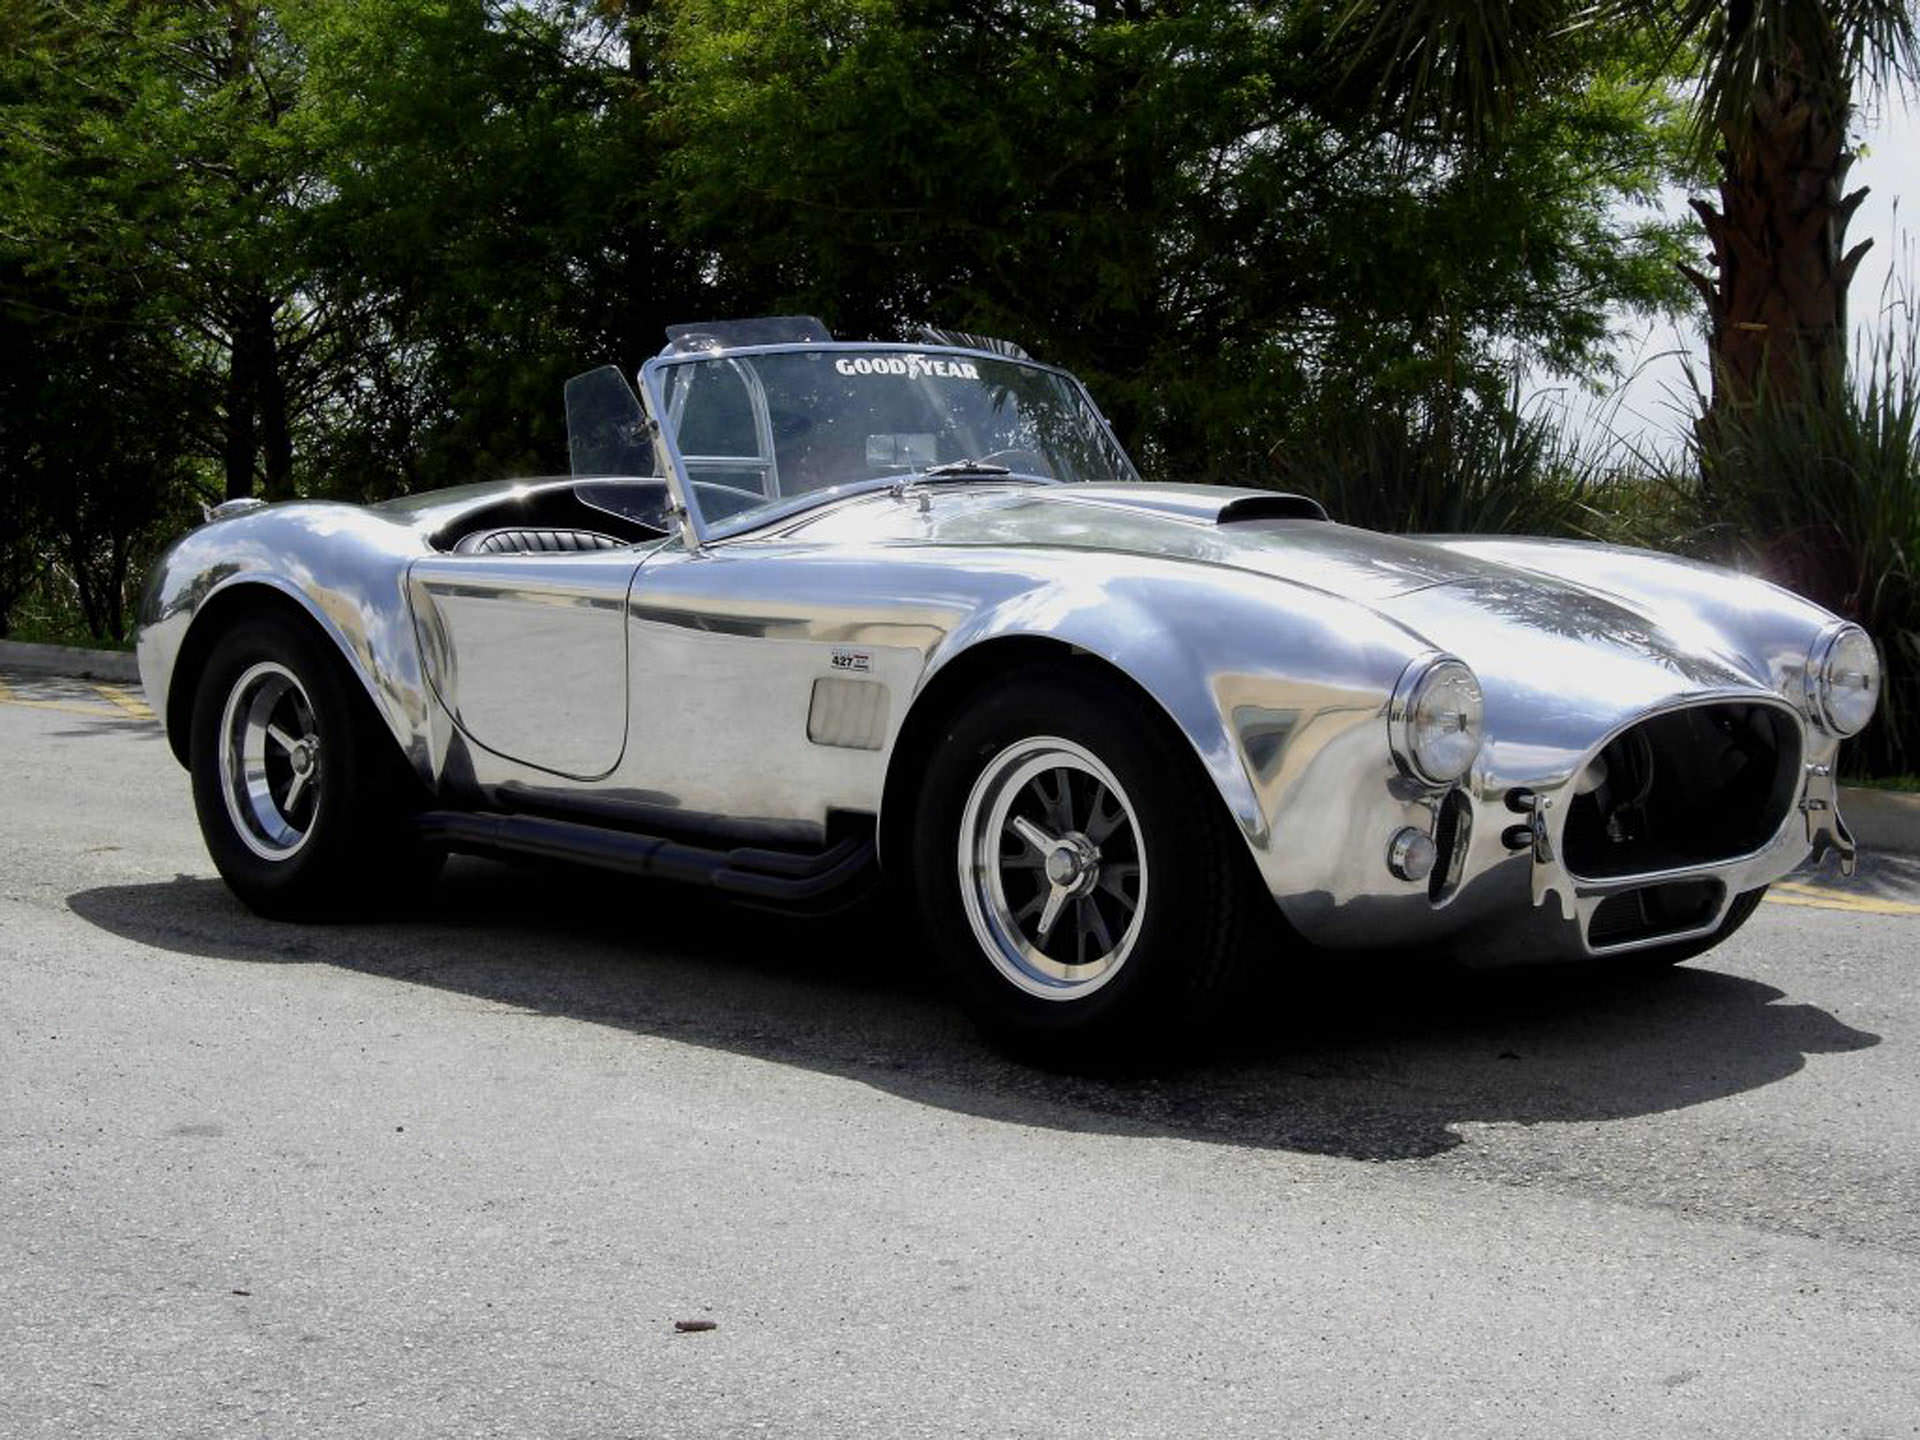
There are many beautiful cars from this era. So many I would have liked to use but I could not find or didn’t have time to model them all. I did focus on one model though – The 65 Shelby Cobra 427.
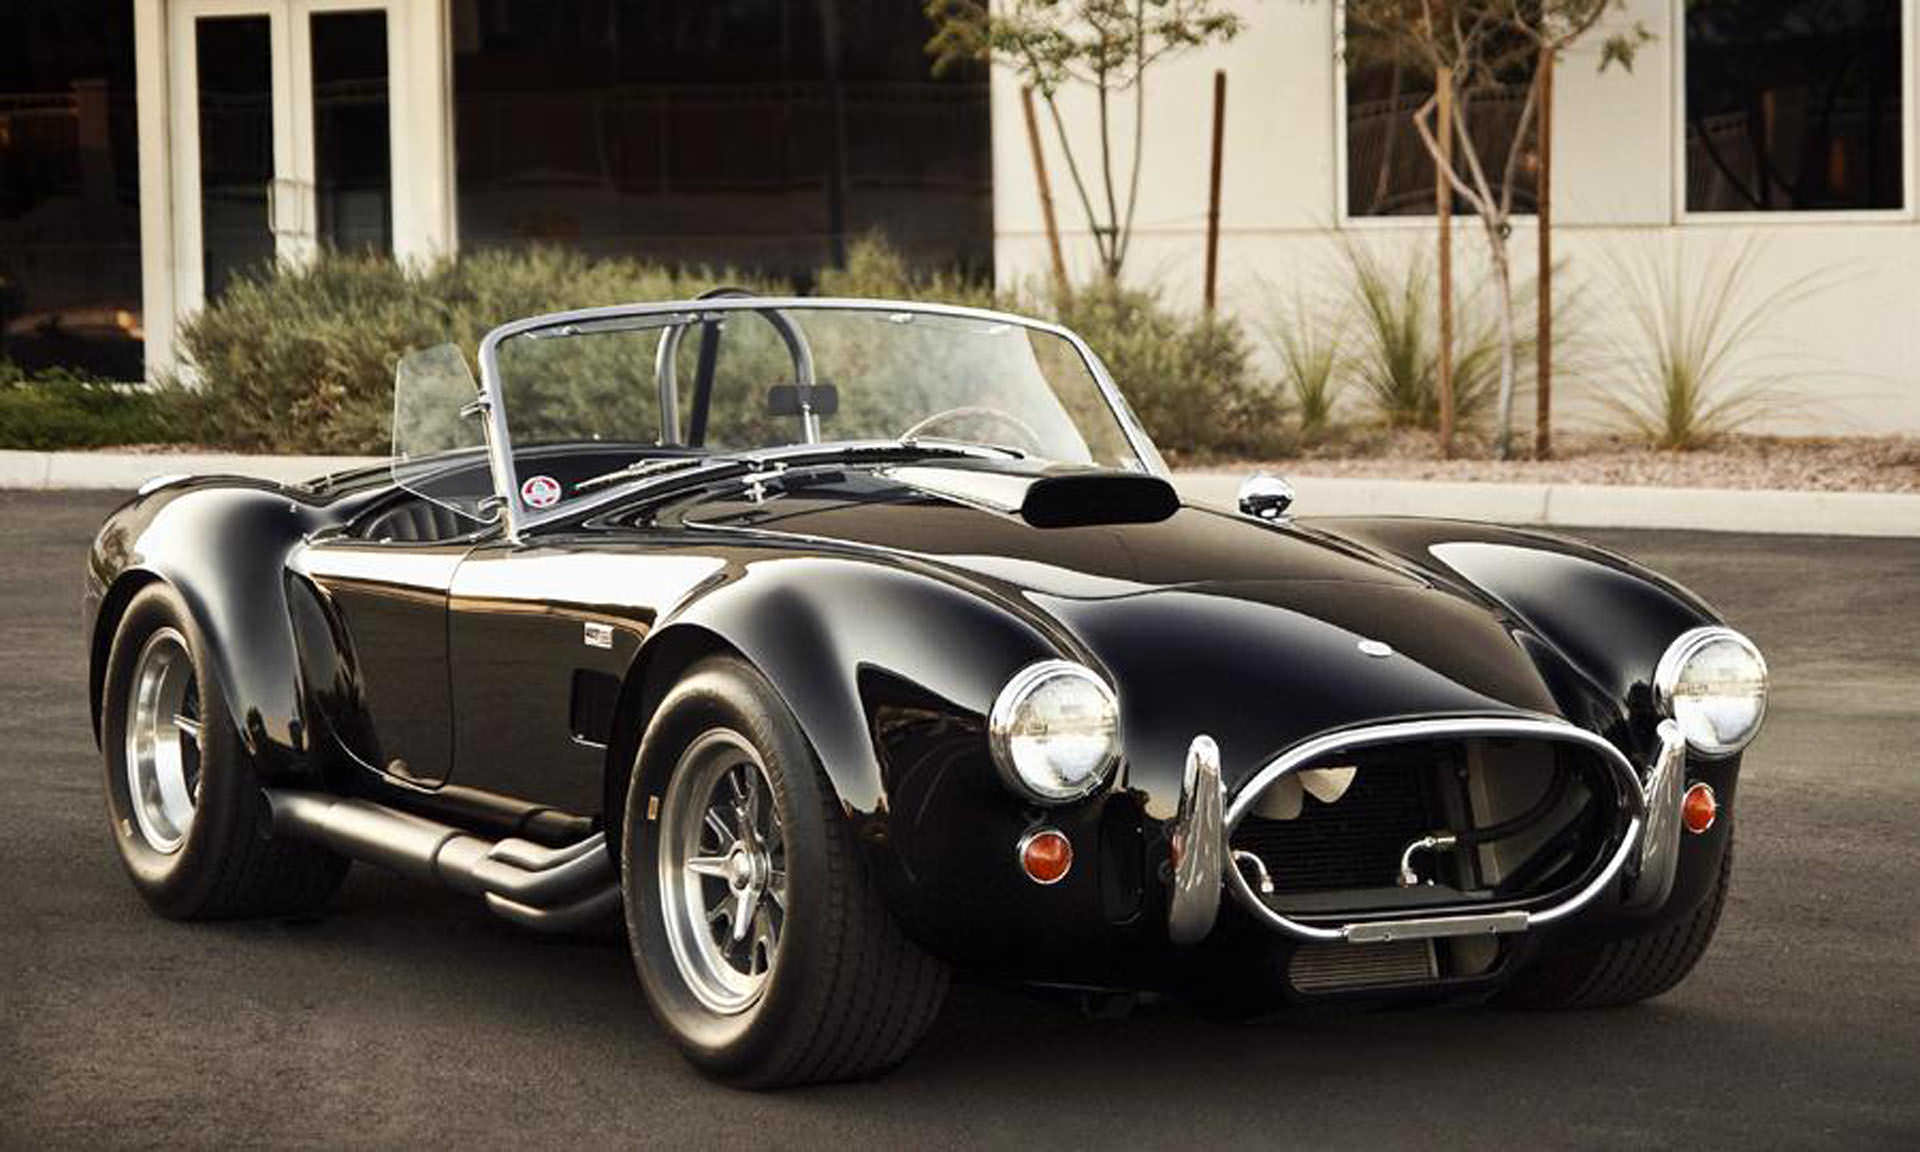
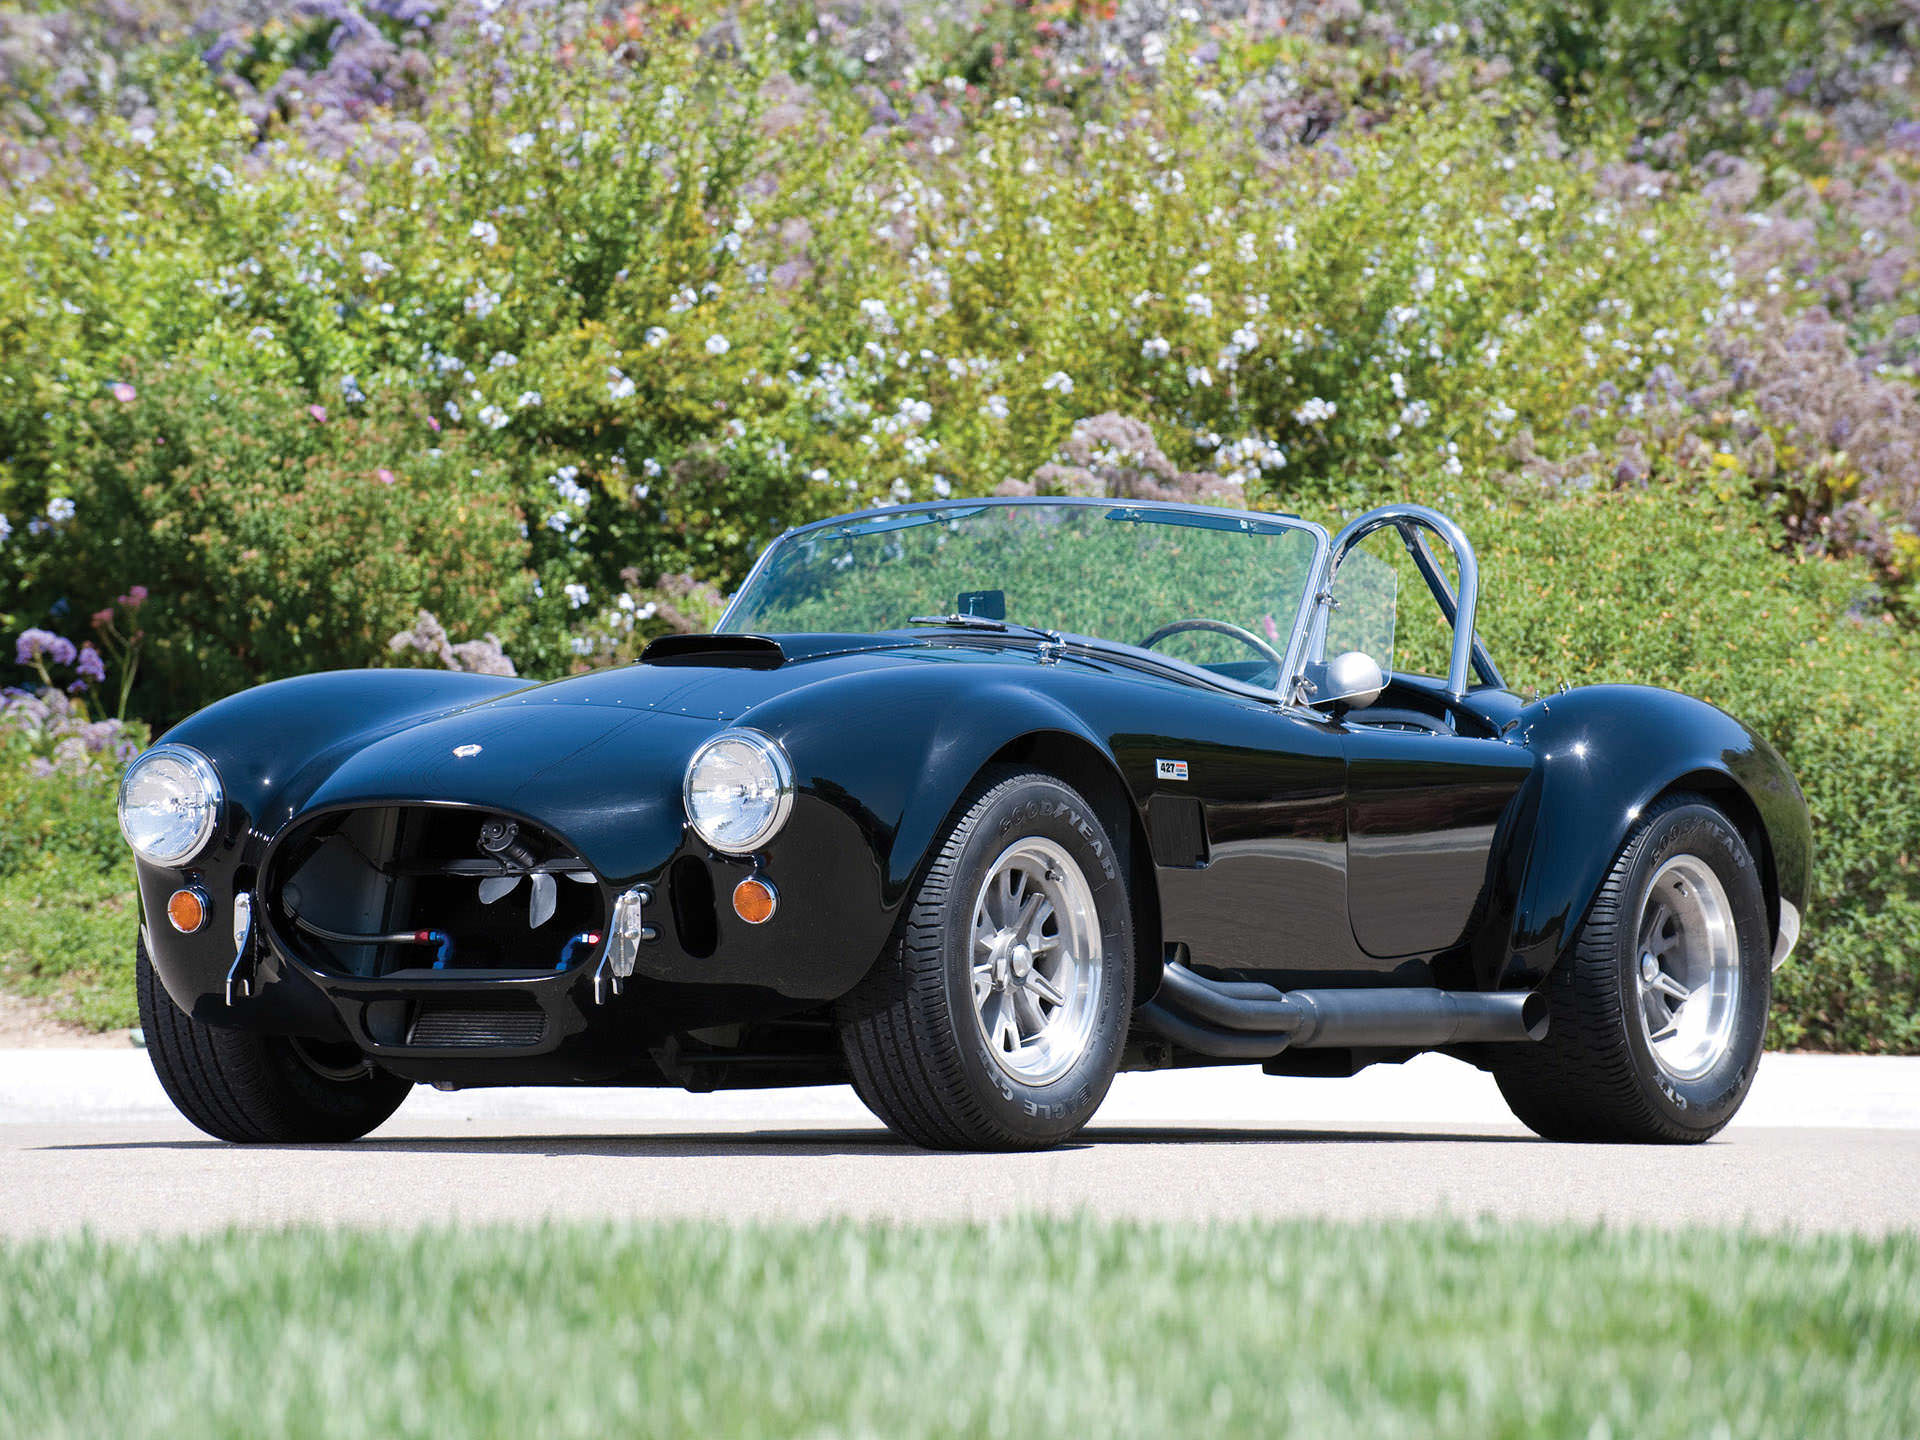
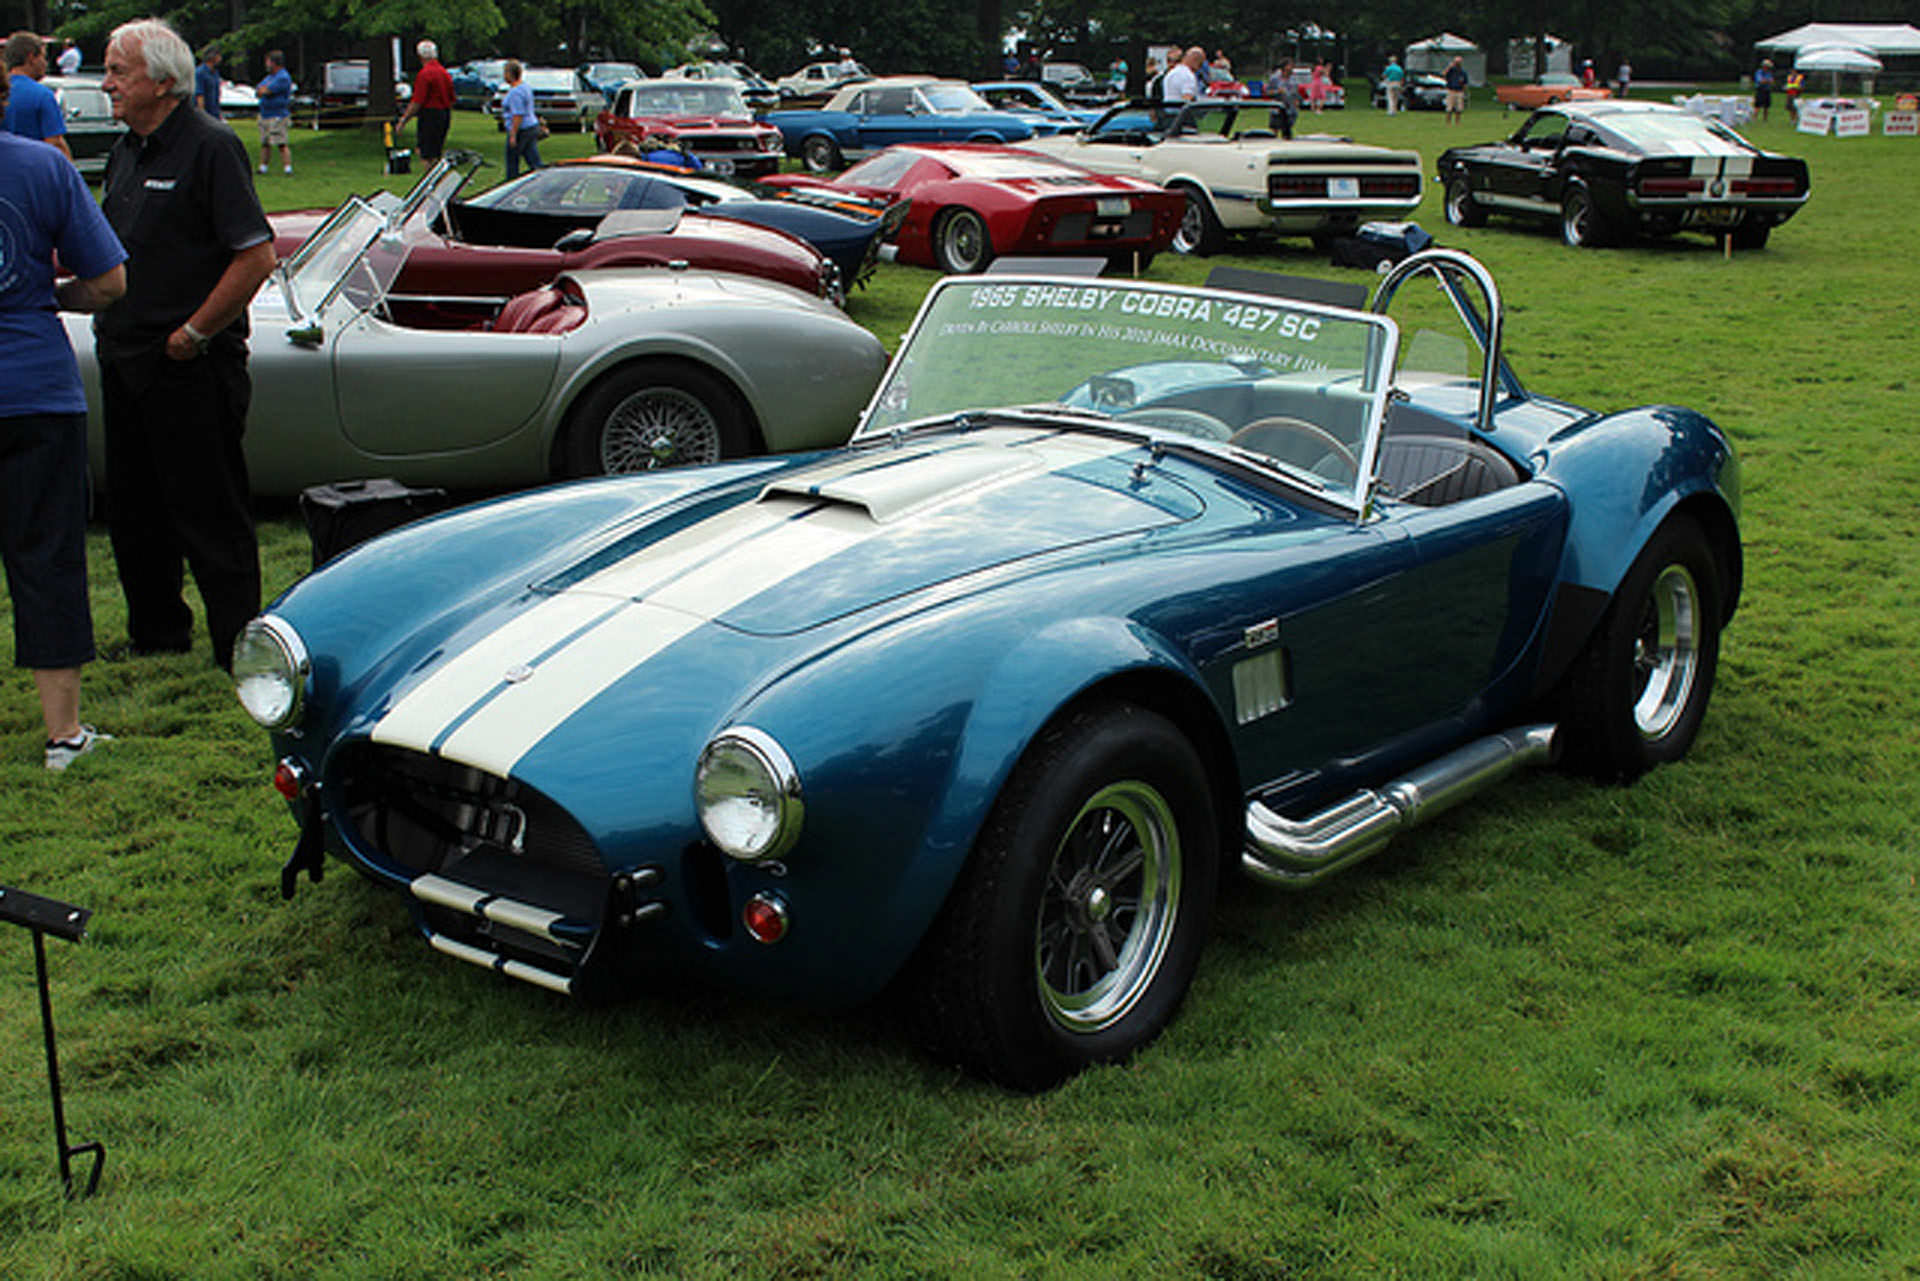
Reference Car
These images were probably more important than the blueprints I found. You can never have too much reference images.
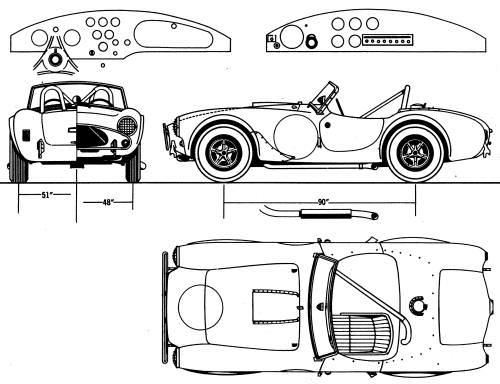
Modelling the Car
Once I had applied the blueprints to some planes in 3ds Max, I started to rough out the geometry, flicking between the different view-ports making sure everything lined up.


Because the car is mostly symmetrical I only modeled half of it and mirrored the other half, making tweaks to the parts that aren’t symmetrical like the side view mirror and the fuel cap.

Once I was happy with the shape of the bulk of the body (I abandoned the blueprints pretty early on and referred to the reference photos mostly). I moved on to the details like the wheels, exhaust pipes, lights, windscreen and interior.

Because this is the first time I have modeled a car I didn’t really keep tabs on the poly count which ended up being quite high once the smooth modifier was applied.
Texturing the Car
Cars dont usually consist of too many materials. In this case I had the car paint, chrome, tires, lights, glass and leather for the interior. Maxwell Render comes with some pretty good presets and a wizard to create materials from existing templates which include some car paint shaders. I used the wizard car paint shader as a base and tweaked it to produce the very nice British racing green (I know its an American muscle car J).

The exhaust was probably one of the elements with the most complex material on the car. This texture required the exhaust to be unwrapped. I used Xrayunwrap for this. I find this plugin beefs up the default 3ds max unwrapping tools and allows you to come to a usable solution much faster.
Its not a pretty unwrap (no fault of Xrayunwrap). It was all about efficiency at this point and that was as good as the UVmap needed to be. In Photoshop I painted the parts that showed the heat stains on the metal and the necessary masks to mix between the different shaders.


Here is a breakdown of some of the materials for the Cobra Once I was happy with these shaders, they were applied to the cars with necessary tweaks.


The NNG
We were lucky, in this competition, to be provided with a pretty good model of the NNG. This was a great starting point and it meant that we were able to get cracking immediately. One of the first things I did was to take a really good look at the reference photos that Benjamin Brosdau kindly made available and look for any others I could find on Google Images.
I cannot stress enough how important reference images are!
NNG Modeling and Materials
The next thing I did was get the scene setup for Maxwell Render. Rebuilding the shaders and having a play with some lighting options. I skimmed over some getting started documentation on the Maxwell Render website, but then I kind of jumped in and started mapping textures and rebuilding important elements like the stone floors and walls as well as the steel columns around the perimeter.
As it turns out, I learnt pretty quickly how different from VRay (the render engine I use every day) the materials were set up in Maxwell Render. Essentially, the materials deal with the same parameters like reflectance, light transmittance and so on… they just use real world parameters.
This would be an on-going battle for me throughout the entire length of the competition. I went back and read the getting started documentation and the Maxwell Render help more in depth.
I used the reference images collected to provide the direction for the materials. How reflective was the stone? And how glossy was the steel? This is why you need reference images so you can get this stuff right (hopefully).
I used CGSources Floor Generator script to rebuild the tiled floor inside and out. The other elements, like the large marble walls, columns and the ceiling steel structure were poly modeled so I could unwrap them for texturing.


Berlin
For the surrounding environment I played around with a couple of options. The first being photographs on plates. This is an efficient way to keep the file size and memory down for rendering. However, living in New Zealand being roughly 17,500KM away from Berlin made this difficult… especially when I needed to go back 40 years in my DeLorean which is out of plutonium!
I did my best Googling to find some usable images and the only way to do this was using street view which yields some very low quality poorly exposed screen grabs. Not really a good option for trying to achieve photorealism.
The other problem with using photos for a background plate is that you need to use photos taken more or less from the same direction as the final output. Otherwise, you can get some pretty weird results.
The technique I chose was to avoid the background at all costs cheap, I know. Especially when Bertrand did an amazing job at taking on the task of creating a full 3d environment (mind-blowing). By avoiding the background, I limited my camera options, but led me to try some angles around the lower courtyard which in the end became a point of difference.
Where you could see through the glass in the museum, I made some very low poly versions of the major buildings from the reference I gathered from Google street view. These fit well with trees in the right places and there was still a sense of depth that you lose sometimes if a background plate is not from the correct viewpoint.

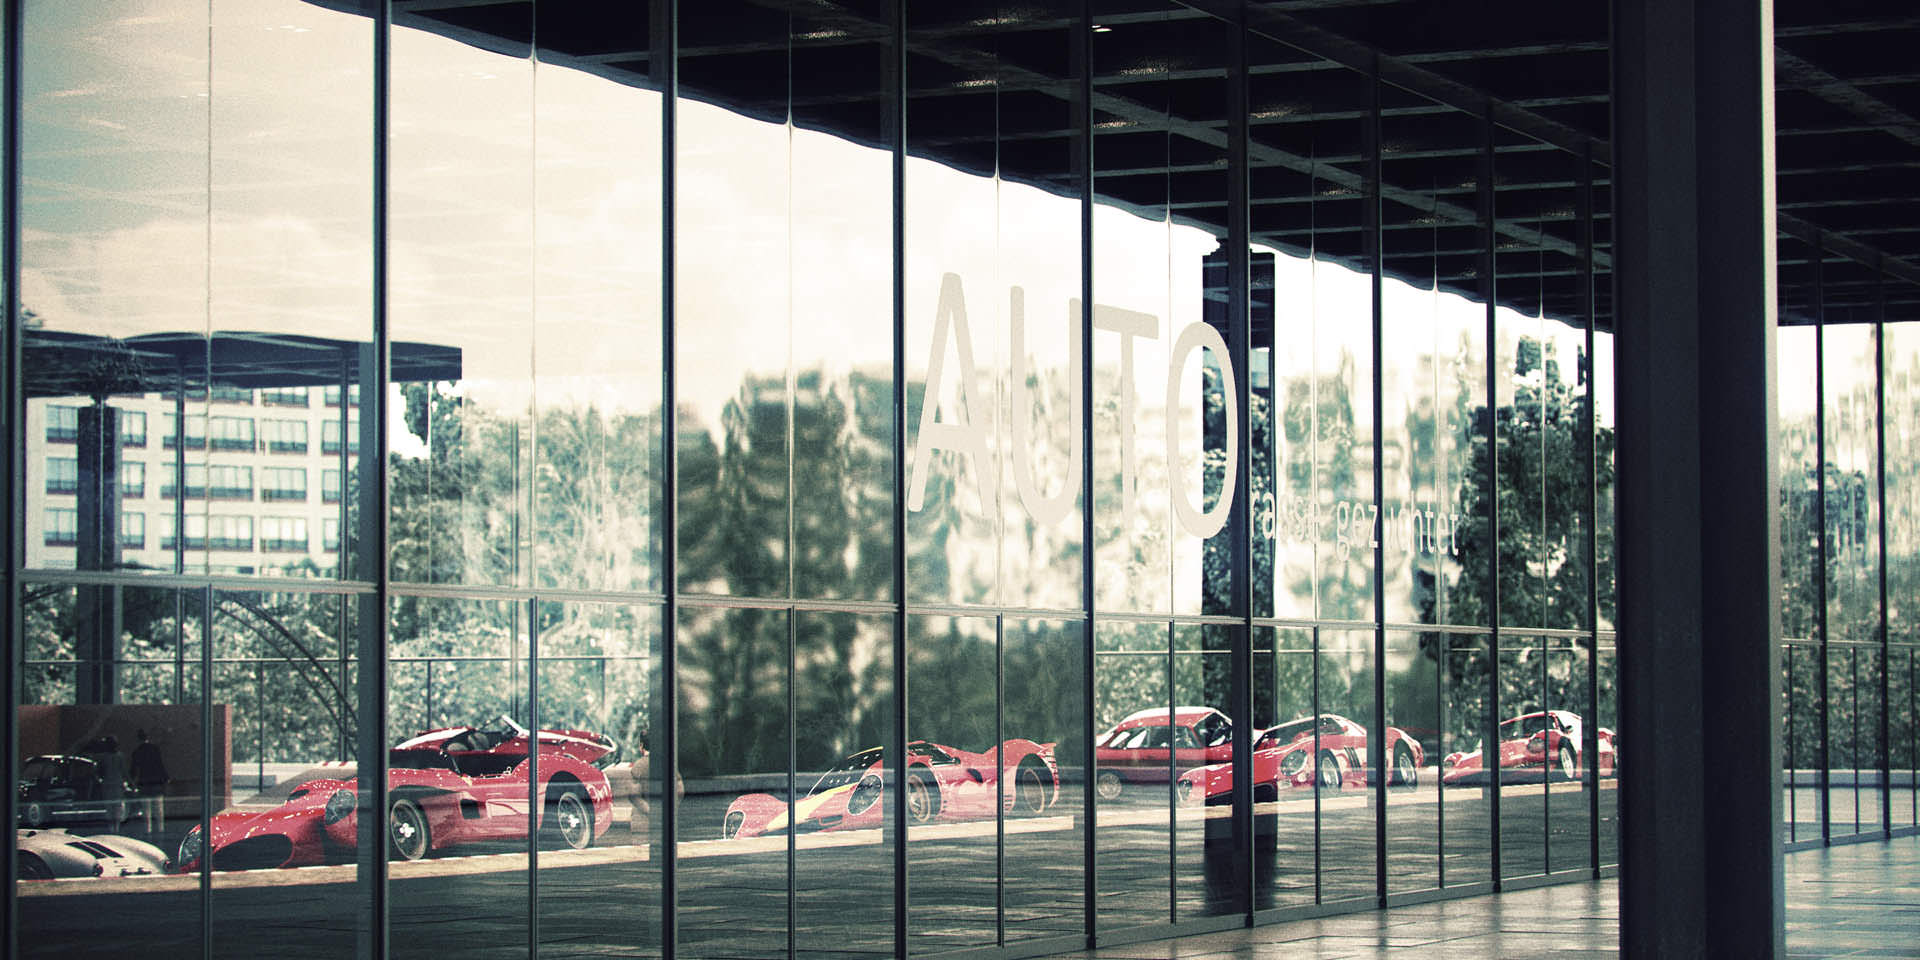
Anachronism
Although my final images were aimed to appear as if they were in the early 70s, this was something I could not replicate in the background. For example, the Daimler-Benz building which was built much later than the 70s. I couldnt find much photographic reference for Berlin around that time.
The Exhibition
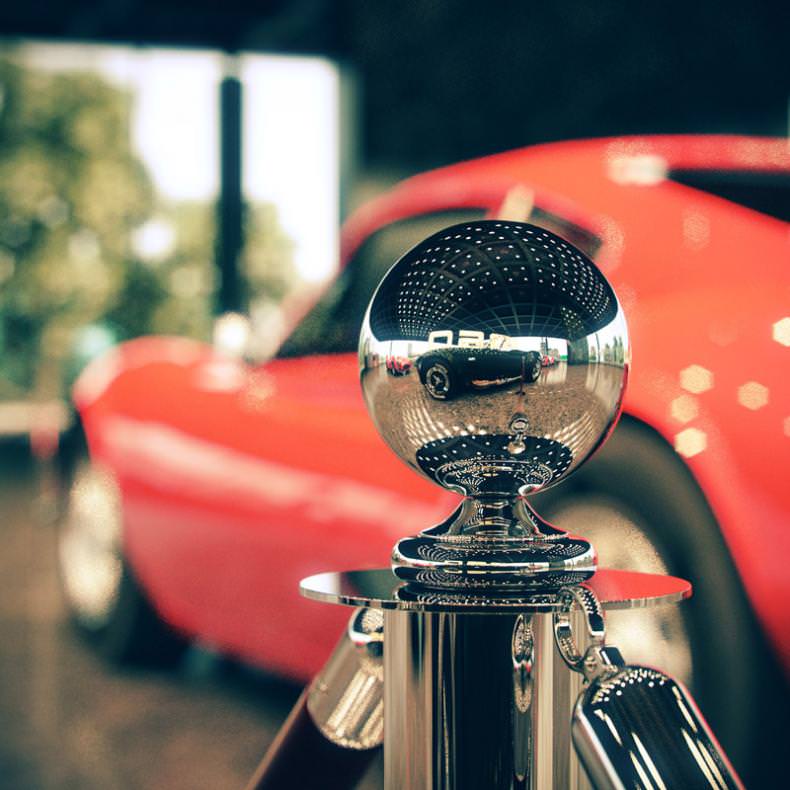
My initial direction for the display of the cars was fairly traditional… Just some beautiful cars grouped by brand or type with bollards demarcating spaces.
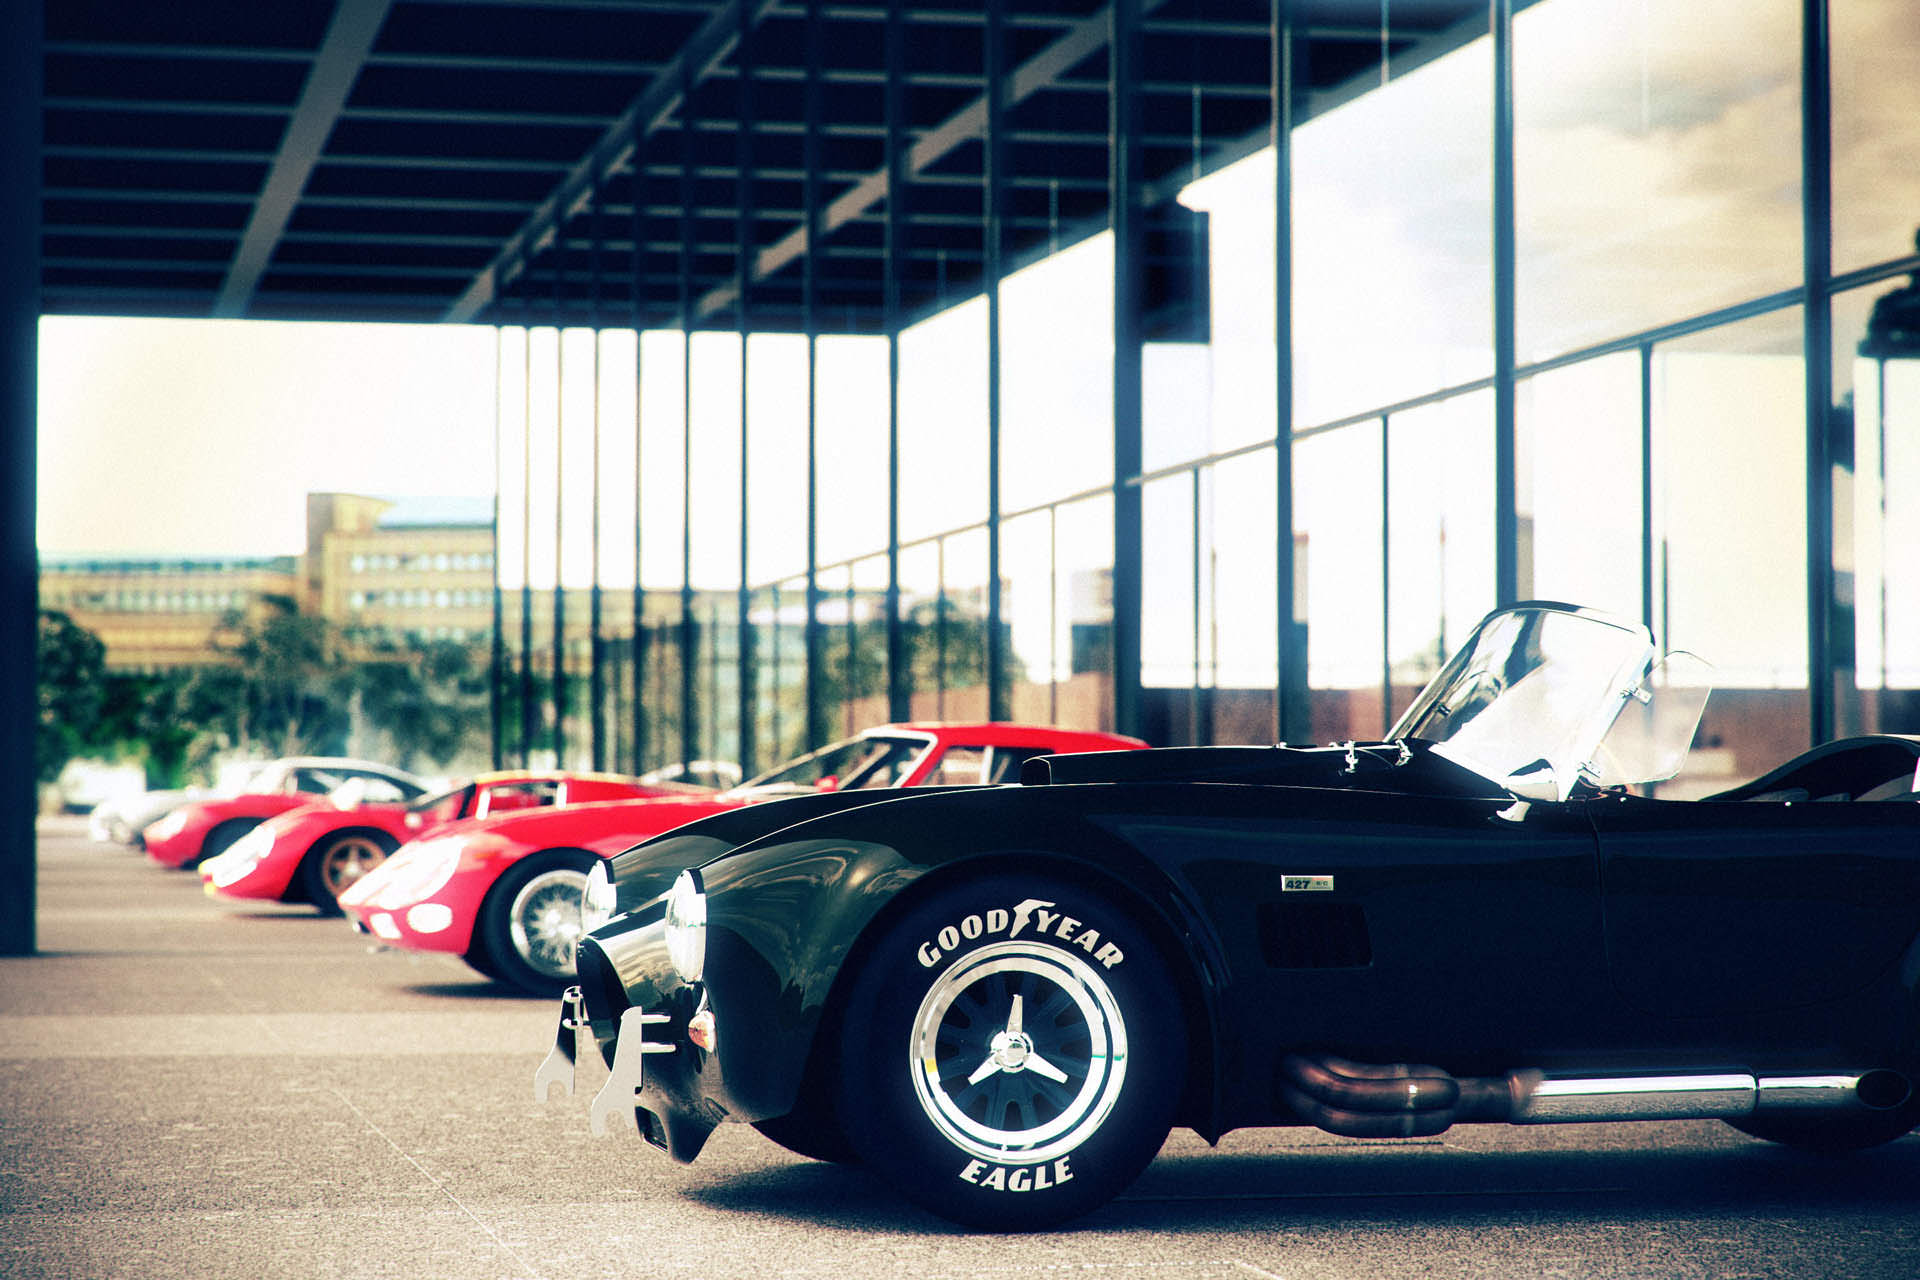
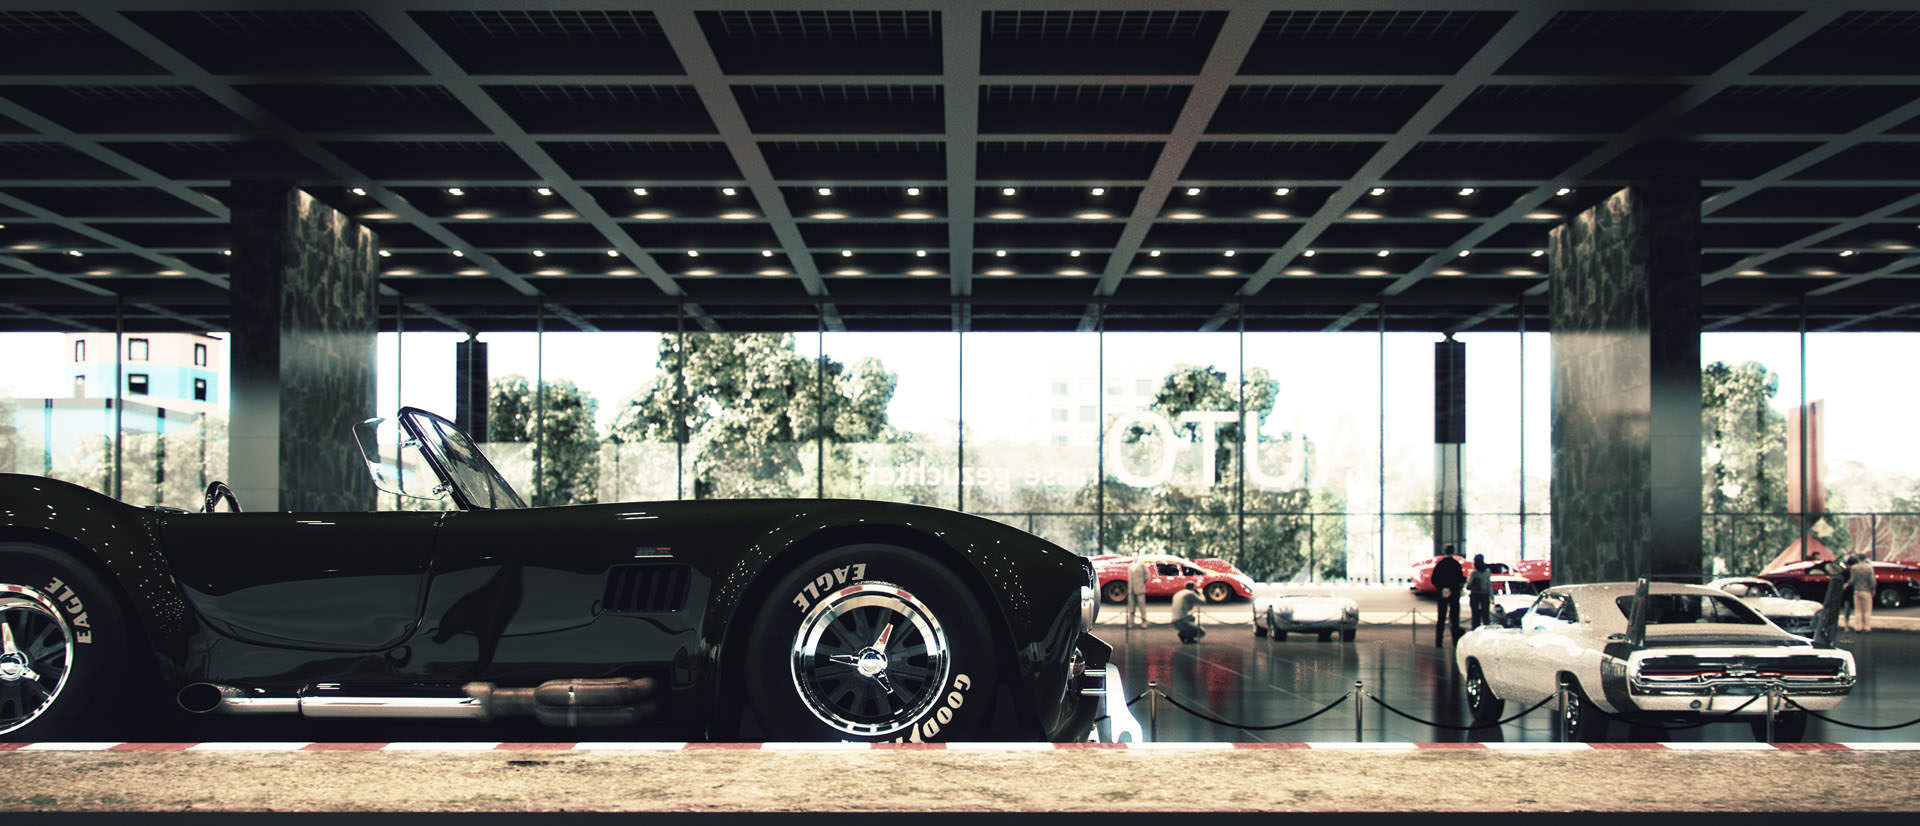
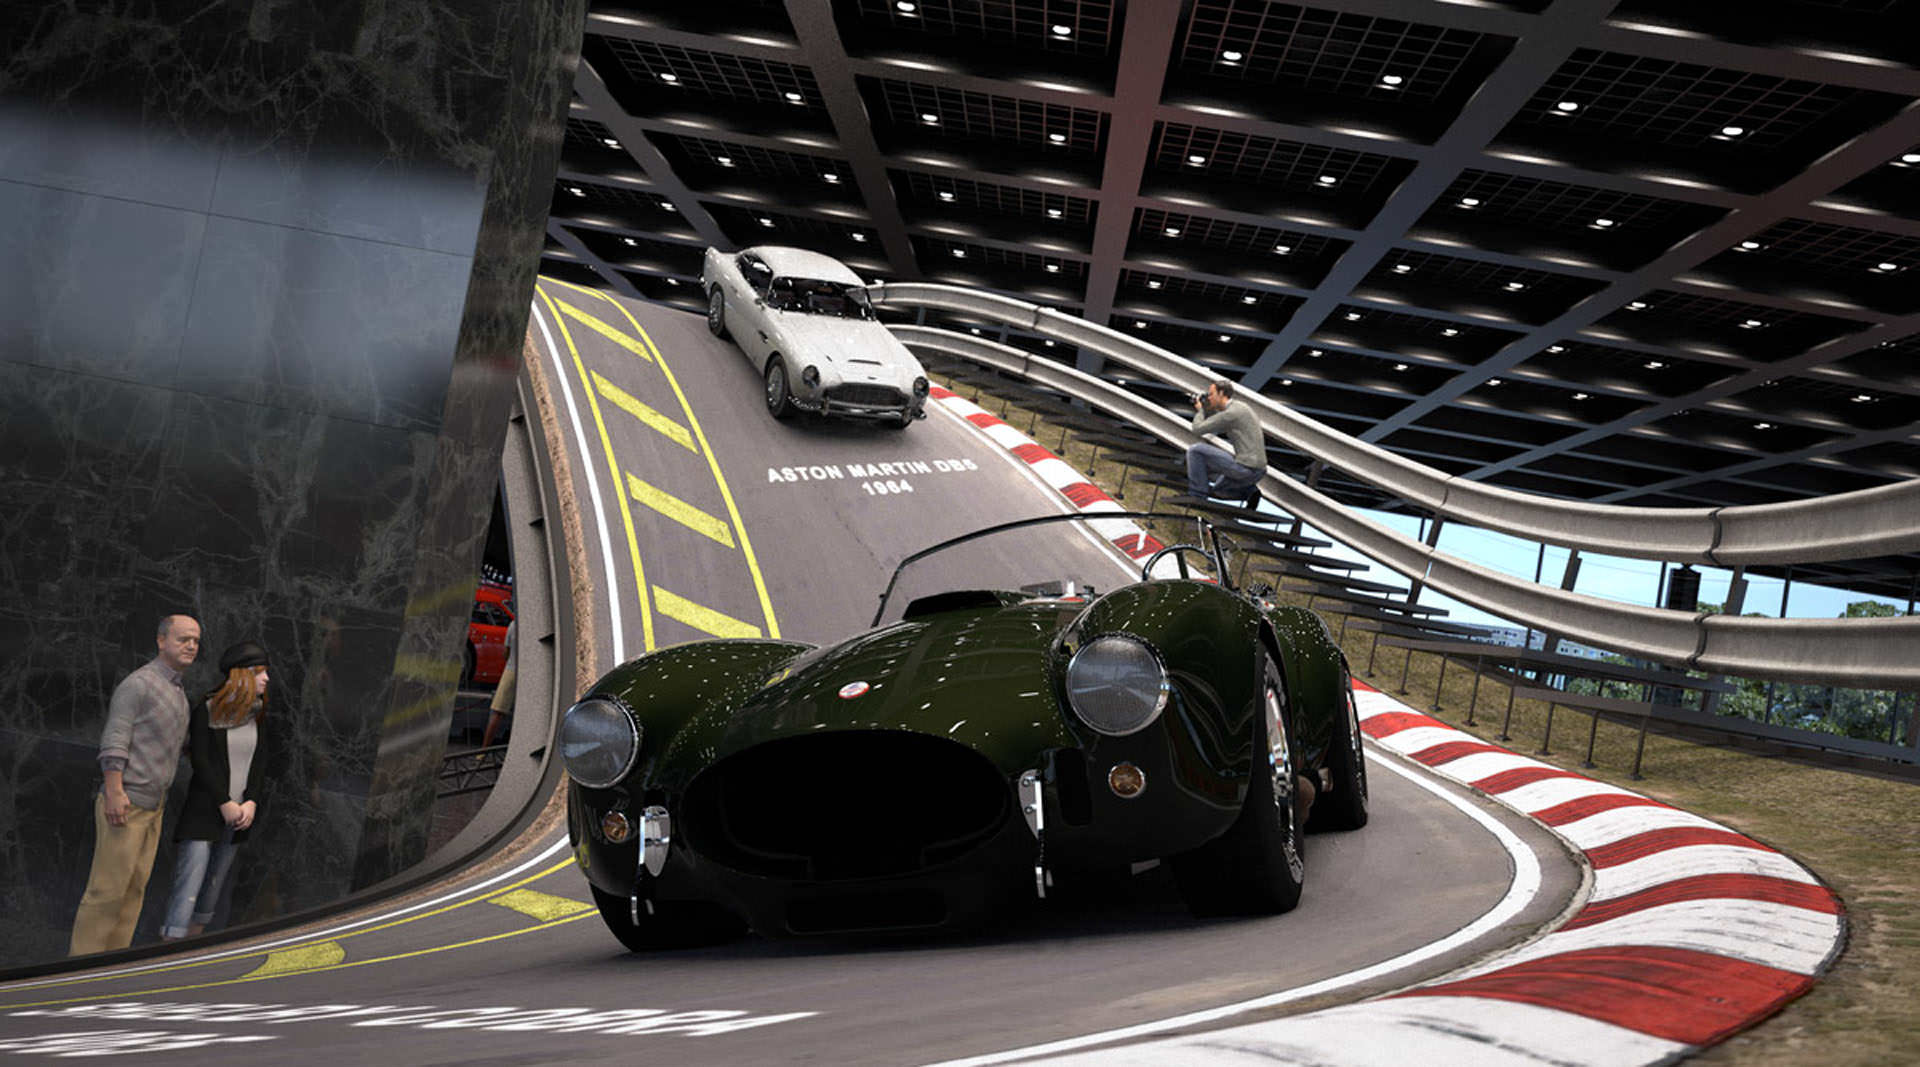
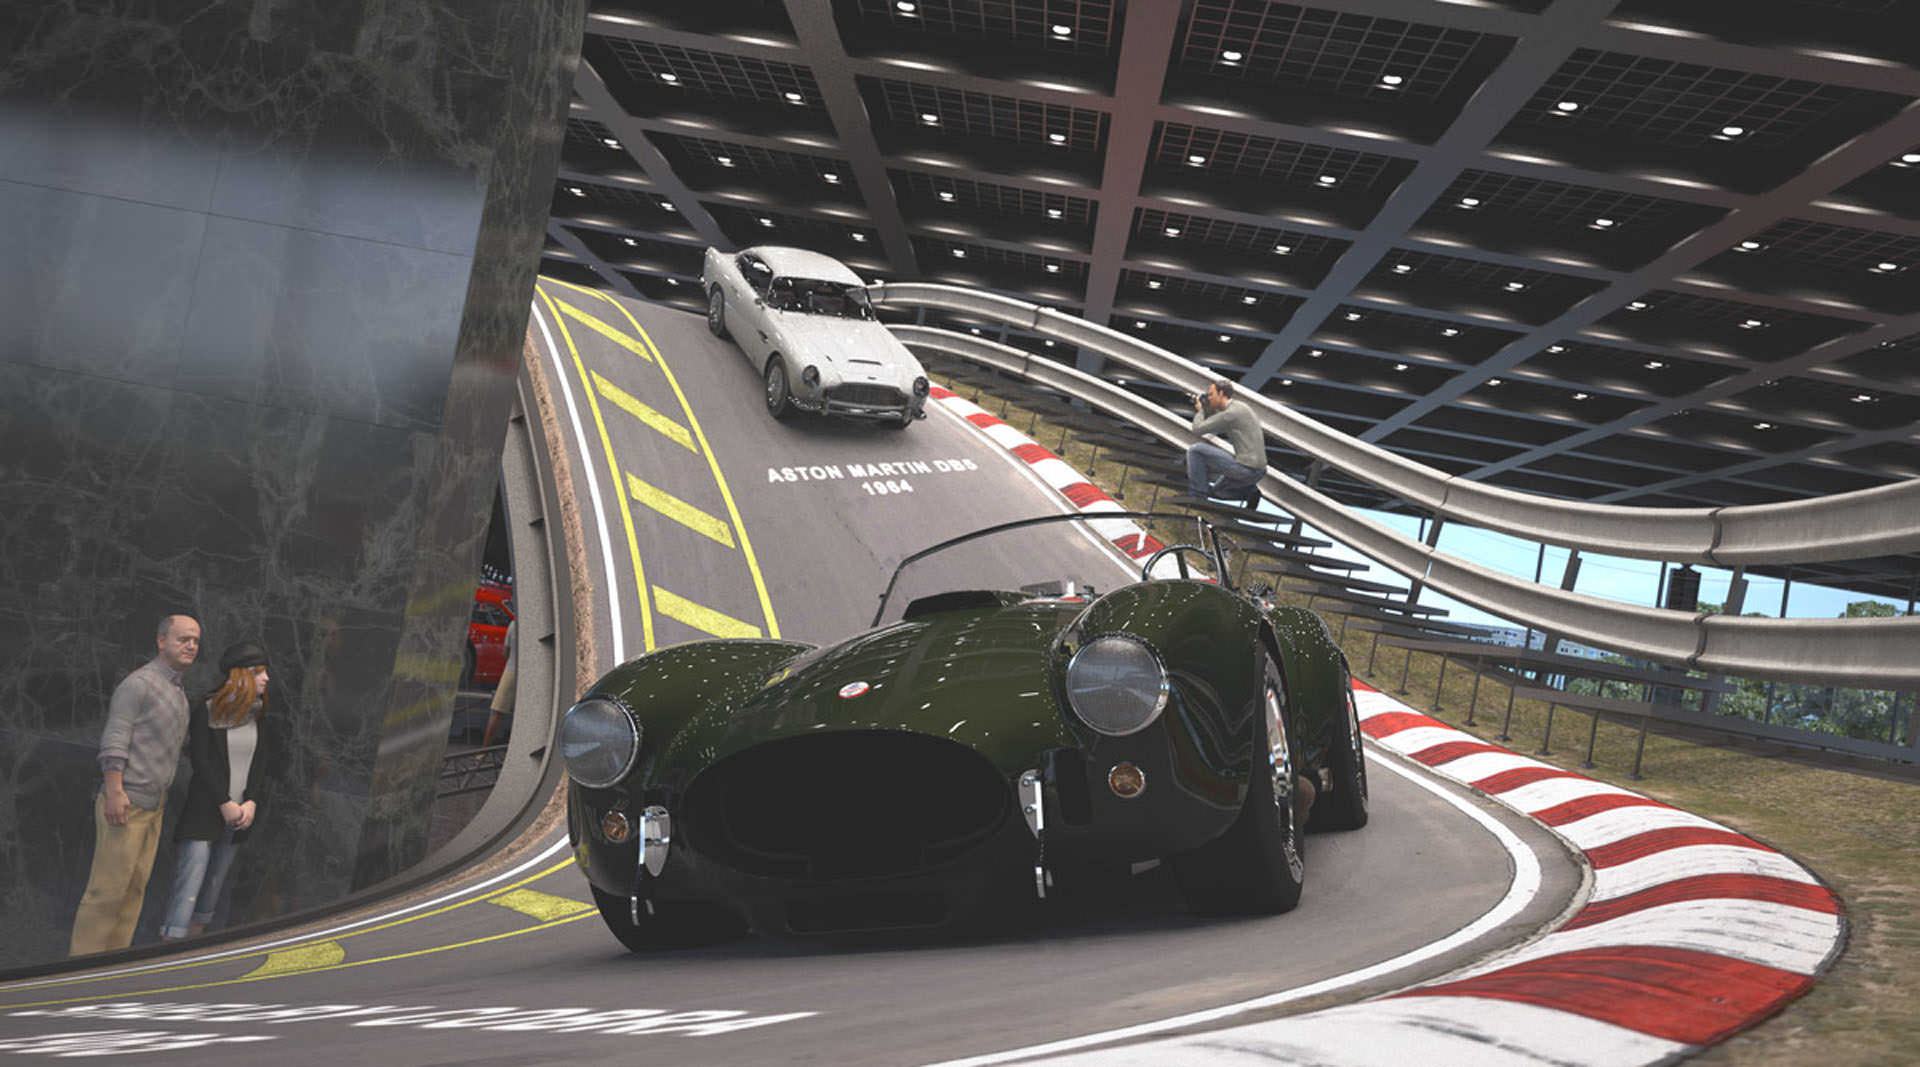
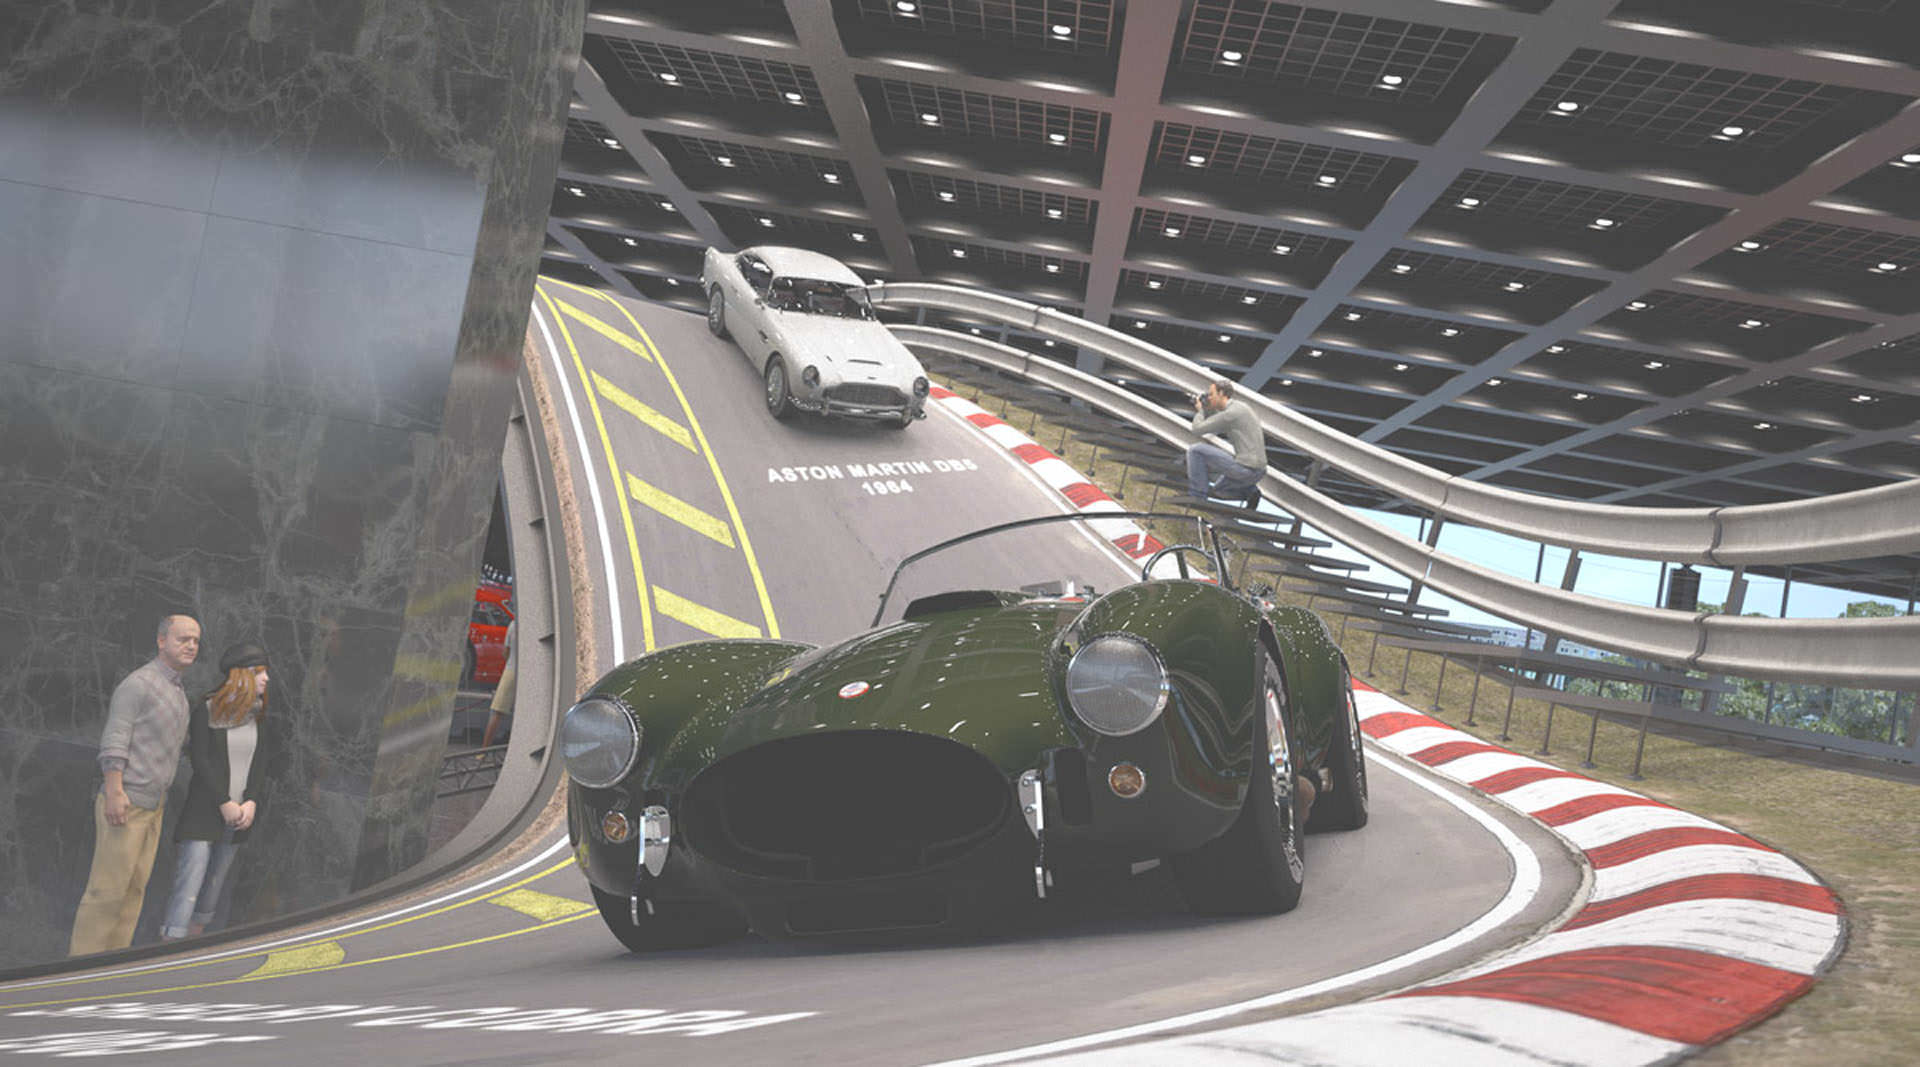
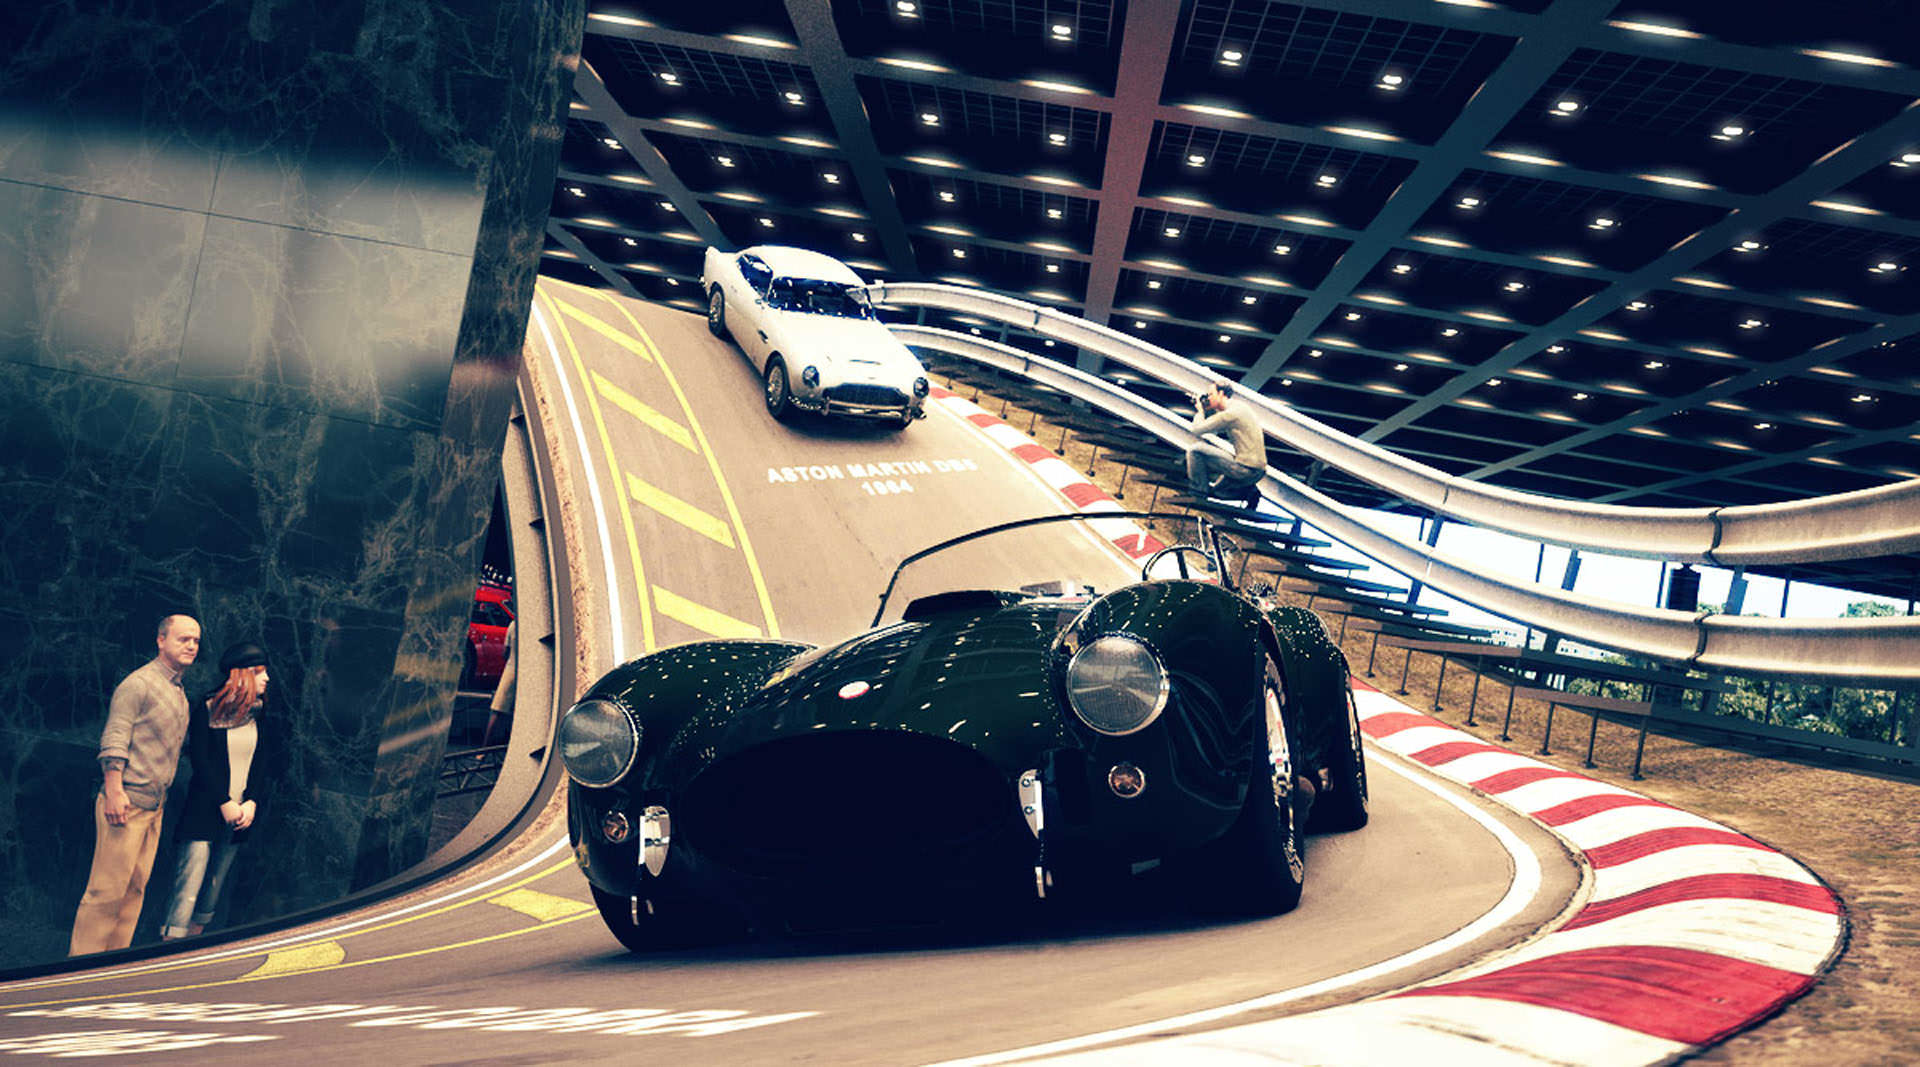
After some comments in my competition thread, I decided to revisit how the cars would be displayed. To be honest, this was always a concern in the back of my mind. After many days of thinking how I might do that I came up with an idea where the cars would be displayed on a racetrack like the race had been frozen in time. I felt this added an edge and made the images more dynamic. Im not entirely sure this was the best approach but I investigated and locked it in without looking back.
The Race Track Modeling and Materials
The race track is essentially made from a series of splines with a poly modeled mesh deformed by a Path Deform Modifier. I then collapsed this to an editable poly and unwrapped using Spline Mapping under the Unwrap UV modifier in 3DSmax. This basically flattens out the track so a texture can easily be applied.
Basic steel beam to be deformed.

I then selected some edge loops from the sides and center of the main road poly and extracted some splines which I used to path deform the base structure and sides which were modeled in a straight line.

Beams deformed along Splines.


Full track structure.

Road surface + Structure


The curved trusses holding up the figure 8 road layout were modeled flat and then had a bend modifier applied to create the curved shape.
The main material from the track was painted from a series of textures from CGTextures. I slightly raised the mesh for the Red & White curb to add some relief to the otherwise flat surface.

The material I created could tile in one direction seamlessly to create a nice flowing road. In Photoshop I then created parts of the track that had the car names overlaid on the track. These were added to the Material via Multi/Sub Object, where I copied the initial road texture and swapped out the diffuse for each car label.
Post Production
The post production part of my submission was my least favorite part!
I wanted to use Maxwell Render to get an almost perfect render and then just do a little color correction, but things just turned otherwise. I ended up going through quite a few iterations before I was happy with the final look.
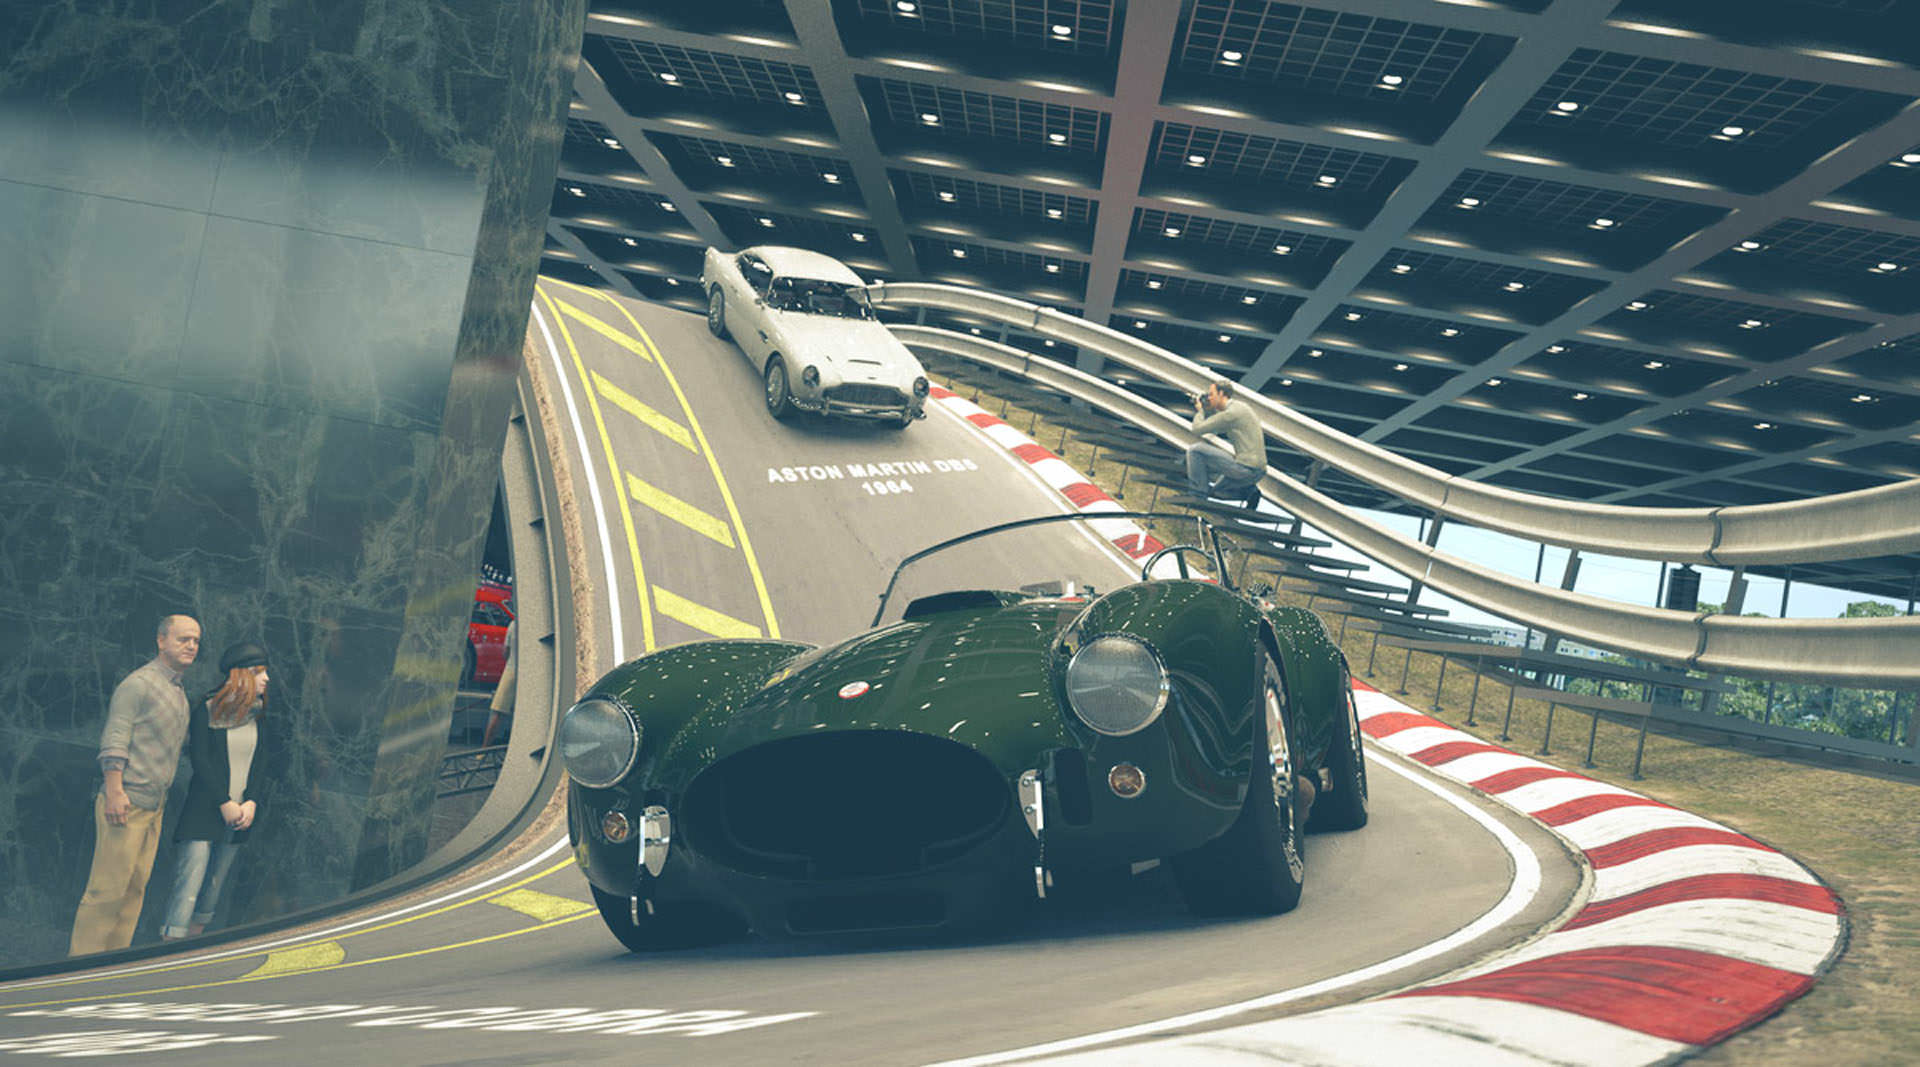
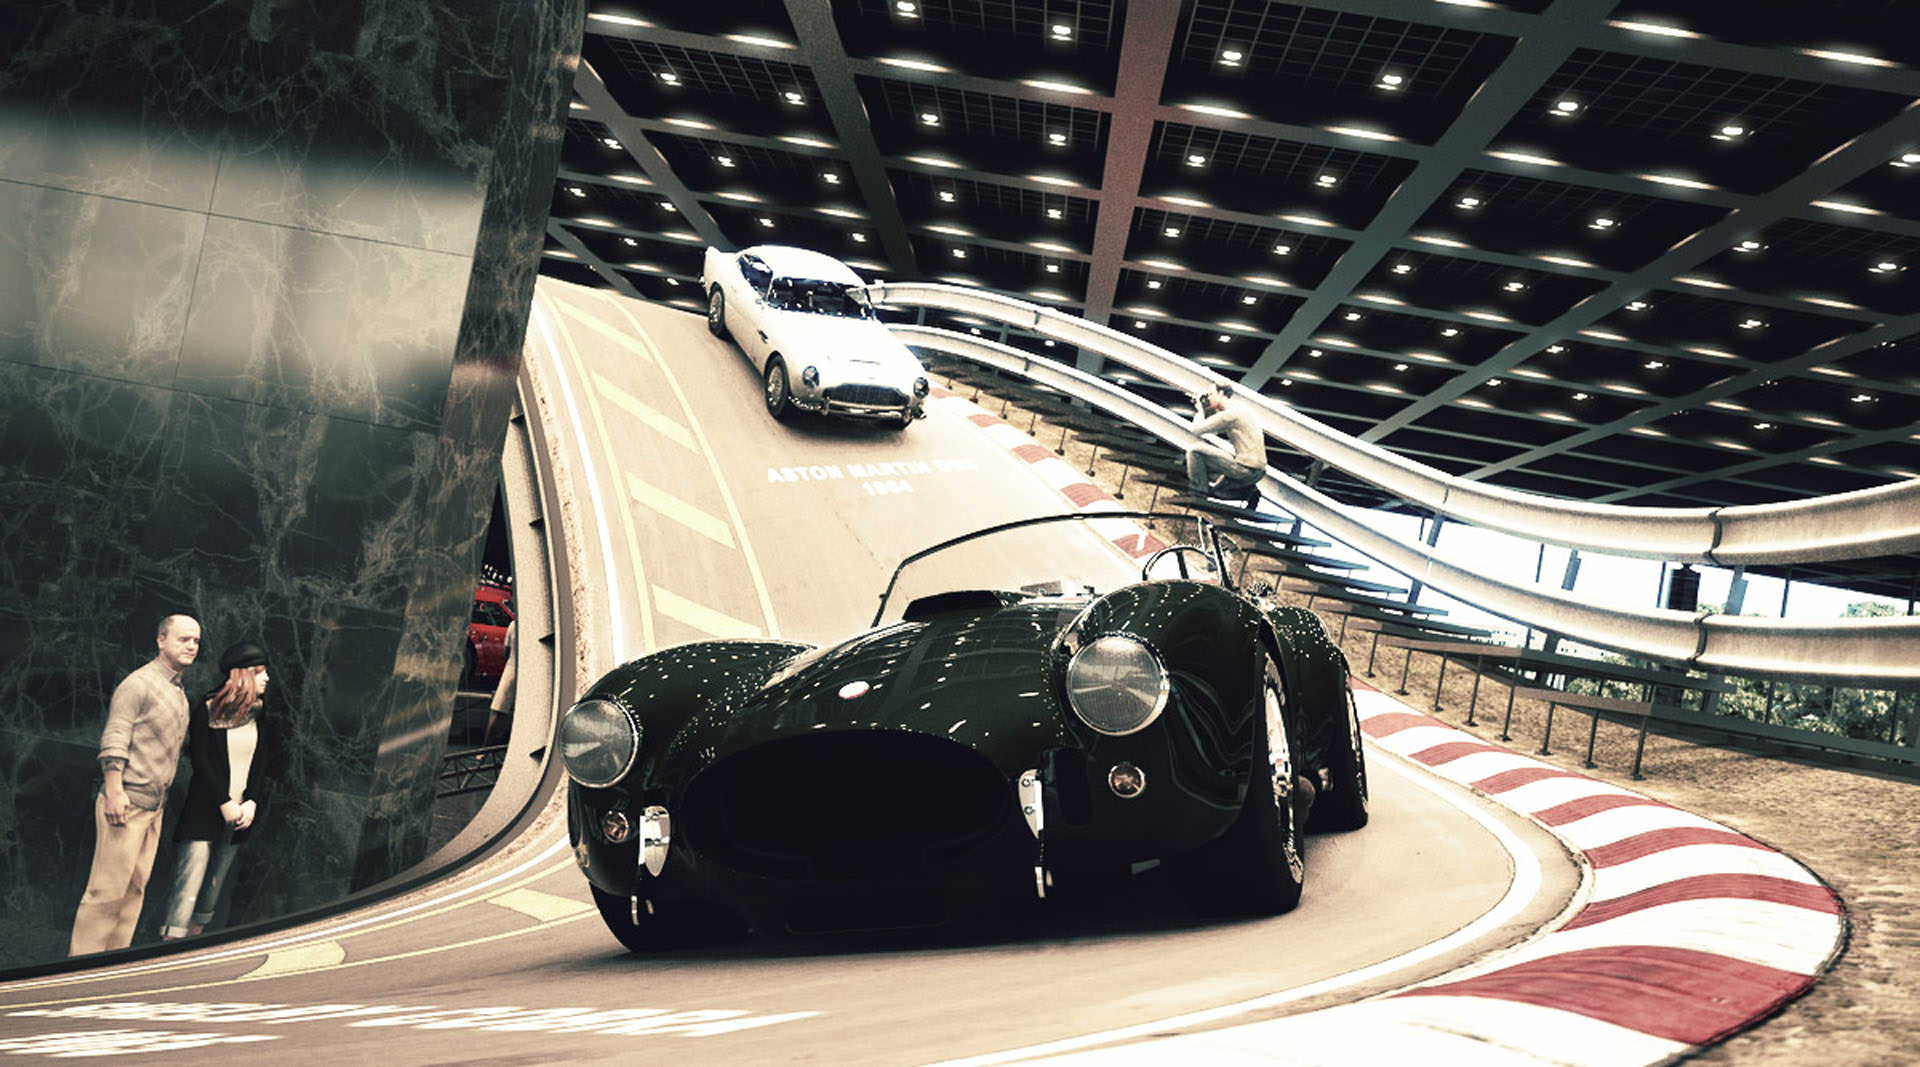
By playing with the Curves, Hue, Saturation and Color Balance Adjustments in Photoshop I came up with a look that I was happy with. The end result is a digital application of a cross processed look which I dialled back by reducing the saturation.
I spent quite a while moving sliders within these adjustments till I was happy with the outcome. Usually, I wouldnt overlay this many adjustments on an image. This time, in order to get the feel I was after, it seemed like the best way as I could see quickly how each adjustment effected the image by turning it on and off as well as tweaking the sliders between the different adjustment layers.
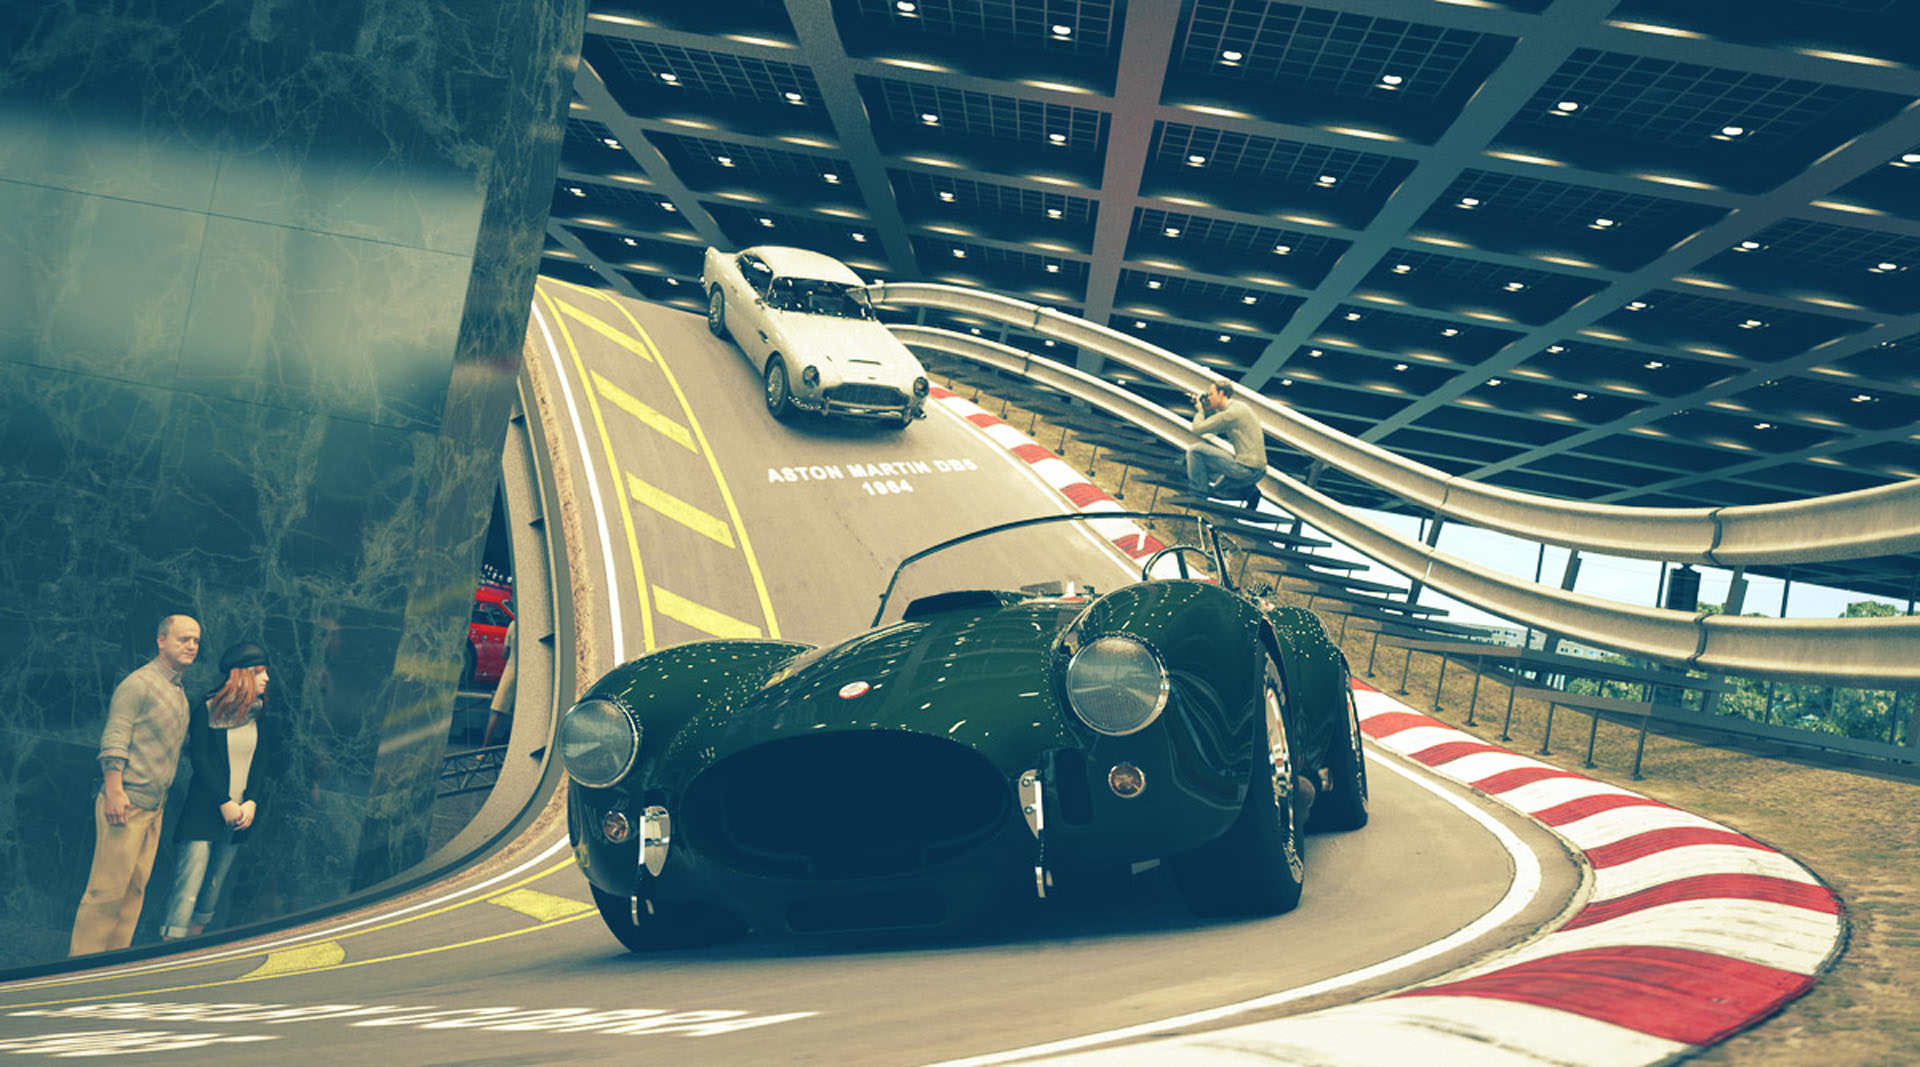
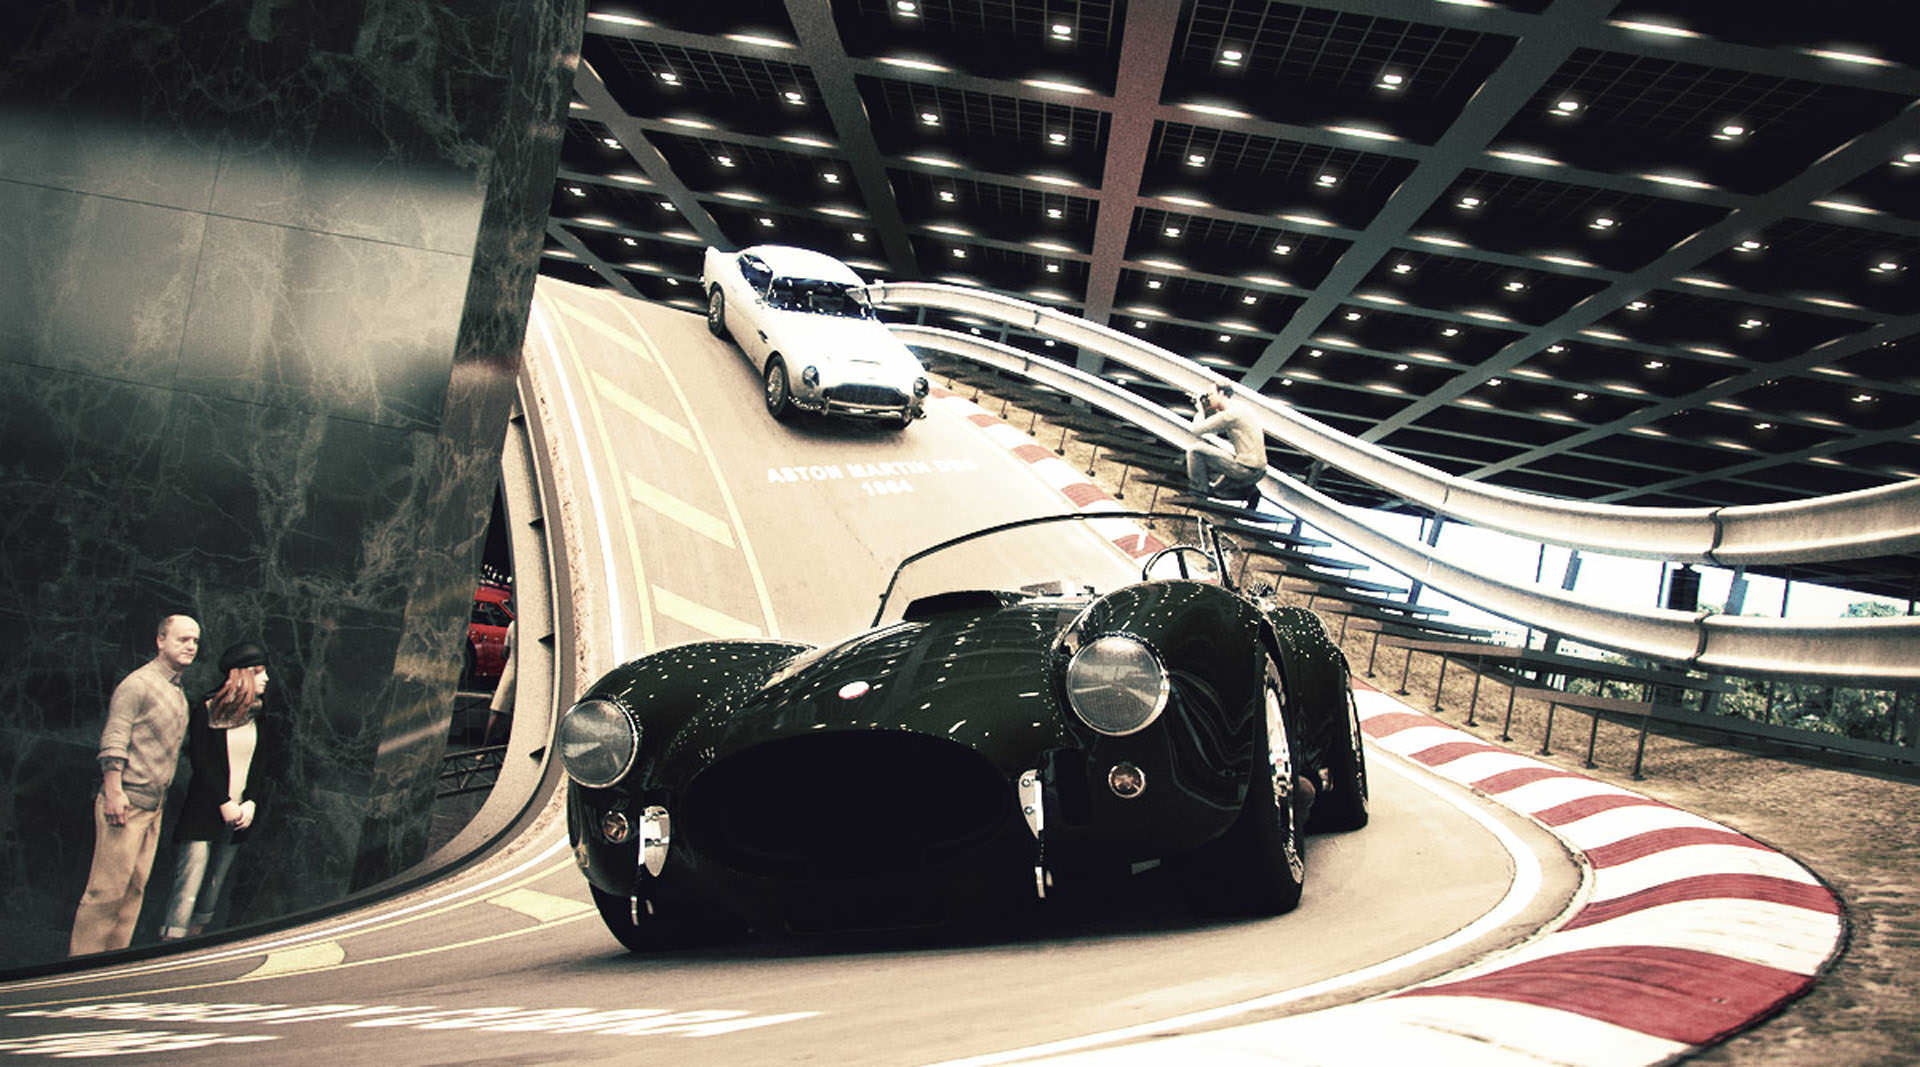
I was originally going to post my final images in Black & White so there is a B&W adjustment layer for this and also one for a sepia tone image, which I quite liked too.
Here is a breakdown of the adjustment layers for the interior shot of the Cobra on the track. Notice that the Opacity is not always at 100% for some of the adjustments.

Here is a screenshot of how each adjustment affects the image. This shows what is happening at each layer but keep in mind all these adjustments work together to produce the end result.
-

- The RAW render
-
- Selective Color, Intensify dark areas.
-
- Brightening the Exposure
-
- Curves 1 Cross process effect part 1
-
- Curves 2 Cross process effect part 2
-
- Hue Saturation 1 Aim for warm tones

-
- CB Warm highlights. Cool Shadows

-
- Blue glow in bright areas
-
- Curves 3 Punchier highlights

-
- Hue Saturation 3 Slight desaturation

-
- Black & White – Slight sepia tone added
-
- Vignette + CA + noise added
Conclusion
Overall, I found The Museum competition very enjoyable. I like the idea of using the same starting point as everyone else and seeing all the different final results. I especially enjoyed Maxwell Render and finding how quick it was to pick up and how good the results were very early on.
I heard some nightmare stories that the rendering times were very long. This does depend greatly on your hardware I use a middle of the road custom workstation and I found that test renders were quick enough to see how you are going and you just had time manage well and render while you sleep.