


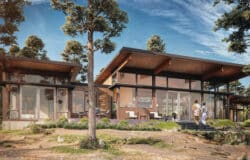


Making of GH House by Ivo Sucur, Part 1
The second GH House making-of article is here! Written by the 2nd Runner Up award winner, Ivo Sucur. This entry was very unique in that Ivo went far away from the usual orderly and clean theme most architectural visualization showcase and decided to tell us the story of a house in progress, during the last days of construction. I hope you’ll enjoy this article, learn from it and share your thoughts by commenting at the bottom of this article’s page.
Use the green retweet button above to share it with your twitter followers too!
 Author: Ivo Sucur
Ivo participated in the GH House Challenge, winning 2nd Runner Up Award for his entry. In this article, He describe the process of working on his images. Check out his website at – http://ivosucur.com/
Introduction
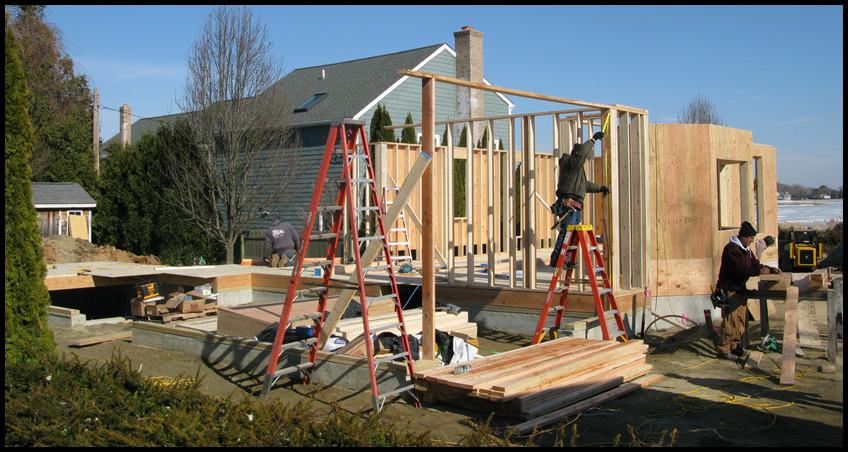
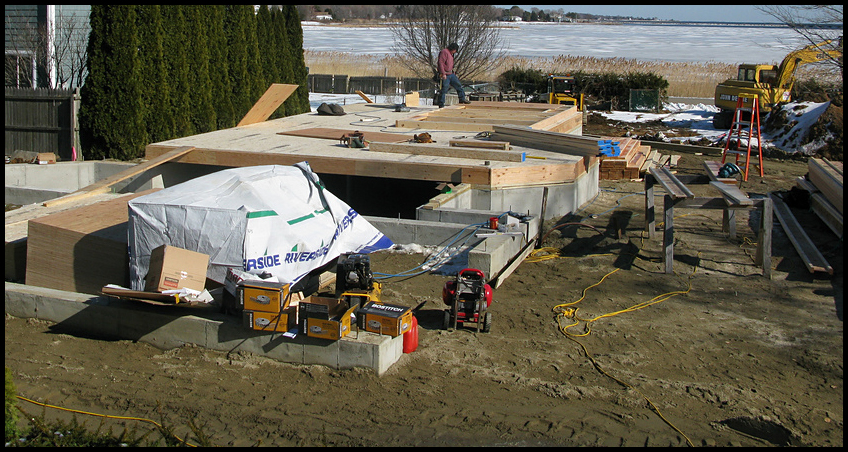
Welcome to my making of GH House 3d render article. Among all the excellent ideas and realizations you could find among the competitors, my construction site idea was to recreate an environment much like the one around a house two weeks before moving in (or perhaps a little more). I think this helped differentiate my entry from the pack and put some major challenges for me to overcome, such as exploring construction site references from real life and find elements that could easily be used for creating this ‘dirt & messy’ look.
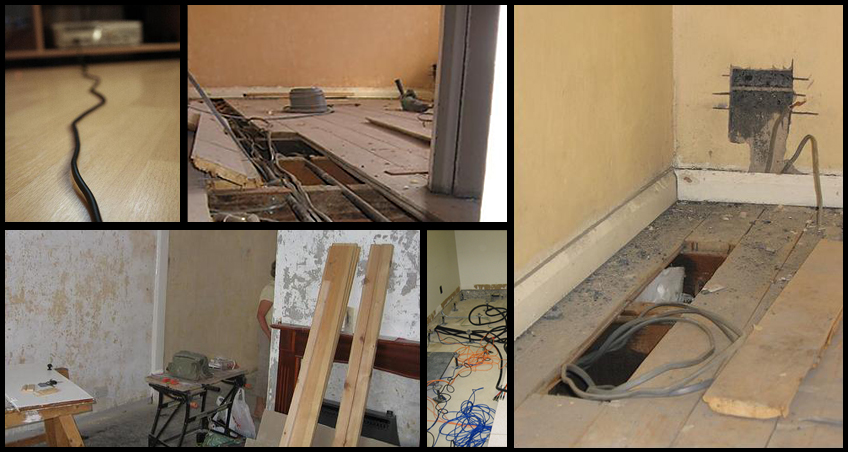
The main logic behind the construction site concept was to divide it into two parts. First, the construction site around the house that will include terrain, machinery, construction accessories, environment, vegetation, etc. Second, the construction site “look and feel” inside the house, like someone worked on the interior and left fifteen minutes ago, leaving behind tools equipment and trails.
In part one I will cover the modeling and texturing of various objects in the scene. There are many images in this article so it might take longer to load. Part two will cover lighting, rendering and post production. Have fun!
Considering references and scene management
Considering reference images and visiting a real construction site was a must and much of the work included modeling and texturing most of the available time, since many of this objects had to be remodeled or created from scratch.
The scene was filled with many objects, and in order to gain more control over them they had to be organized properly so that manipulation could be easy. The simplest way was to create separate layers during modeling process and assign each group of objects an appropriate layer. Good thing is that you can create your objects in any modeling phase and assign them to a layer later.
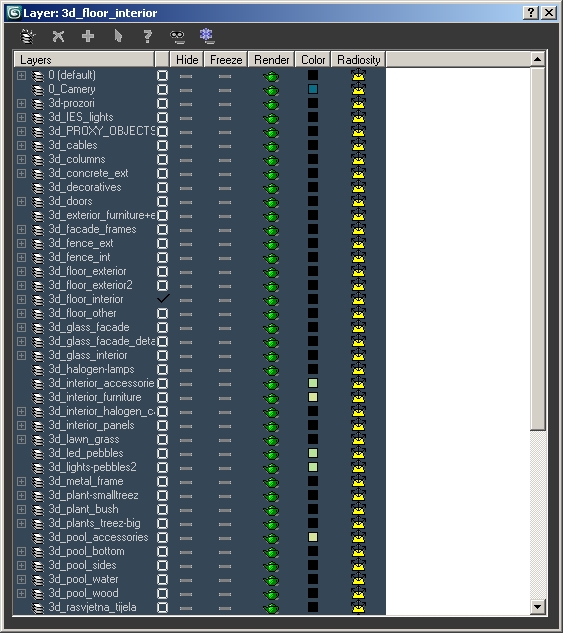
Layers screenshot
Modeling of objects
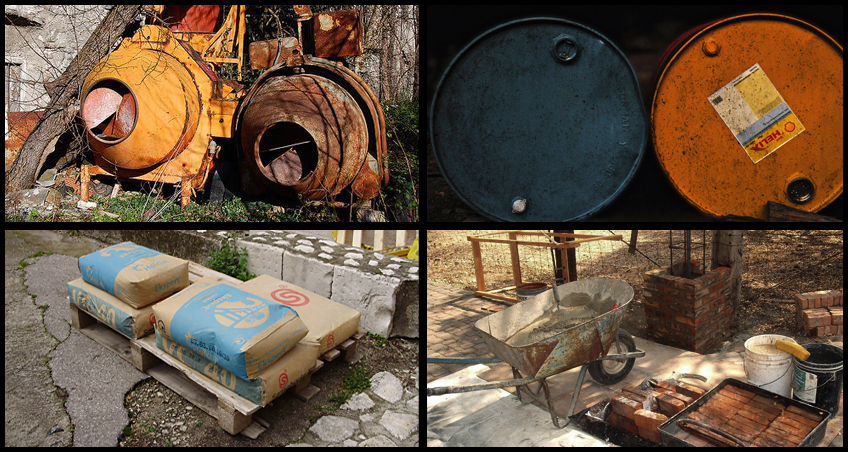
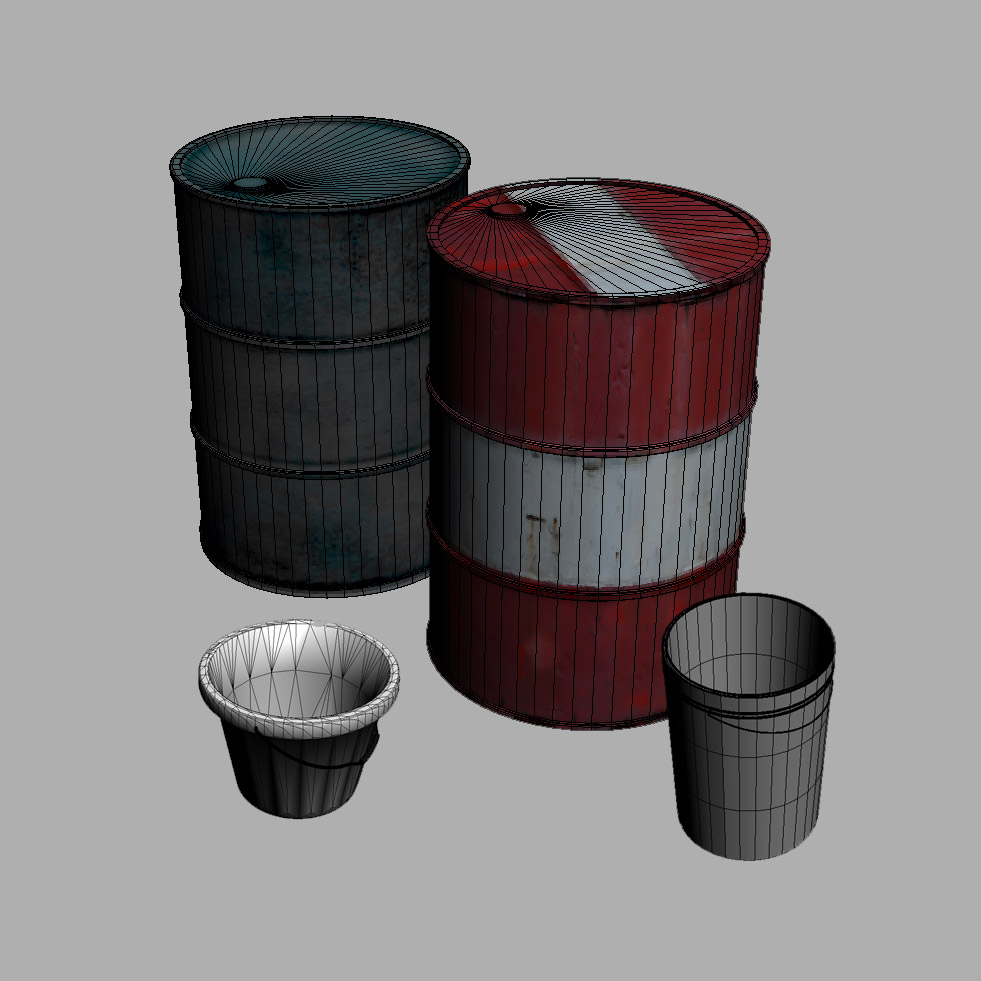
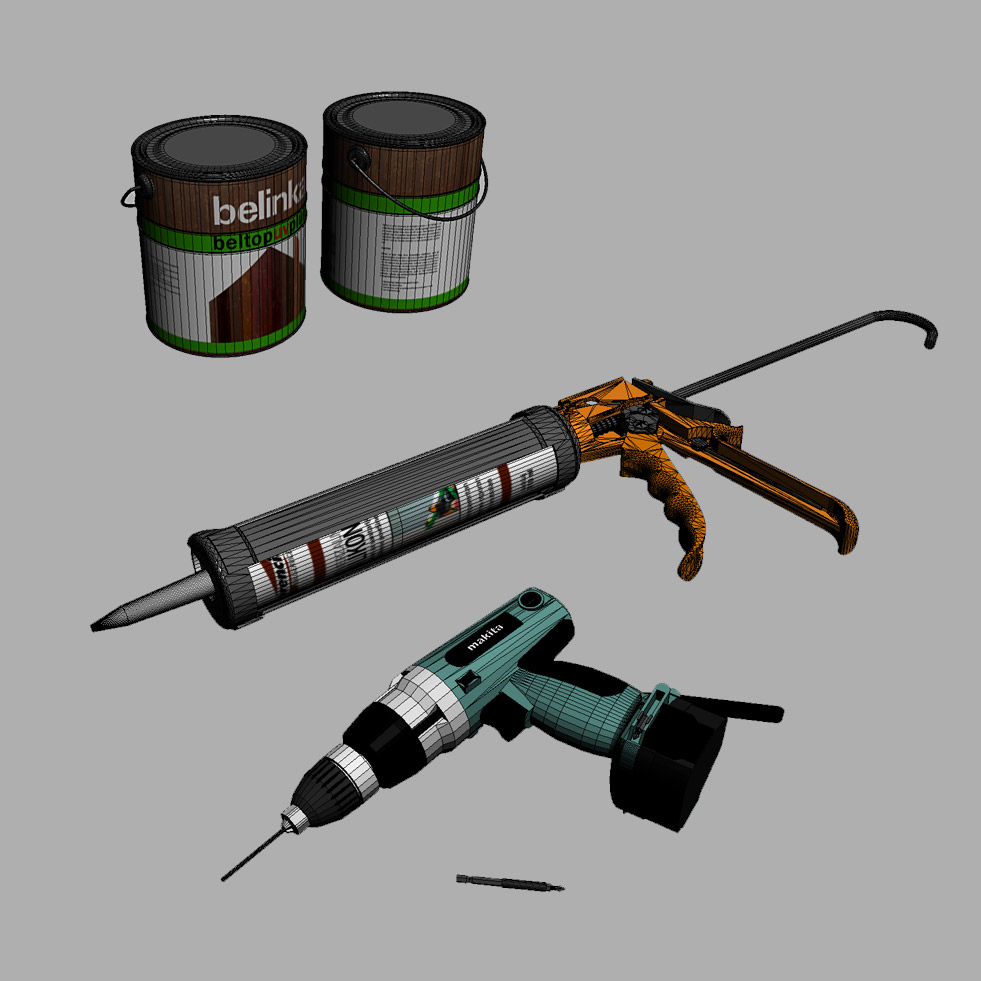
Barells & Buckets
Basic primitive are cylinders turned to poly, chamfered and adjusted with reference images and proper dimensions.
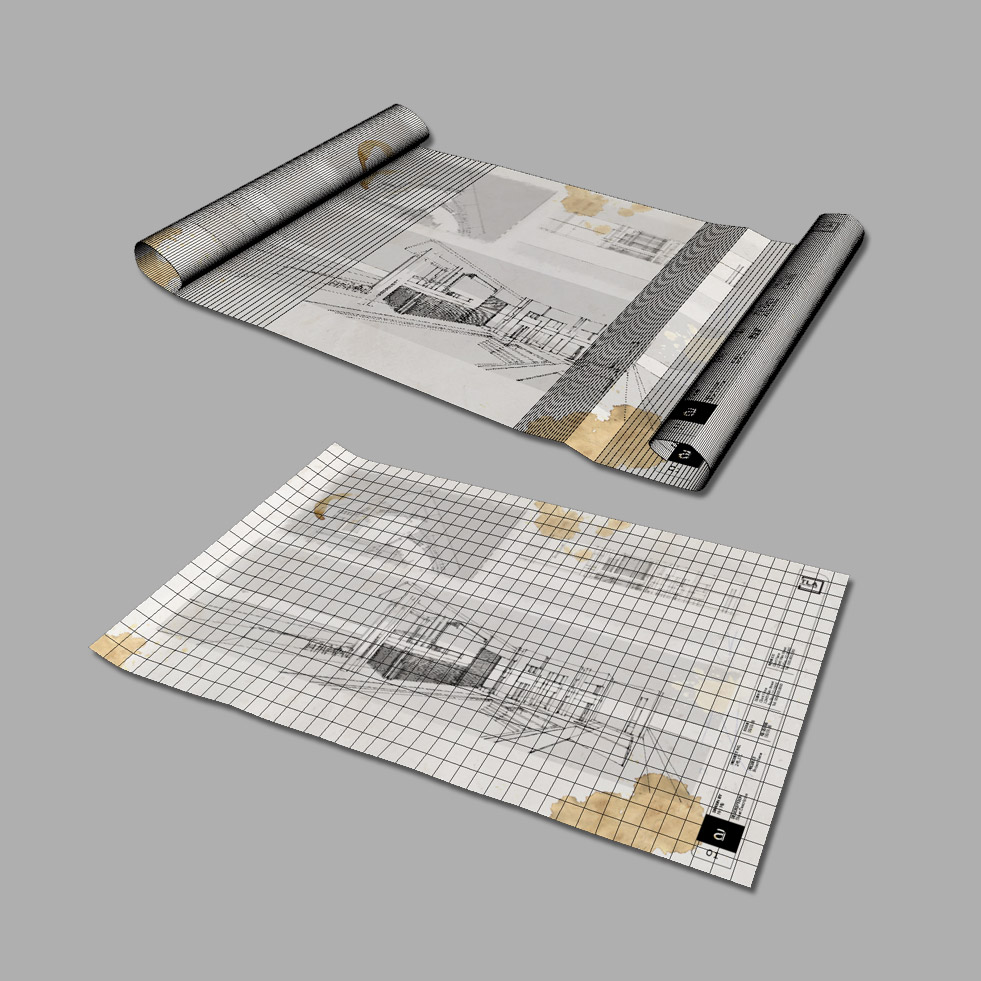
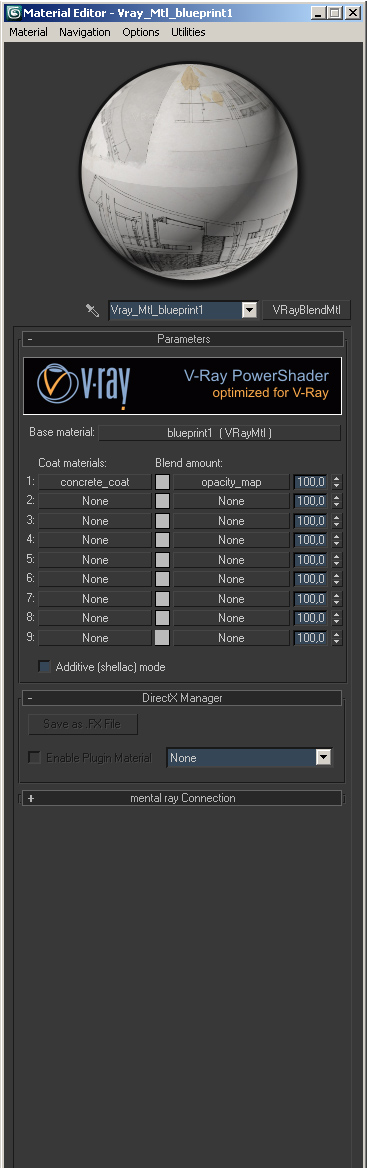
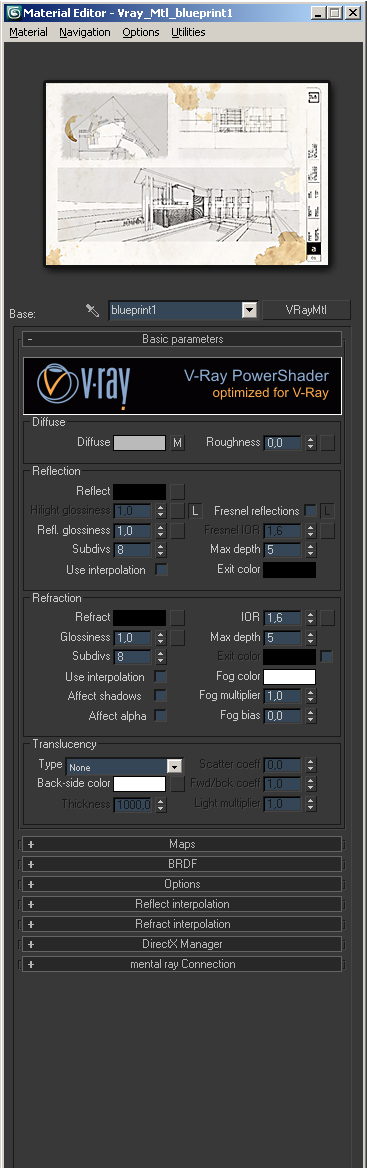
Blueprints
Elements derived from plane object, turned to poly, and adjusted to behave like paper blueprint.
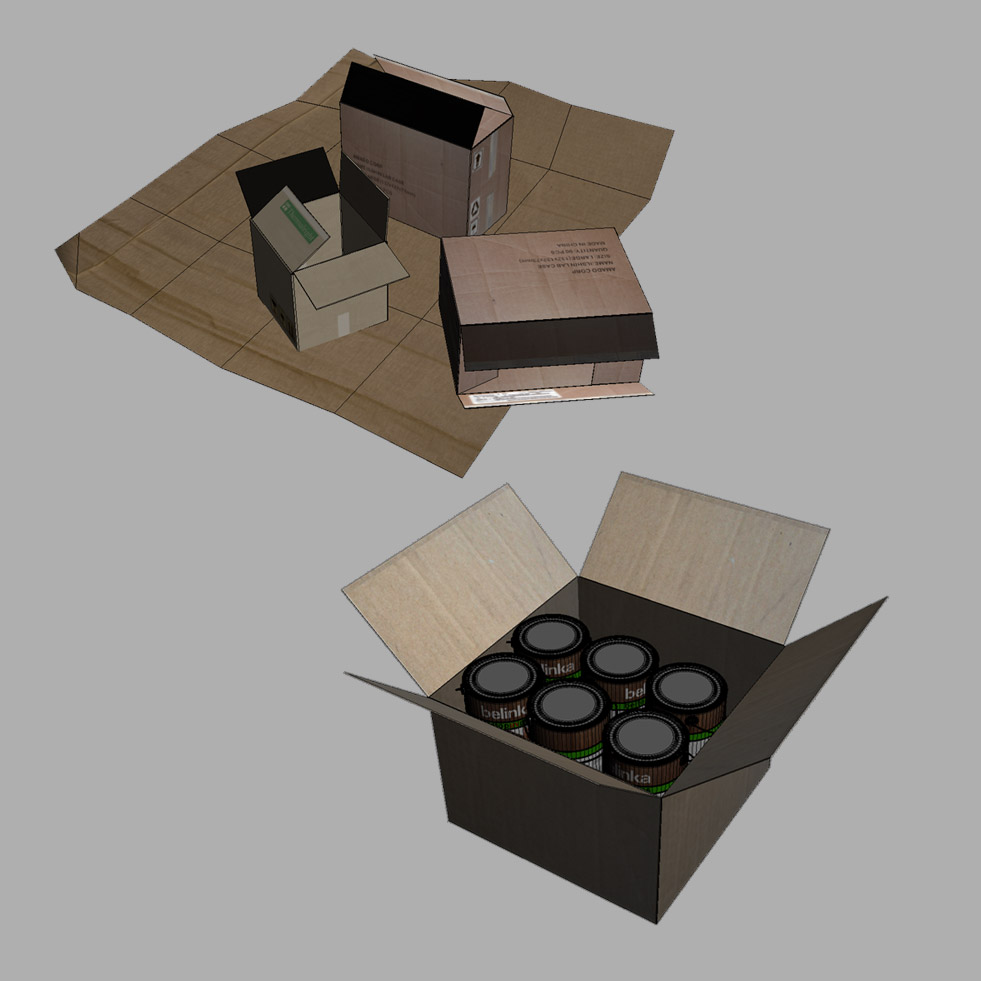
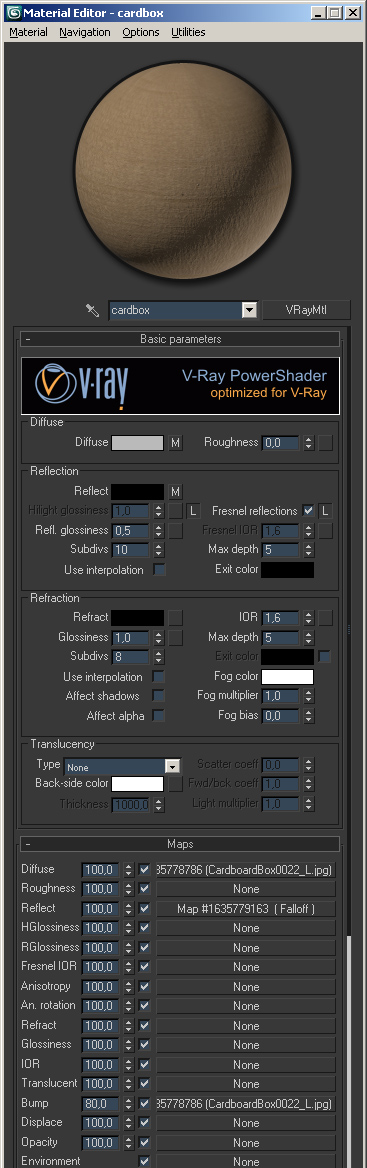
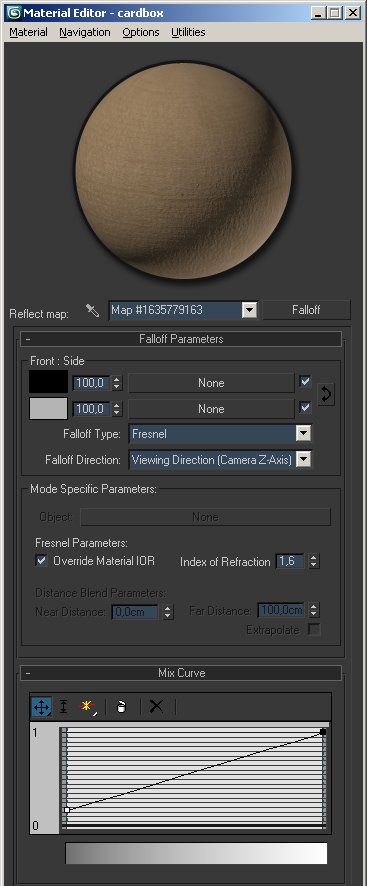
Carton box
Carton boxes are basic box shapes, also turned to poly for flexibility, some polygons extruded and chamfered by references.
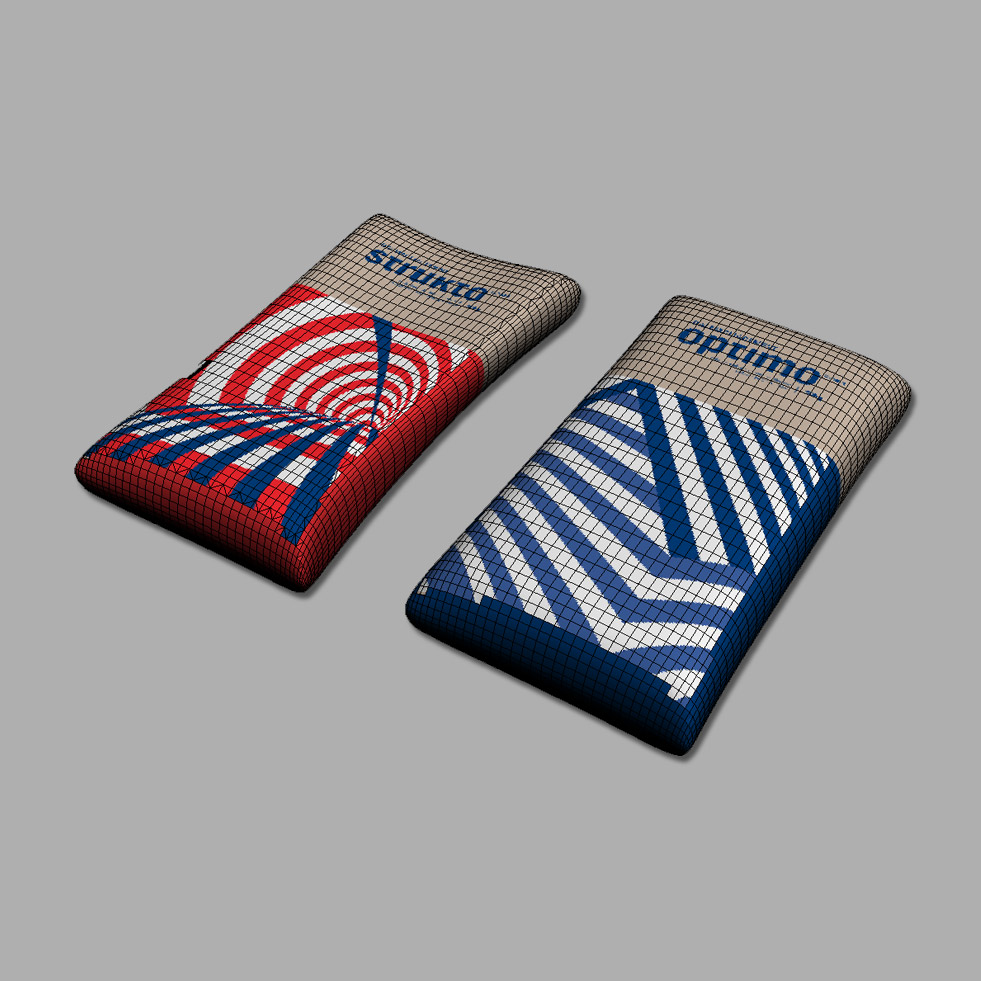
Cement sacks
Cement sacks modeled from simple box object, converted to poly with turbosmooth modifier. Custom texture derived from local cement company logo and usual cement sack color. Final adjustments achieved with FFD 4x4x4 modifier.
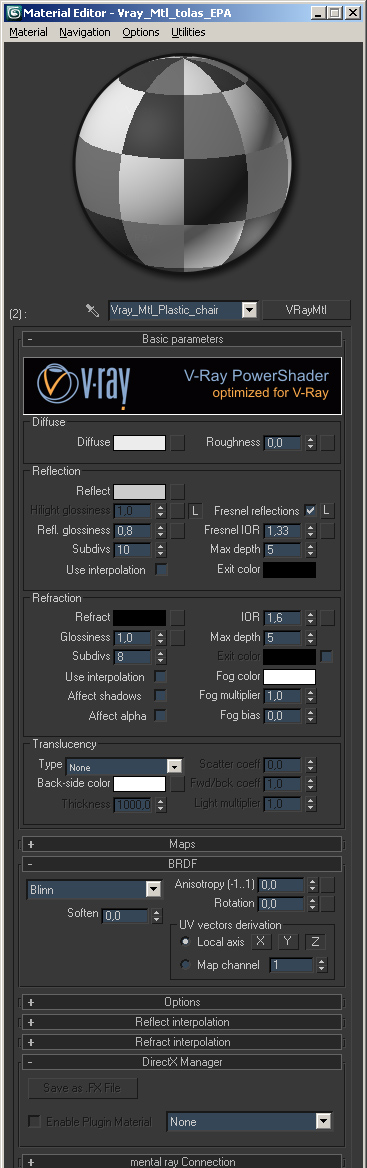
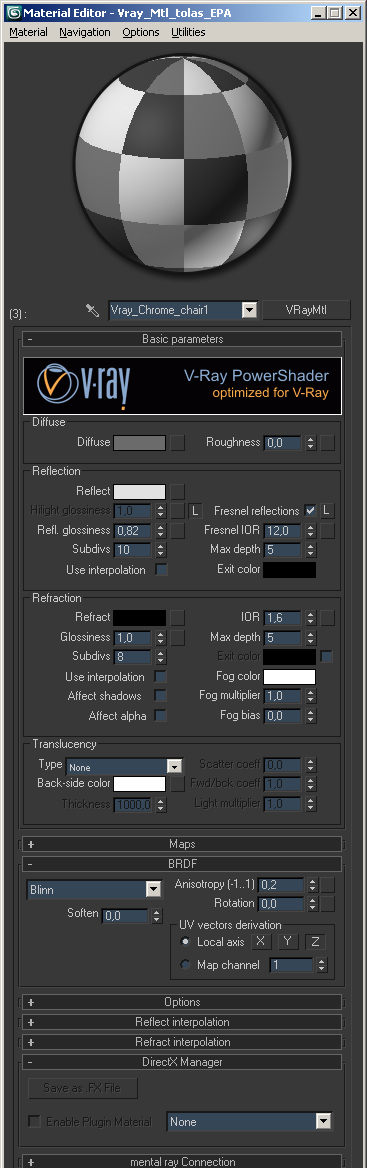
Eames chairs + Cover
Model downloaded from a free website collection of Pawel Filip (Tolas), with some adjustments of materials.

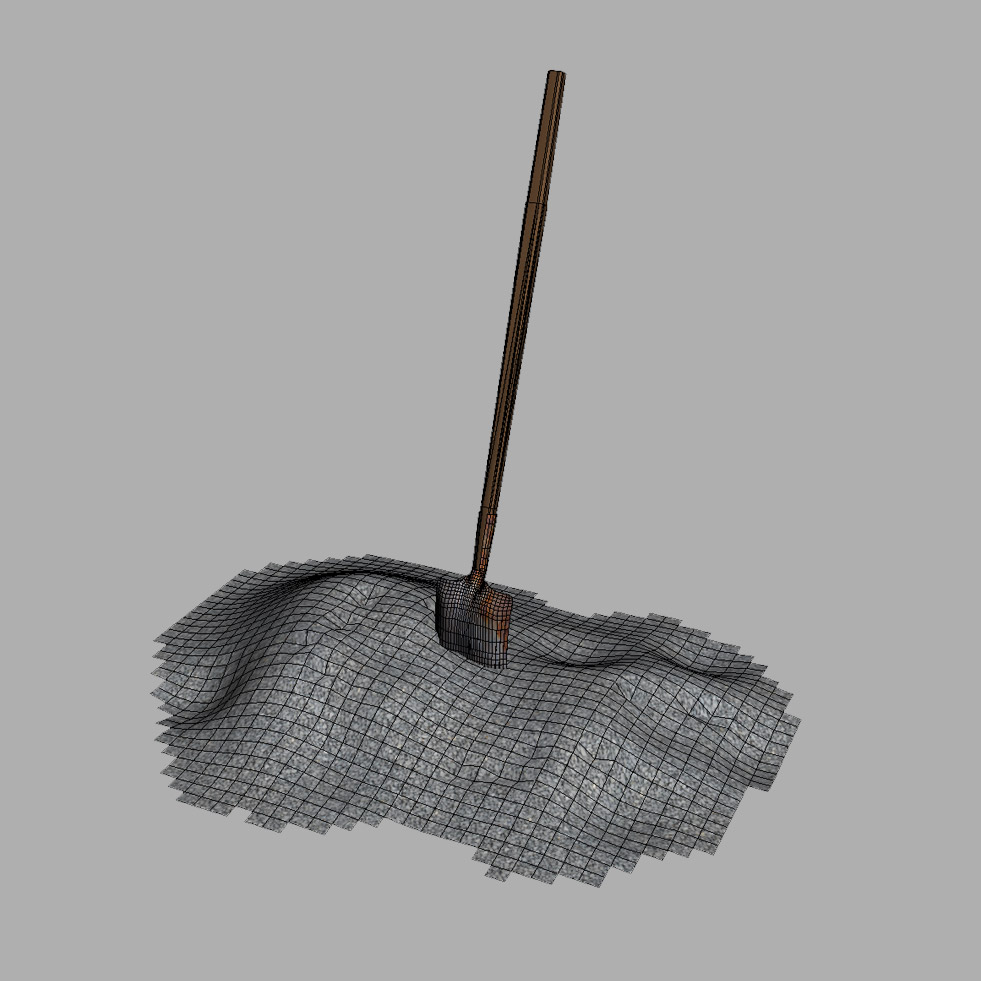
Shovel + Pile
Basic element build from high density plane, turned to poly. Push-pull editing on a polygons to get appropriate look. Shovel created as an combination of cylinder and box with poly modeling.
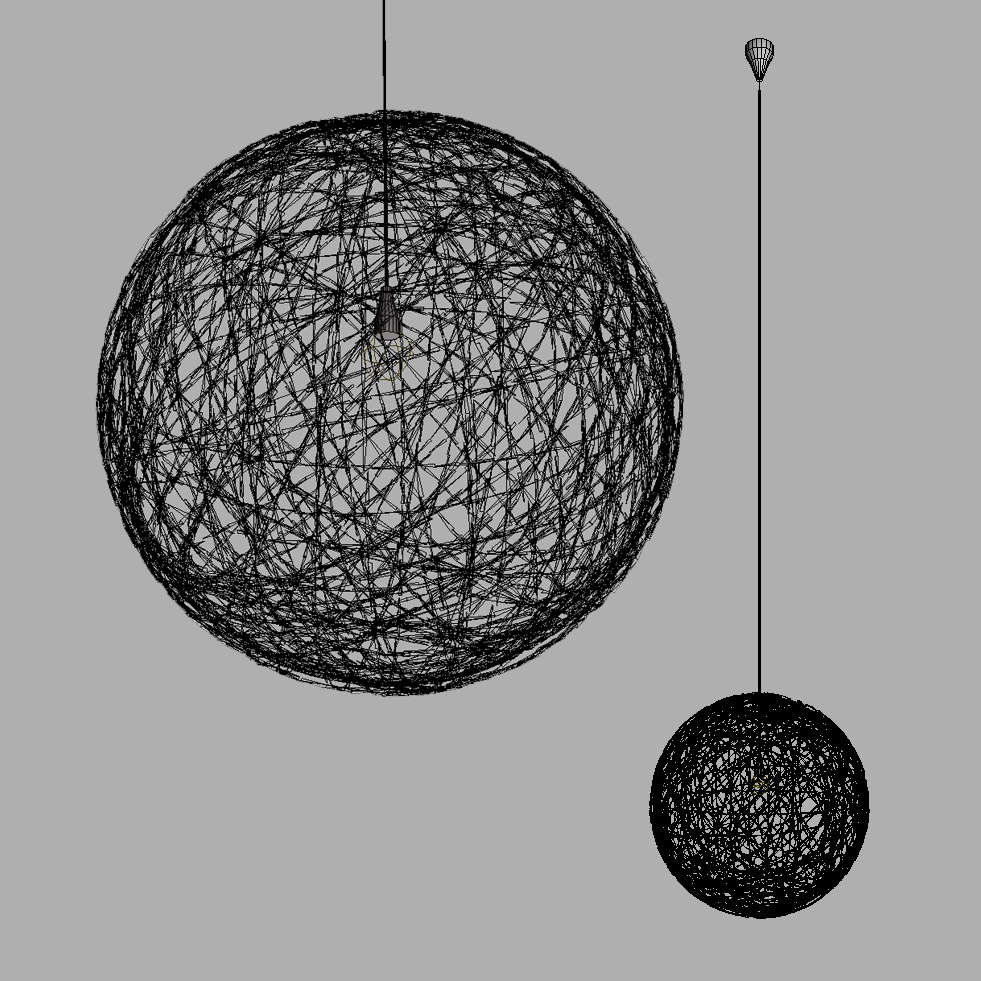
Pendant lamp
Model found on free 3d models website with satisfying quality, materials created from website references.
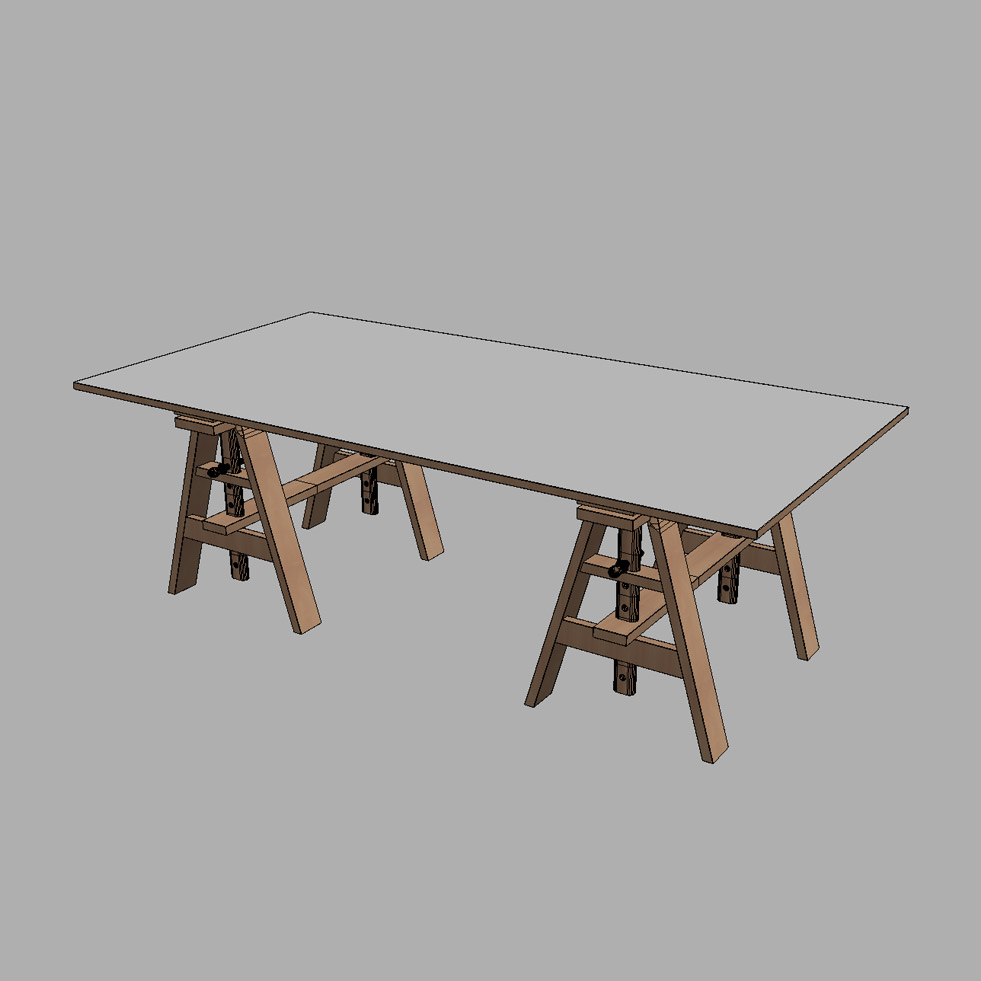
Zanotta Leonardo Table
Free model downloaded from Turbosquid website, with custom made materials.
Movable stairs
Basic construction created with spline objects, cylinders and box objects. Custom materials created from reference images too.

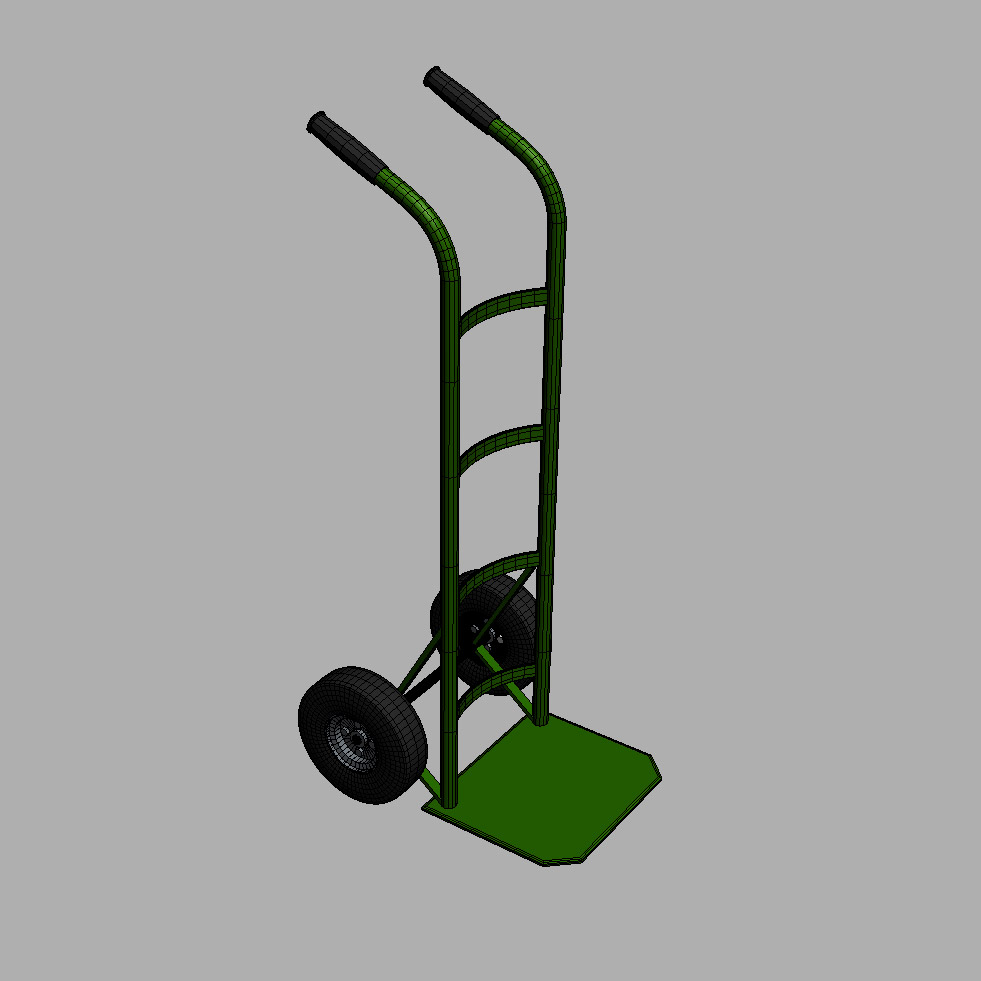
Hand truck
Basic construction created with spline objects, cylinders and box objects. Custom materials created from reference images.
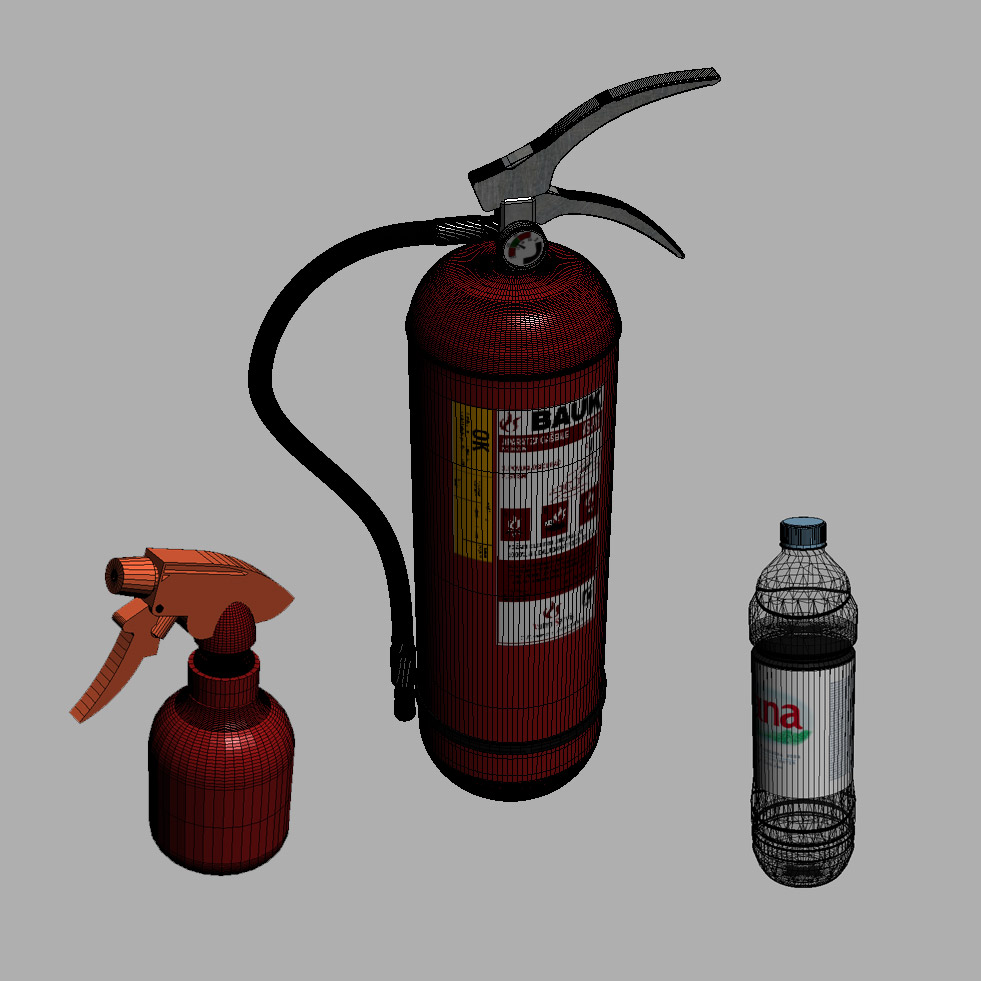
Fire extinguisher
Made from scratch, with referent images. Custom textures created from photo. Few basic materials; red shiny metal (blended with dust material) rubber bowel and metal holder.
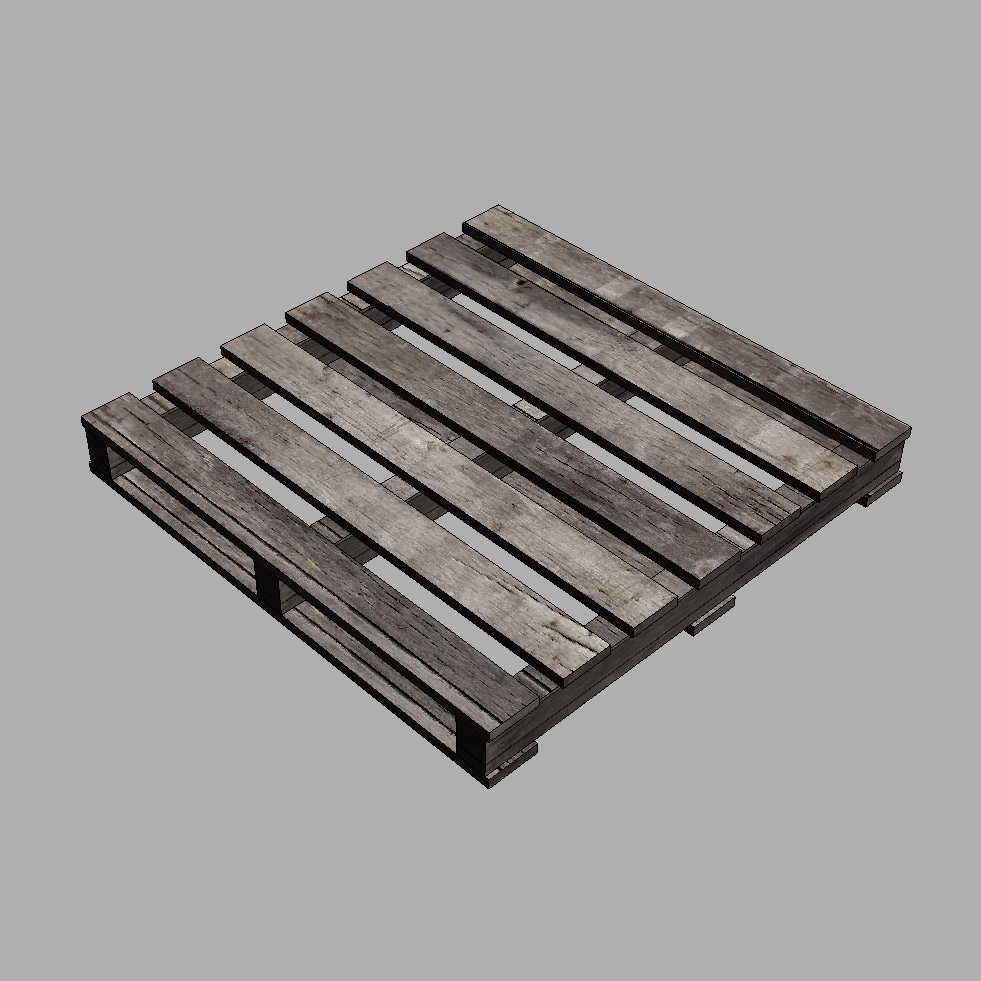
Standard plate
Simple box modeled element, recreated from referent images and blueprints. Wood texture source cgtextures.
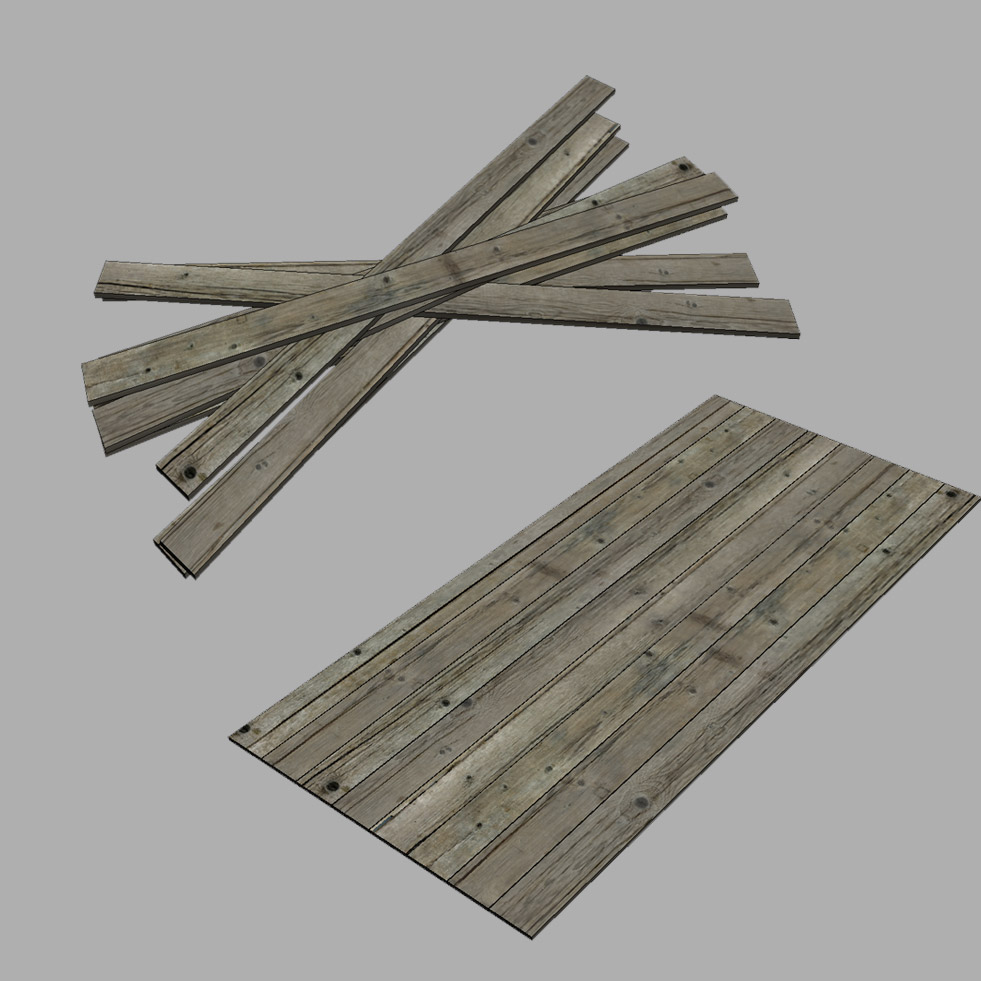
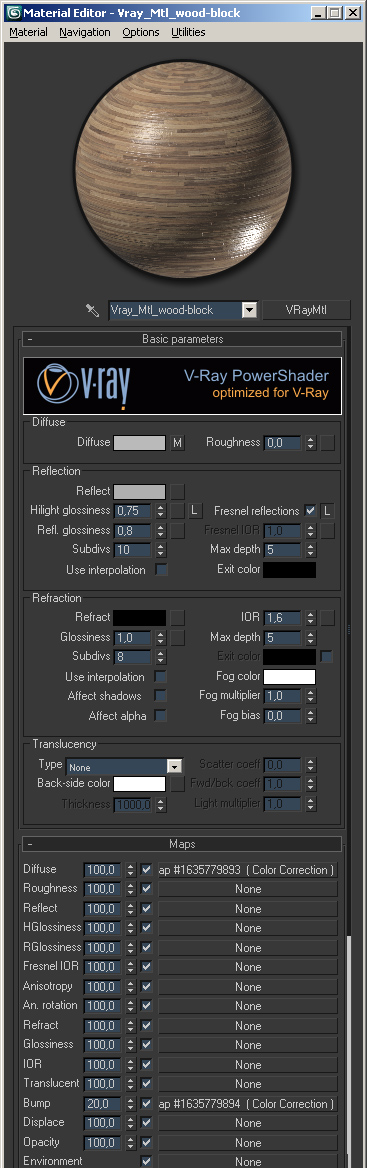
Planks
Simple box modeled element, recreated from referent images and blueprints. Wood texture source cgtextures.
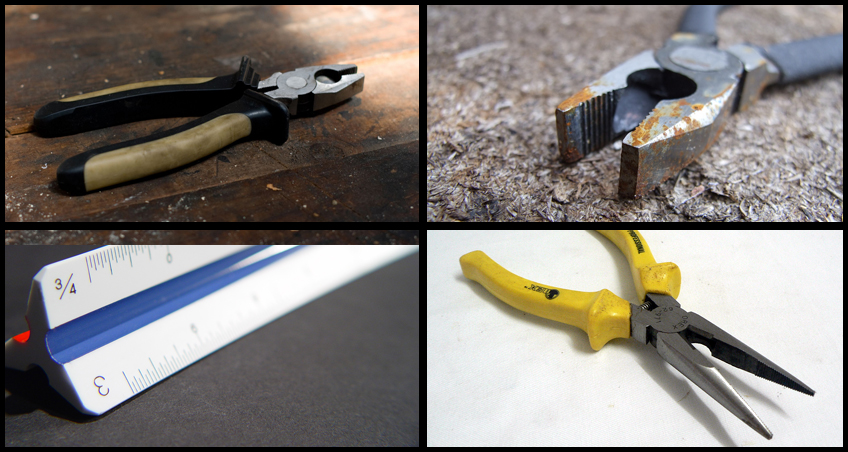
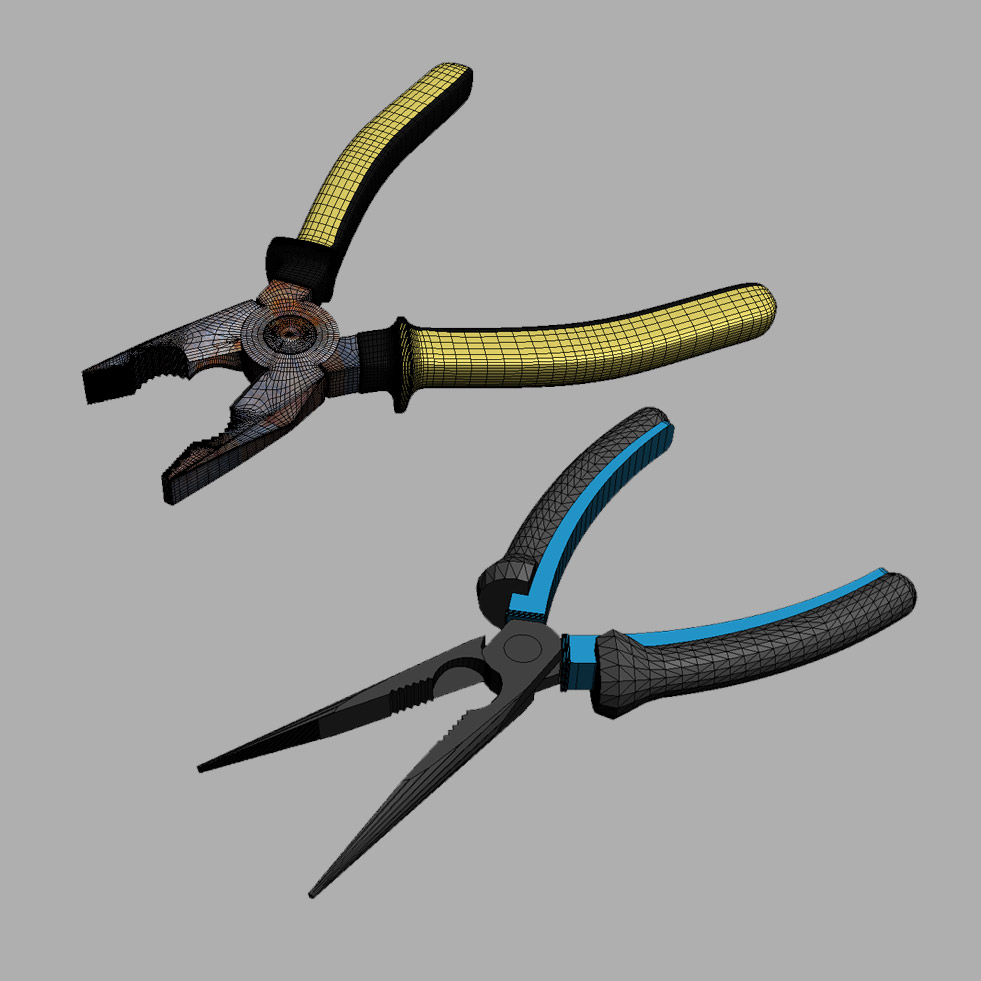
Pliers
Some elements used from the model found on 3dwarehouse website, 3ds imported from SketchUP and refined in 3ds max. Materials included in model plastic grip and corroded metal.
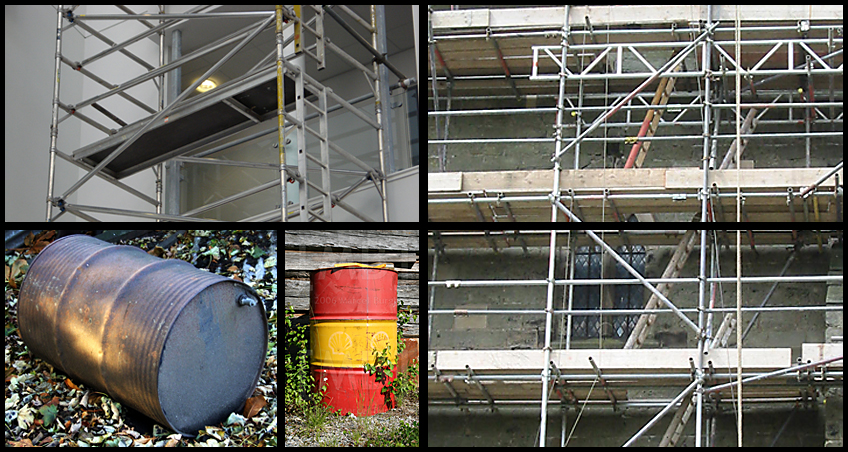
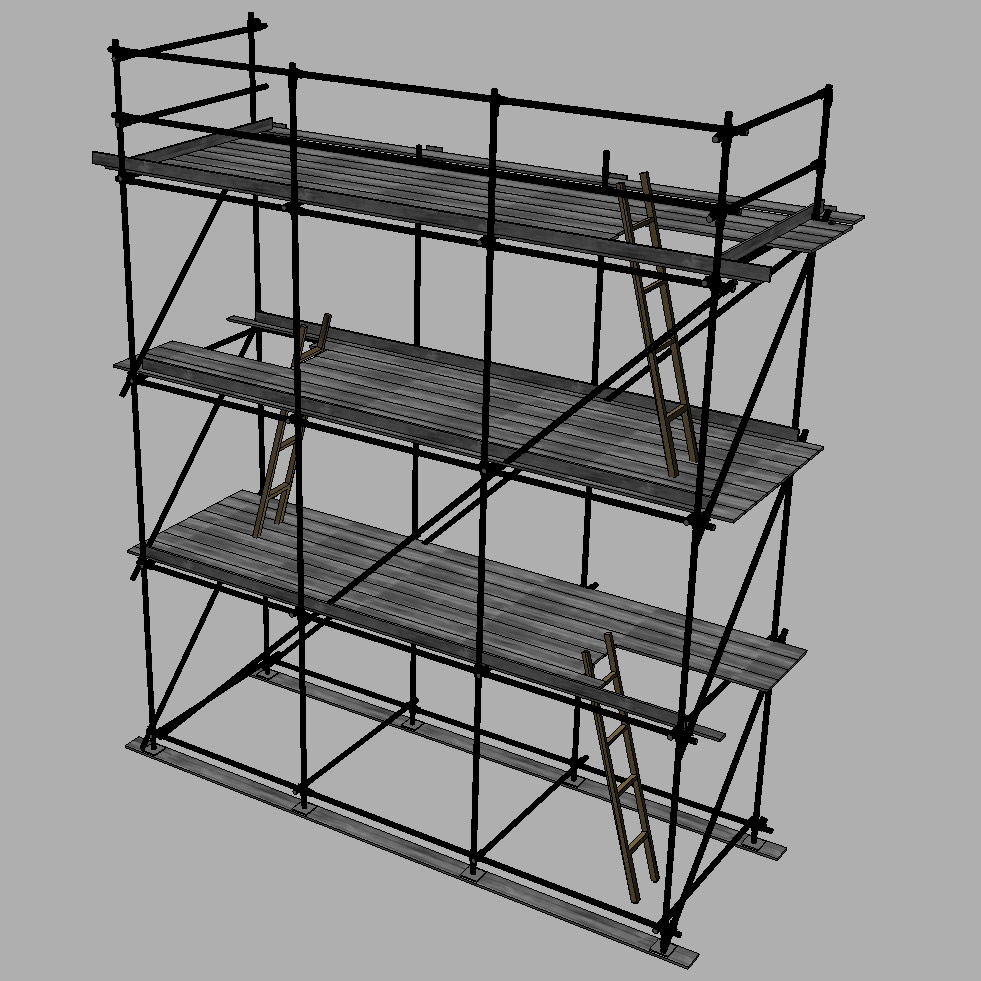
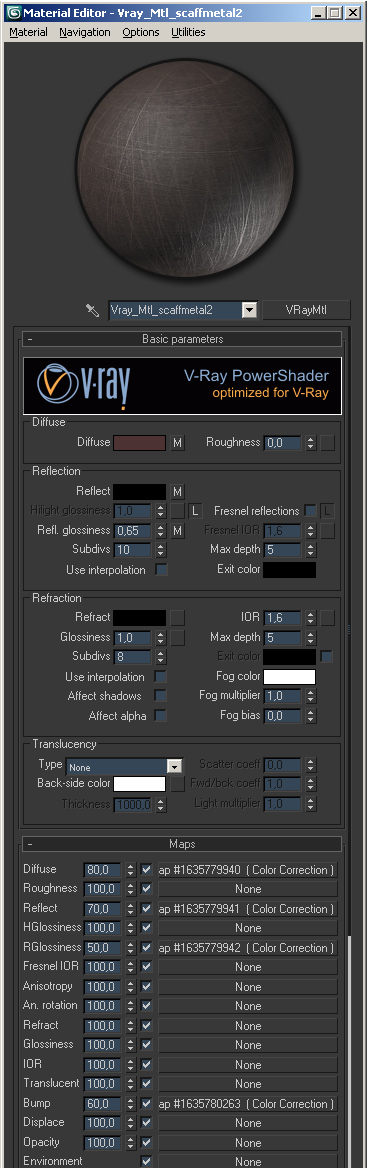
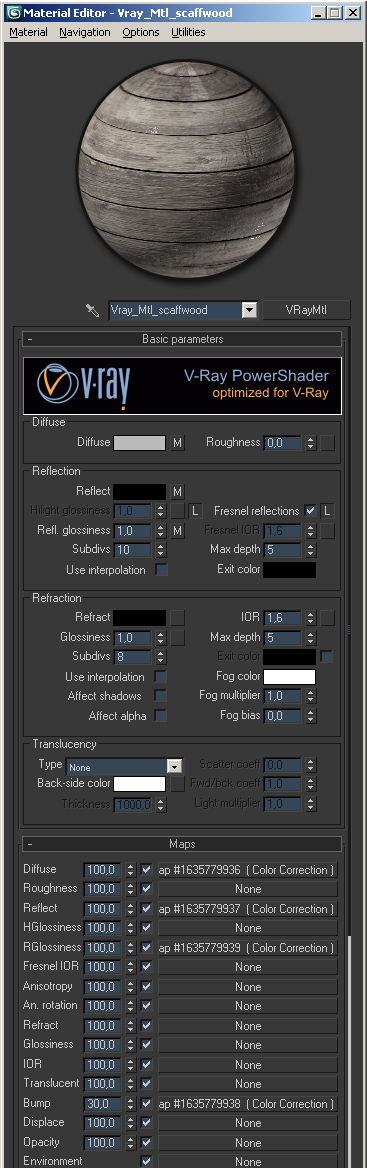
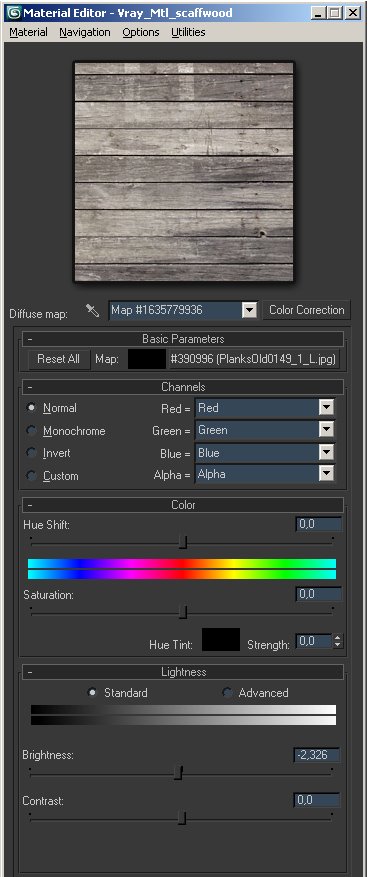
Scaffolding
Simple box modeled element, recreated from referent images and blueprints. Wood texture source cgtextures.
Small tools
Some elements used from the model found on 3dwarehouse website, 3ds imported from SketchUP and refined in 3ds max. Materials included in model plastic grip and corroded metal.

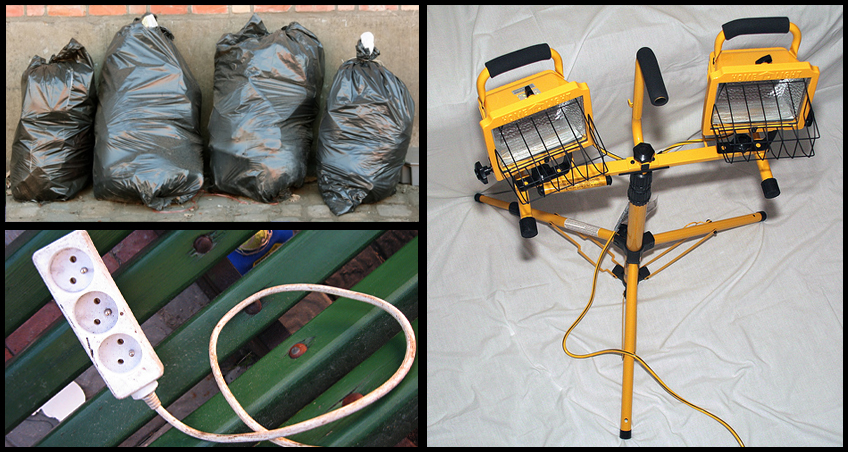
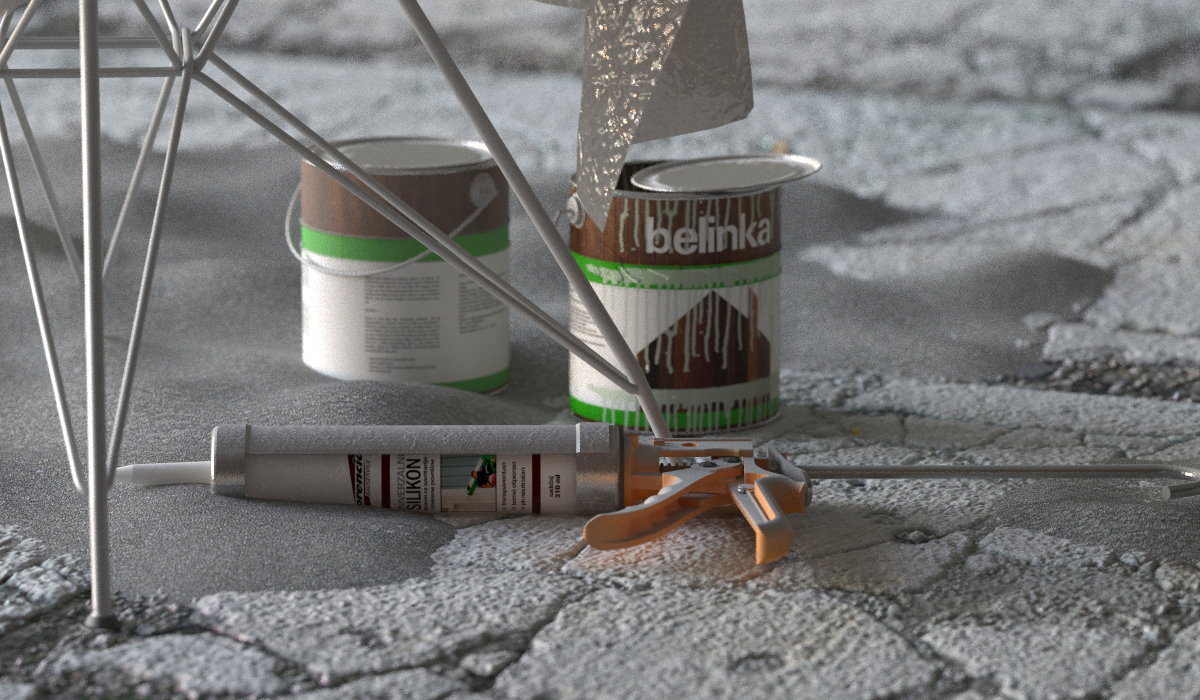
Various tools and canisters
Custom modeled and textured tin can. Two main materials, aluminum and custom map with etiquette. some elements used from the model found on 3dwarehouse website, 3ds imported from SketchUP and refined in 3ds max. Materials included in model plastic grip and corroded metal.
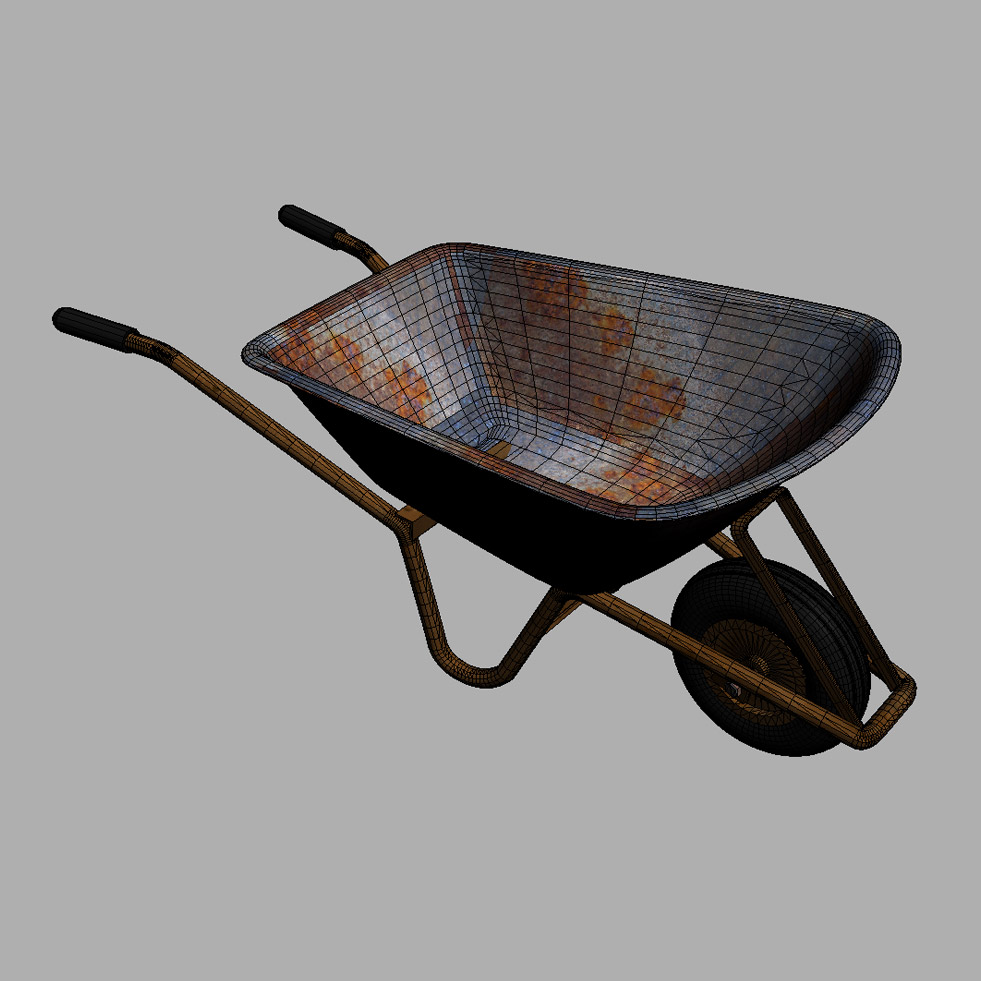
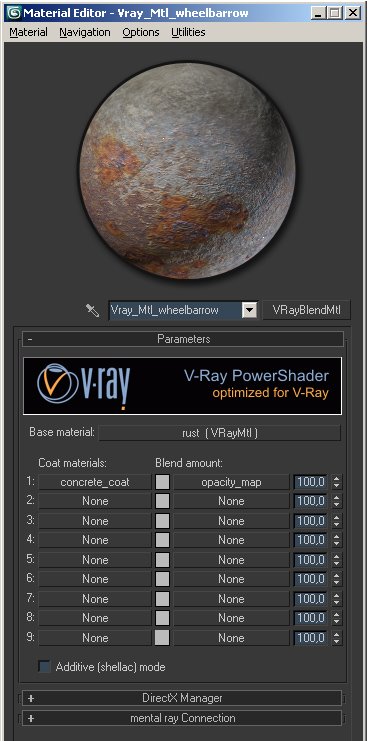
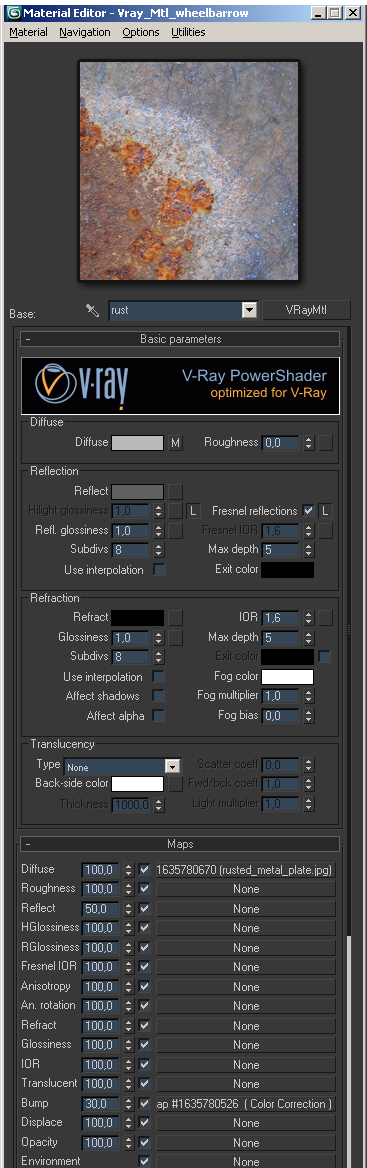
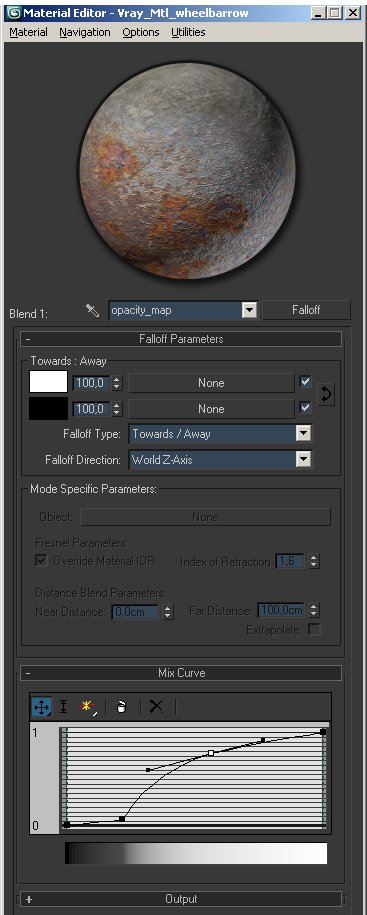
Wheel Barrow
Some elements used from the model found on 3dwarehouse website, 3ds imported from SketchUP and refined in 3ds max. Materials included in model plastic grip and corroded metal.
Work lamps
Simple spline element, recreated from referent images (Thanks tolas).
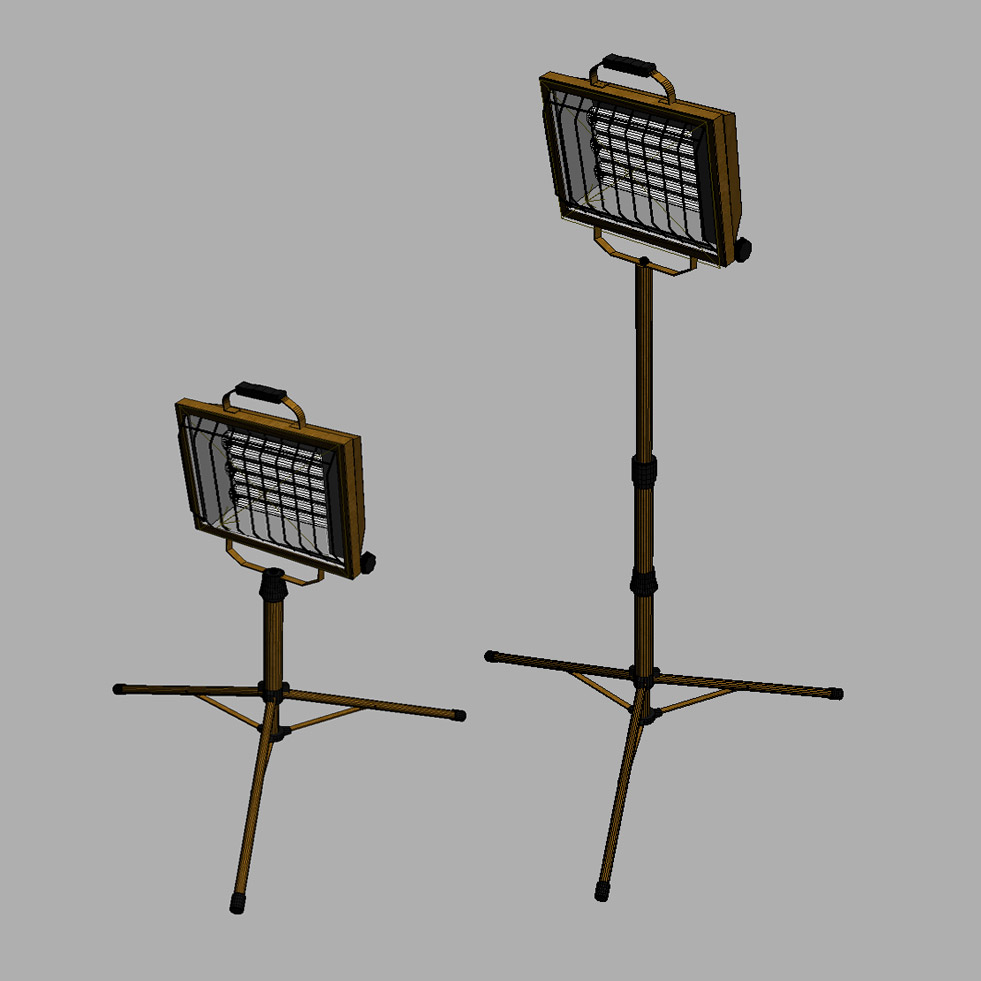
Spot lamps
Models downloaded from ERCO website with related IES file. Materials for the reflectors are standard by default, later customized with outer (dark) metal material and inner (high reflective) metal material.

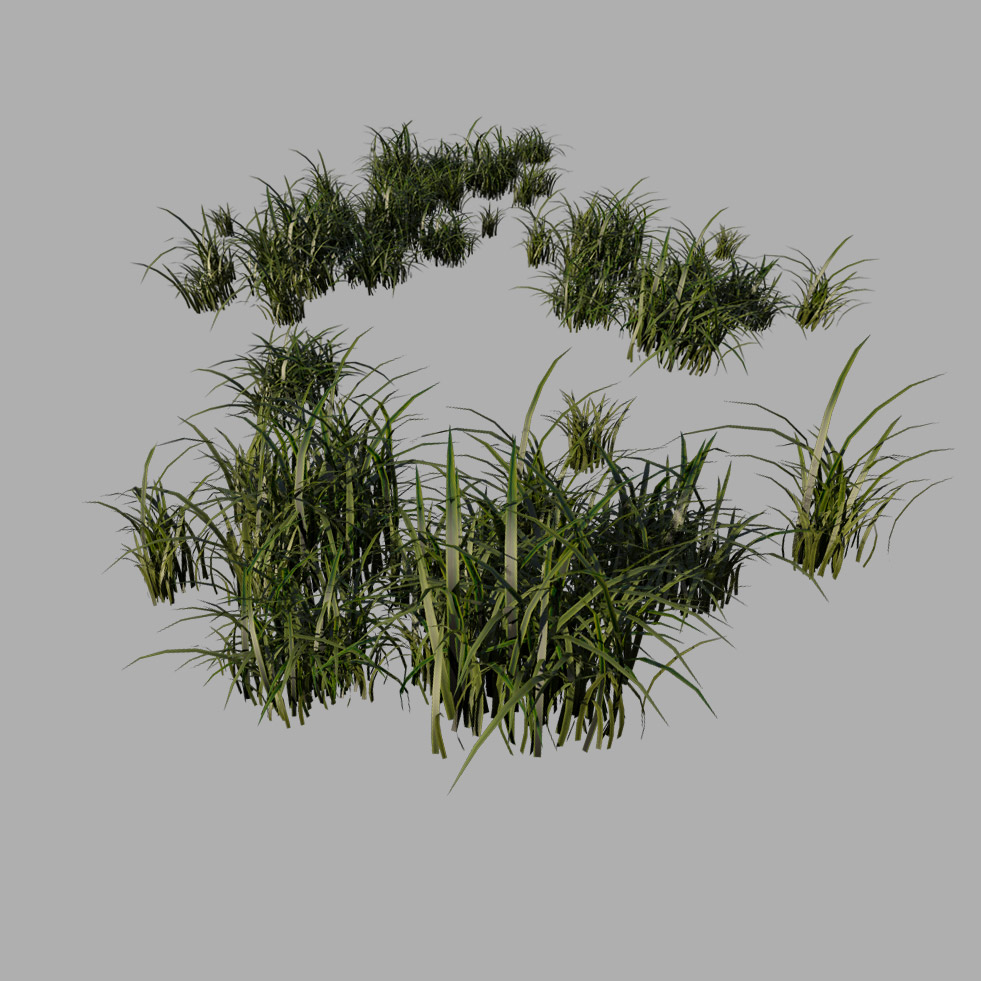
Grass
The grass was made according to Peter Guthrie’s well known grass modeling method.
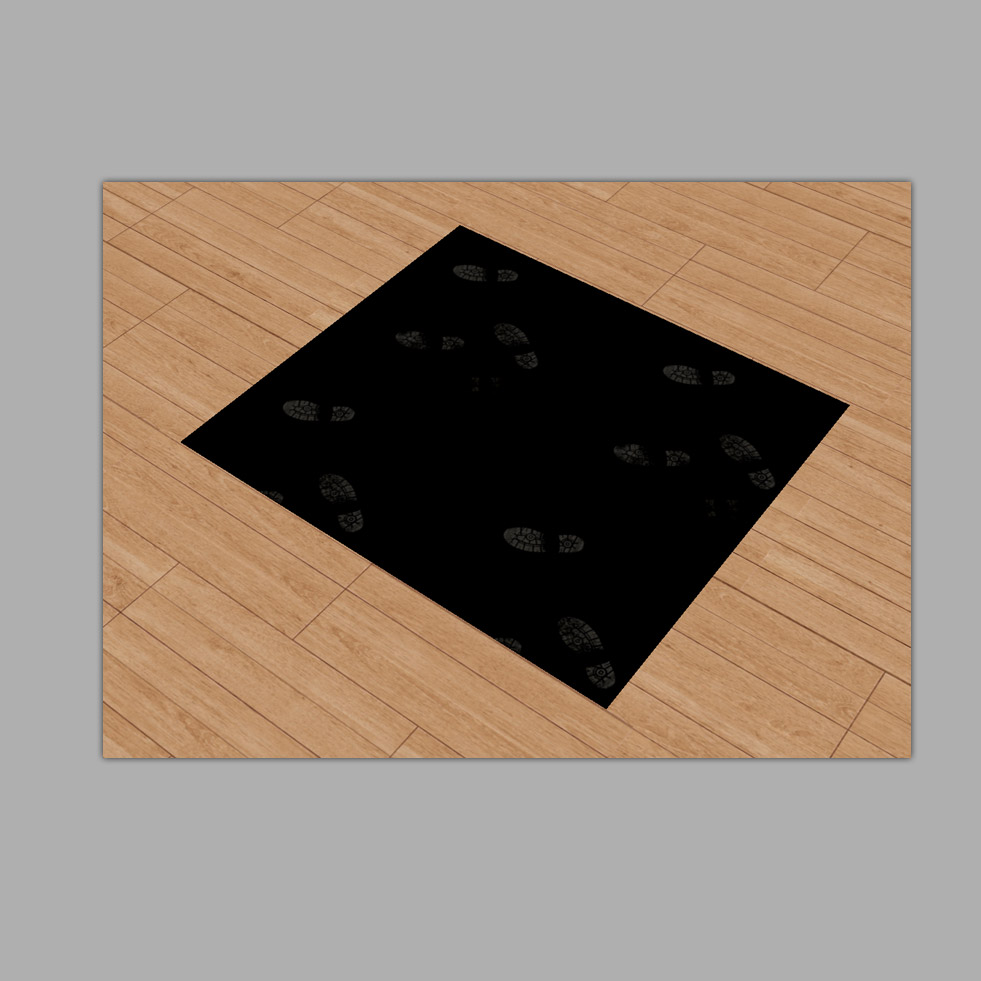
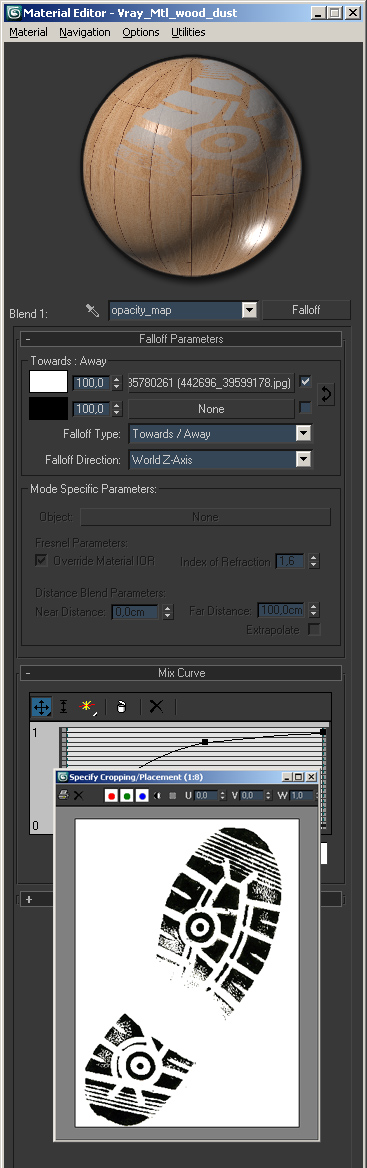
Footprint
Plane with UVW mapped custom texture with footprints.
Textures of objects
Here is a detailed description of the many textures used in my scene.
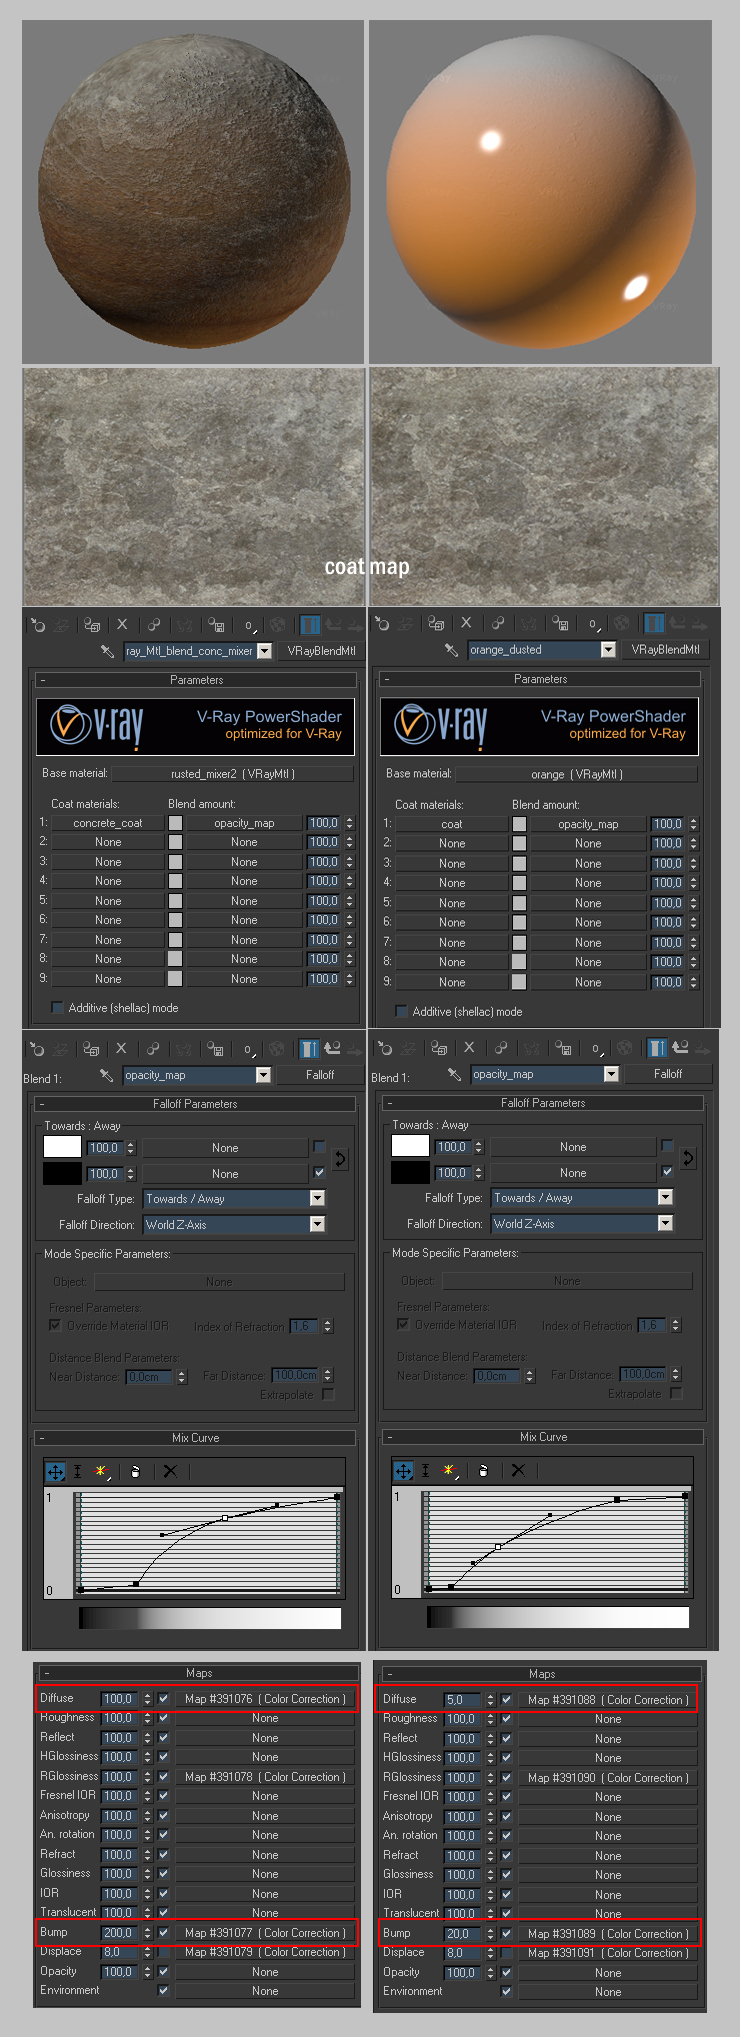
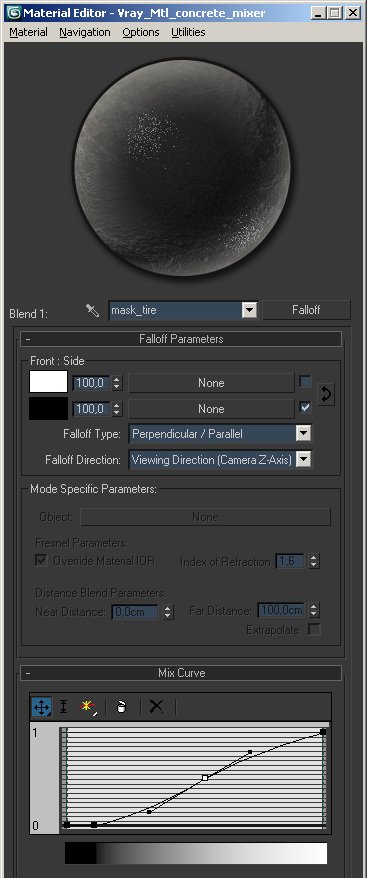
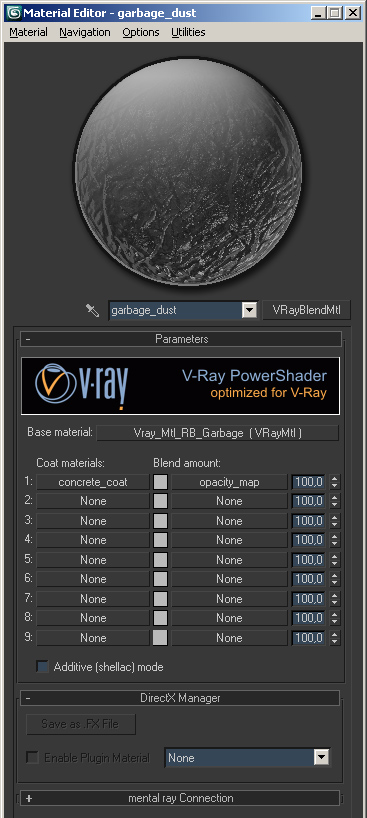
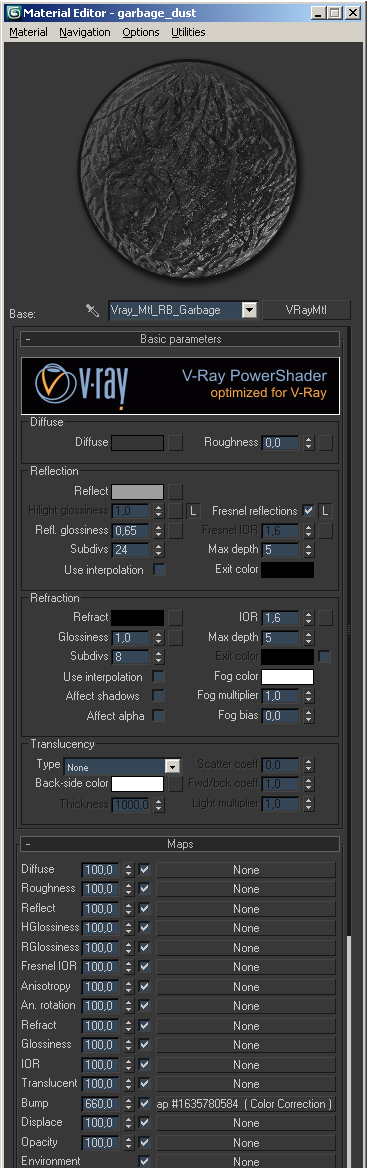
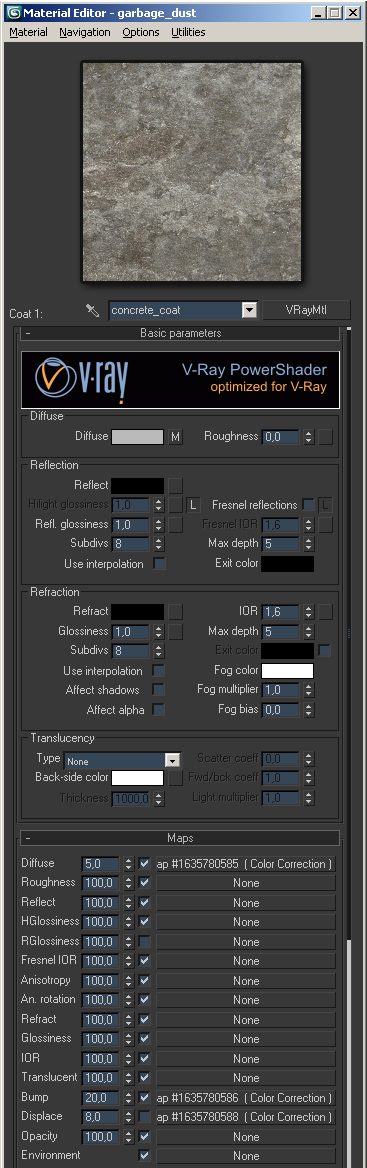
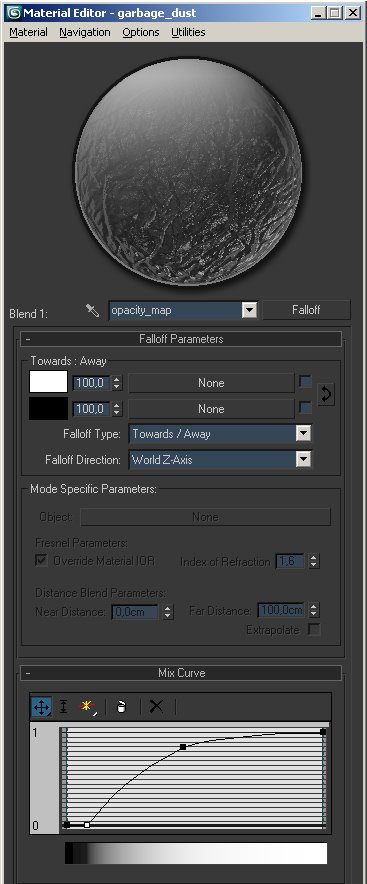
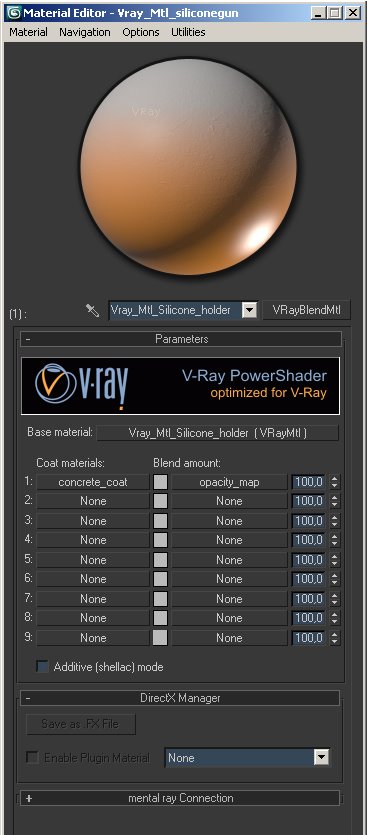
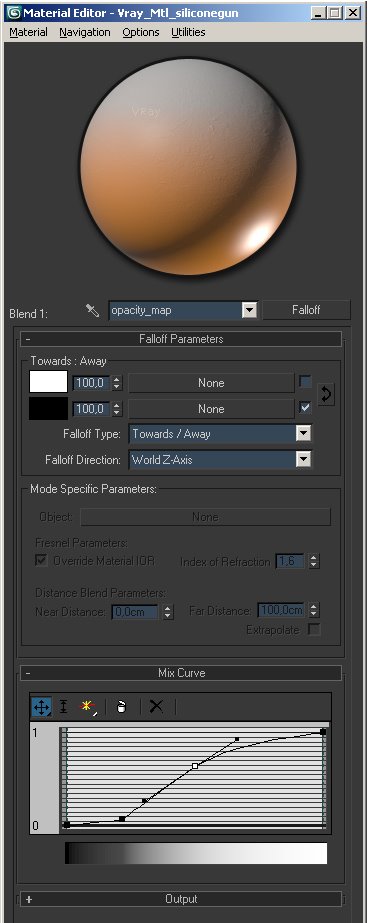
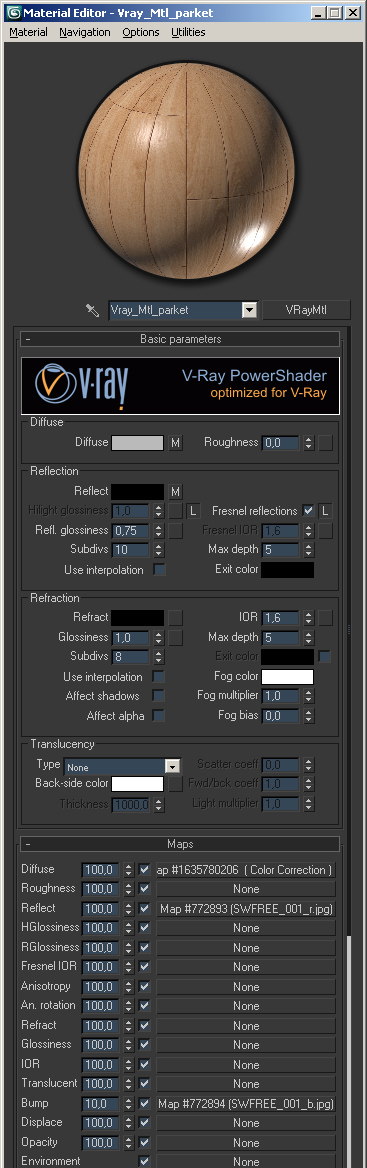
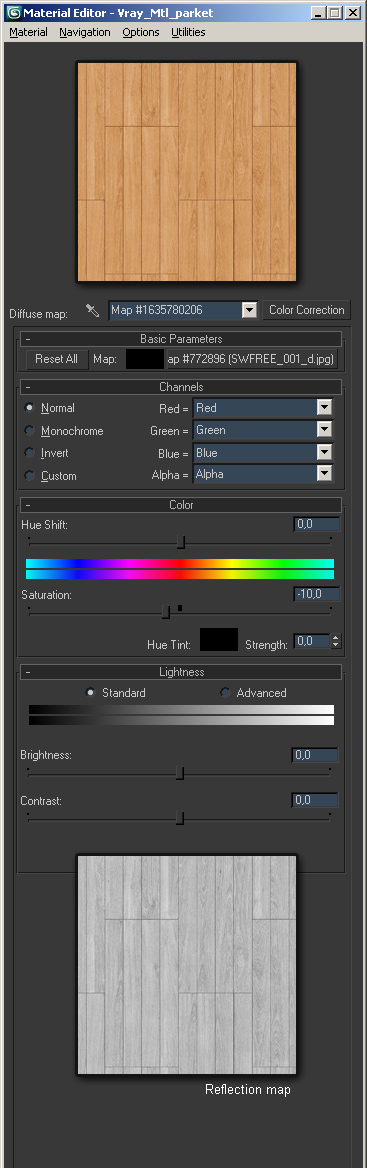
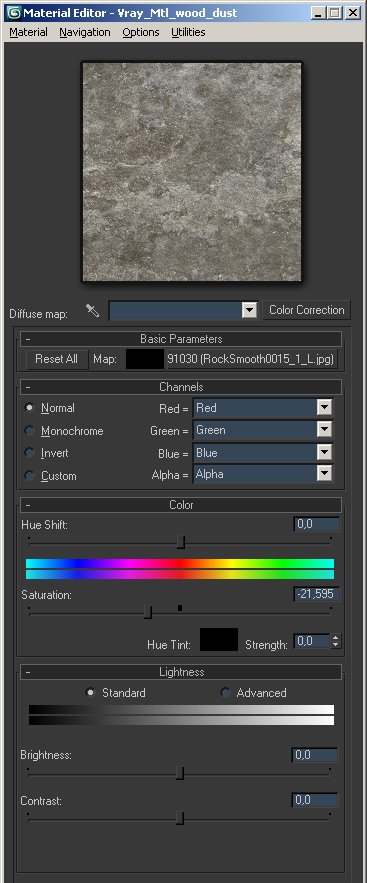
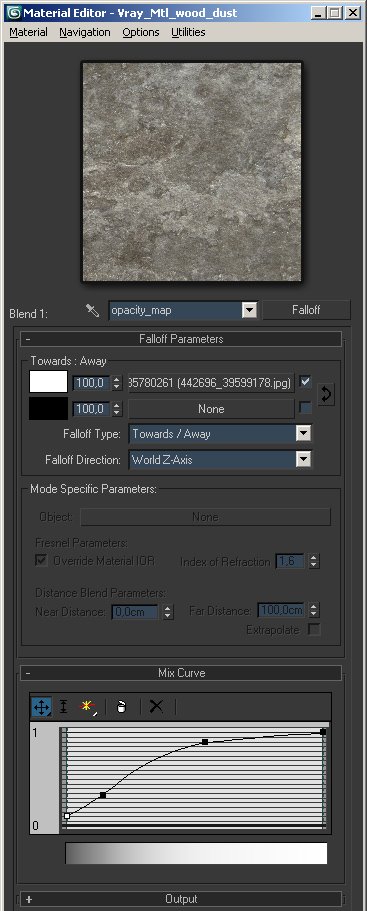
Custom blend dusty material
Creating the dusty layer was the tricky part from the beginning, because all the objects in the scene needed to be dirty at some point. I combined the techniques I found on Neil Blevins CG Education website and settings suggested by a good friend of mine.
Some objects that are positioned in the outer part of GH House scene, should have some sort of concrete dirt layer, and objects situated inside should have this layer in smaller scale and a dust layer. The real problem (or challenge if you like) is to find nice blending point of those two. Therefore the majority of objects in the scene have a VRayBlend material which (with small modifications) can easily be switched and applied for any object.
- Base material is original object material
- Coat material is dirty concrete / dust shader
- Mask material is falloff material with appropriate xyz algorithm
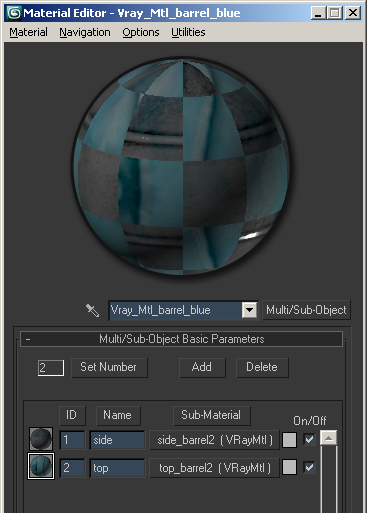
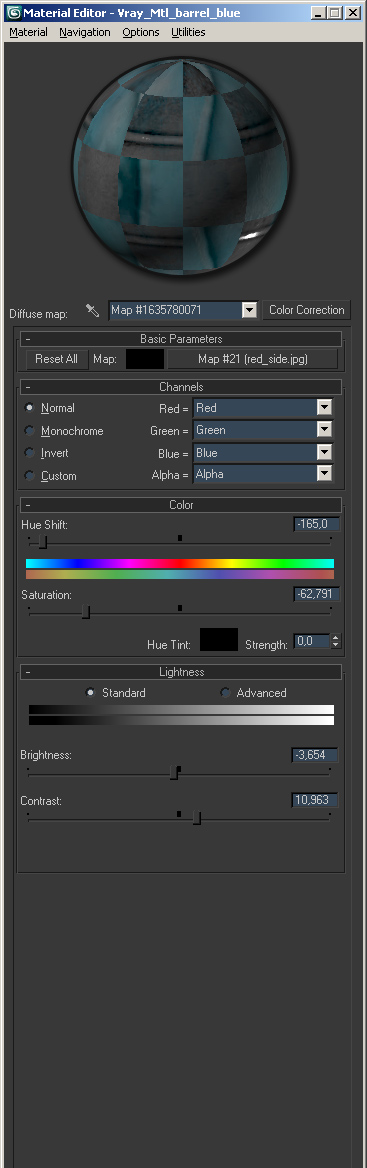
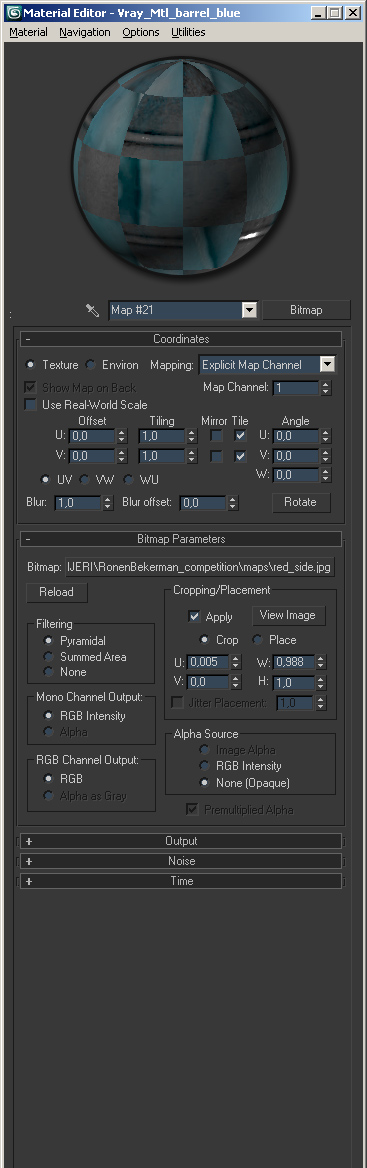
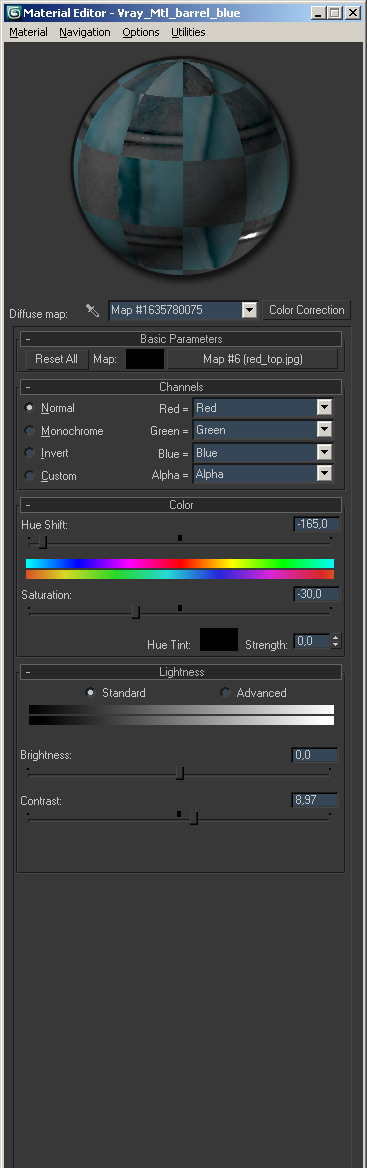
Barrels
The model was created as a custom spline with barrel profile found on a reference images. Top lid created as a circular spline, extruded and profiled to fit the barrel’s top. Unwrapped and mapped with custom barrel texture found on cgtextures

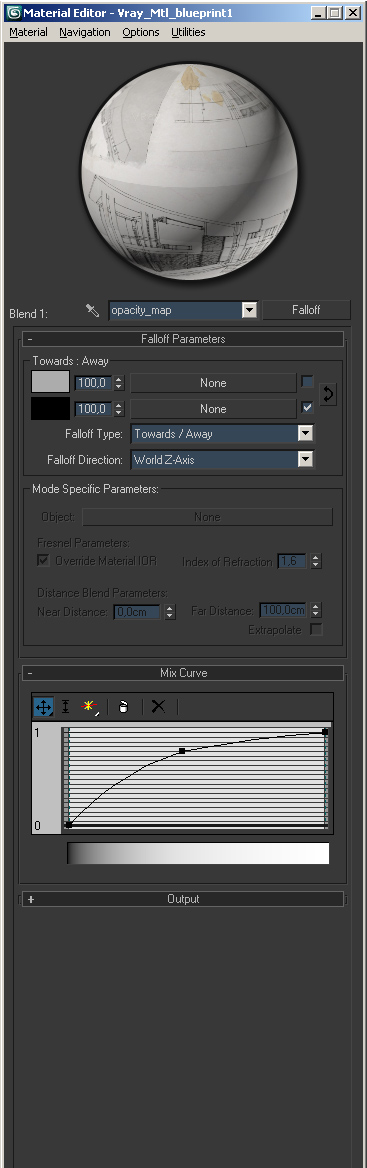
Blueprints
Custom map derived from layout application, printed as PDF, then rasterized in Photoshop. TIP – if your custom texture comes from vector programs, the best solution is to print it into a PDF file and then gain the quality rasterizing to appropriate resolution in Photoshop (100-300 DPI).
Carton box
Texturing was also done in similar way, with UVW Box mapping, played with bumps and noise modifier to get realism.
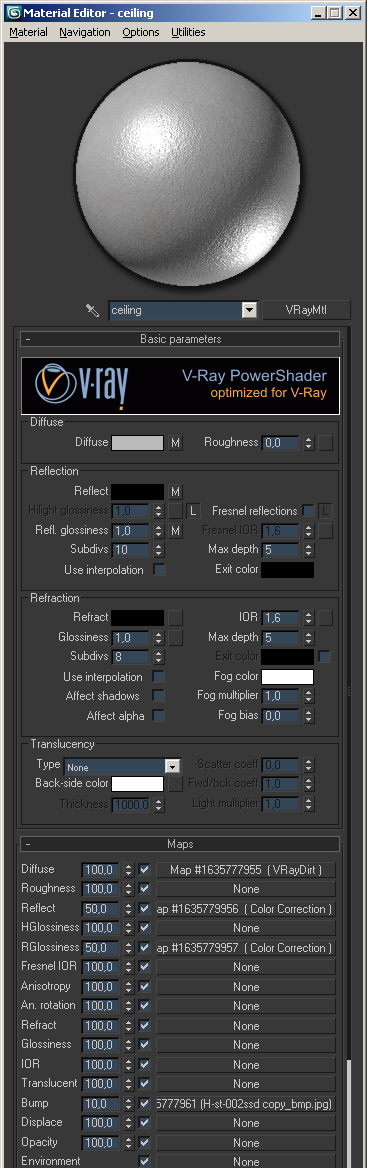
Plaster ceiling
On pre made objects given with model, the texture is custom plaster map with some tweaking to achieve wanted result of imperfection.

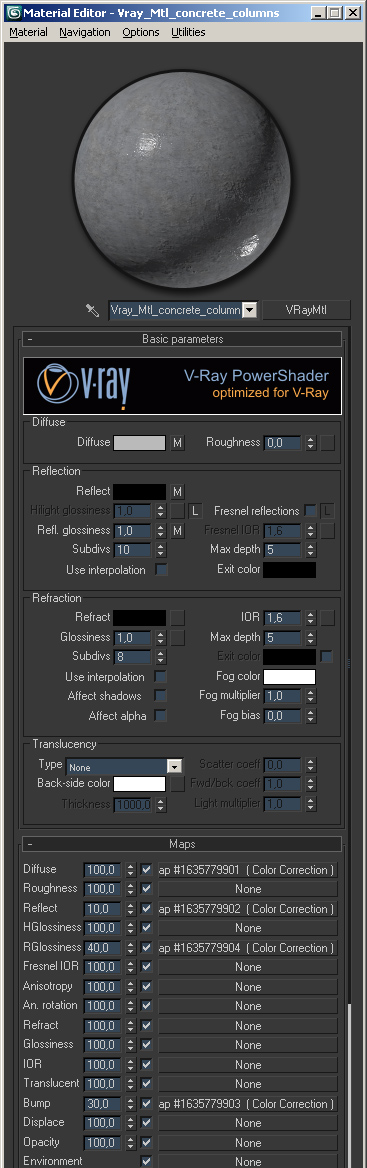
Concrete columns
Simple solids with edit poly modifier applied to gain more flexibility with vertices and poly object. If needed this method could ensure multi / sub object texture manipulation. Texture source is from well known cgtextures
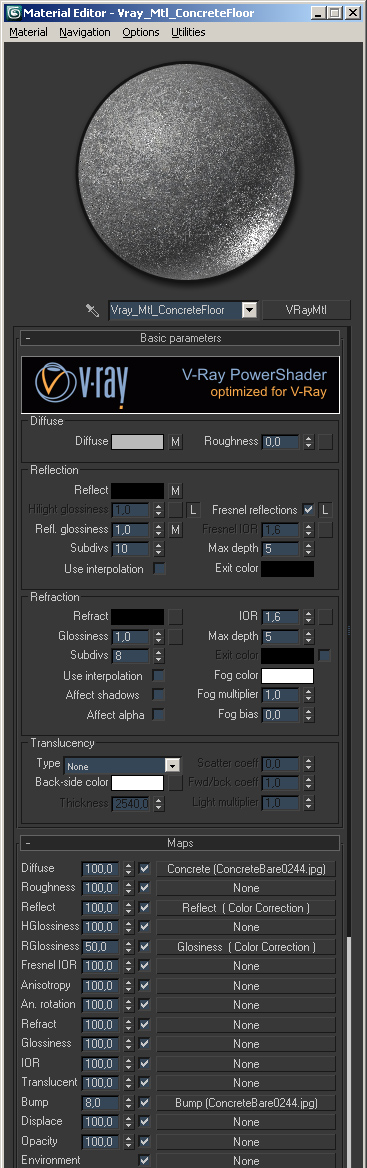
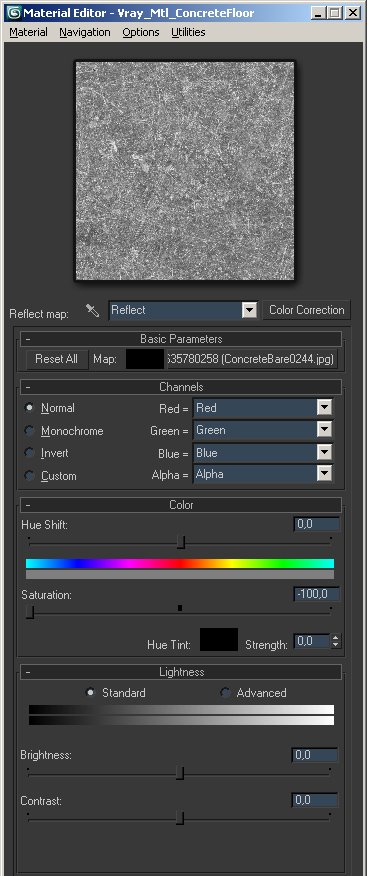
Concrete floor
Also, one of the previously modeled objects given with model, the texture is custom floor map with some tweaking with specular and bump map.
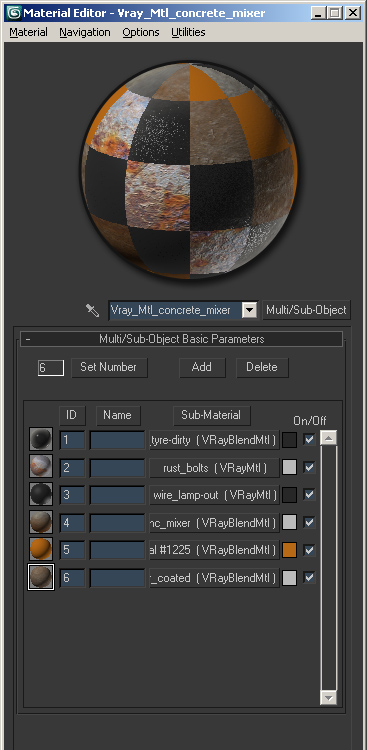
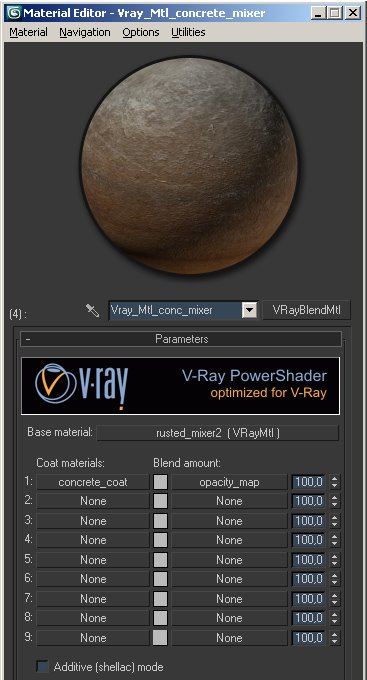
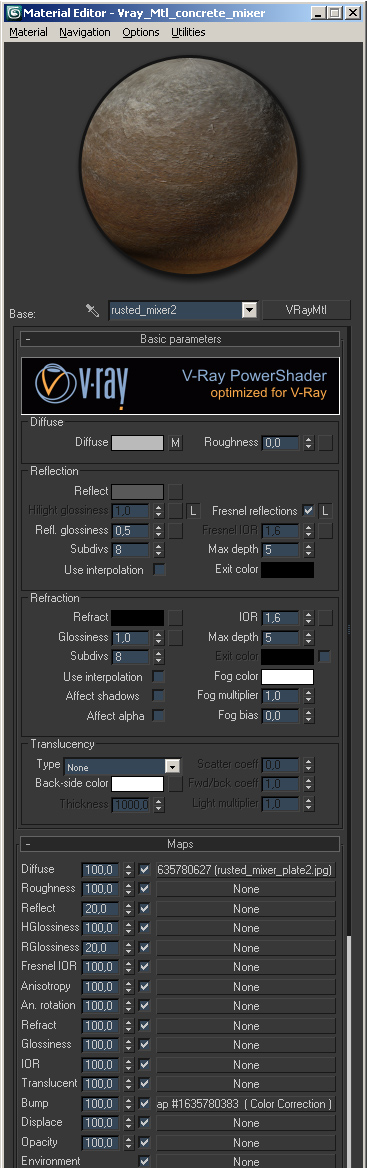
Concrete mixer
Some elements used from the model found on 3dwarehouse website, 3ds imported from SketchUP and refined in 3ds max. Materials included in model are custom dust material created with VRayBlend material.
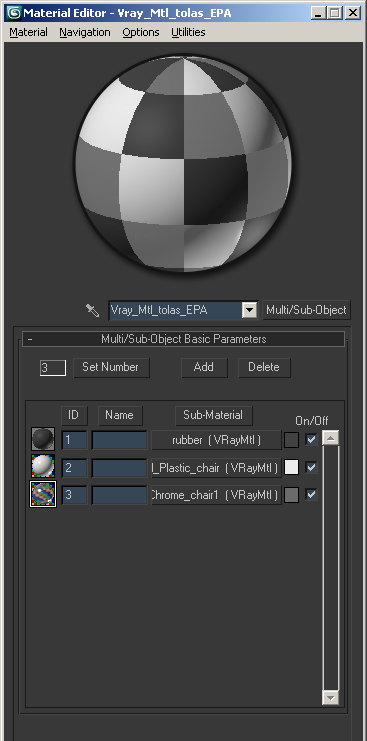
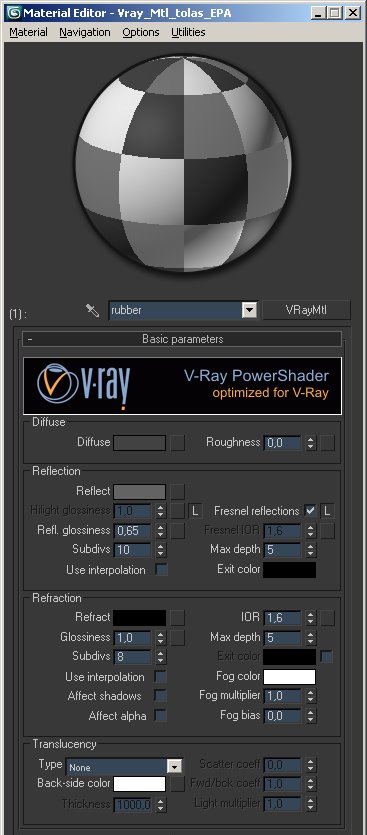
Eames chairs
Three basic materials for this model. White plastic for seating, chrome for chair legs and black rubber for bottom leg cap.
Garbage plastic bags
Some elements used from the model found on 3dwarehouse website, 3ds imported from SketchUP and refined in 3ds max. Materials included in model are custom dust material created with VRayBlend material.
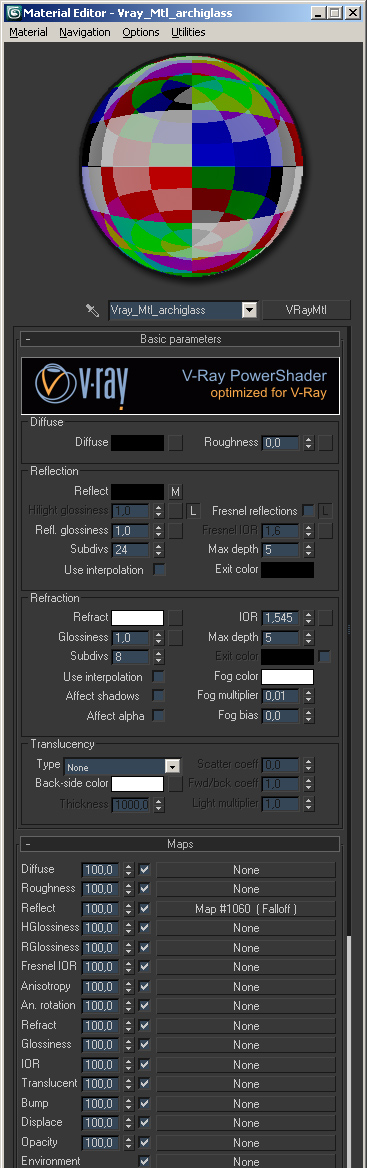
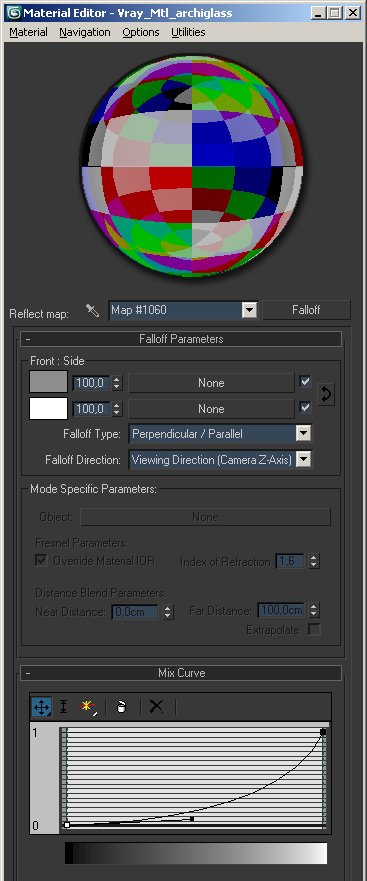
Standard glass material
Nothing too special here 🙂
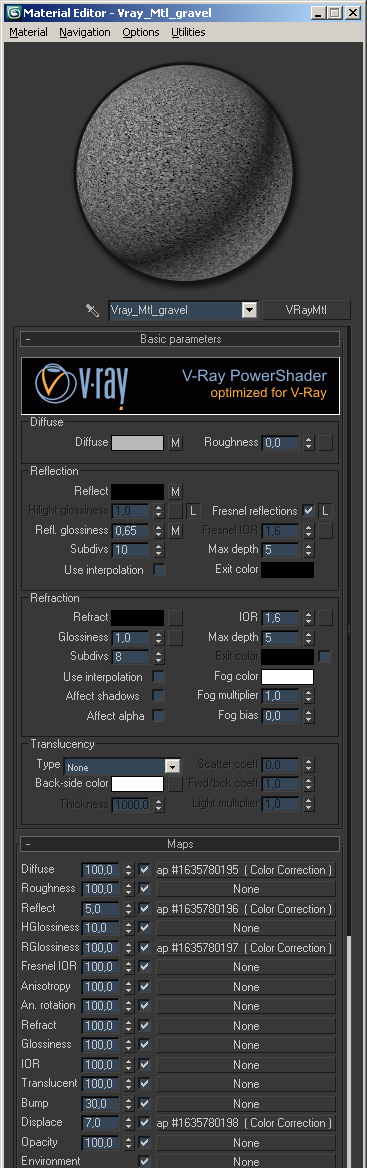
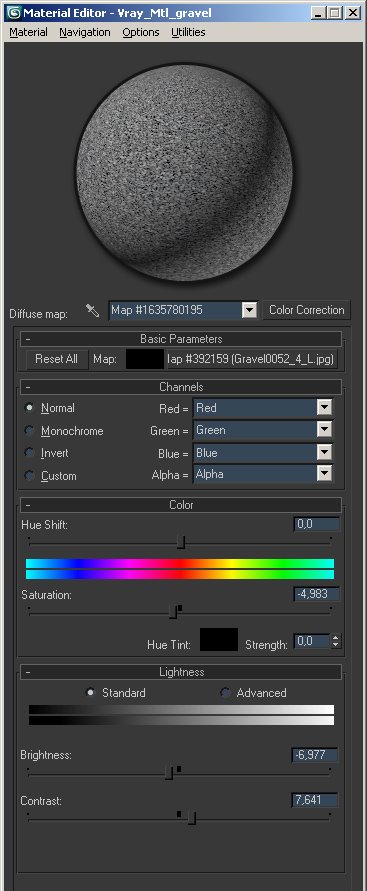
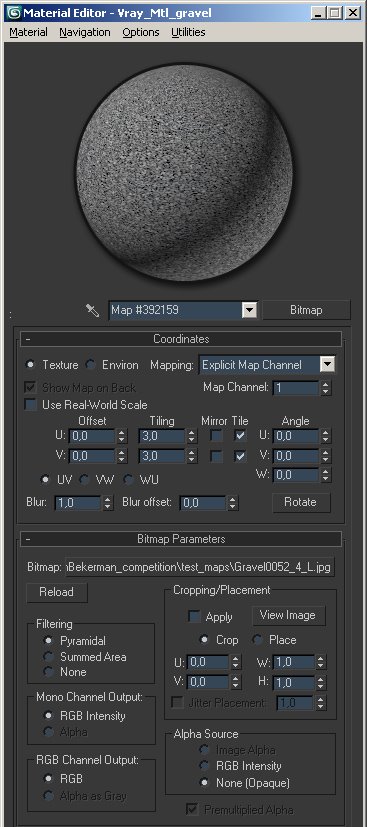
Gravel pile
A plane object modeled with high subdivision, converted to poly, pushed & pulled to look natural (after a reference image of a pile of gravel) applied a real life size mapping to look real, and applied a displacement map too. The granulation effect itself is actually simple done by using 2D VRayDisplacement map. To do that you need a high quality texture that will satisfy your level of details.
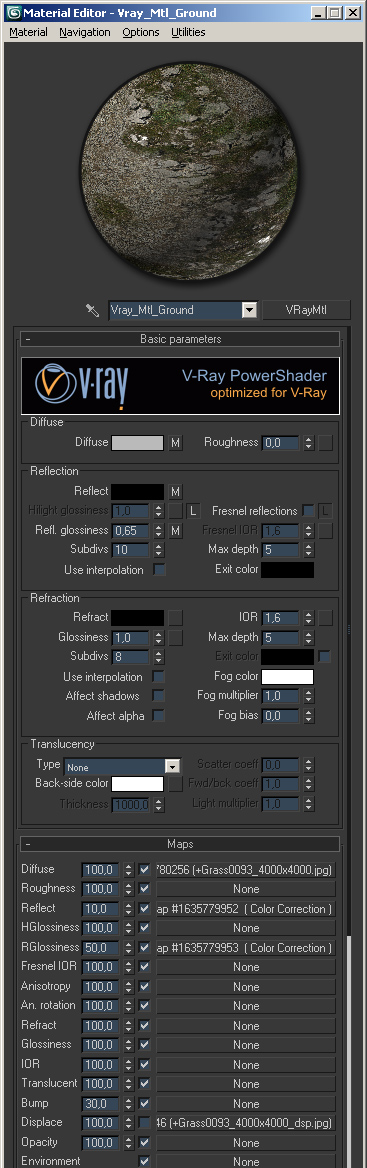
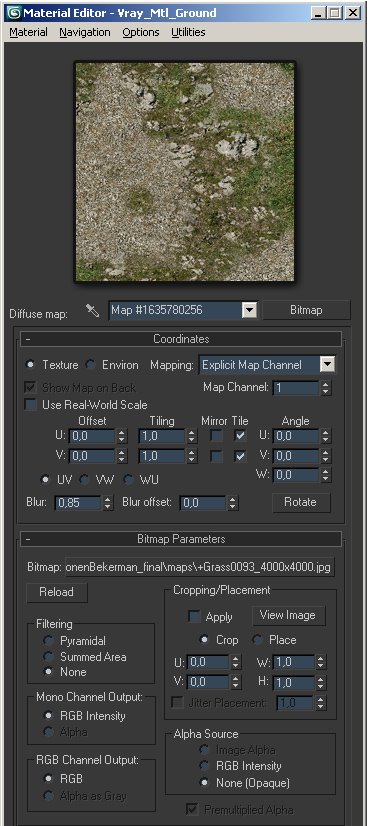
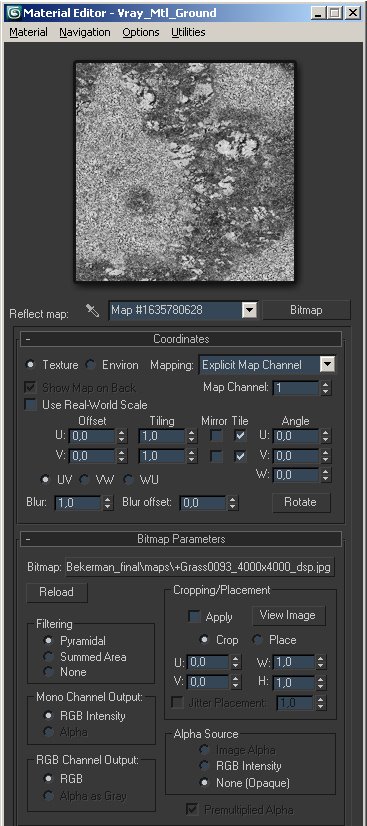
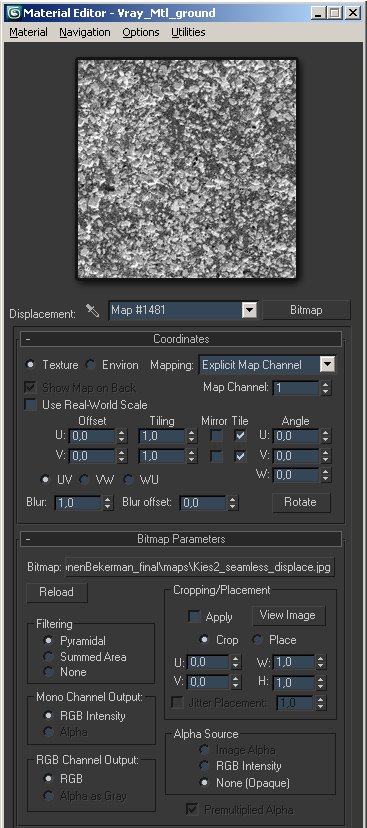
Soil
A plane object modeled with high subdivision, converted to poly, pushed & pulled to look natural (same routine like previous pile object). Since there were lot of objects on the scene I tried to get my scene out of trouble by adding more little stones or rocks on this gorund plane. The easiest way it to spend some time creating custom displacement map that will take the roll of giving the dirty realism to the soil. After tewaking with the mapping to look real I was satisfied with final look (UVW mapping is plane type, around 300-400cm in size, VRayDisplacement modifier at 1.5 cm, Texture size approx. 6000x6000px).
Patio
Simple plane object, UVW mapped, no displacement.
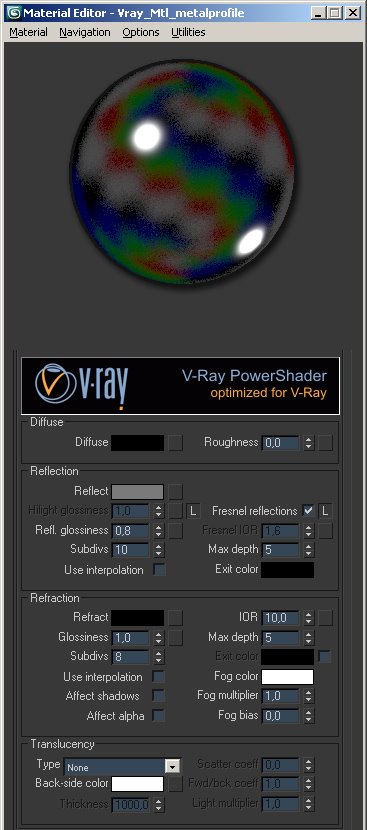
Metal profiles
Also, one of the previously modeled objects given with model, the texture is a common metal shader.
Chair cloth
Cloth modifier applied to simple high poly plane (to get more detail look). Transparent and plastic-fibers like material applied and mapped to get natural look.
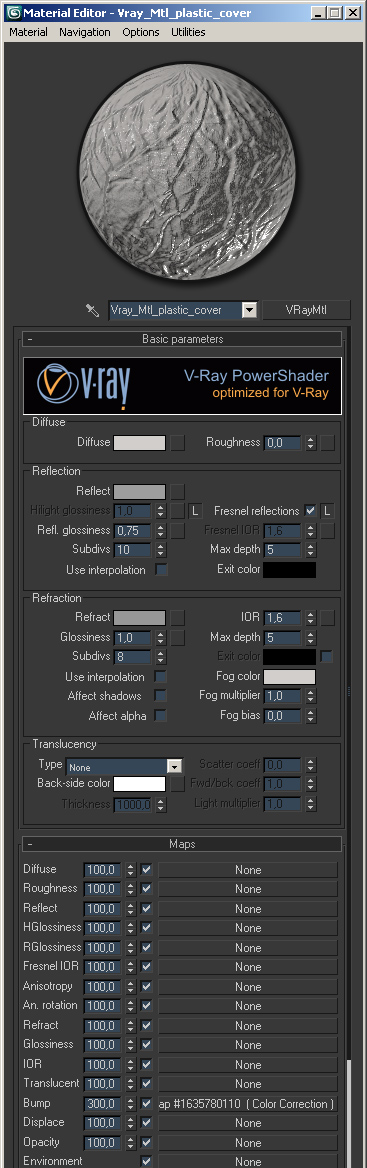
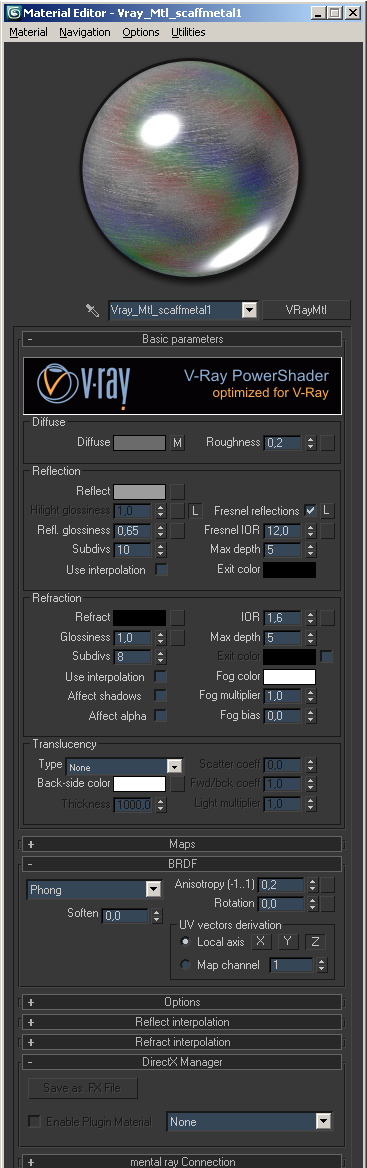
Scaffolding
Since scaffolding shot wasn’t included in any closeups, there were no need for extra detailing of rusty elements and displacements. Two variations of the same material used for scaffold pipes. the metal pipe and rusted shackles were also simulated.
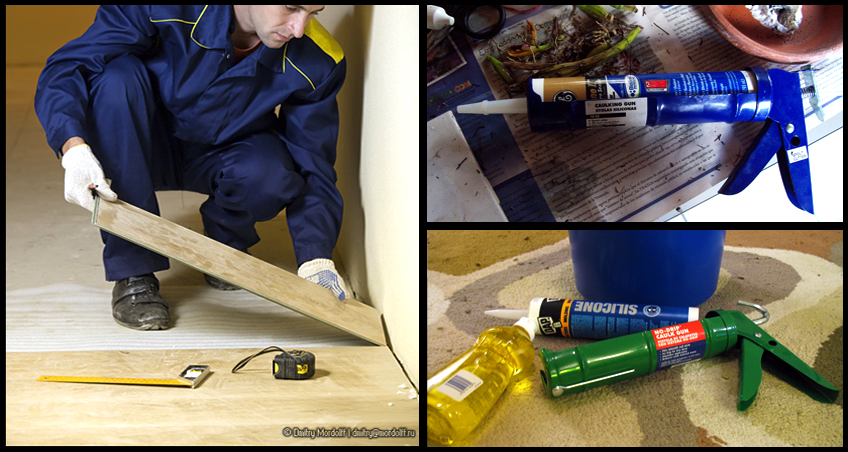
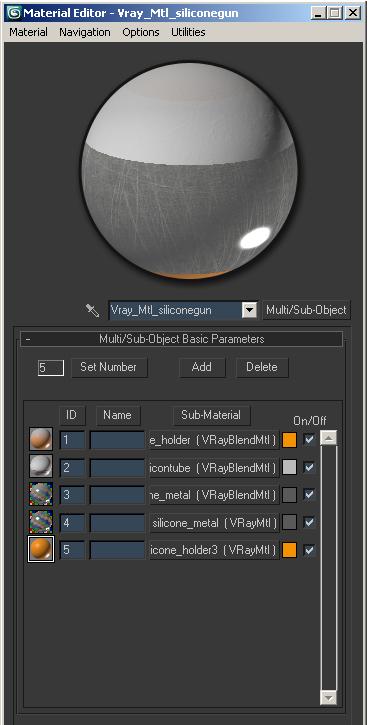
Silicone pistol
Some elements used from the model found on 3dwarehouse website, 3ds imported from SketchUP and refined in 3ds max. Materials included in model are silicone tube, metal holder and orange hand hold.
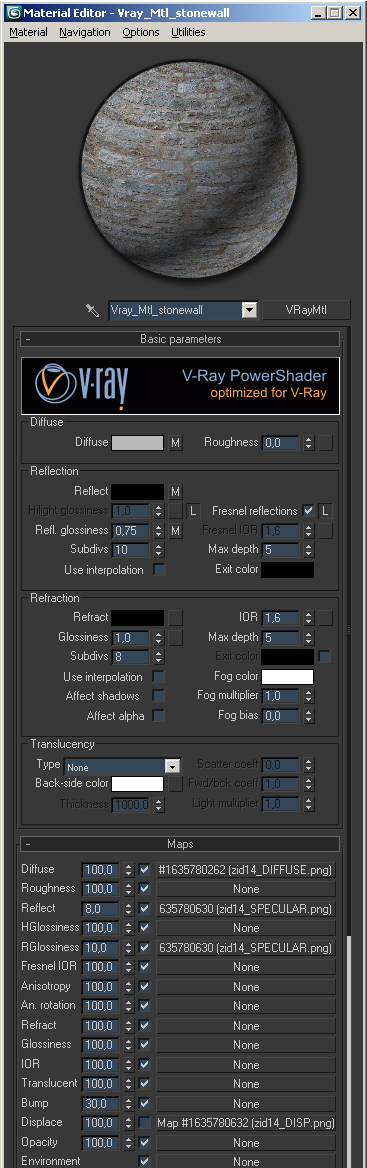
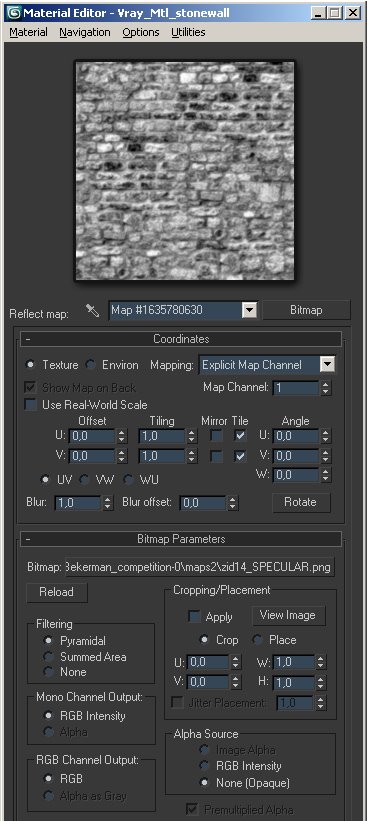
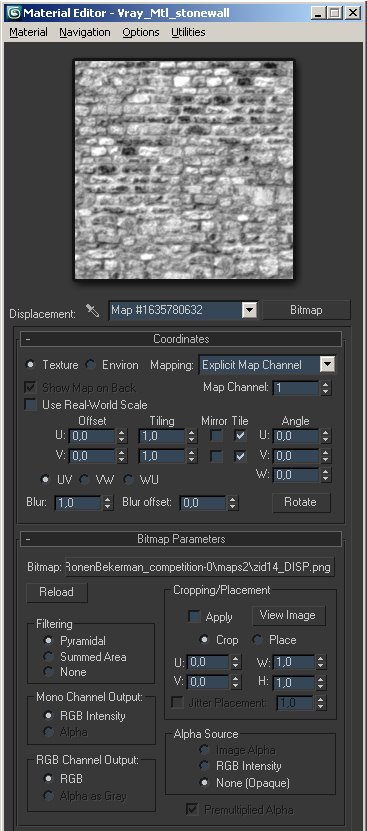
Stone wall
Customized stonewall texture with related specular and displacement maps.
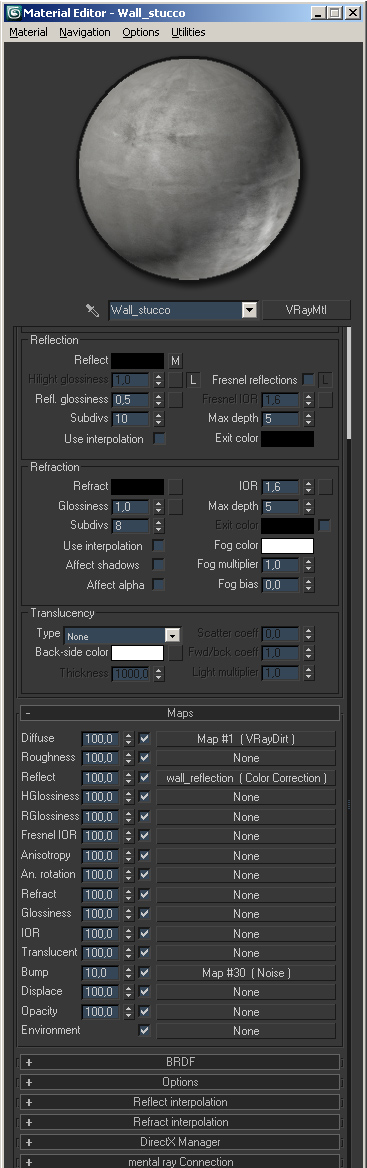
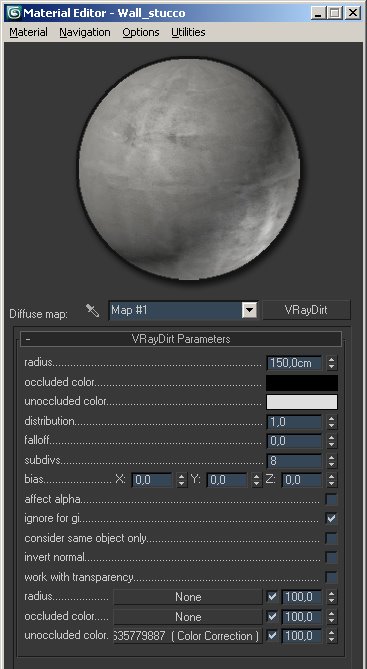
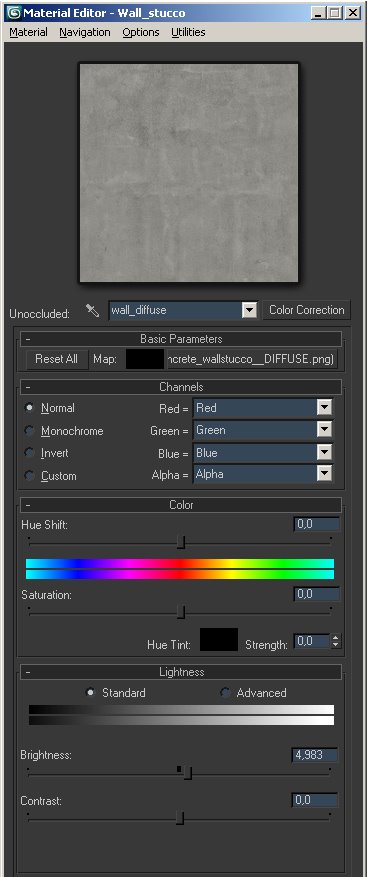
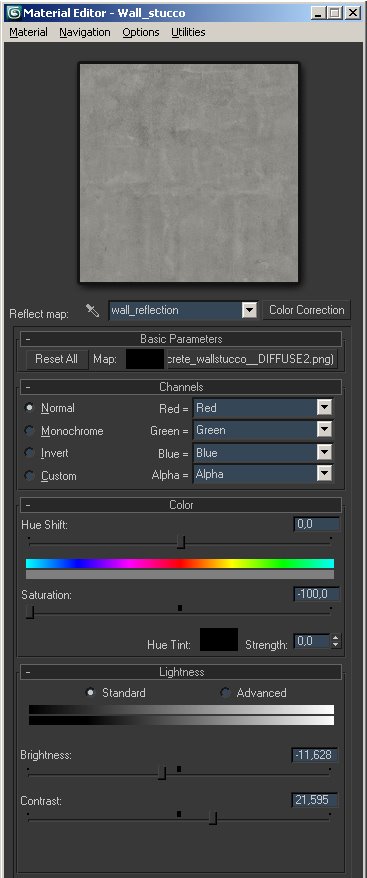
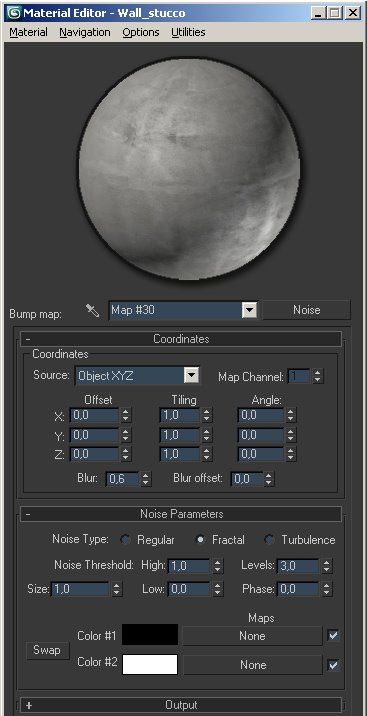
Wall stucco
Customized wall stucco texture with custom specular and displacement maps.
Wheel Barrow
Materials included in model are custom dust material combined with rusted metal texture.
Wood box (Interior)
Also, one of the previously modeled objects given with model, the texture is a common wood shader.
Wood floor A
Also, one of the previously modeled objects given with model, the texture is tweaked with color correction to gain desired tone.
Wood floor B
Actually, I wanted to share with you this method just in case anyone can use this for his own work. The principle is practically the same as most of the dirty shaders previously shown, with a footprint map added in white channel within opacity map.

Ivo’s GH House Challenge thread
You are welcome to comment on this article and ask questions using the comment box below!
Jump to PART 2


Amazing workflow Ivo!!!
A very long and detailed article. Thanks for sharing!
And thanks for linking 🙂
Hi guys, thanks for comments, i am glad you like it, as i said on my posts i learned a lot from this Competition and this is just the small way saying thanks to all of you!
Cheers
I.
Thanks for the making of Ivo, lots of clever techniques that will be helpful to me in the future 😀 Nice job
Great tutorial Ivo ! I love all the props you made. You are very generous in sharing all the materials, the dusty falloff one is very clever.
Thanks Peter for your kind words, there are so many excellent material resources on the web to learn from, so putting this “little base” together wasn’t a hard task, just time consuming. Dusty shader did involved little kick off “brainstorming”, that brought nice results..
Cheers
I.
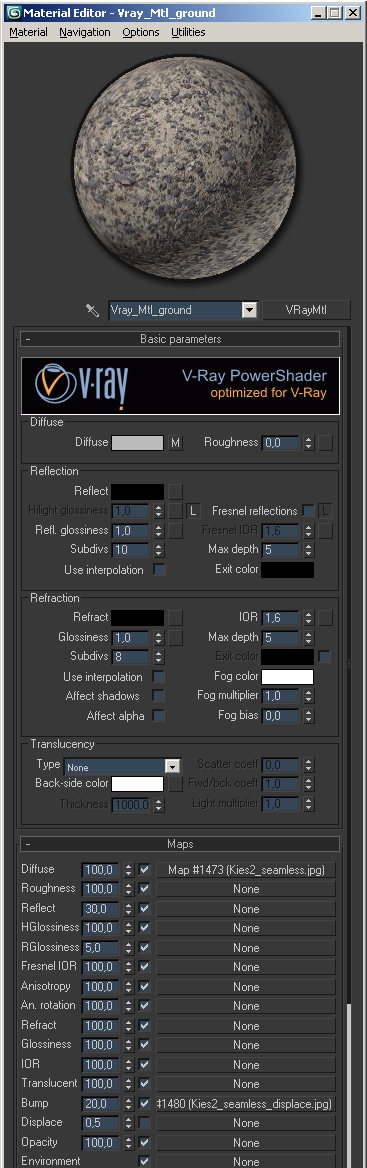
cool, how did you get your material editor to display materials like that? Unless it was photoshopped for presentation reasons. Anyways, looking forward to part 2!
Hi Advan, yep..a little photoshoping and custom mat.slot look for this making of..Thanks
do you have tutorial for maxwell render, cause i have problem in rendering good smooth interior render.
hello Dimas… there are lots of good tutorials on Maxwell forums and website, i am sure you can find something useful. And small suggestion, you should check some of interior render posts and settings within conversations.
here are some links, hope this helps:
http://www.maxwellrender.com/mw2_support.php
http://think.maxwellrender.com/
http://www.maxwellrender.com/forum/
Cheers
and there is also a PART 2 to this one 😉 Great work by Ivo! http://www.ronenbekerman.com/making-of-3d-render-gh-house-by-ivo-sucur-2/
This was a golden age of archviz :- ) I remember all these great works, motivated me to give a try too.