


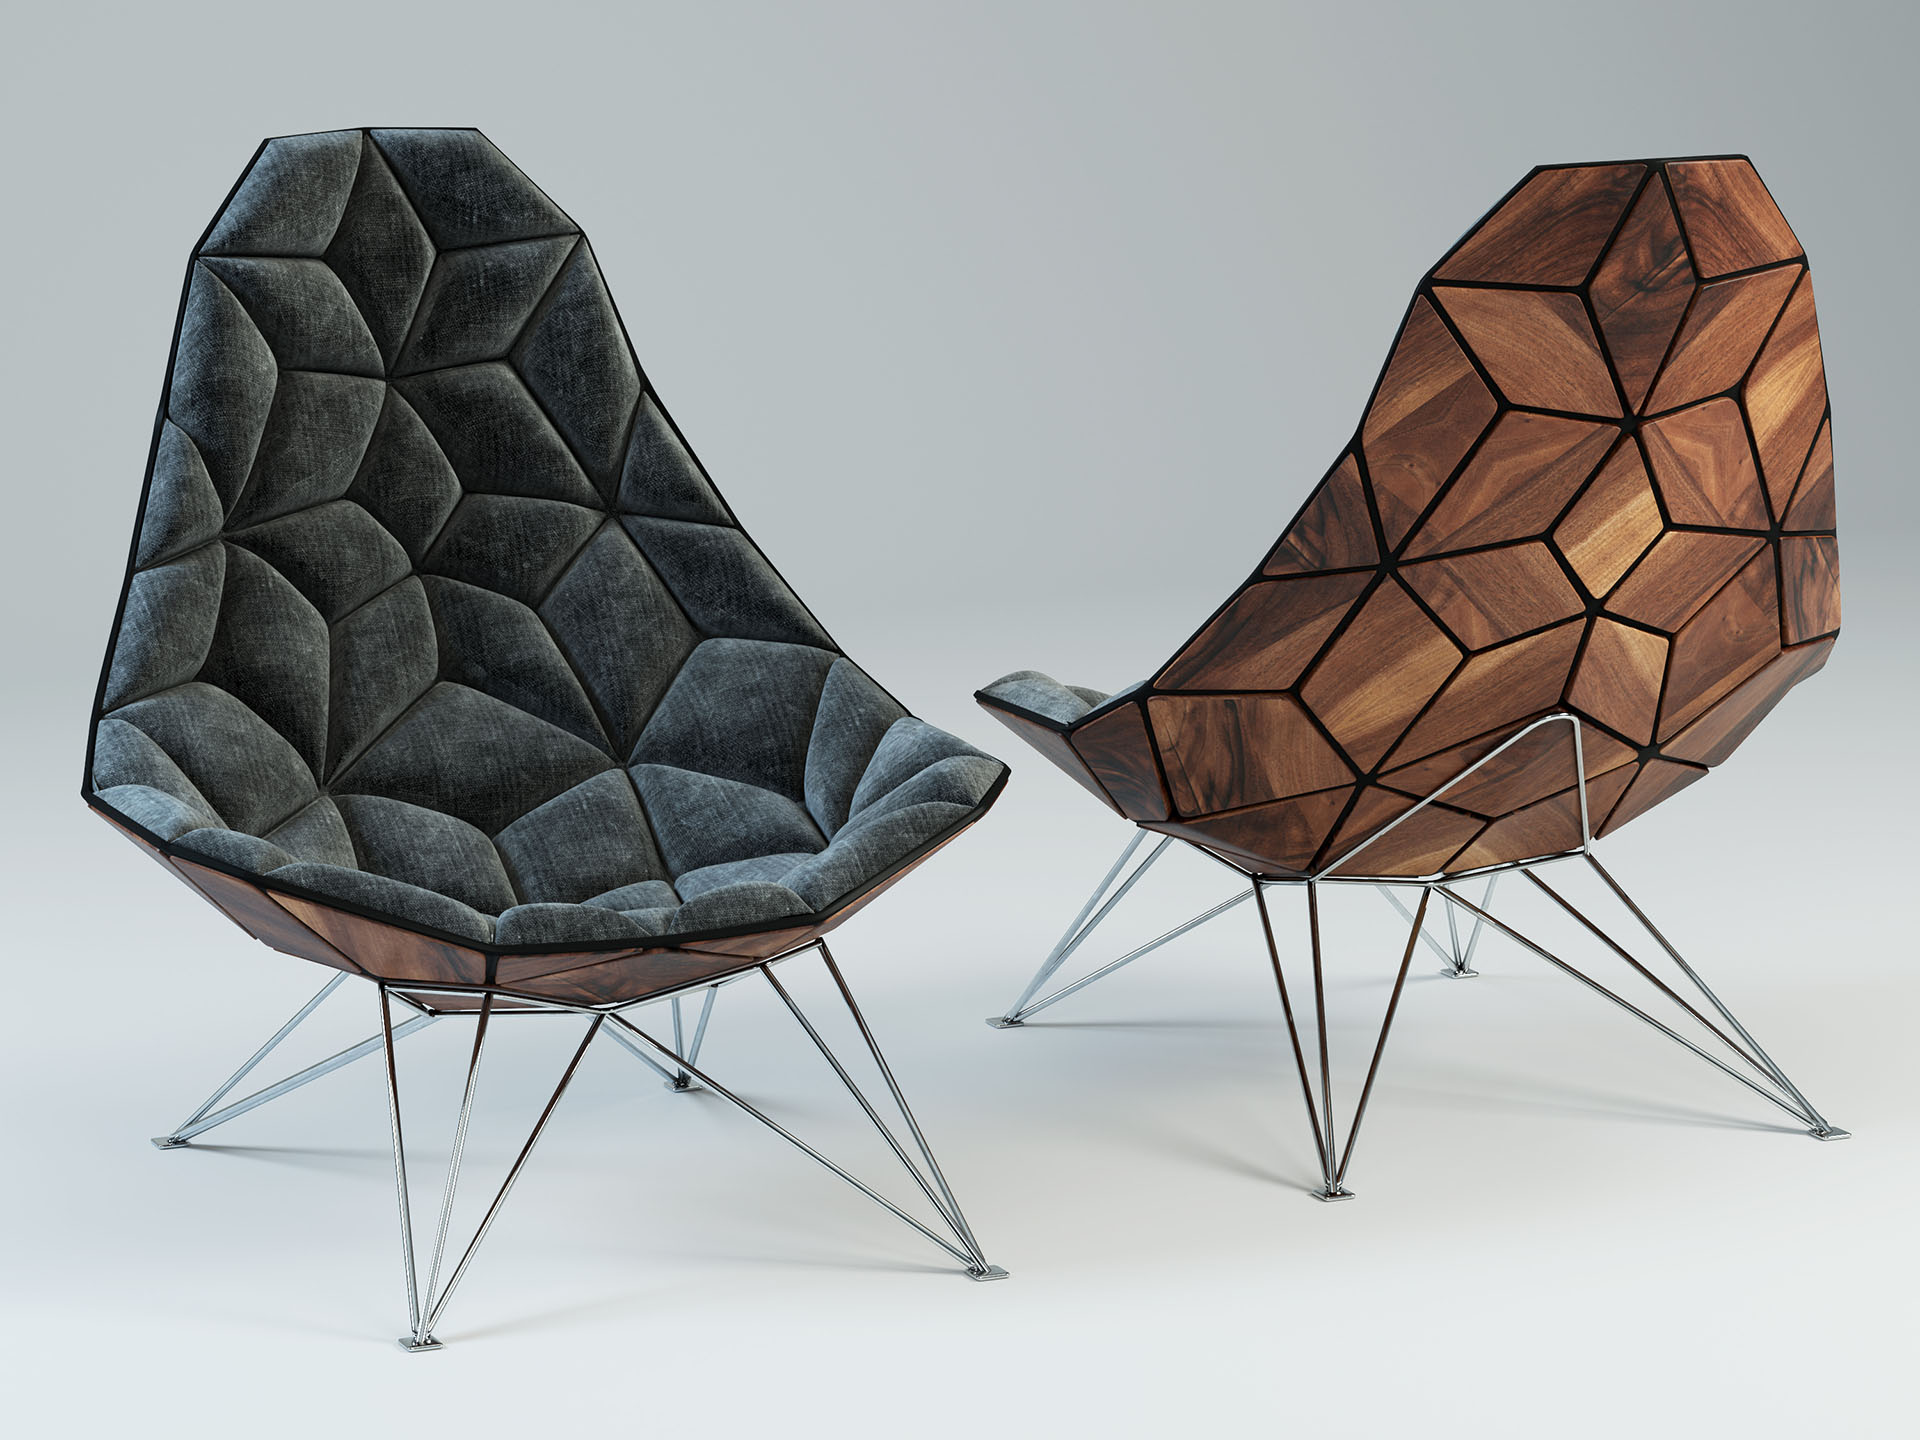
3D Modeling How to / The JSN Tiles Chair
I’m very pleased to share today this great looking JSN Tiles Chair modeled by Luca Catino. I got to know Luca and what a great and talented dude he is during SOA’s Academy Days in Venice and I been asking him to share something of his during the last Academy Day. He kindly offered to showcase the modeling of the unique looking Tiles chair by JSNdesign as well as offer the model too for you to download. Enjoy!
![]()
Author: Luca Catino
Luca Catino is a Rome, Italy based Architect / Yacht Designer and Senior CG Visualizer for Luxury Yacht Design and Architecture.
Hi, I’m pleased to share with you the process of making the JSN Tiles Chair which you can also download here (stripped of textures) by sharing…
Introduction
My fascination with 3d Visualization started while studying Architecture in Rome. As I completed my studies, I started to freelance for a few Rome based architecture studios. Then, as an architect, I joined one of the most important studios of yacht design. There I was planning interior and exterior spaces from scratch all the way to final animation.
I’m in the yacht design industry for seven years doing a lot of images for different shipyards all over Europe. As a freelanced I do also interior and exterior images for local and foreign clients, working alone in a small studio just near the center of Rome.
Before we get down to it, I like to say thank you to Ronen for what he does for us in our everyday working life and for the good times spent every year in Venice during SOA’s Academy Day events.
My job in the yacht industry is very cool and fascinating but it involves a lot of thinking before making any kind of choice so it fits the yacht design and the client’s taste. That’s why I’m going about creating my custom archive, practicing modeling of interesting and luxury furniture items at the same time. The JSN Tiles chair captured my attention from the first moment I’ve seen it.
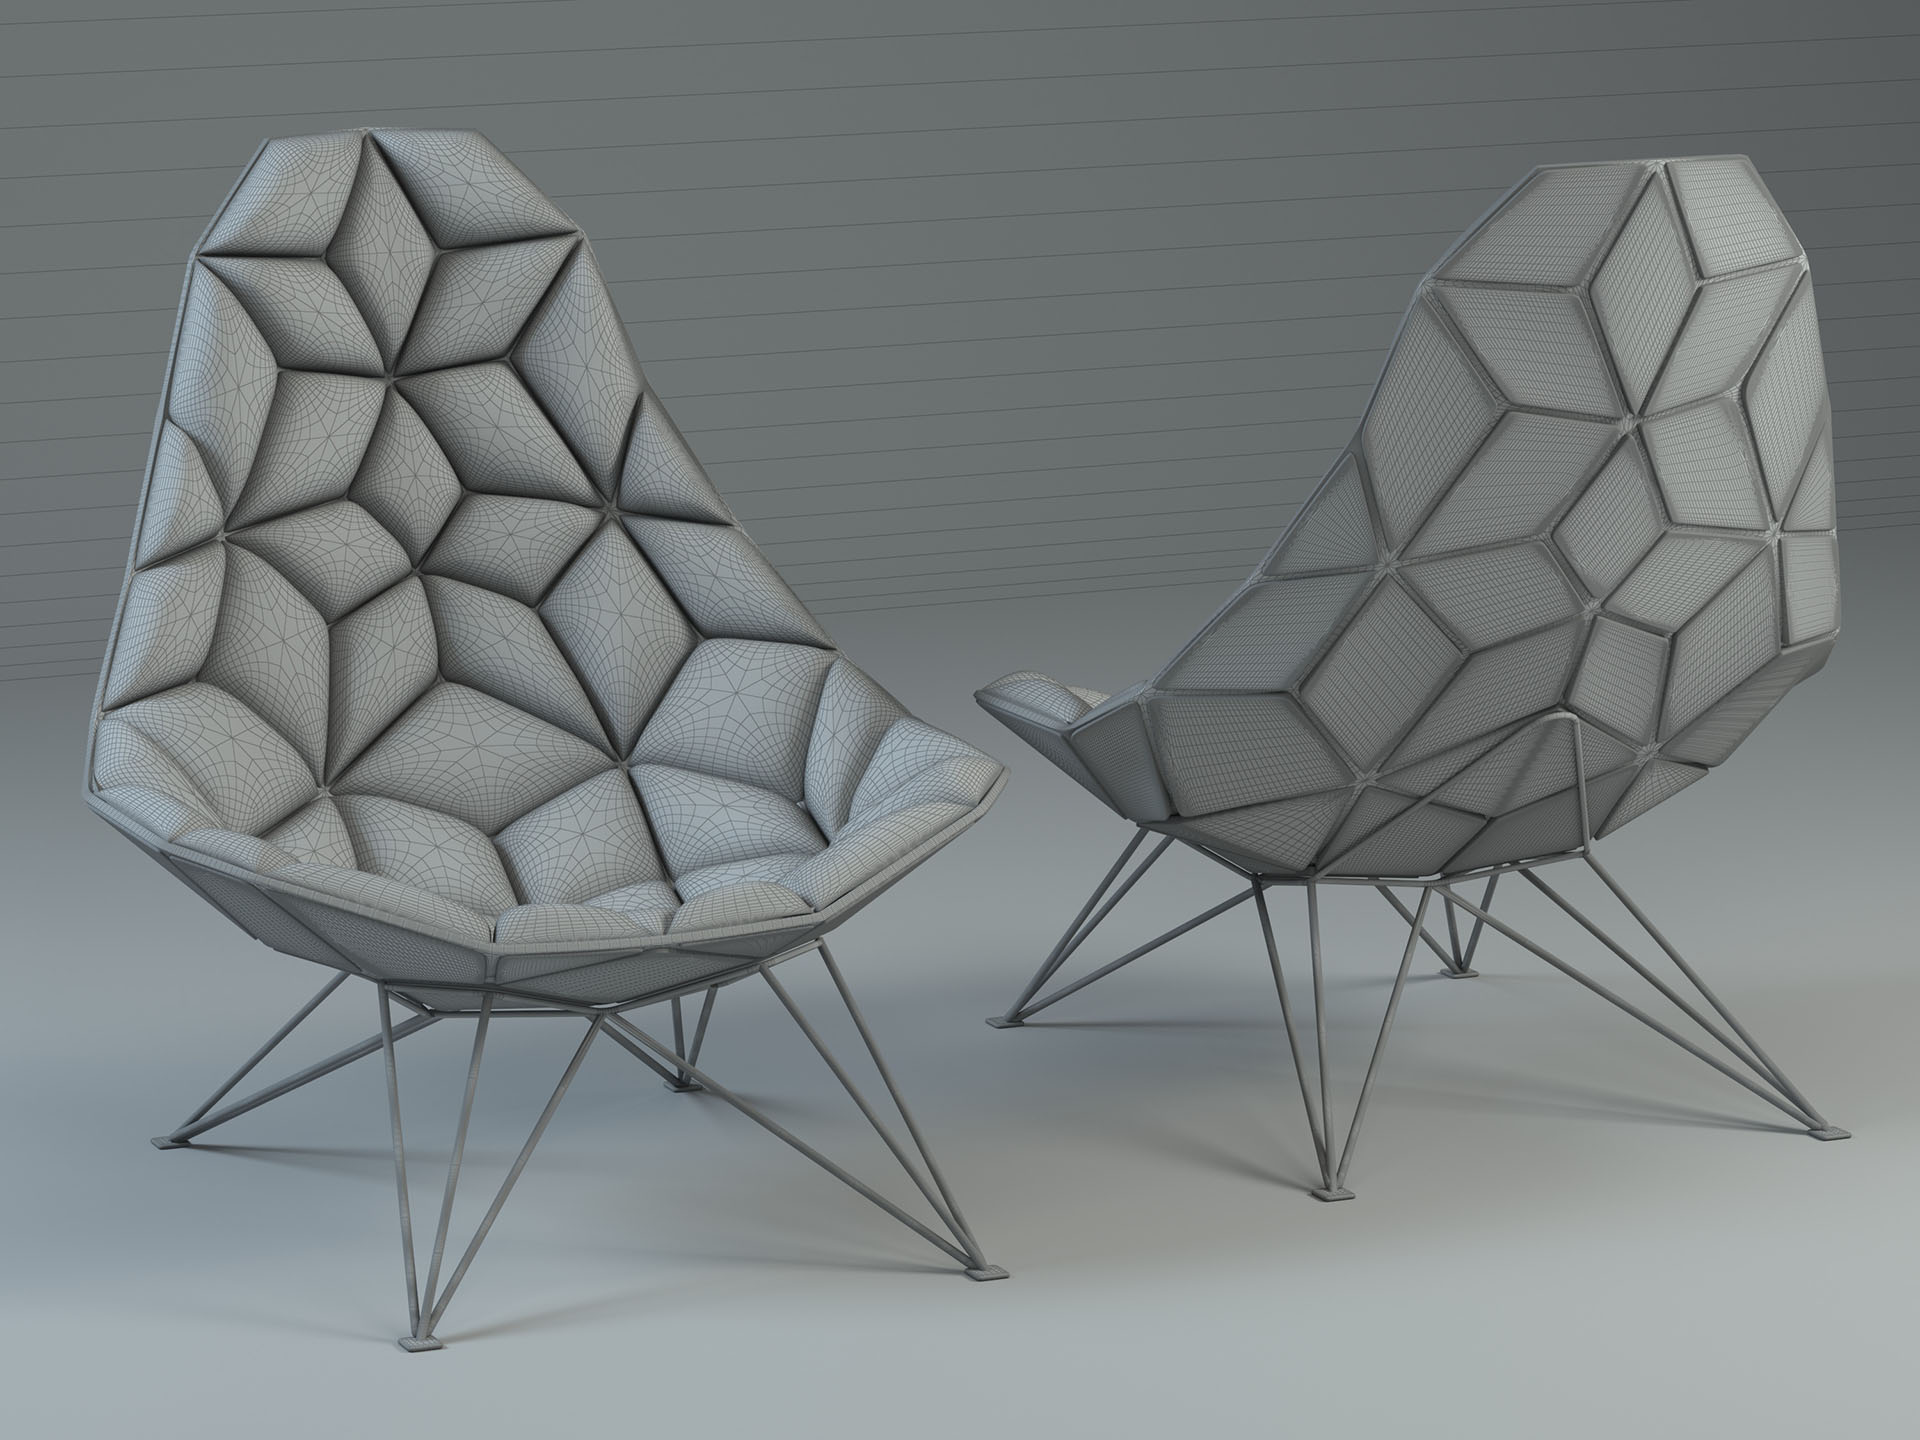
Modeling
First things first – References!
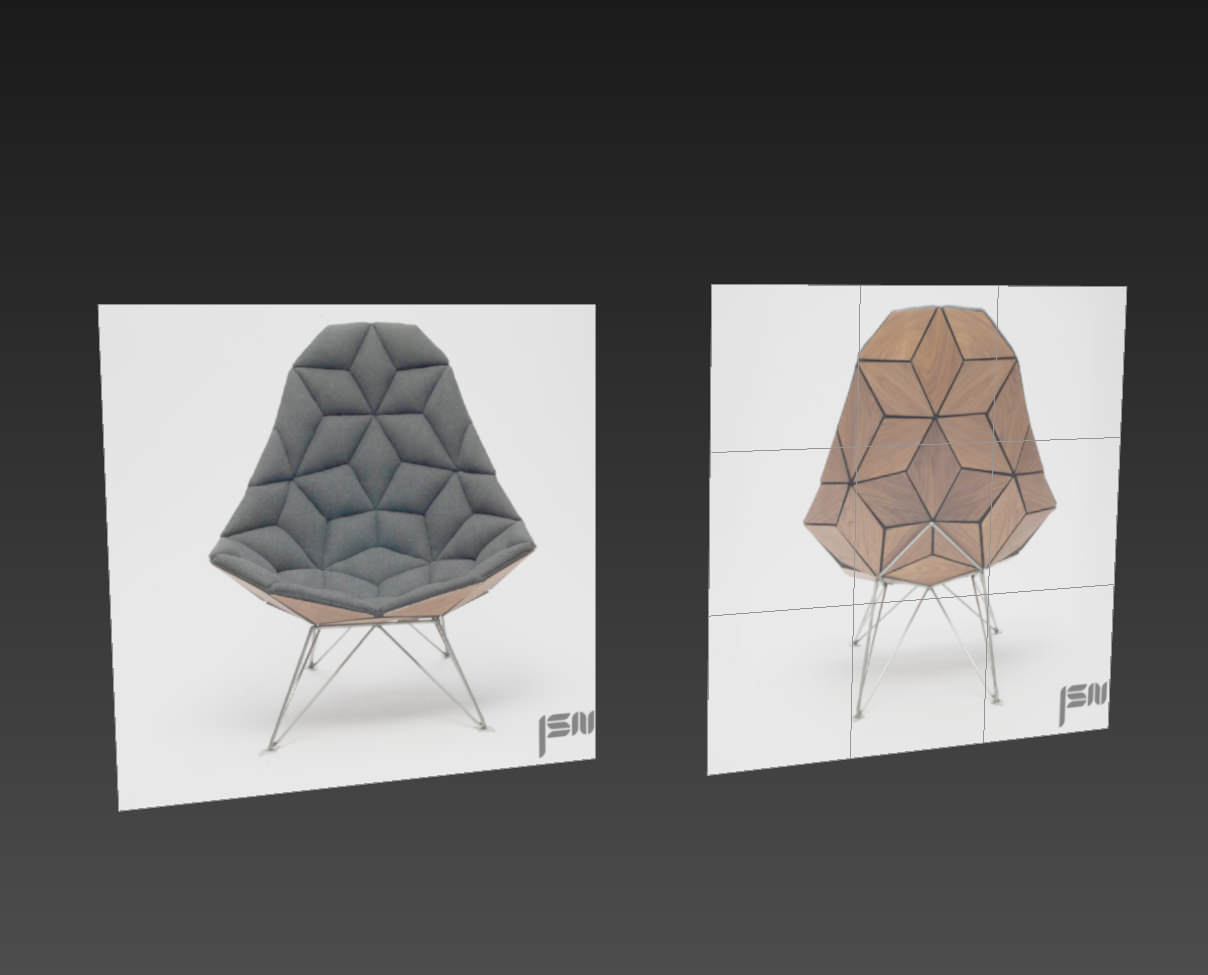
I searched for as much reference images as I can, and finally decided to use these four to begin the modeling part.


As usual (for me), I loaded the reference images as a simple material and assigned it to a couple of planes with the picture’s same dimensions. First I made the simple chair shape from the front view, then, moving points in the XYZ axis, I tried to make the shape as close as possible to the original.

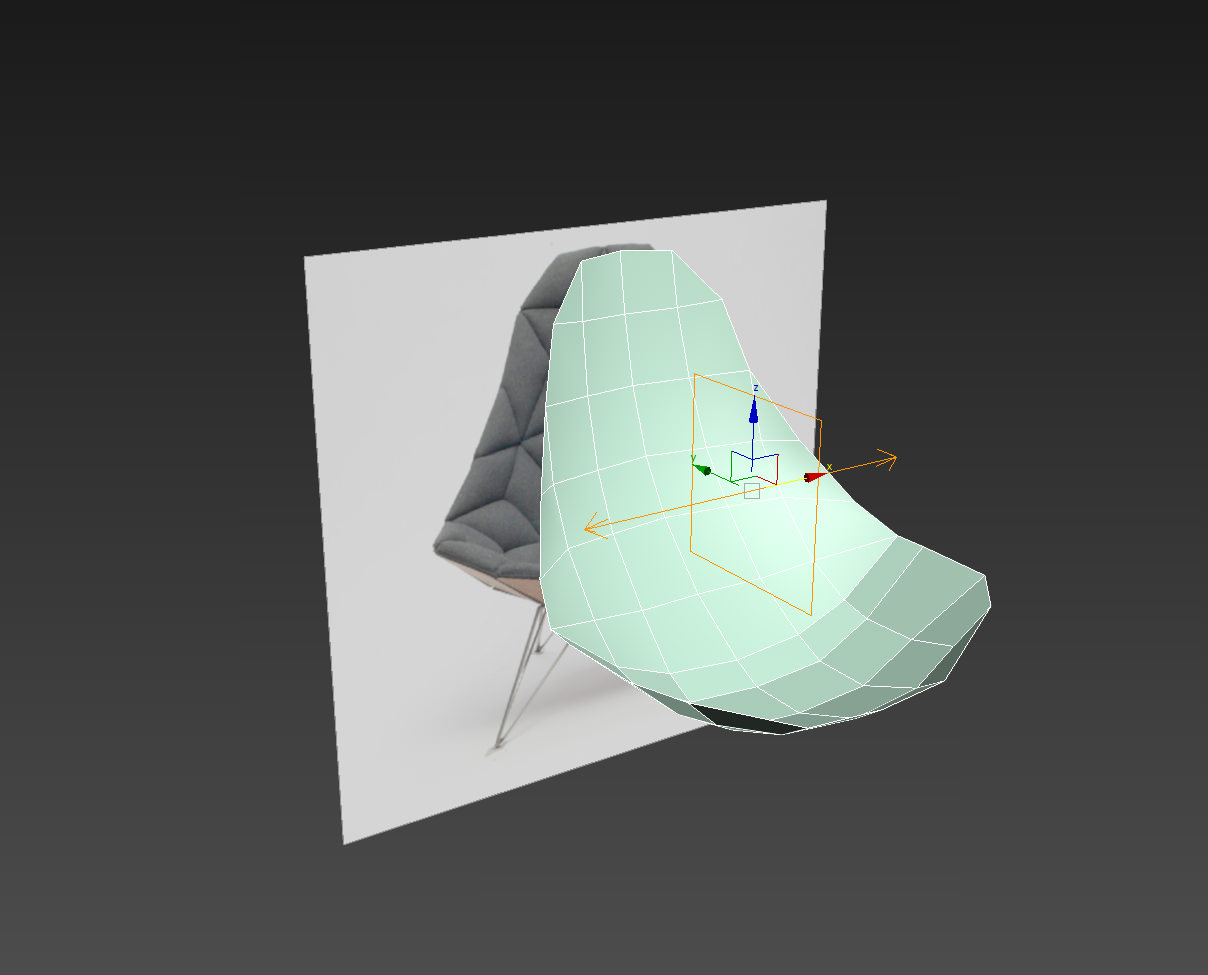
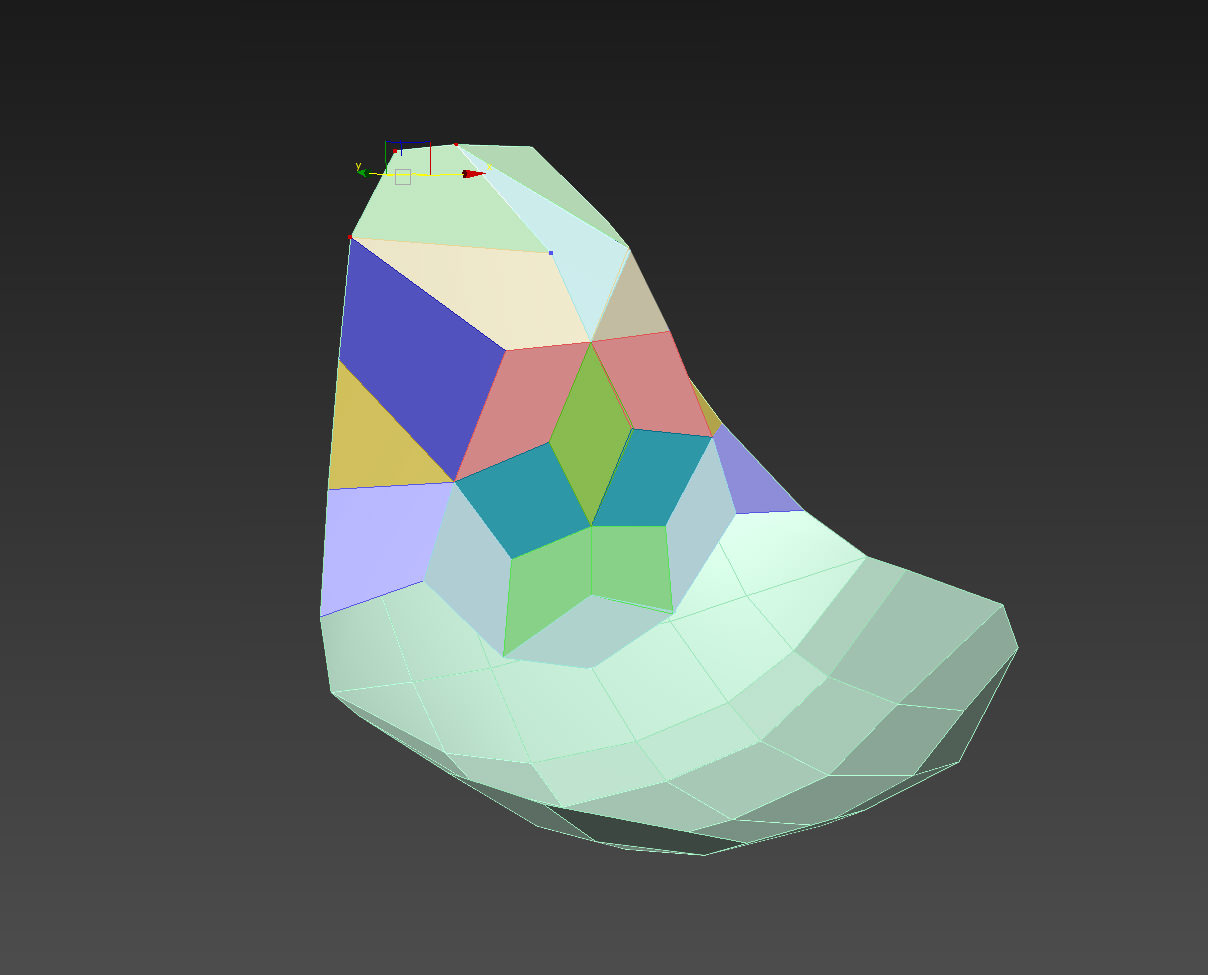
The most important and tedious part was the back side of the chair, because I had to recognize the geometry language. The front of the chair with the fabric was very simple. The front reference image helped me a lot, but for the rest of the chair I had to imagine how it all kind of fits, and it was no simple task. So, after trying different ways of modeling the geometry, I finally had the base planar model.

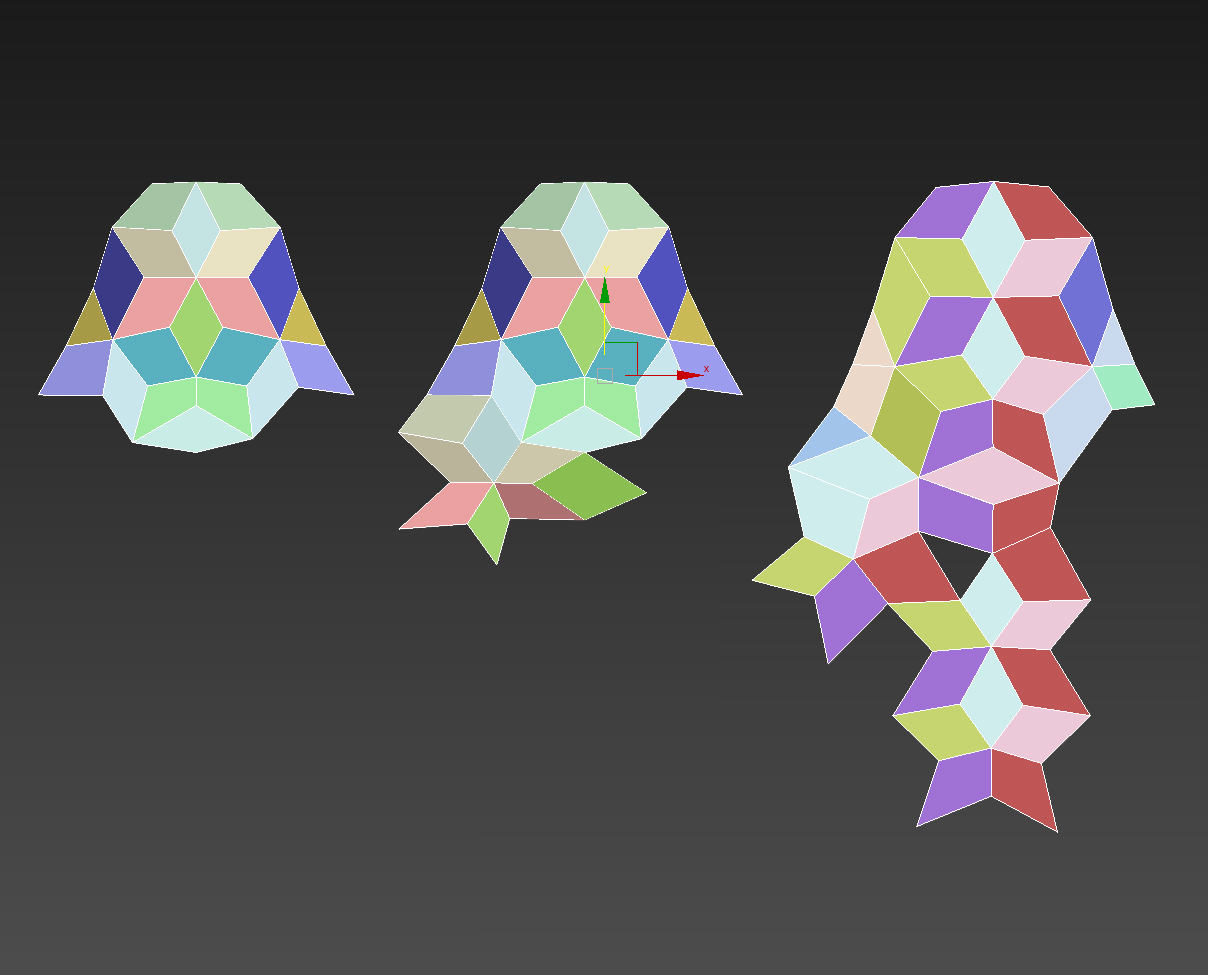
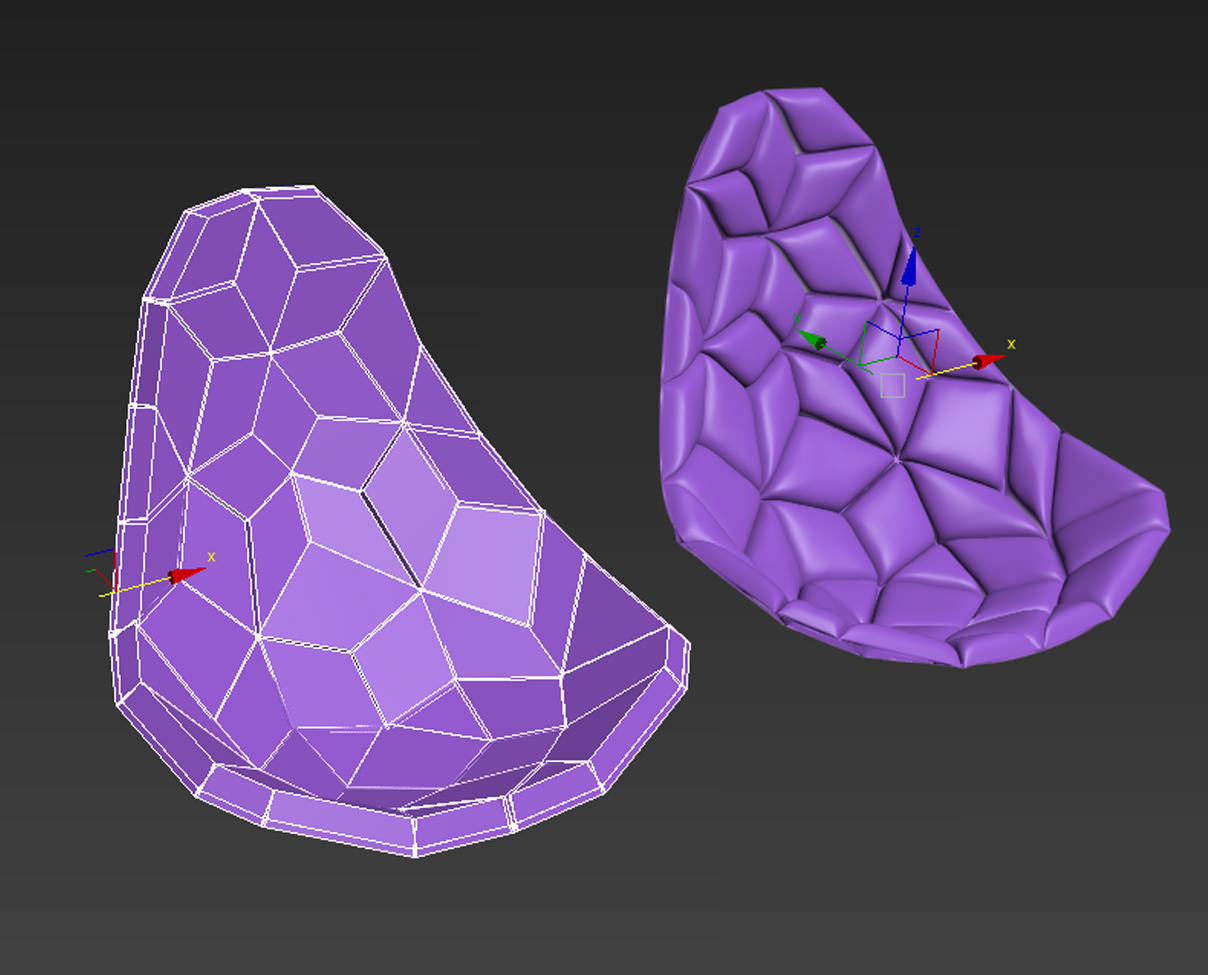
Once I had the base model, I just started pushing and pulling vertices trying to fit the simple first chair shape I made before.
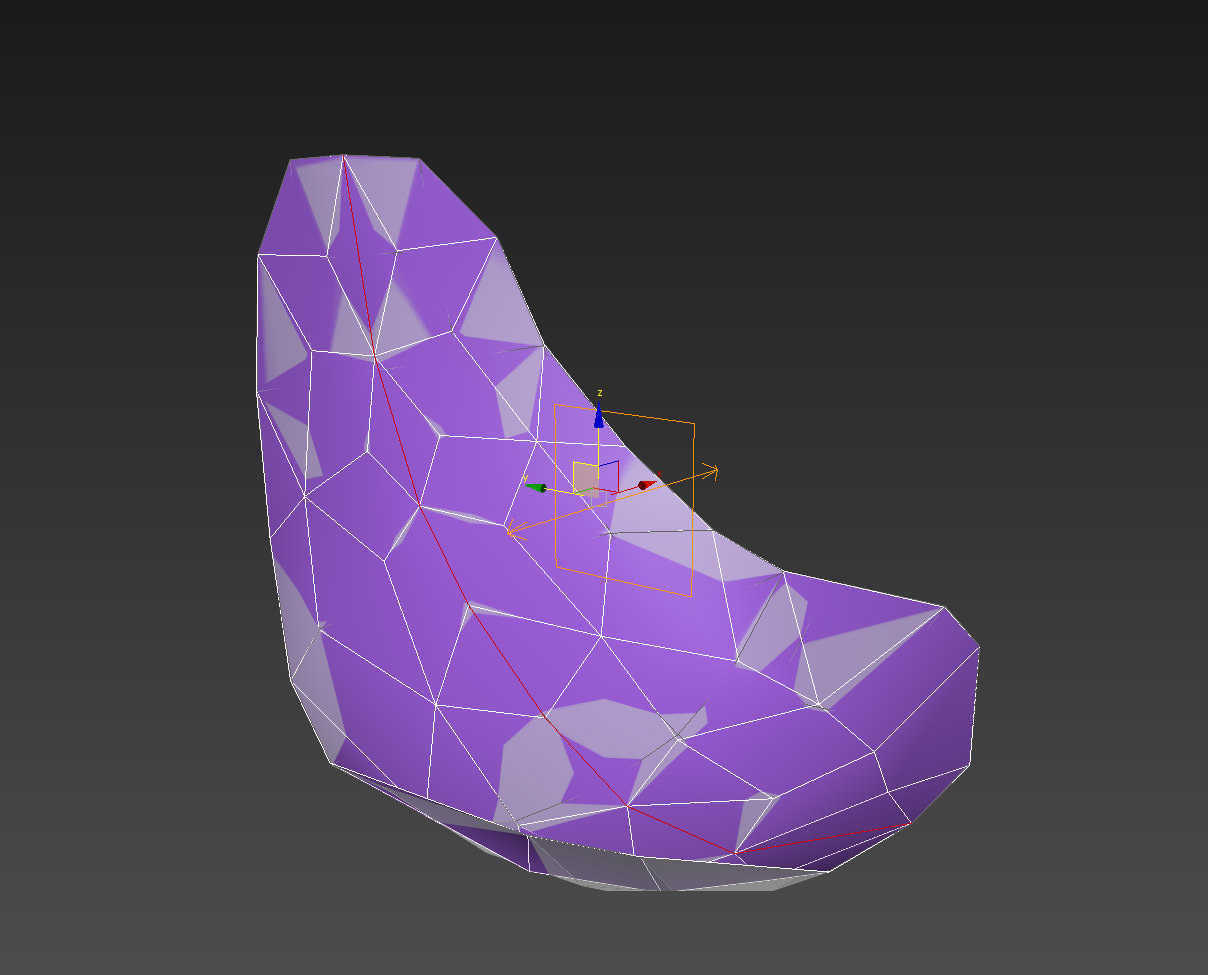
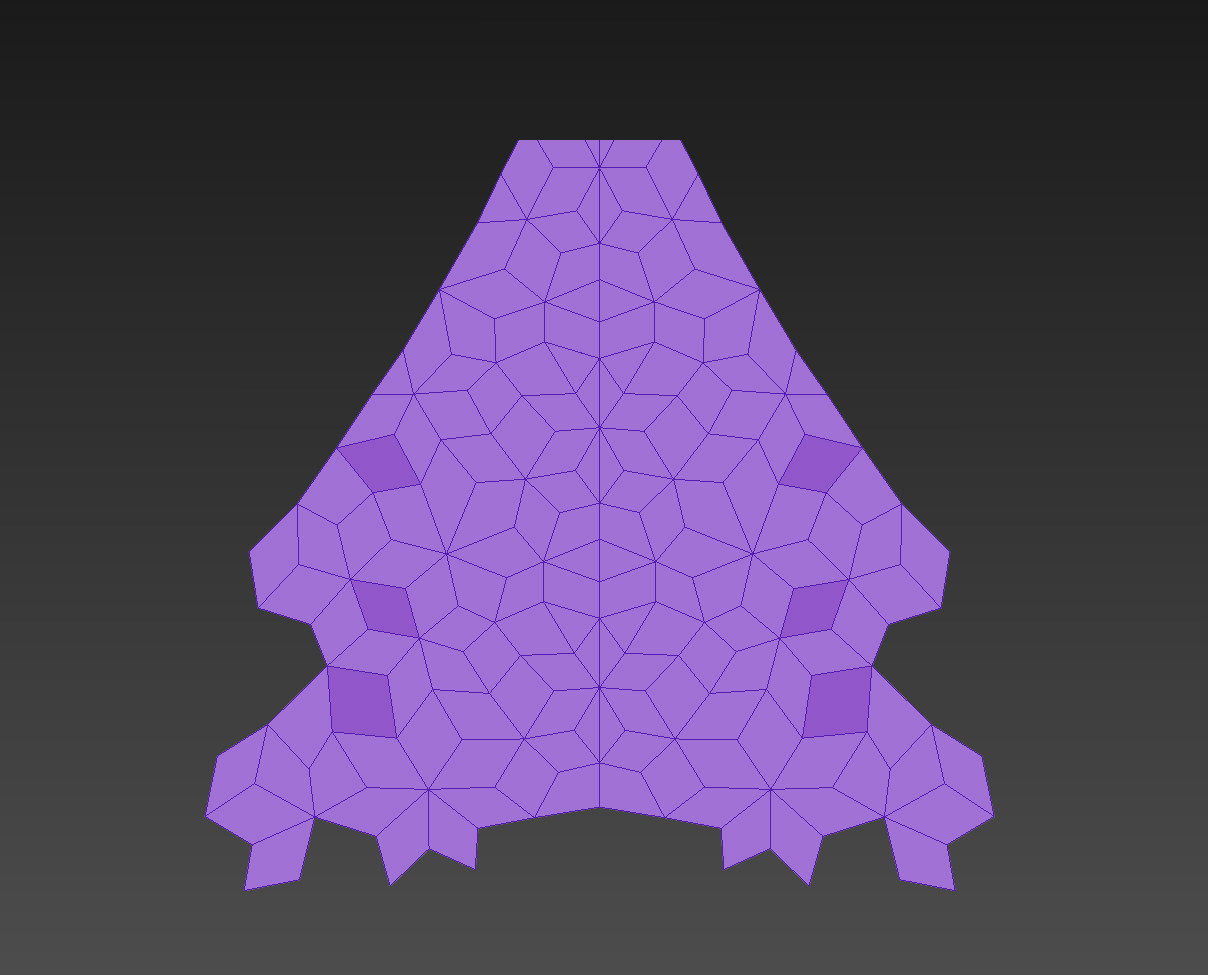
Doing a couple of insets on each single face I’ve chosen the distance between the back wooden parts.
Giving a shell modifier, I obtained the wooden part on the back of the chair and saving the entire shape, with another shell modifier, I created the plastic part between back and front.
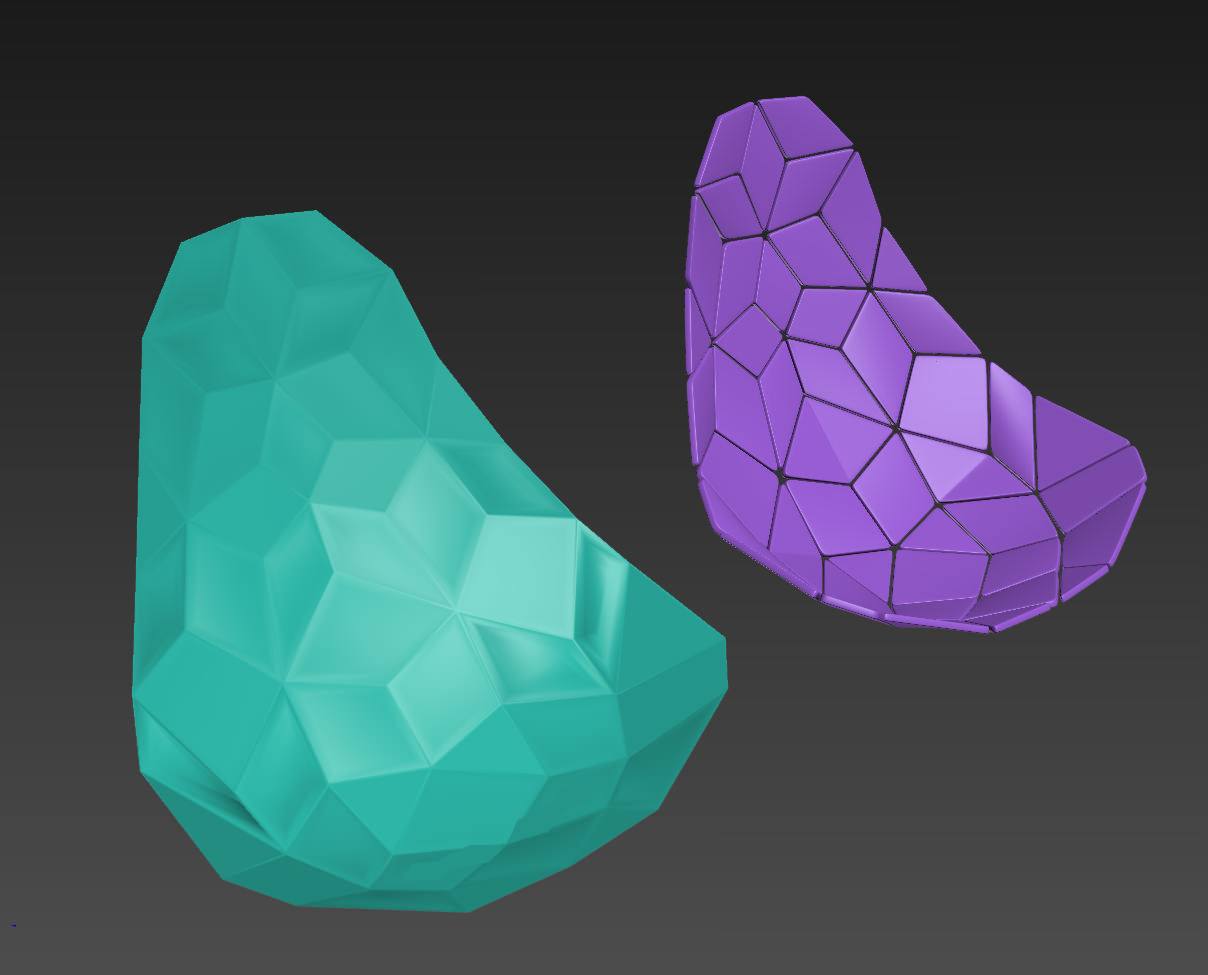
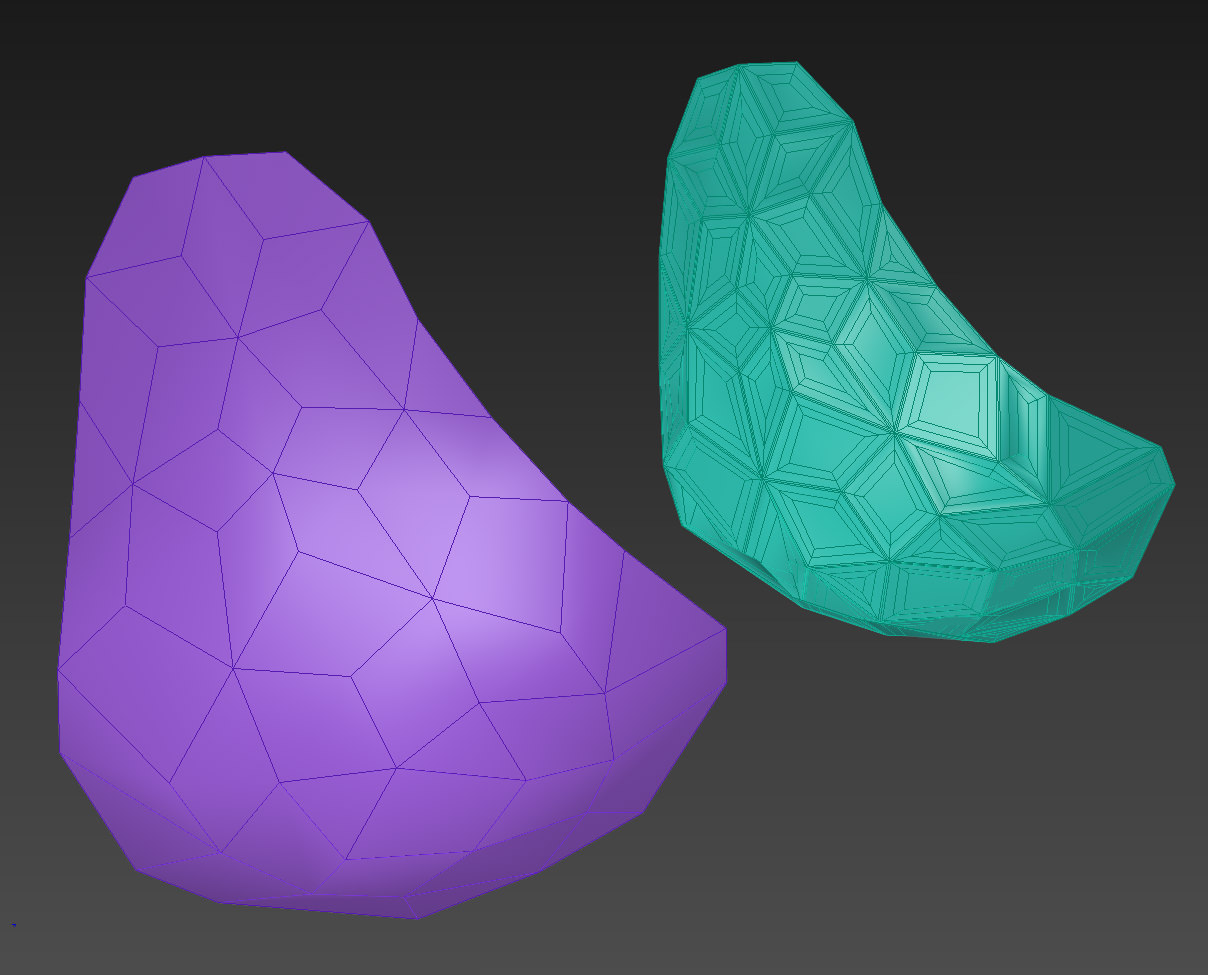
Analyzing the fabric part on the reference images, I had many tests on how to model it or which was the fastest way of doing it saving time. After three or four tests, I realized that there was a much simpler method than expected. Doing a simple face extrusion along face axis and assigning it a Turbo Smooth modifier to enhance the fabric roundness. To add a bit of realism to the fabric part I started to push and pull polygons with paint deformation and assigning a relax modifier at the end.
Merging the three shapes into the same file, finally I had my chair.
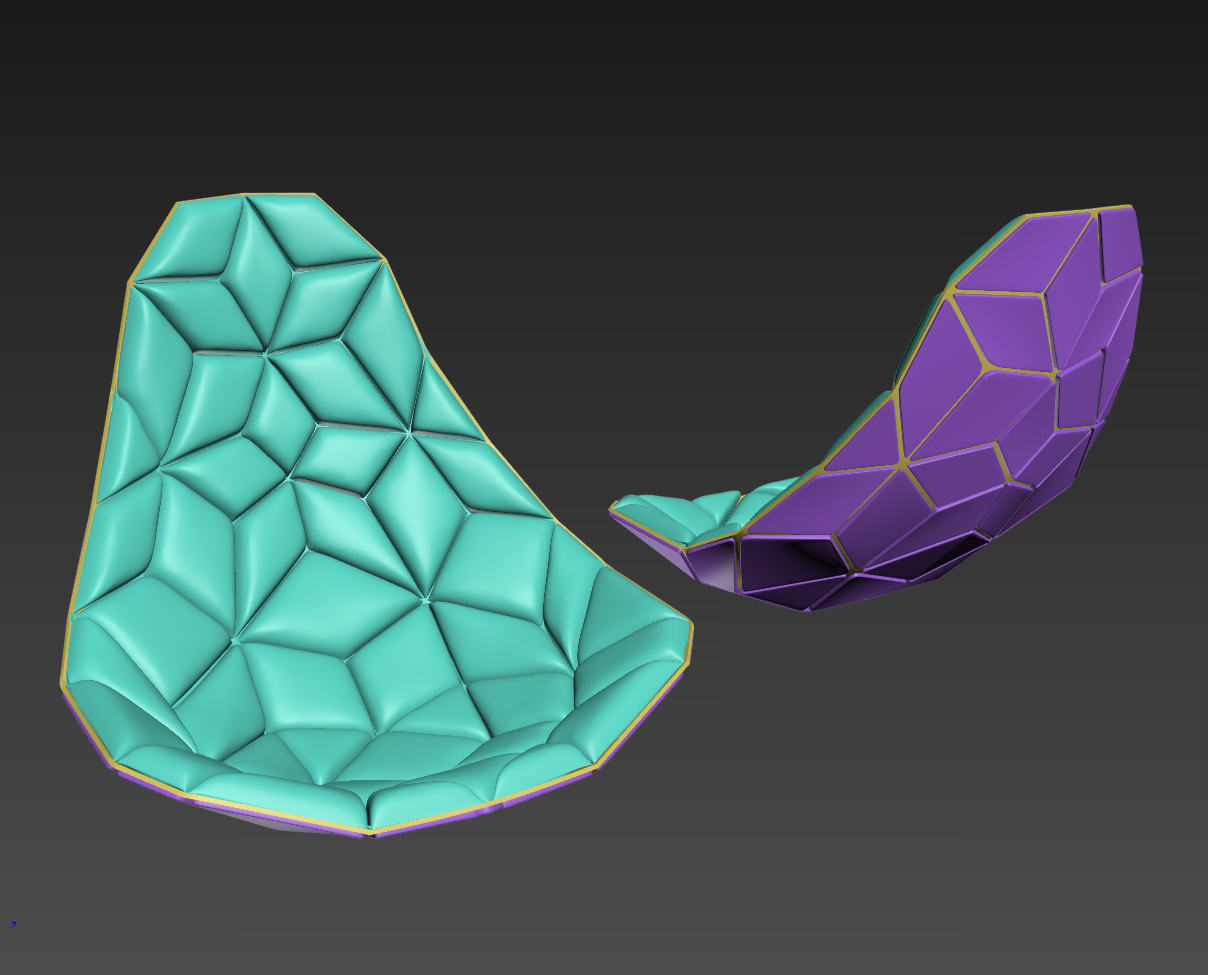
Then I made the metal parts, modeling directly from the reference images and finished the JSN chair.


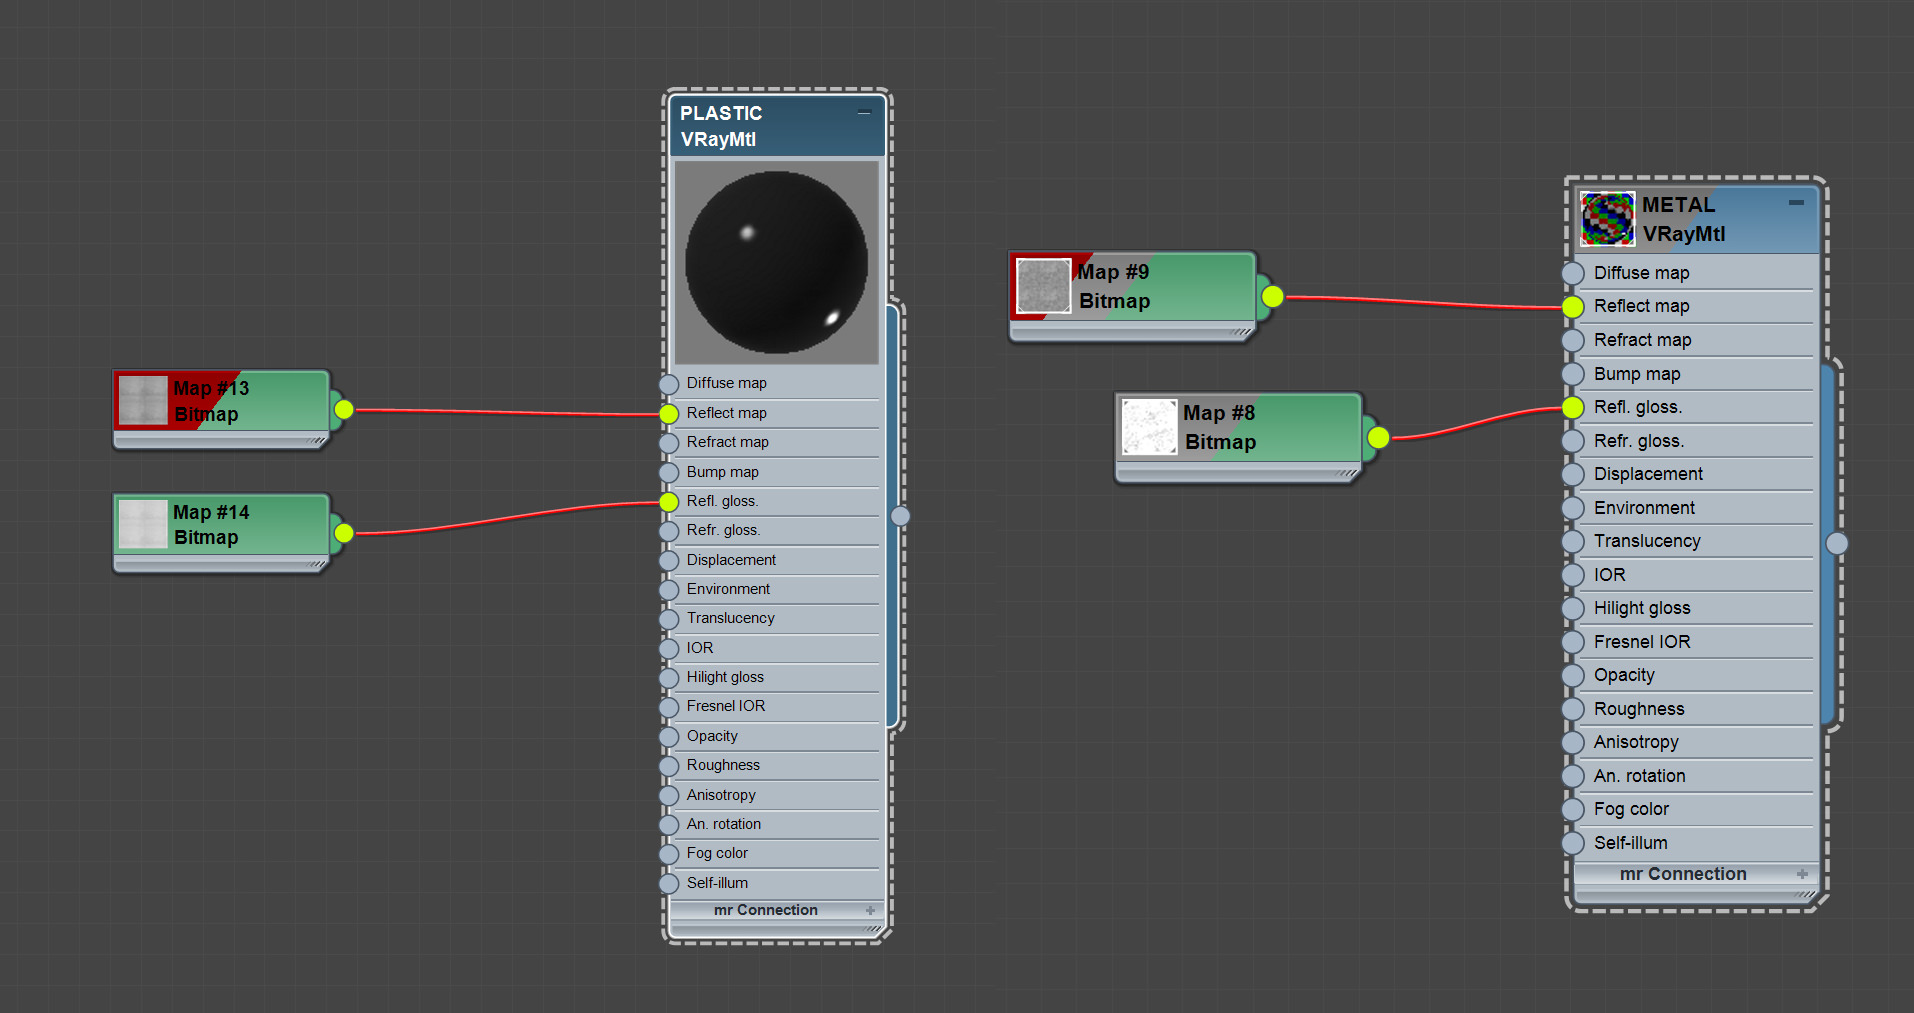
Materials
The material creation process was very fast because I have my library and I can pick a single material made long time ago and achieve a nice result in few minutes.
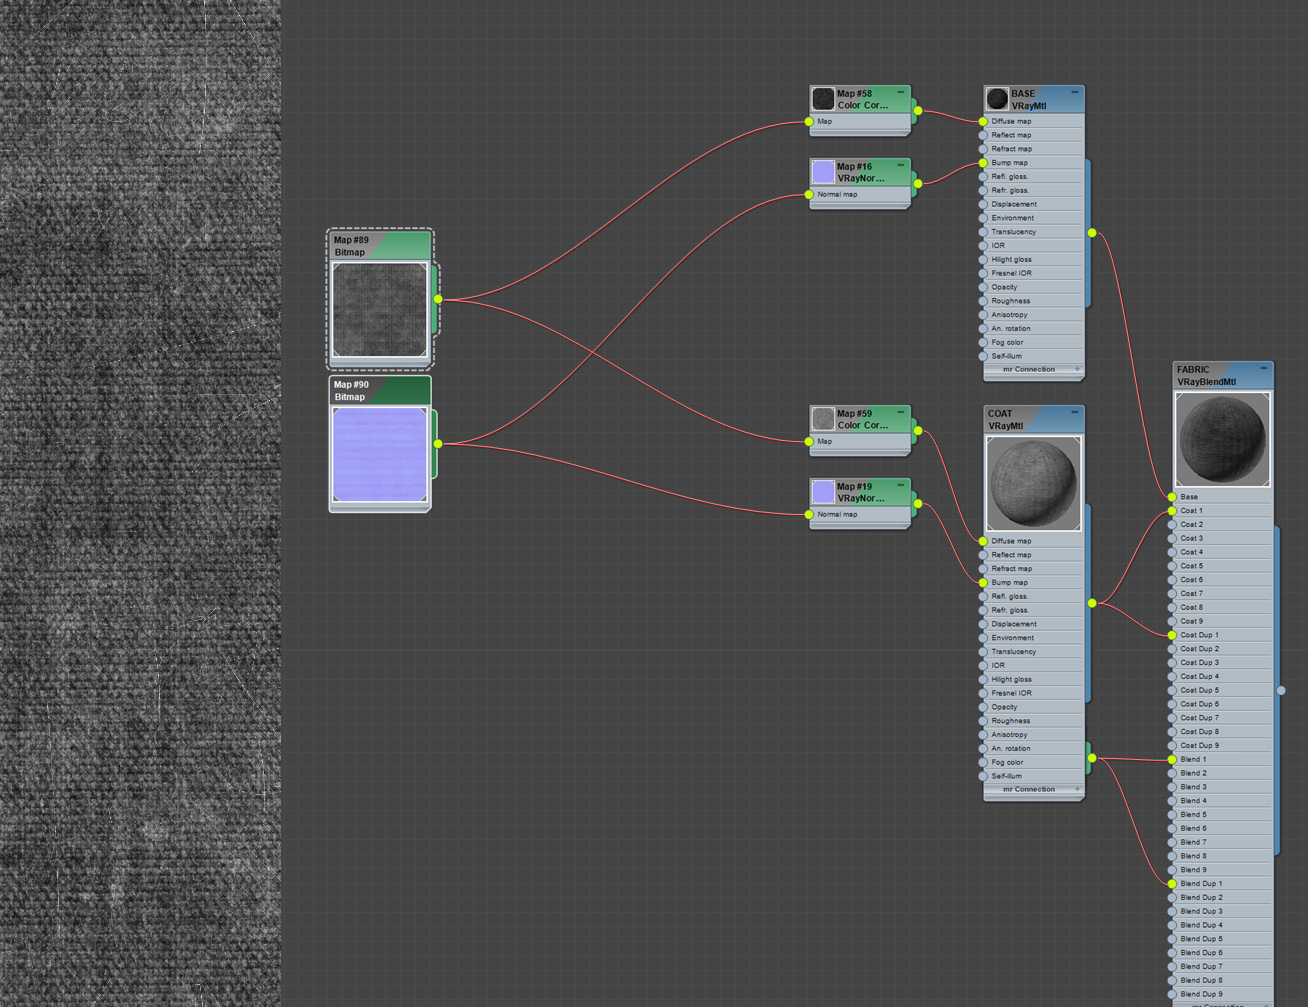
The Fabric
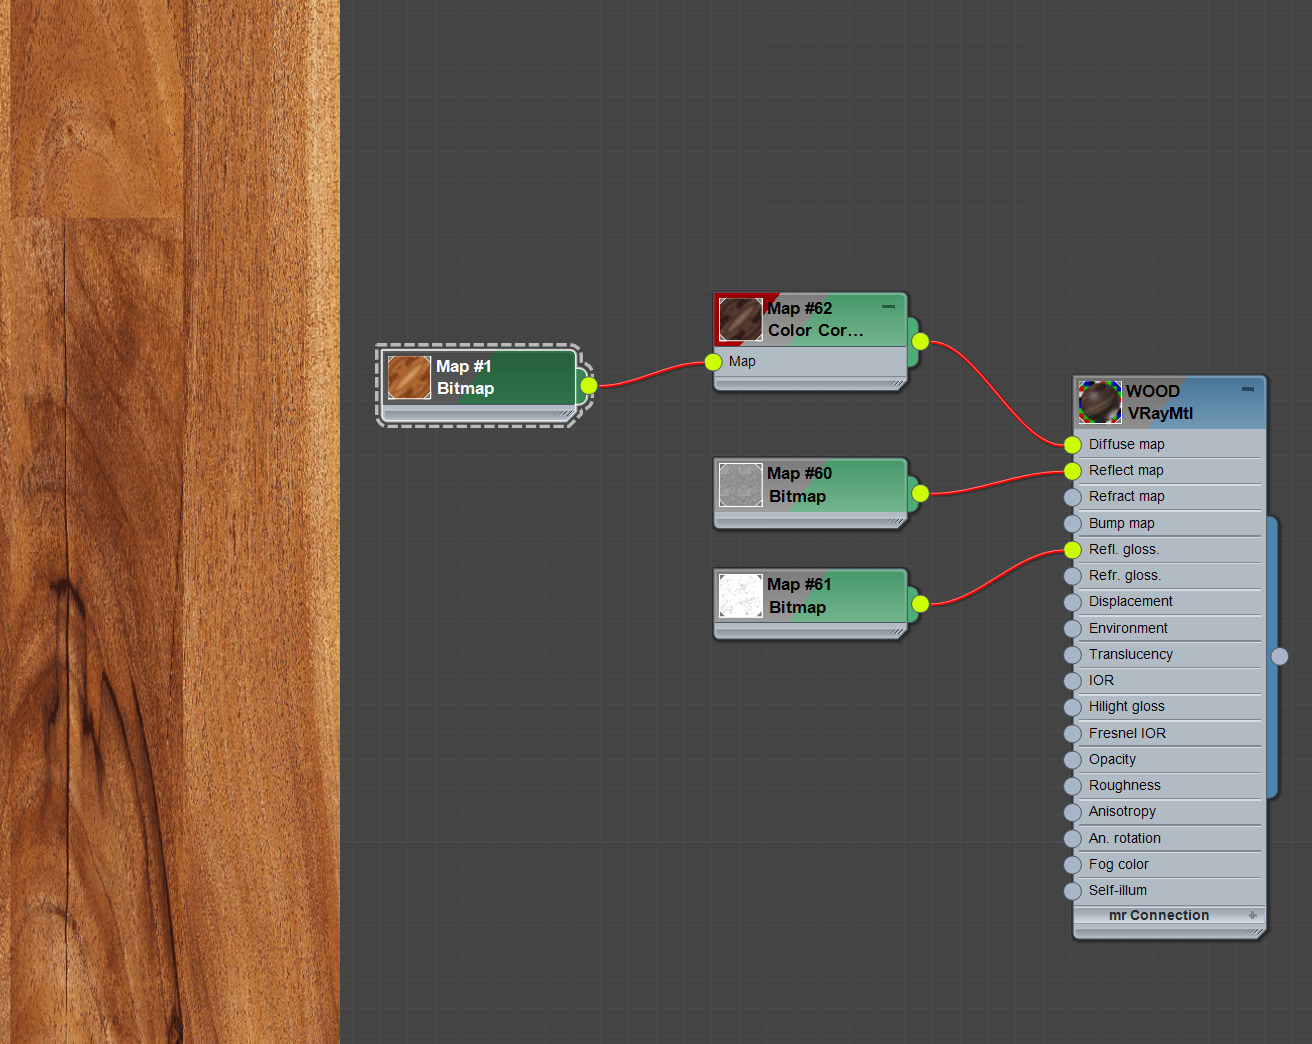
The Wood
The Plastic
Lighting
About lighting set up I can say it was a very simple one, with a couple of V-Ray lights and a cyclorama as geometry background.
Thx to Ronen for the attention and for the opportunity to present one of my ArcVIZ images here.
Thanks everyone for your time, hope this short write-up helps you, even if little! For more furniture renderings and interior and exterior images, please visit my Flickr Portfolio.
Here’s the link to this chair page on JSNdesign website – [Tiles](http://jsndesign.dk/page.asp?id=100)
Cheers,
Luca Catino.


Luca!! 😀 best wishes from us!
Thanks !!!
Beautiful work my friend!! Especially by following sweet library of props built up
on flickr!!.. Congrats, great job!!
miguelafi kukas81 this model will go in one of my interiors, first thing tomorrow:))
vizcon3d miguelafi ahaha greaaaat!!!!! ;)))))
kukas81 – 3D Modeling How to / The JSN Tiles Chair by Luca Catino – sweet tutorial
Well my friend,
yYou have pushed yourself, am so proud of you! But it’s a start, now you have to move further ahead! You know what i mean!! congrats again, and thanks for that amazing model,
Definitely in one of my interiors this week:))
jhvisuals1 thx man!! 🙂
Hi Ivo..thx so much! 😉 have a nice day my friend!!
Great model! 🙂
Thanks for sharing it!
I have a little question regarding the material editor…
Can you tell me what does the grey color bar on the material’s name mean?
The red is obviously when you show the map on the material but i’ve never understood the grey one.
Thanks in advance!
Thank you
jaked3d thx Jake 😉
Where is the texuxture?
Hi guys this is Jonas Søndergaard Nielsen The designer og The Times chair, thank you all for your interest in my design. I am happy to see one of my creations inspire so much! Happy 3d building!
Hi everybody, this is Jonas Søndergaard Nielsen, the designer of The Times chair, i am very happy to see one of my creations inspire so much in you and I wish you all happy 3d modeling!
JSNdesign Thanks for stopping by Jonas 😉 Its great that you comment here! You know – I think it will be very interesting to know how you actually design the chair and the tools you used to do so.
Sure thing.. well I do have some comments on your model here and there. Naturally I build the chair in 3d before the actual prototype and I used 3dmax 🙂
Notes: be carefull on the shapes as you model them not to streach them to much. Also the overall shape I more eggshaped. The veneer is walnut and are always alligned from the one longest point to the other.
the back between the tiles is actually fabric not a hard plastic shell, giving the whole chair a much softer feeling when you sit.
Any if it usefull?
Hello
Luca, someone is using your model on
a web page offering a free download probably for SEO and stuff.
http://www.beforeconcept.com/#!free-stuff/cra0
Is
that fair?
Hi Applepie33
Thanks for sharing what you have seen on that site..
I d love to ask Ronen too what does he think about and then try to send an email to them to have an idea of what is going on!!
Thanks again 🙂
Thank you so much!!
Hi Lasse 🙂 thx so much..hope to see you soon.maybe in Venice at AD 🙂
Using 3D modeling to your furniture will makes things much
easier and convenient. Whether you want http://www.iqmatics.com/webstore/, European
furniture or even a unique design that you came up on your own, you can design
it on the computer the way you want it.