


Creating an Interior ArchViz Scene with Megascans
Quixel is ever expanding the Megascans library with new content for the ArchViz industry on a daily basis, and today I’m excited to share this introduction to creating an Interior ArchViz Scene with Megascans which is an incredible collaboration between PolyMachine and Quixel.
Hi everyone! I’m Hrvoje Čop (mostly known as Chop to my CG friends). I am a 3d artist and the CTO of Polymachine, an ArchViz company from Croatia.
Welcome you to ‘Introduction to ArchViz with Quixel Bridge and Megascans.’ This new ArchViz tutorial goes in-depth into the Megascans library and Quixel Bridge, and shows you how you can transform a basic scene made out of cubes into an impressive ArchViz project that was created in no time.
INTRODUCTION to Interior ArchViz Scene with Megascans
Before we get started, you can also check the video tutorial version, which goes in depth into all the creative process of this piece.
We’ll be creating a cool architectural interior using nothing but a bunch of planes and boxes, and several Megascans objects and surfaces.
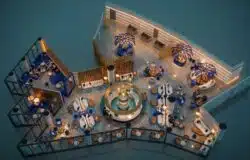
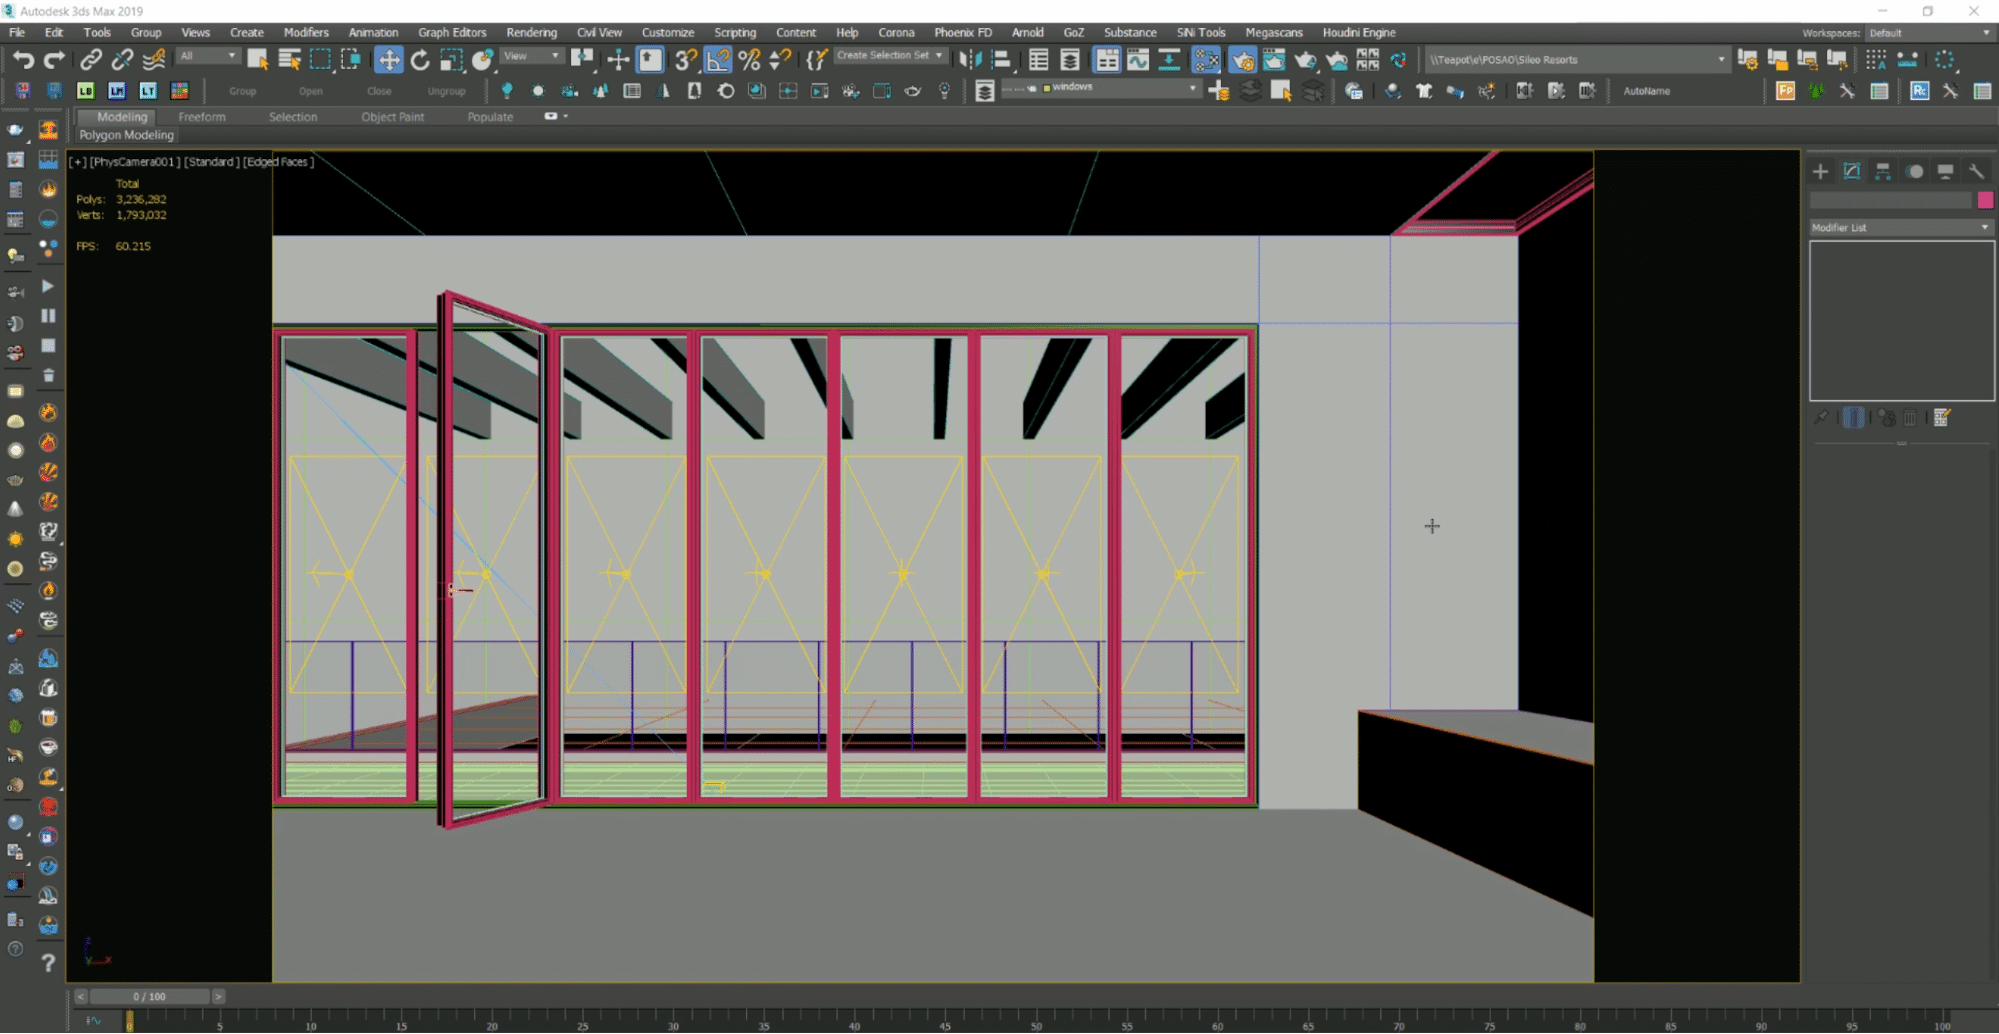
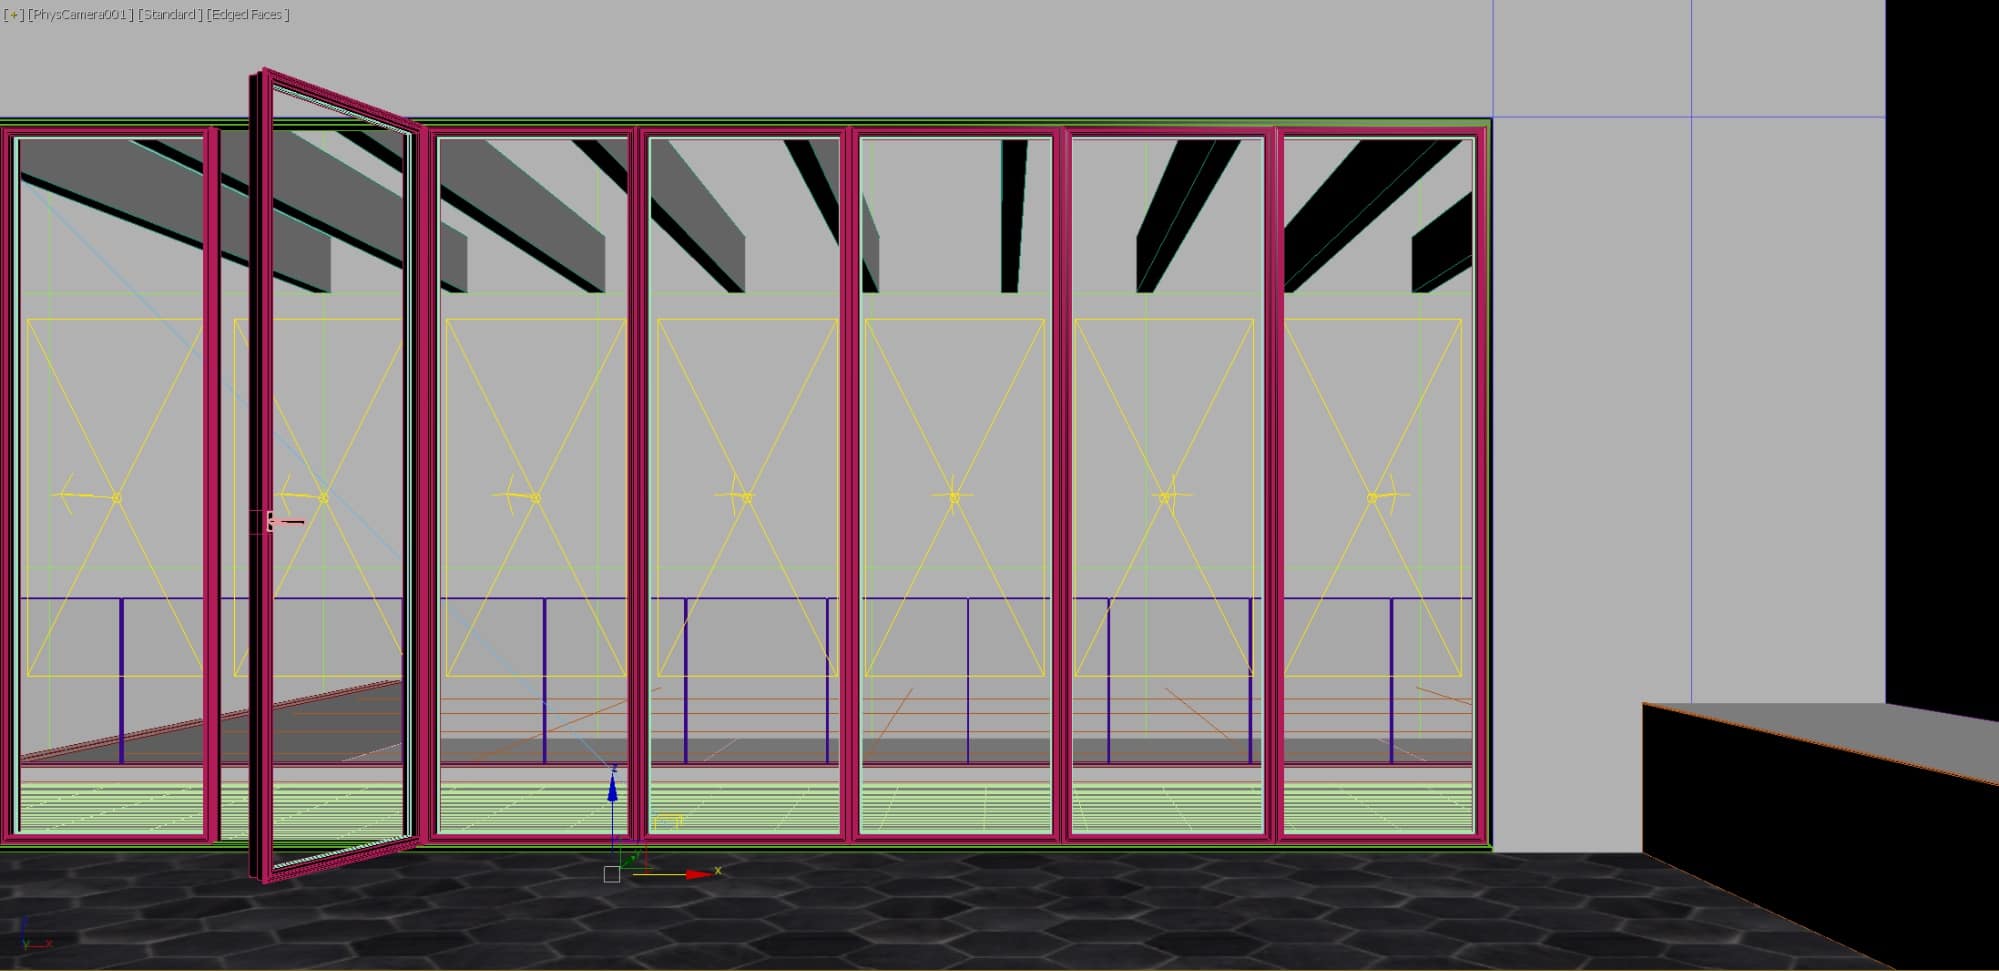
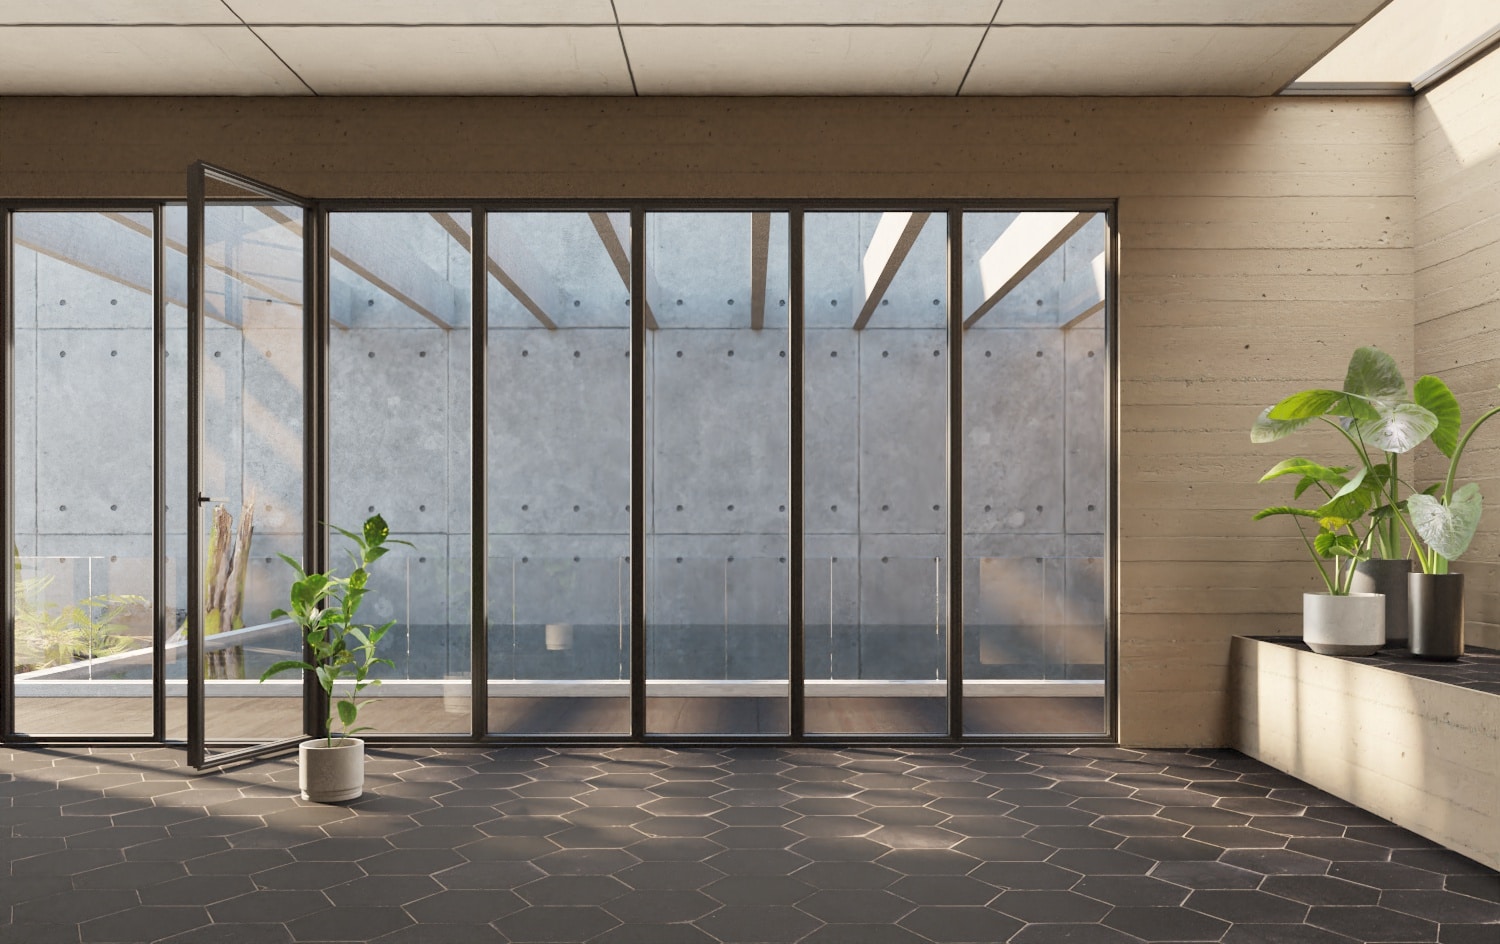
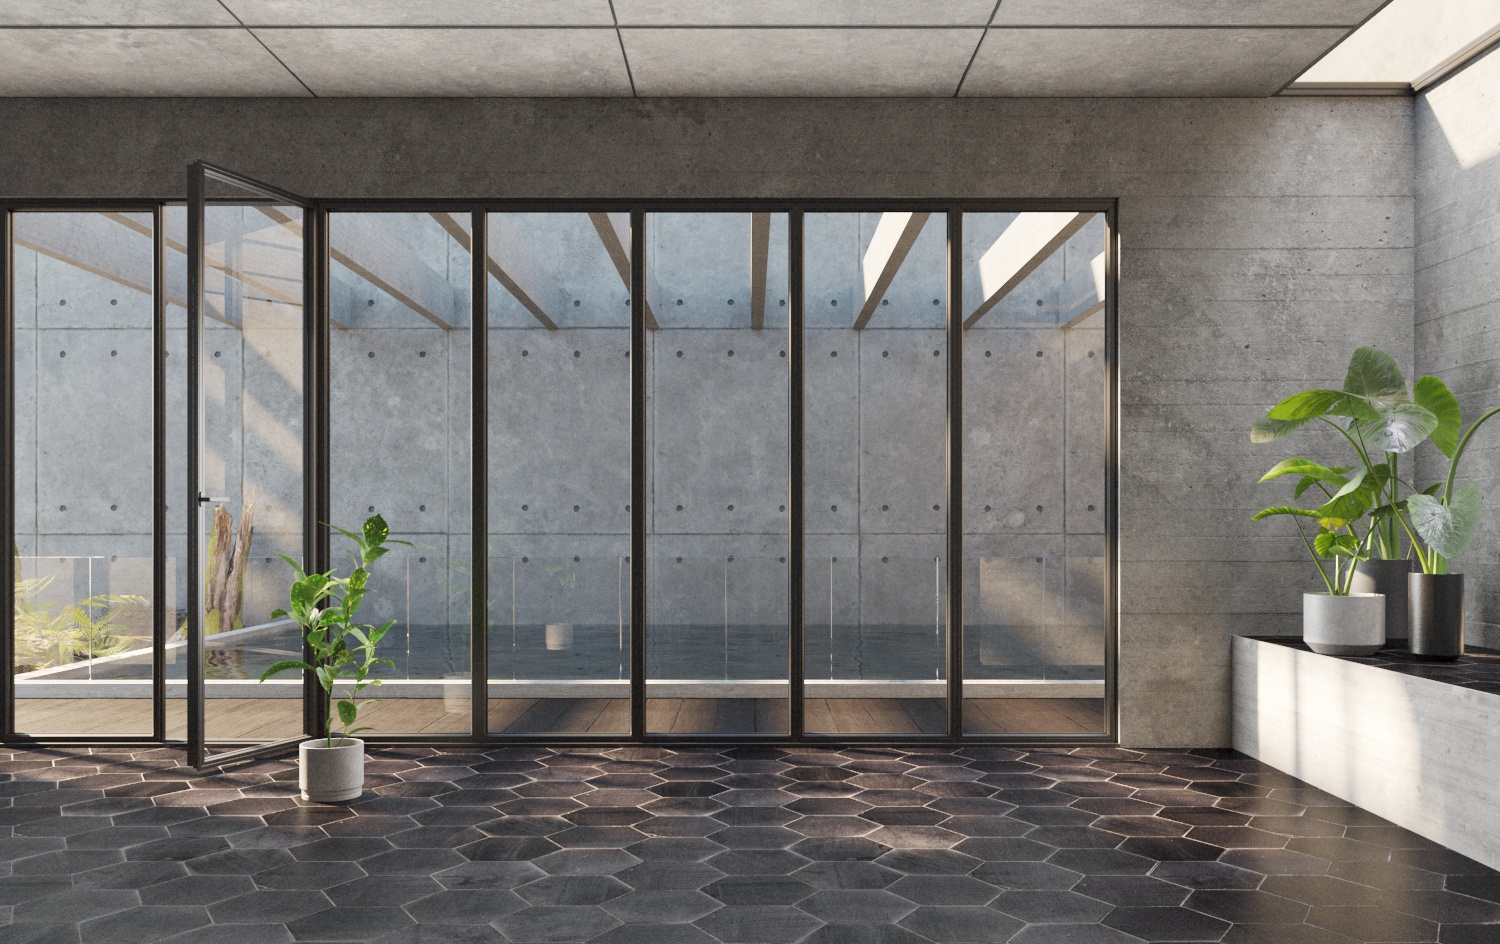
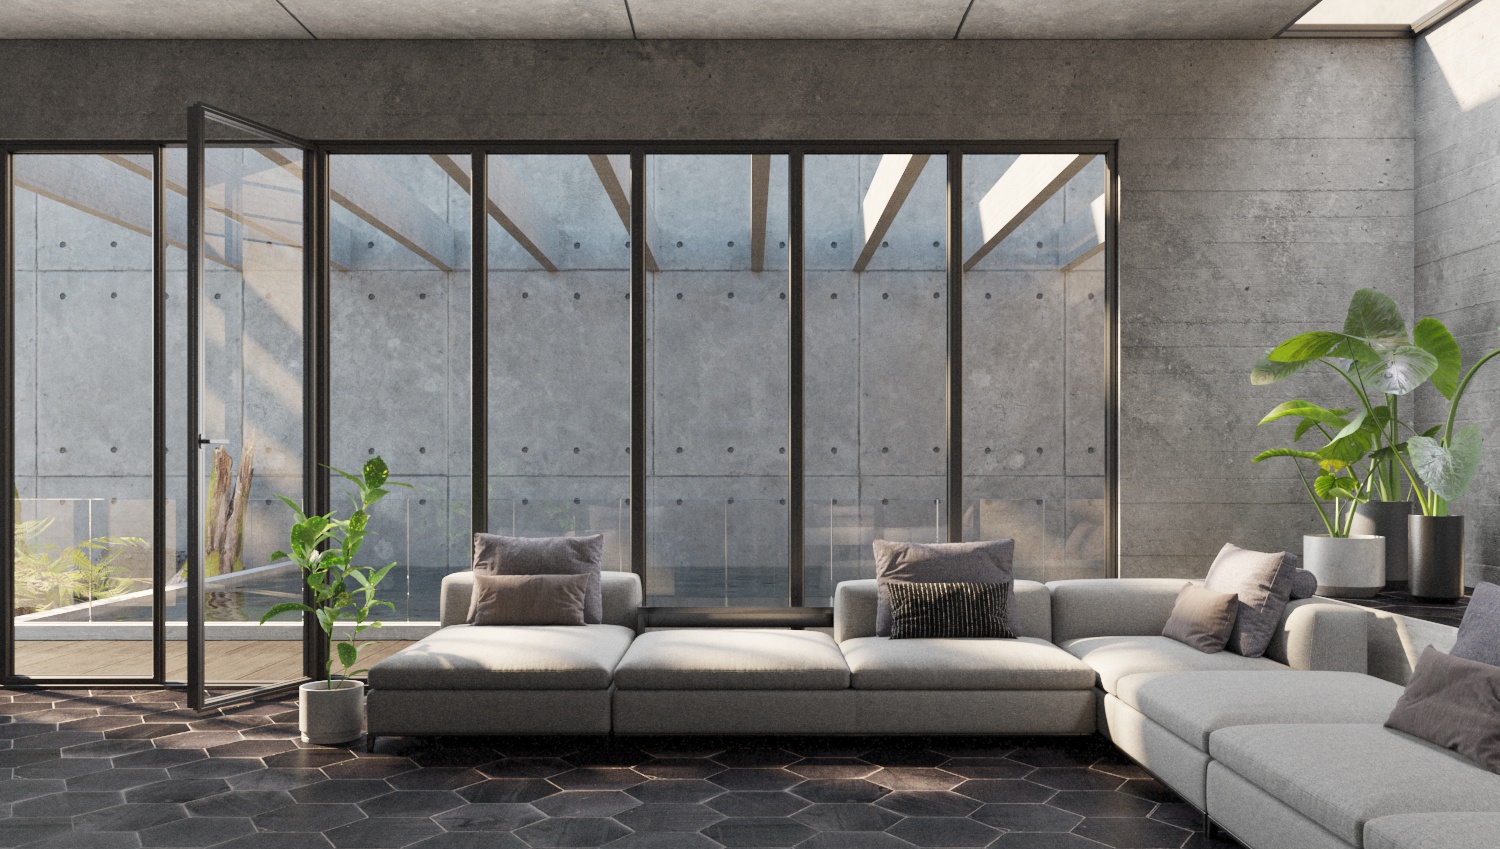
The starting scene is a room looking out on a courtyard of sorts, using a central perspective. We have several large windows looking out, and a ceiling window, which should enable us to get some beautiful looking light in the scene.
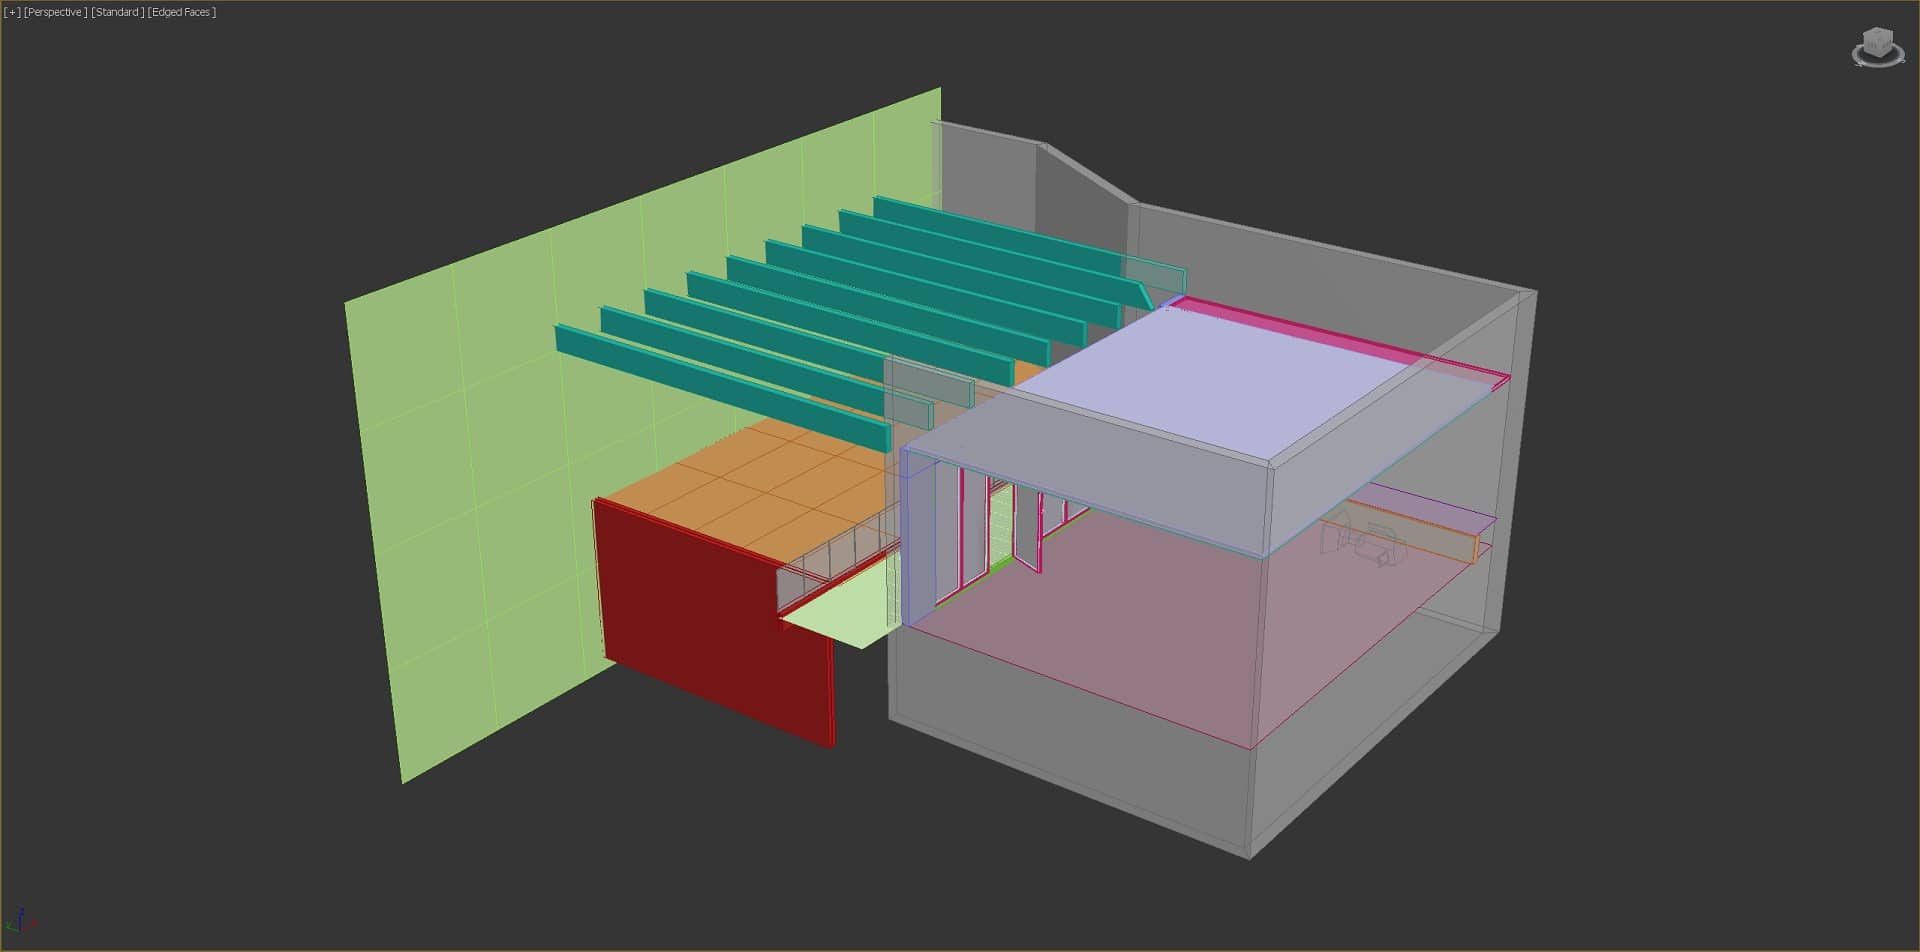
(Quick tip – the camera is frozen, helping not to move it accidentally)
LIGHTING
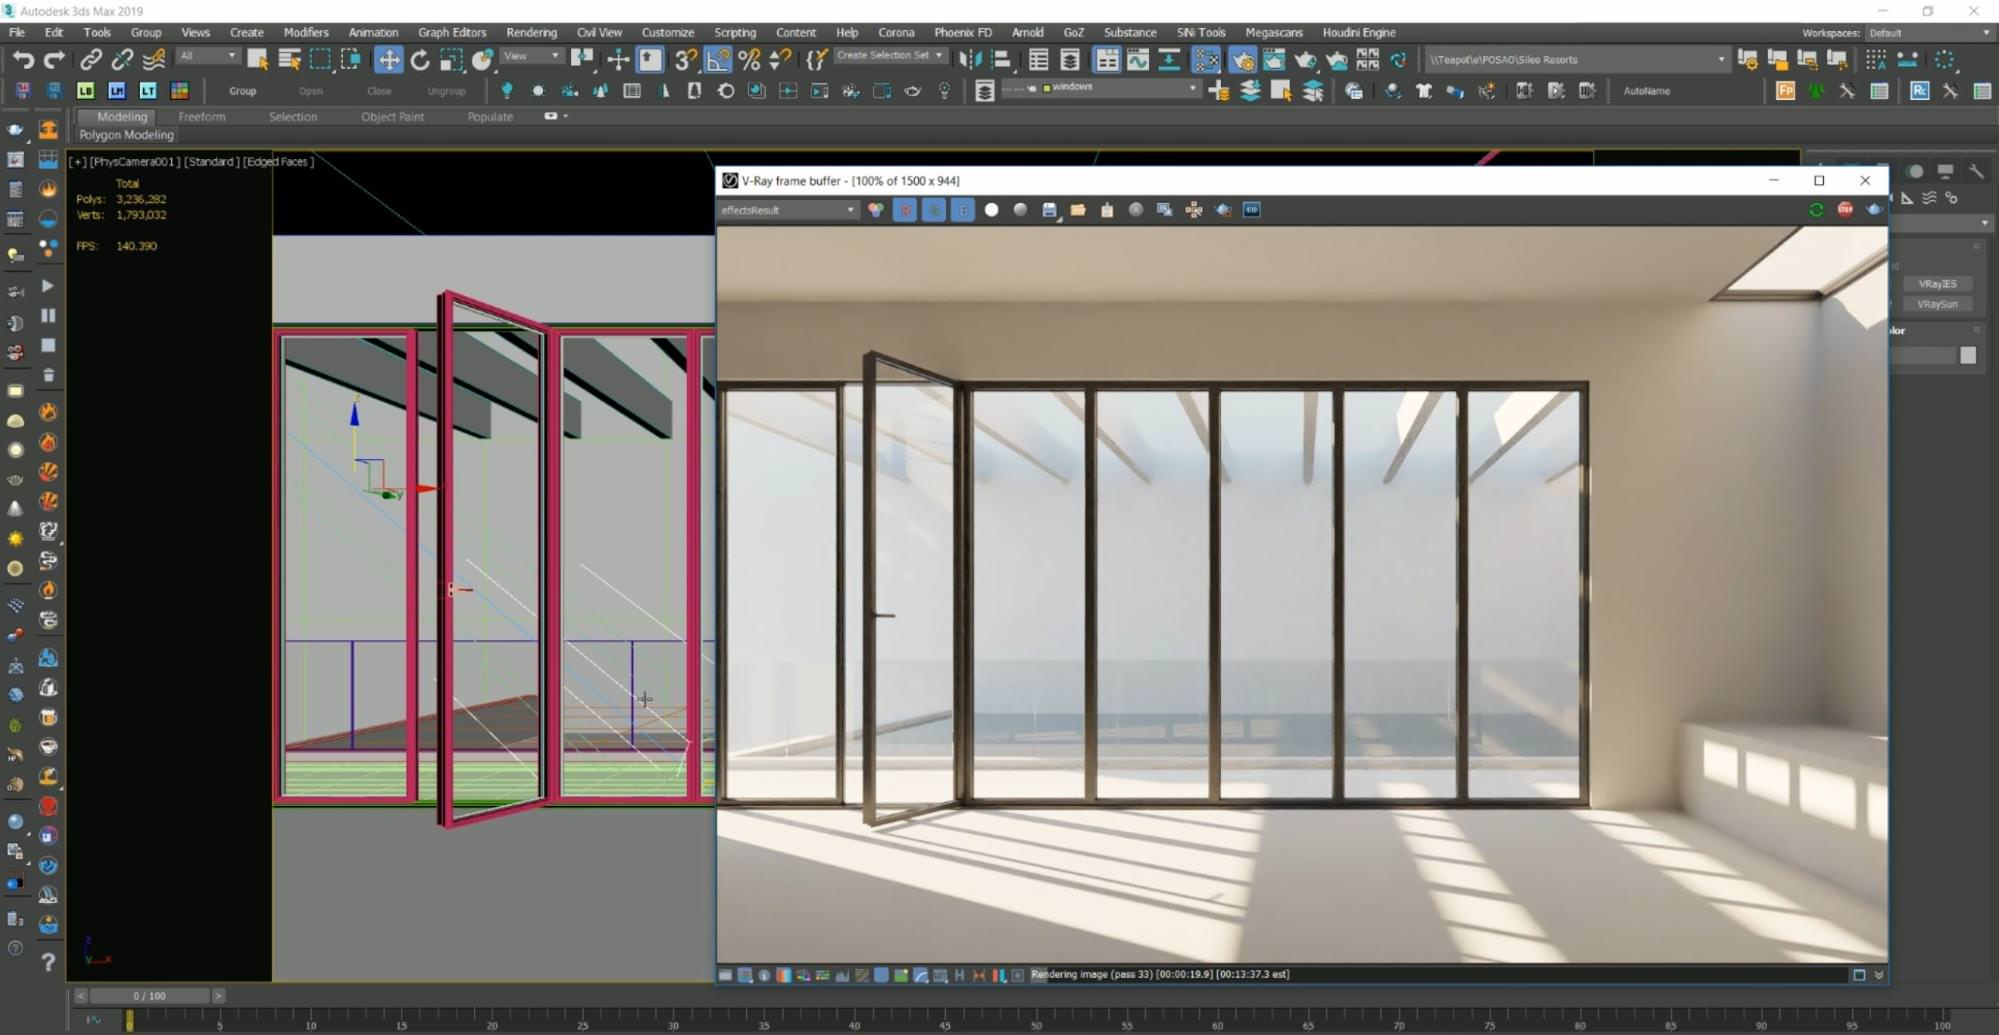
We’ll be using a straightforward light setup here. We’ll place a VRaySun so that it shines through the beams and windows and produces a subtle stripe pattern on the floor. For the environment map, we’ll use the default VRaySky.
We’ll also increase the sun size to soften up the shadows.
Additionally, we’ll place VRayLights on all the windows, and on the ceiling window, we’ll increase the light directionality so that it creates a brighter highlight on the walls.
We’re using the lights on the windows to push more light into the scene because it will darken once we add all the assets and materials. So this way, we get more control over the final look of our scene.
There are countless ways of setting up lights in your scenes, but for this tutorial, I wanted to keep everything as simple as possible.
The result we have so far.

IMPORTING ASSETS
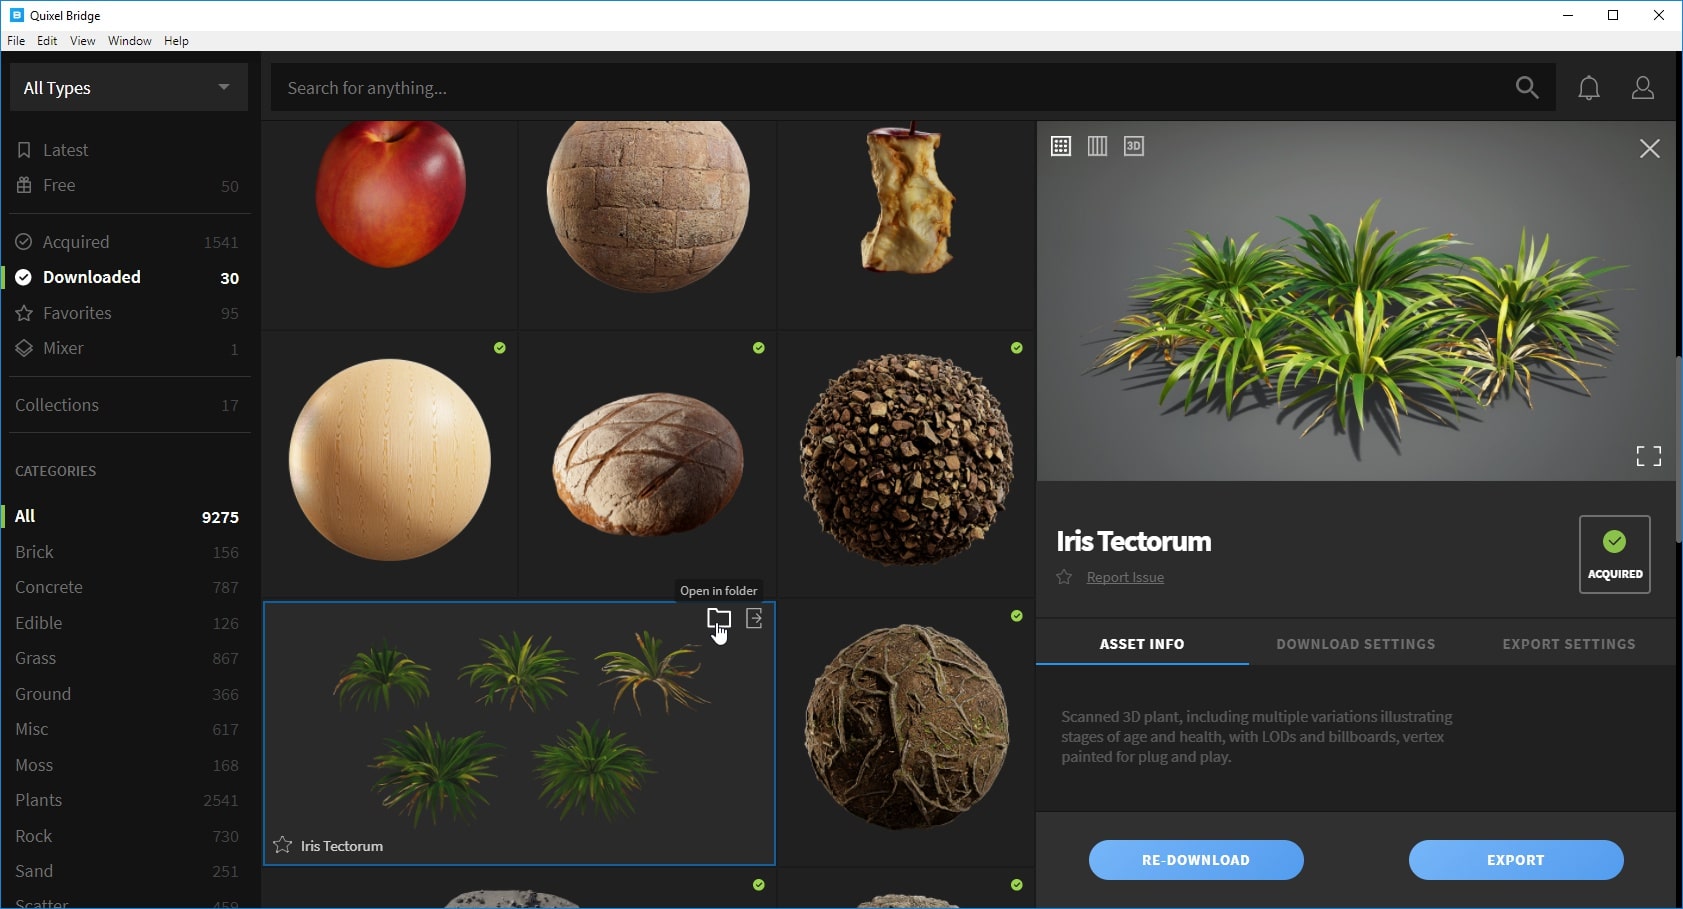
Now that the scene setup is complete, we can start importing assets. For this project, I wanted to leverage Quixel Bridge, a powerful content management software that allowed me to export assets with one click.
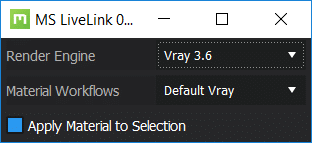
I’ve installed the Megascans Livelink for 3DS Max first, which allows both Max and Bridge to communicate with each other. Since I’m using VRay for this scene, all I did was select it as my renderer in the Livelink dropdown.
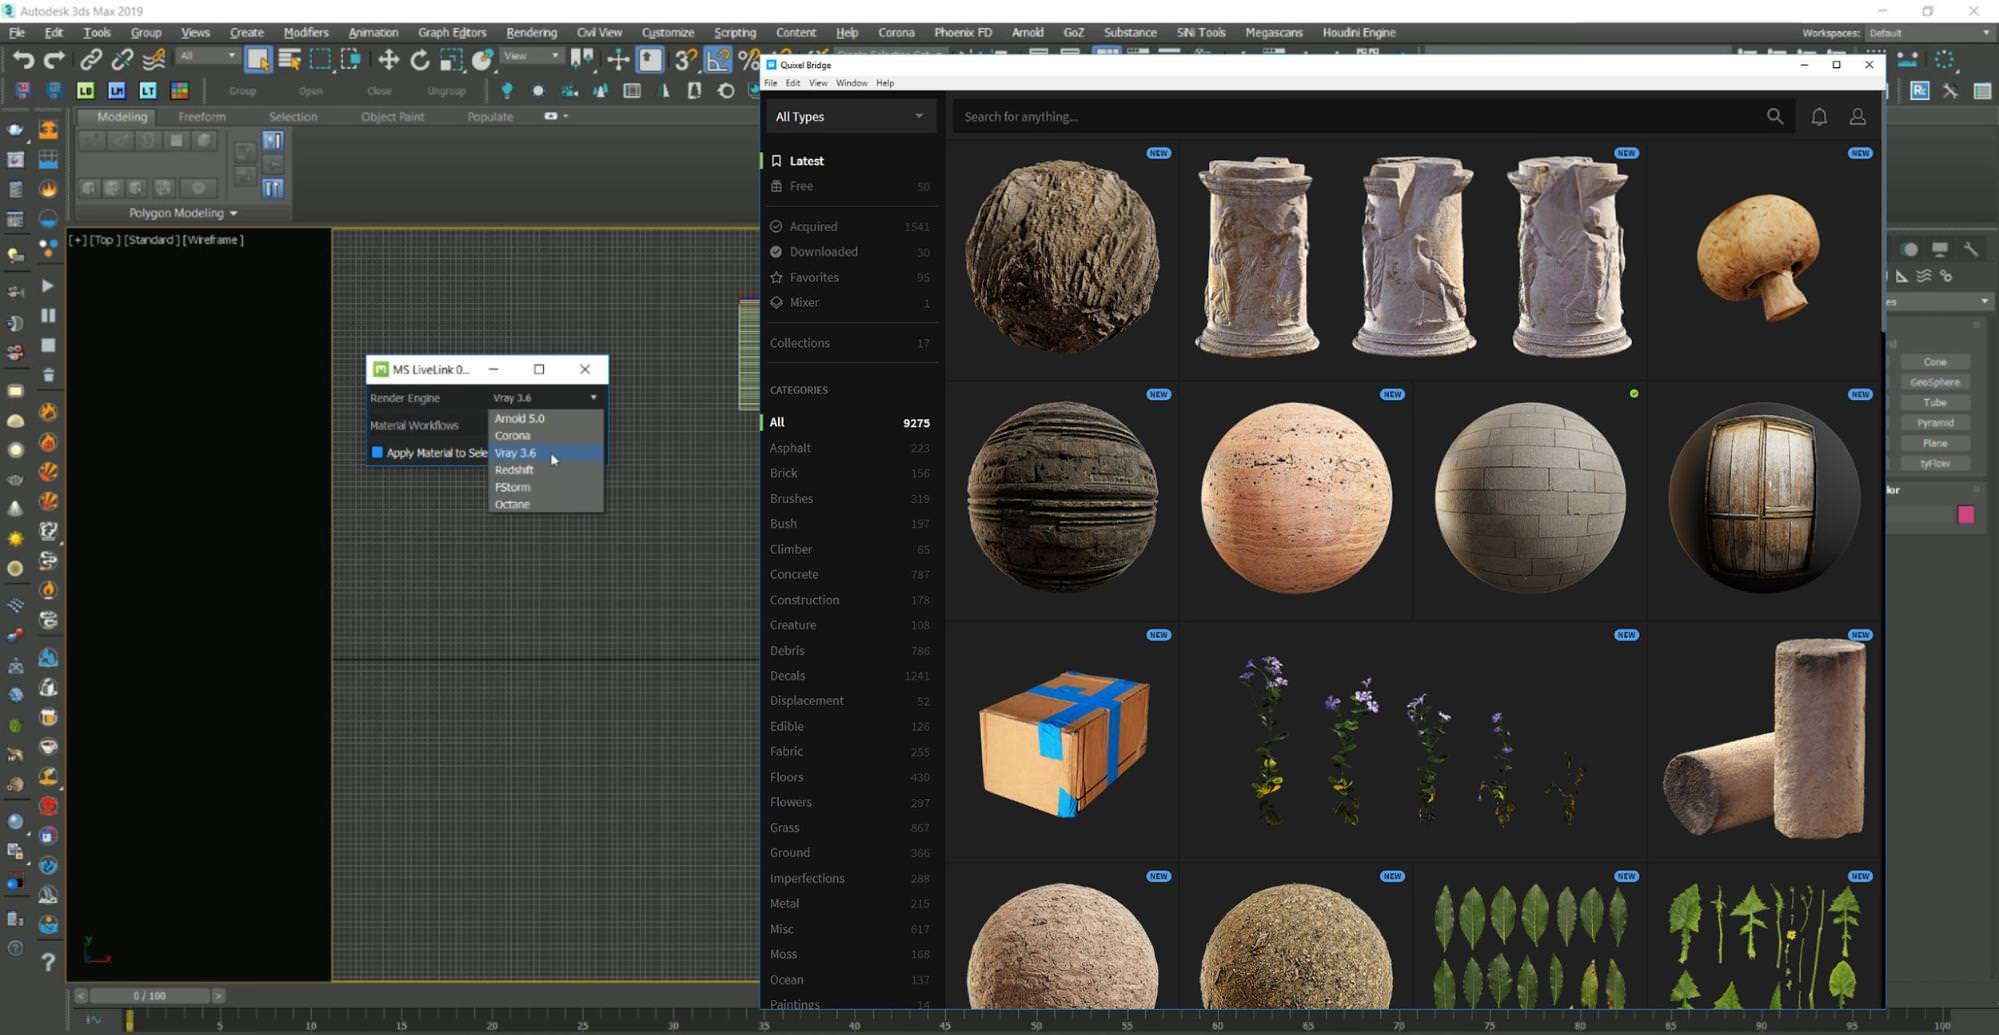
Once you select an asset to use, check the ‘Export settings’ in Bridge. There you’ll be able to choose the texture resolution and format, and also the level of detail you want to use for the geometry.
If you have various 3D apps running, this is also where you choose which one to export to.
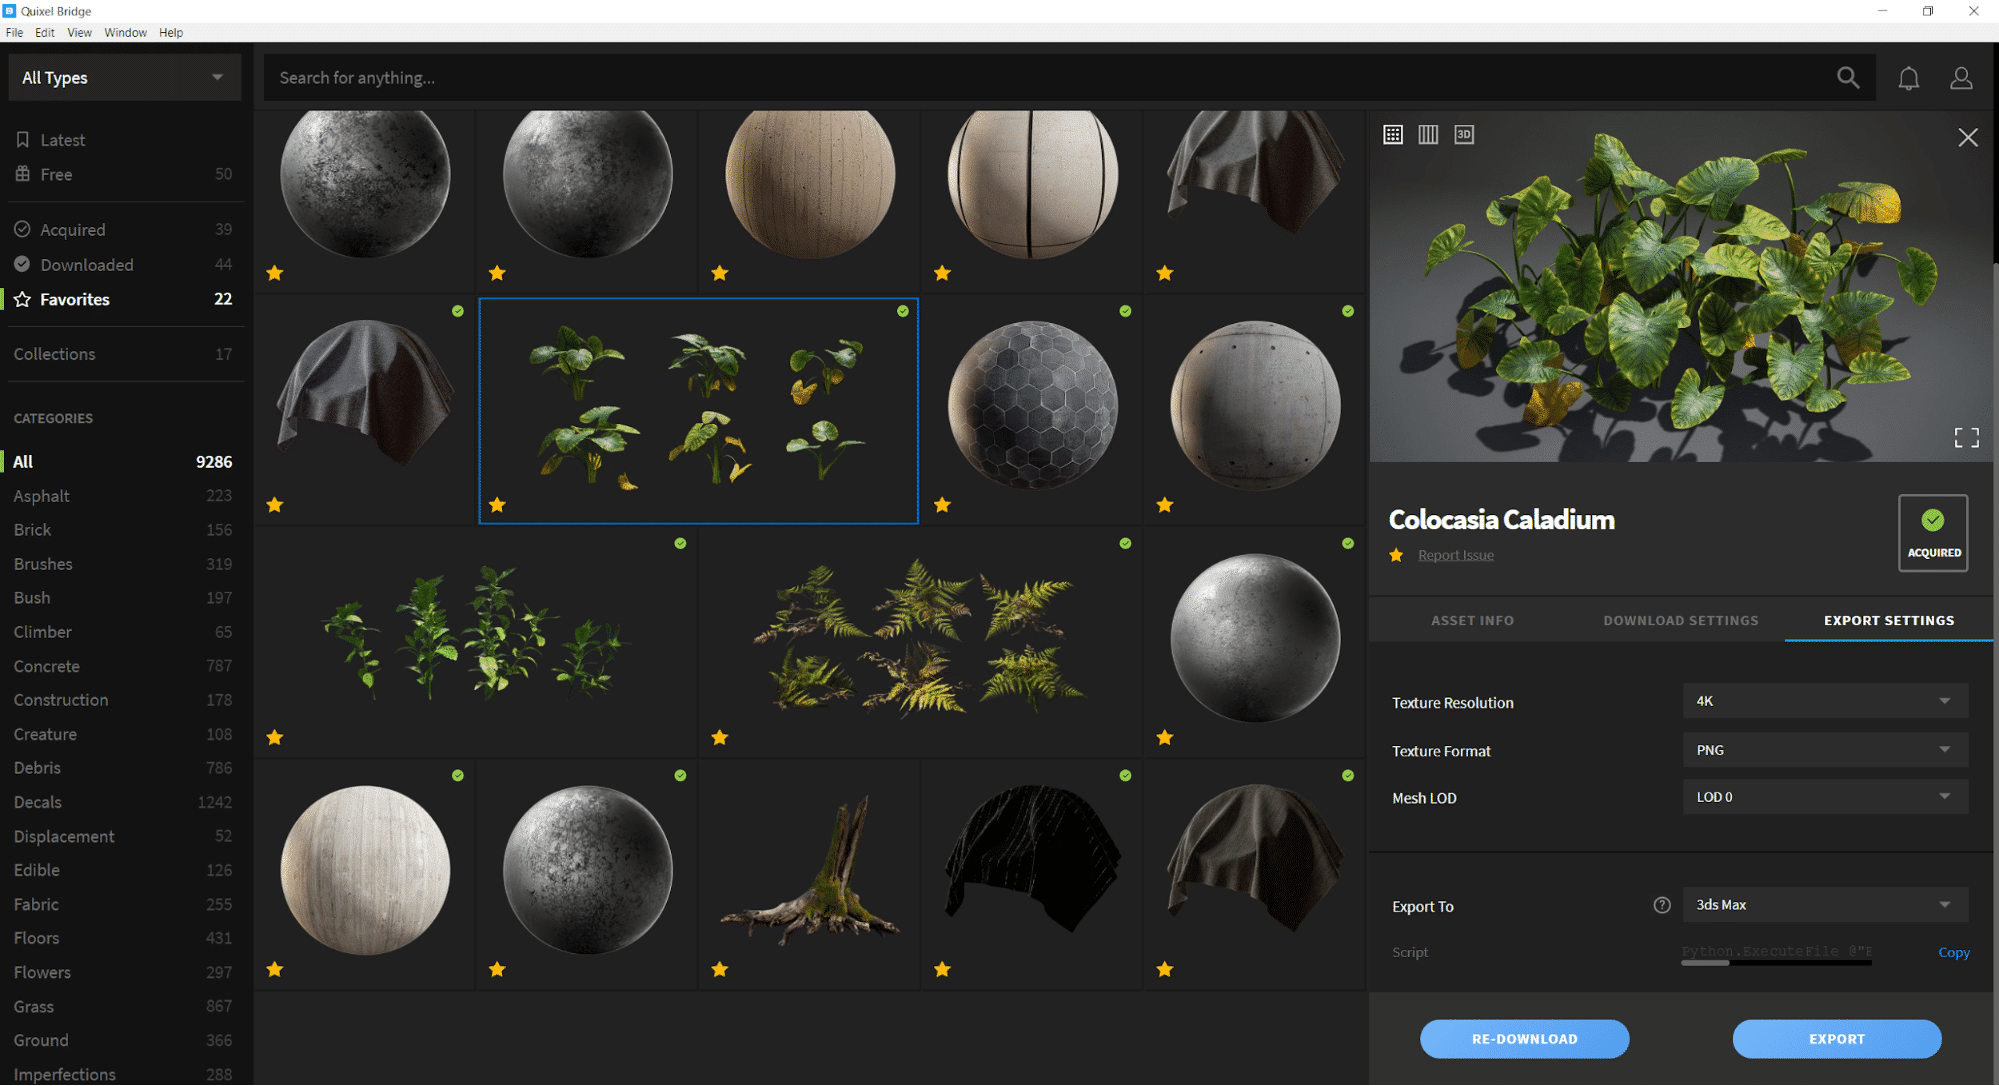
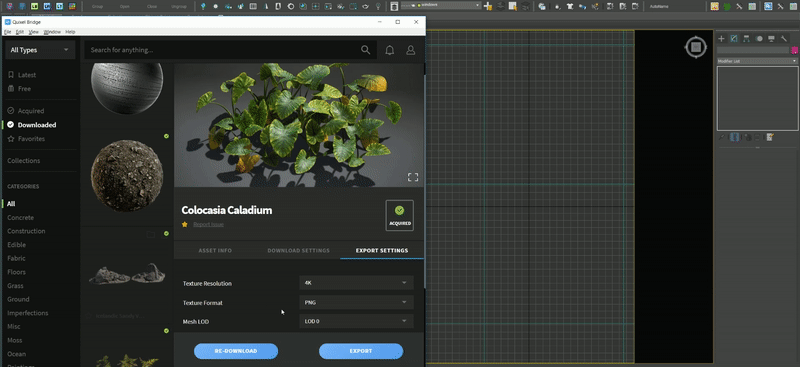
After we’ve confirmed our settings, all we have to do is press the ‘Export’ button, and come back to 3DS Max.
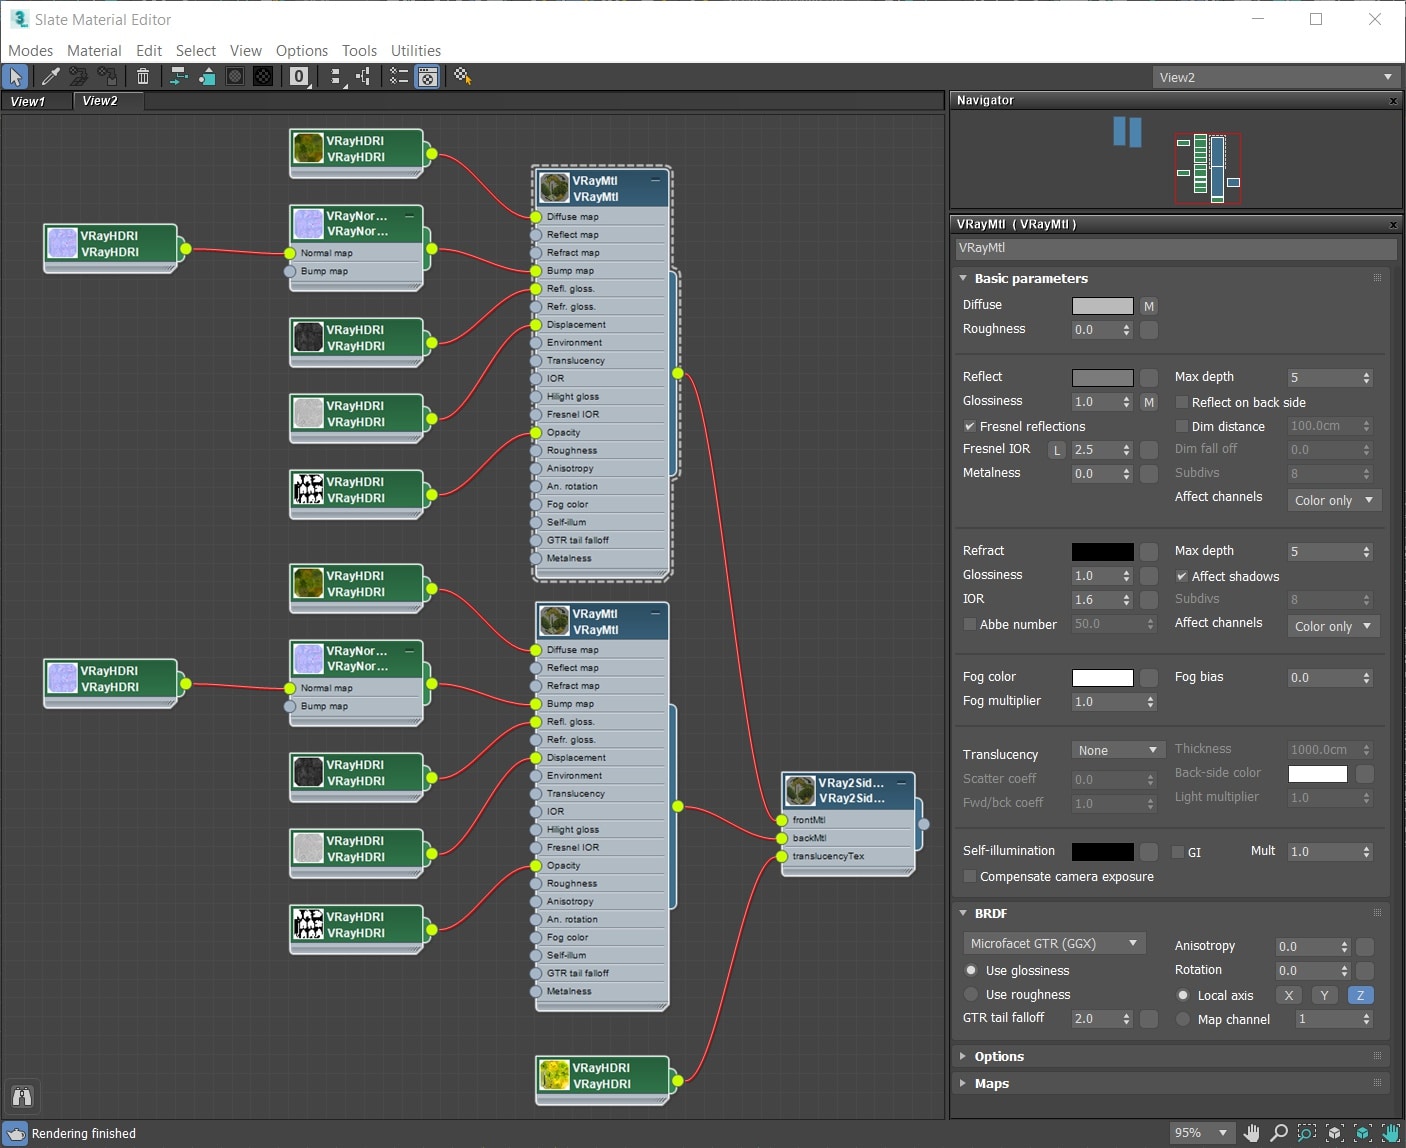
Our selected model will be imported at the world origin (0,0,0) and will have the appropriate materials already applied, so all that’s left for us to do is place it where we want it in the scene.
If the model comes with multiple variants, they will all be imported at world origin, so all you need to do is separate them.
Once that’s done, let’s improve the look of our basic walls and floors with some Megascans surfaces.
In our Livelink window, there’s a checkbox ‘Apply material to selection’ – we’ll make sure that it’s on before we start exporting surfaces.
We’ll go back to Bridge and select a surface we want to apply. We’ll also select an object we want to apply it to – in this case, our floor.
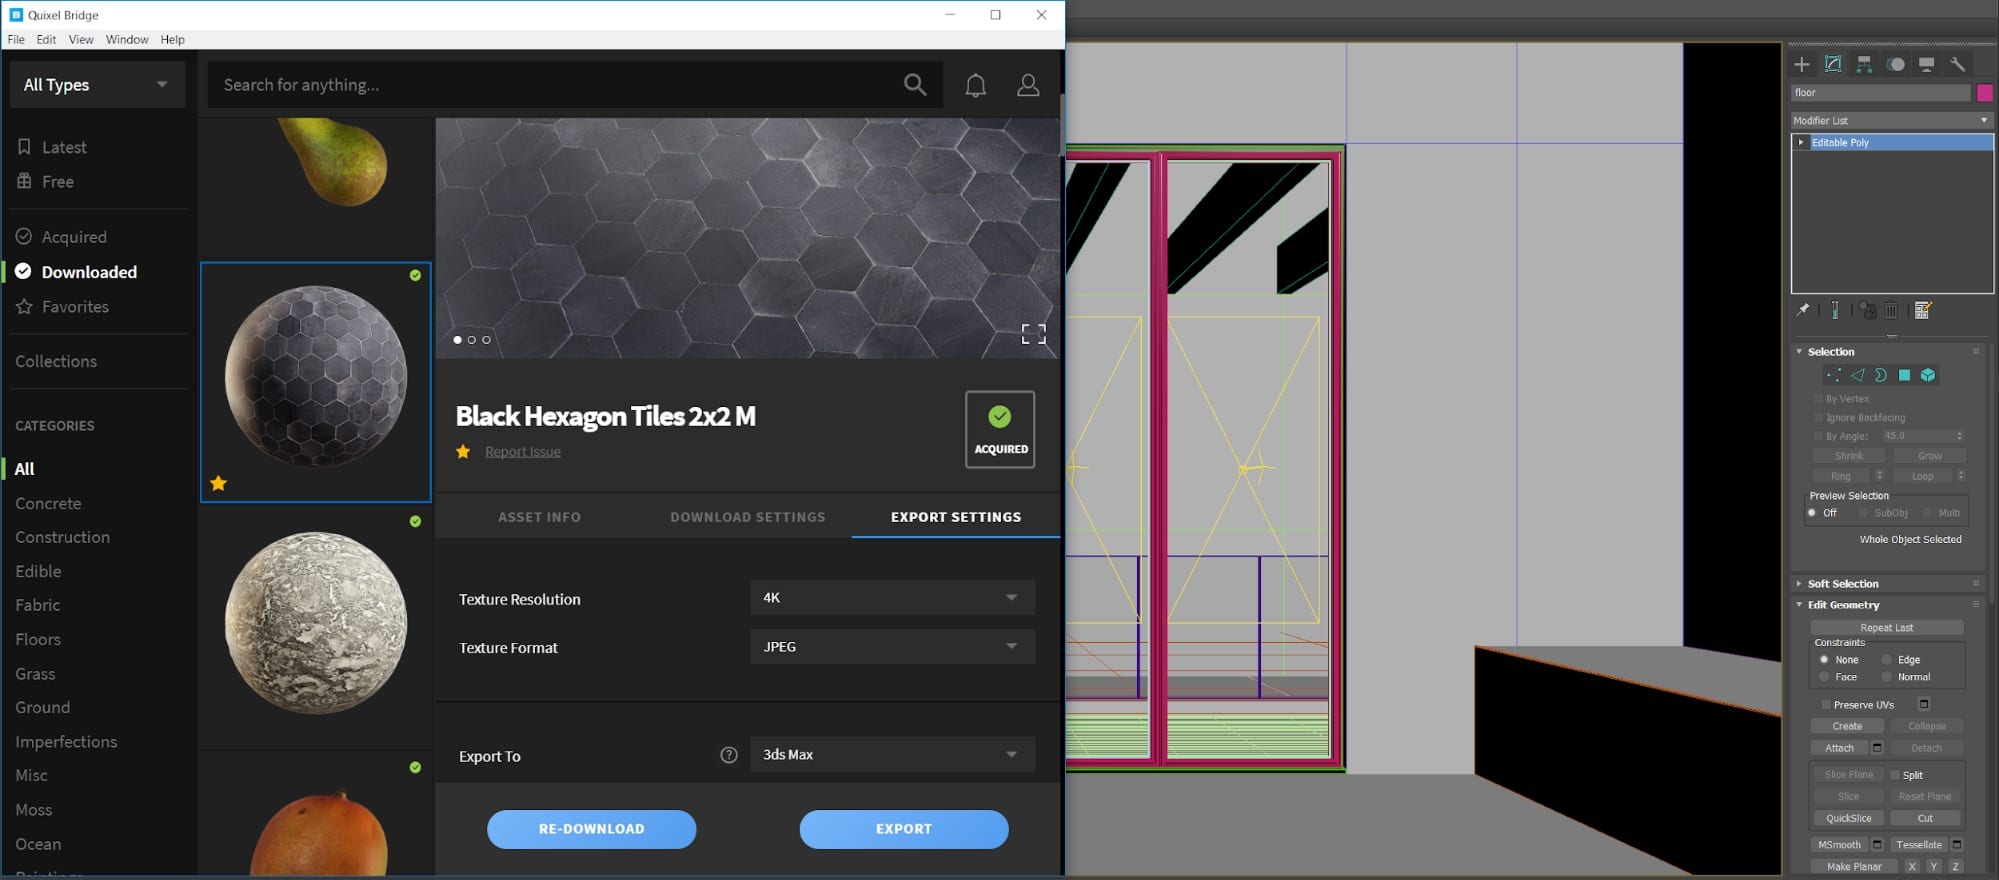
Once we export, the material for the tiles will be automatically created and assigned to the floor.
And this is all it takes! We’ll once again repeat this process and apply materials to our walls, ceiling, etc.

Now it’s just a matter of repeating this simple export process for all the assets we want to use!
ADJUSTMENTS
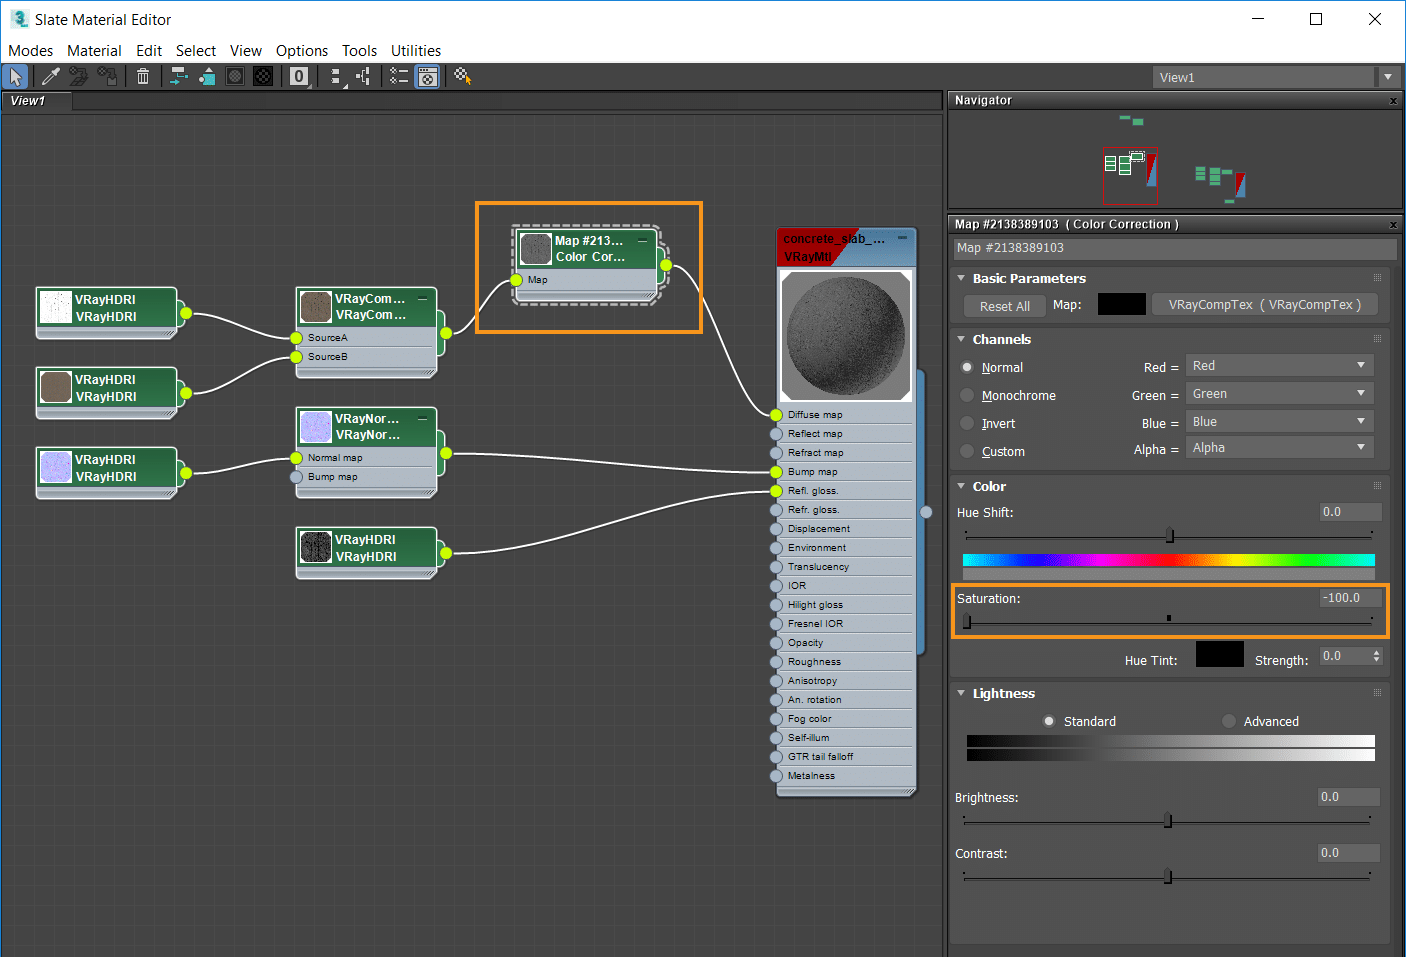
As with anything ArchViz related, subtle tweaks and adjustments are the name of the game. For example, the default concrete walls we imported are a bit yellowish, so we’ll adjust them a bit to get a beautiful gray color. We’ll add a color correction map to the diffuse channel, and desaturate it.
That looks nice! But given that our wall covers a significant portion of our image, it would be nice to break up the surface a bit and make it more interesting. Luckily, the Megascans library has a lot of imperfection maps that you can use for this exact purpose!
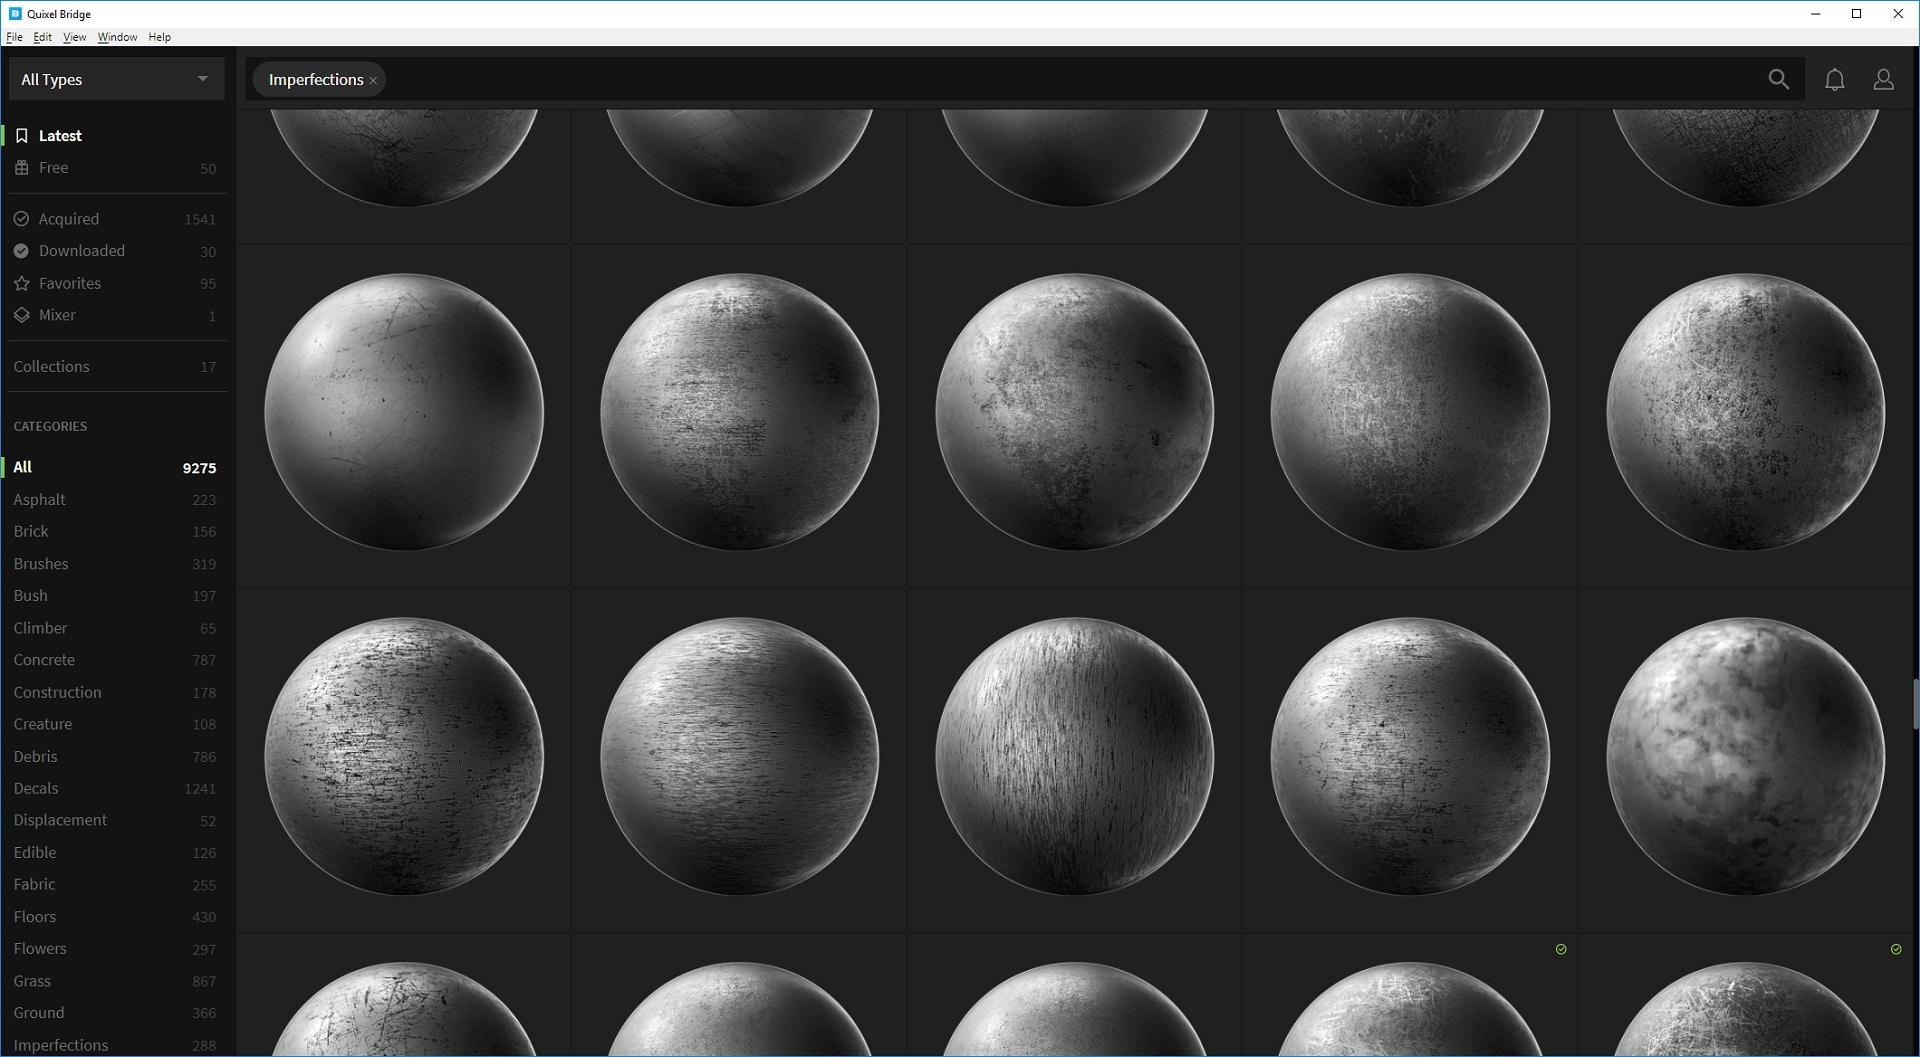
For importing single bitmaps or parts of any given asset manually, Quixel Bridge has a super useful option of ‘Open in Folder,’ which we can use to bring up a Windows Explorer file window with the asset in question. Then we drag the bitmap to the material editor.
A simple black and white map added to the diffuse channel via a VRayCompTex map (set to multiply mode) should do the trick.
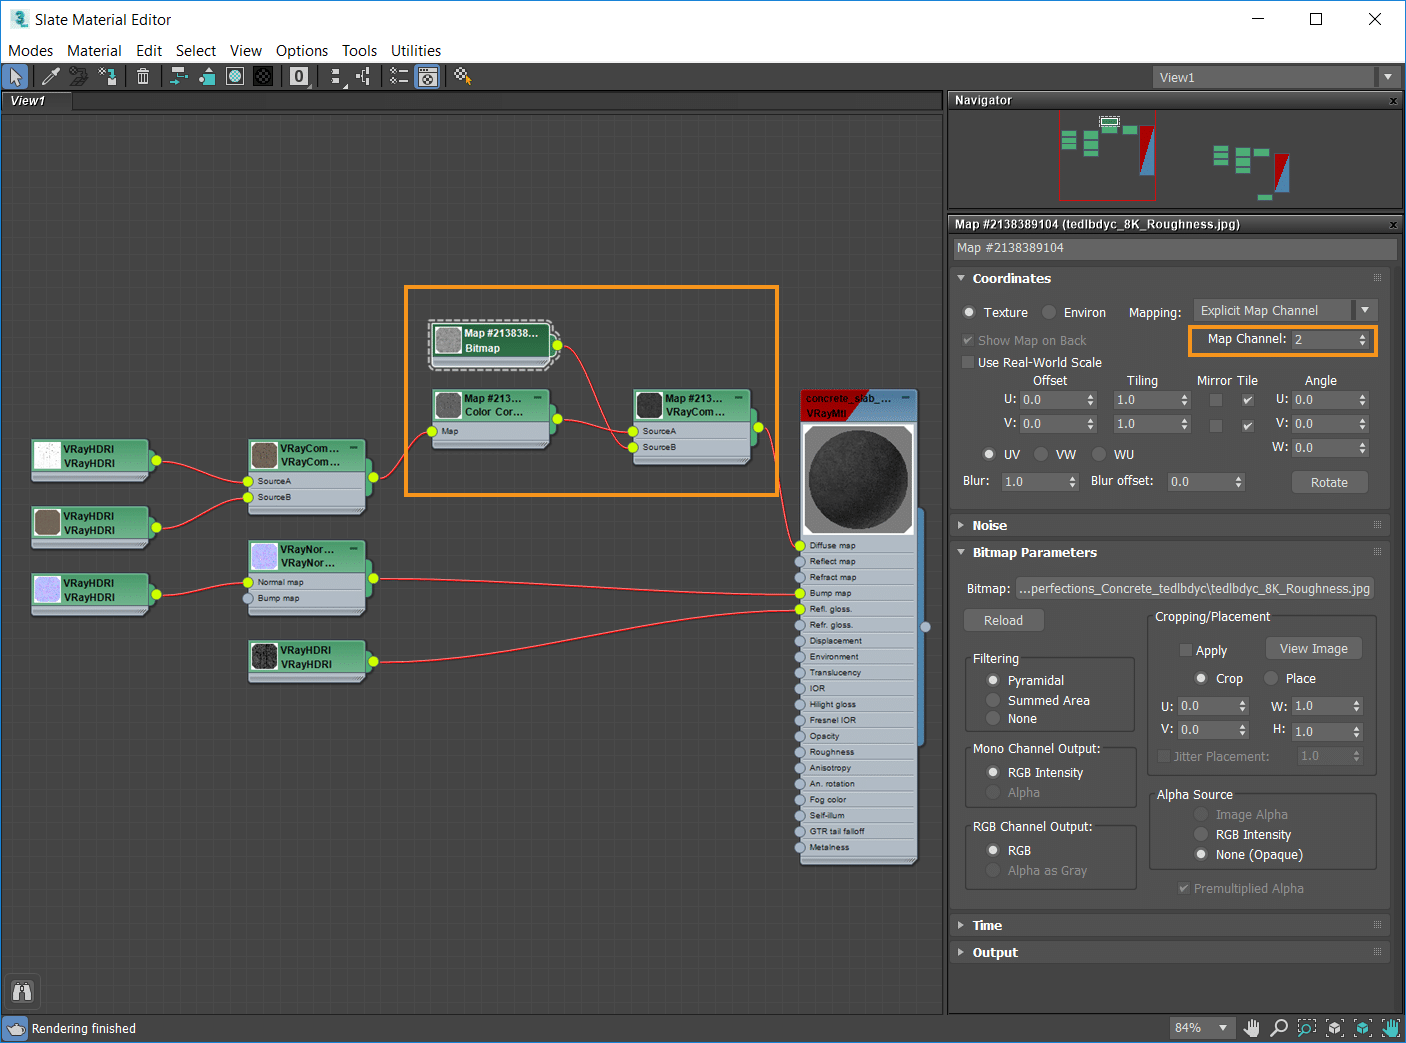
Since these imperfections are available at 8k max resolution, and our scene is intended to be rendered at approximately 6k, or so, we can stretch the imperfection map over the entire image without losing any detail!
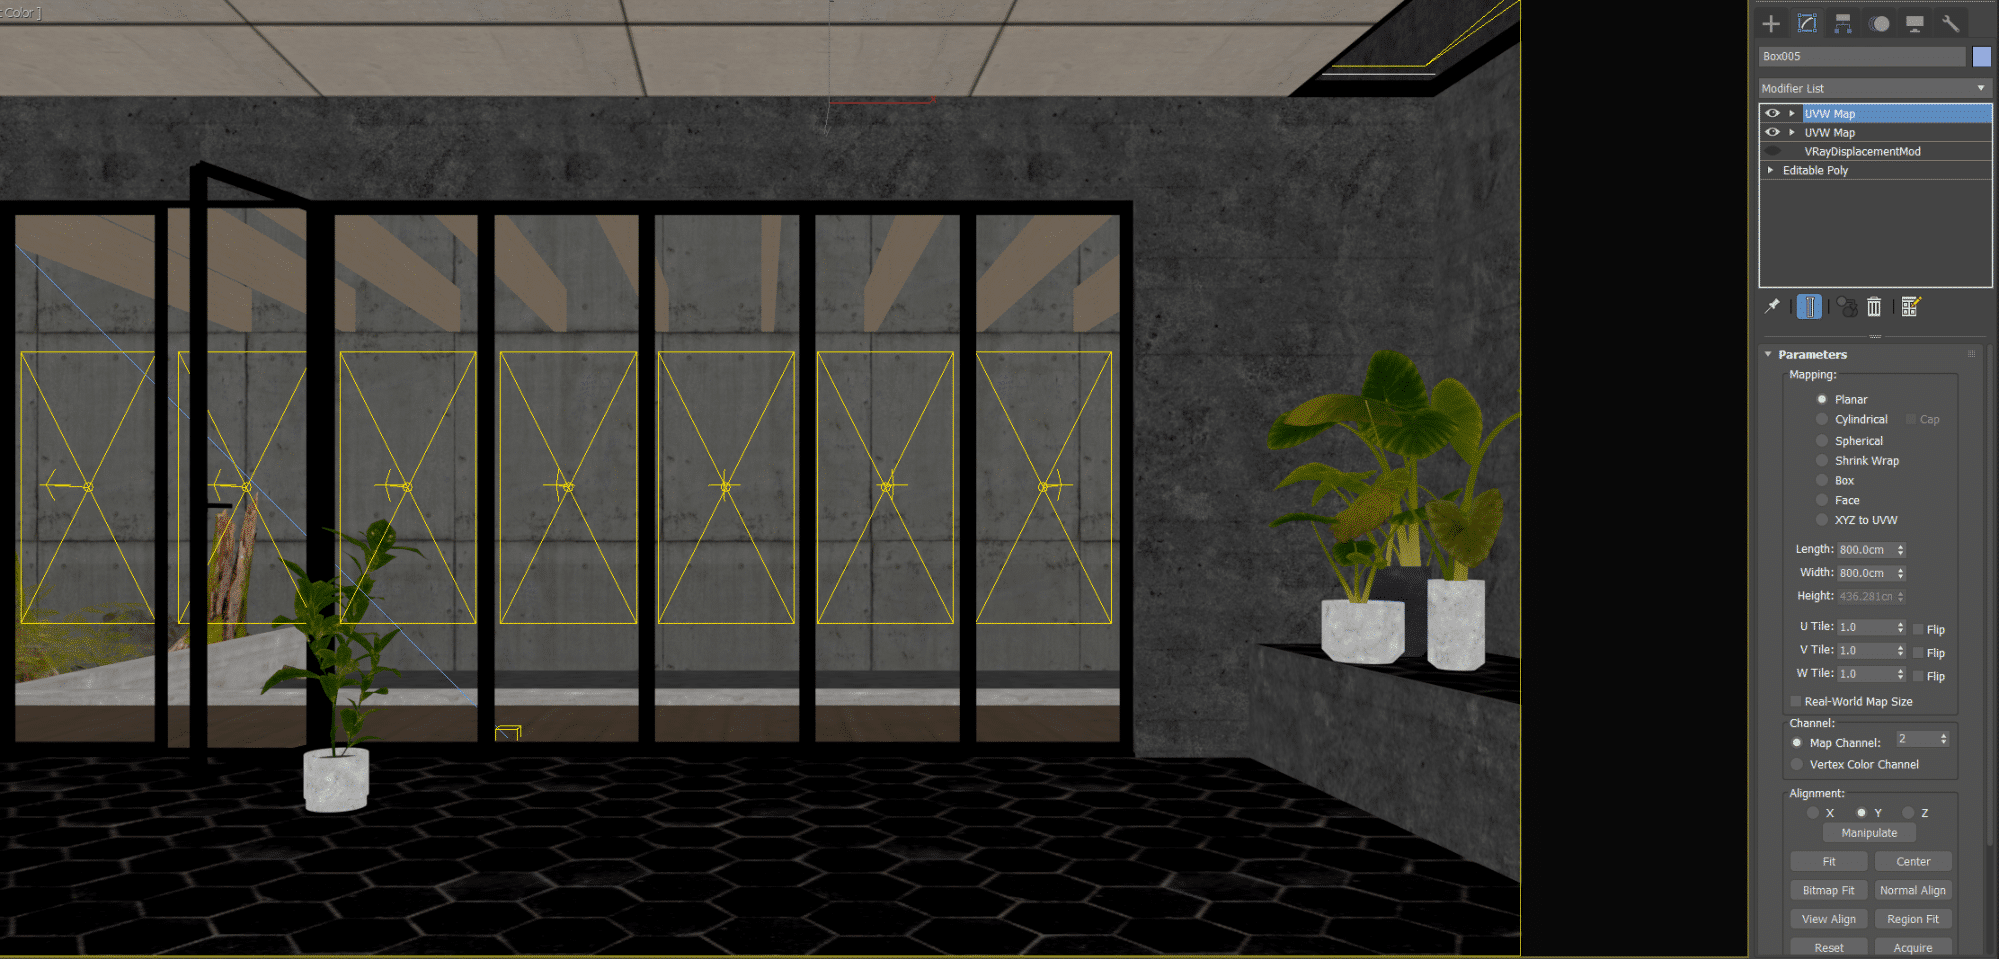
We can easily do so by switching the map to mapping channel 2 in the material editor, and adding another UVW map modifier to our wall, also setting it to channel 2.
Now we can proceed subtly adjusting various material settings around the scene until we nail the look we are after.
FINAL TOUCHES
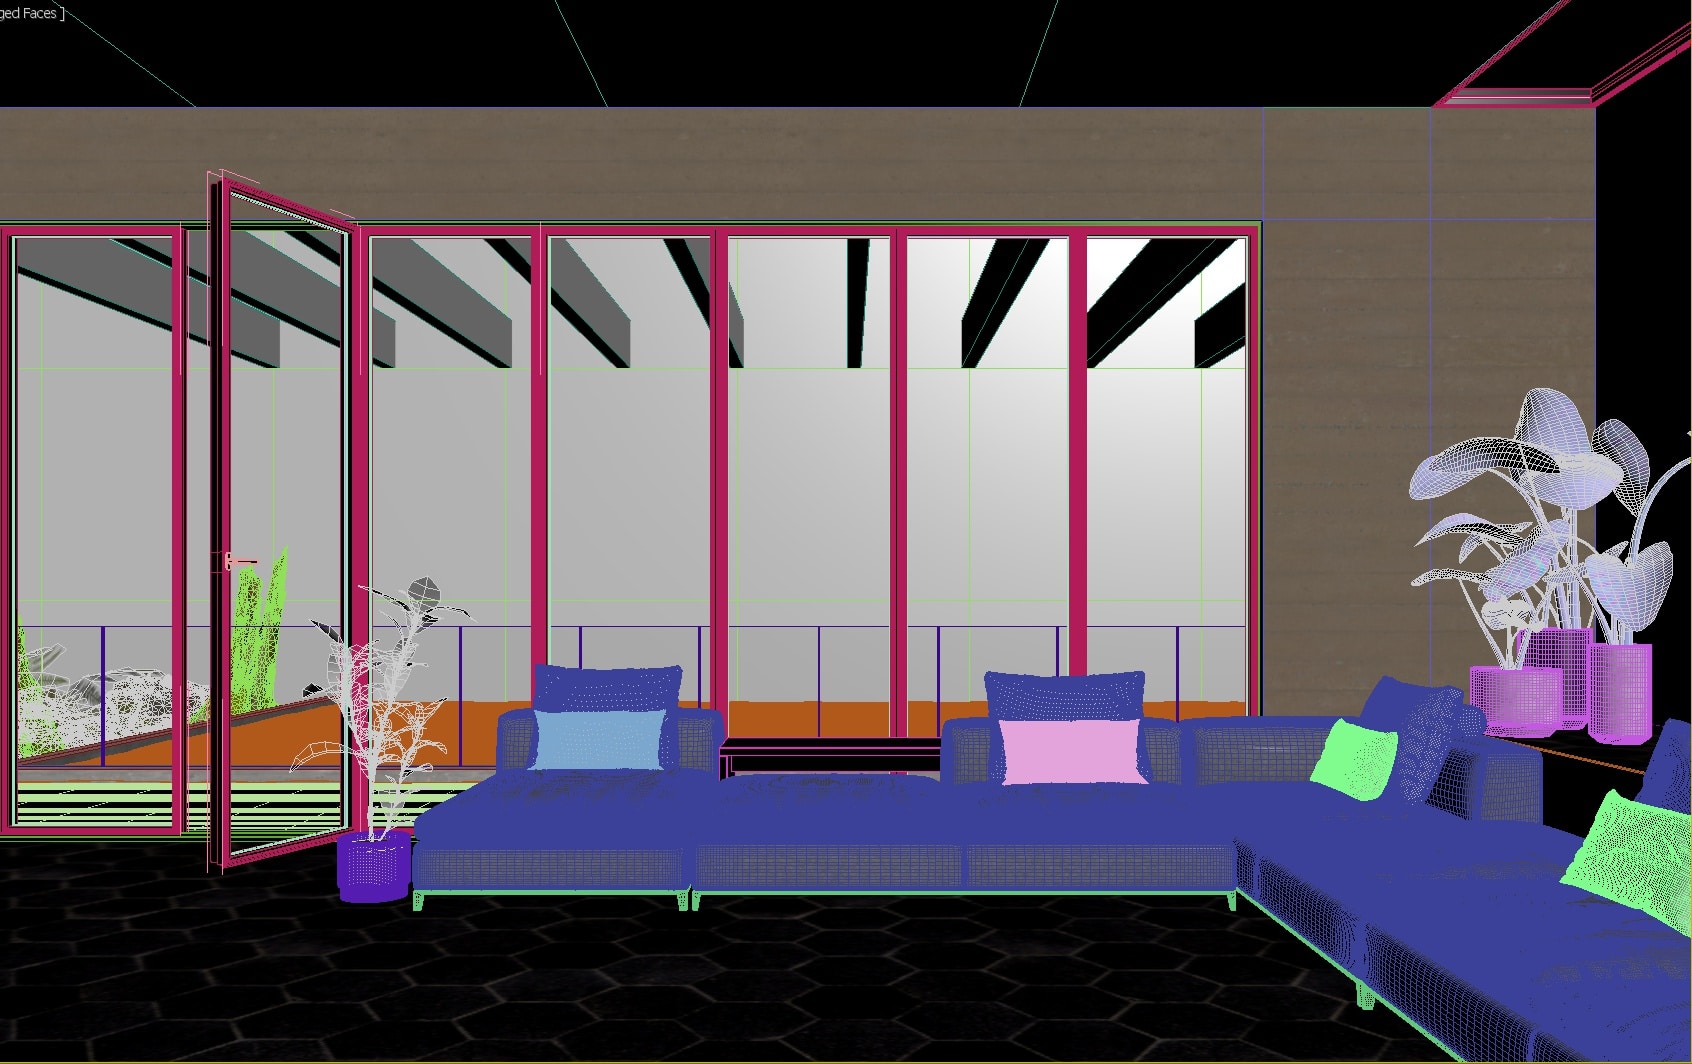
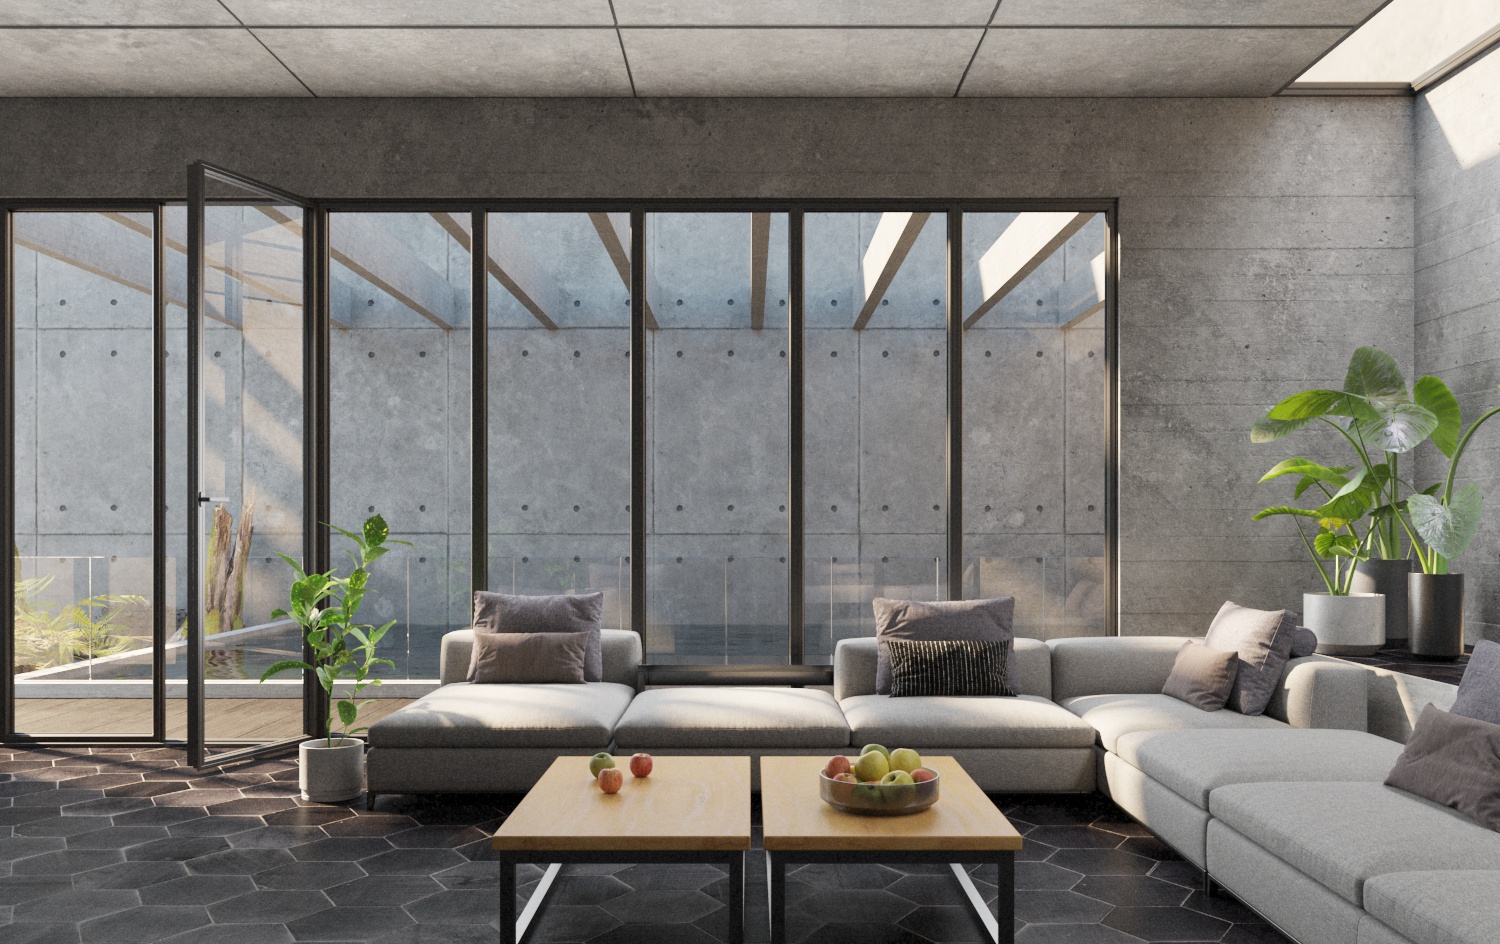
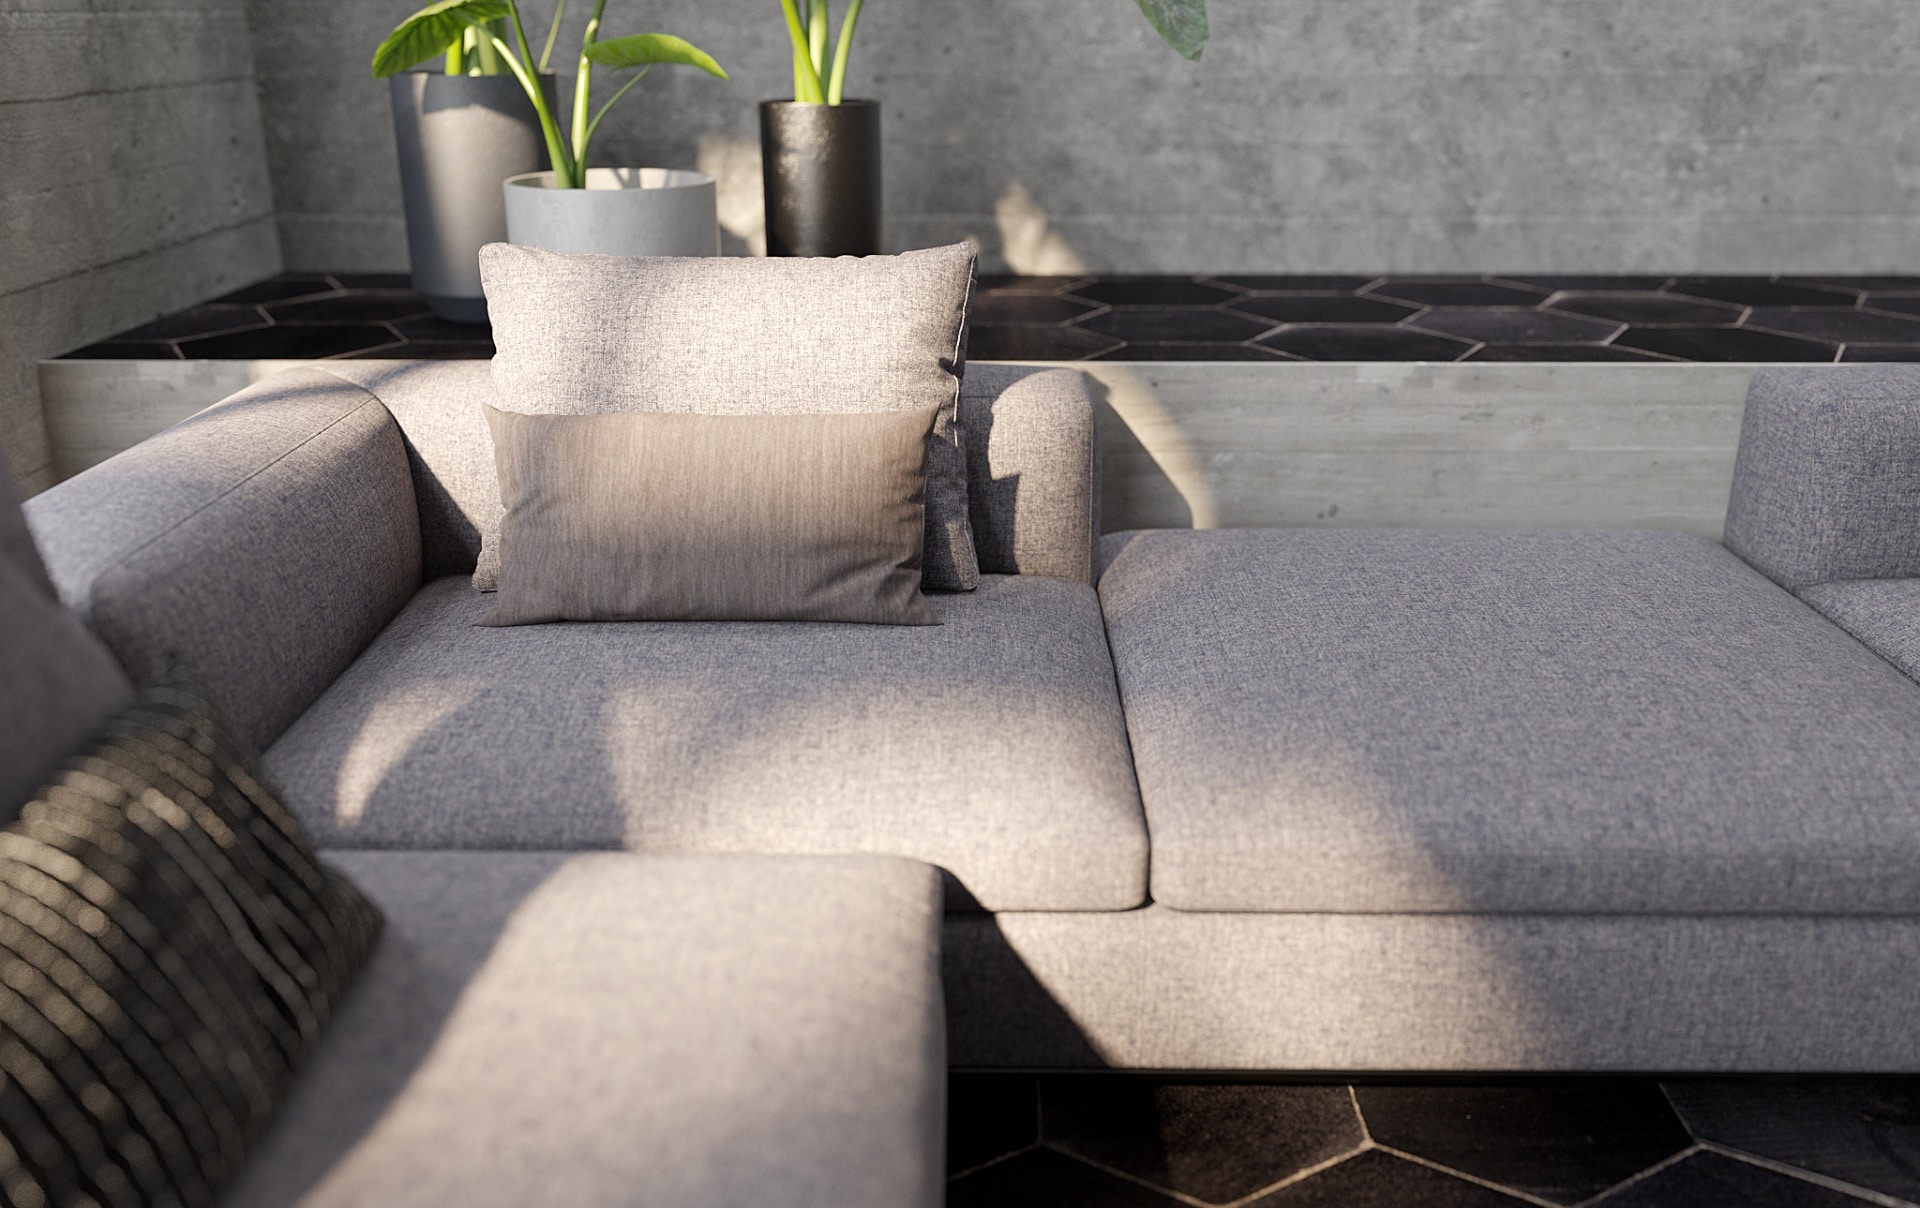
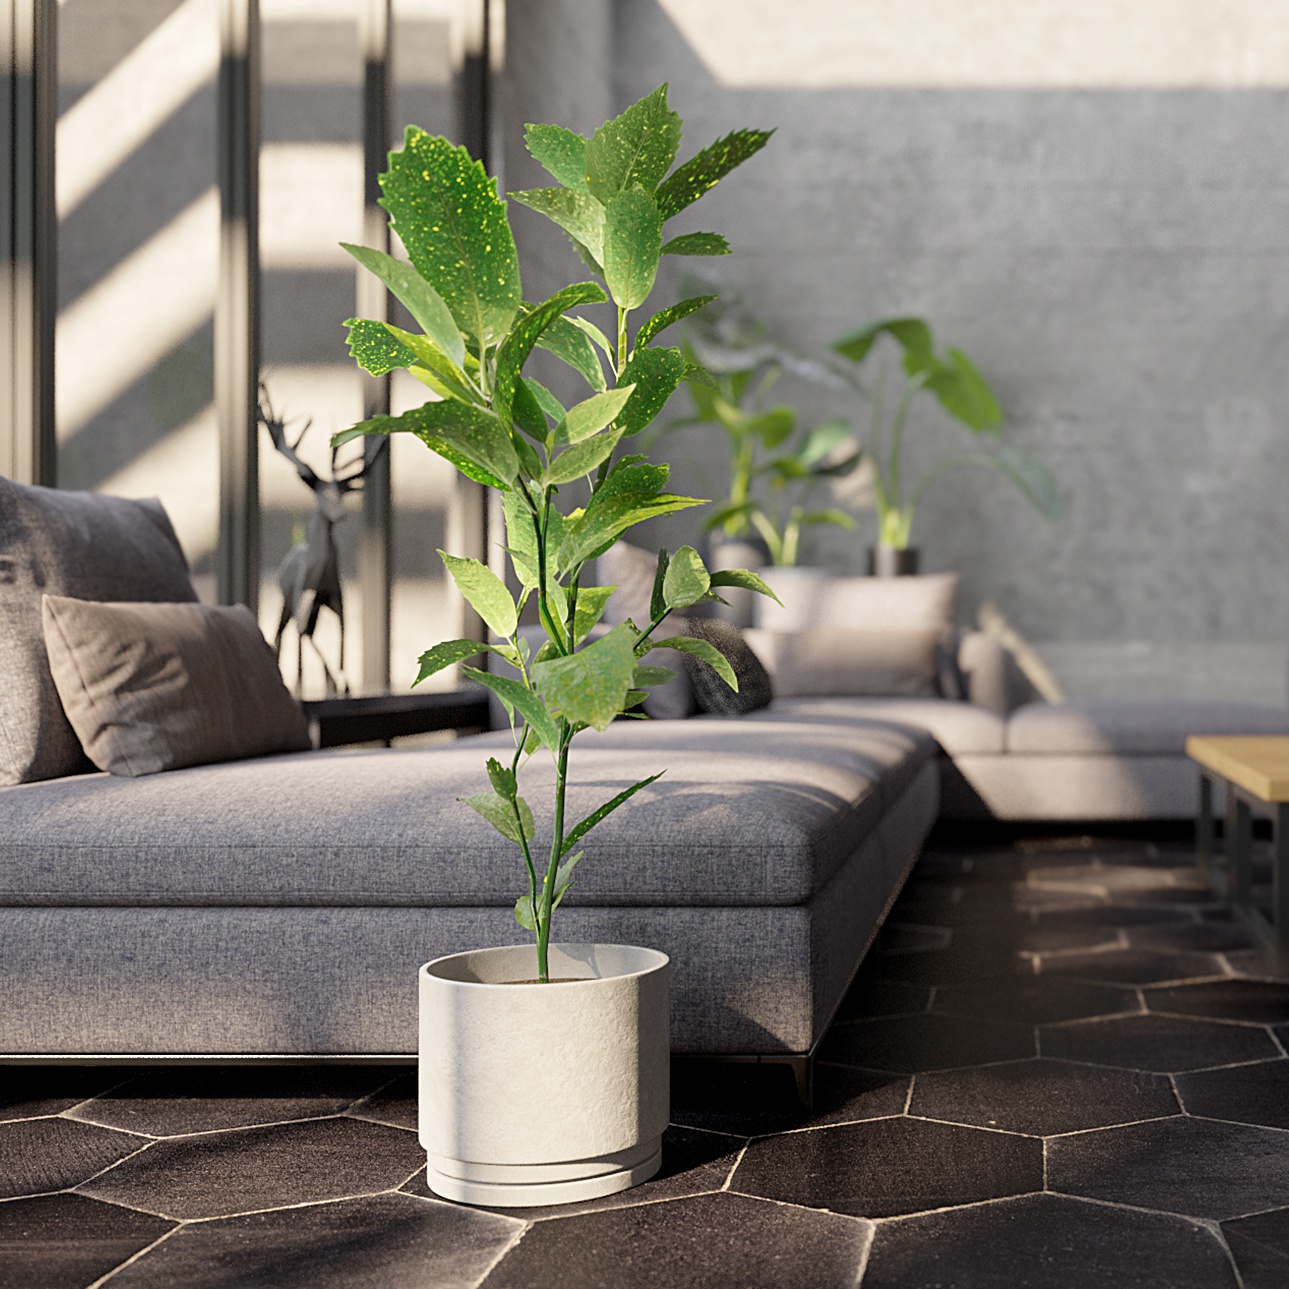
All that’s left for us to do is sort out the foreground. I’ve selected one of the sofa models we have available in the studio, but feel free to pick your own.
The Megascans library contains a vast amount of fabric surfaces, so we’ll use some of those for our sofa.
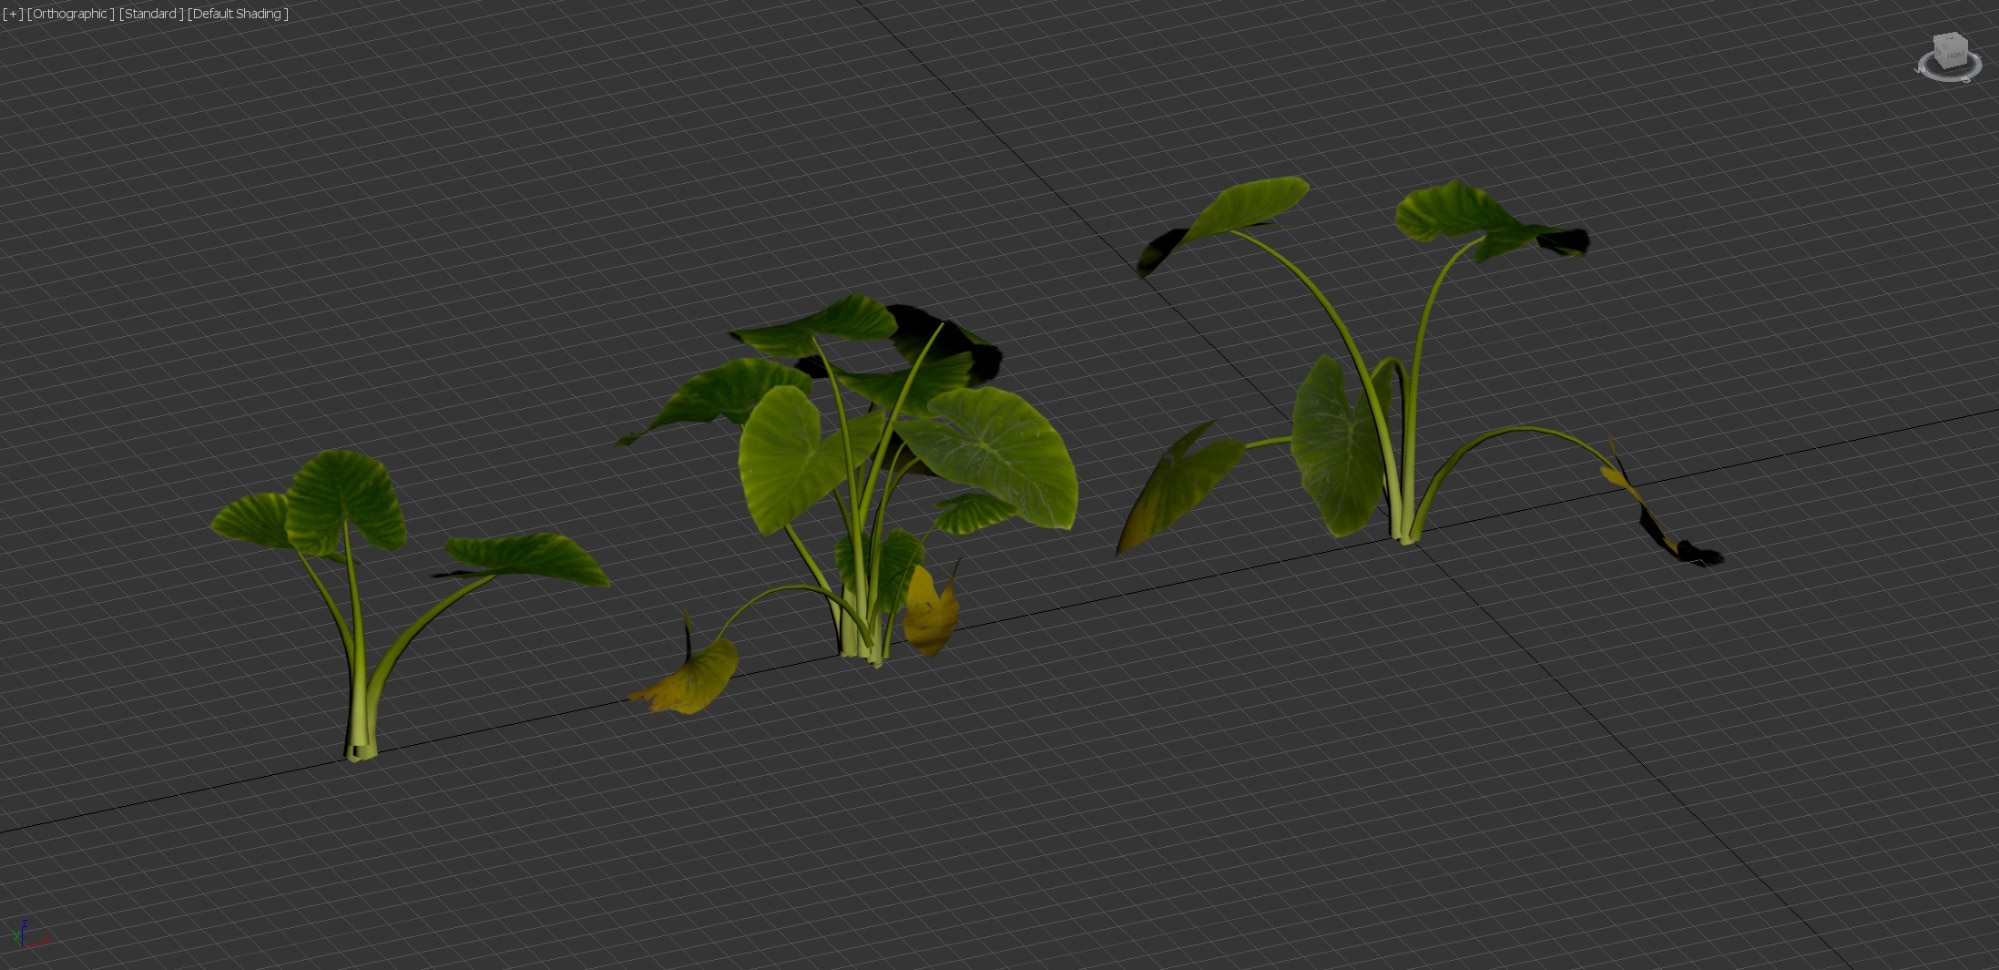
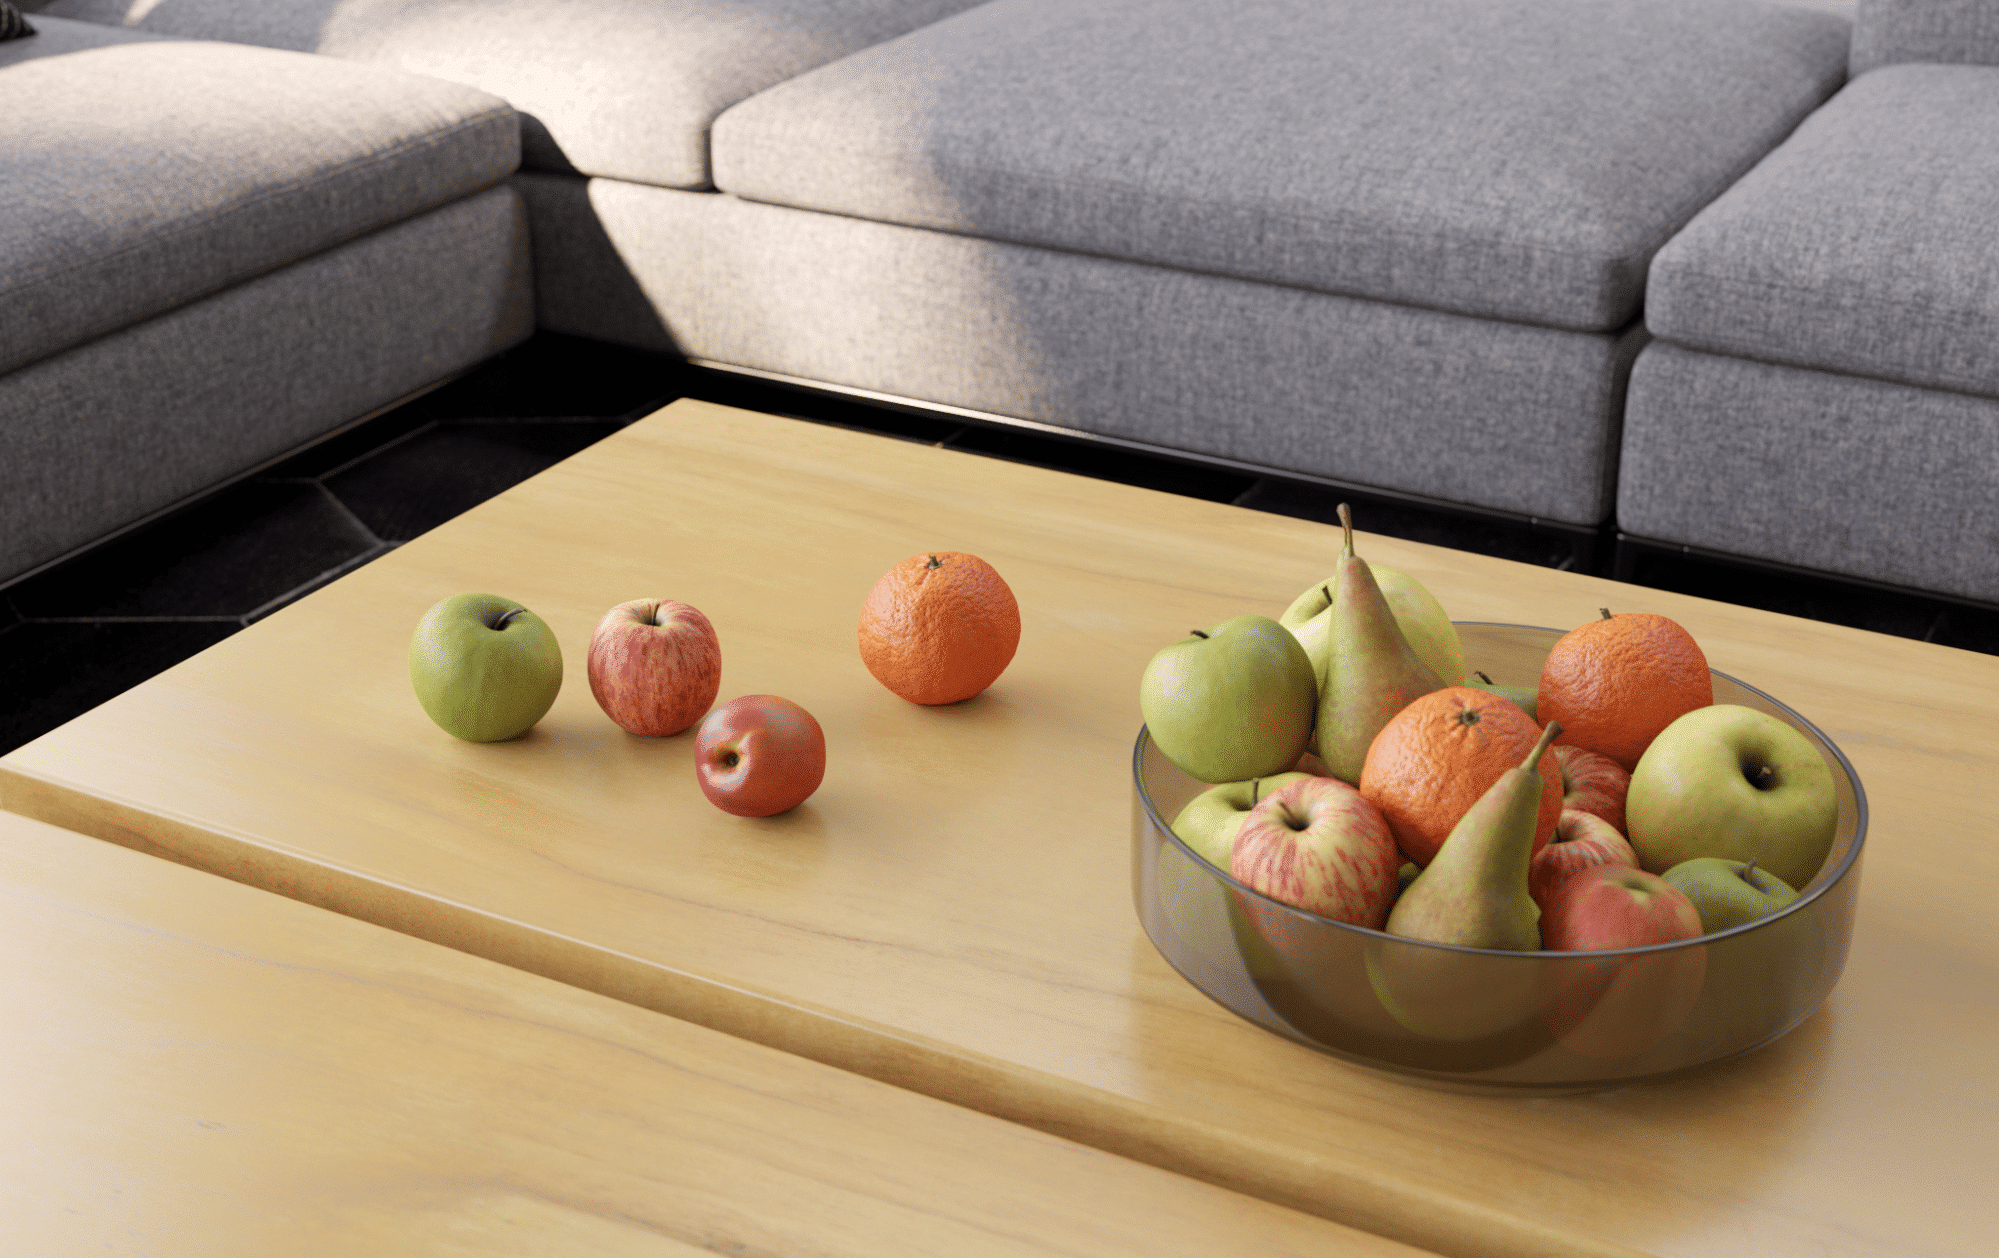
I’ve also modeled two straightforward coffee tables, and with the same process from before, we can import some 3D fruits from the Megascans library to add some life to our tables.
To finish up our composition, I added a small deer sculpture for some added visual interest.
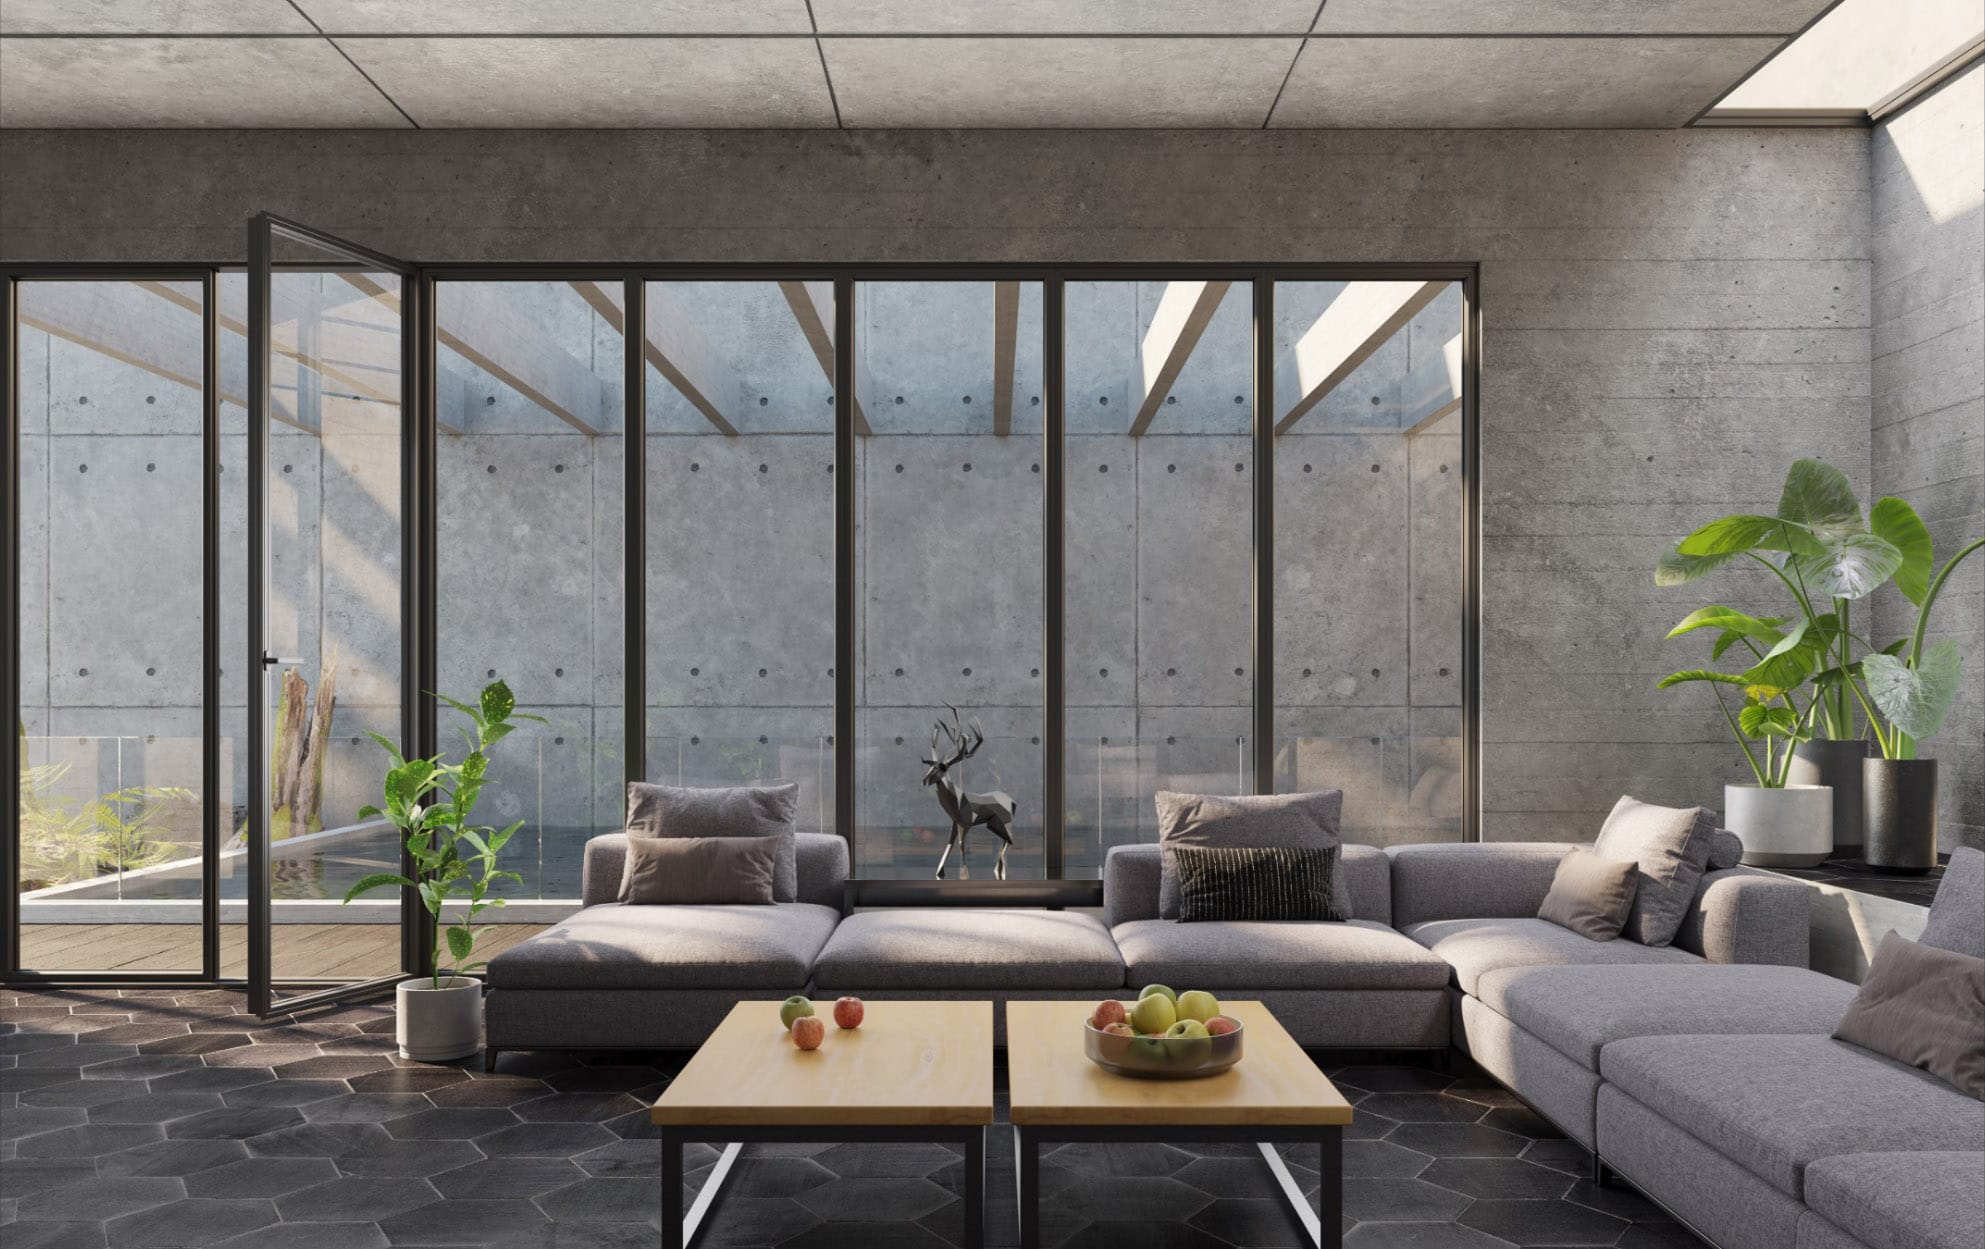
And that’s it. I hope this short breakdown of how to create an Interior ArchViz Scene with Megascans shows you how easy it is to transform what is essentially a few boxes and planes to a finished ArchViz scene. Thanks for reading!
Be sure to check out the Youtube tutorial around this scene for more details, and don’t forget to try out Megascans as well!

