


ARCHVIZ Workflow with Cristian Chierici / CC79
Pushing on with the exploration of the various workflows in Architectural Visualization, I’m presenting you today the work of Cristian Cherisi from CC79. Three works to be exact, ranging from mostly postwork towards mostly 3d. This is a mixture between both ends of the spectrum, while keeping the same end result style. Cristian presents us how he approached his latest 3 projects with examples. Enjoy!

Author: Cristian Chierici / CC79
Graduated in Architecture, fascinated with 3D graphics and more generally to the Photoshop manipulation and photography. Cristian worked in several architectural firms in Milan as a 3D visualizer. Since 2011 he works as a freelancer in Italy, based in Milan, with the alias CC79.
Explore CC79 works on the forum :
- Khodynka Park Moscow International Competition
- Villa A
- Emilia
- OMAN Pavilion – EXPO 2015
- POST
- Kindergarten Design Competition
- Kwame Nkrumah Presidential Library
Hi Everybody, first of all I would like to thank Ronen for inviting me to write this article about my workflow, its a great honor, and I hope you’ll enjoy it.
Workflow
My approach to architectural visualization starts in modeling a basic 3d model with a basic RAW render of it. I will aim for the simplest mapping of texture and lighting setup knowing I will rely on a heavy post production process to explore and find the best result for the client and for me as well.
I prefer to use Photoshop as my main creative tool because most of the projects are done under extremely tight deadlines. I find it more flexible than doing everything in 3d, and also because Im a Rhinoceros user and as you know (or not, but now you do) its almost impossible to add the grass, trees or build a landscape in 3d with Rhino.
With that said…
I’ve recently explored the option of doing more in 3d. One can never fixate on a specific workflow just for the sake of it. I’ve enjoyed the process a lot and if I can give advice based on it, always keep your mind open and explore other approaches. I still prefer using Photoshop, but I think that going full 3d is something I will do again!
I would like to share with you 3 different projects I worked on :
- PARRAMATTA SQUARE COMPETITION, relying heavily on postwork with Photoshop.
- KINDERGARTEN DESIGN COMPETITION, mixing both 3d and PS.
- POST, which is ironically named as it is almost full 3d.
Lets start!
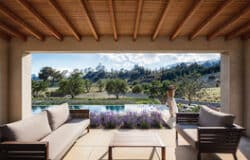
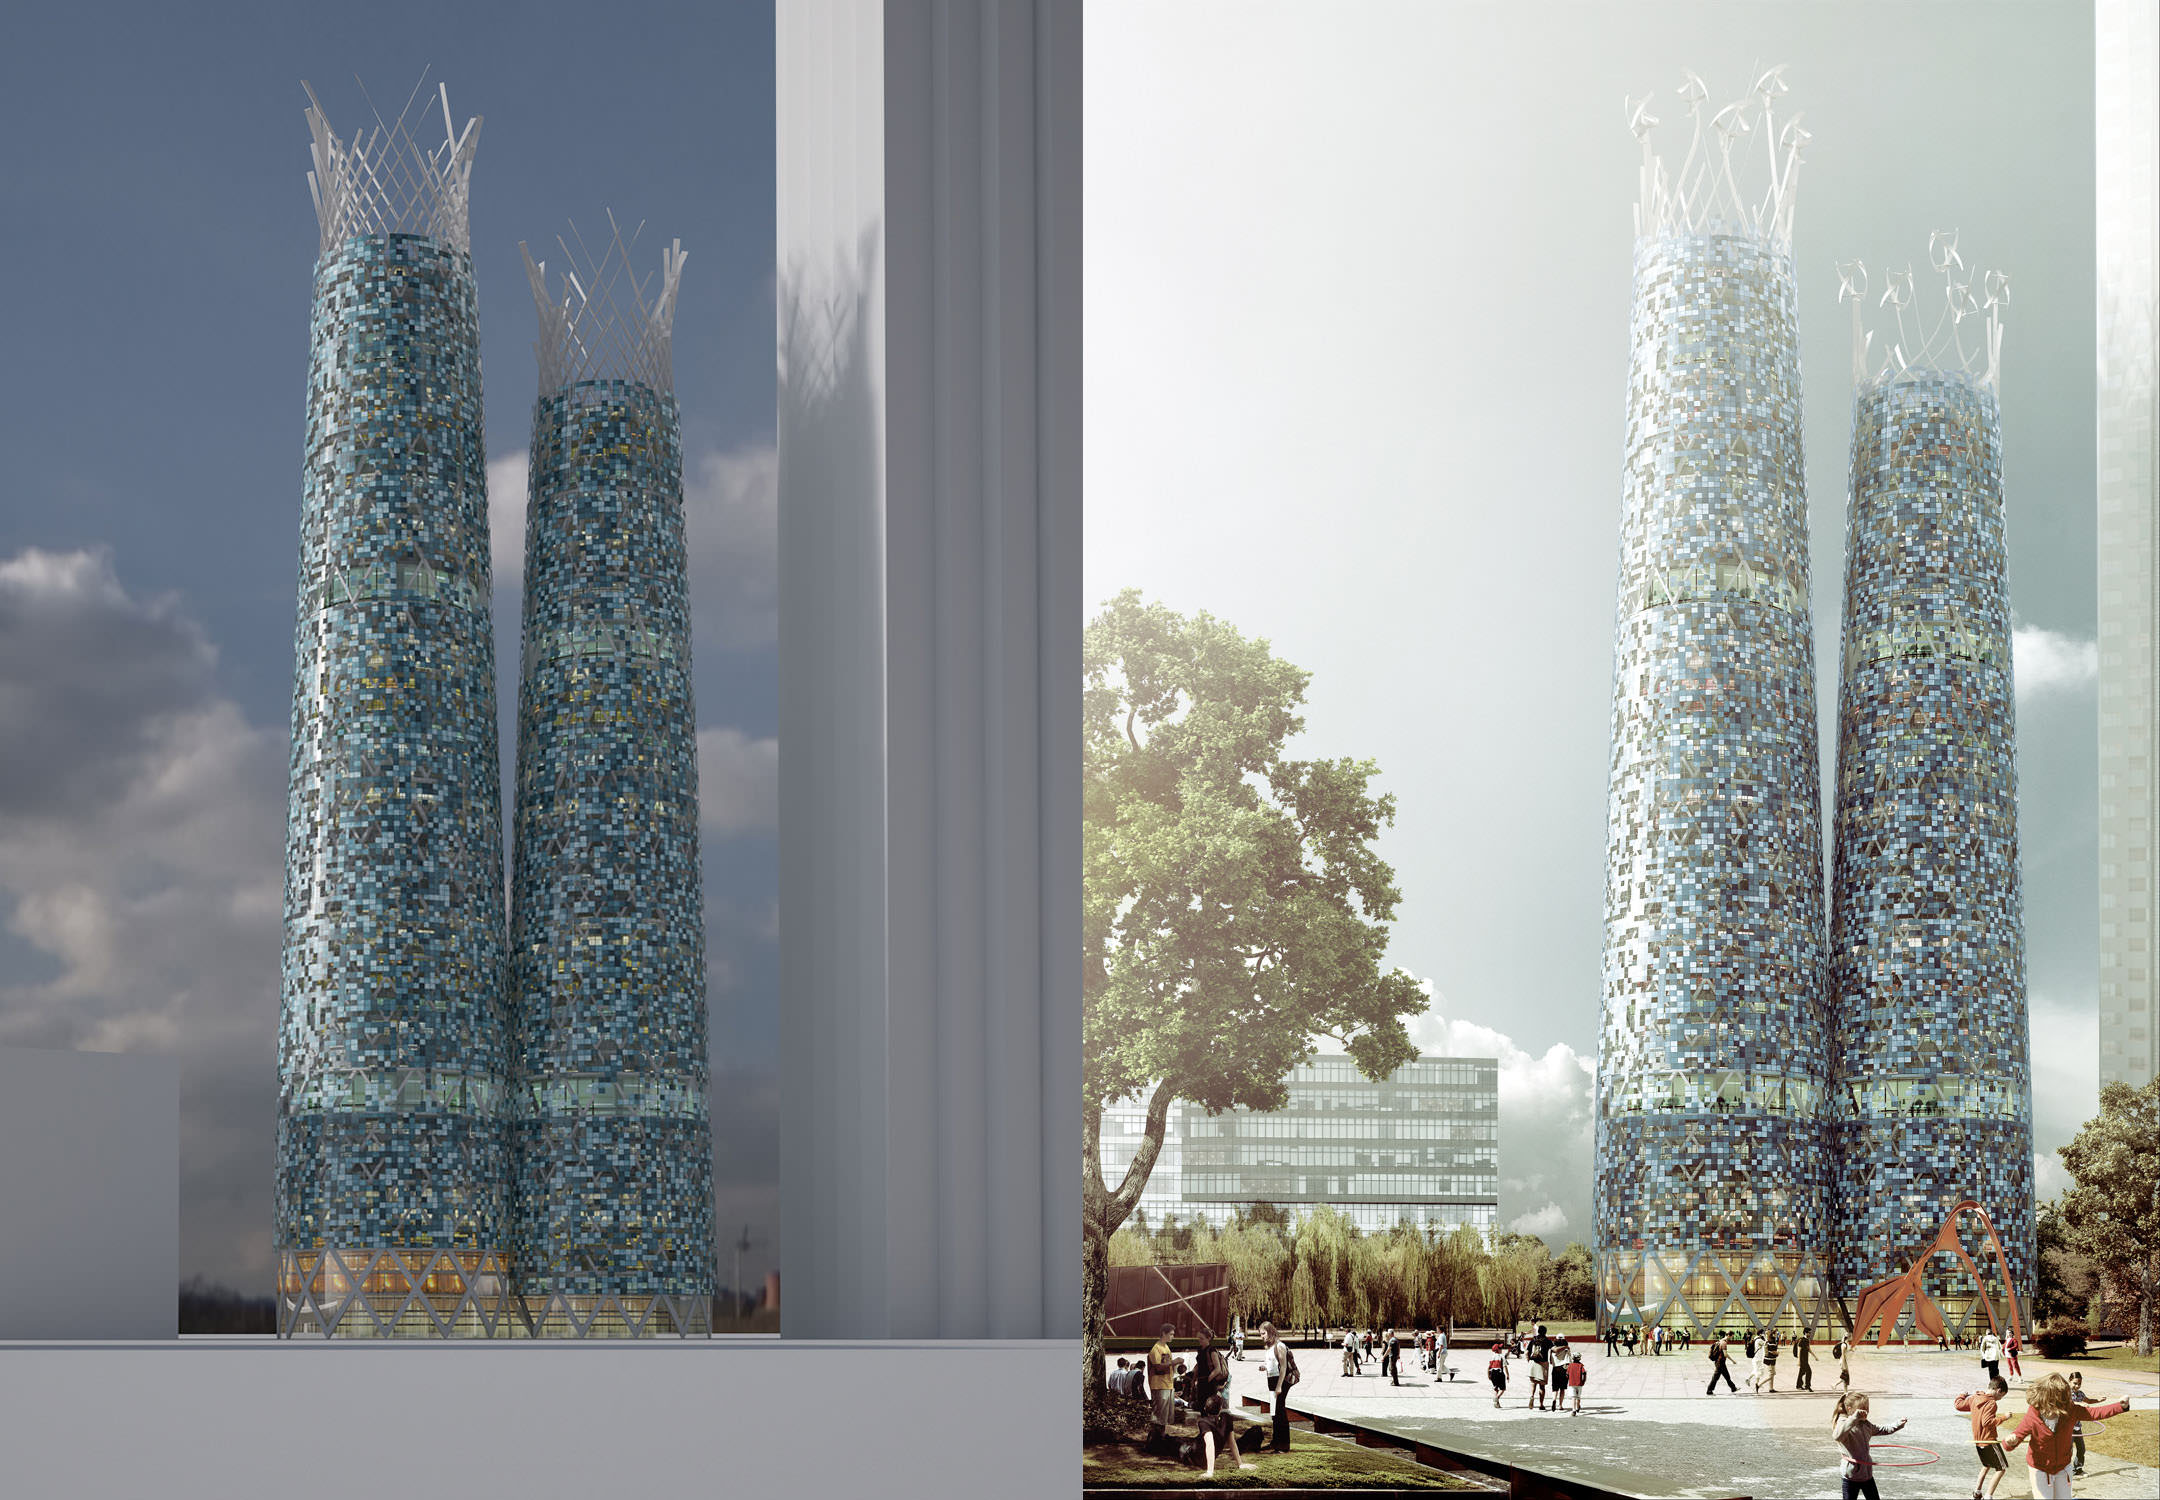
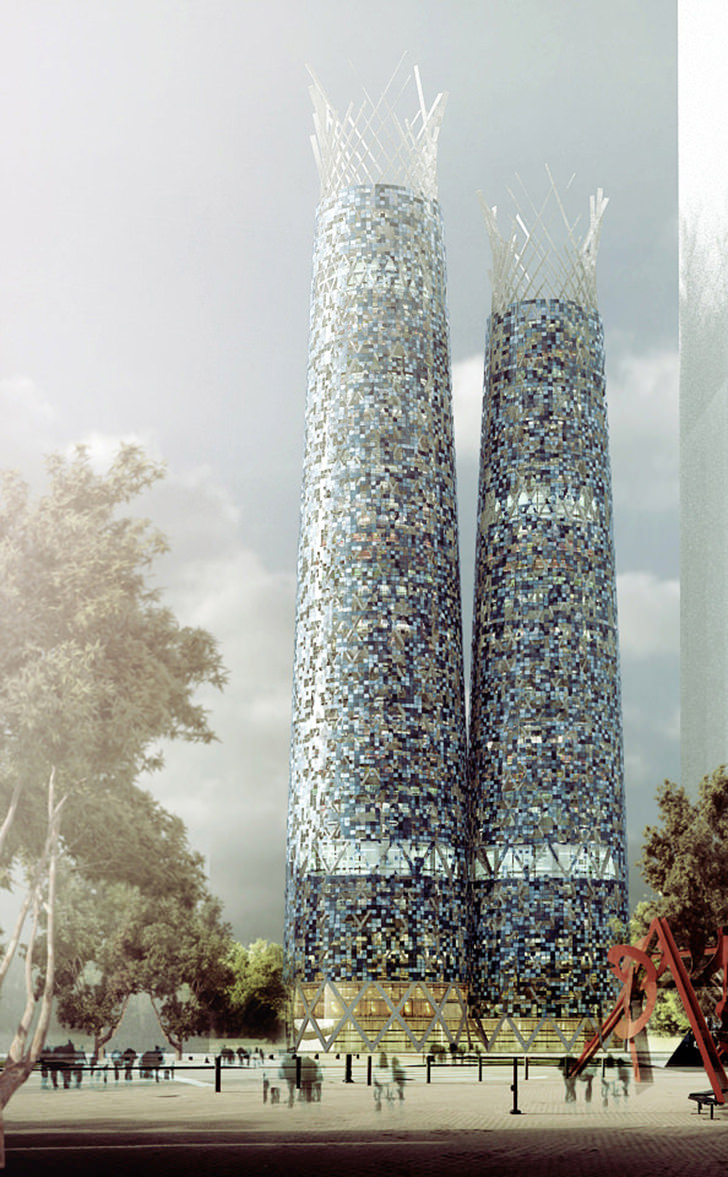
PARRAMATTA SQUARE COMPETITION
This is a project by Mario Cucinella Architects and was selected for the 2nd phase of the competition.
It was great fun to create this visualization because I had a lot of freedom to think about the landscape, the atmosphere and the general animation. I received the model directly from the client in 3dm format, so I only had to adjust it a little bit it, focusing on exploring the best views.
Materials
For the exterior Skin I used a simple mosaic texture with a transparent map to create random holes, and
the same inverted textures in reflective map to disable reflection in the holes.
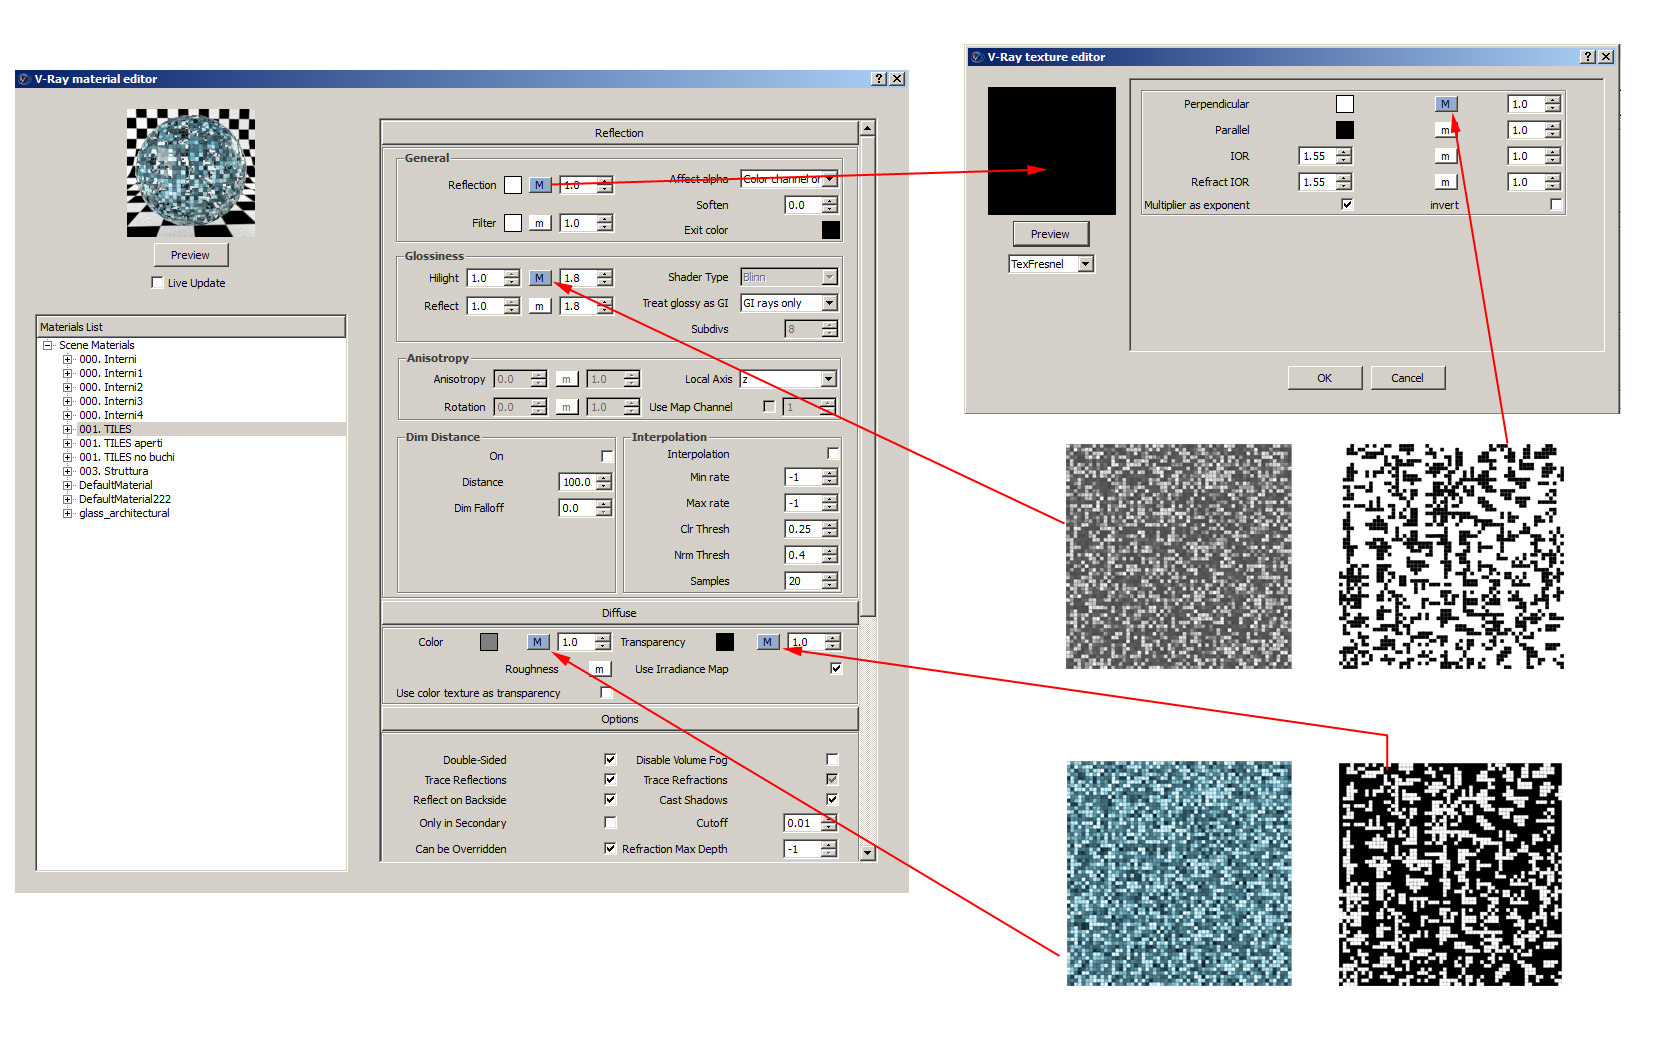
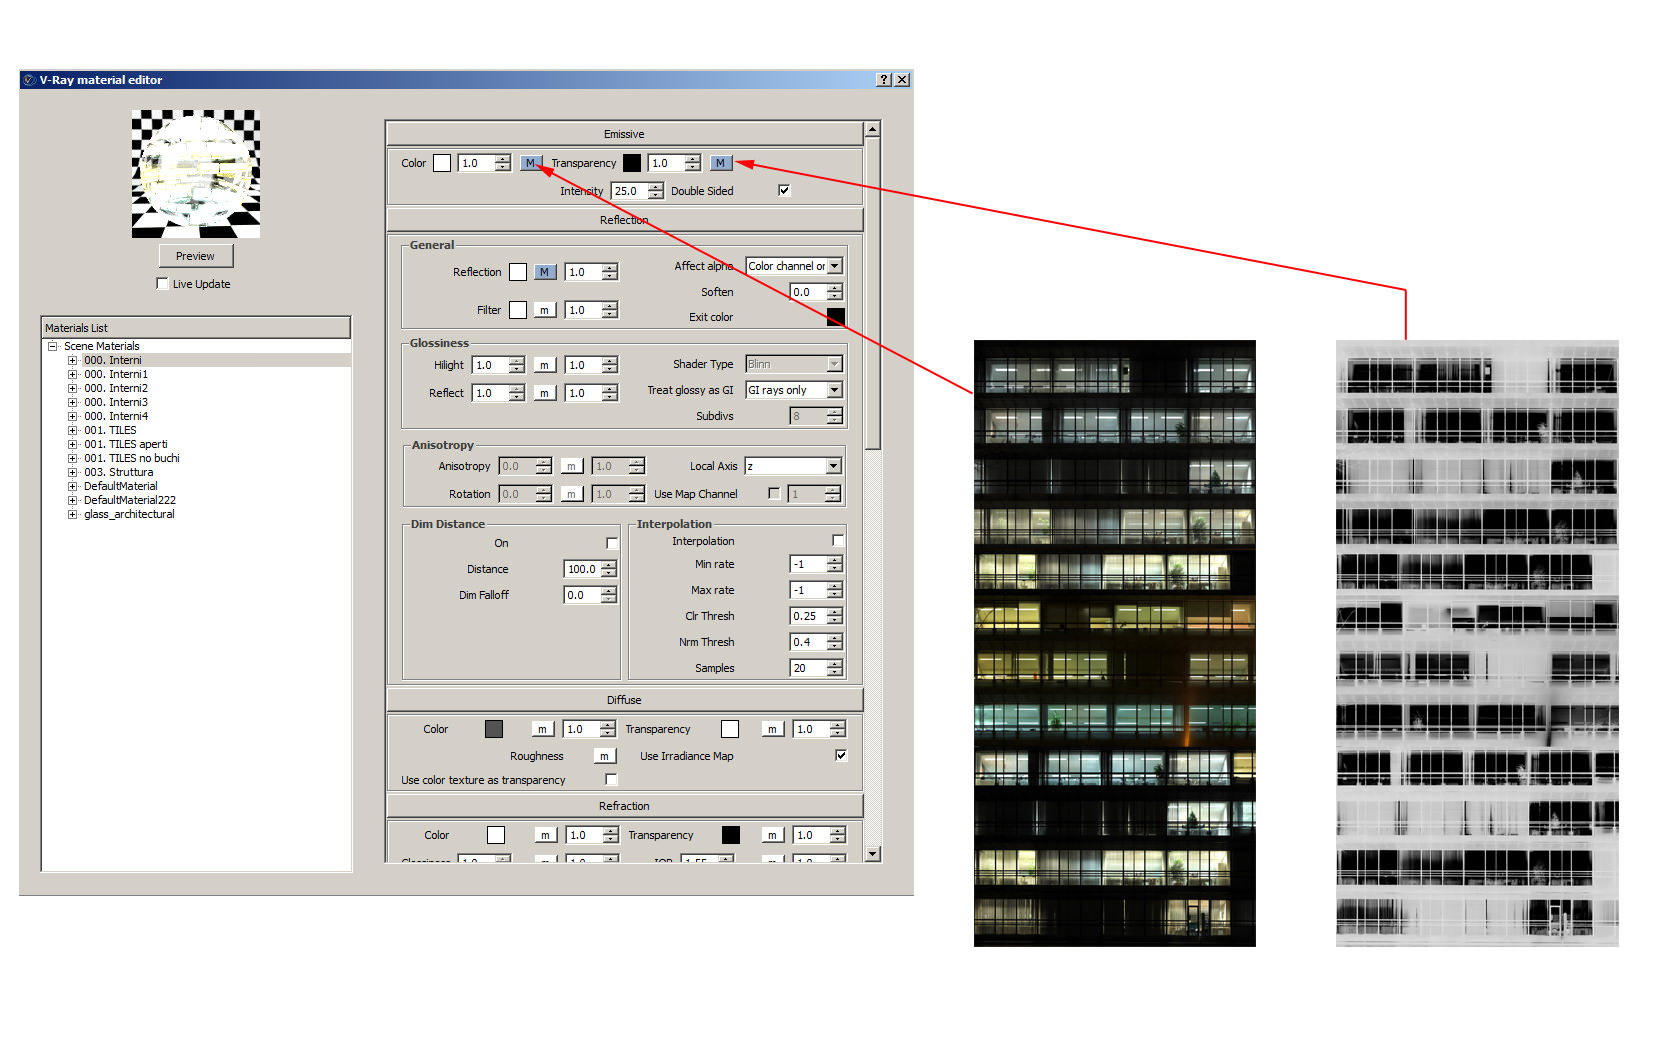
The is simple reflective transparent material with an emissive map to create the interior light effect.
Lighting
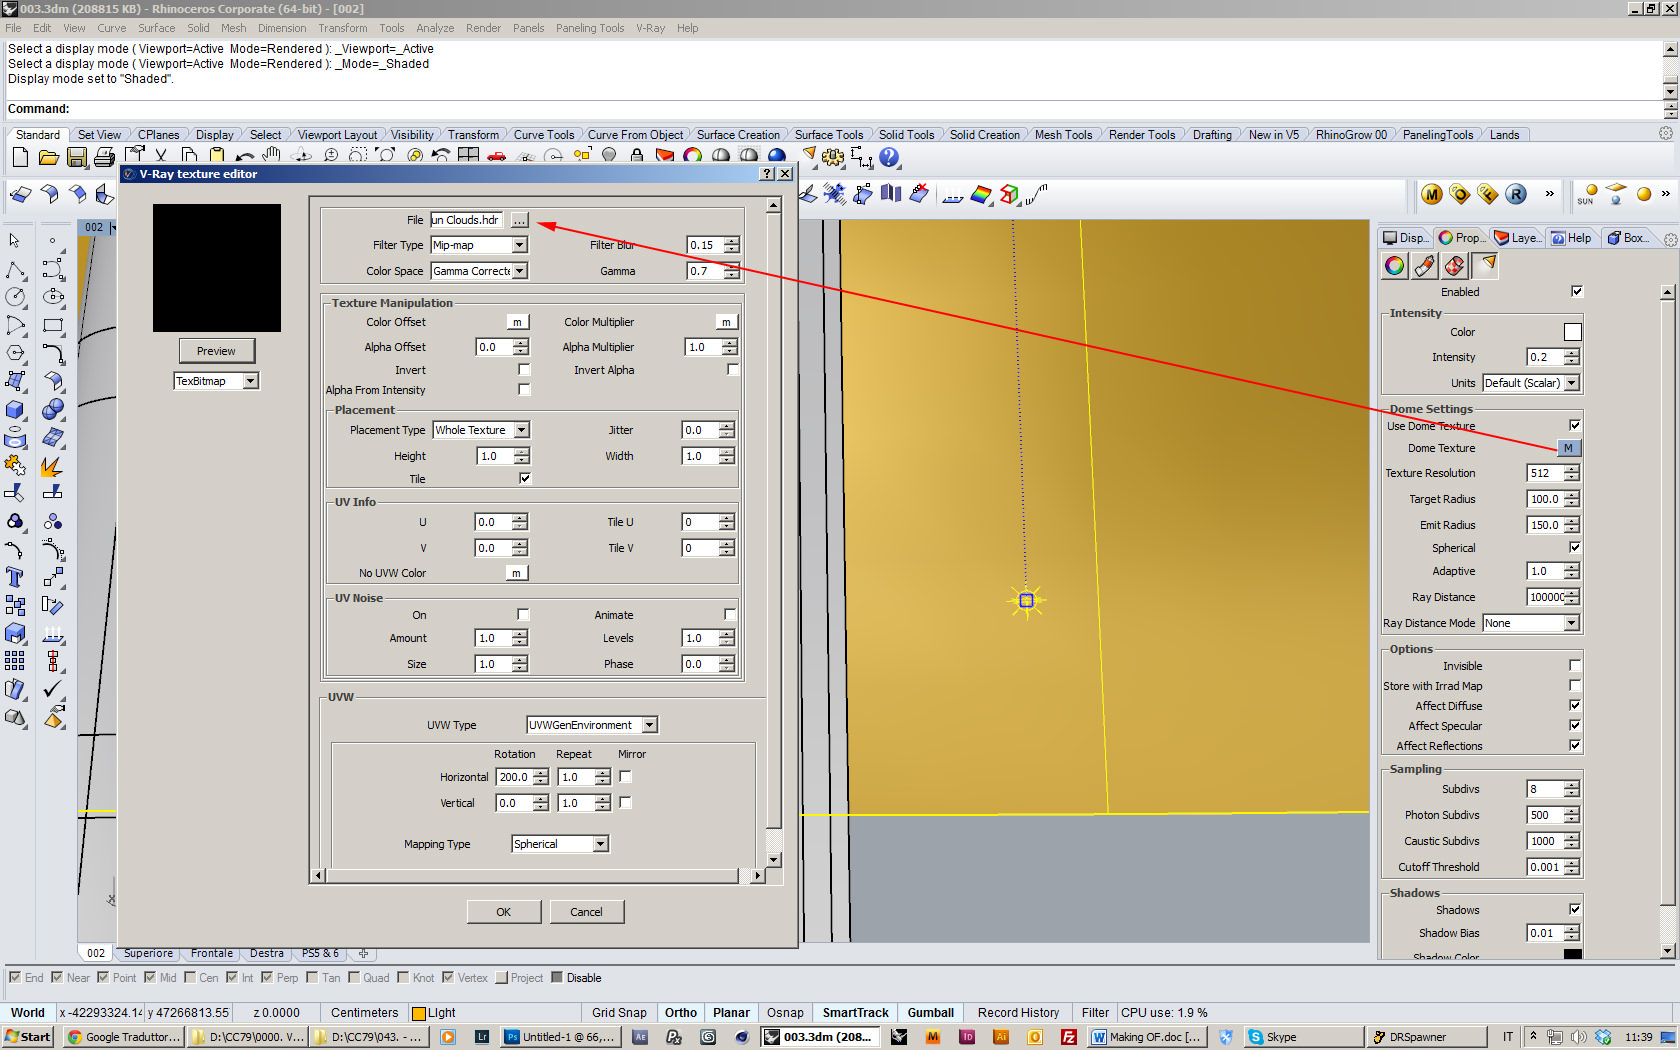
For the interior light as mentioned above, I use an emissive map in the Glass Material. For the ambient light I
used a DOME light with an HDRI map from Peter Guthrie’s HDRI Skies Collection.
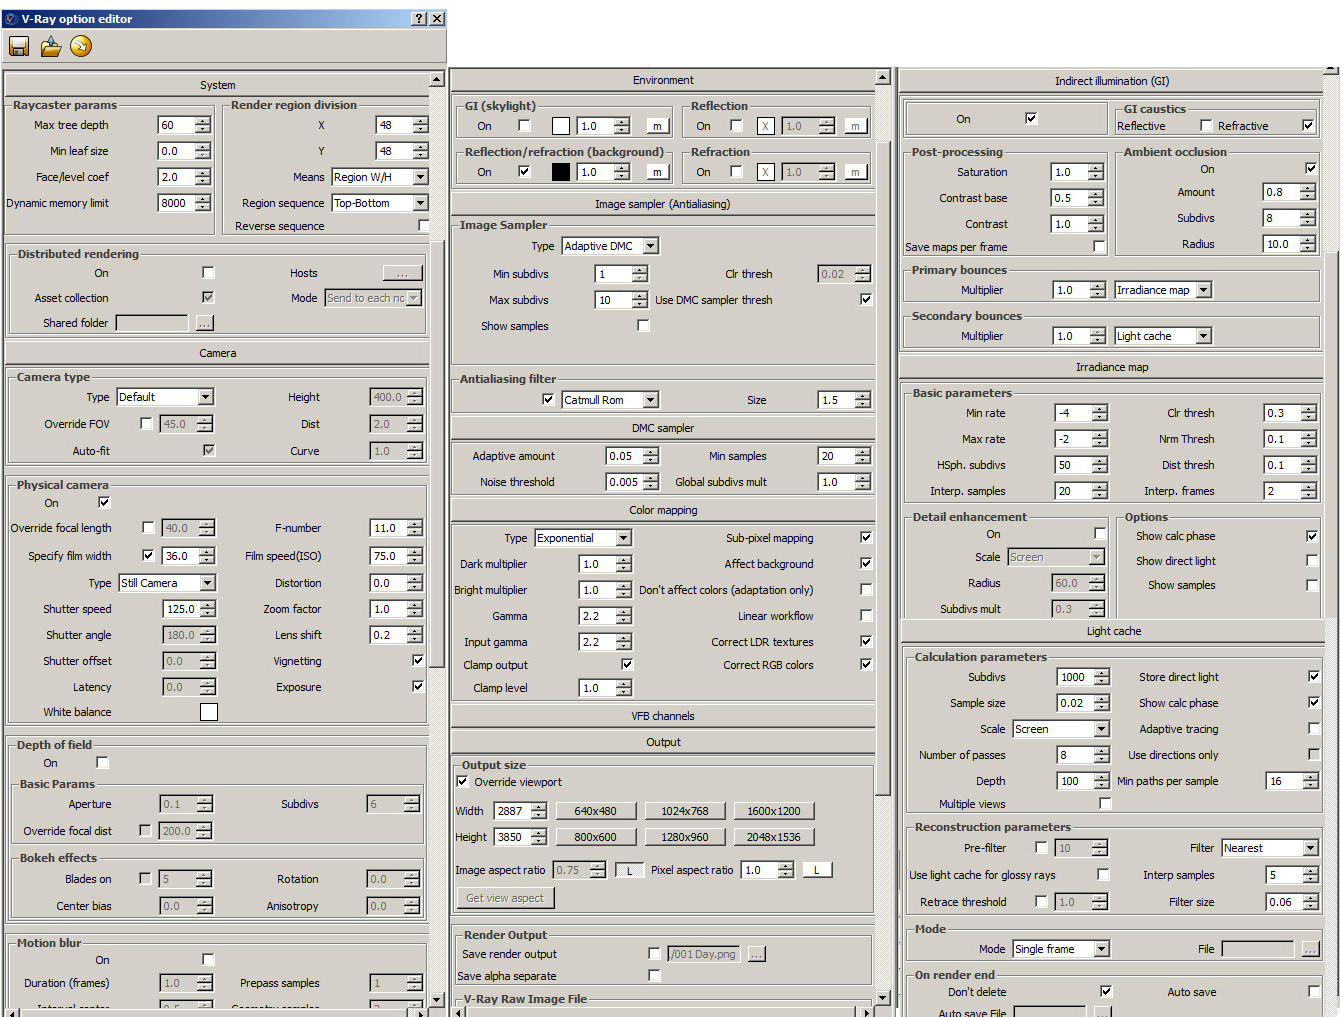
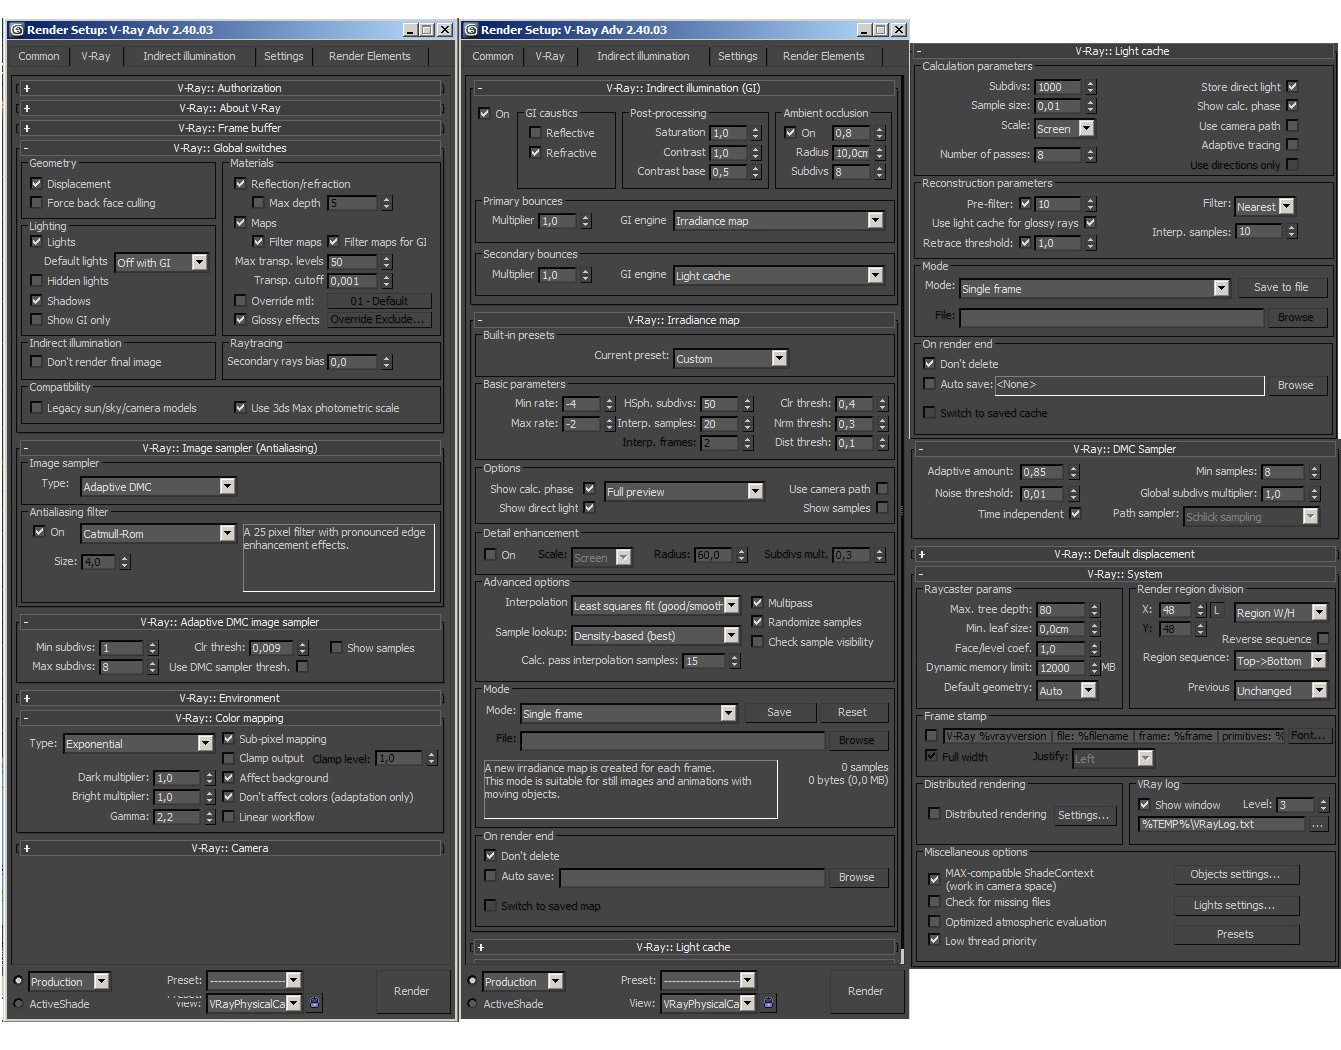
Render Settings
Raw vs. Final render
Postwork
Finally here we are with the fun part… the post production.
First of all, I try to find online or in my library all the reference pictures to build the landscape as the client wants it to be.
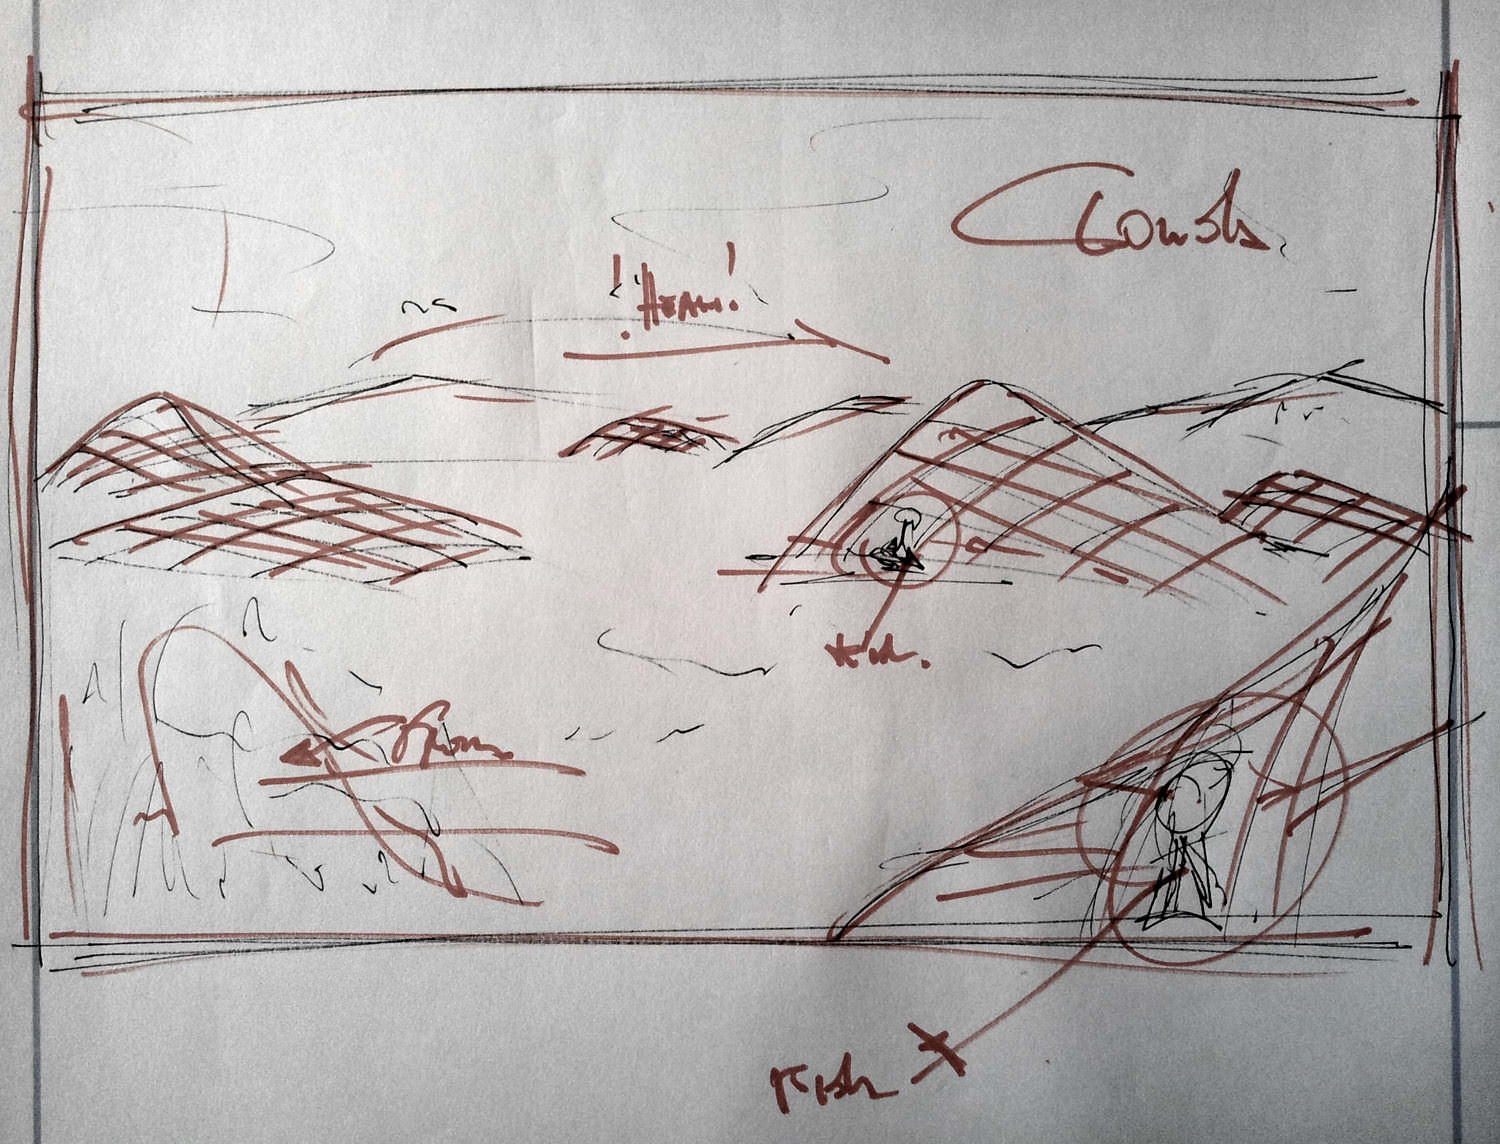
And this is the first sketch I sent to the client only to make him understand how the final visualization could
be.
The Photoshop file has a lot of layers, color correction, tone adjustment and its a little bit difficult to show you all the stages for the final image, as there are many of them as shown below…

but I did a short post-production breakdown video showing all the steps.
On to the next one project with more 3d elements in it…

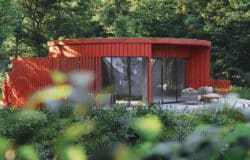
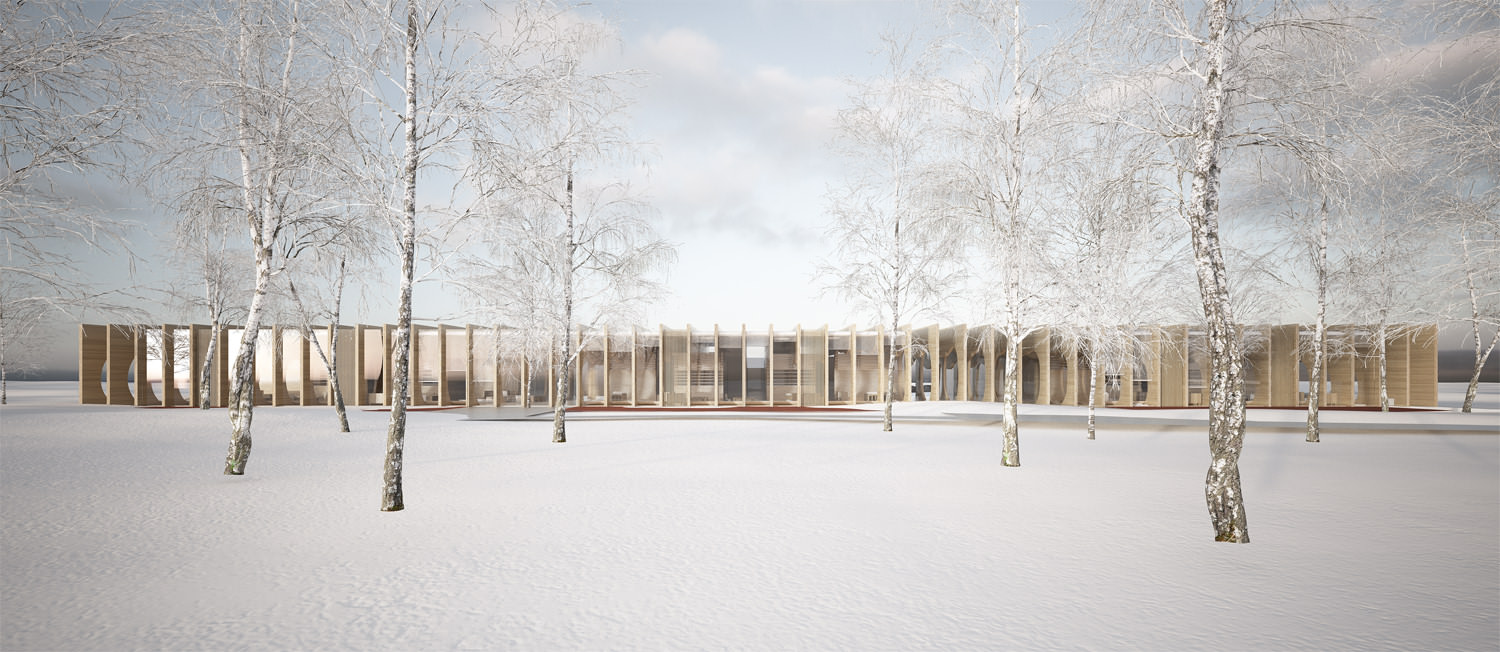
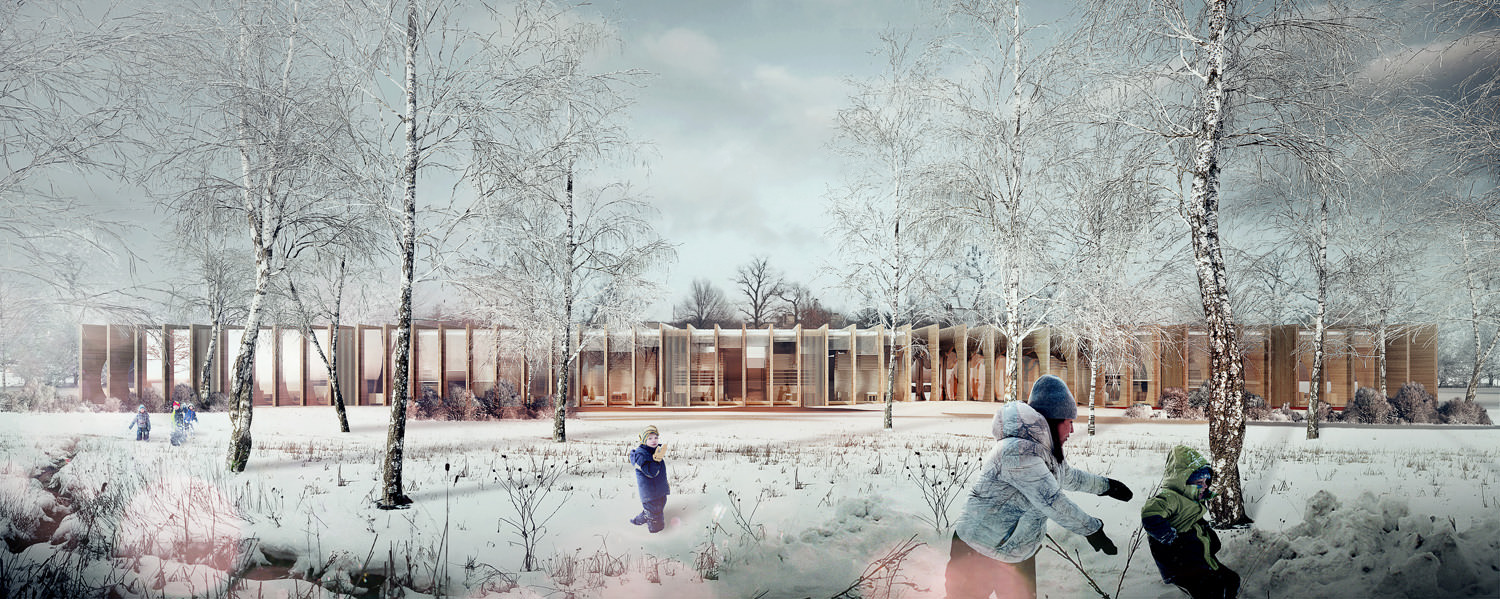
KINDERGARTEN DESIGN COMPETITION
This is a very interesting project by Mario Cucinella Architects that won the 1st prize and will be built in
Guastalla.
The client asked to me to make something different from what I usually do, and I decided to make a snowy scene
putting the camera between the trees to show the linearity and the rhythm of the building. Also emphasizing the differences between the warm light inside and the cold winter outside.
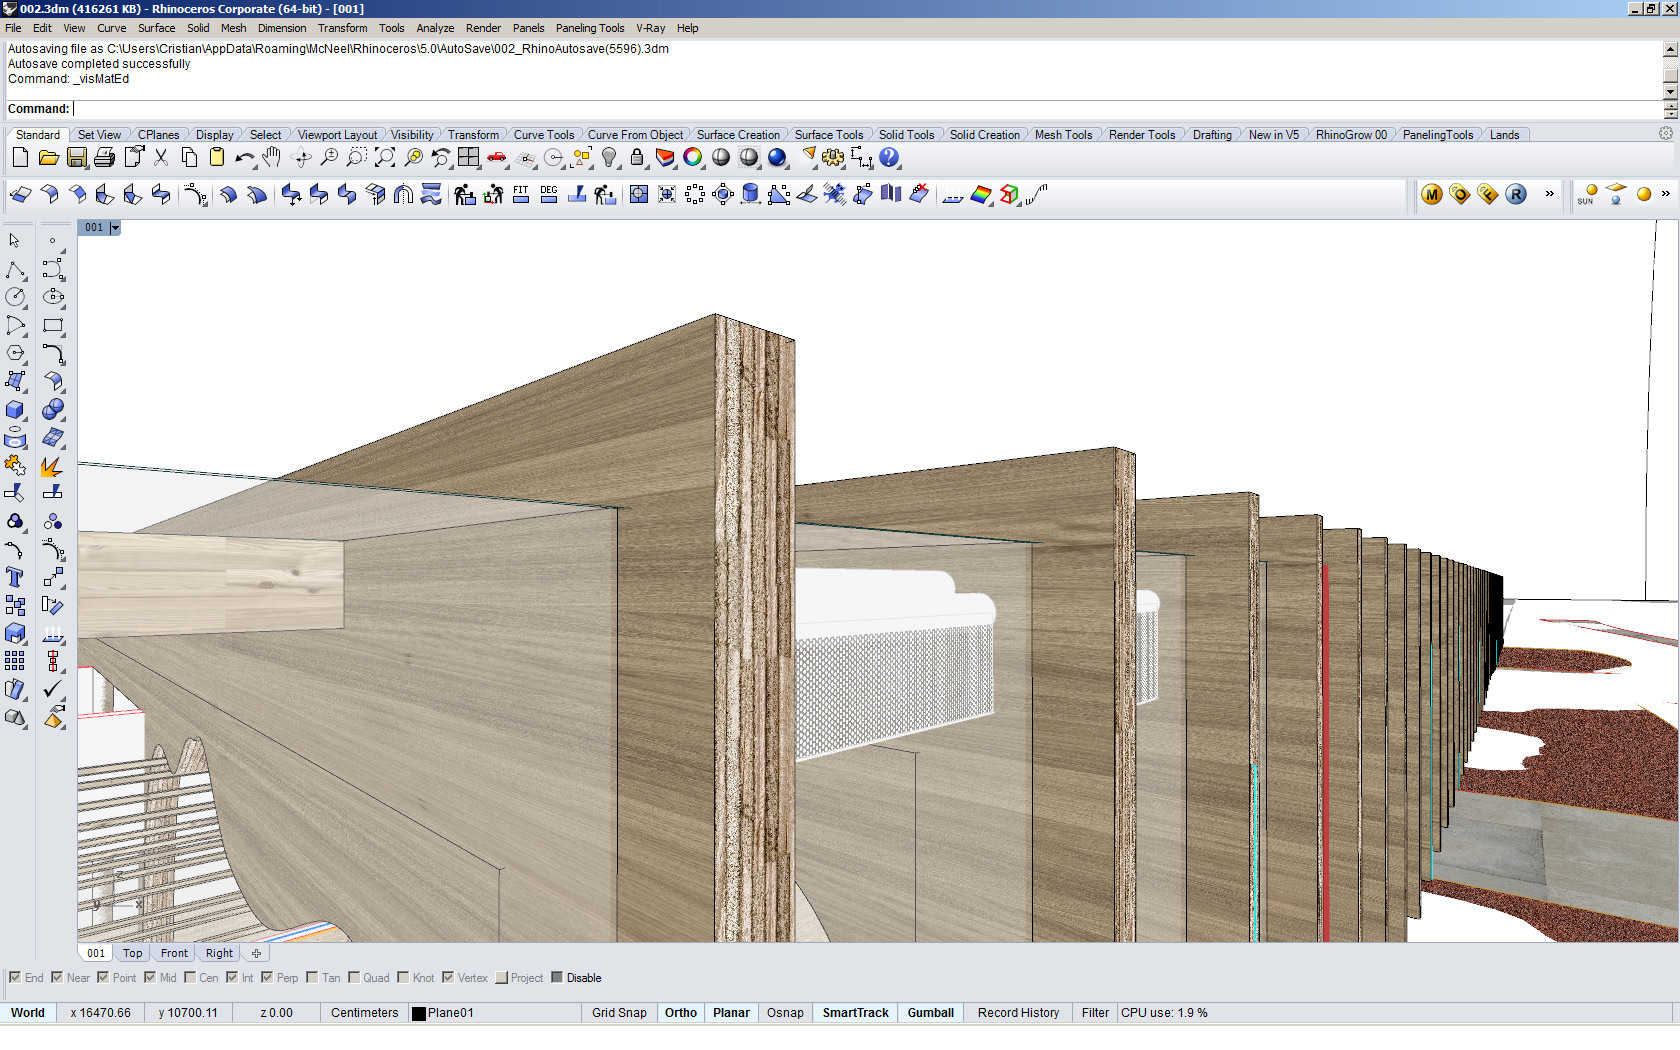
As in the previous project I received the 3d model directly from the client in 3dm format and the first step was
to set up the camera.
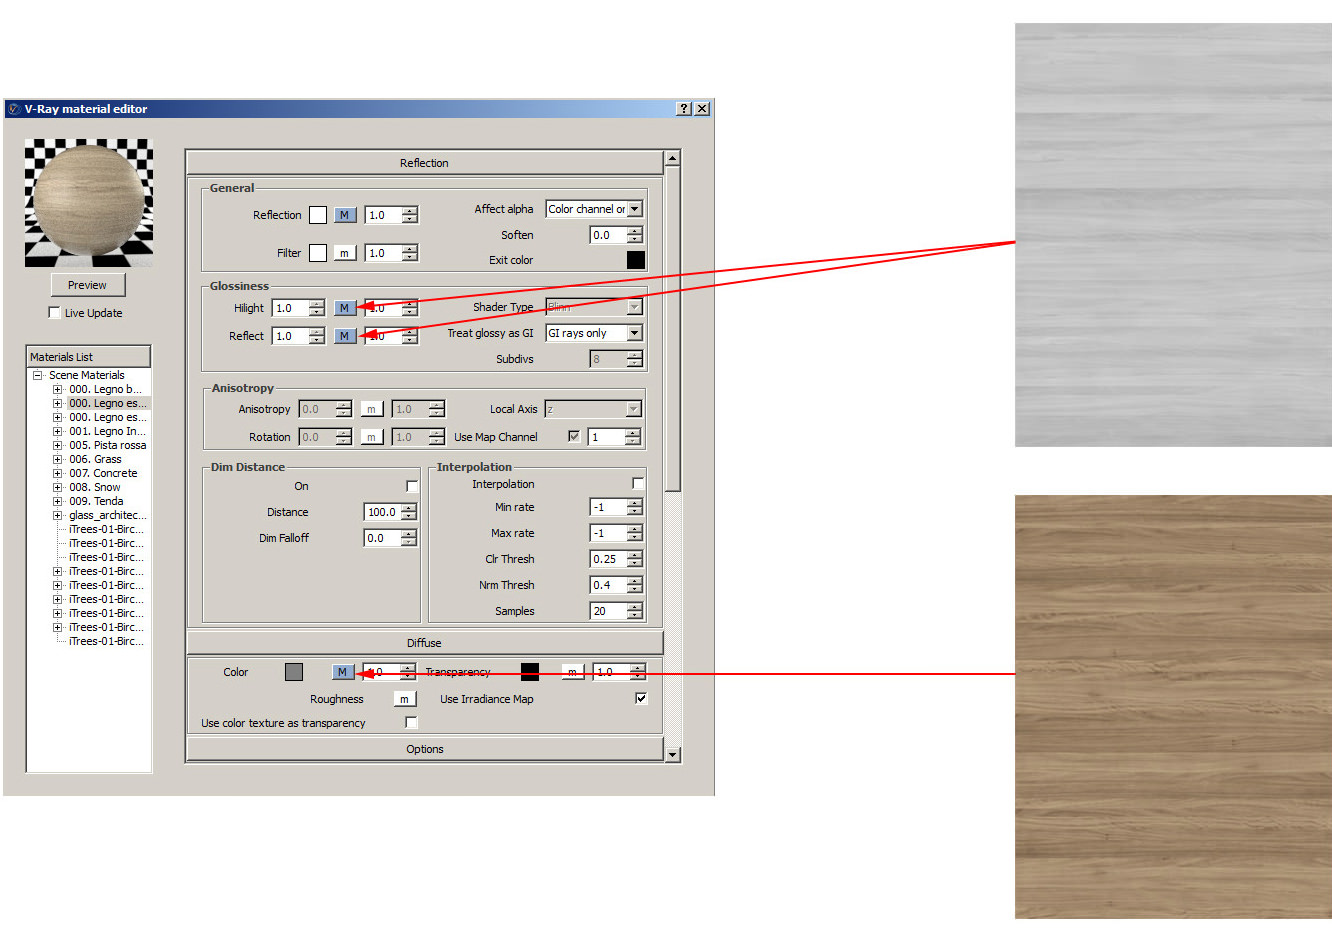
Materials
In this case the materials are simple and easy. Wood outside, wood inside, glass and nothing else.
Wood outside
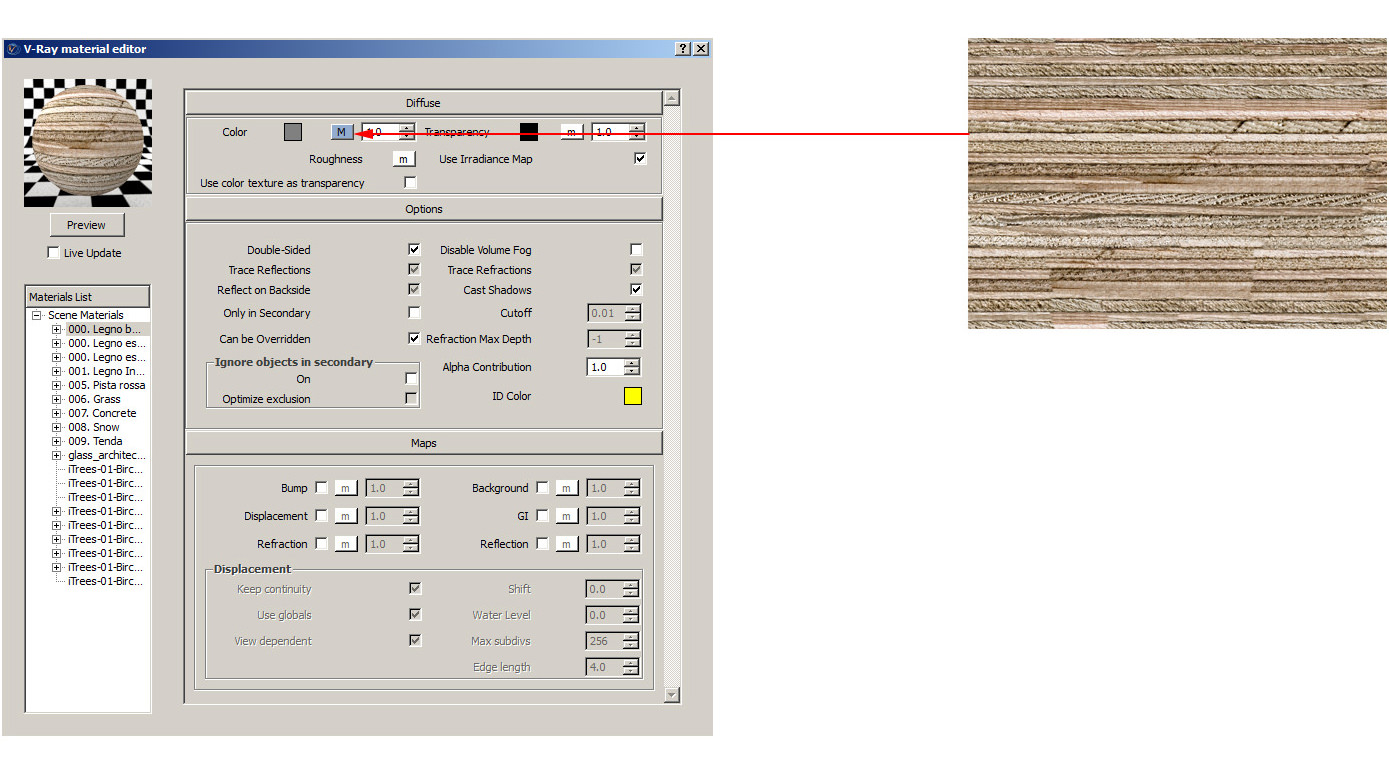
The glass is a simple reflective/refractive/transparent material and the snow is a default V-Ray material with a bit of noise bump.
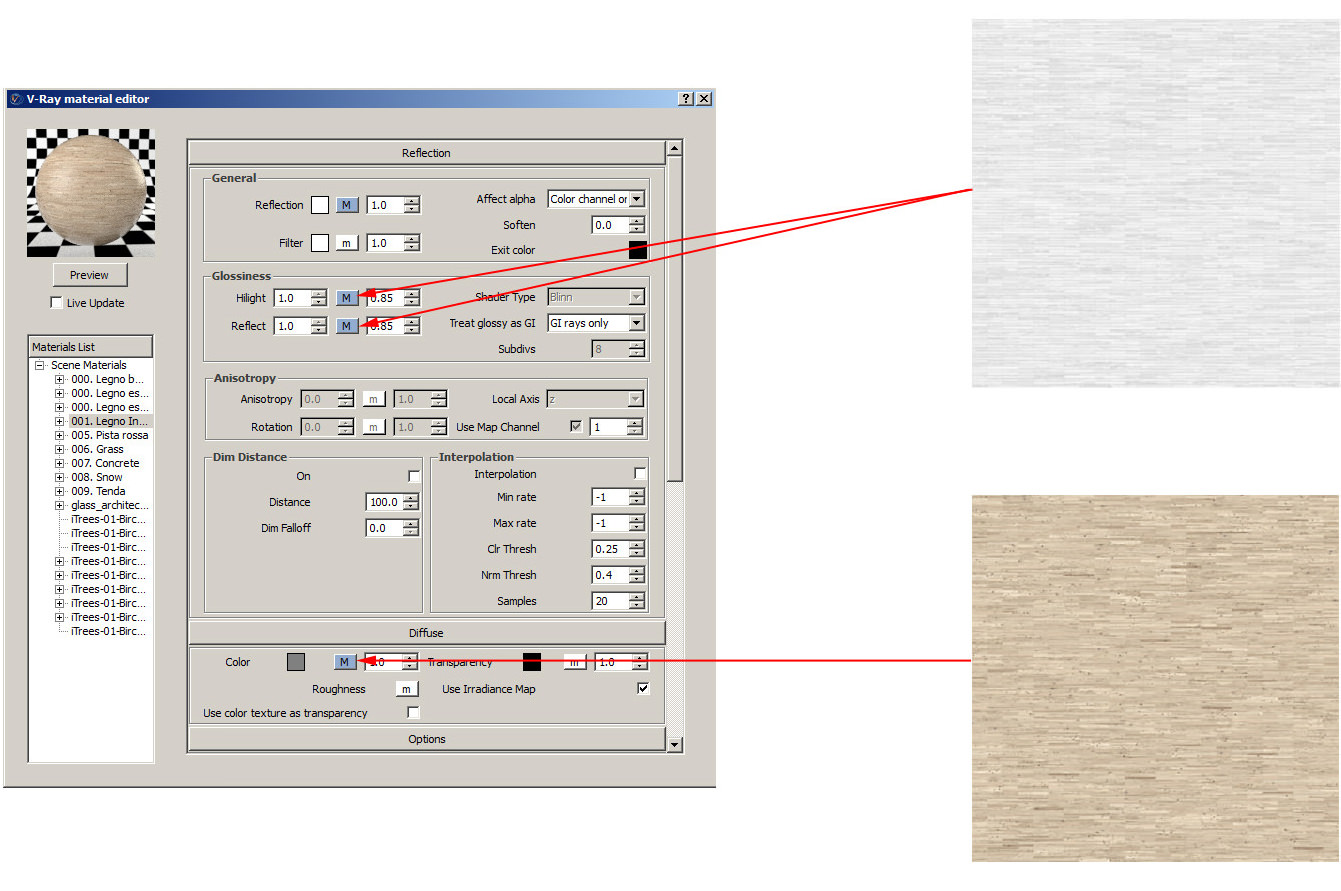
Wood inside

Landscaping
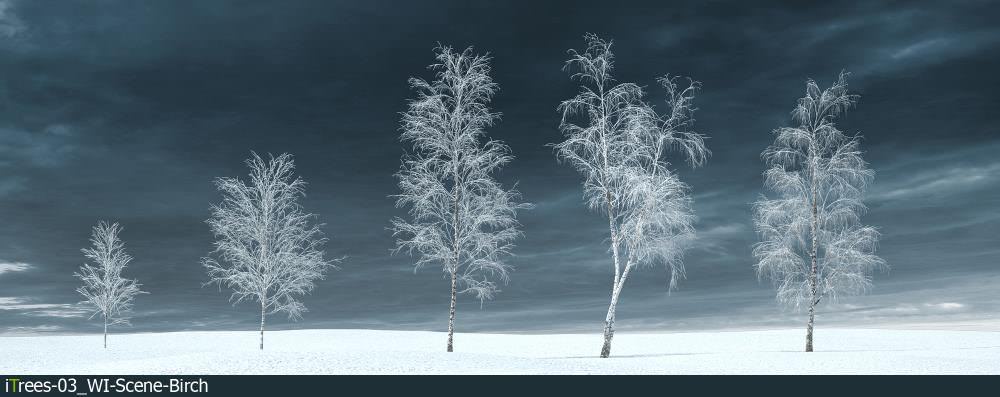
For this visualization, as opposed to what I would usually do, I decided to use trees directly in 3d because I already had the precise idea of what I wanted to do (sometimes the landscape could be created while the post process coming through, Not ideal, but could happen).
I used the R&D group winter trees library, selecting some birch trees and then transform them into V-Ray proxies.
Lighting
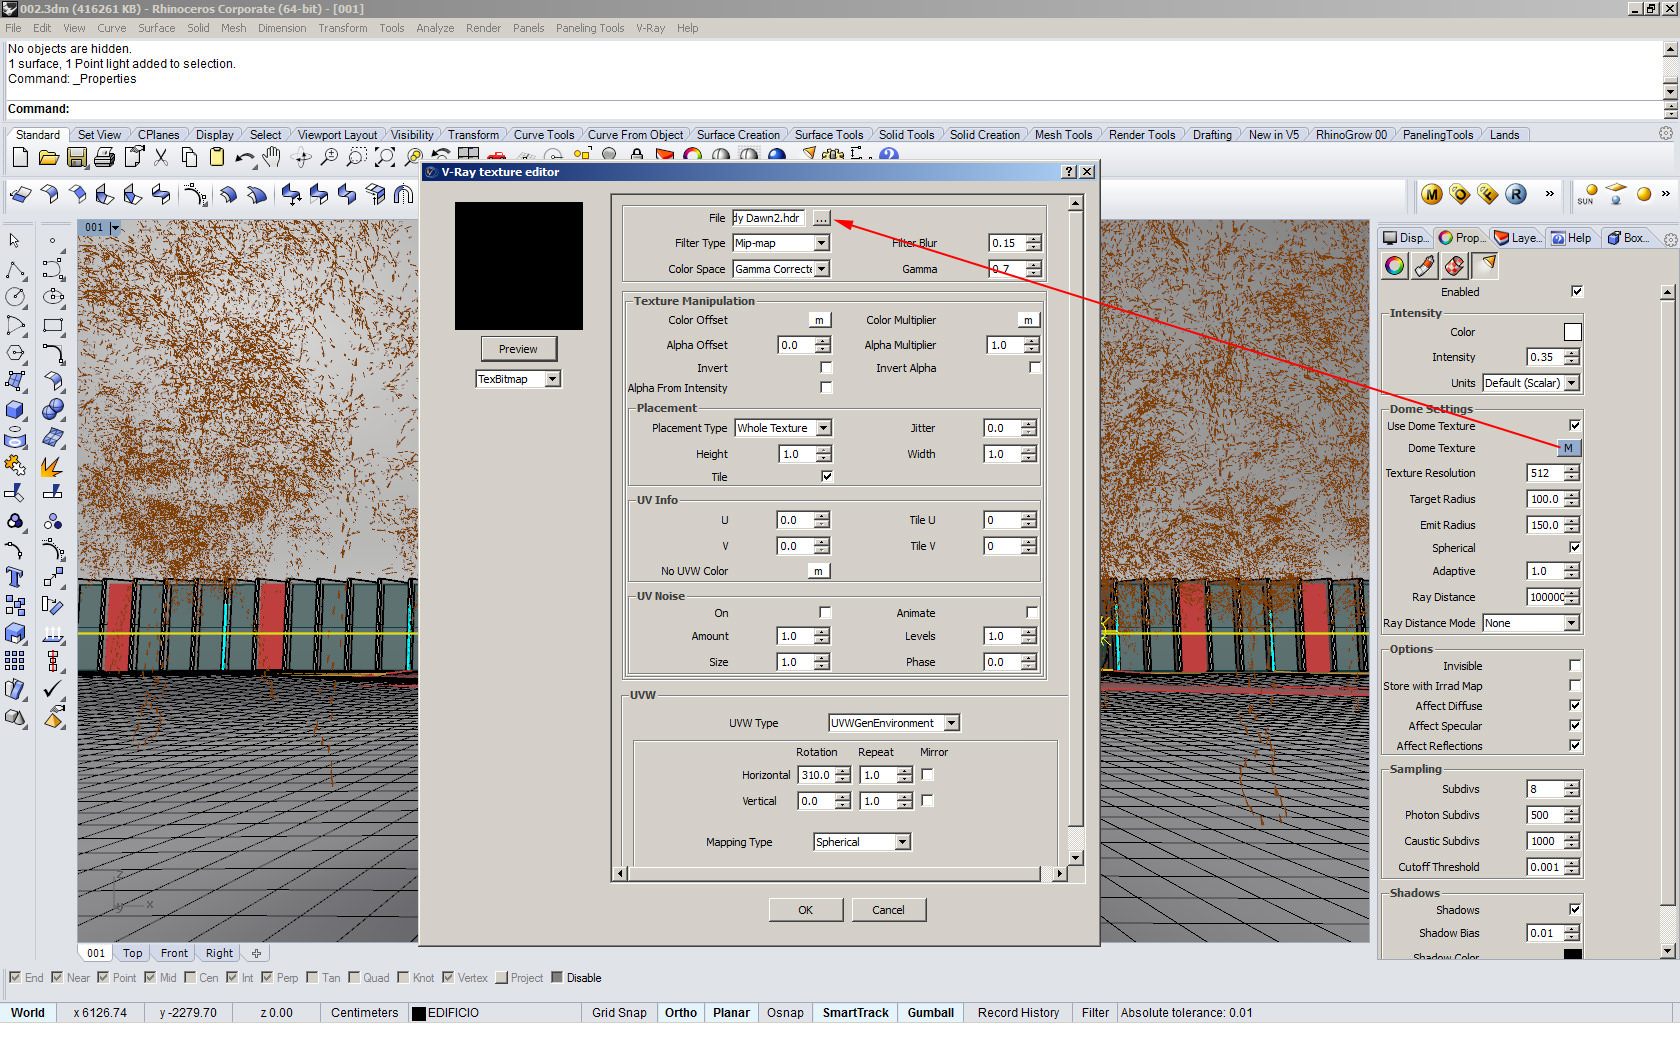
All the interior lights are made in post-production, while the ambient light is done by using a DOME light with an
HDRI map from Peter Guthrie’s HDRI Sky Collection.
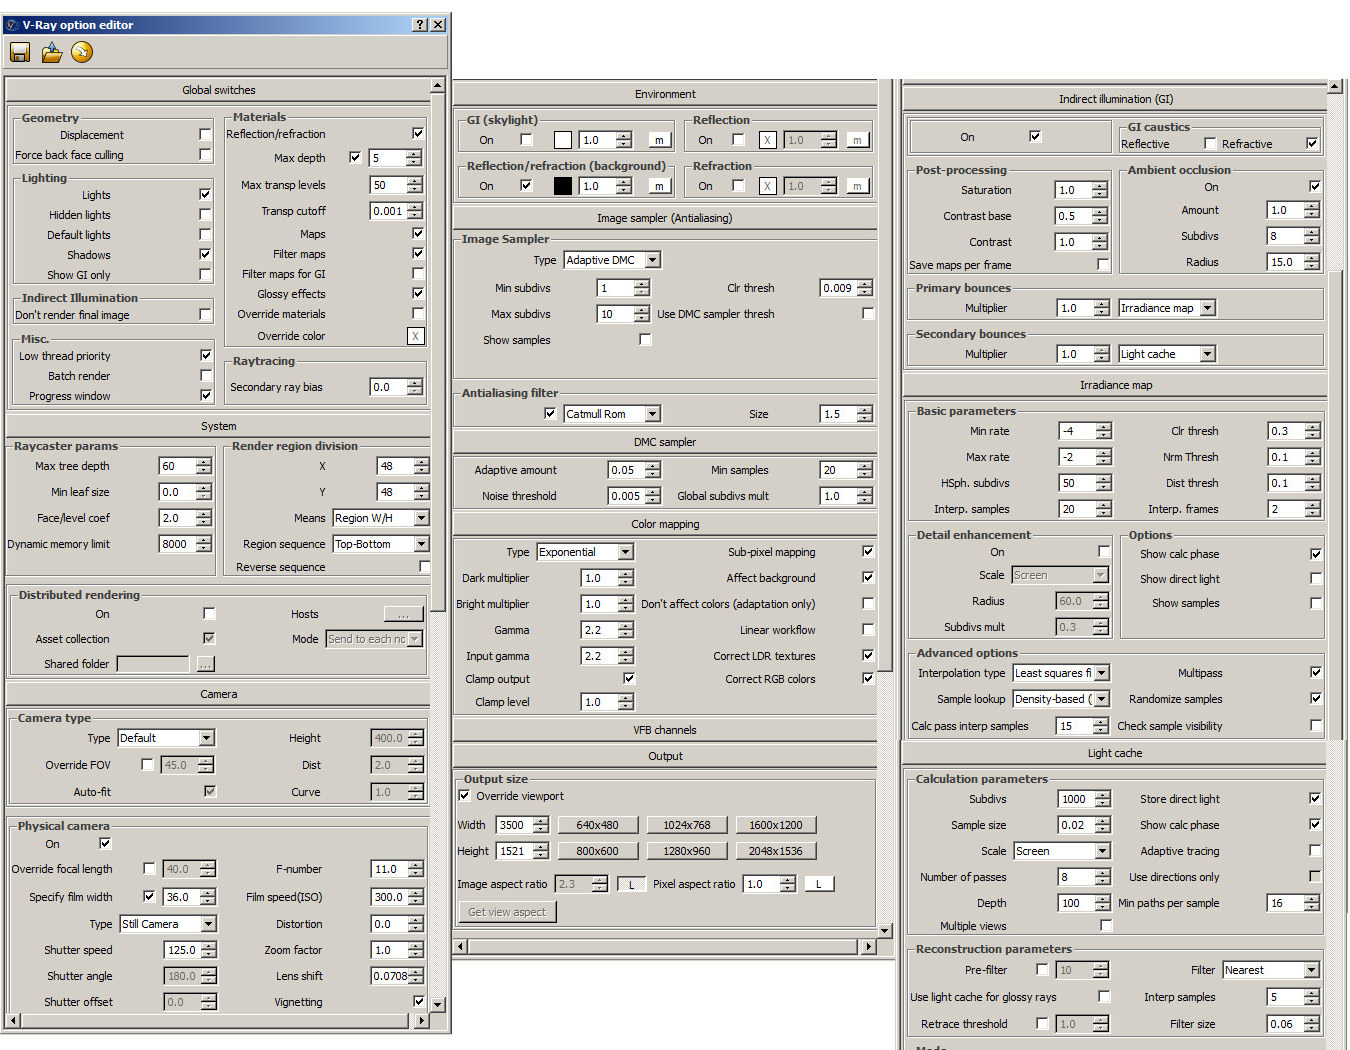
Render Settings
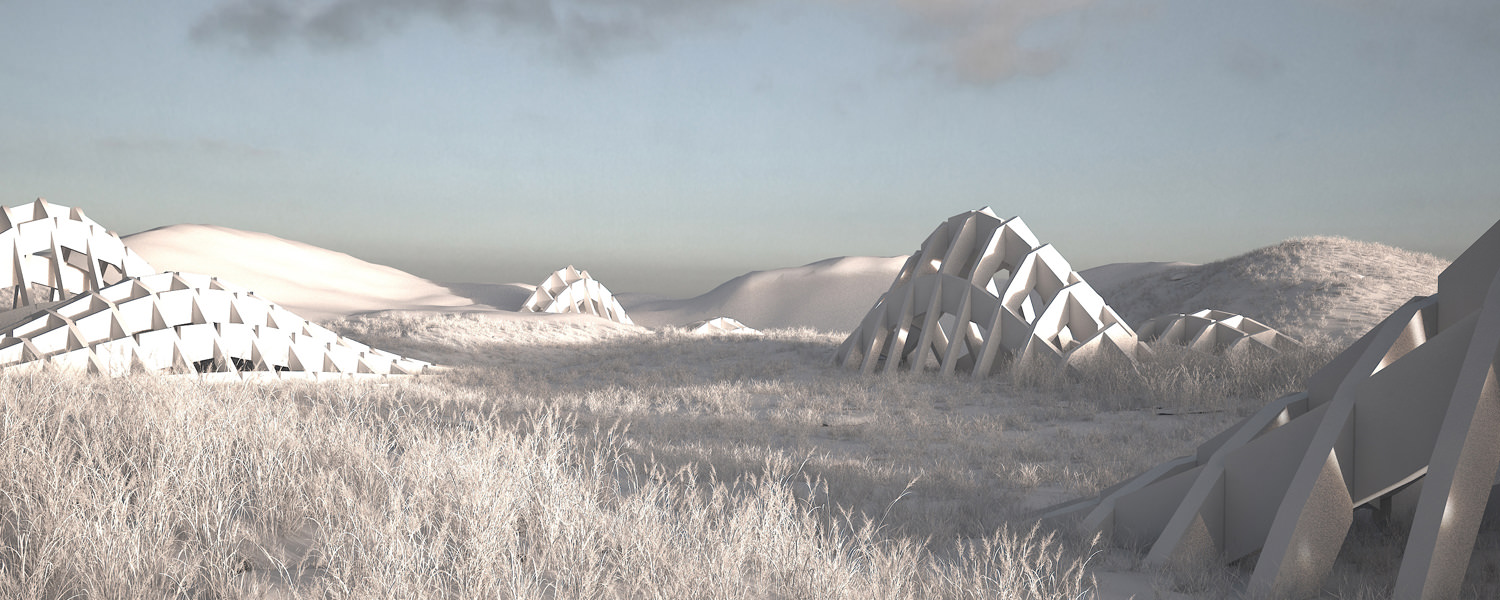
Raw vs. Final render
Stages of post contact sheet…
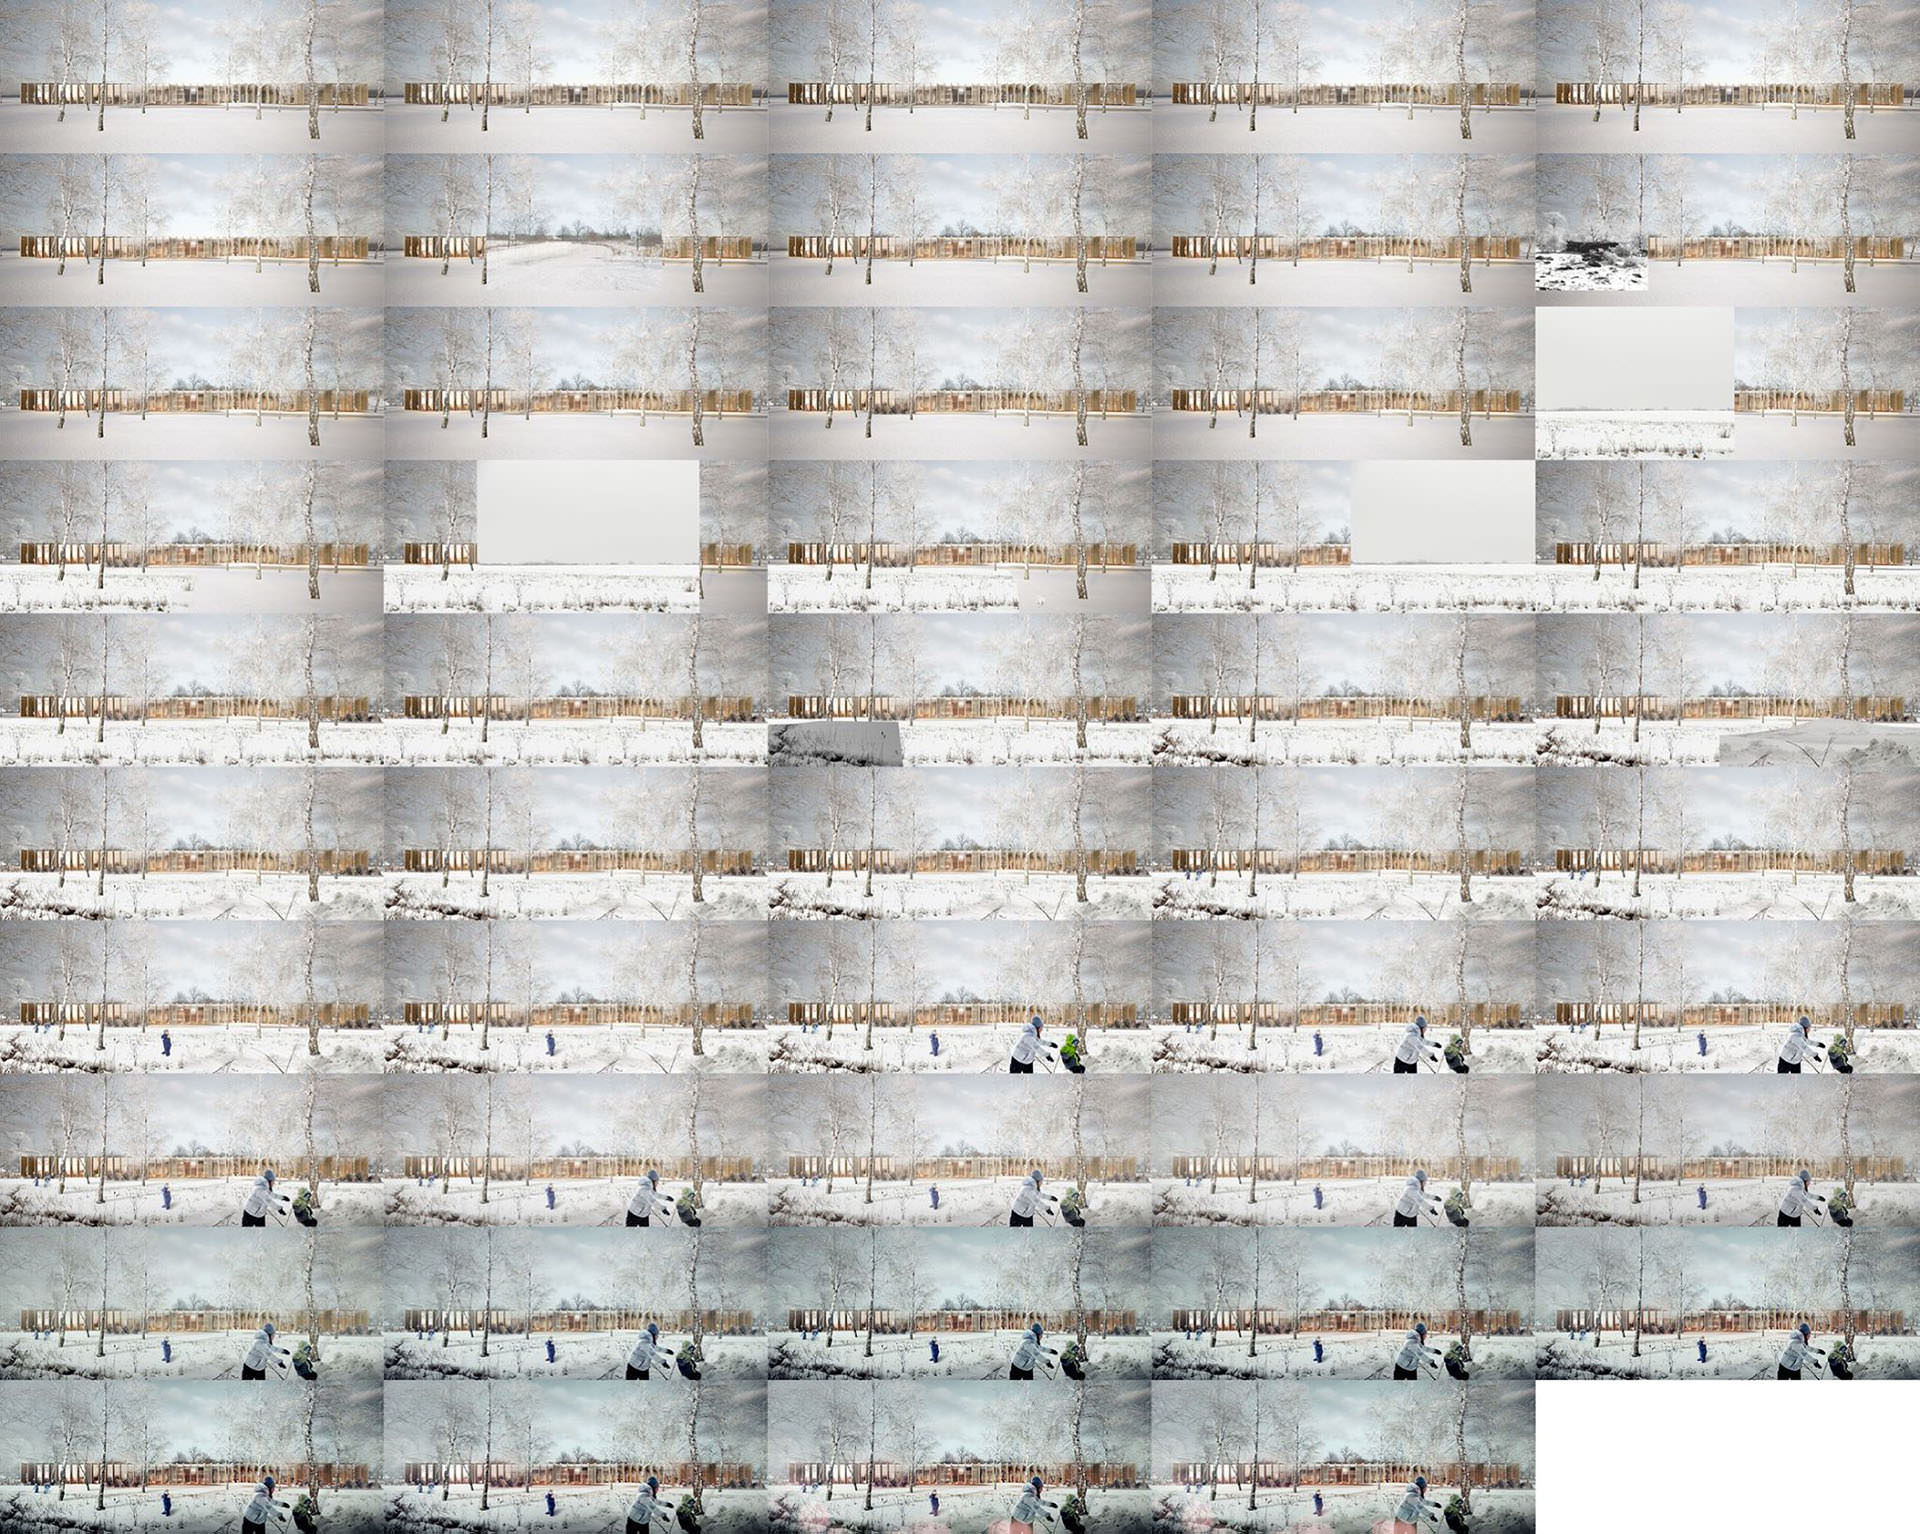
I also made a video of the post-work done on this one…
And for the final project and most done in 3d…
POST
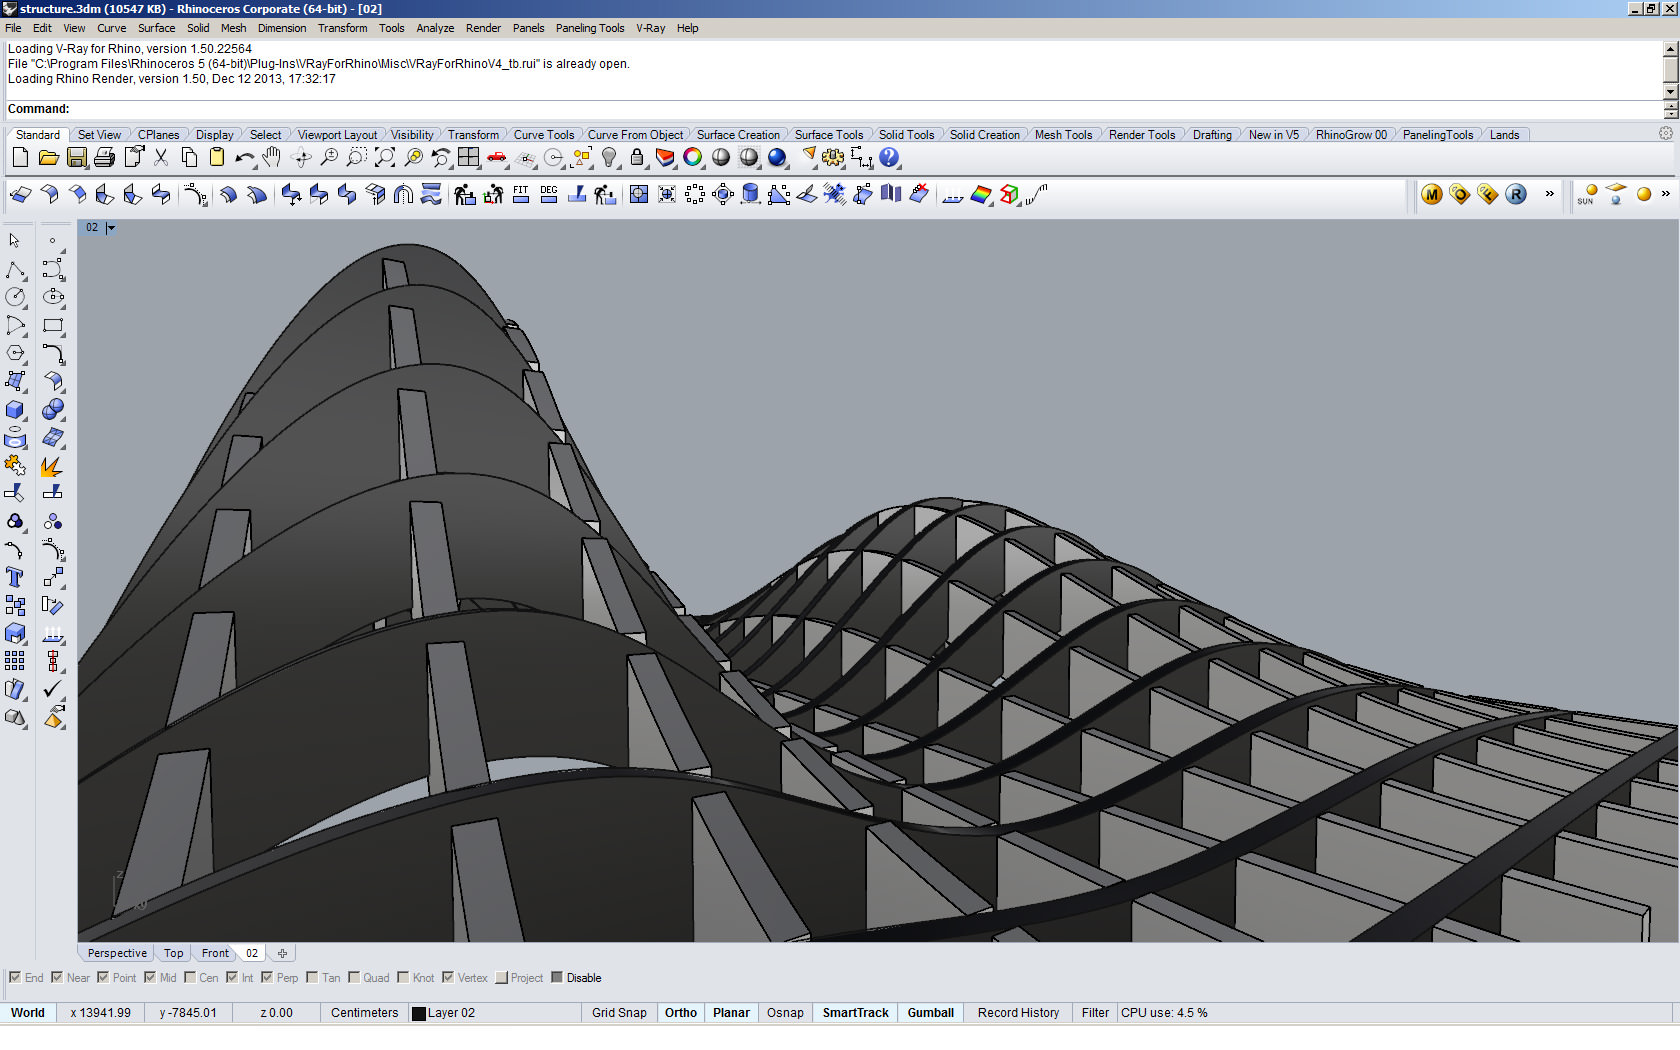
This scene was done as a learning experience for me using 3ds Max and MultiScatter. The main object started with a Grasshopper code shared on Co-De-It website.
Everything start from this simple sketch… I could have easily used my usual postwork heavy workflow, as most of the elements could be added matte painting style, but I wanted to give full 3d a go.
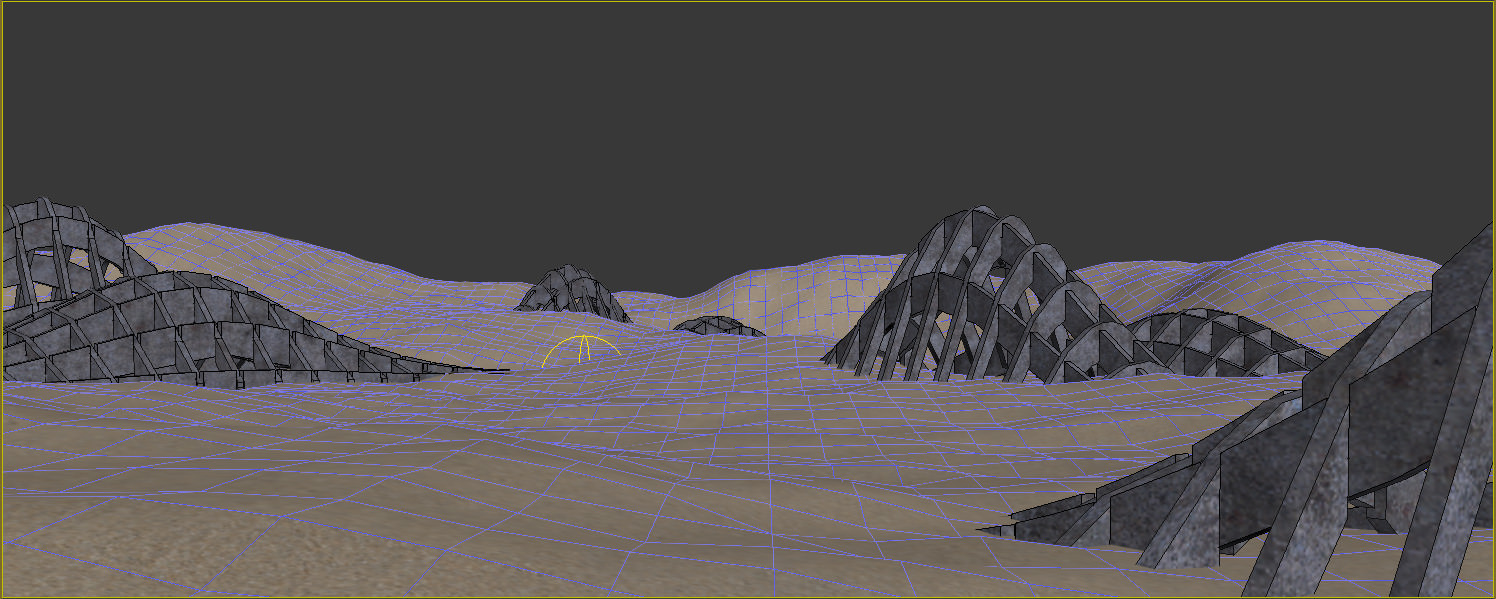
To create the landscape I started with a simple plane and then modified it with Paint Deformation to build all the hills as I wanted while viewing it all through the selected V-Ray camera. This way I could have better control over the terrain in the specific composition.
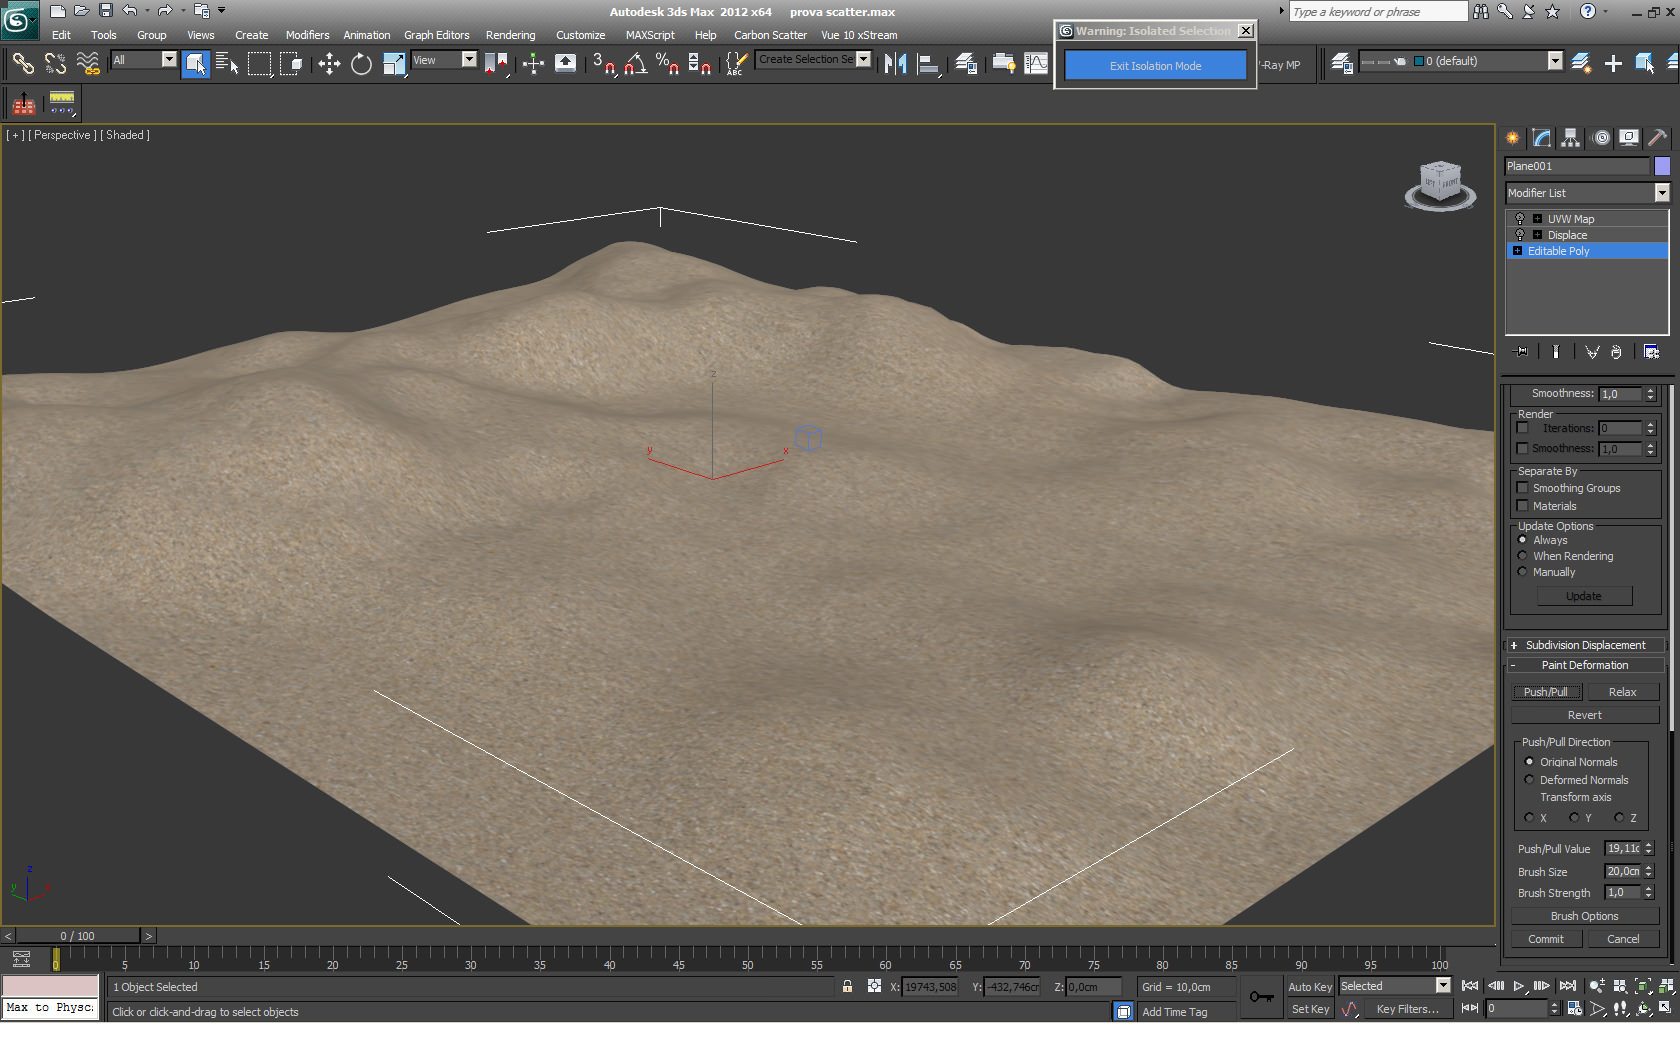
Back in Rhinoceros I created the wireframe of the hills (RibsStructure) and then imported them into 3dsmax. I moved and copy the structures to find the best positions.
For the GH code you can simply visit Co-de-iT and download the definition file.
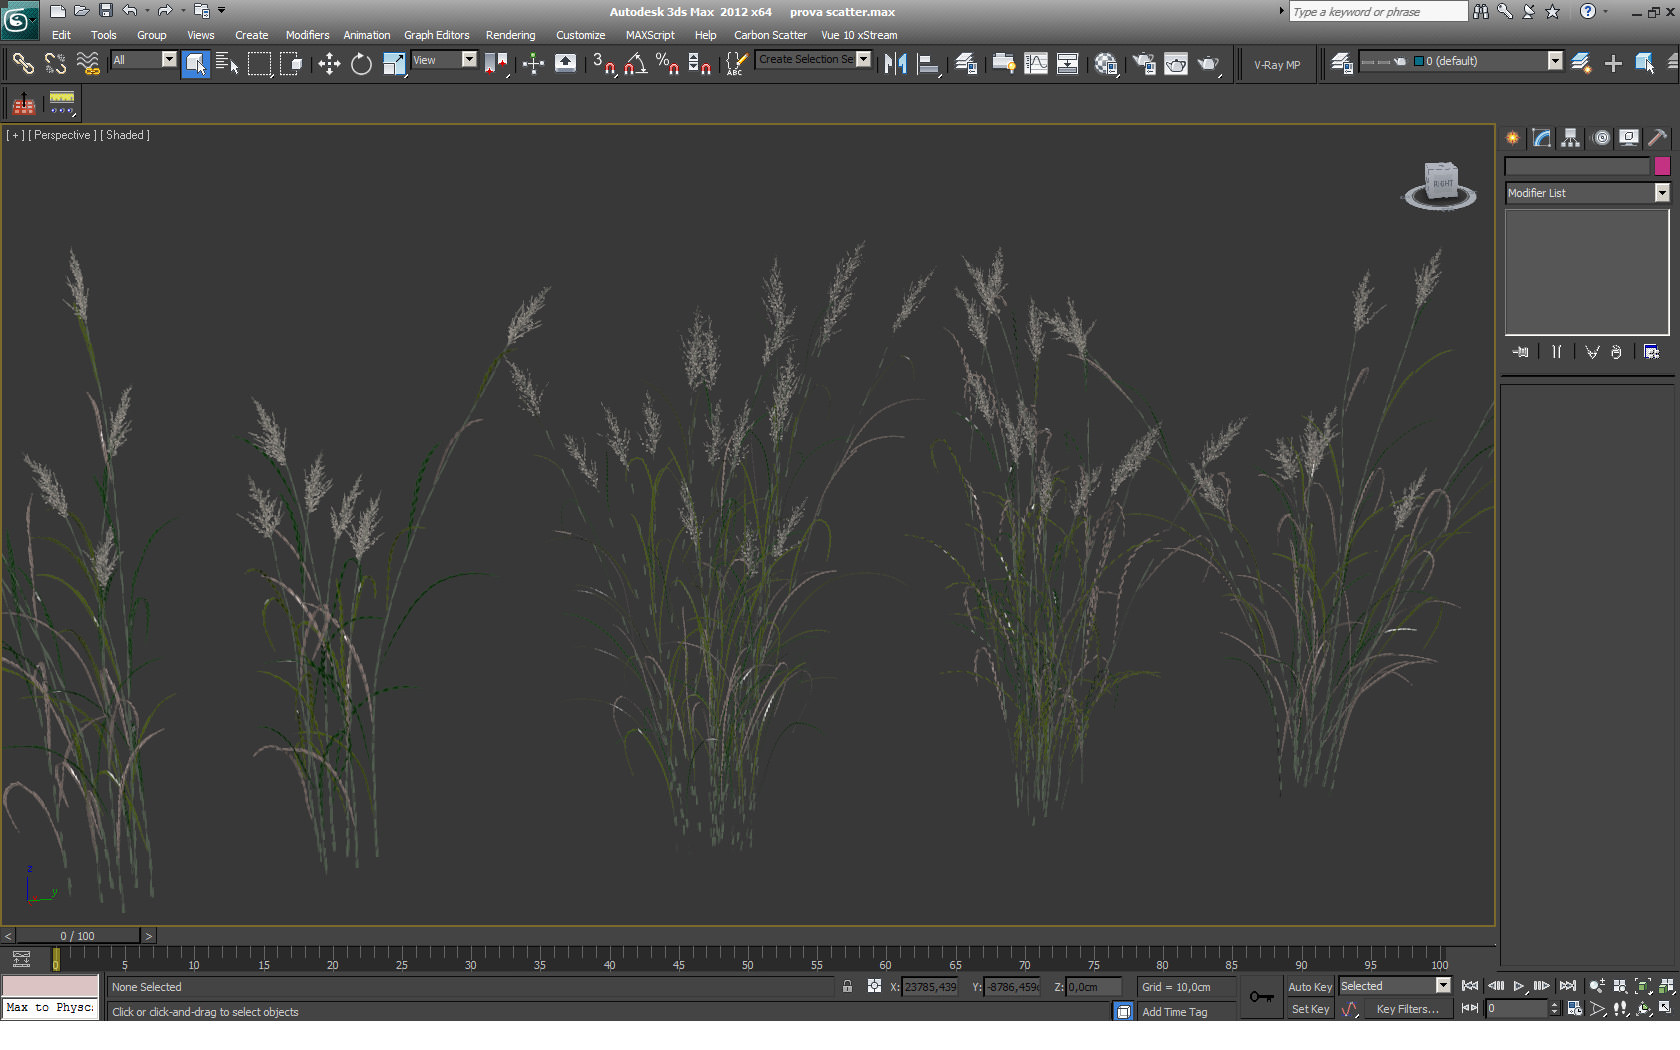
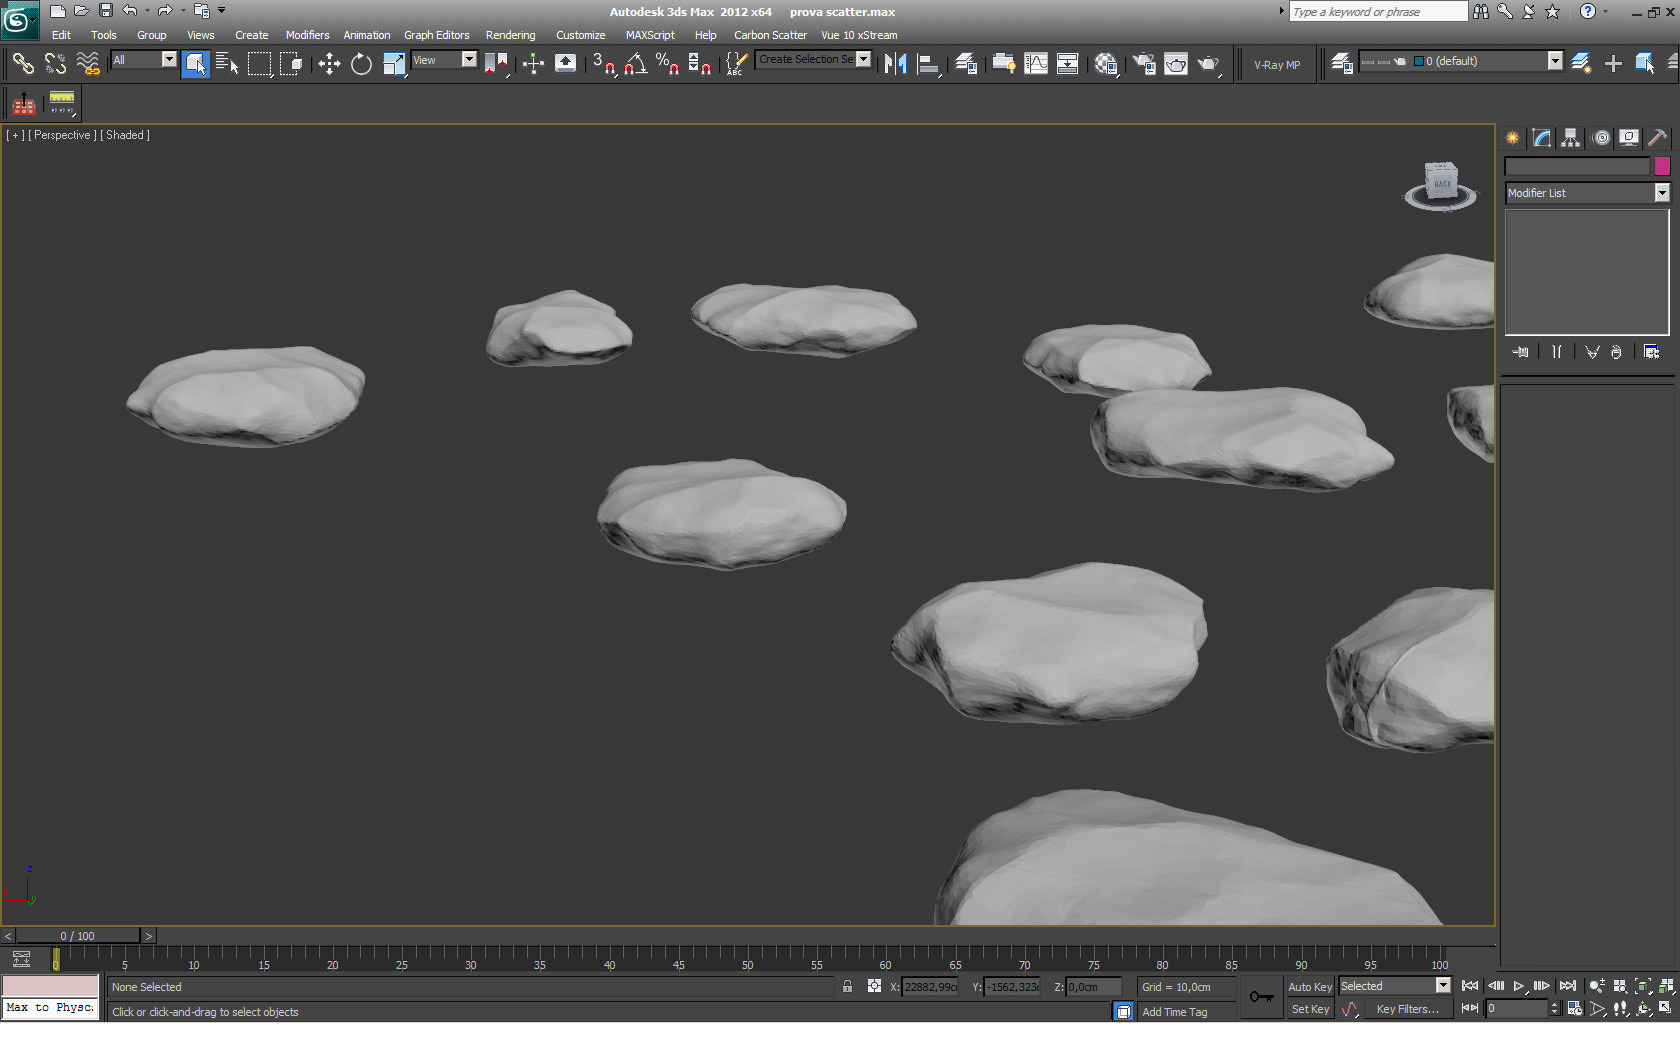
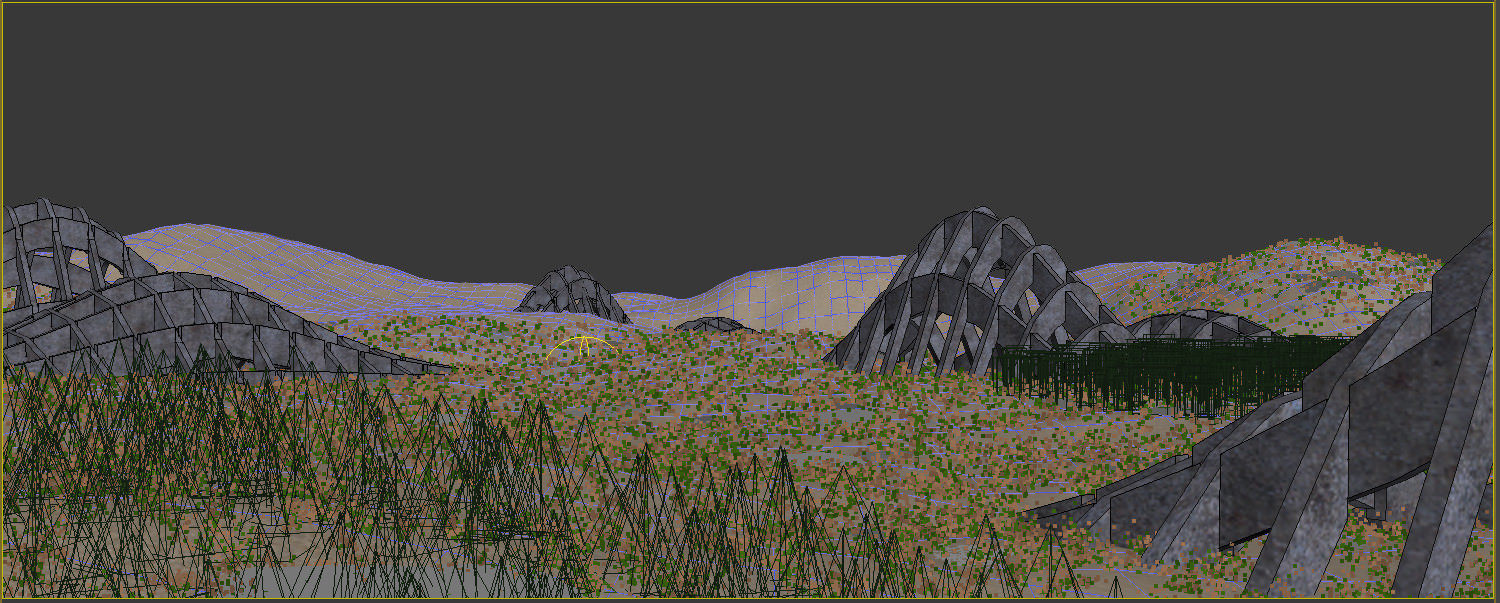
For the vegetation I used 2 kinds of grass with color changes modulated by a gradient ramp map.
The first group – Low Cut Grass
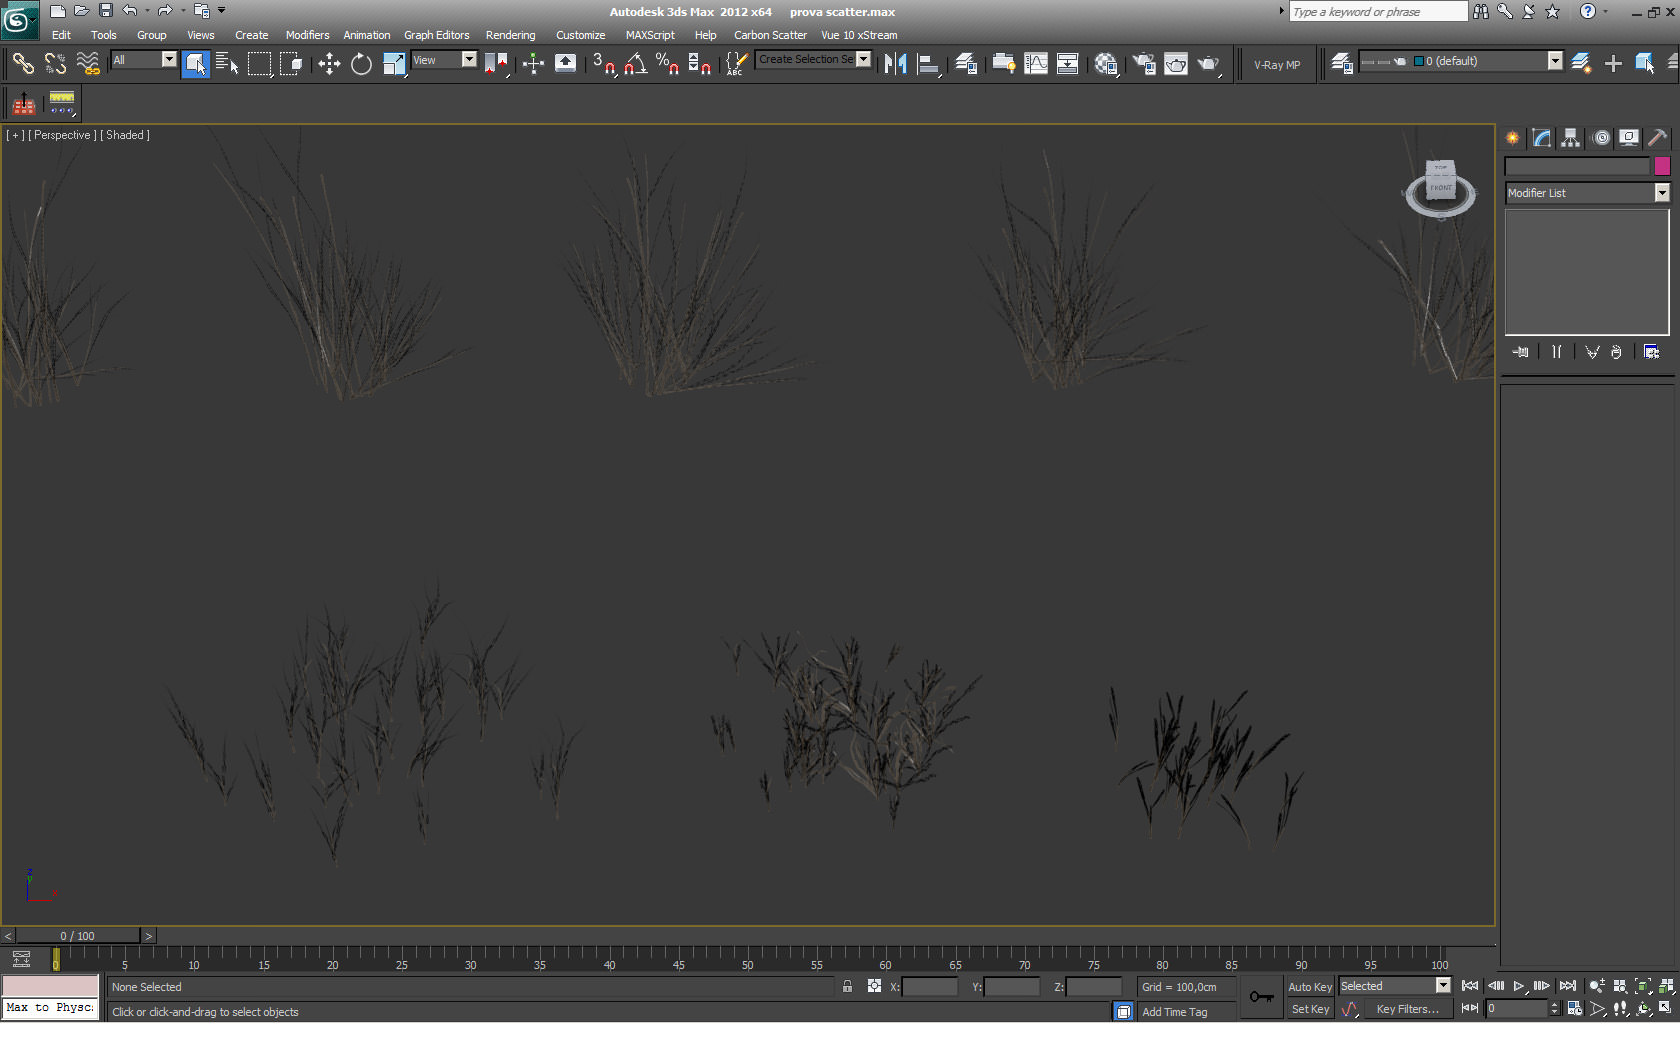
The second group – Tall Grass
The third group – Stones
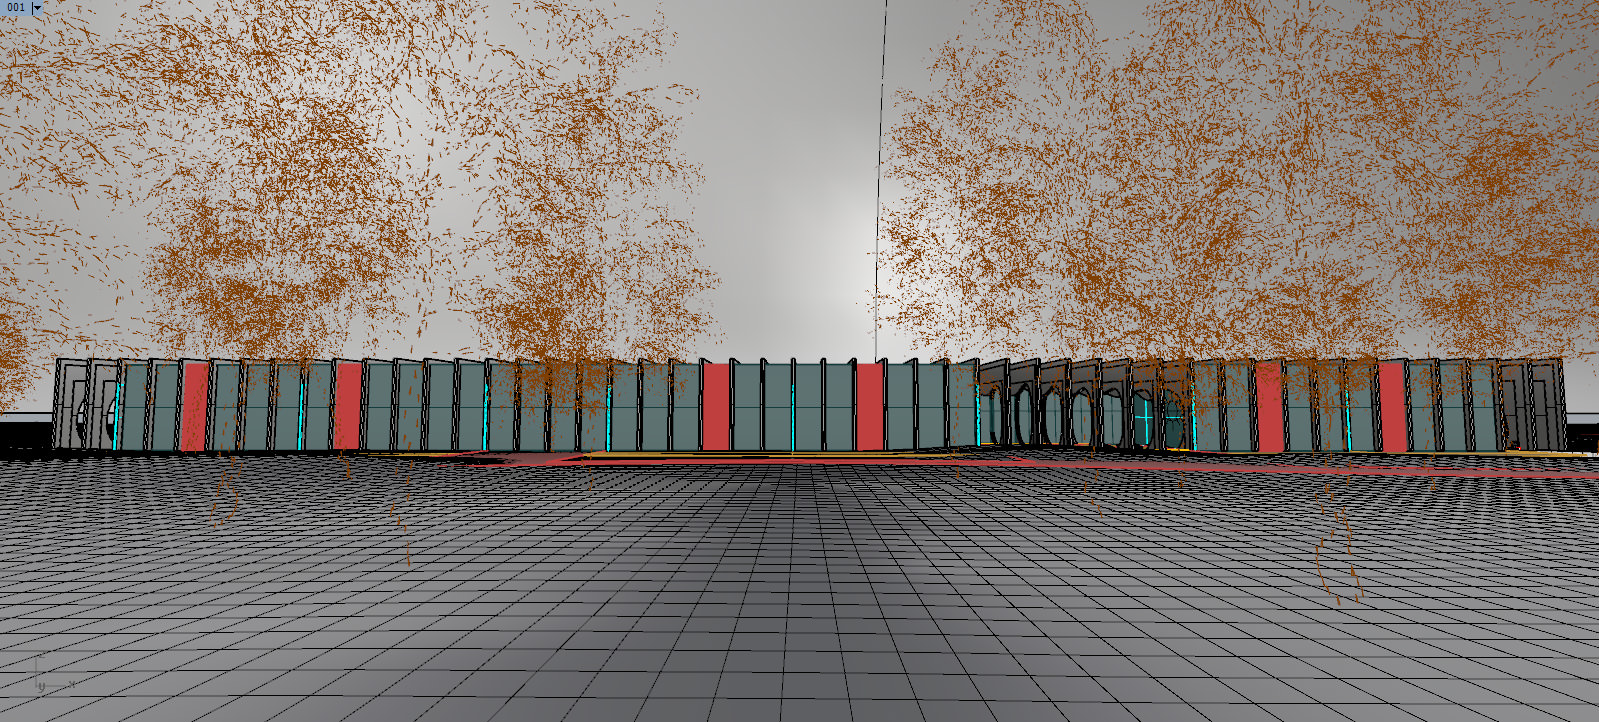
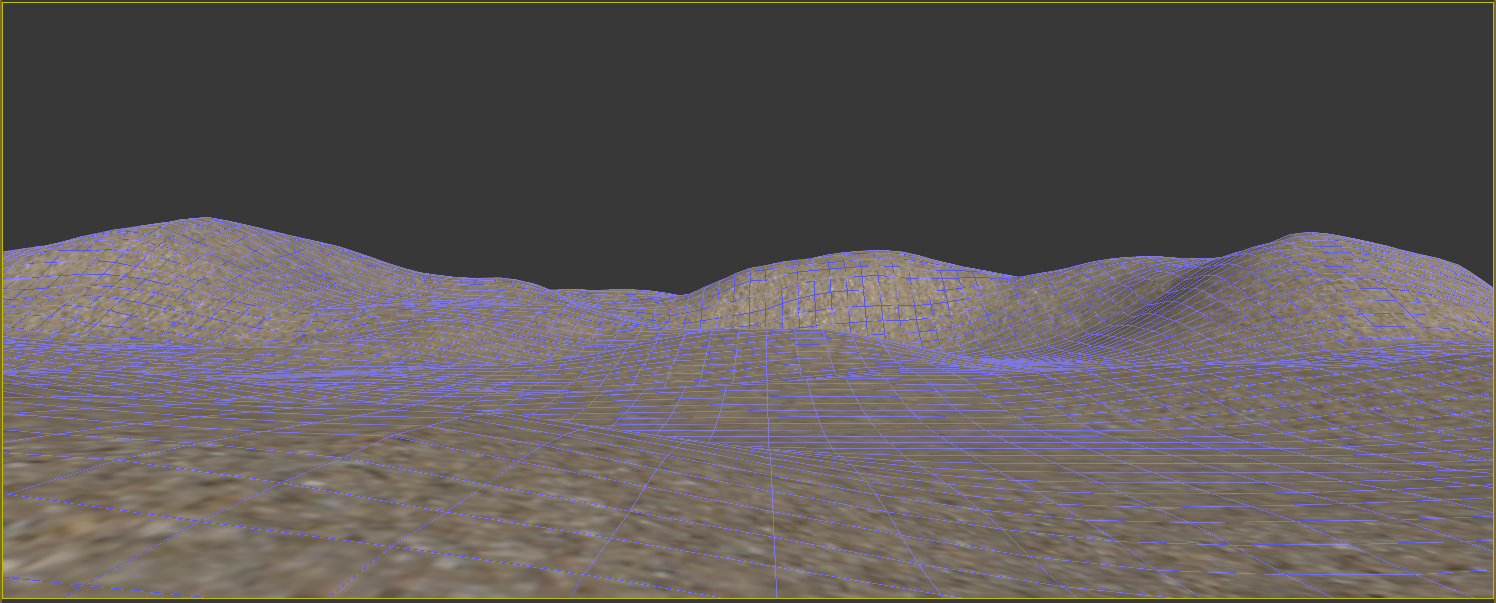
And here’s how it looks in the viewport…
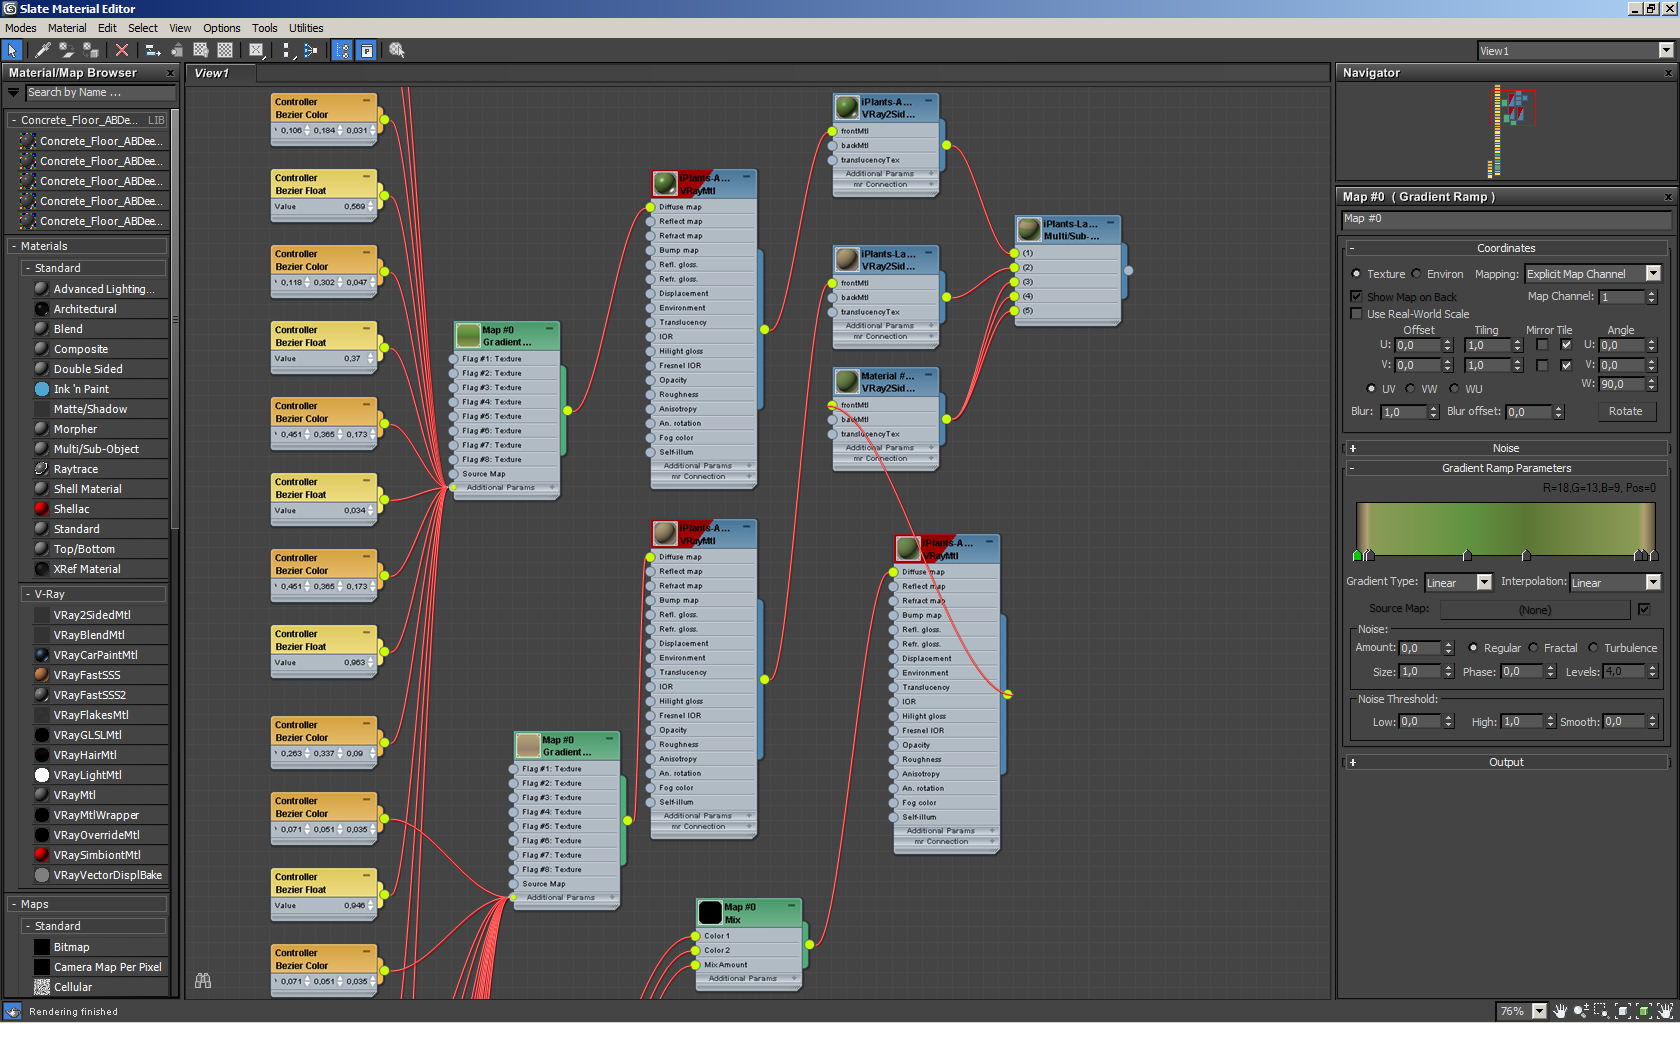
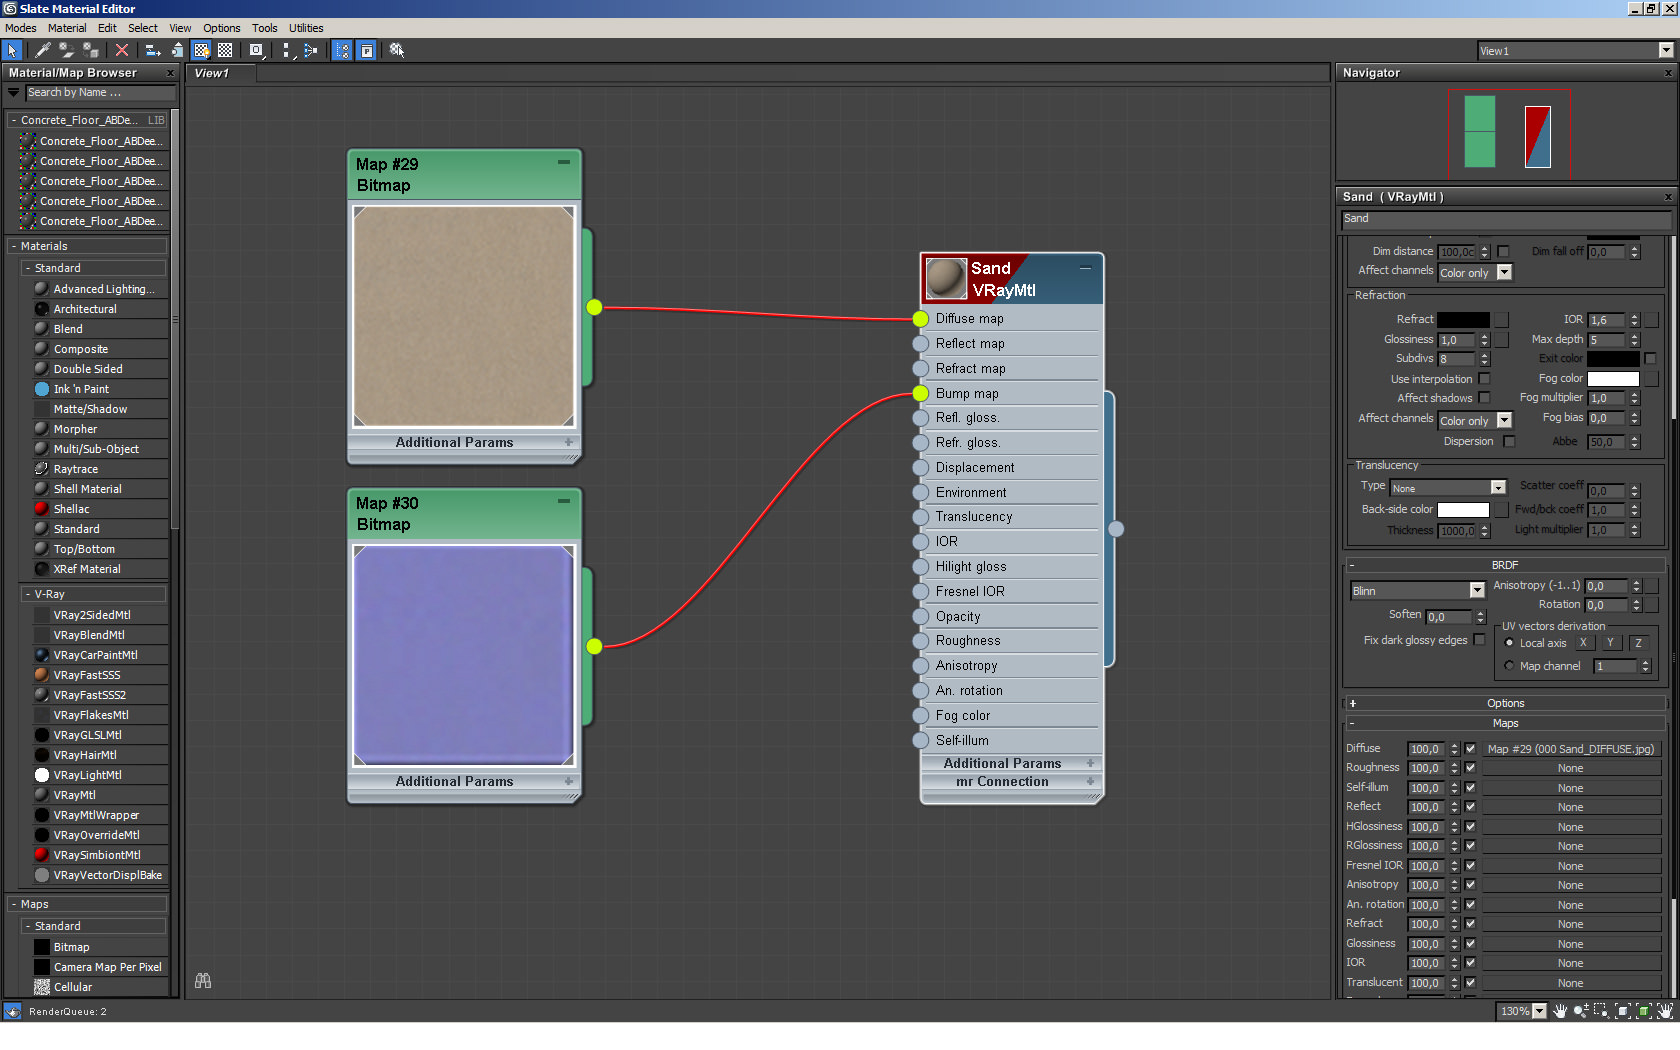
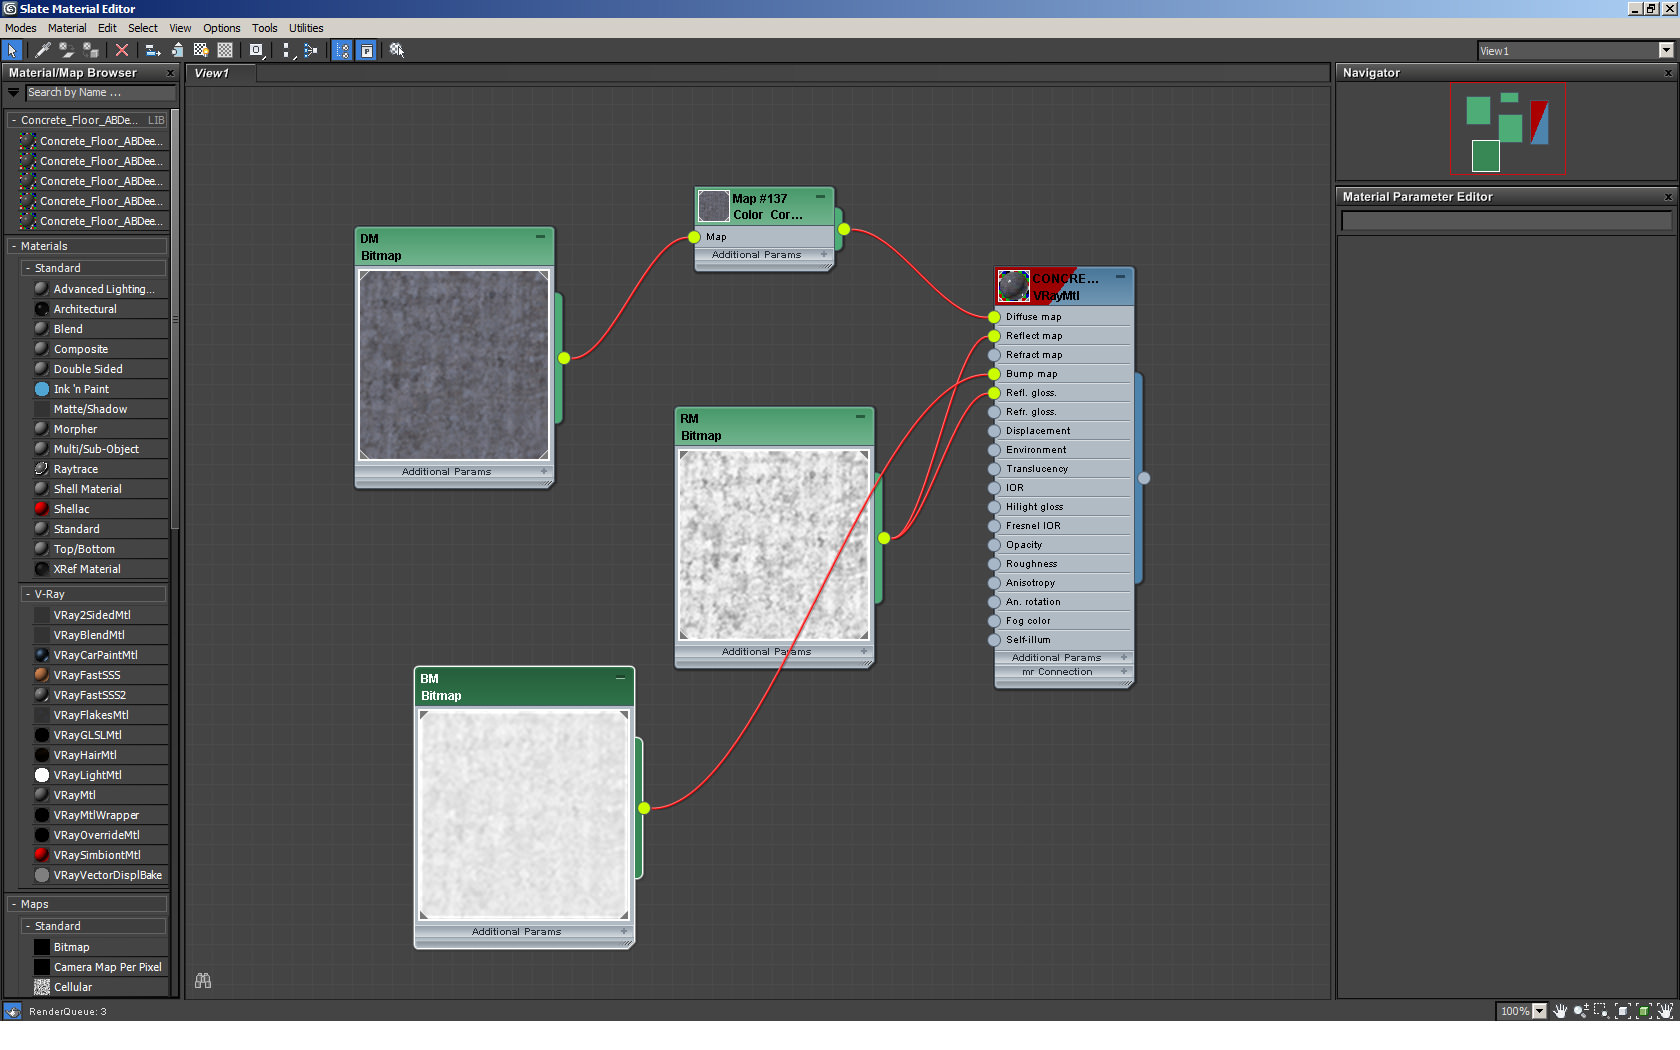
Texture Mapping
All the textures for the vegetation are modified with gradient ramp parameters
Sand
Concrete
Lighting
Same DOME light setup here too!

Render Settings
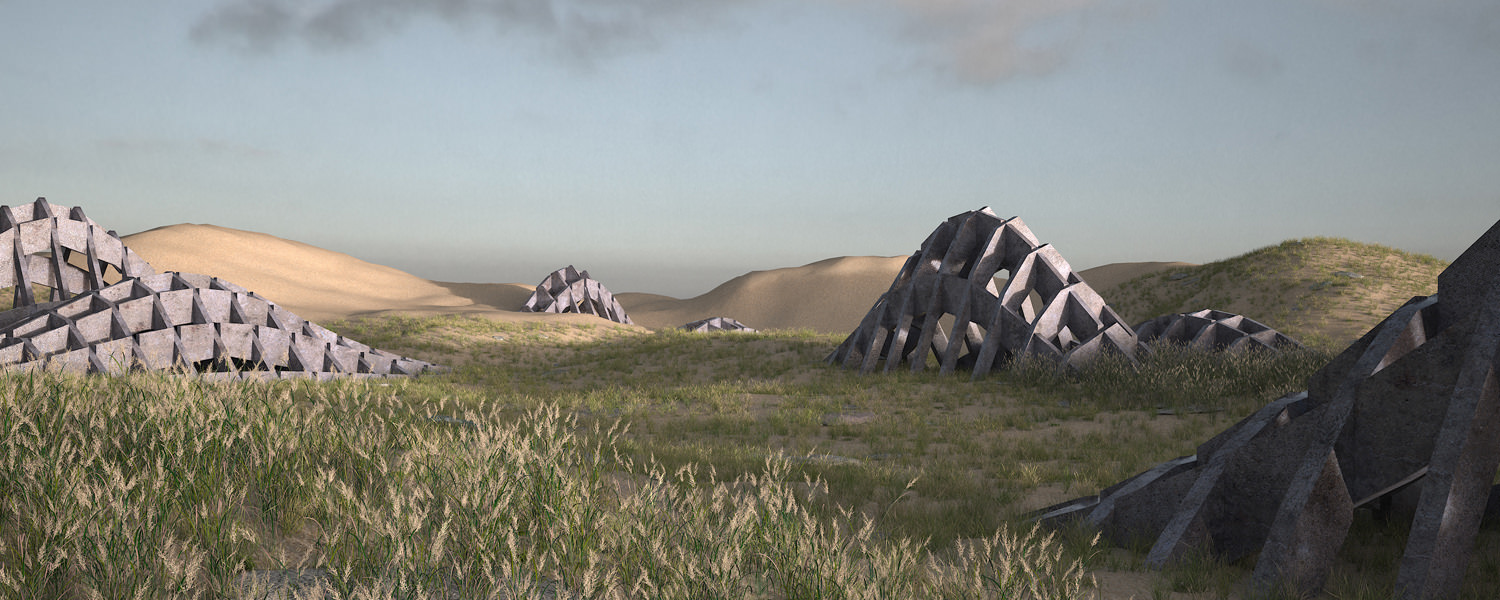
Raw vs. Final render
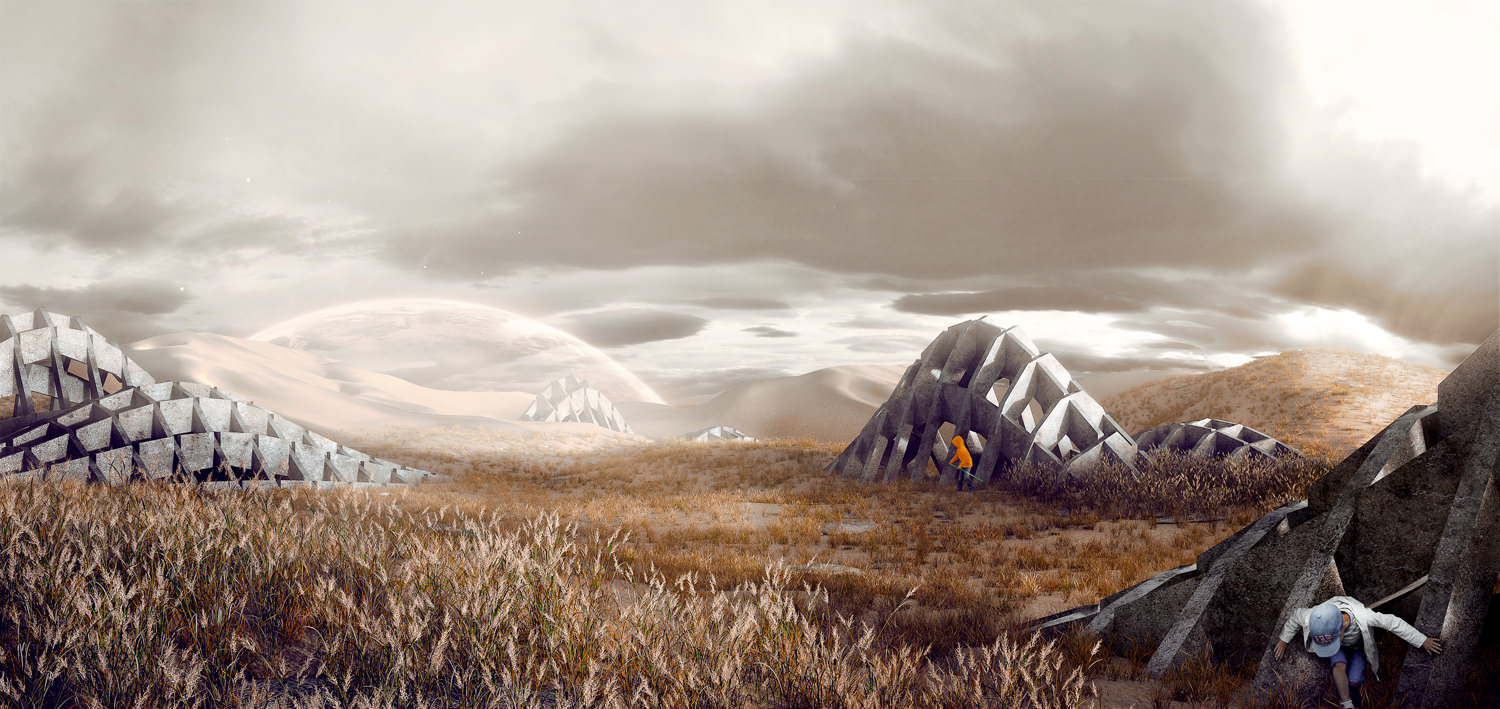
The post process contact sheet…
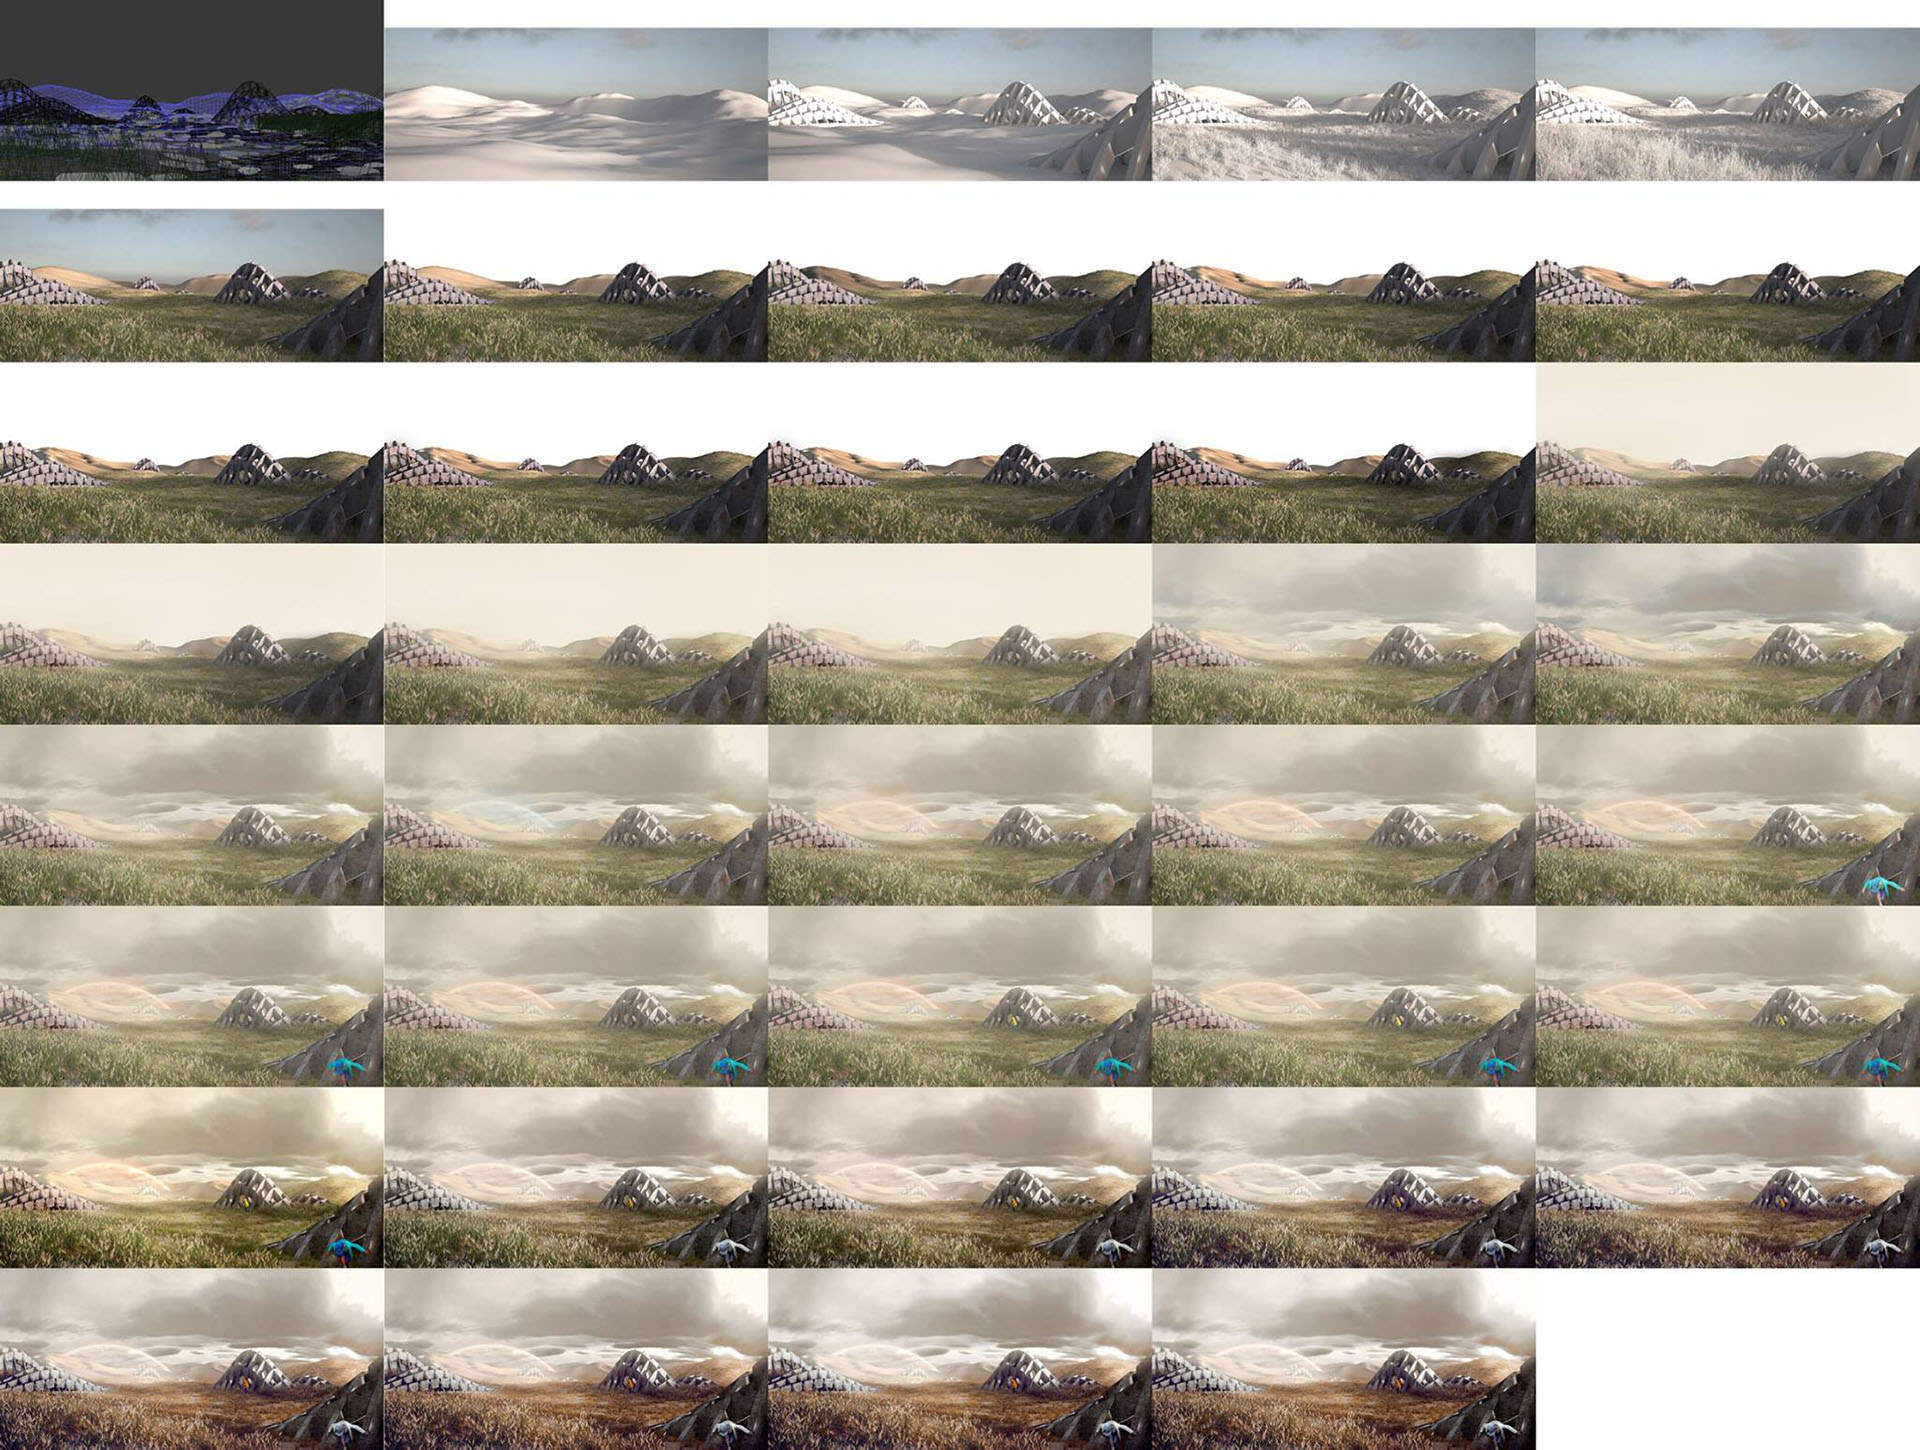
Here’s the short post process video for this one too…
Thank you for spending your time reading this article,
I hope you have found it interesting!
Cristian Chierici


THX Ronen! It’s a great honor! 😉
Congrats! 😉
Great work thanks for sharing 🙂
Fantastico lavoro Cristian!! Congrats!
Nice work…..
I love the fact that you’re working in Rhinoceros. Really is a impressive software for everything !!!! Thanks for it.
Fantastic workflow article! Great work
Very nice and thanks for sharing your workflow.
Fantastic article..!!