


Making of Age of Dinosaurs
Julian Farrell‘s “Age of Dinosaurs” Aerial image sparked a lot of interest among you and he was very kind to prep a short intro to his process before Christmas. Terragen 3 played a key role in the making of this image and I hope this article will serve as a starter for an in-depth follow-up with much more information on how to get this kind of thing done from A to Z.
Author: Julian Farrell
Introduction
First of all, I would like to thank Ronen for the opportunity to share my work with you here. His blog is an amazing resource that I go to all the time. Love your work Ronen! Keep this going 😉
Age of Dinosaurs. Stage 2
The project Im sharing is a concept for a dinosaur museum in Winton, Australia. This area of Australia is how you might imagine the big Australian Outback to be.
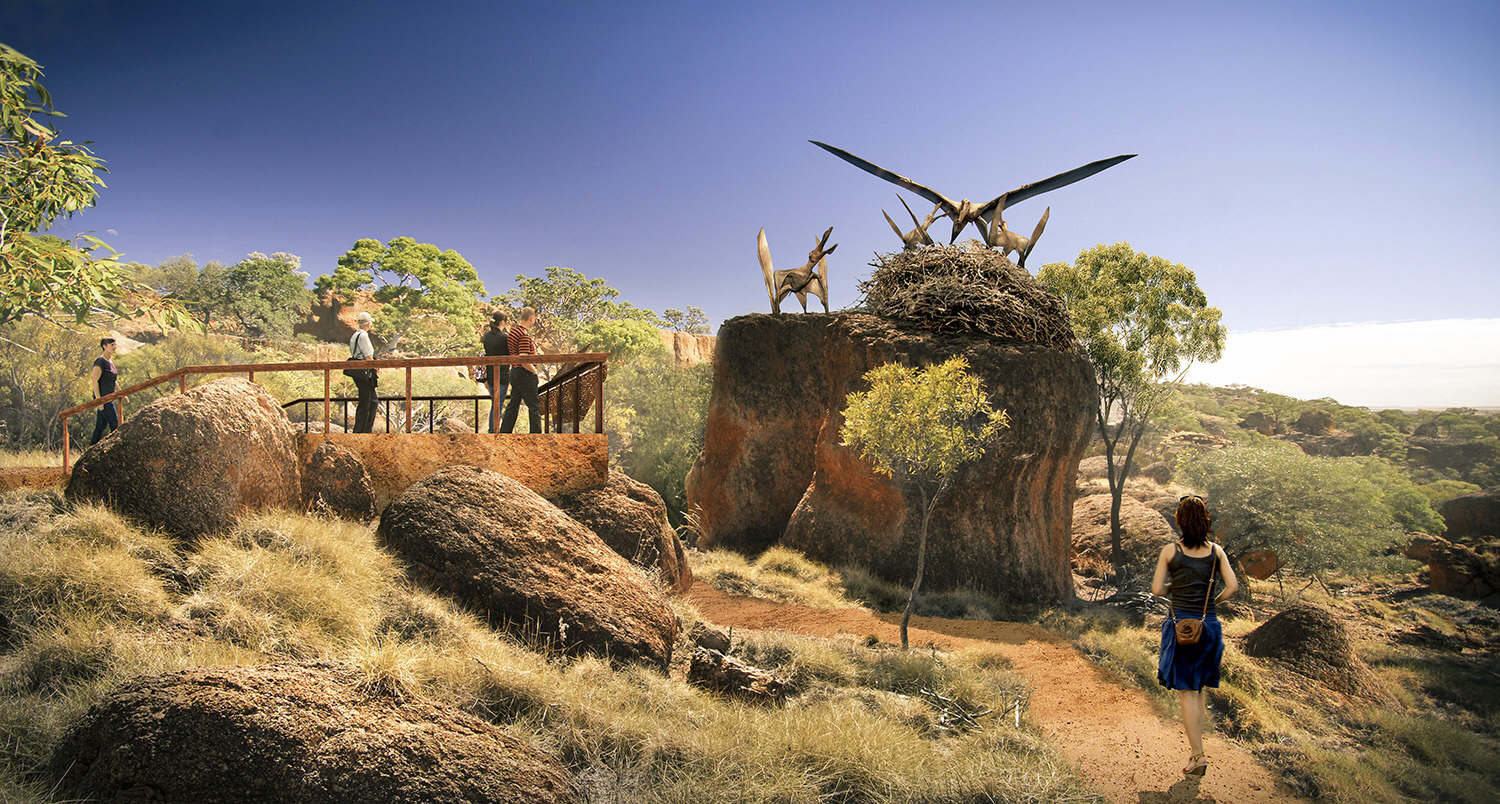

The landscape is dry, vibrant red earth, undulating rocky plains and deep blue skies. The area has some of Australias best dinosaur fossils. Theres a fantastic museum in the area designed by Cox Rayner Architects, and the new museum, also designed by Cox Rayner, will cater for larger numbers of visitors and house larger exhibits.

A big thanks has to go to my colleague, Leon McBride, for creating the environment terrain. The client wanted an aerial view of the museum but we didnt have the time or the budget for sending a helicopter up to take photos. We wanted the aerial images to reflect the great scenery so we decided to create it using Terragen 3.
Terragen is a great piece of software by PlanetSide Software that offered a big advantage over the aerial photography option (we didnt really have), being once the terrain was modelled accurately we could move the camera wherever we wanted. The funny thing was when we showed the client some early aerial renders he actually thought we had done them from a helicopter.
Terragen Workflow
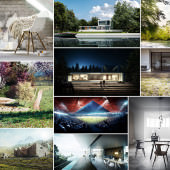
Terragen is a powerful tool for creating and rendering realistic natural environments. You can build landscapes with rivers, mountains, oceans and beautiful skies. It allows you to import objects such a tress, plants and grass from other software and populate your environment. Below you can see a selection of great imagery done by Terragen artists. Head over to the Terragen gallery for some stunning renders:
To begin, we started with a great aerial photo of the original museum, this served as a great reference for us:

Photo by Christopher Frederic Jones
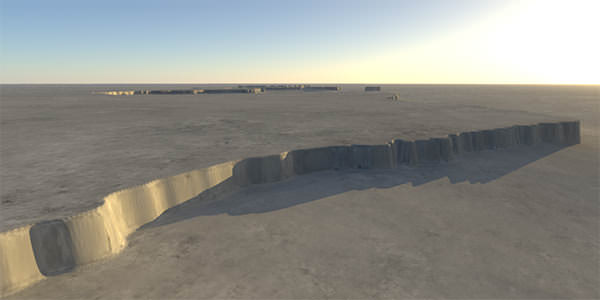
Step 1
Create a height map in Photoshop and use this to displace the base terrain in Terragen. We had access to a hi-res satellite photo and most of the masks have been created from it.

Render showing a basic displacement from a height map.
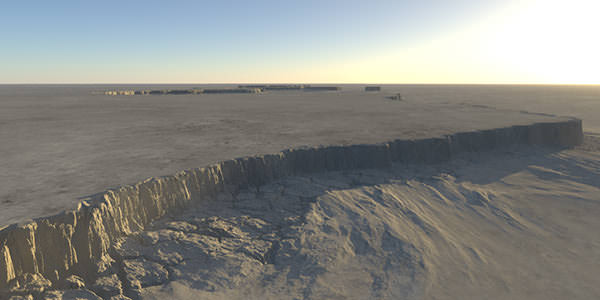
Step 2
Detail was added through localised displacement effects which were controlled via fractal noise shaders and constrained by additional masks.
Step 3
Adding base terrain colours and maps. This was made using Terragen’s fractal noise shaders. The fractal shaders are great for adding variation and imperfections to the environment. We made all the masks in Photoshop using a Wacom tablet. The final masks were over 10,000 pixels wide!
This dirt mask controls how the 2 colours blend together.


Step 4
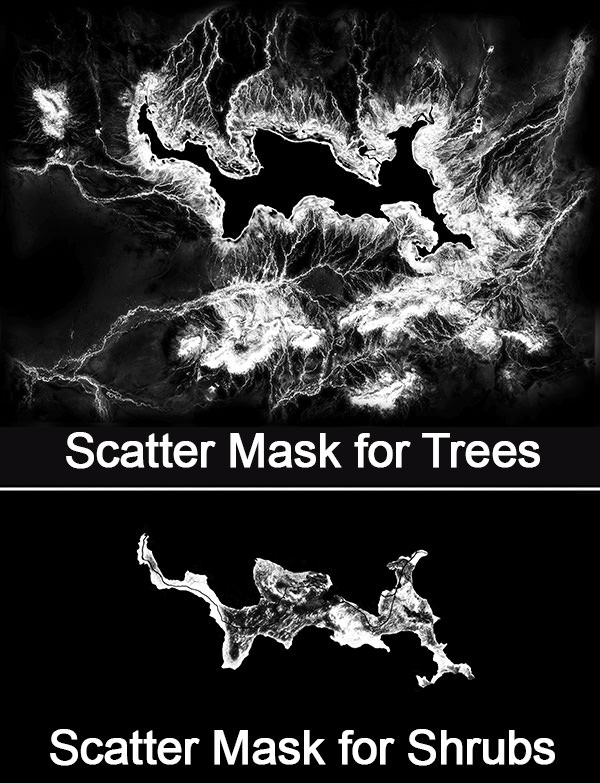
Adding details – Trees, shrubs, textures, rocks, clouds & environment fog.
We were really impressed with the lighting from Terragen. The horizon has that natural haze effect and the clouds make very realistic shadows on the ground.

All of the assets like trees, shrubs and branches were models from GrowFX and 3dsmax. They were imported into Terragen as .obj files and then distributed around the scene using more masks and noise shaders.
Another great thing about Terragen is the procedural environment so you’ll have every bit of detail from the hills on the horizon to the cracks in the ground. Here’s an example of the ground when you zoom in.
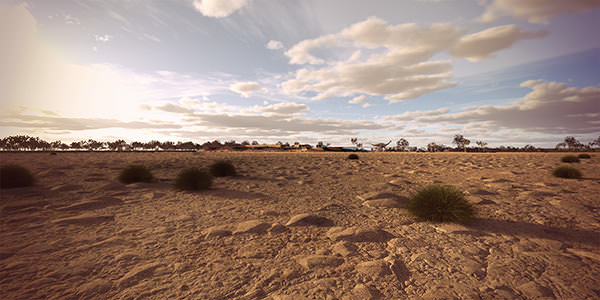
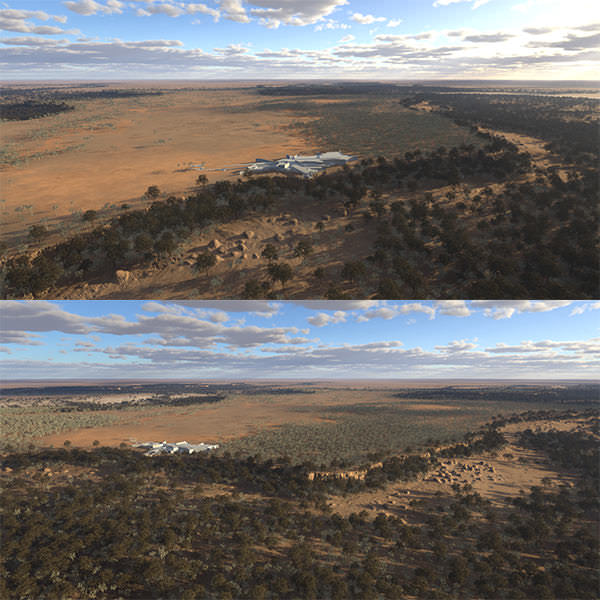
And here’s the base render from Terragen.

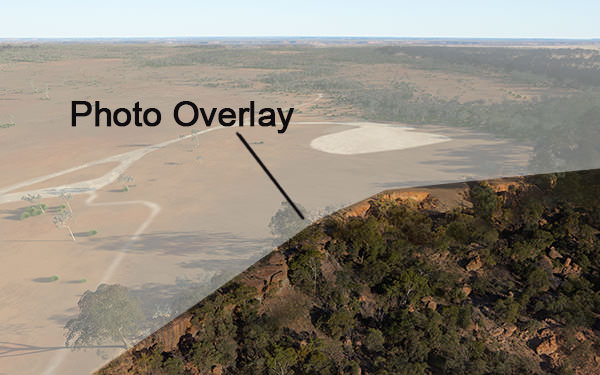
We decided the rock landscape and trees at the front of the image needed some more variation so we overlayed a photo and matte painted areas in Photoshop.
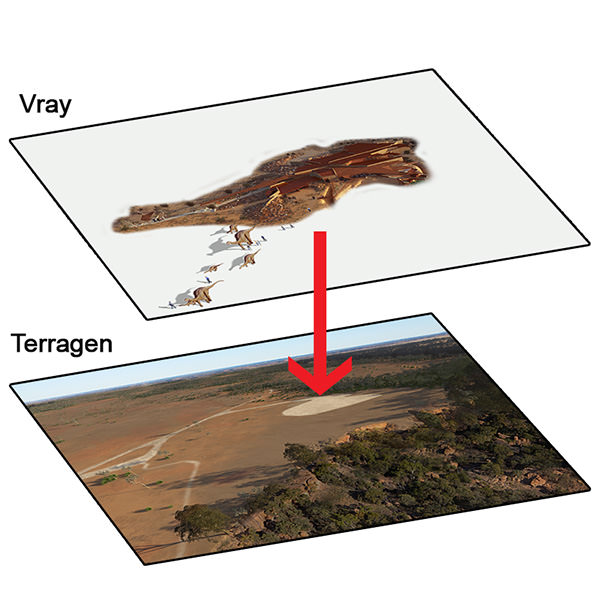
As we already had the museum fully textured in 3dsmax we rendered it out in 3ds Max with V-Ray. We then composited it over the Terragen render. Then we just colour graded to get the renders to fit together. Then we painted some more haze and warmth in Photoshop.
We found that Terragen is a very powerful tool to create highly detailed environments… the drawback being a steep learning curve. Fortunately theres a strong online community of Terragen users with lots of good tutorials and tips.
Hopefully… I will revisit this article after Christmas and add more information to it, so please add your questions in the comment section below so that I may address them.
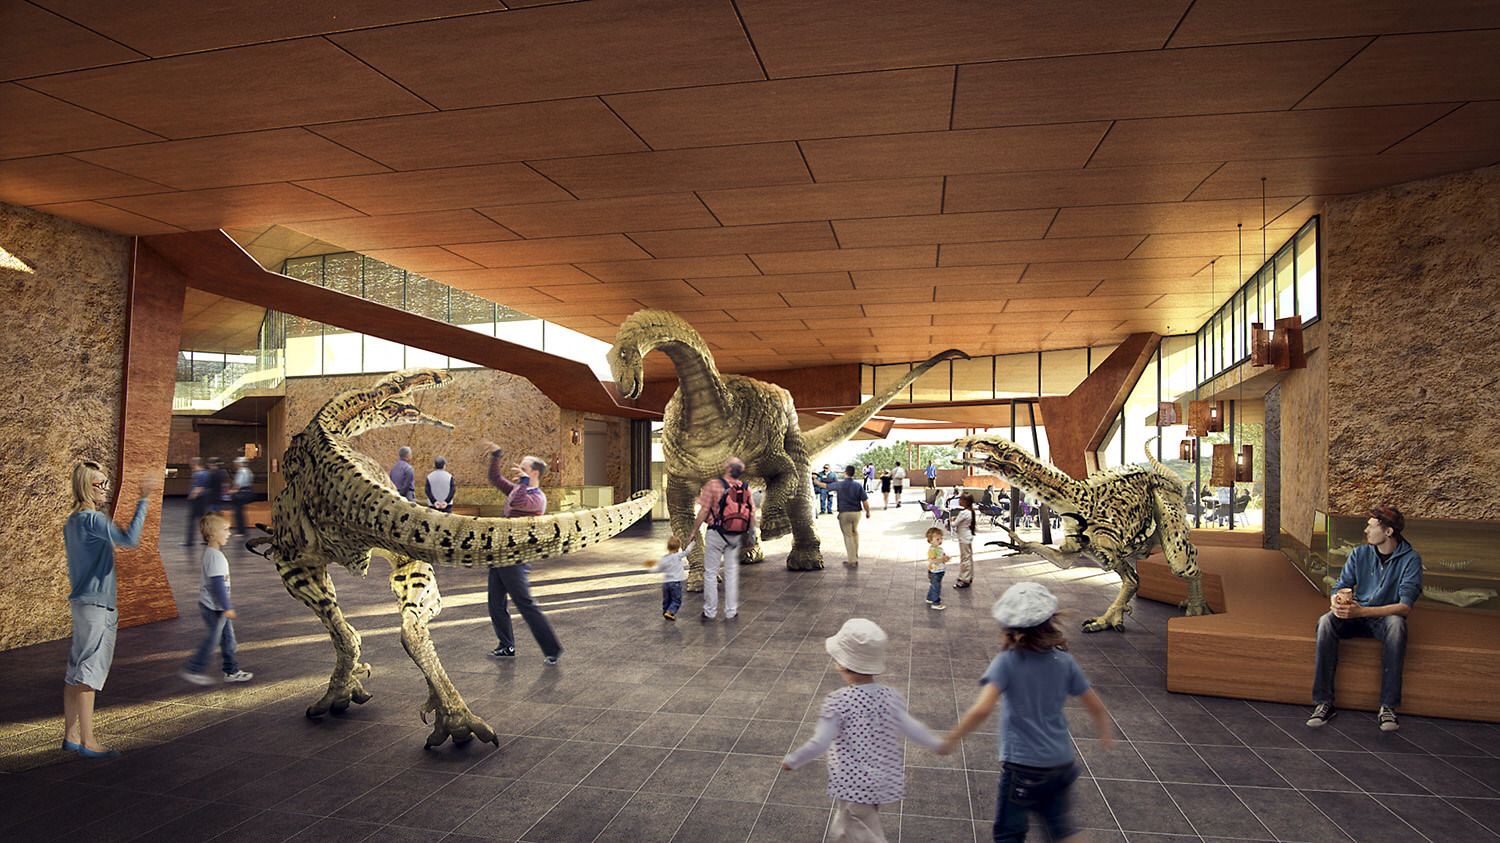
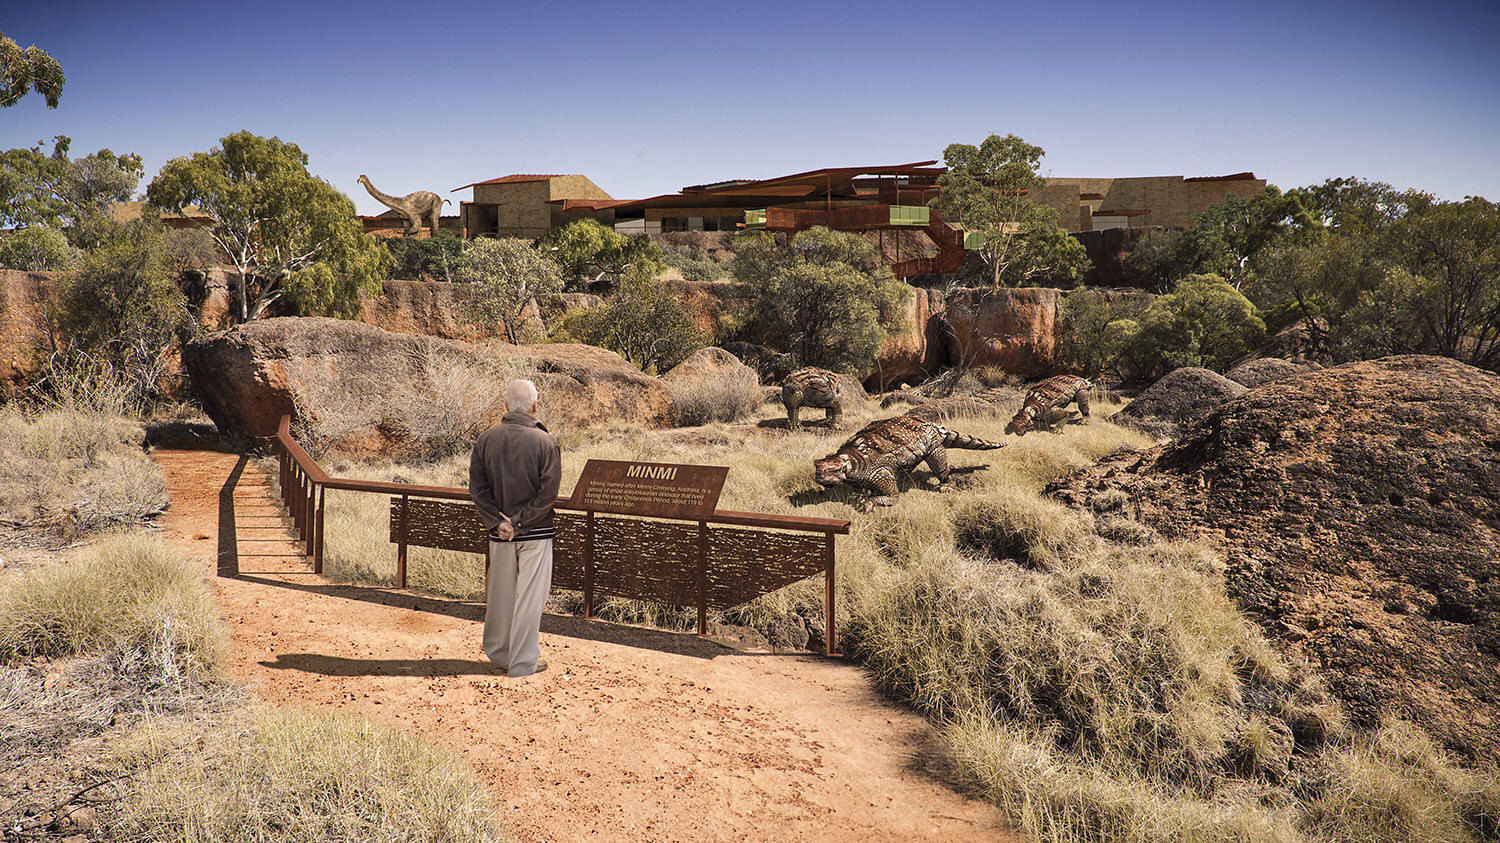
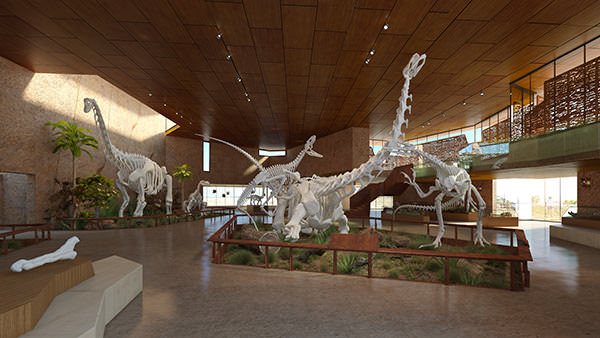
Exhibition Render
This is just a glimpse to one of the interior images which was lots of fun to work on as its not every day you get to play around with 3d models of dinosaurs.
The fully rigged dinosaur models were created by the very talented Travis Tishler who happens to work at the Age of Dinosaurs Museum. They were modeled in ZBrush and he spent a long time posing the dinosaurs for the kill scene. We also moved the dinosaurs around the exhibition space to achieve the most dramatic composition.

3D models of dinosaurs. Great seeing the little one chomping on the neck.

We wanted the space to feel cool in contrast with the hot baking sunshine outside. Lighting was created using a sunny HDRI dome and a few IES lights inside. We used MultiScatter to distribute all the grass, rocks, twigs around the planting area. All of this shot was made 3ds Max and V-Ray. Post in Photoshop.
Raw Render :
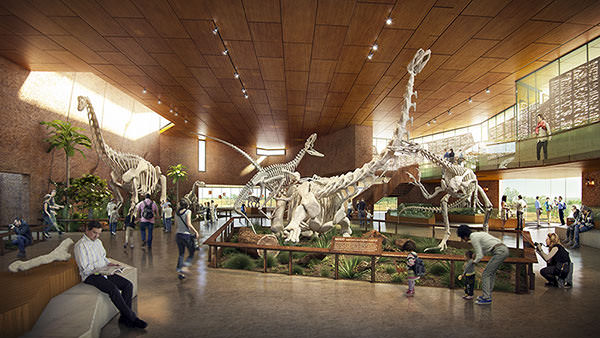
Final after Postwork / adding people and color grading :
Thanks for reading! And Merry Christmas 😉
Julian.
Thanks Ronen, you’re awesome.
Great images Julian Farrell of cox rayner architects
you’re awesome.