


360 Architectural 3D Tours by Robert Dukes
360 degree 3d panoramic virtual tours aren’t new. I remember a period more than 10 years ago when we played with this a bit until it was put aside in favor of conquering photorealism. Now that we have defeated the latter, the former is back, riding the VR waves. Photorealism + Immersive Experience geared by the many headsets available today opens up the field once more and we must look beyond the curve for what’s ahead. Let’s start with the most basic of things, introduced by Robert Dukes from Brisbane based rdvisualization studio – A creation of a 360 degree 3d panoramic virtual tour… we will tackle how to get this working inside an Oculus Rift or Gear VR later on.
First, see this tour below – Full Screen.
There are many ways of creating these panoramas using 3dsMax and V-Ray. I will show the way I have found to best suit my workflow, processes and clients. This won’t be a guide on how to replicate exactly what I have created in these tours, as It would be long and time-consuming, but rather the overall process with details mainly on how the panoramas are created and put together so you can achieve the final result and understand the general workflow then expand on it.
3D Scene Setup
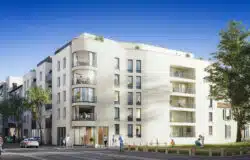
The scene, including the modeling, materials, lighting and rendering is nothing out of the ordinary. It was created from CAD drawings in 3ds Max to all the client’s specifications and materials were created to match designer materials and finishes schedules. Lighting was set up in V-Ray to give a nice overall mood and render settings were optimized for large image render of 5000px and over.
There is, however, something to keep in mind. When modeling, texturing and lighting the scene, it is important to test renders at all different angles, to ensure that when you are in the 360-degree panorama you have not set up your render for 1 specific angle/shot. Normally I create a camera and do a few high-resolution crop renders. It sounds trivial, but it’s not!
While in a V-Ray Physical Camera, use the walkthrough mode by clicking and dragging the viewport and spin the camera around and get an idea of the entire scene.
This makes sure that when the panorama is created you are happy with all of the angles and you’re ready to set up your panorama camera.
Camera Setup
For your camera, make sure you use a V-Ray Physical Camera with the same settings as you have for your test renders, f-stop, ISO, shutter speed and color balance. Don’t worry about the field of view or focal length for now.
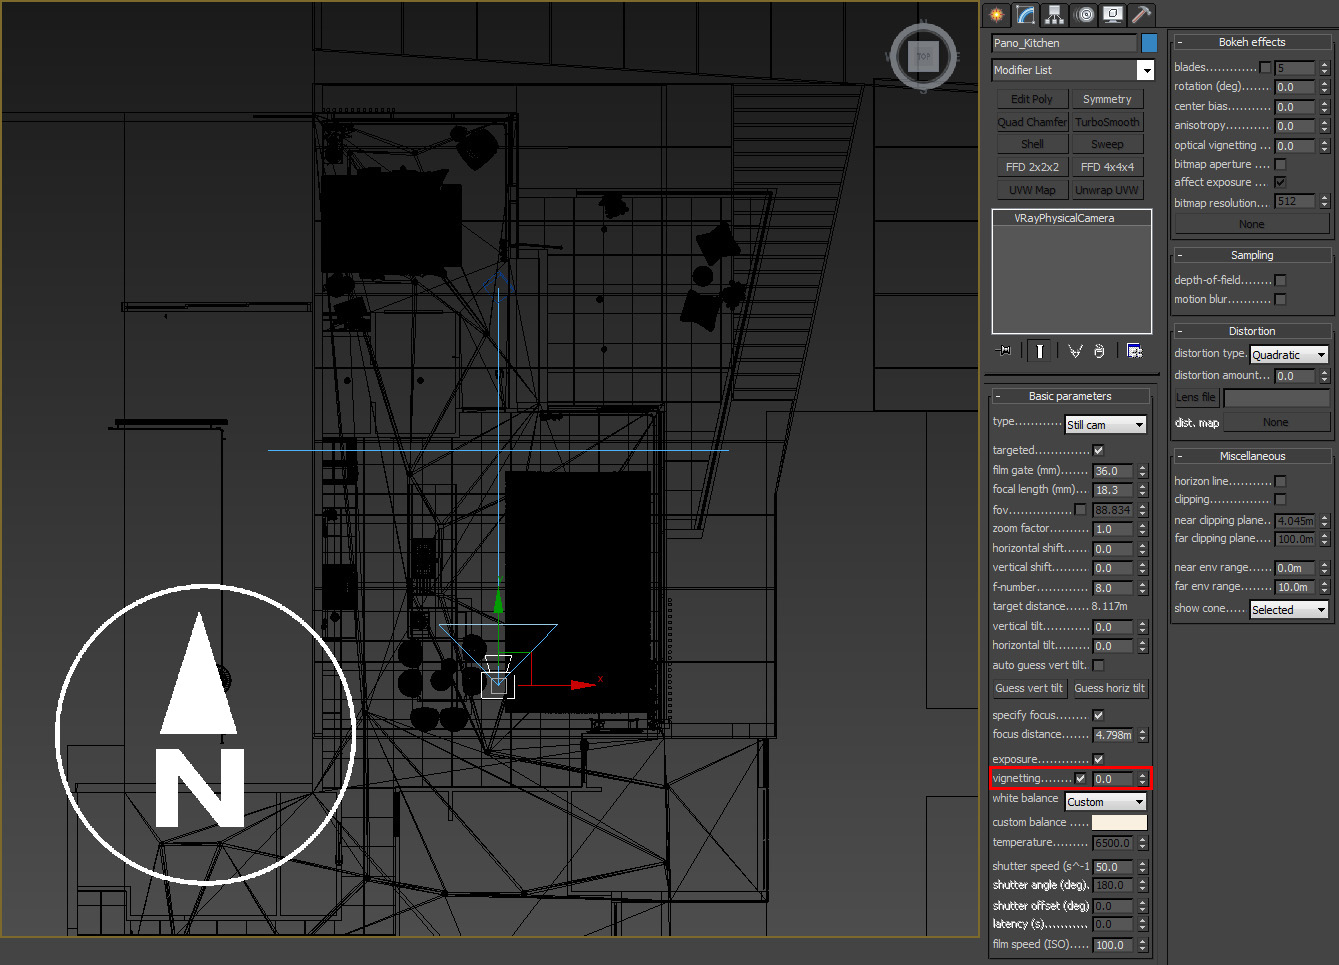
Place your camera at around eye level in the location you would want to be standing in the scene for the panorama. Using eye level will give a more realistic feel if people are viewing it through google cardboard or any other VR products. I am using a height of 1.6m for the average eye level of a human.

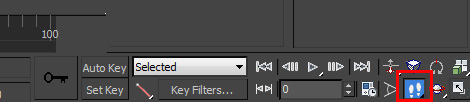
Make sure your camera is facing North, so in top view, facing towards the top of the viewport. This will give you a consistent way of matching multiple panoramas if you need to for larger tours. One setting you will need to turn off is camera vignetting, this will stop black shadows around the edge of your renders (remember, the 360 wraps around and darkened edges are your enemy).
Now that your camera is set up its time to change a couple of render settings.
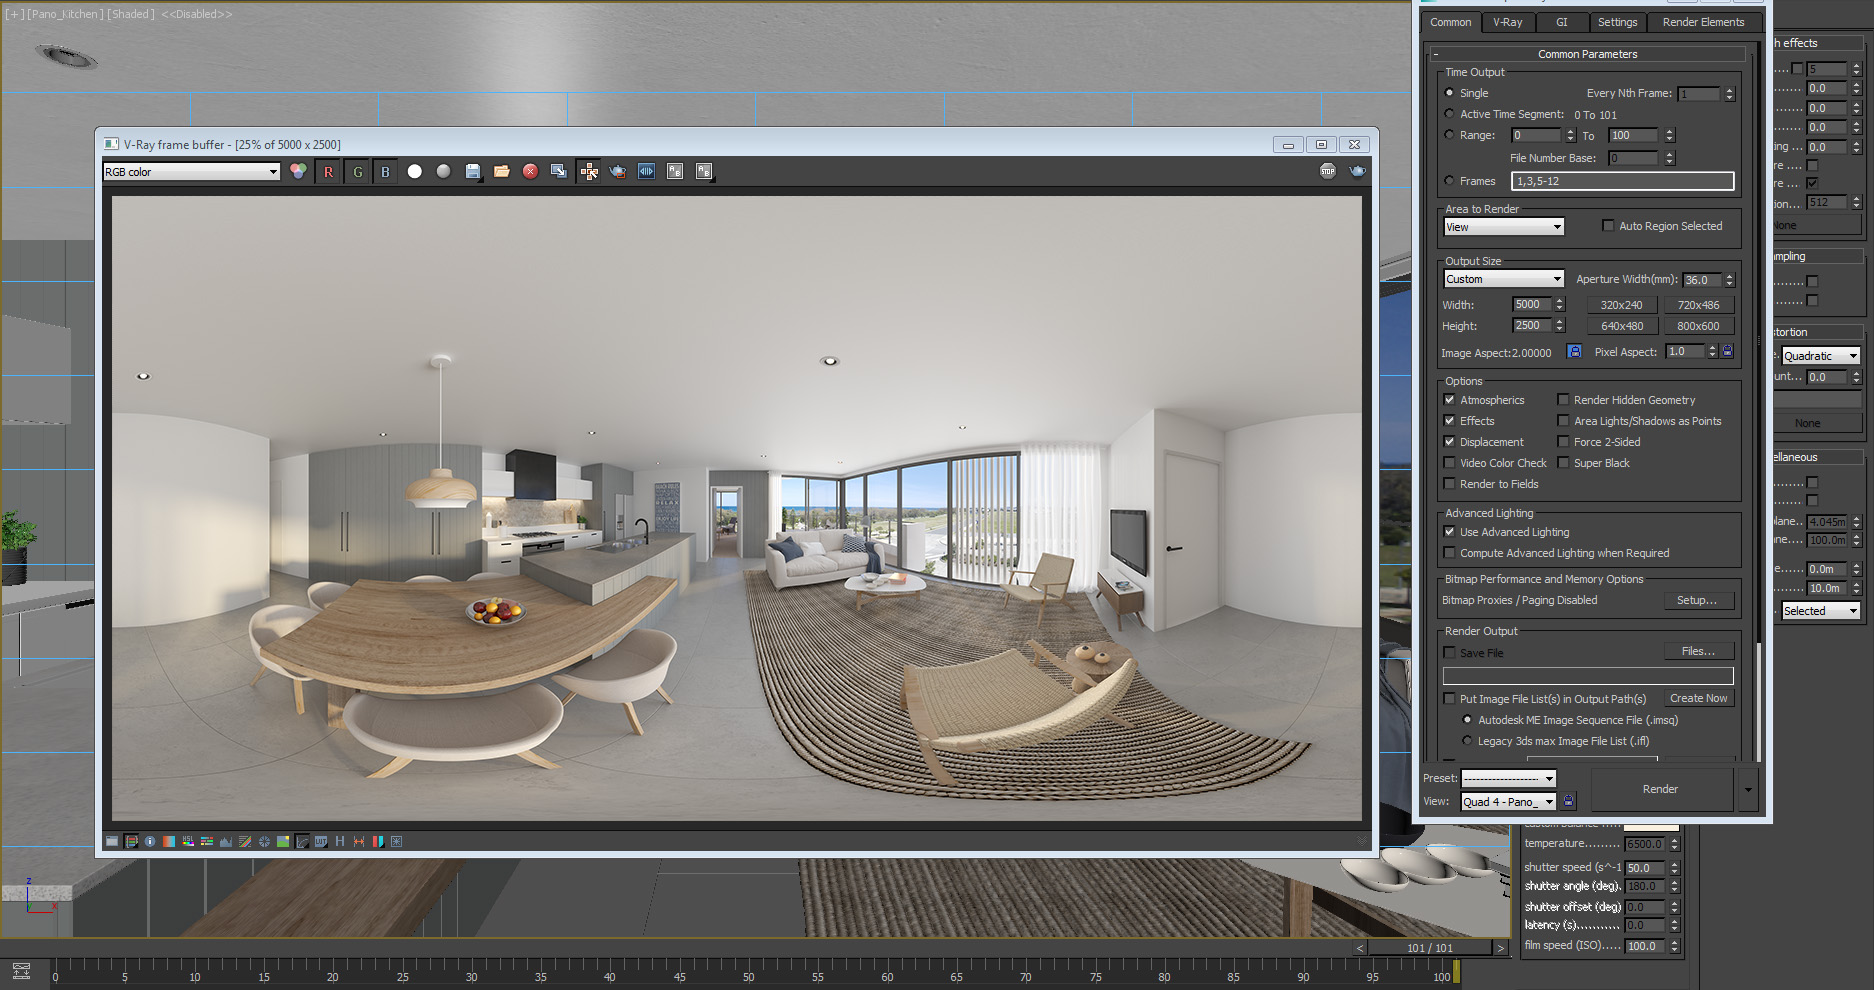
Rendering
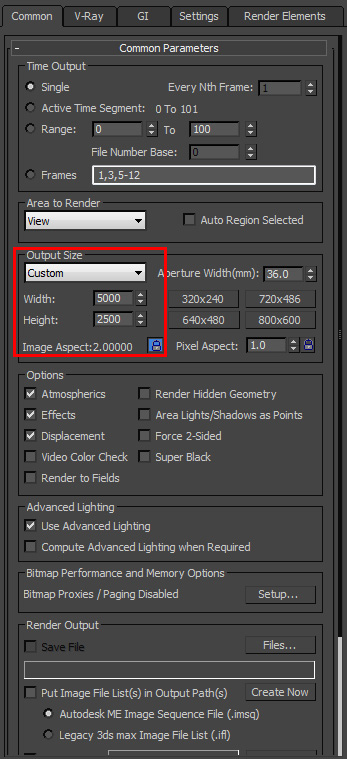
First the image resolution. You need to render the image in an aspect ratio of 2:1 meaning the image is twice as wide as it is tall. I have found that anything over 5000px wide is fine for most situations, but you may want to go to 6000px or 8000px of you want to zoom in to see nice clean details etc.
Then you need to go into the camera settings in the V-Ray render tab and change your camera type to Spherical and override the FOV to 360 degrees.
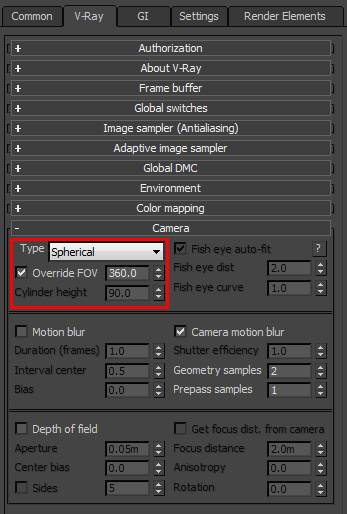
With these settings, you are set on creating your spherical (equirectangular) panorama. There are other projections you can play with including cube map and dual camera setups for things like the Oculus, VR but they are more complicated than the process I am explaining now and we can get a similar, if not the same, result with these spherical (equirectangular) panoramas.
Now hit render and wait for it to complete. If the PC is unable to cope with the large image size required I sometimes use online rendering solutions or render out the panorama in strips and put them together in Photoshop.
Once your render is complete save it into your favourite format and bring it into Photoshop along with any render elements you might want to use.
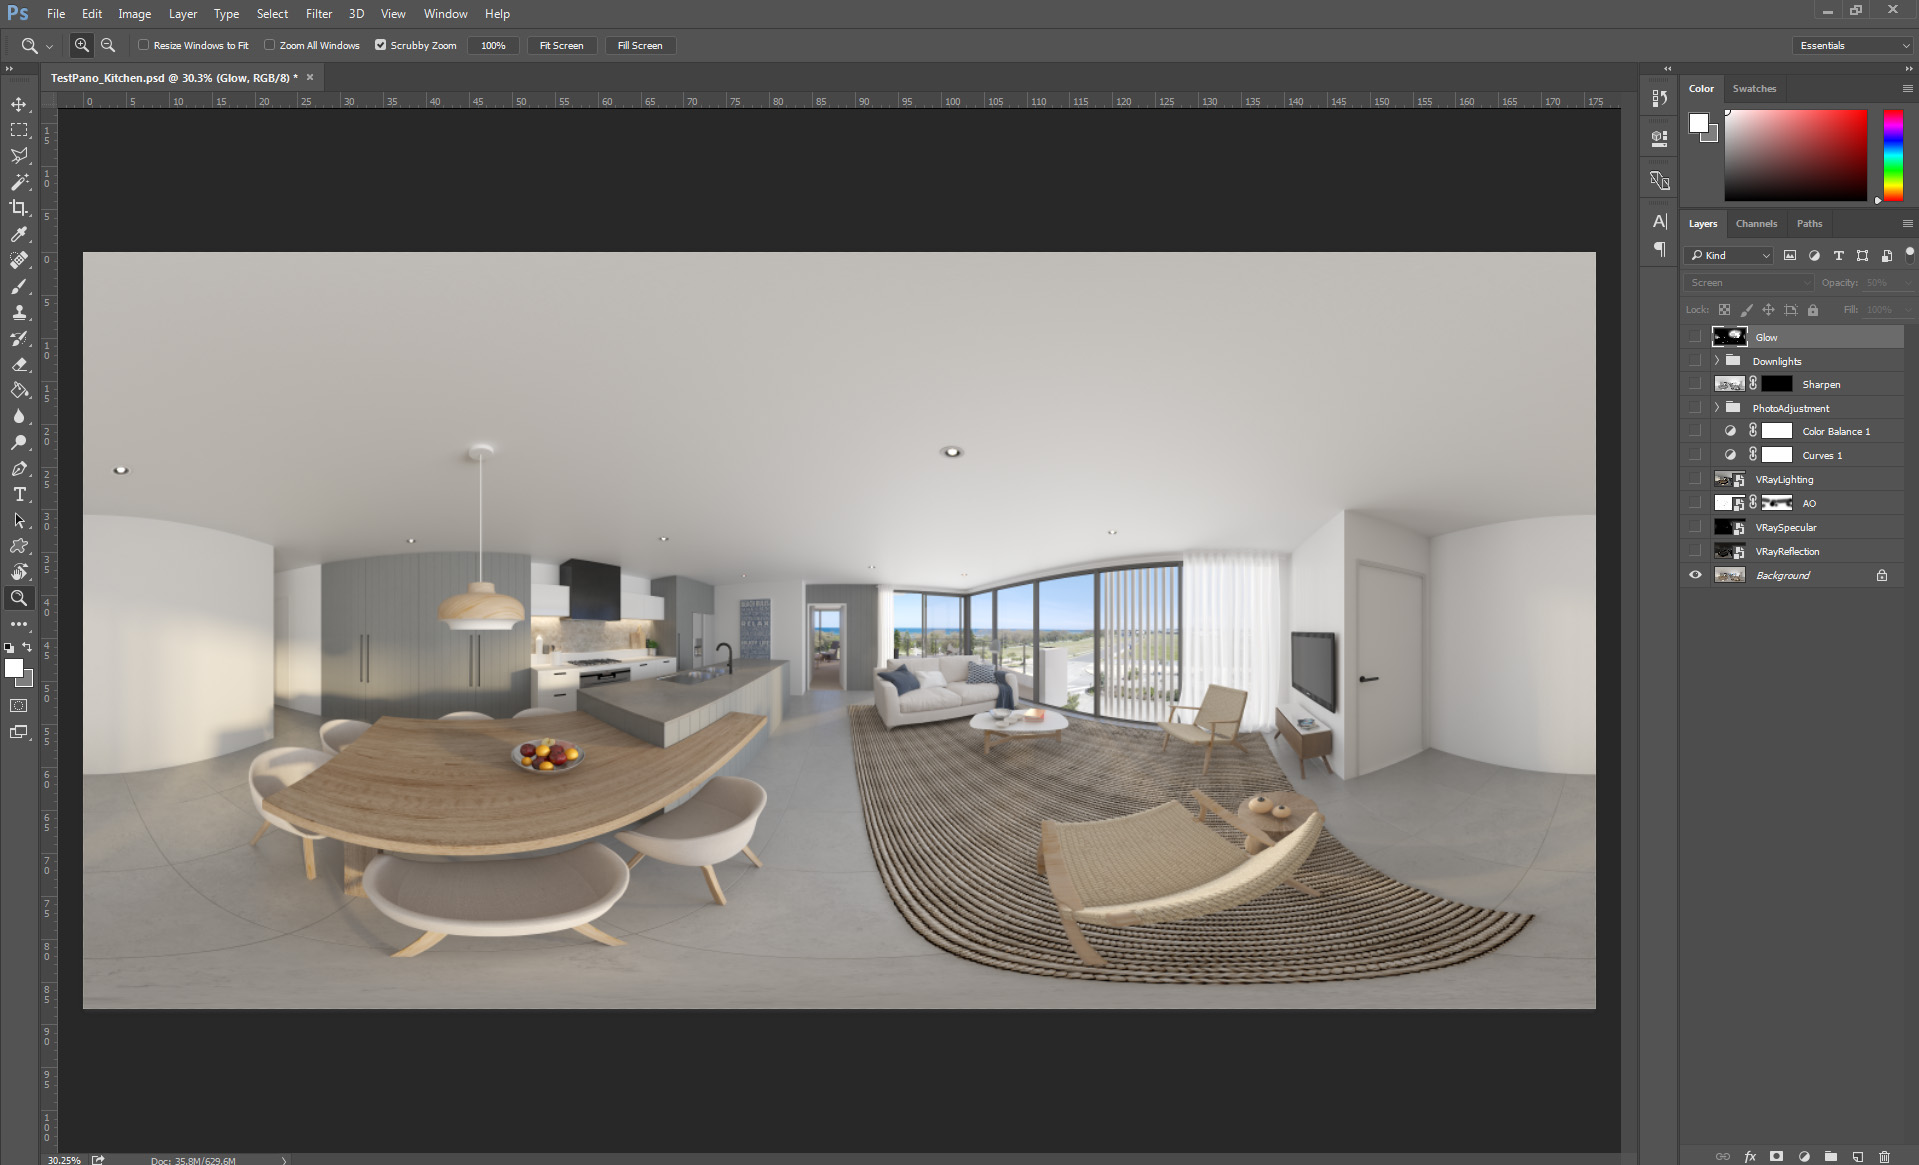
Post Production
Regarding post production, you really need to try and keep it to a minimum. It is very difficult to edit these images in post other than simple overall effects and layers, as they can cause seams in the panorama around the edges. If you do try to Photoshop things, try and keep it away from the edges of the rendered image, or use the offset filter to move the image edges to more desirable places, making editing easier.
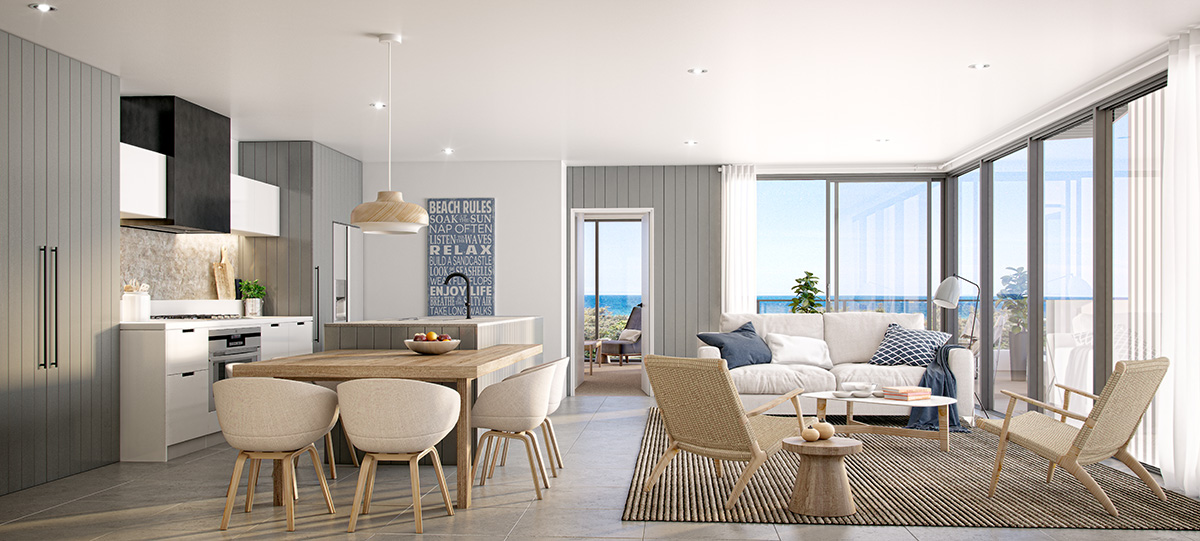
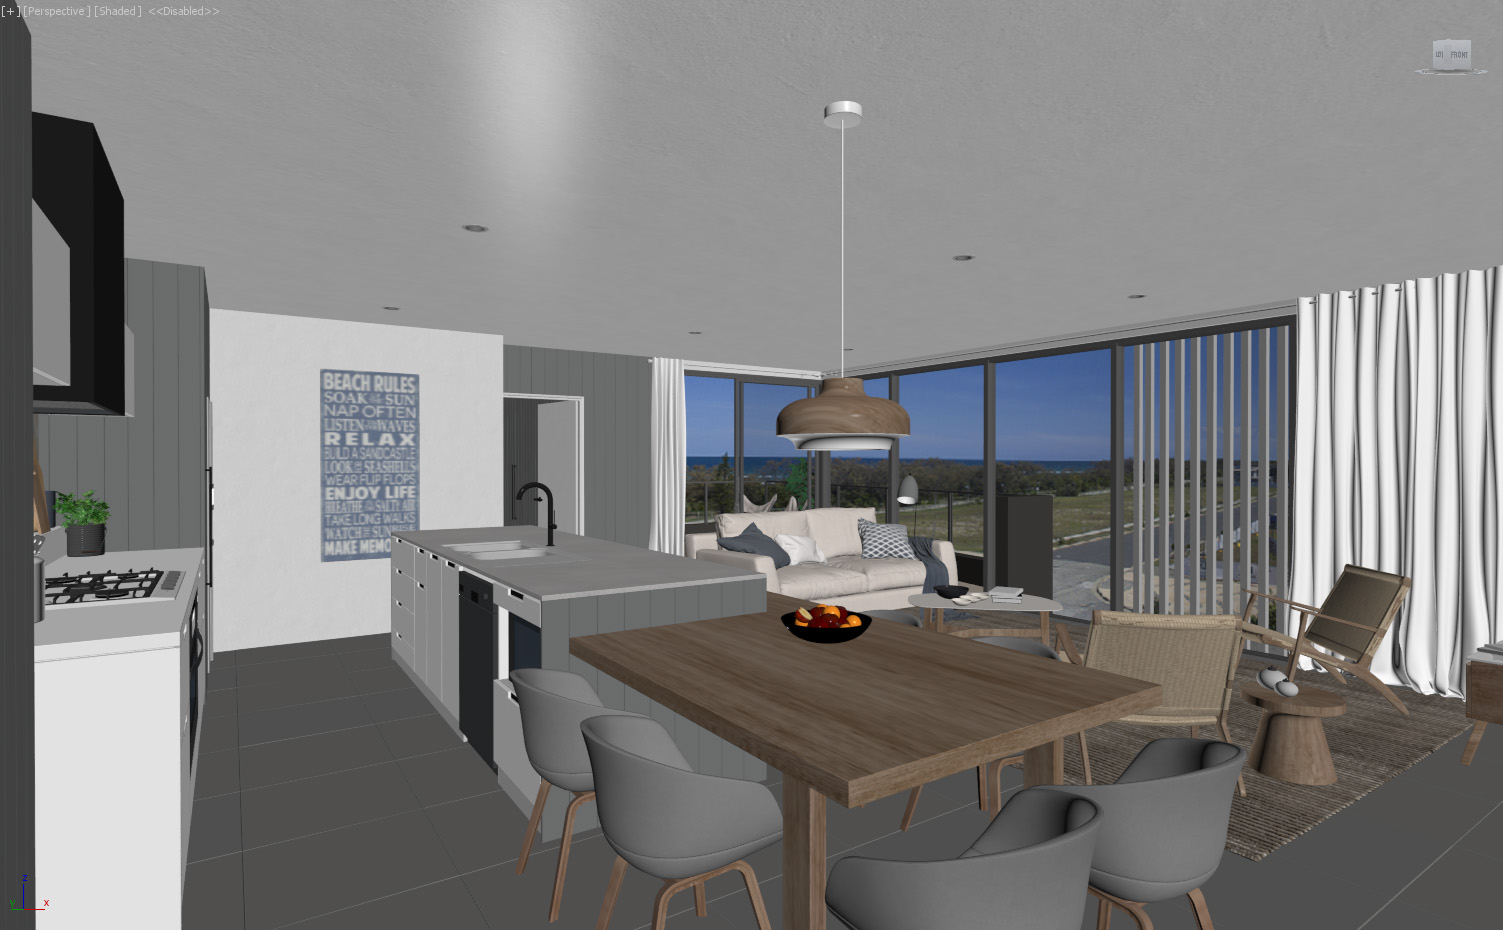
The Before :
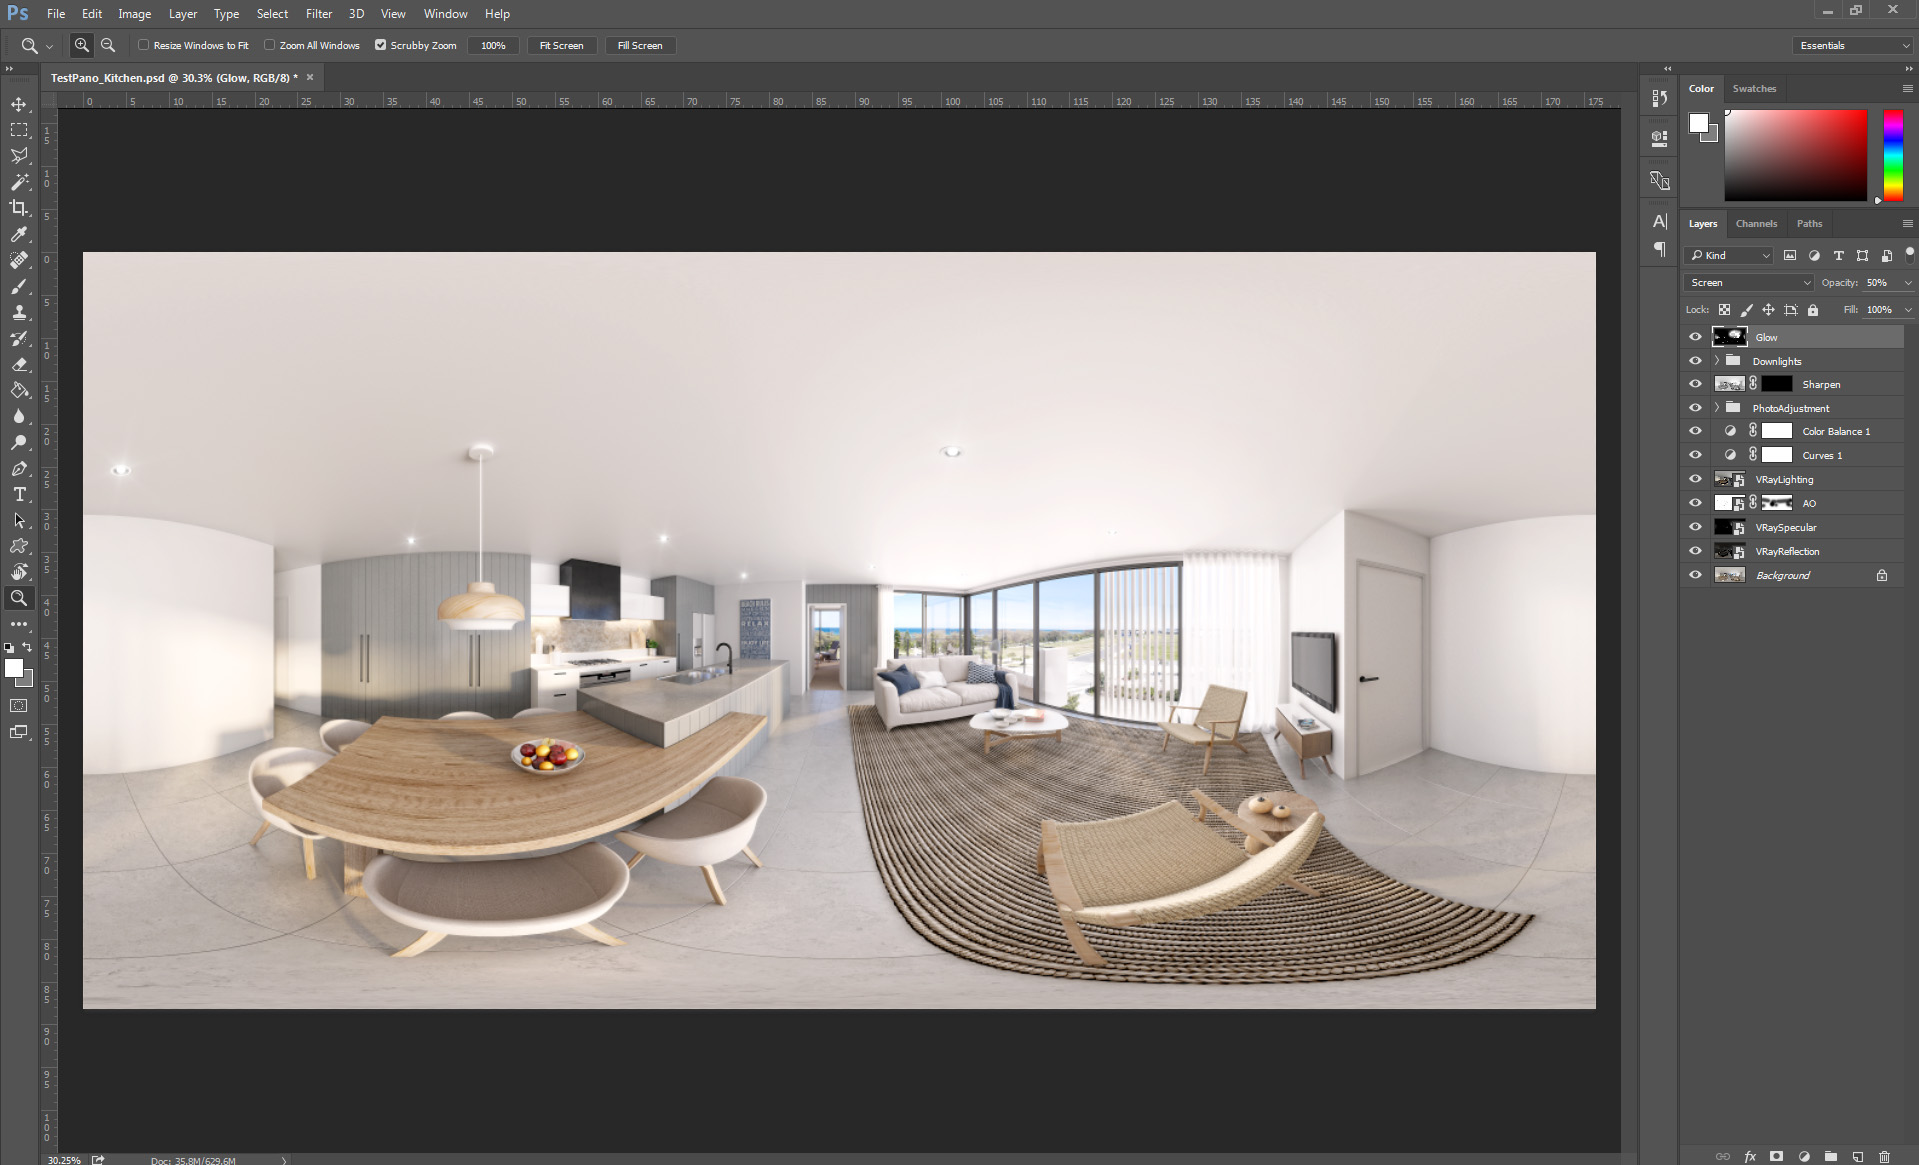
And After :
For panoramas, I am using Kolor’s Panotour Pro. It is more expensive than others, some are even free, but I’ve found it gives me and my clients the best possible features. Feel free to try out the software and see what you think for yourself with their free trial.
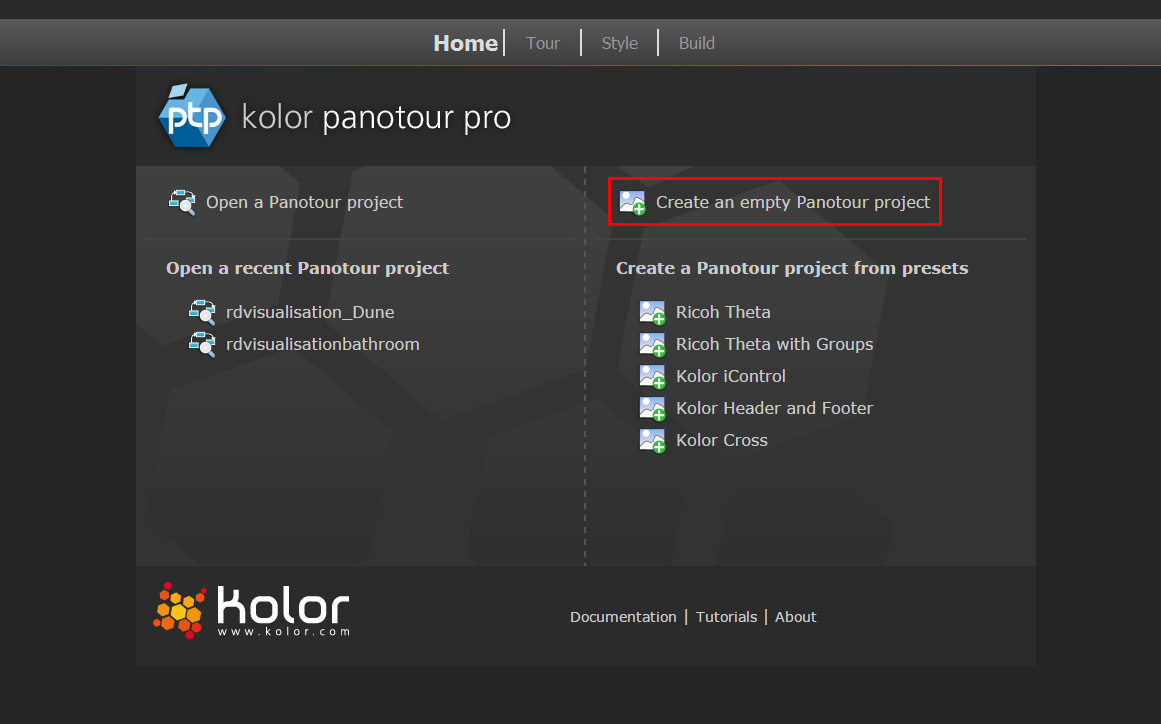
Making the Panotour
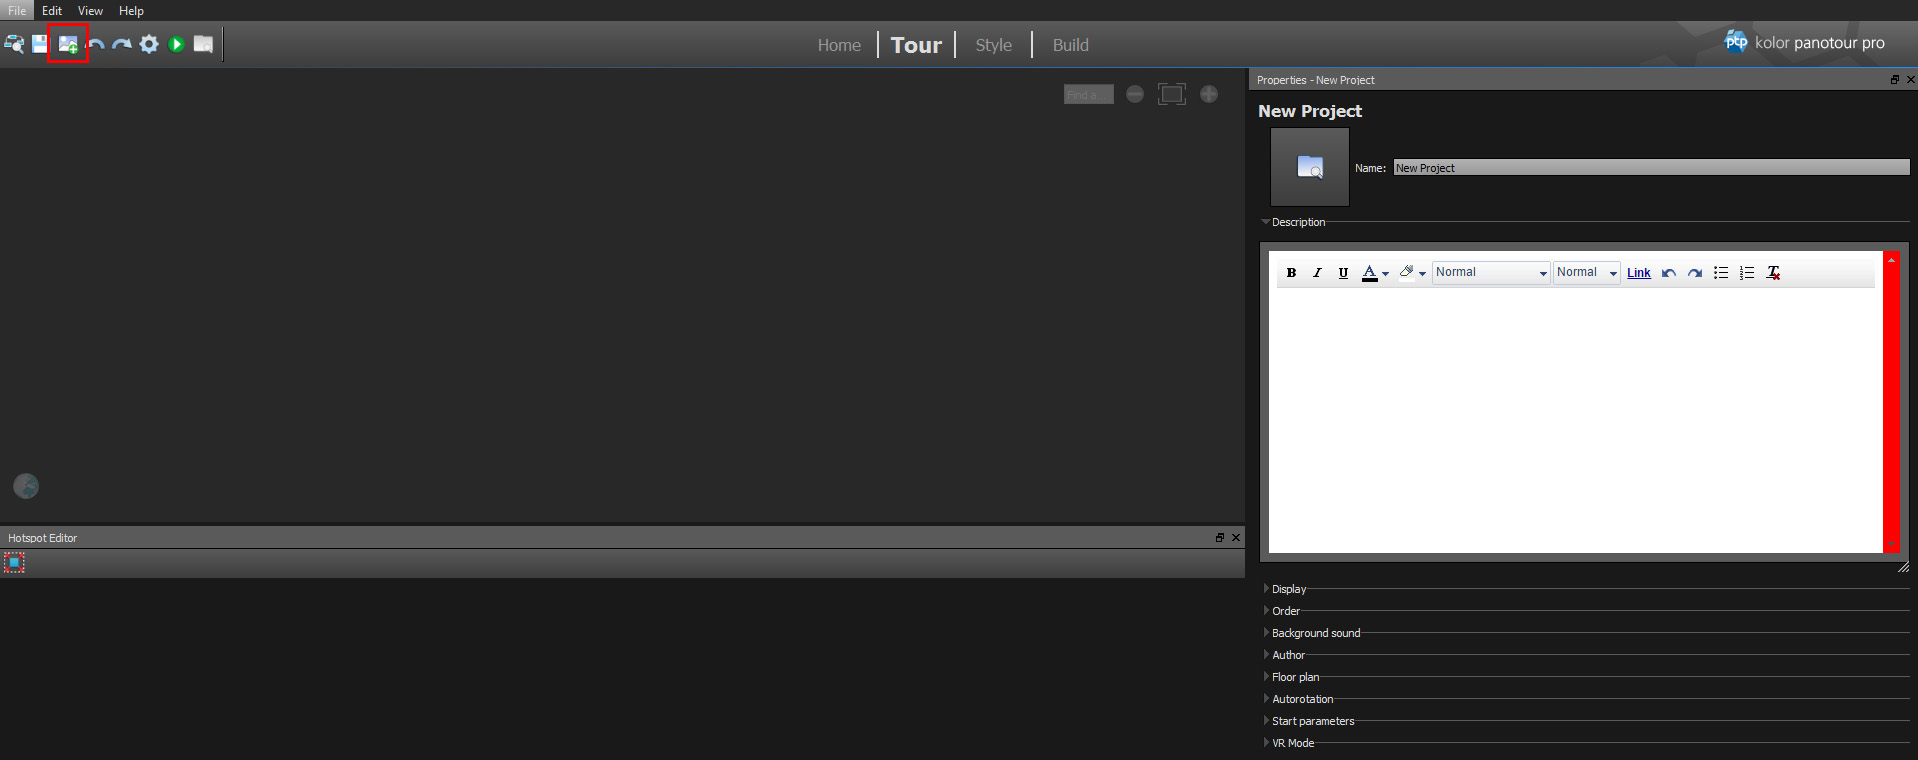
First open the Panotour software and you will arrive at the Home tab. Here is where you create new Panotour projects and open previous ones. Click on the ‘Create an empty Panotour project’ and it will take you to the next tab, Tour.
Here on the right hand side of the screen you can edit a lot of different things like Project name, description, change the font and colors and other parameters that you a free to play around with.
After that you are ready to load in your panorama images that were saved out of Photoshop. In the top left of the program, click the ‘add panorama’ button and then choose the panoramas you would like to load into your project.
Once loaded they will appear in the canvas area below where you can move them around and organise them into groups if needed.
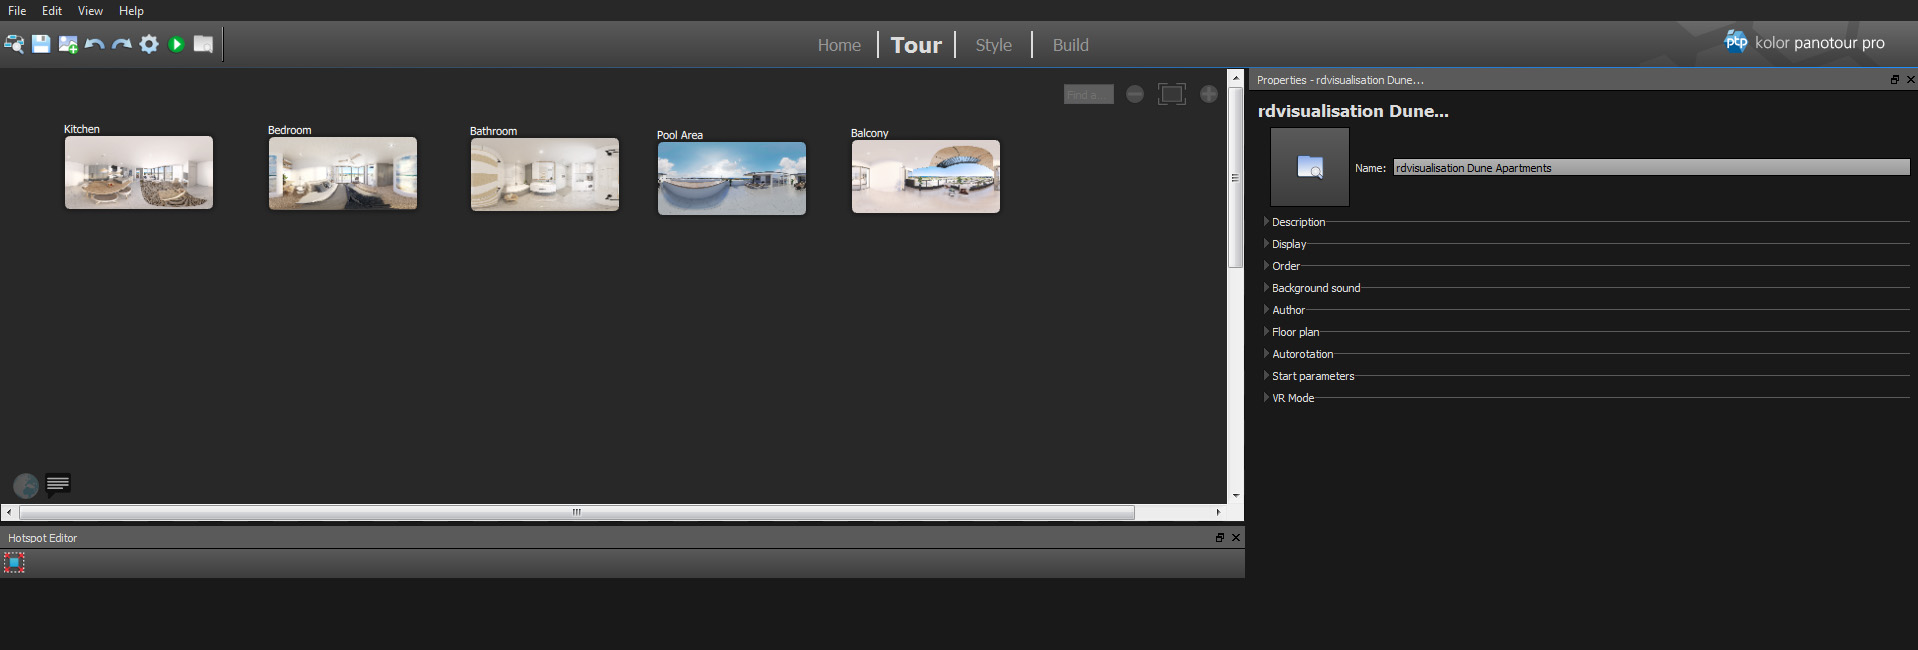
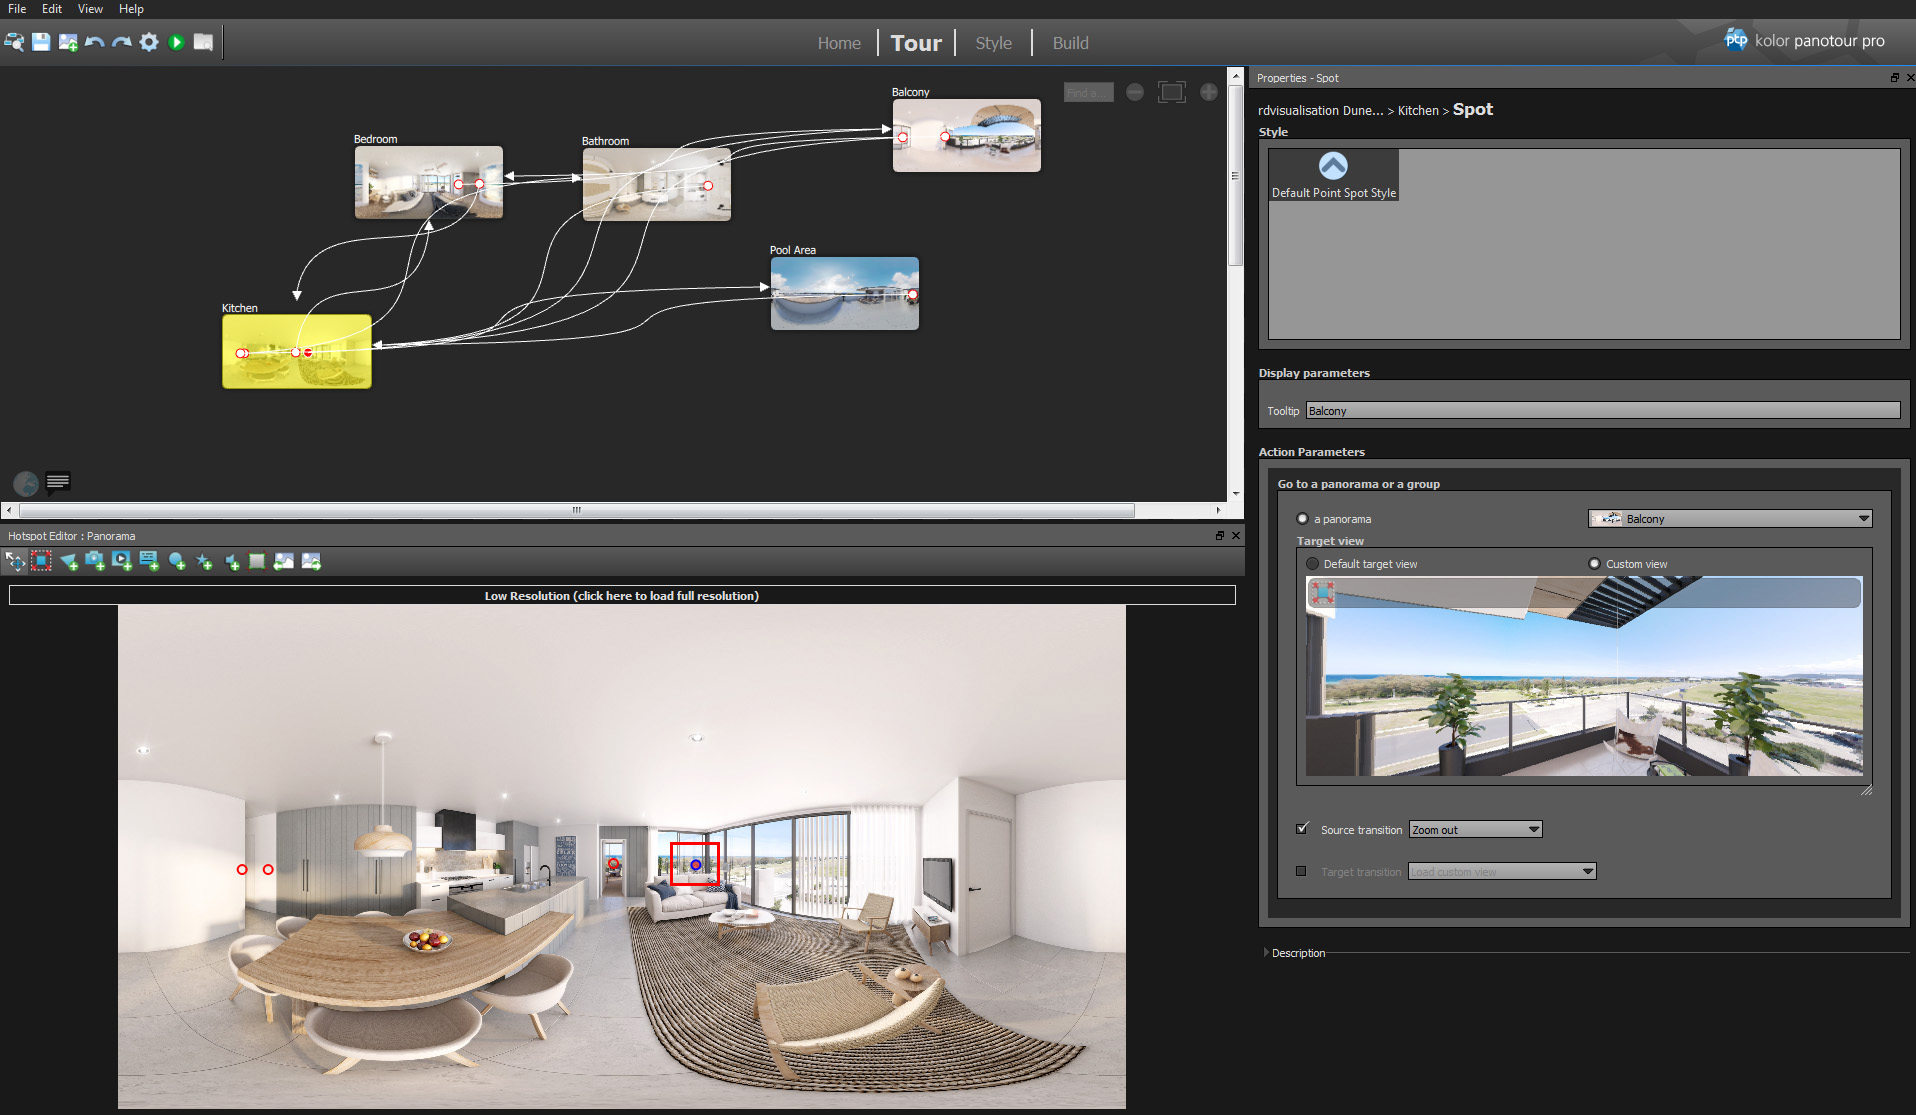
Clicking on a single panorama will open its properties to the right and the hotspot editor below, this is where you can edit the individual panoramas settings, where they link to and what they do.
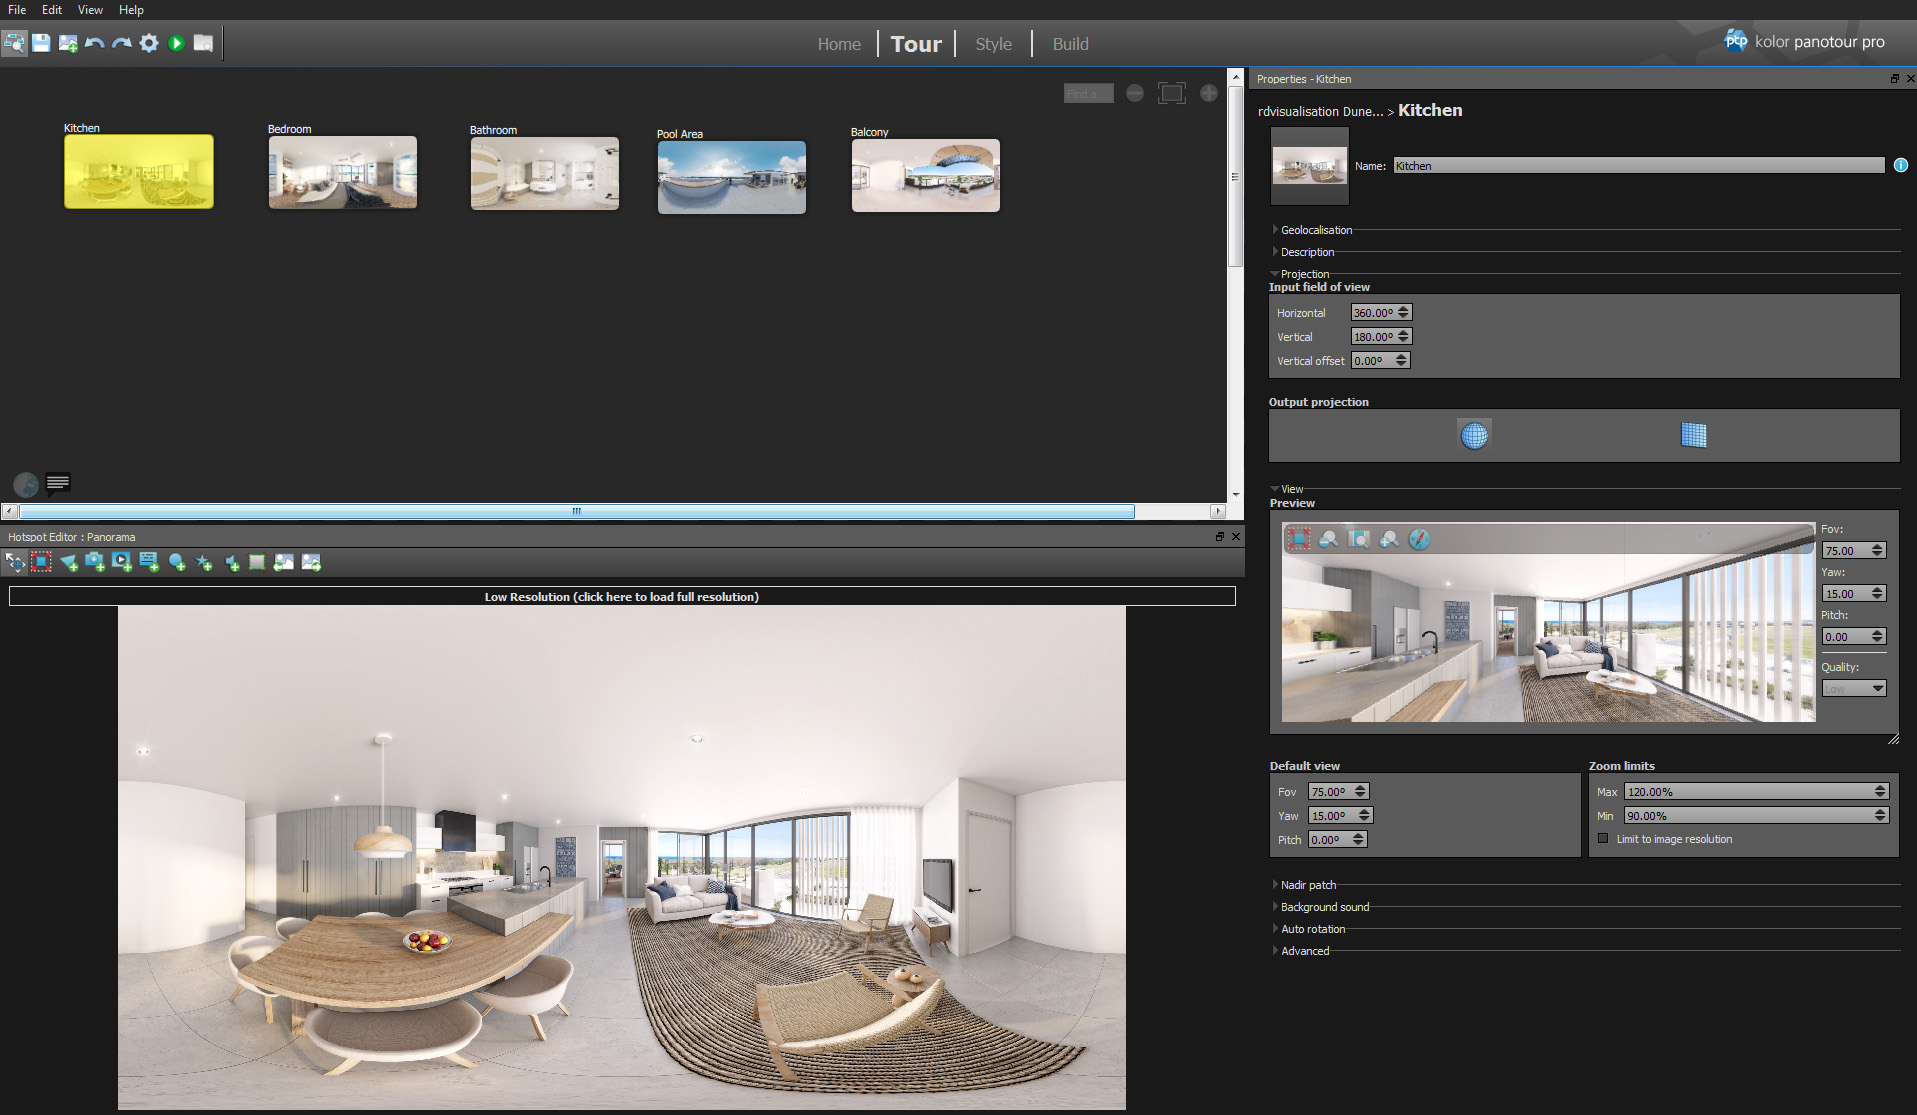
Once the panorama is selected you can change its parameters such as geo location, description, projection FOV, initial starting FOV and orientation, zooming limits, sounds, and more.
In the hotspot editor you can add in hotspots using the ‘Add point’ button and clicking on the panorama where you want the hotspot to appear.
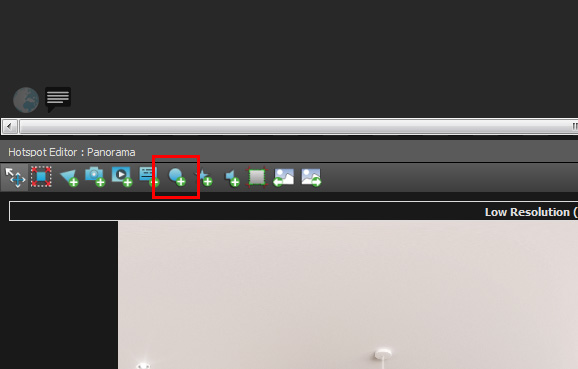
Selecting the hotspot will open its individual parameters on the right of the screen where you can change what that hotspot does like linking to another panorama or displaying an image, video or website.
Once you have set up your panoramas you can further customise your project by going into the style tab.
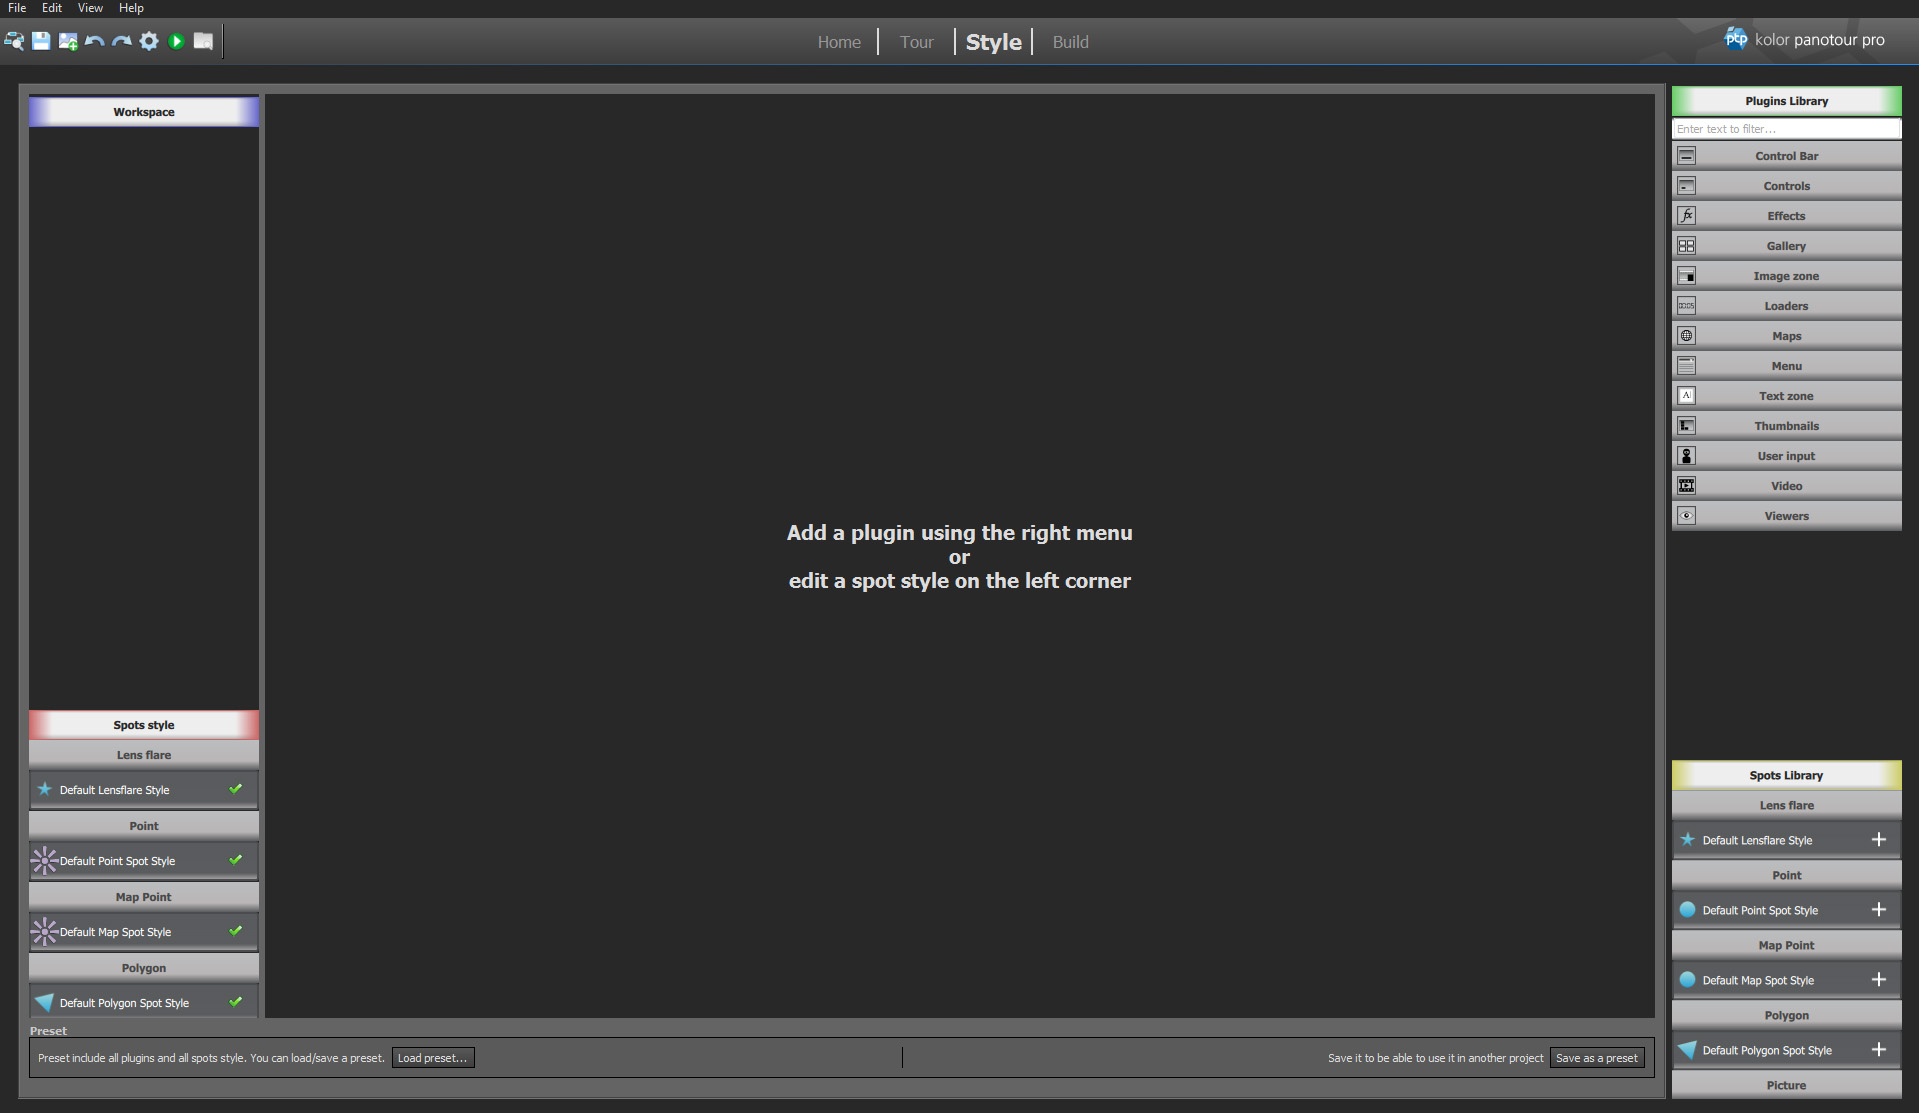
Changing the Style
On the left you have the items that are currently in your project and on the right you a have different plugins you can add to your workspace. You can customise the look of the hotspot icons but clicking on the type of hotspot you would like to edit in the bottom left and then going through the parameters for the type of icon.
For instance, in the Dune Apartment panorama I have created, I used a number of plugins as you can see below. You can search for different plugins using the search bar at the top right in the Plugin Library tab. Once these were added I then changed any parameters and adjusted sizes and styles from the workspace menu section on the left to best suit my project.
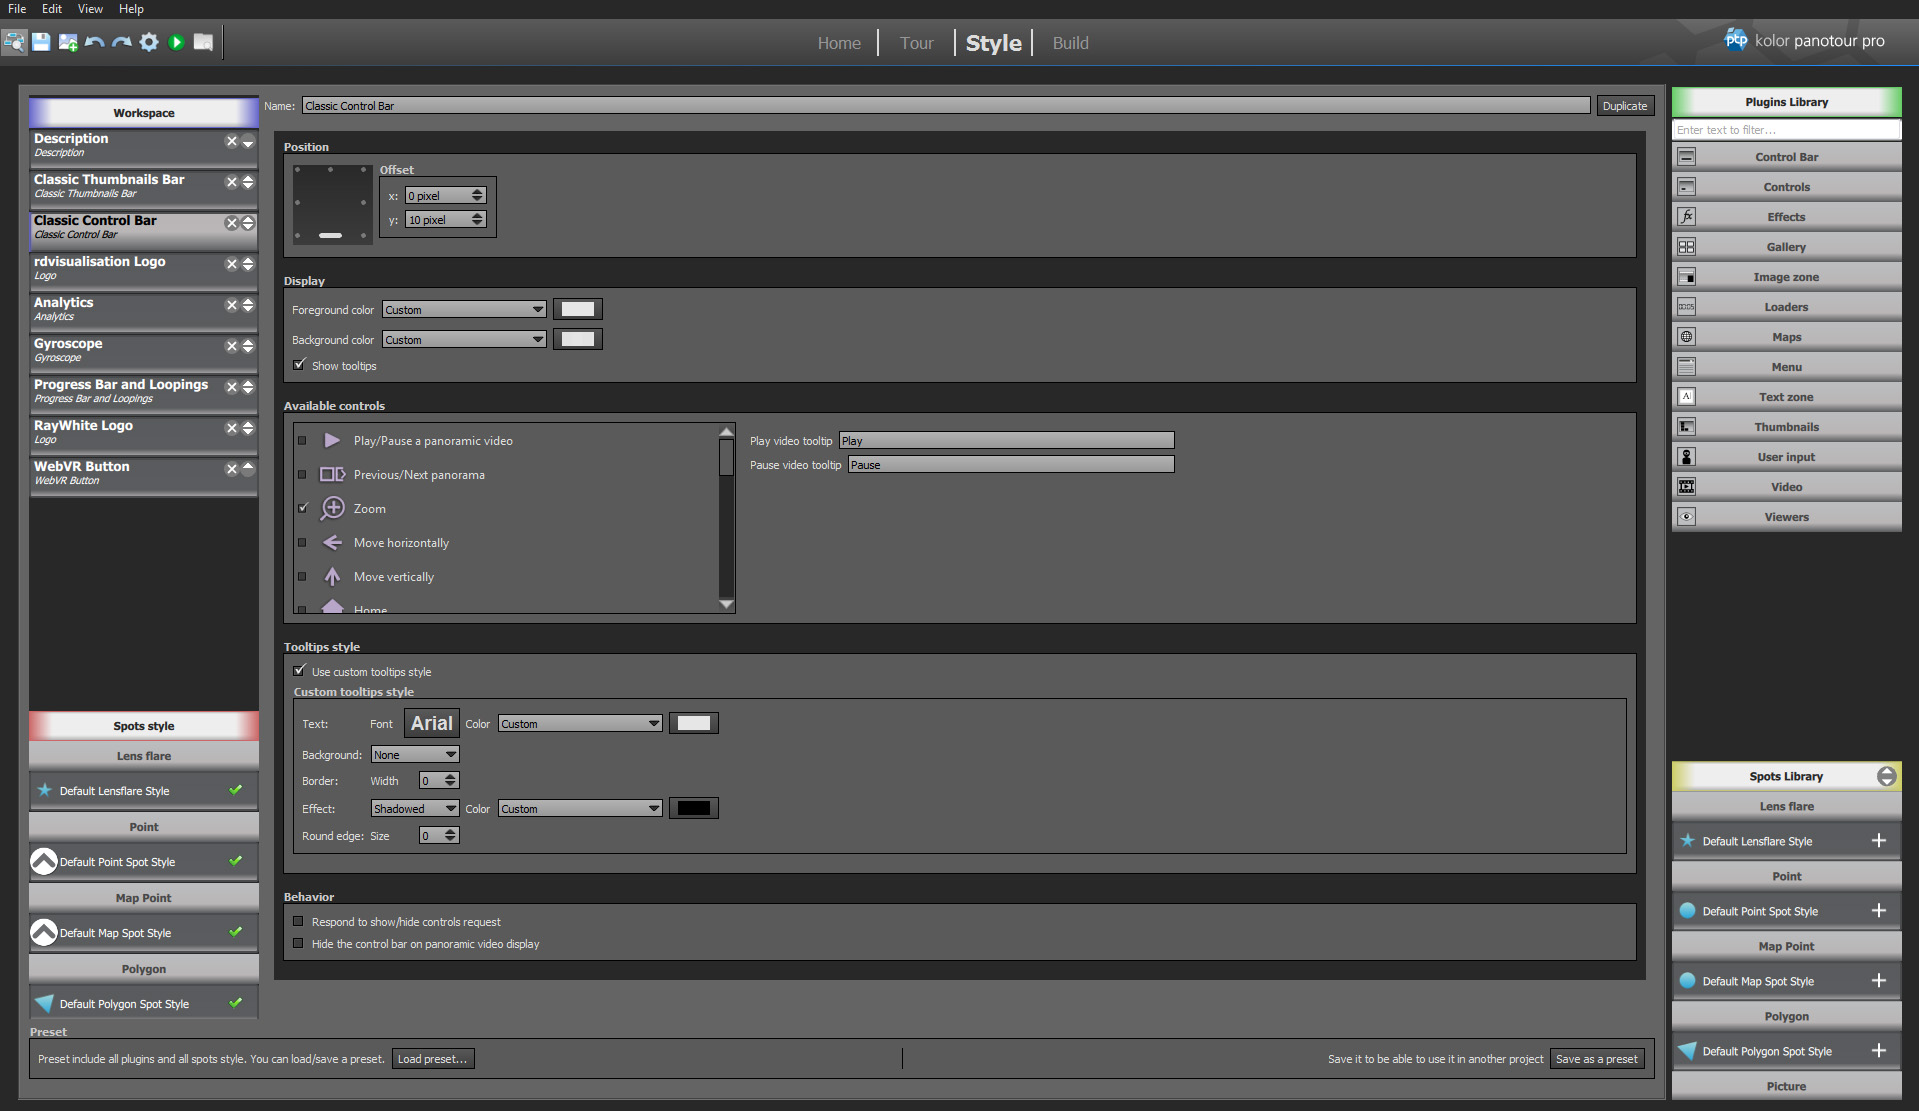
To test any of these adjustments you will need to build the panotour which we will do in the next section.
Building the Panotour
Once you have set up your panorama how you want and you’re ready to build the final files or test your panotour, go to the Build tab. There isn’t much to change here, apart from the project filename and the location you wish to build it to along with ticking the ‘Export to PTV file’ option.
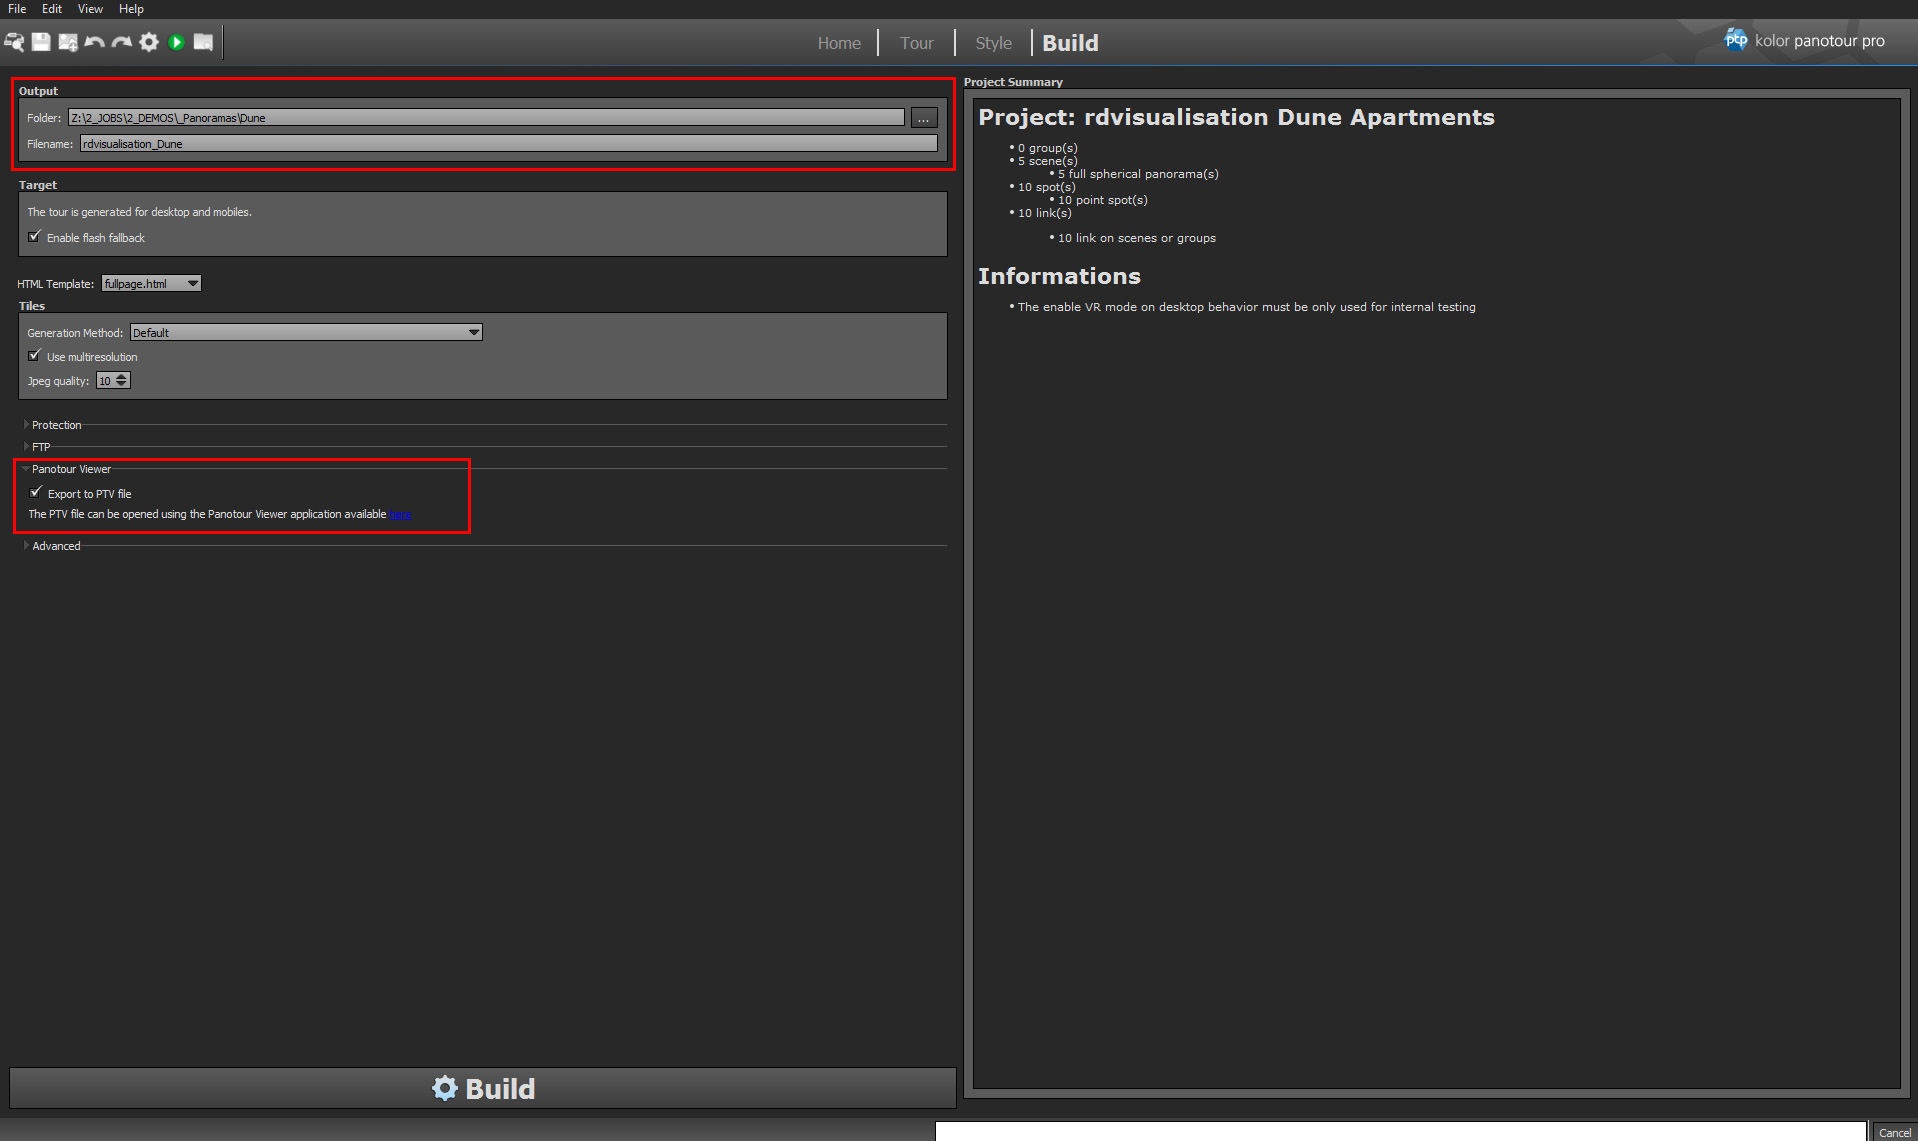
When you are ready press the big build button at the bottom of the screen and wait for the files to build.
![]()
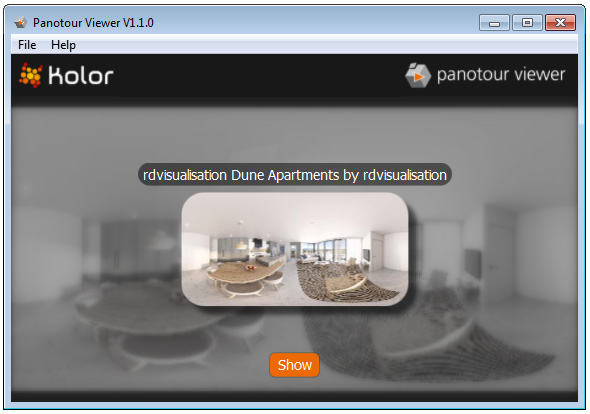
This is how you can preview any changes you make to your tour and test out any settings you have tweaked in the previous steps (keep in mind, some features do not work when loading the panotour from your desktop, they need to be uploaded online or use the free Panotour viewer from the Kolor website).
The final files are in HTML5 format which works on most browsers and devices these days along with most online servers.
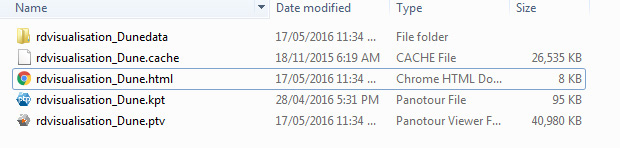
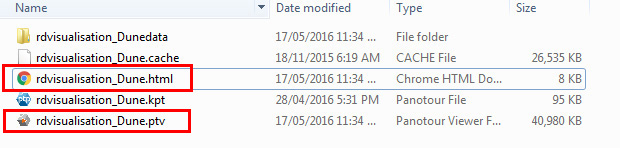
Now navigate to the folder where you built the panotour files, and you will see a .html file and a folder. You will also see a .ptv file that is used to load your project in the free panotour viewer mentioned earlier.
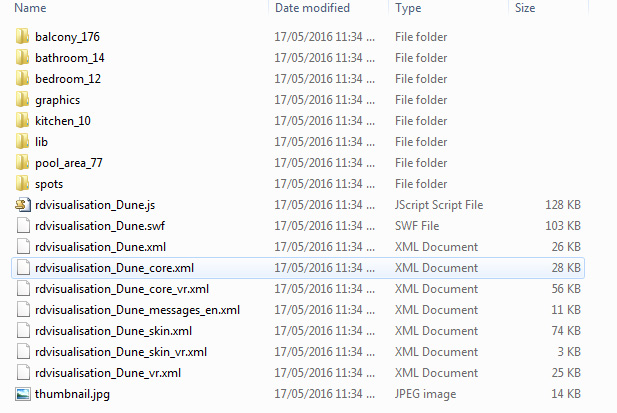
Inside the folder are all of the files used to handle the panorama along with some .xml files that can be edited for more custom features.
Double click the .html file or the .ptv file and your panotour project will load and you can view your work.
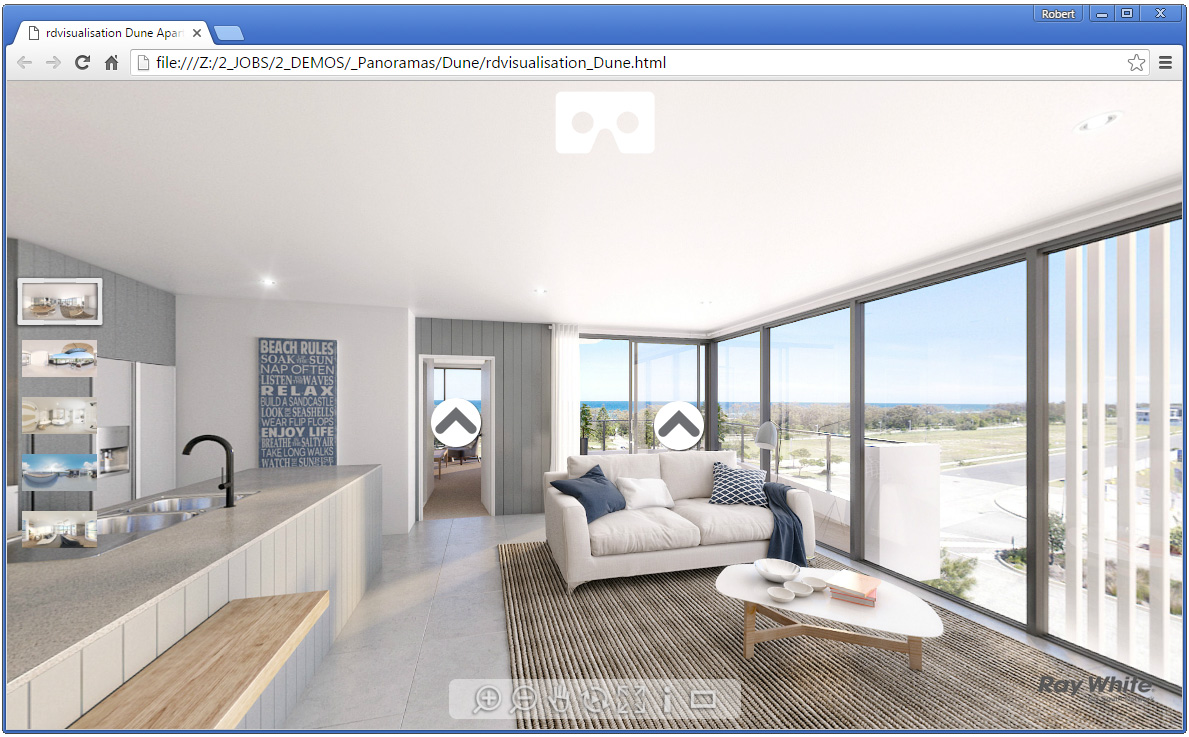
Opening the HTML file
Opening the PTV file in the free viewer (full functionality)
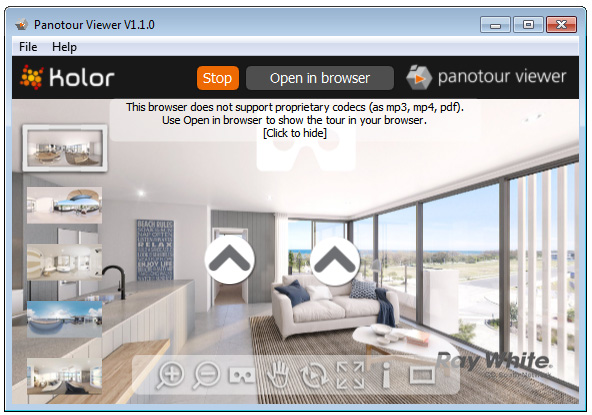
Opening the PTV file in the free viewer (full functionality)
Uploading to the web
To view the panotour online, you will need some online web hosting with FTP access, I personally use FileZilla to upload files as it is free and quite robust. Navigate to the folder you would like to upload the panotour to in your FTP client and then upload the .html file and the accompanying folder. Once it is done you can go to the web address of where the .html is uploaded and it will load in your browser (remember that these web address are case sensitive so when you type them in making sure to use the correct lower and upper case characters).
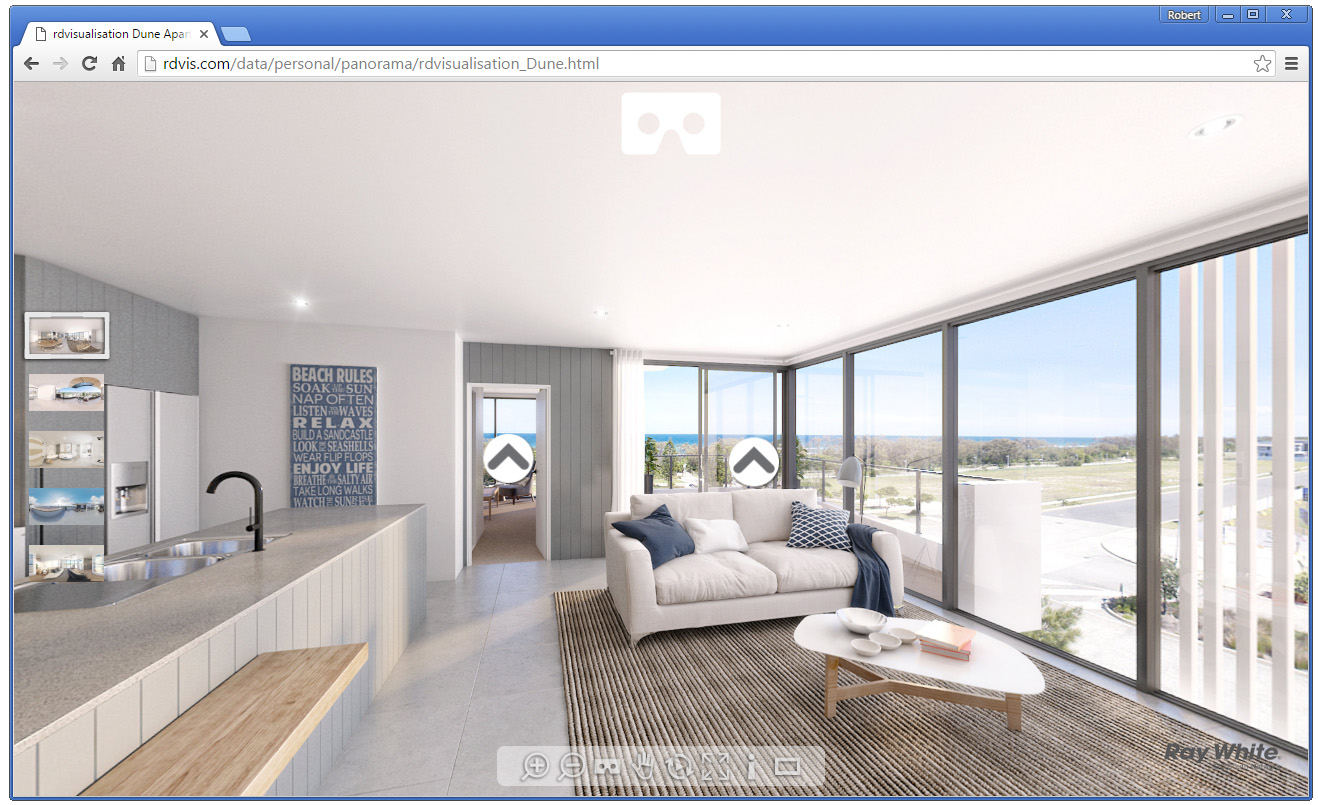
Opening the panotour through the web address bar at the uploaded location (full functionality)
If you are giving these files to a client to upload, then they all they will need to do is give it to their web developer. Once it is uploaded you can also embed the .html file into your own website using an iframe.
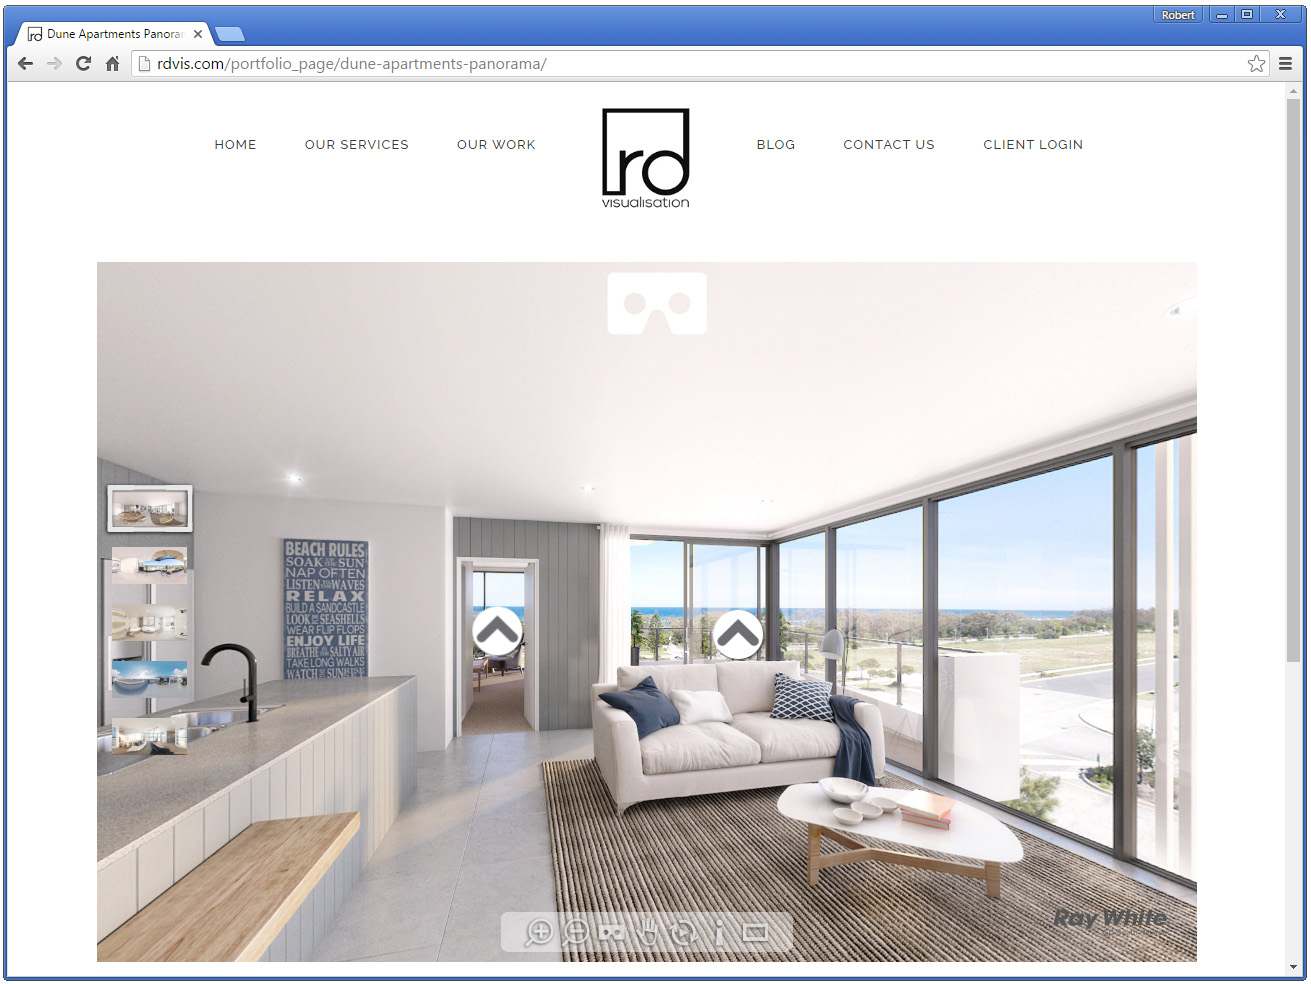
Opening on a WordPress page using an iframe plugin (full functionality – Some VR functions might not work on certain devices)
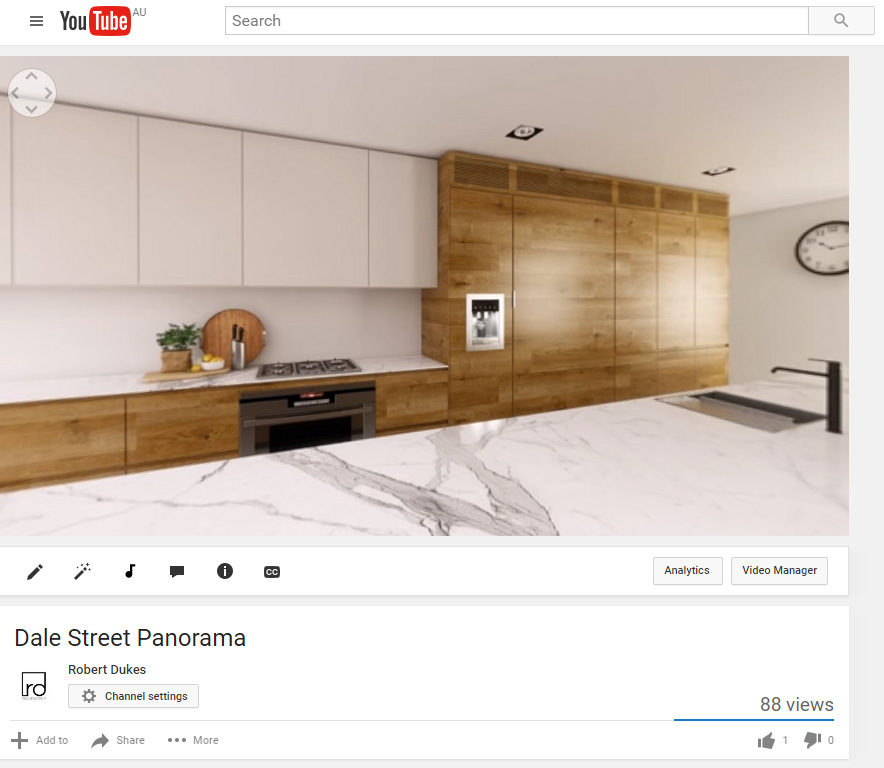
Adding to Facebook and YouTube
If you would like to add your panorama to Facebook or YouTube, you are much more limited functionality. At the moment you can only really move your view around and things like hotspots and interactive elements are not supported.
Adding to YouTube :
For YouTube, you use video editing software to create a ‘fake’ video. Load your panorama image into your favourite video editing package with a 2:1 project size and then make your image stretch over a couple of minutes time. Export it out as a common file type such as .mp4 using which ever codec you like best. When your video file is created all you need to do is add the 360 video meta data to the file itself. This can be done by downloading 360 meta data tool from the Google support page.
Follow the steps and save your video with the 360 meta data, and then you can upload it to YouTube through their upload systems. They will recognise that it is a panorama video because of the added meta data and automatically publish it as a 360 video which people can interact with.
Adding to Facebook :
Facebook now has support for 360 images. However, they only support panorama images taken from 360 degree cameras. What we need to do is add the 360 camera meta data to the rendered panorama and then upload it.
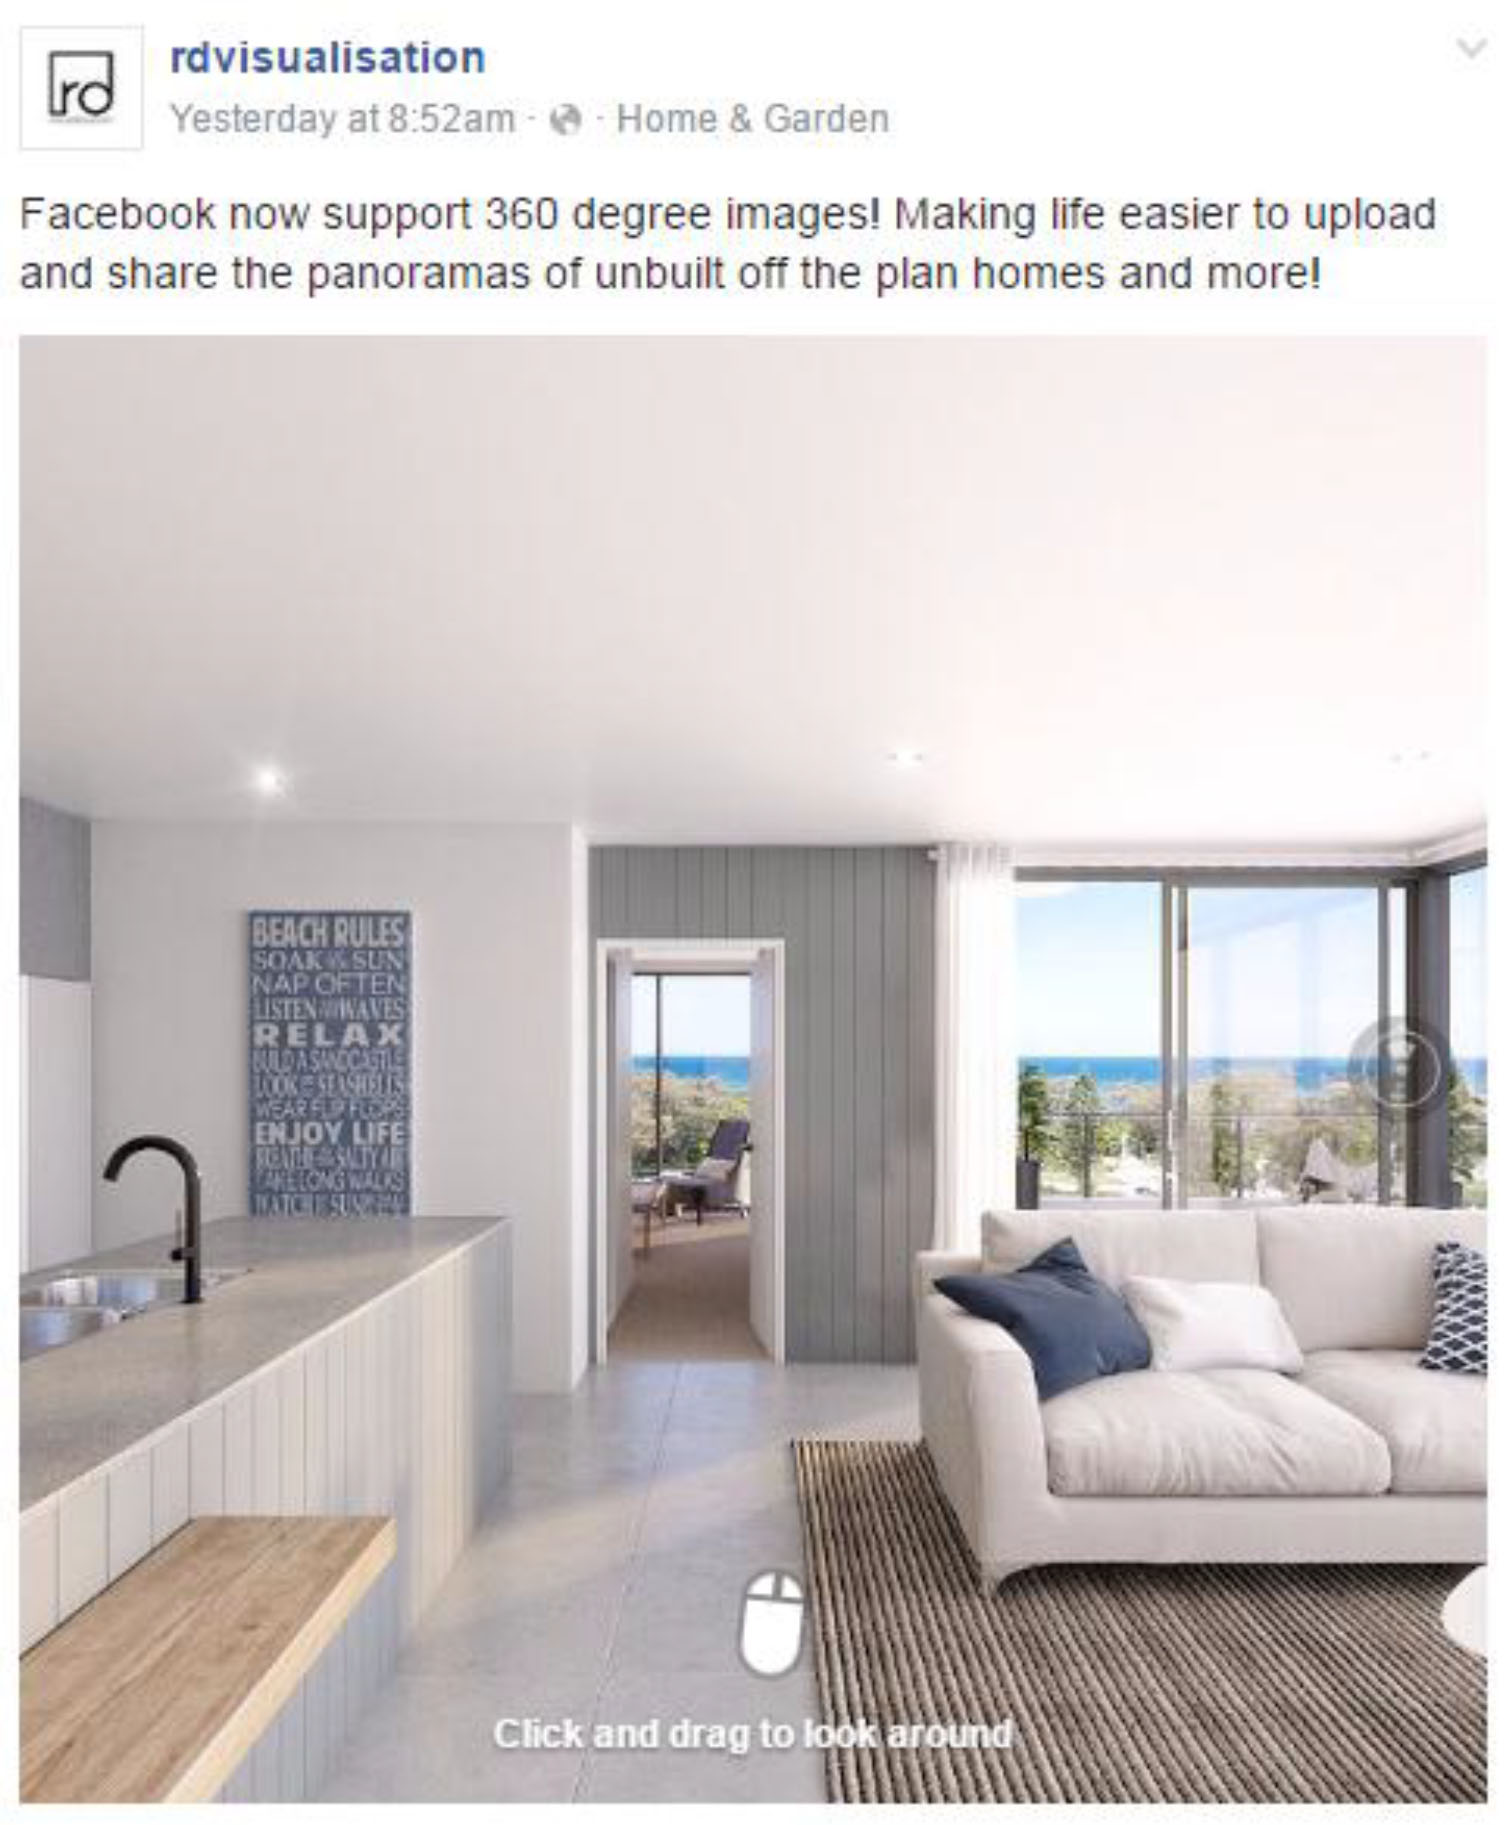
All you need to do is make sure your image is 2:1 aspect ratio. Then right click your image in windows and go into the properties. Then in the Details tab, add the camera ‘Camera maker’ and ‘Camera model’ fields to ‘RICOH’ and ‘RICOH THETA S’. This is just a common 360 camera brand but you can use any 360 camera make and model.
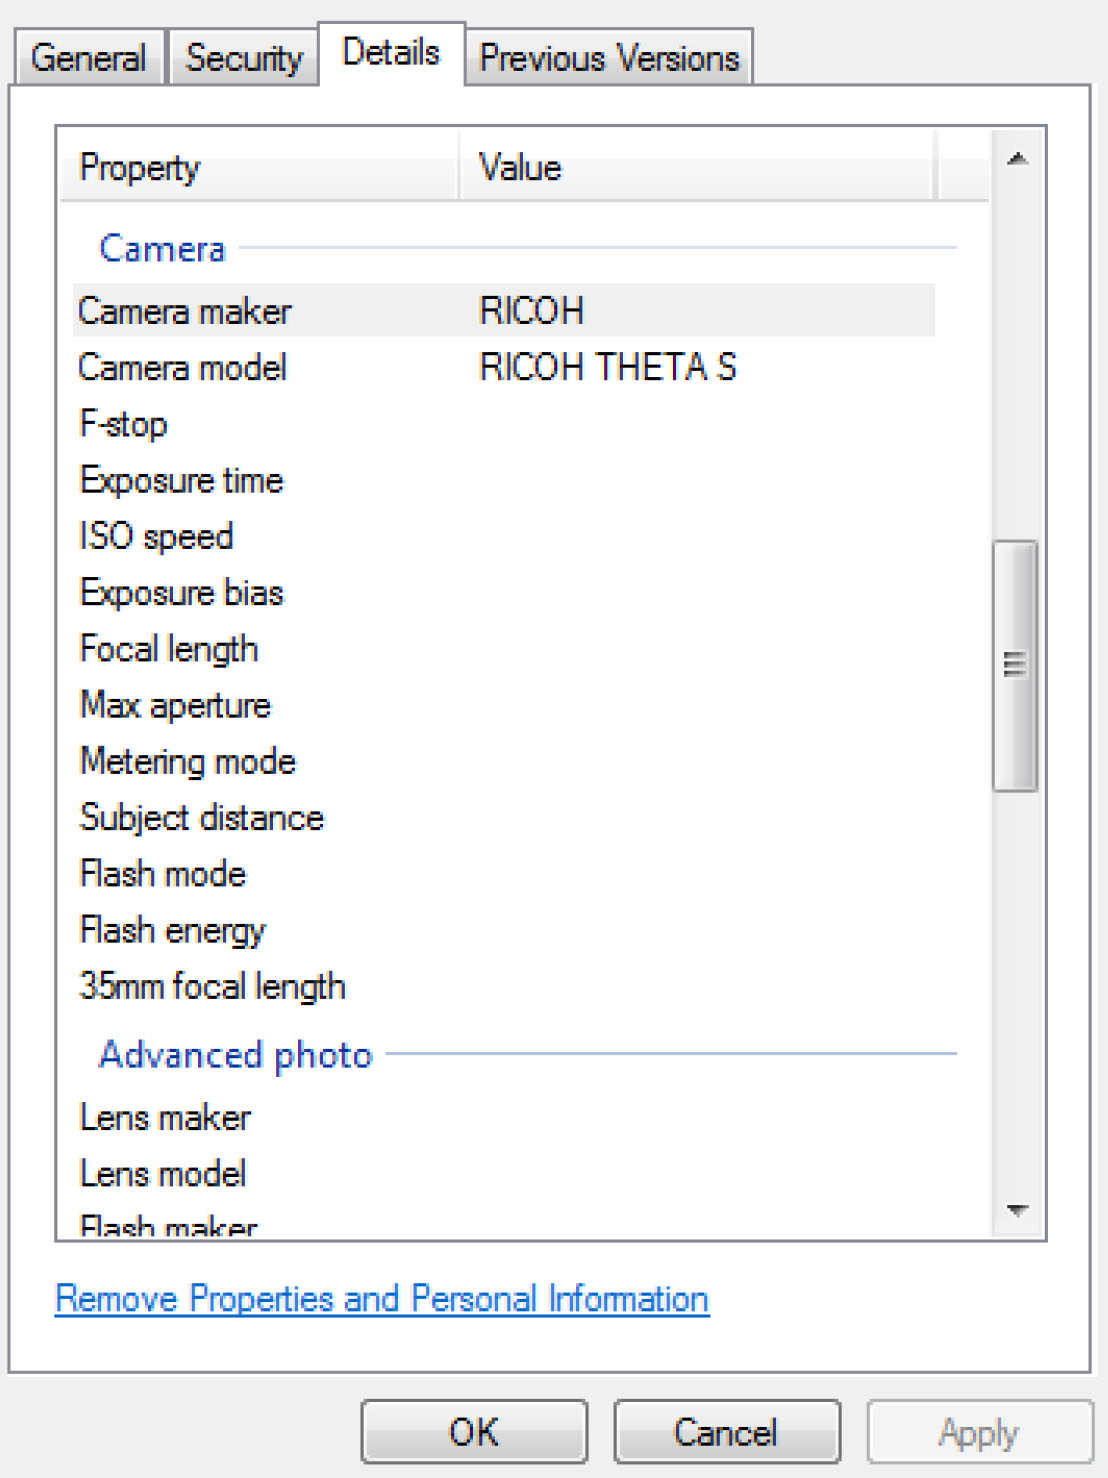
Press Apply or OK and then upload your image to Facebook as you would any other image. You can do this using any Exif meta data editor as well.
That’s all there is to it.
The best advice I can give is to make sure you learn and experiment as much as you can with the software to get the most out of its features and capabilities.
Thanks again to Ronen for publishing this on the blog. I’m very grateful for the opportunity to share some of my workflow with everyone and hope it is helpful in getting started in 360 degree 3D panoramic virtual tours.
After working for almost a decade in the real-time visualisation industry on some of Australia’s largest projects Robert is following his passion for 3D Architectural Rendering and Design.


Facebook has just released 360 Image support to upload panorama images straight to your timeline (only for 360 pano cameras). All you need to do is add metadata to your 360 2:1 aspect ratio render and then upload. There is a guide here from facebook: https://goo.gl/rTZyaU
Thanks for sharing this Mate!.
Awesome visualizations by the way.
Great breakdown of the process Robert! We’ve been using KRpano for our tours which seems not nearly as user friendly as Kolor Panotour, though I think it’s essential based on the same code. We’ll have to check it out! We started delivering 360 stills and tours for clients last fall and the response has been amazing! A 360 view does something normal stills and even animations can’t get across, true sense of presence and scale. Everything becomes clear instantly to the client. Our clients that have been exposed to 360 rendering pretty much demand it now.
We tried many solutions for better pano tours. They are all kind of lacking. The user doesnt get the experience of MOVING through the space.
My boss demanded something more akin to the matterport demo, which is very good. https://matterport.com/
We are still developing our own solution but we have a unity prototype that works quite well. We are still working on some aspects such as asset streaming (to speed up load times) and one click automation between 3ds Max and Unity.
Check out what we have so far http://75.149.82.205/RMVirtualTourChip/
1.6 m is too short for average eye height (5′ 2″?). Should be 1.71m (around 5′ 6″).
May I ask you, what kind of lithing di you used ?
You’re always on point with best worflows, latest 3D trends, ect…Good stuff, thanks for inspiration and being awesome.
Nice article but there’s a few issues here: First, the VR experience for Google Cardboard or similar viewer types is still very cumbersome and full of problems. The biggest problem – and Kolor Panotour is no exception – is that there are too many variables that the user has to set in terms of what kind of device is being used, interpupillary distance, etc. The average client simply cannot be bothered trying to set that stuff – their attention span is way too brief haha. Kolor actually uses the KRPano engine – which is pretty dreadful, actually. The browser almost never remembers you settings for any number of reasons.
The second issue is that Cardboard and all other viewers have ZERO capability to adjust the distance from the viewer lenses to the mobile device. This is a huge issue – especially for people that wear glasses. Many clients simply cannot see the content in focus. This is exactly why vintage stereoscope viewers had the capability of adjusting the view distance. It’s a major, major oversight that an entire new industry has failed to address. Individual lenses that focus are rare, and hardly help the problem.
Lastly, the example you’ve posted isn’t in stereo 3D! It’s a 360 tour, but the title of the article suggests it’s a 3D 360 tour. hehe.
Great work Robert, we are also playing with these and what you have achieved with your lighting is great. The stereoscopic versions when played through the new rift are something else if you have access to one.
PaulStein Yep, you could do either really. Being a little to low seems to work better for my clients rather then feeling to high and the feeling of floating. Depends on your scene and how you best want to showcase it.
NicolasJouslin This was just a VRay Sun and Sky, and an images in the background.
Scott GS All very valid points and I agree. These are more so 3D because they are not using actual 360 degree cameras in real life, rather created in full 3D environments. With these tours they are more so geared towards viewing on a phone, tablet or computer rather than VR headsets, but you can certainly use VR headsets with them to get an idea.
Like you said, there are so many variables with VR and headsets and lens and phones, I have found this to be the best way for everyone to experience VR and panoramas without the need for $100’s or $1000’s of hardware and development costs.
mylesmontgomery Thanks Myles! I used to be in the games industry when the Oculus was first invented, and it was amazing back then let alone now with all of the updates. Would love to get back into that side of things.
samuelconlogue I agree! and Thank you. This is technology that is ever evolving and with the support of Facebook more and more services will open up to VR and virtual tours etc. making it easier to access and view.
Great workflow Robert! Do you have any experience of making content with hotspots for Samsung Gear VR?
Bravo Robert Dukes 😀
Stay tuned for an update to the article regarding sharing of 360 videos on Facebook due to recent updates made to the platform.
Just read the article from Archdaily. This 360/VR as a tool/presentation is taking off fast. I’m anxious to start investing time/$ here. Gotta be a faster way to create/build in VR, tho probably coming.
Hi. Really good work, very cool and clean renders.
We have recently published here on the blog one very similar project, a complete virtual tour of God’s Loft Story byLKSVDD Architects.
Please check out it here:
http://www.pixelpark.it/V185/V185_02_01.html
We also added an interactive plan with hotspots and a gyroscopic feature to watch it with mobile devices.
Cheers
Just Tom happiness is interior renders
Whatsapp group for designers .Send 3ds Max to +918281068191
Dear Sir,
Thanks For Sharing, Your Article is Very Useful For 3D Architectural rendering..
3D Rendering Studio.
http://www.thecheesyanimation.com
Hello, Robert
Excellent work! And thank you for sharing it. I want to know how do I make it compatible with google carboard and youtube, is it possible? Thank you again!
So much noise its killing the eyes 🙂 btw the 6×1 times two is the better method with stereoscopic vision, give a bit more depth in VR. This type of rendering is sufficient for online use, however the noise is destroying the feeling.
ronenbekerman Thank you for sharing so precious experience. I tried as this passage but I failed in the step of “Style” in kolor panotour so that I cannot make the panotour like yours. I didn’t find some styles in your passage like “analytics” and “WebVR button”. Are these styles plugins? How can I add the styles and make a panotour seen by phone like you?
ronenbekerman Hello, Robert. I cannot find the style to make the mark appeared in screen so my panotour is unavailable to be seen by phone.
if I am using the google cardboard and have a Bluetooth controller is it possible for someone to use the destop buttons and vr functionality? Meaning they would not have to take the phone out and select a different scene and then put the vr back on. They would just have to use the controller in mouse mode and select the arrows ?
There is actually a HUGE difference between spherical panoramas and cubemaps and also stereo panoramas and mono panoramas.
KyouChyou ronenbekerman in the toolbar plugin you have to activate the icon of VR, where you activate other UI bottons
Hello,
Did anyone manage to load any panotour project on the samsung gear VR?
Or does anyone know a way to load multiple cube maps/spherical linking them together as for this example into the gear VR?
pixelpark the panoramas are nice in this but they are crooked when you turn around in the panorama. the verticals dont go straight at all.
The Cube Map way in 3ds Max with Vray and the Samsung Gear VR is really really nice. Rendered out at 8000×4000
Cool, but look at most simple 360 degree renderer – http://archivisions.com/3d-for-web/
Hi, i’ve being rendering using Vray-RT but i can only use CPU, which doesn’t make any sense. When i switch the camera to Spherical mode and override the FOV, i only get a blurred image when using GPU. Is there any solutions to this issue? thanks!!
HI all i try panotour v 2.5.5 but i have a probleme with option VR help me pls
Hi all. We’ve built a web platform that makes it even more easier to present your work using 360 images in VR. Just upload the images, connect hotspots & share a VR-ready link to your clients without any coding. You can also view the images on the Gear VR app online as well.
Try http://www.sentiovr.com – as it may be the answer to quite a few queries on this forum.
Thanks !
Hey, cool platform! Can you change the hotspot icons?
Hi… Sir, I prepared all as you have instructed. but when I am loading it get an error say URL is limited due to browser security. I have attached the image herewith. Please help me
Hi,
See the tour below link is not working.