


The Farmhouse
In the beginning of March Reinier Reynhout started working on visuals for a renovation project for relatives of his, trying out some ArchVIZ during his spare time form being head of a 3d department in a big company during the days. Renovating and learning more about ArchVIZ at the same time, Reinier also started a WIP thread on the forums during the process and shared it on the go which I really liked. the WIP + Finished work was a great start for this case study I kindly asked Reinier to share with us. Enjoy!

Author : Reinier Reynhout
Reinier Reynhout works as a 3d generalist at Lukkien, working on TV commercials, web content, packaging, animation and VFX for movies.
Project forum thread – The Farmhouse
Project forum WIP thread – Farm Renovation Project
I’ll be breaking this article into periods starting with a not so short intro – I hope you wouldn’t mind…
June 2013
At my current job (Lukkien) we do a lot of different 3d work. It varies from TV commercials, web content to packaging, animation and VFX for movies. From illustrative render style to photo realism. Its pretty diverse and you really need to be a generalist to survive. You never know what you need to build or how you are going to do it at all.

So one day we were asked to build interiors, photo realistic interiors.
Since I’m no architect or architectural visualizer this was kind of new for us. I never thought that architectural rendering could be interesting or cool and I never really cared about the work that other people had done in that industry. Pretty narrow-minded so it seems.
What we normally do is spending some time in research to find out what could be the best approach for that particular project. We always start with asking our best friend… You know him too – Google.
And good old Google found this – www.ronenbekerman.com
We found the lost treasure… A massive collection of stunning 3d work. Lots of tips and tricks, tutorials, resources and a pool of endless inspiration and motivation. Bertrand Benoit, Peter Guthrie, Alex Roman and so on and so on…
speechless.
After reading basically all the blog posts it was clear that there was a lot to learn and try. We used Maya at that time and made the educated guess to switch just at the dawn of a new project to 3D Studio Max. (always dumb) I was convinced by all the amazing work made mostly in 3ds Max so it was not really a choice, we just had to.
We started with that project and somewhere in July we made the reservation to go to State of Art Academy day #4 that was advertised at ronenbekerman.com. In October we went to Venice. (Ron, a friend/colleague and myself). Every day absorbing the big amounts of information that we got to endure. In the evenings we were tired, mentally broken by the insane quality that we so much like to achieve for our project at work. Eating pizza with these friendly and professional people and hurry back to the Netherlands.

The project took till February 2014, it ended well. 3Ds Max was a wise choice. After that there was a bit of time left in the evening hours.
March 2014
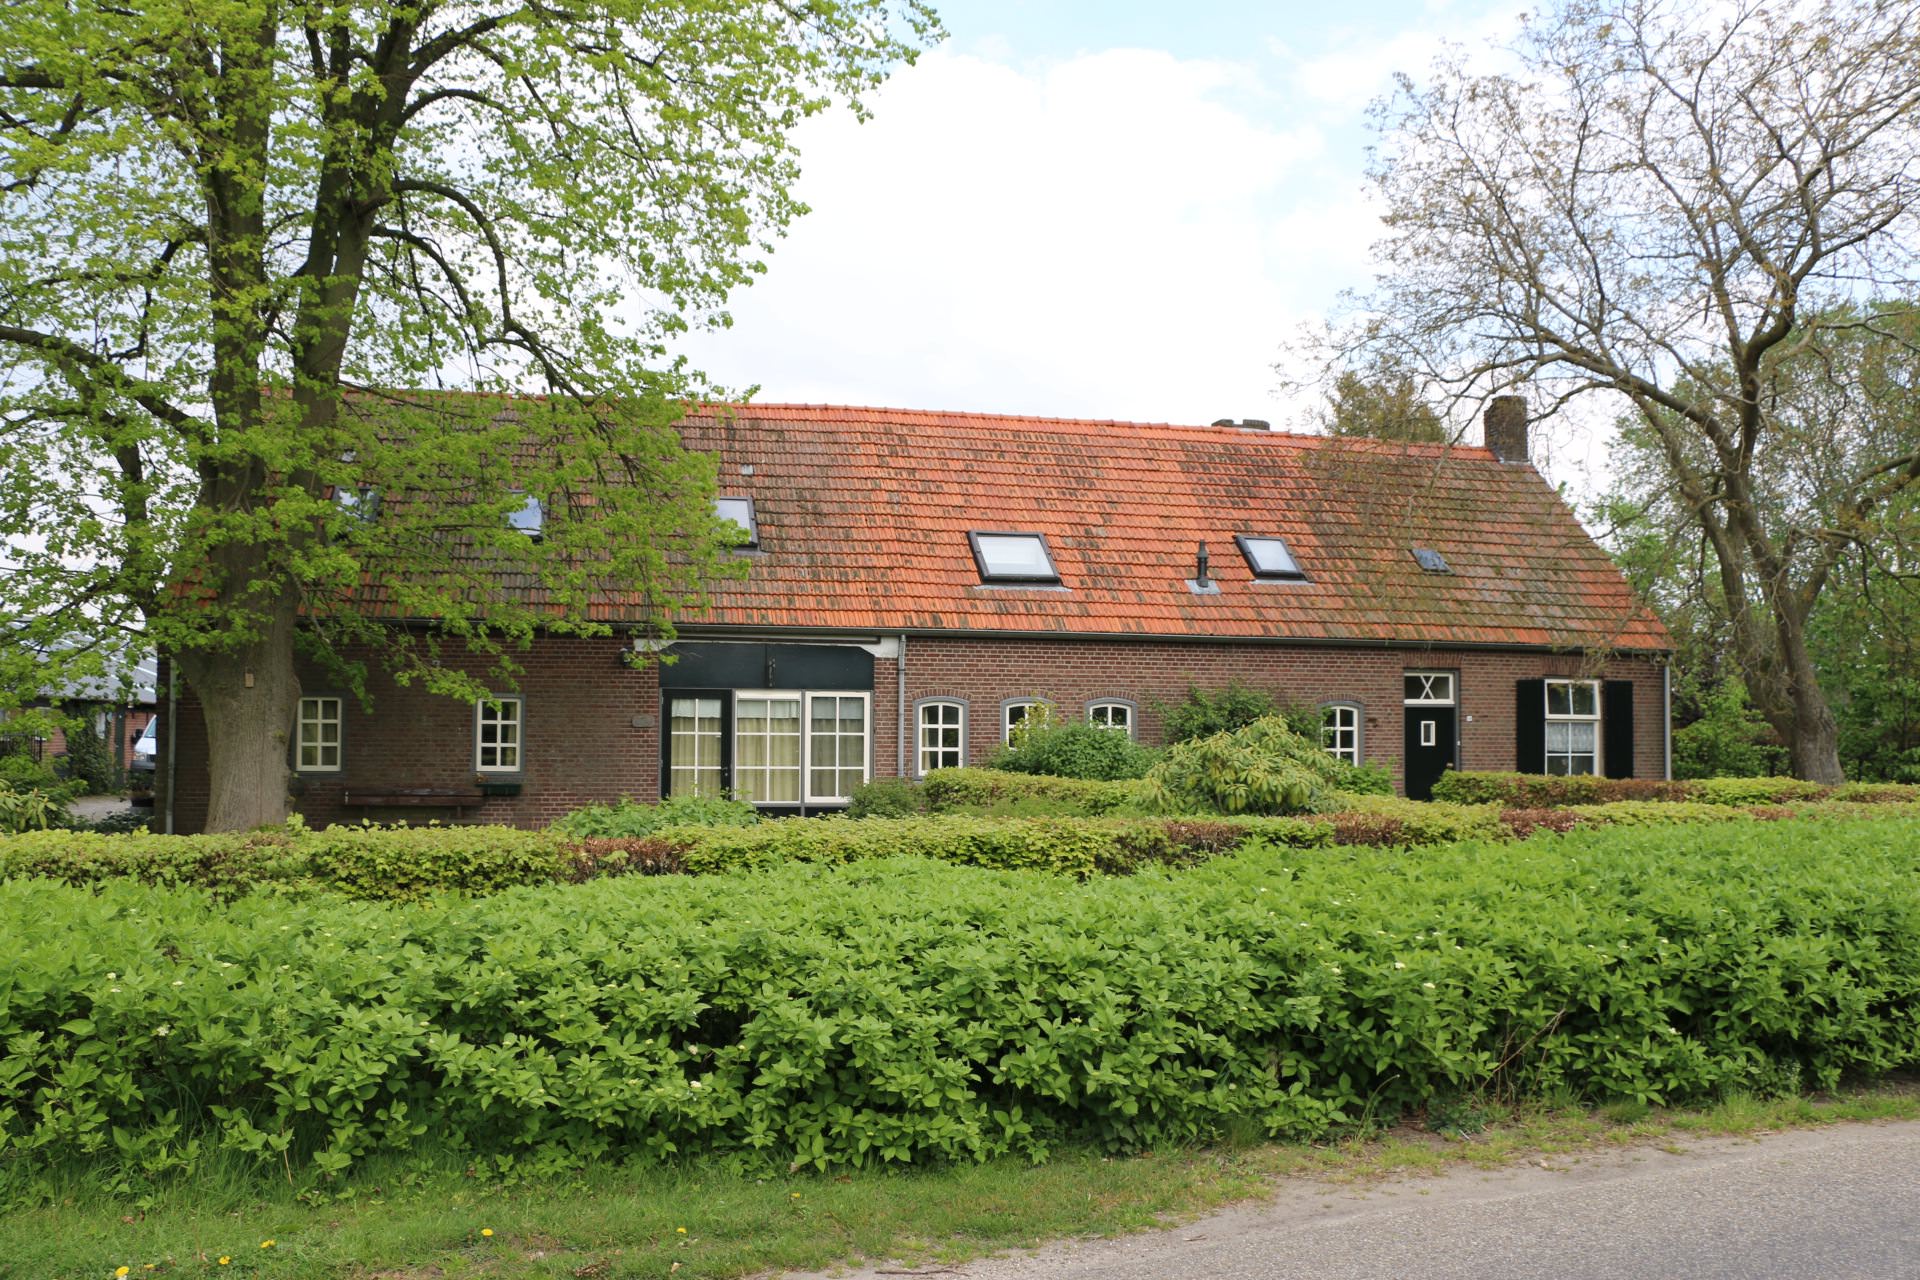
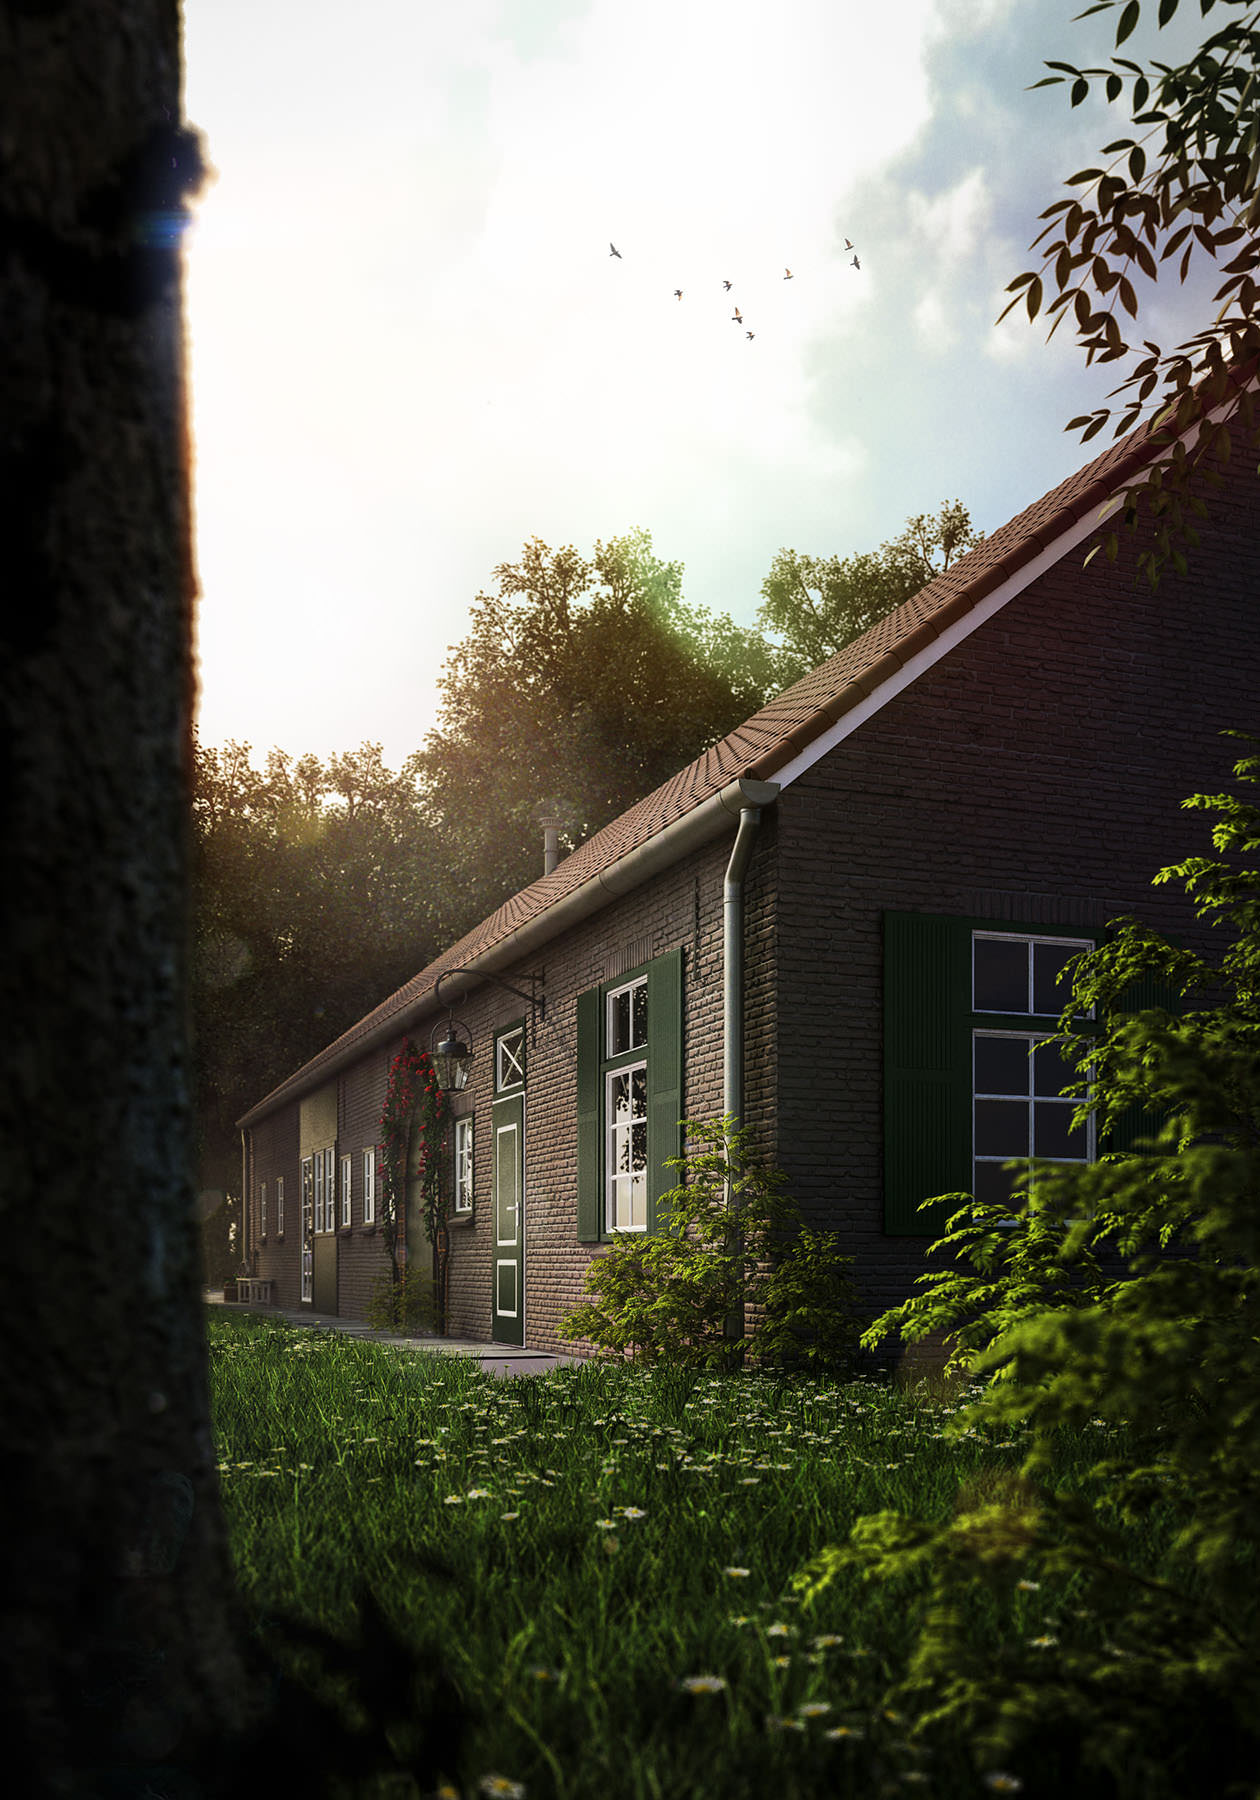
That is basically the moment I started thinking of making a personal project for my parents in law. They where planning to renovate their farm and this was for me an ideal starting point.
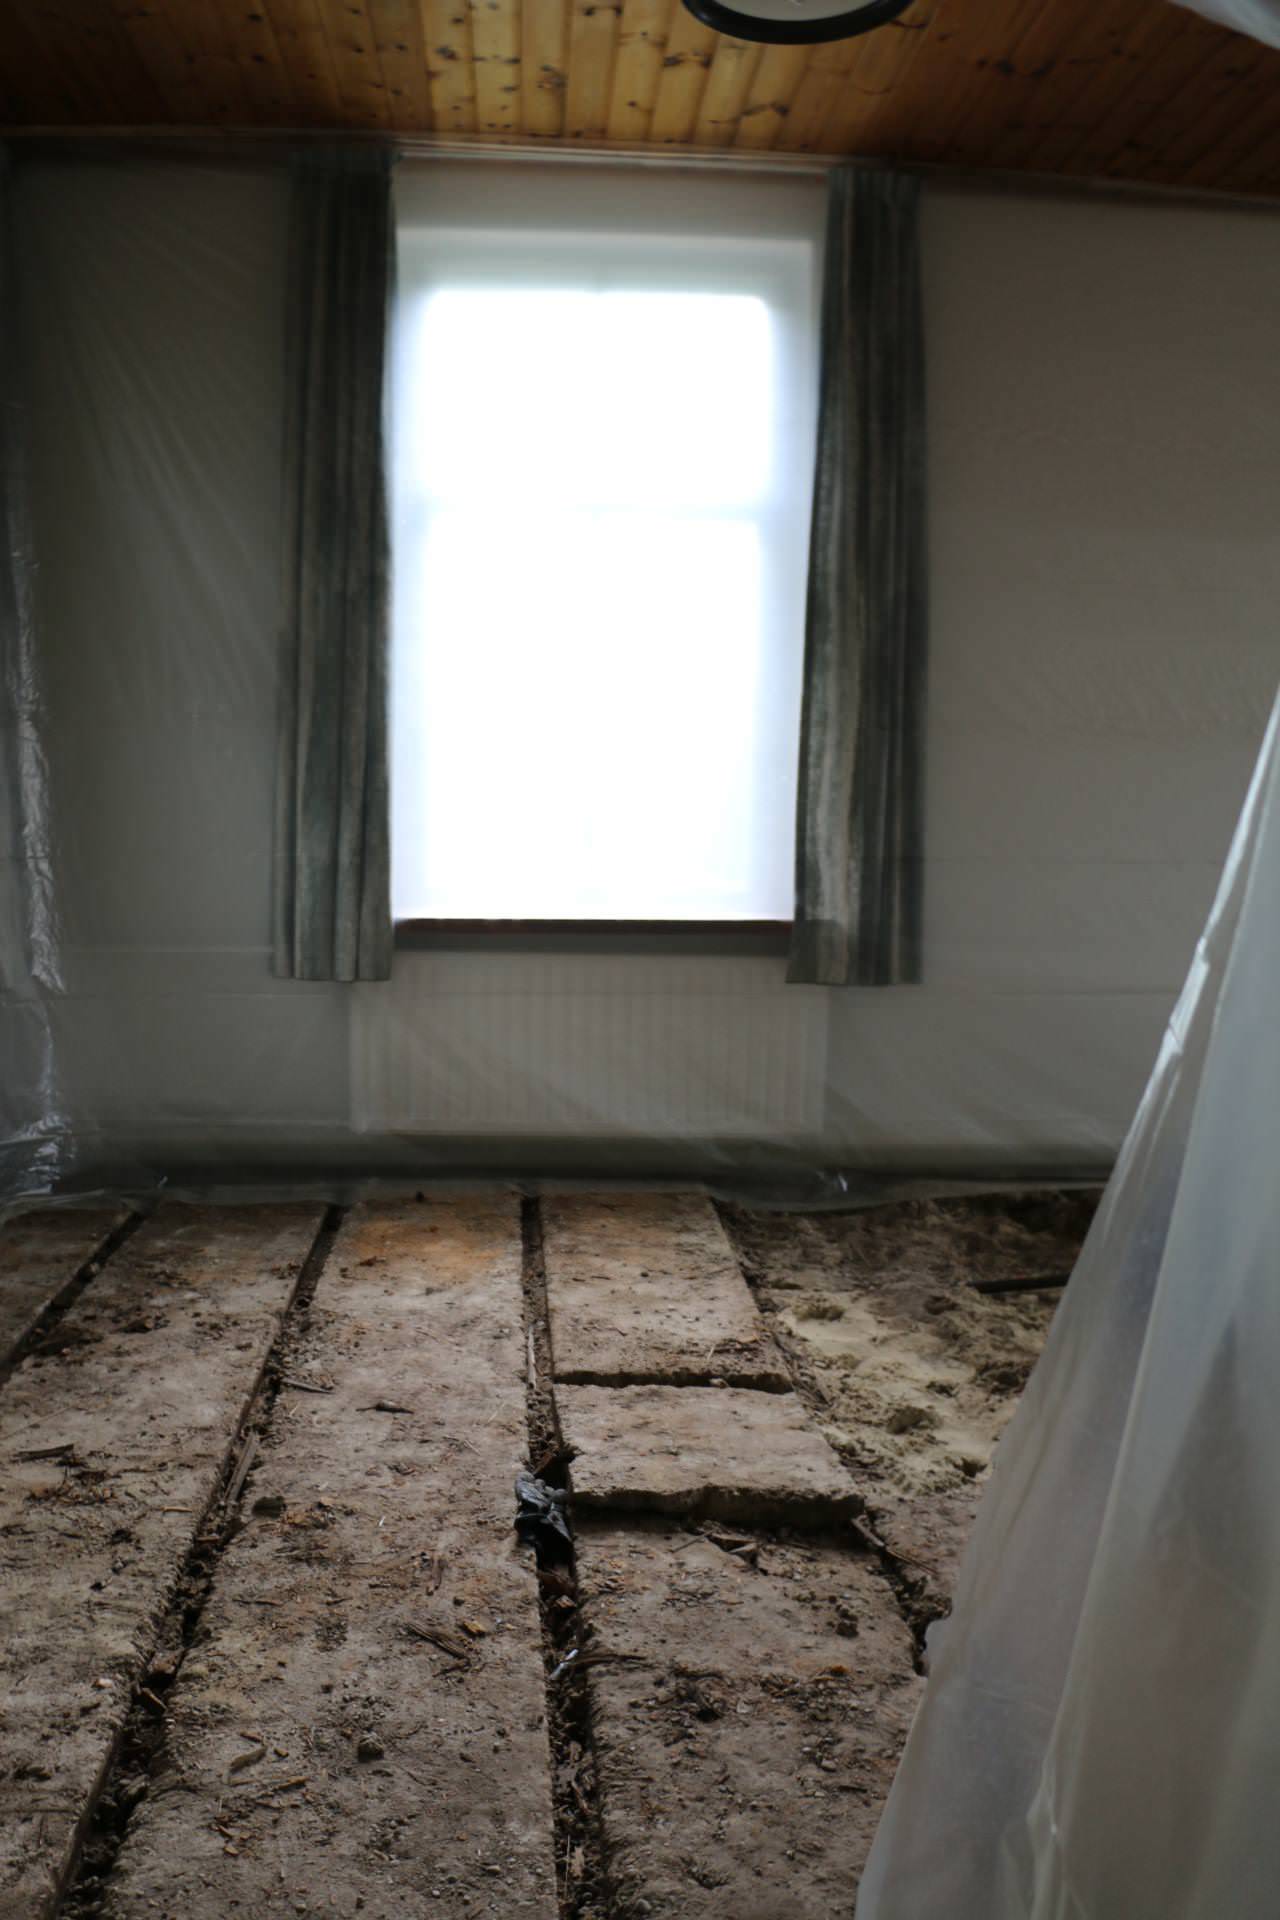
I know that house, I know what the possibilities are and I have always my ideas about what people should do with their properties… (I know, it’s an annoying habit) So in my spare time I decided to start with this. I went to their house, measured everything I wanted to know and took enough photos so I can start building the house in a rough way in 3d.


Every time when my wife and I where there I payed much attention to simple things like : what time is it and where is the sun. What would I do with this room and why are there little white highlights when there should be occlusion at the intersection of two walls. What kind of materials do they like and how would that wall look if it was broken open.
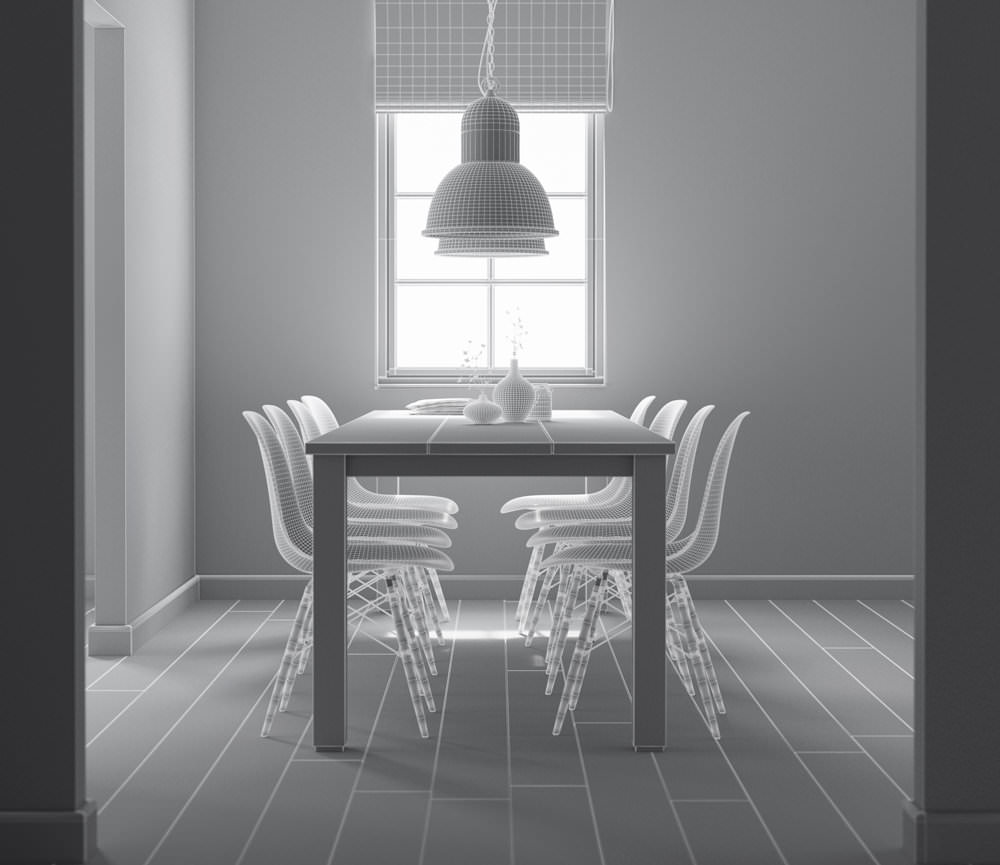
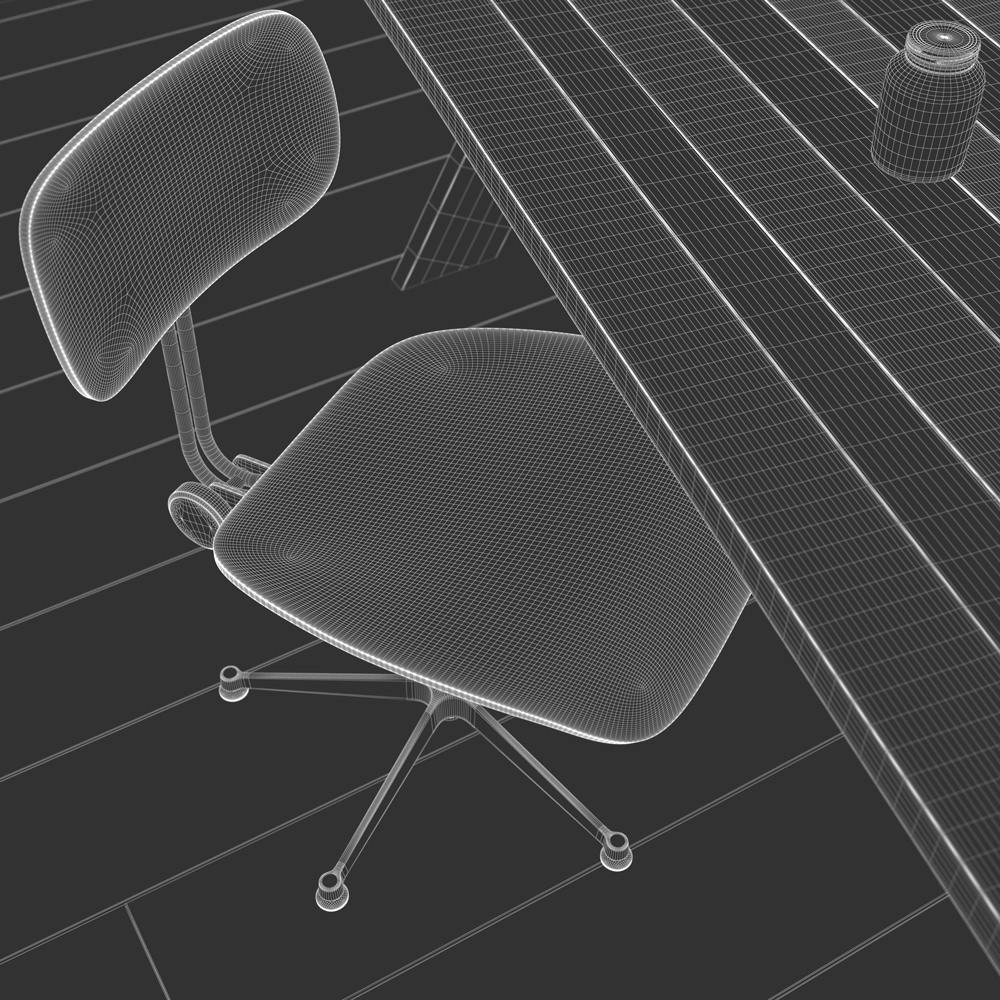
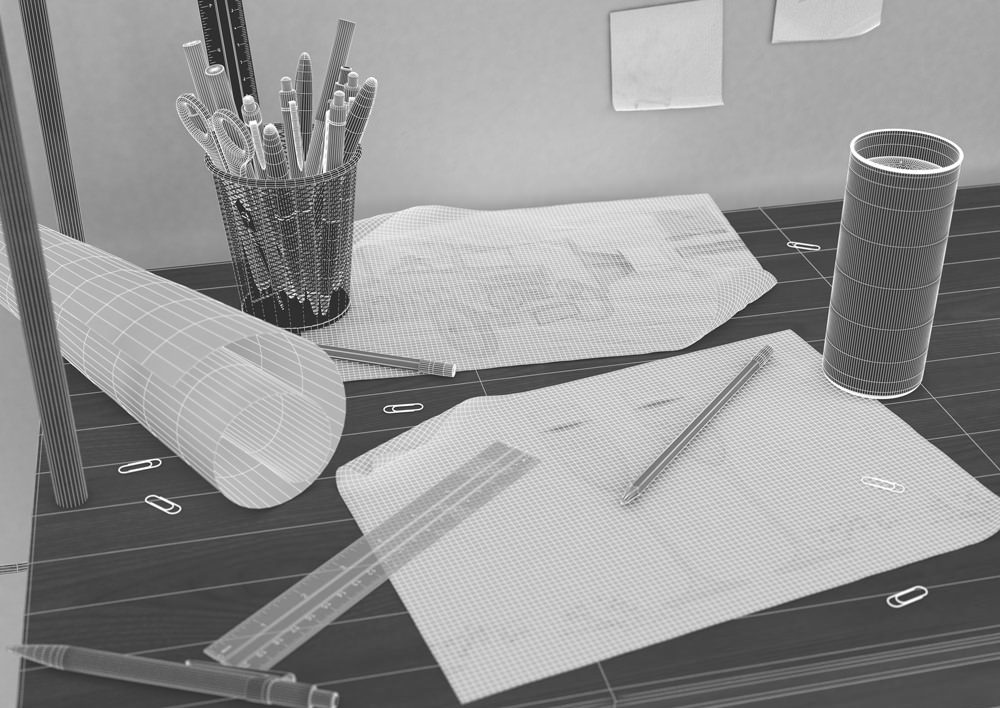
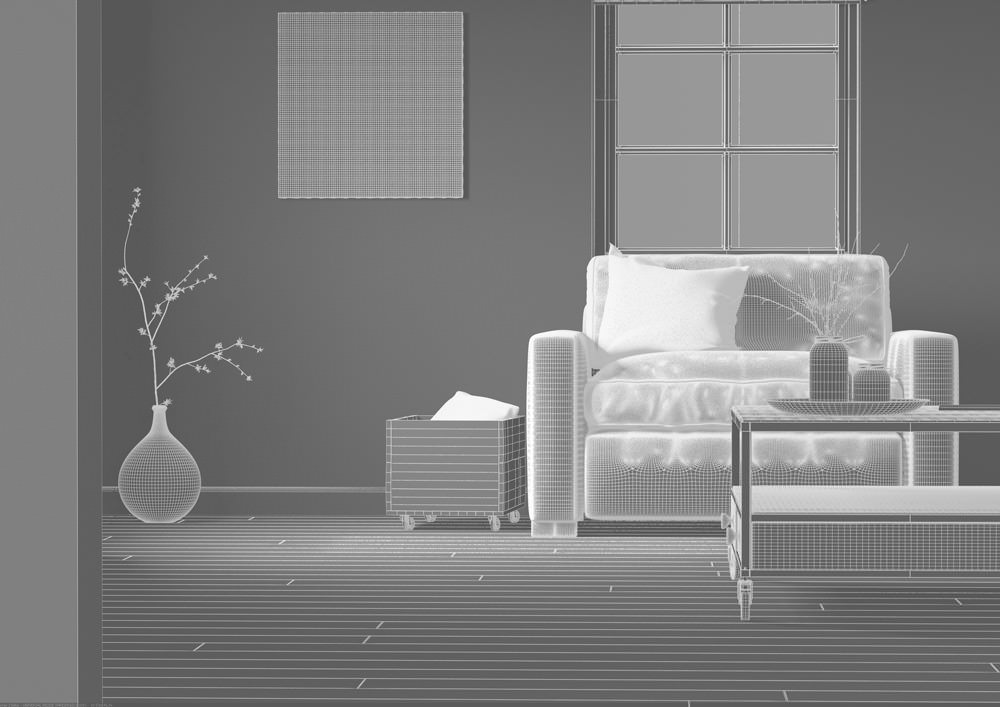
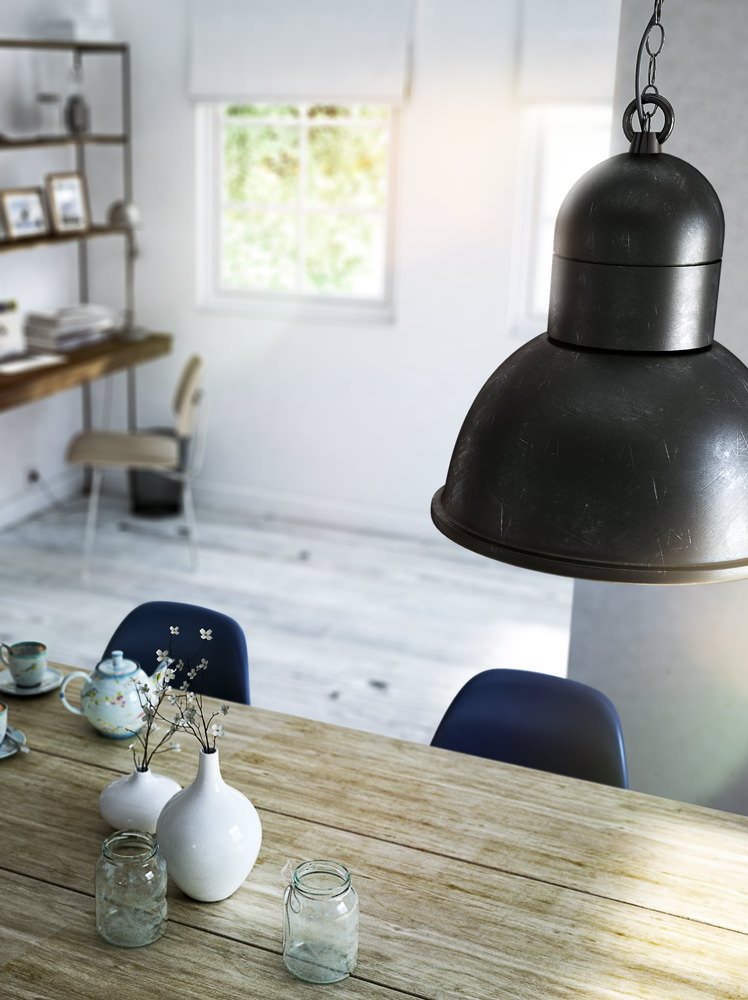
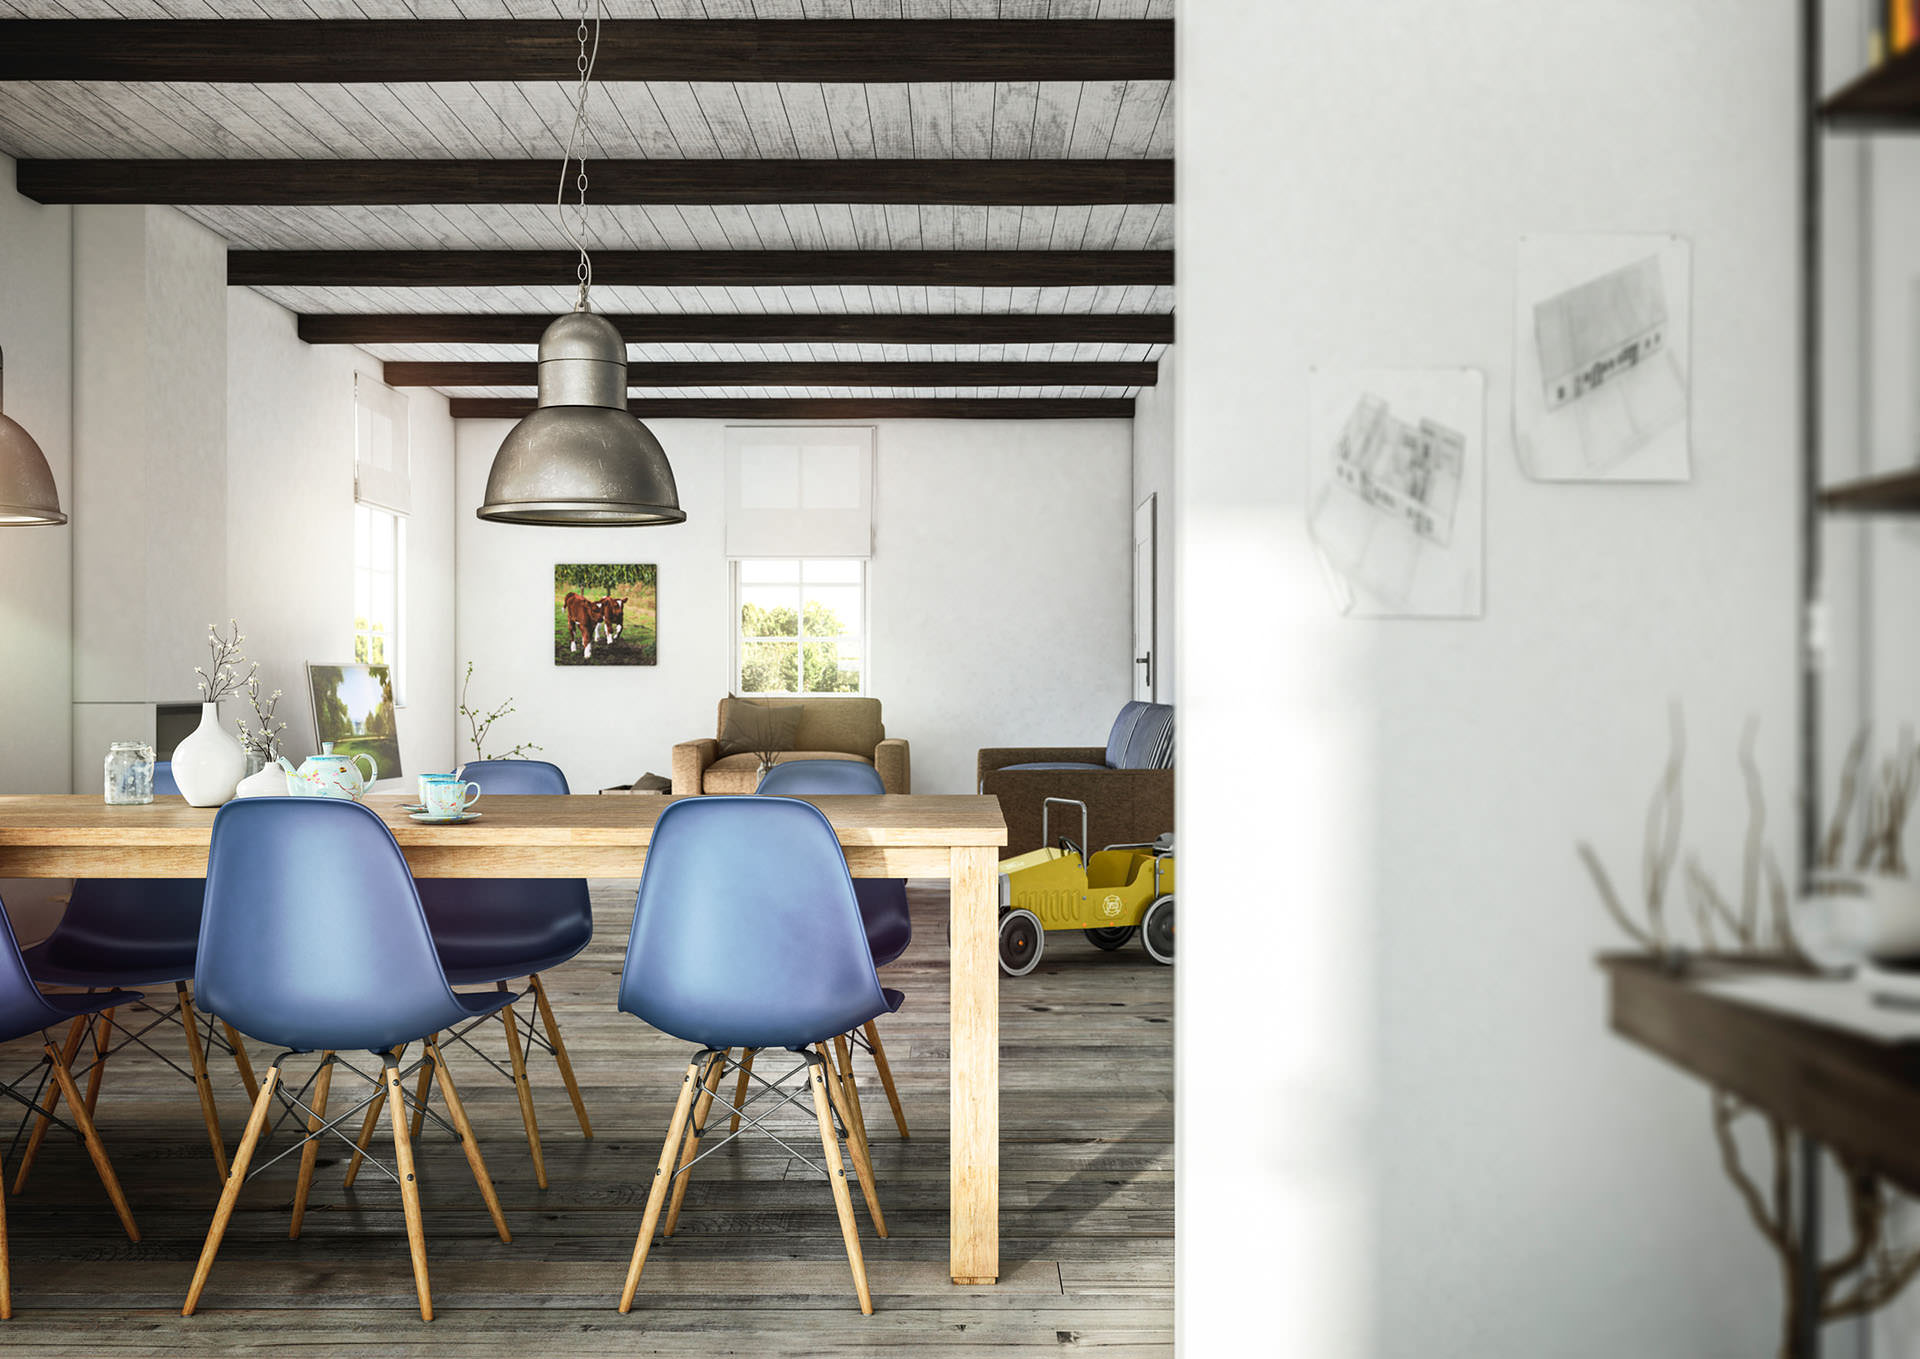
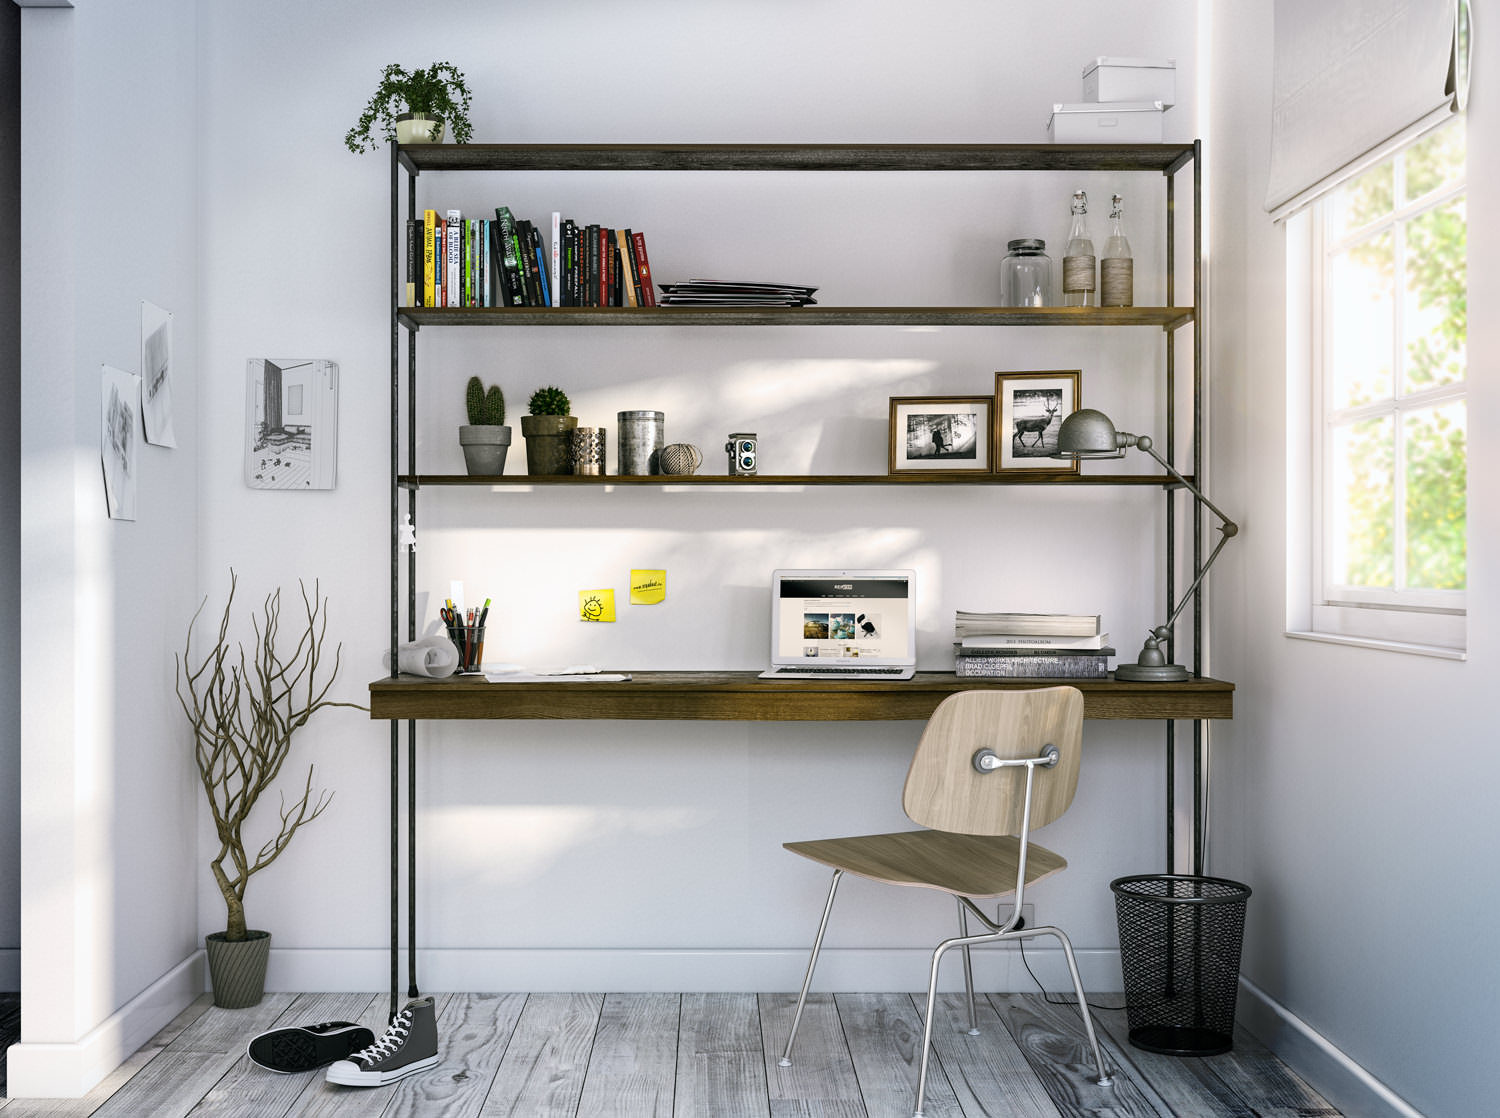
I started with the living room. I made photos of the couch, table, toys, photos in the frames, lamps and the floor.
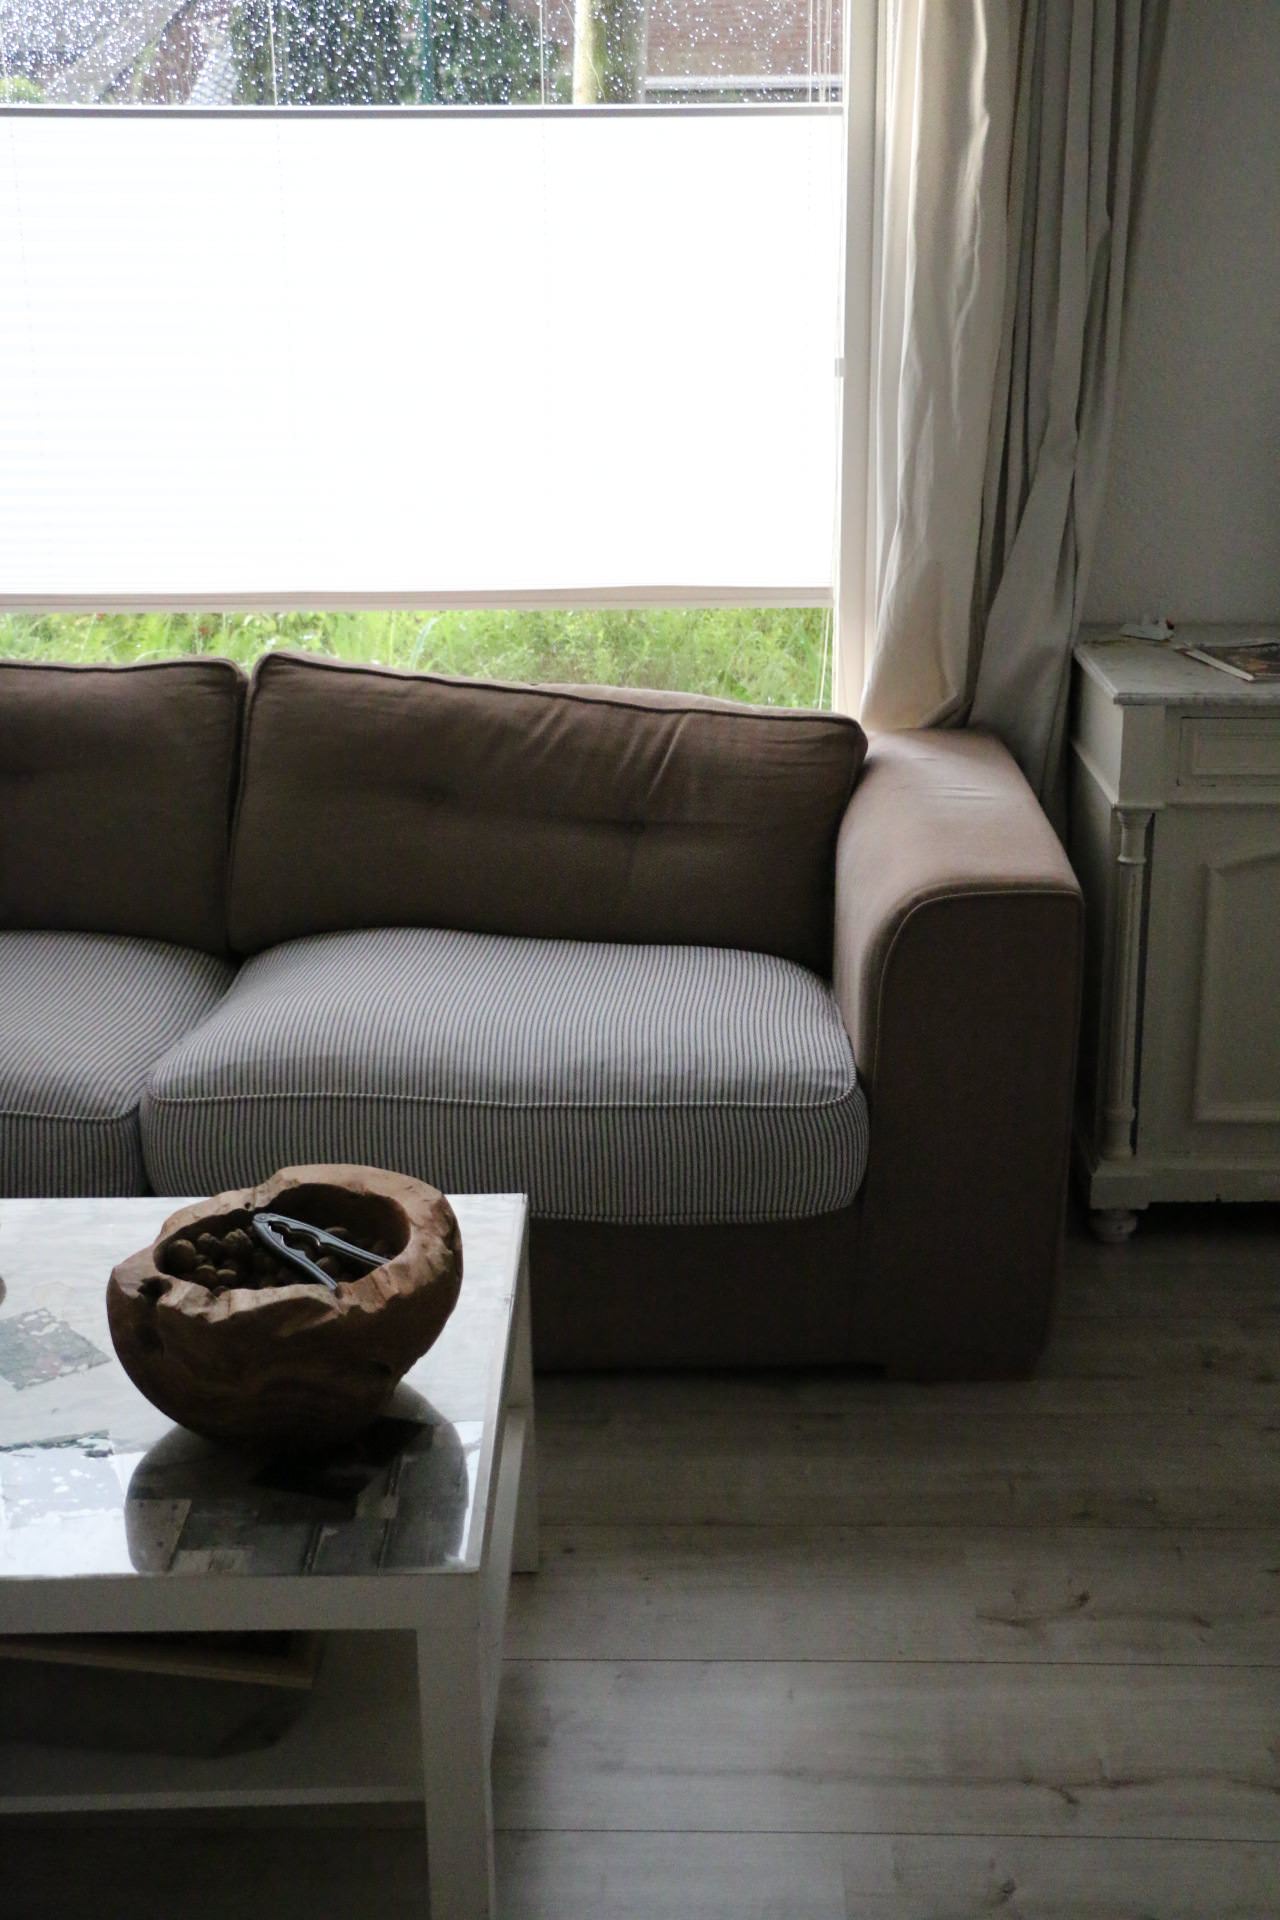


What I did not have I made in 3ds Max and positioned it the way I like it.
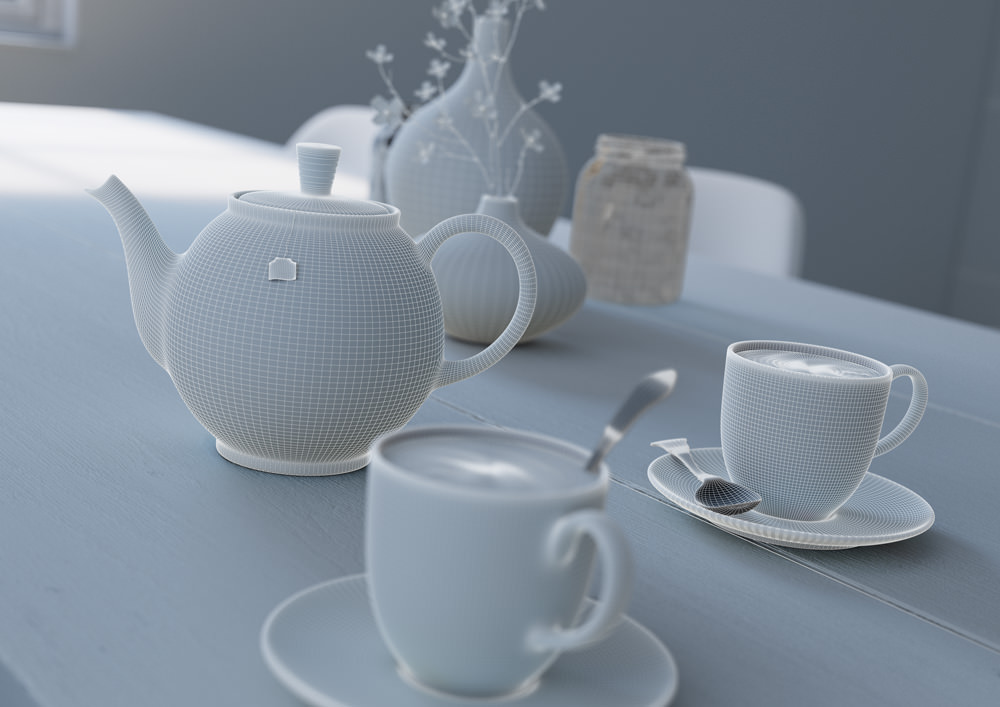
I started making a lot of shaders on Bertrand Benoit’s shader ball which I knew I needed for the renderings like wood, painted wood, plastic, metal, old metal, porcelain, glass, paper and cloth.

His tutorial helped a lot in general on approaching materials. (after that I’ve extended this interest by becoming a member at Grant Warwick’s site) So I worked quickly on my library. When I had all the materials I thought I needed, I started on matching the suns position in the first place.
Here are to node maps of the Metal Lamp :

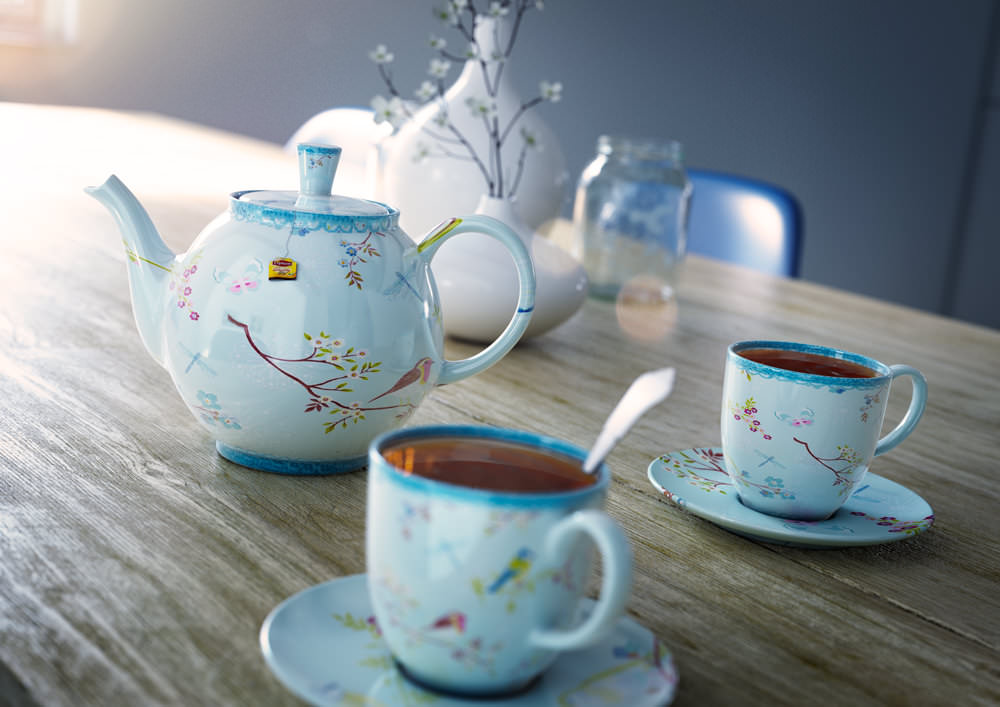
And the Tea Cup :


By using a clay material override in V-ray, I could position the sun fast and easy. Than adding the first V-Ray Physical Camera in the scene and matching it with the settings I use on my real camera (A Canon 70D) to achieve the same effect. Copy the f-number, ISO and shutter speed to 3ds max and render the first image.
The camera I bought in November, was an eye opener for my 3D skills in general. It’s very useful to go out with a real camera and learn to look at light, materials, composition and camera settings.
But back to the topic…

Than I had to change the render settings to what I thought would be good enough and hit the render button again.
This time with more detail in the scene and shaded models, back-plate that I photographed on site (most of the shaders directly imported from the new shader library).

And the first render was done.

As you can see in the reflection of the window there is nothing behind the camera. So the next job was clear, I had to add the living room in order to get better results. I did the same approach for that render as I did for the first. And when the living room was done I could do the study.

With the study I first noticed I needed the environment outside. In real life there are trees pretty close to the house, casting shadows into the room. When rendering the study with a plane mapped with a photo of what you see from that window I noticed the absence of ray traced shadows from outdoor objects… so I started adding trees. I did try with a plane with a tree in the alpha but it looked fake.

At that point I finished 10 interior renders. All at least 4000 pixels wide. All in a relative short time. I only worked in the evening after work (starting 20:30 ending 02:00) And in between I do the household, watching Hannibal and Breaking Bad. And once in a while I get some sleep too.
April 2014
I started on the exterior. We had seen in Venice the presentation of iToo Software and were flabbergasted by the demo of Forest Pack and RailClone. Of course we persuaded the company to invest again in new software and that ended up in me being highly motivated in making exteriors. We do need it daily now at the daytime job. Its pretty cool software.

Before Forest Pack we used MultiScatter in Maya, it was such a relief when working for the first time with Forest Pack. More control, logical interface and above all that – it is easy! So I made the whole area surrounding the house with it. Lots of grass, flowers and trees.

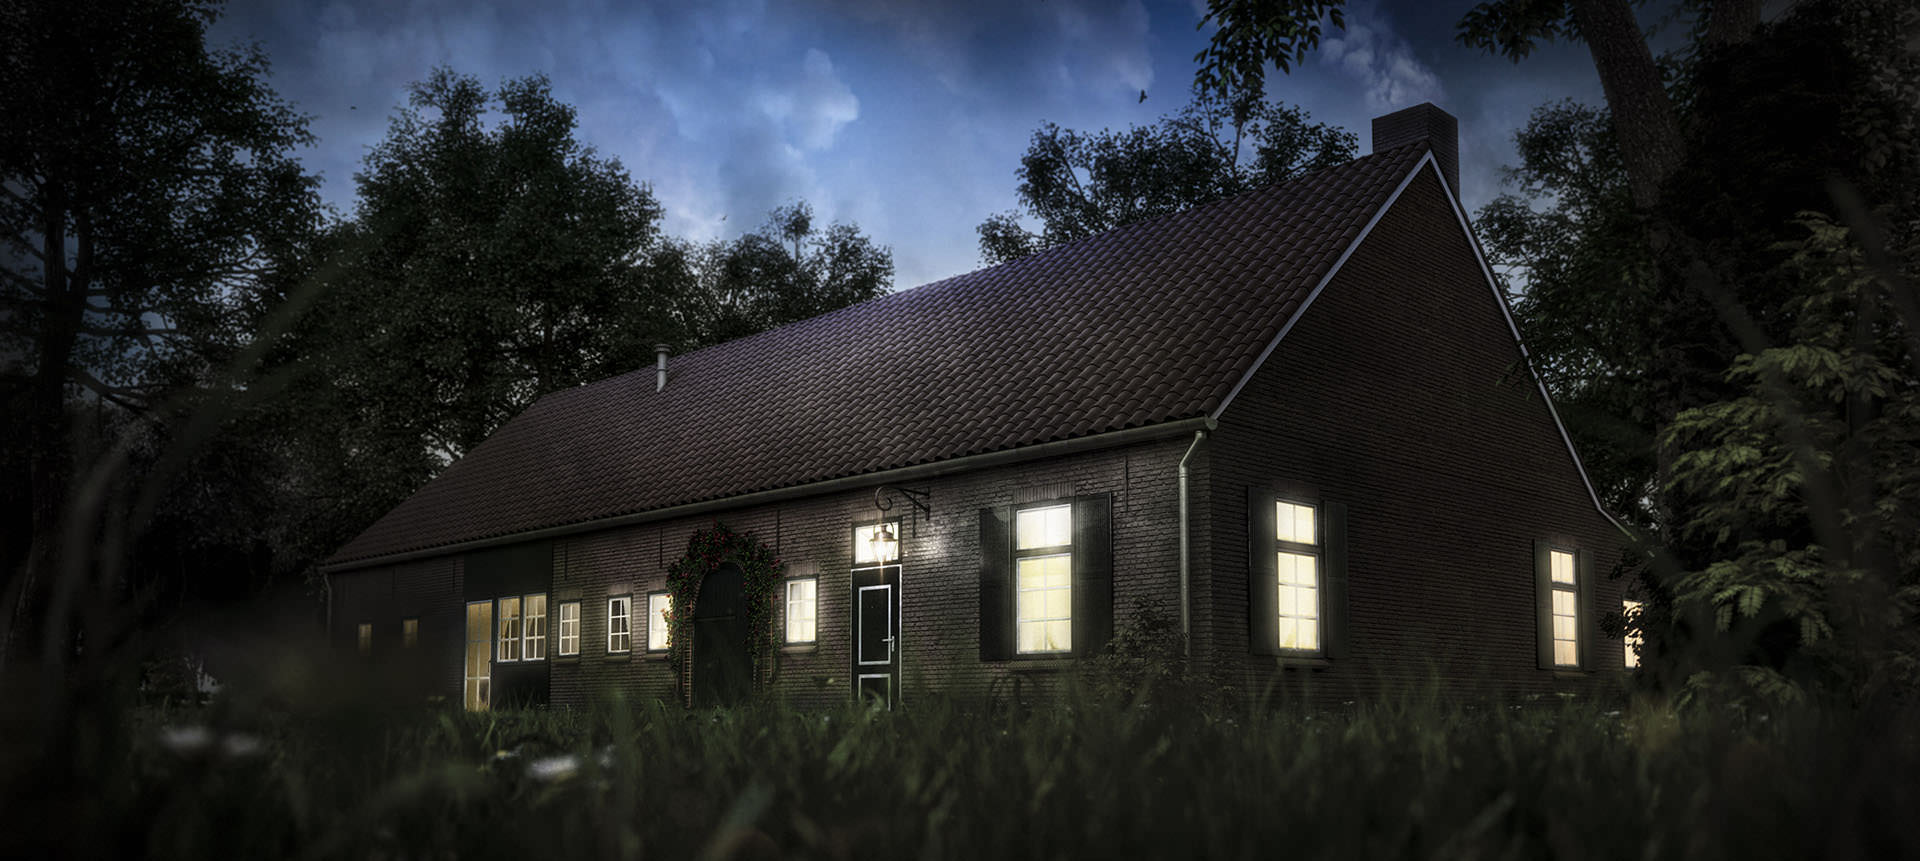
Added 3 different dome lights for 3 different moments of the day or night because I wanted to experiment a bit with exterior lighting.
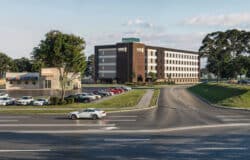
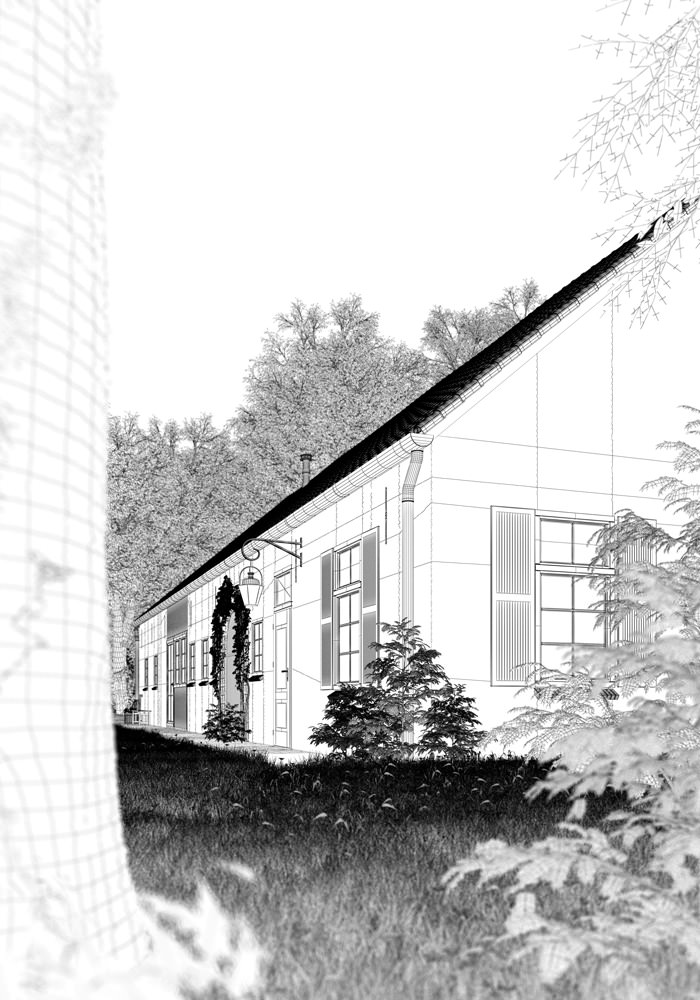
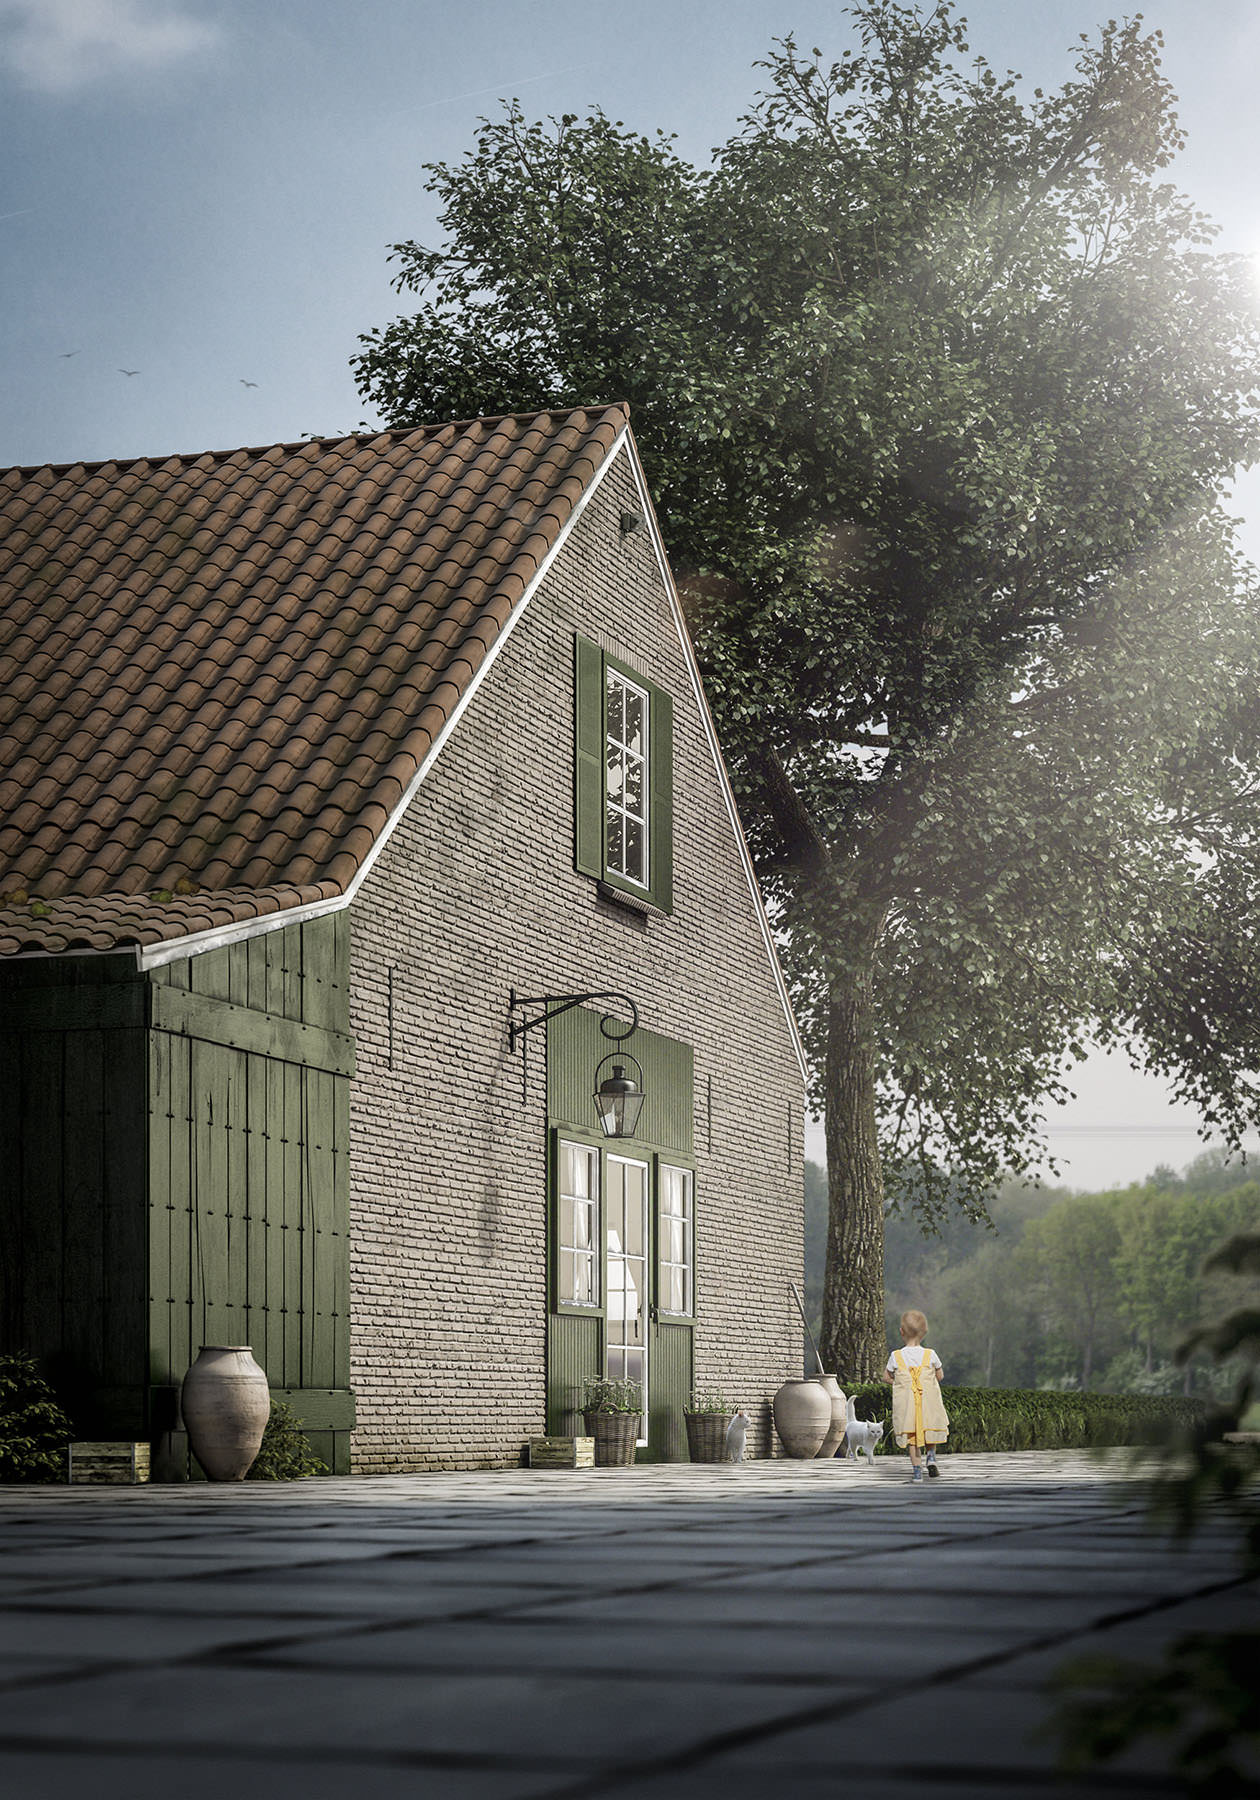
The house from the inside was done, but I never intended to make an exterior in the first place. So I rebuild the house again, this time suitable for close up exterior shots too.
There was a lot of trial and error here. I wanted in the beginning to build it brick by brick by using RailClone. Than I decided it was a bit over the top and did it again but then using high-resolution textures this time (minimum 16k wide), because the house is really wide. So I made the diffuse, displacement and reflection map with Photoshop. That took a while. Also because I kept changing the geometry during the process.
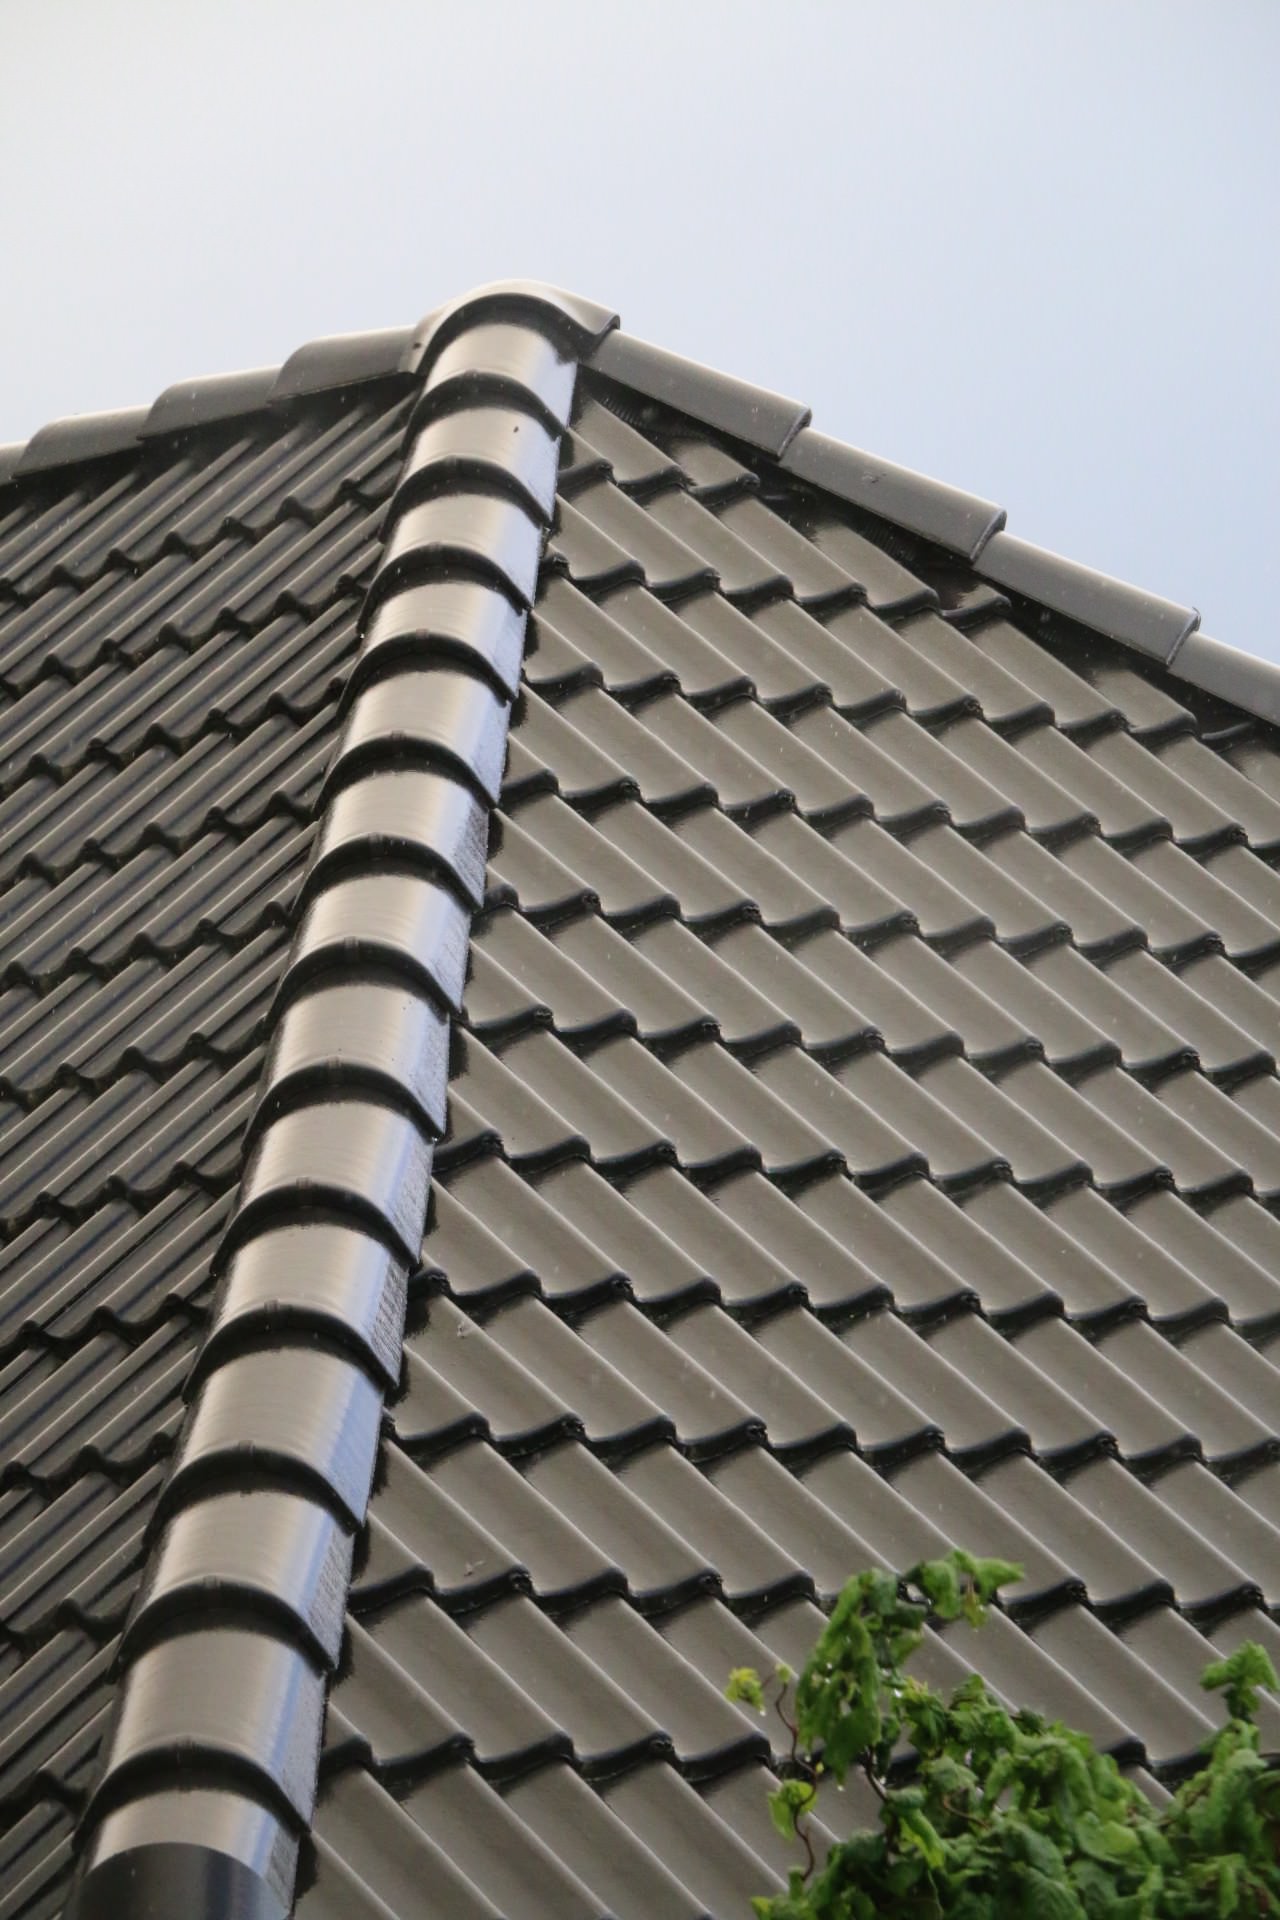
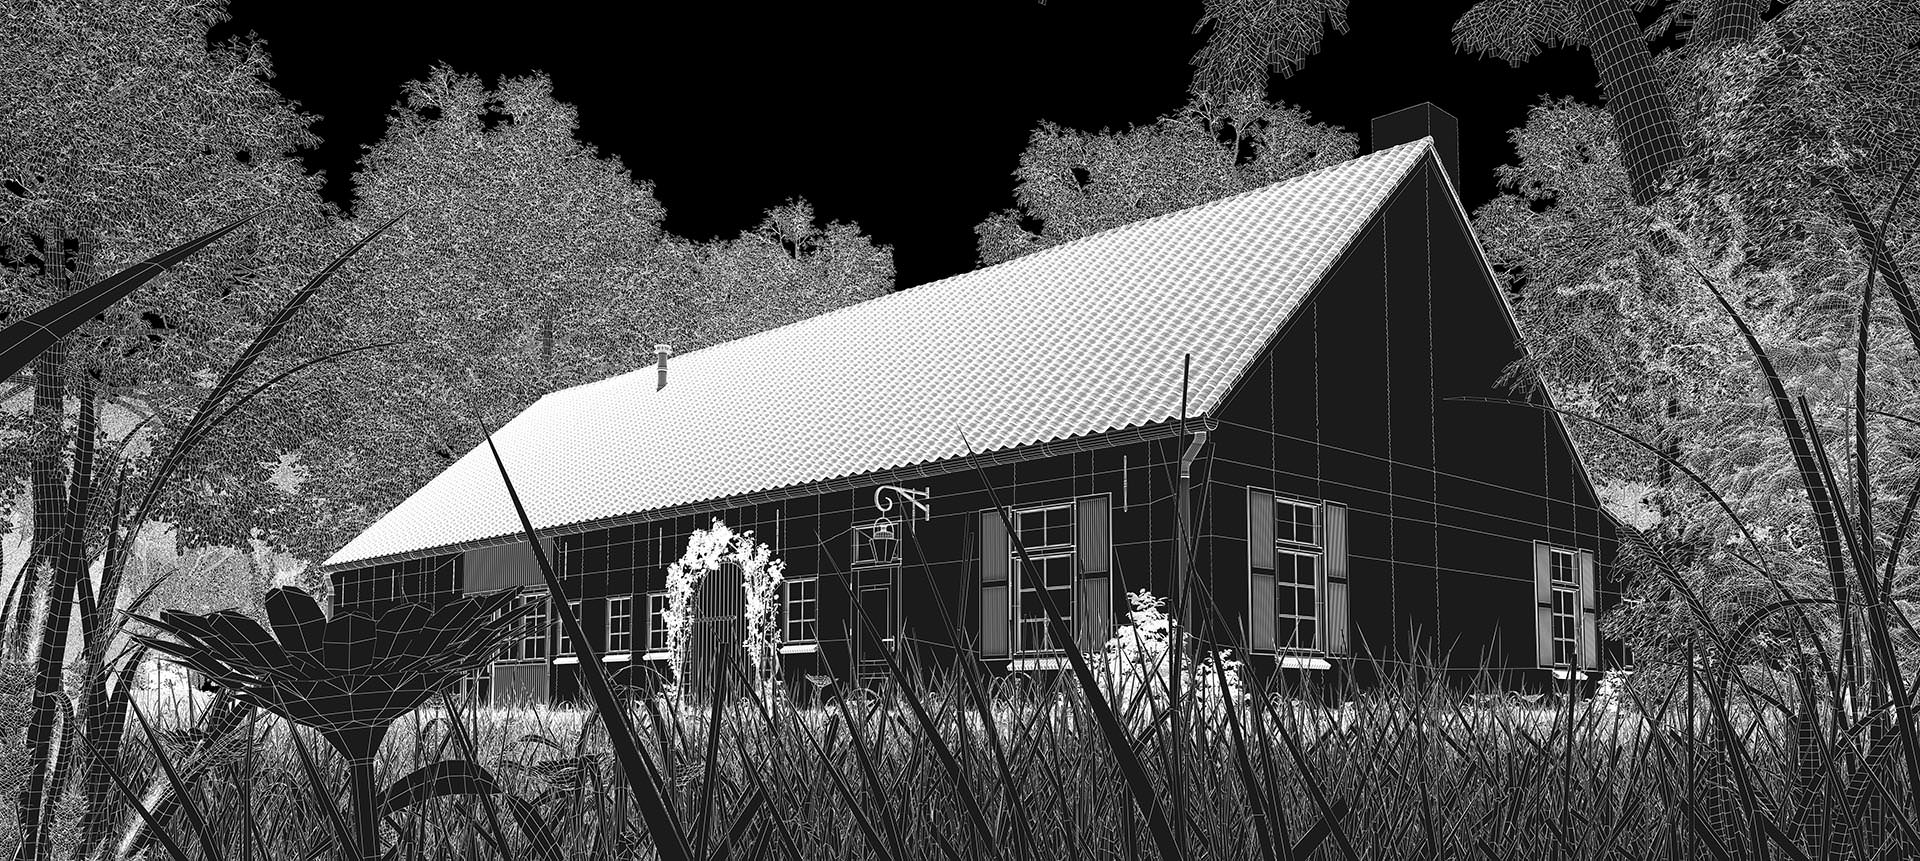
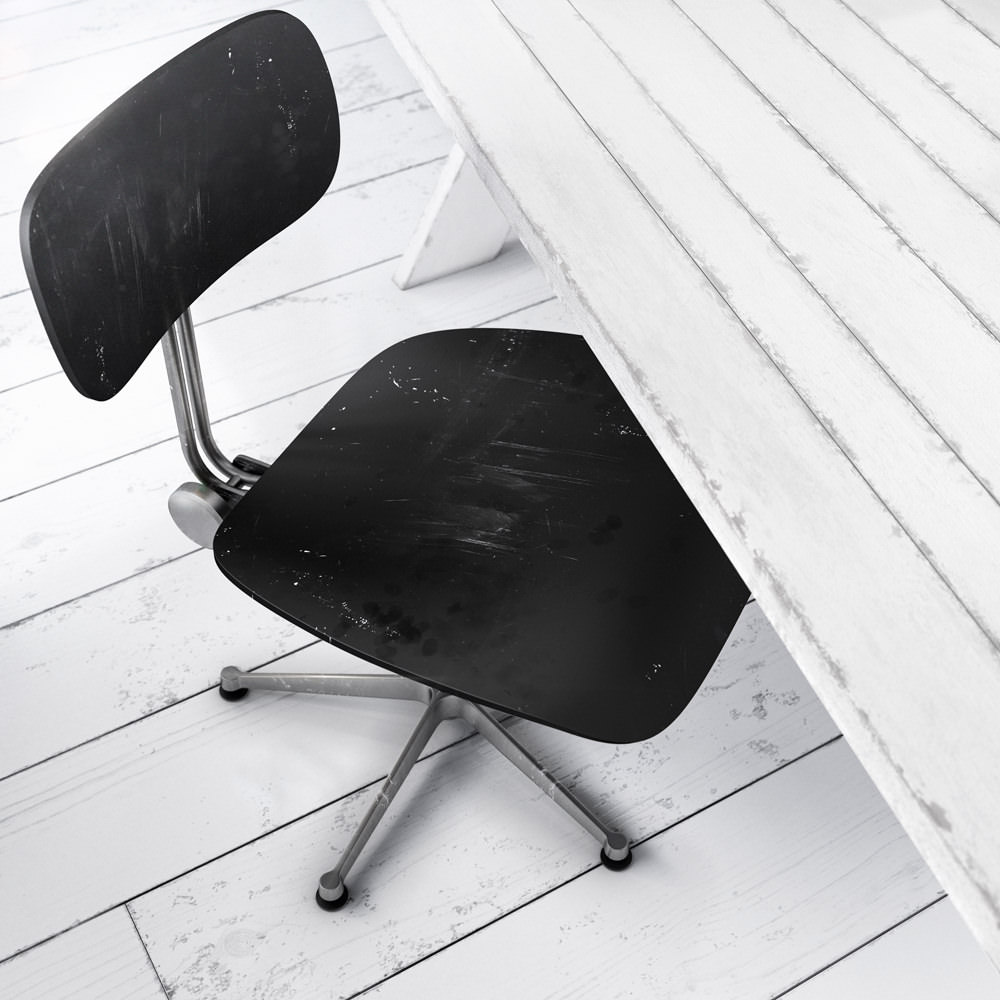
V-Ray displacement works really well but it can consume your memory a bit, especially combined with a really inefficient roof object because I did not know a better way to build it. Look here at the biggest mistake of this project…

Even when I made a V-Ray mesh from it, x-ref the scene and instanced the objects it still slowed down my machine a lot.
When adding the vegetation to the scene it became worse. I thought it was cool to make all trees affected by ivy`s. So I added more polygons. Than the driveway tiles needed to be there too, the extra objects like vases, tools, a bench, grass, leaves, flowers, weeds, bushes and so on.
The file grew so big it got out of control. The whole interior was in the scene by the way…
I wanted everything inside a single scene. No separate files, only a lot of cameras and light setups embedded in this file. The main reason for this was that I wanted to produce as quickly as I can visuals that would look nice. Freedom with positioning the camera and not being afraid that the scene was not ready for that. Behind all windows should be the full exterior 3d scene.
Maybe not so efficient, but a nice test case.
Post Production
I know with a bit of self-reflection that I`m not the best 3d artist around. Therefor I had to learn in an early stage that Photoshop would help me achieving the quality I aimed for. If you can’t make it, fake it. So of course there is post production in this project. In some visuals more than in others.
By default, I import the renders into Lightroom. I tune a bit of clarity, levels, overall color and exposure. The results are imported into Photoshop to tweak and correct further as needed.

Most of the times I correct tiling issues, add some extra dirt, lens artifacts and that sort of stuff. But not heavy compositing.

Until your render is so… crap.

When this happens all hope is lost. The file gets a million layers called :
layer 54,
layer 55,
layer 55 copy,
layer 55 copy copy,
and so on…
So I could have spent more time in 3ds Max, but I wanted to keep the speed in this challenge. When I did post production on this image and concluded that a re-render would be wise I already was rendering the next visual. The render times differ a lot per image. The last render took around 4 days on my not so modern machine. I did render it two times because of the volumetric fog. I wanted 1 with and 1 without fog. So I could blend the amount. I did read Bertrand’s topic about adding haze/fog to the scene but I wanted to find out if it would affect the colors if I rendered the fog in the render itself. Next time I do it Bertrand’s way…

I think I will collect a couple of shaders that I made and share it here. A small thing I could do in return for you guys. I have had so much use of your threads and making-of’s that I feel obligated to do something too. If there are more things anybody wants to know, just ask.
Here’s are some of the wires :

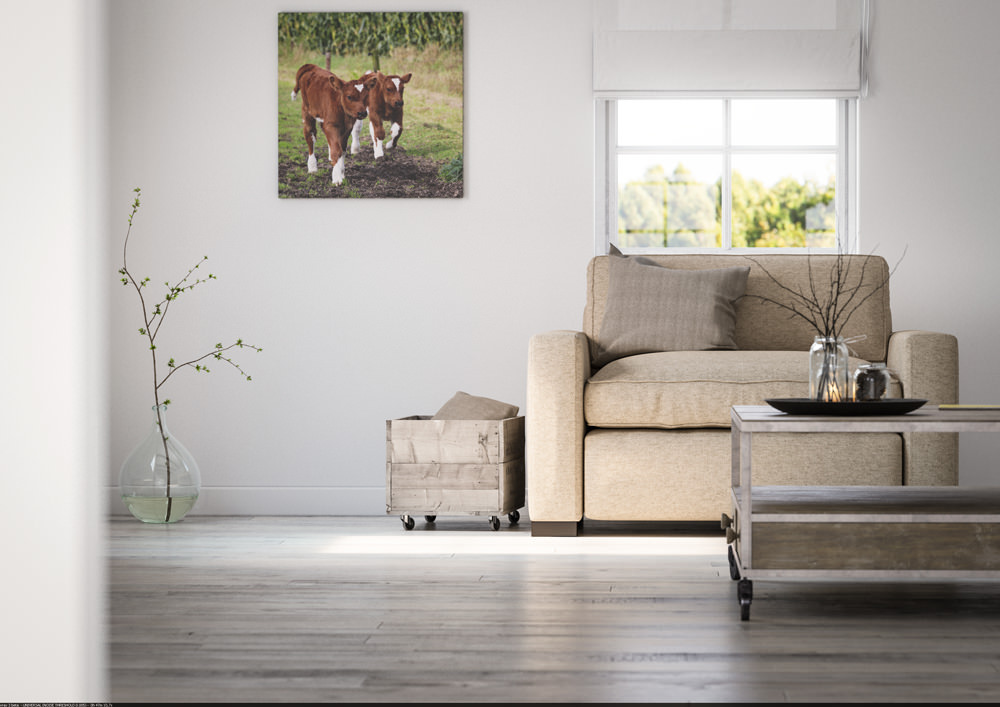
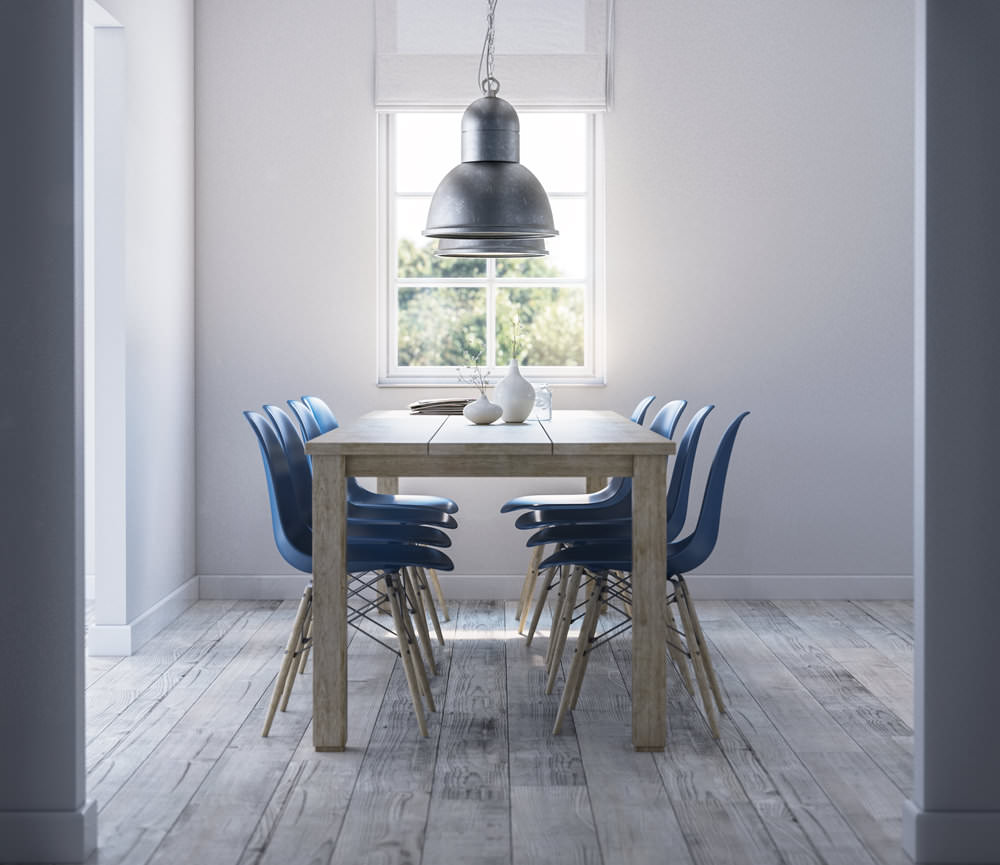
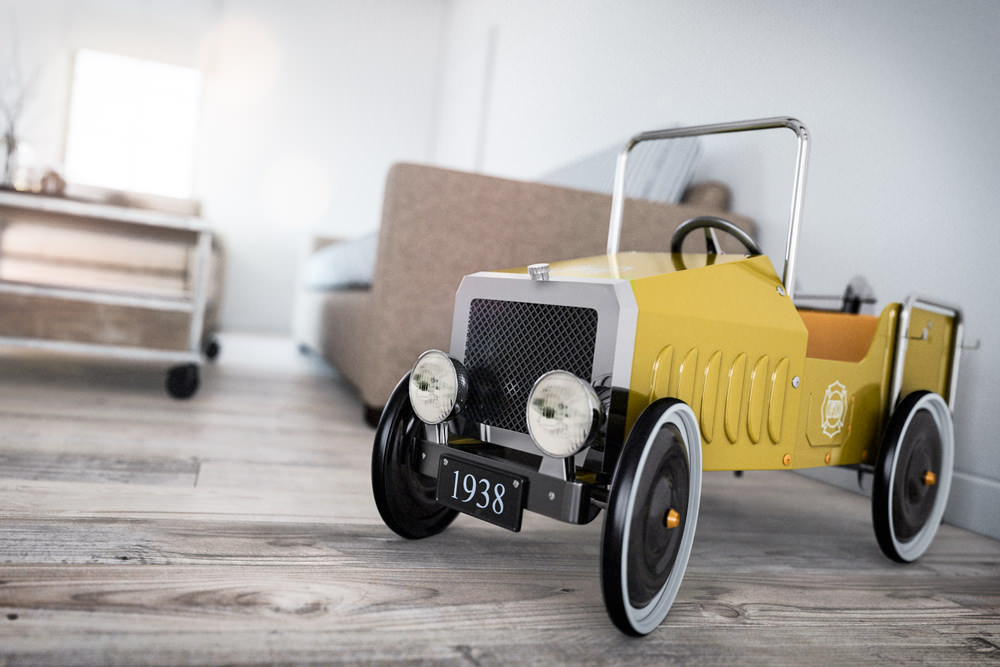
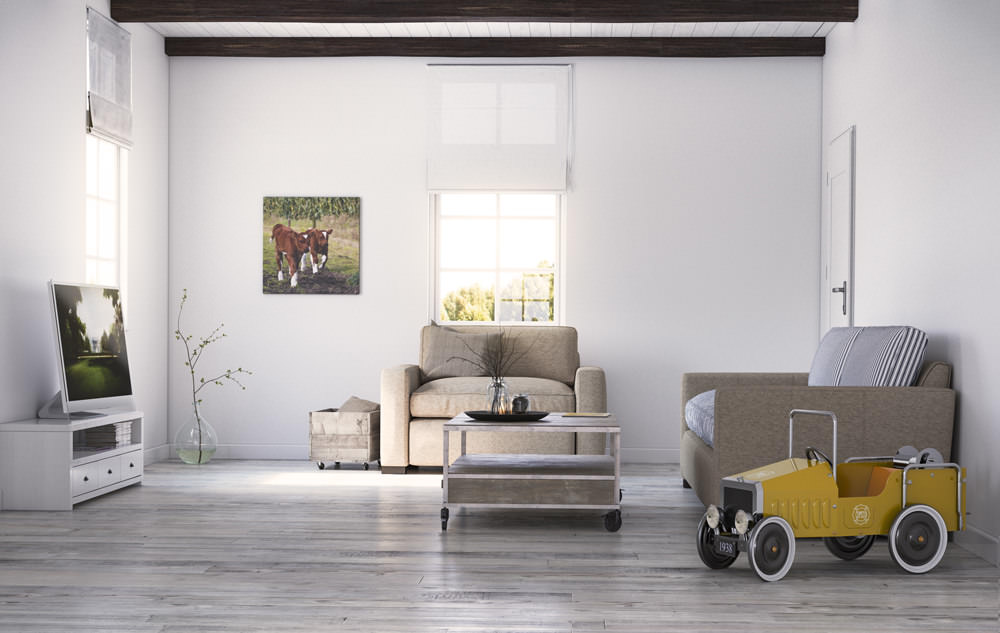
And final images done in this project :
I`m blocking out my next project. For sure it will be ArchVIZ. Filled with new challenges and techniques I never used before. I hope to start with it soon!
Thanks a lot to all of you at the forums,
Reinier.


Oueyyyyyy
Wow. looks so weird to see your work here like this. Really cool.
As promissed I`ll collect a lot of shaders I made and share them with you guys.
Keep you posted!
Interesting read – had followed this project with interest.
Quite funny too, think most know the feeling of an overcomplicated scene. 4 day render times are pretty horrifying.
Look forward to your next piece of work.
Fantastic renders, but waiting 4 days for 1 shot must be pretty annoying. One question: what do you mean by “not so modern machine” ?
Great Read Reinier, erg tof. Nice how you rolled in to this.
Groet.
Great Read Reinier, erg tof. Nice how you rolled in to this.
Groet.
MartinZgabaj xeon 2.9GHZ with 24000 dynamic mem.
No render farm for me..
Muito Bom !!!
Great work
Great Reiner, master!
a lot to learn about your work!
what hdri did you use? ..
And something more of your brick material, its excellent!
thanks!
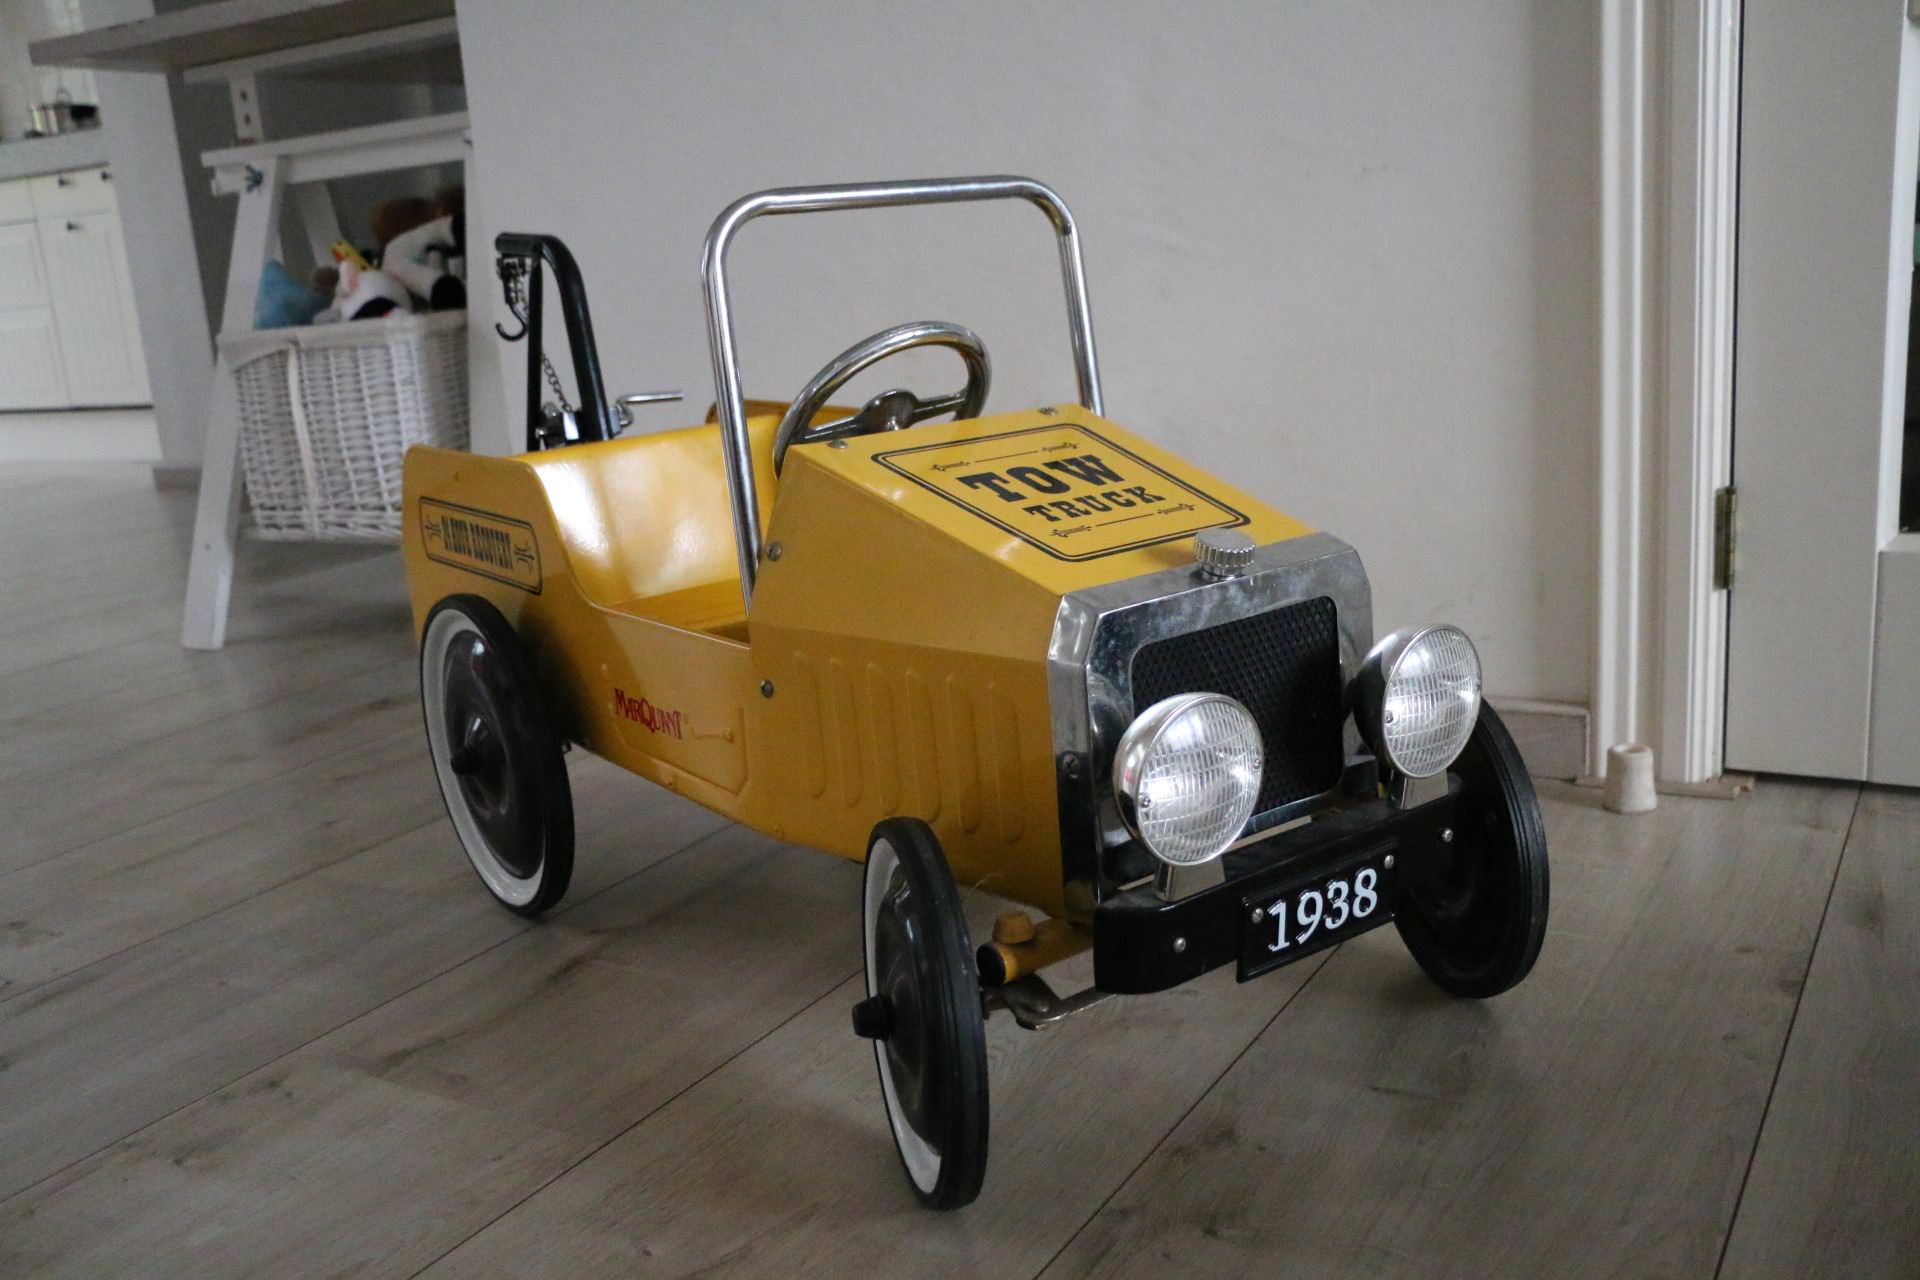
Xcuse me, those blue chairs in the dining room – what are they?
.Nice renderings btw. If I only had patience, talnet and will to achieve such a level…
ok I’ll answer to myself: Herman Miller Eames Molded Chair – Wire Base
GrzegorzPlechawski
I was about to google it for you. Since I`m not a design expert.
One of my favorites! Thanks for the share.
I got a new job btw.
Now I work with George Nijland at 3D Capacity / Triple D.
Finally Archviz 4 real.
oh really do you use v-ray?