Making of ‘Strawberry Vale’
Earlier this month, Will Rayner posted a striking image of the ‘Strawberry Vale’ Riverside House they did for Dyer Grimes Architects. I love this BOX on BOX house design and the image seemed like a perfect blend of 3d and photographed elements that I wanted to learn more about what went on behind the scenes. Will was very happy to share with us this making of both exterior and interior images made in this project. Enjoy!

Author: Will Rayner
Will Rayner is the founder of 10eightytwo (2013) following his work experience at Foster & Partners and dbox in both New York and London.
Introduction
Hi all,
To start things off we would like to thank Ronen for approaching us and taking his time to take interest in our work. As a young studio it is a great honor to have an opportunity like this and we hope that this will help other artists out there.
As a bit of background knowledge, 10eightytwo studio was founded by me in 2013. With a history in architecture my career started at Foster + Partners as a part I architect. There I was first introduced to the world of 3d visualization and began my admiration for companies producing images for all types of projects. After life at Fosters I looked at ways where I could develop my 3d techniques and was given the greatest opportunity to work for dbox in both New York and London. It was such a privilege to work with a team full of some of the best artists in the industry and my admiration for them will continue to grow.
Our latest project Strawberry Vale is a private house designed by London-based architects Dyer Grimes Architects and we hope to continue working with them on some of their outstanding residential projects. So here is a look into how we produced the images.
Basic 3D Scene Setup
I usually use 2 different settings that generally never change, one for exteriors and one for interiors. Depending on the project and size of the images I only ever tweak a few settings, so to get the scene ready is usually pretty quick.
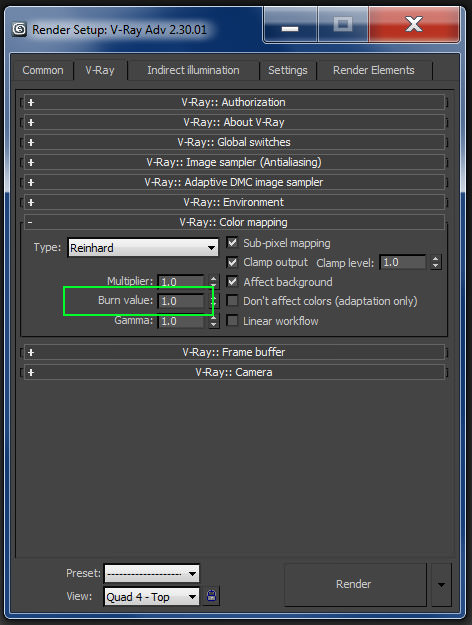
For the interior view I left the burn value at 1.0 so I could get a strong sunset feeling on some of the surfaces.
-

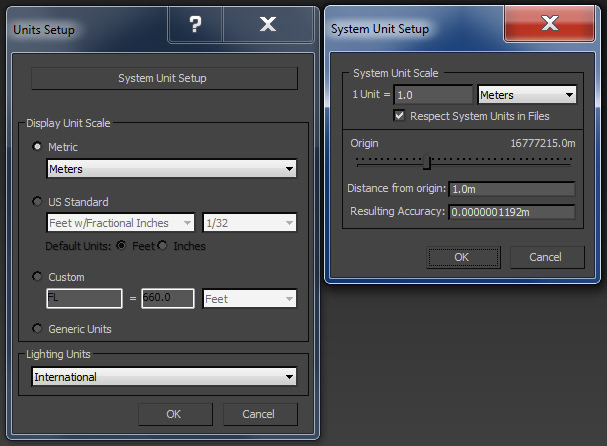
- Units
-

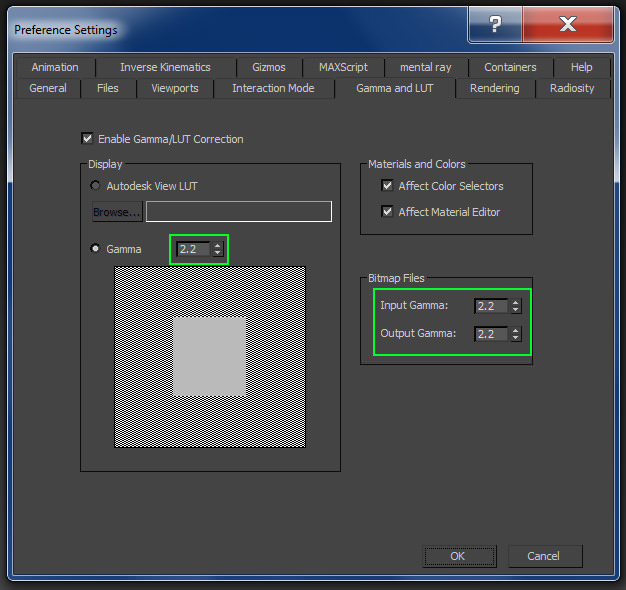
- Gamma
-

- Color Mapping Exterior

-

- Color Mapping Interior
Lighting & GAMMA
In all of our scenes we stick to using Peter Guthries HDRI collection. We very rarely use a VRay Sun as we tend to get good results with just the HDR images.

In the exterior scene we used Peter’s HDRI – Sun Clouds 1614 with a horizontal rotation to allow shadows to fall across the front facade. The Gamma is set to 0.75 to increase the contrast. The VRay Camera is positioned with a white balance set to neutral and shutter speed is at 1/200. We do this as we find we can control the overall coloring better in post production.

For the interior we used Peter’s HDRI – Clear Sky Low Sun 1554, with a horizontal rotation to allow the sun come across the scene. The VRay Camera settings are tweaked slightly to adjust for the more direct lighting. Focal Length is set to 20mm, F-Stop at 6 and Shutter Speed at 1/250.
The 3D Model
The 3D SketchUP model we received was pretty basic so we tore apart each component of the building to add a little extra detail to it.
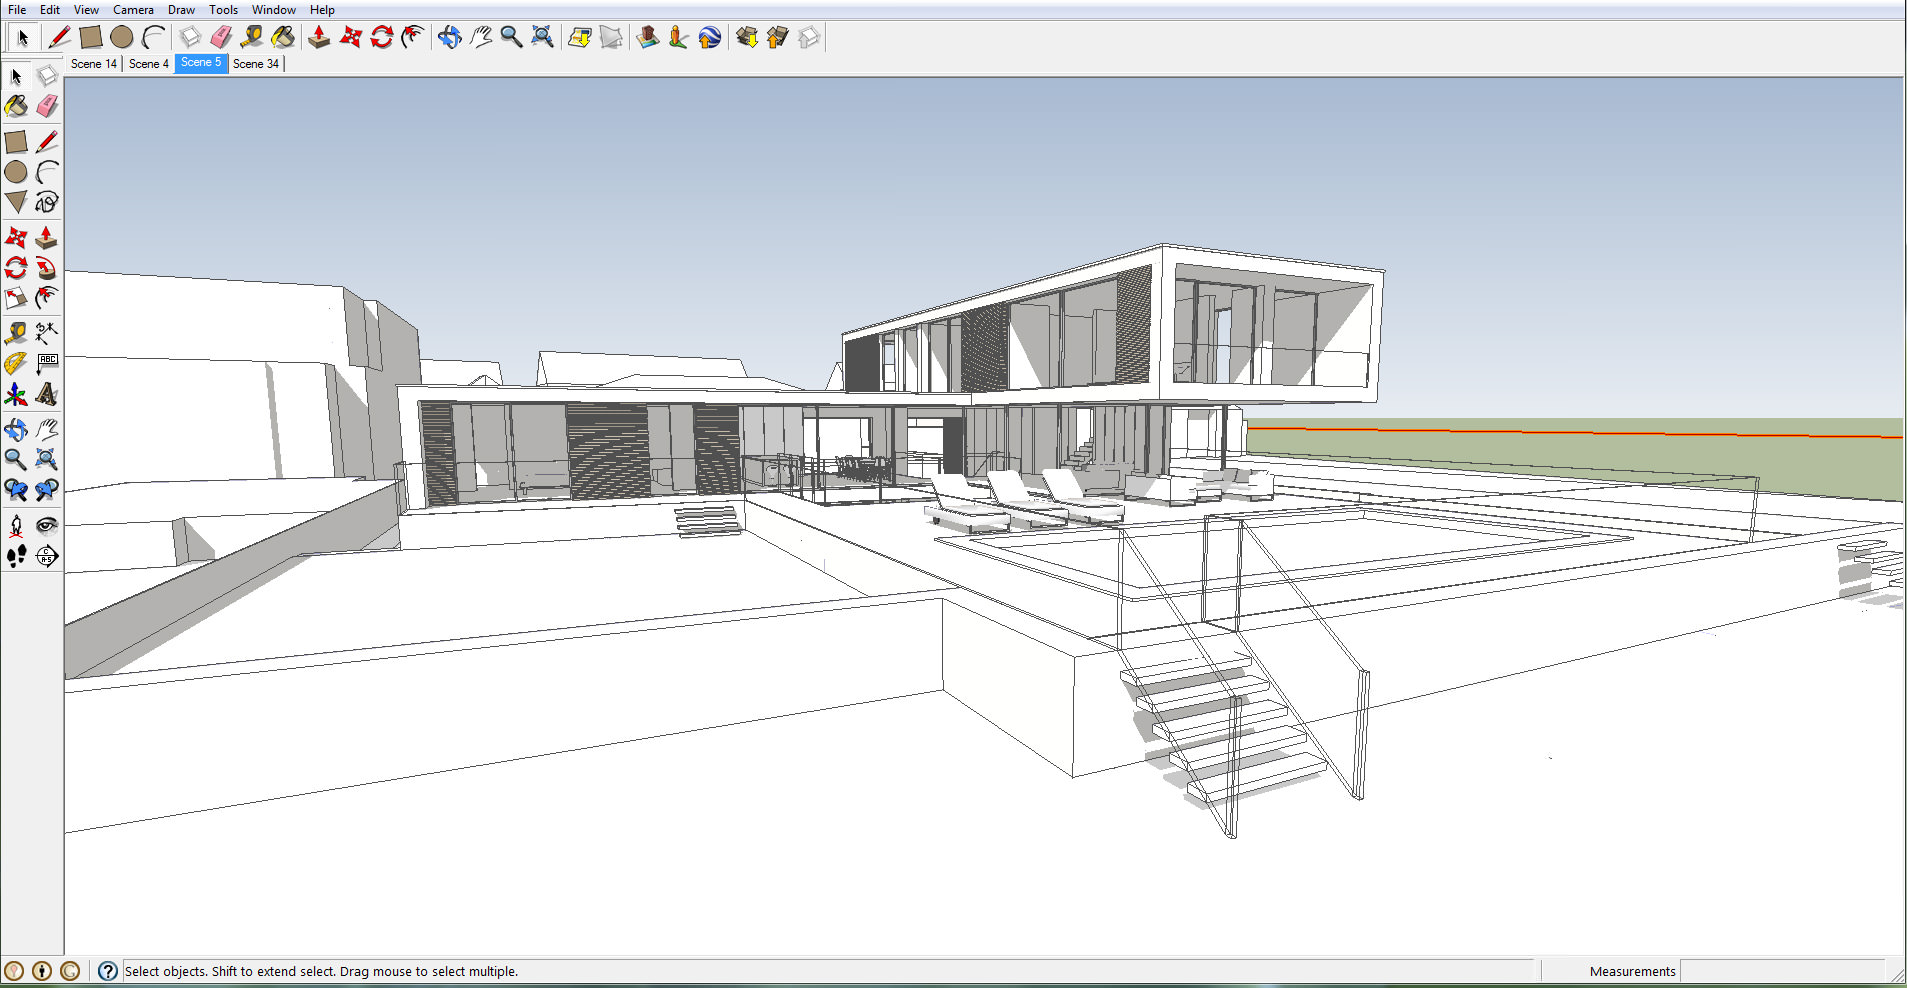
We added some of our own furniture as well as pieces from Designconnected which really is a fantastic site to use.


We always look to achieve around an 80% modeling, 20% post production on every image so we look at ways we can show that the scene looks lived-in. With the river scene it was more 50/50 which is something we dont usually do but it was great fun adding the surrounding environment.

The ground surface surrounding the pool was created using FloorGenerator so we could play around with the tilt of each tile.
Using the Floor Generator Script
In this how-to article Bertrand describes in detail the way he uses the Floor Generator Script using the GH House model as an example. Check Bertrands full GH House making of article for more information about his work.
For both models we tend to render out the glass separately so we make sure the layers are all turned off before rendering.
Texturing
Texturing is something we love to spend time on, especially with interior images.
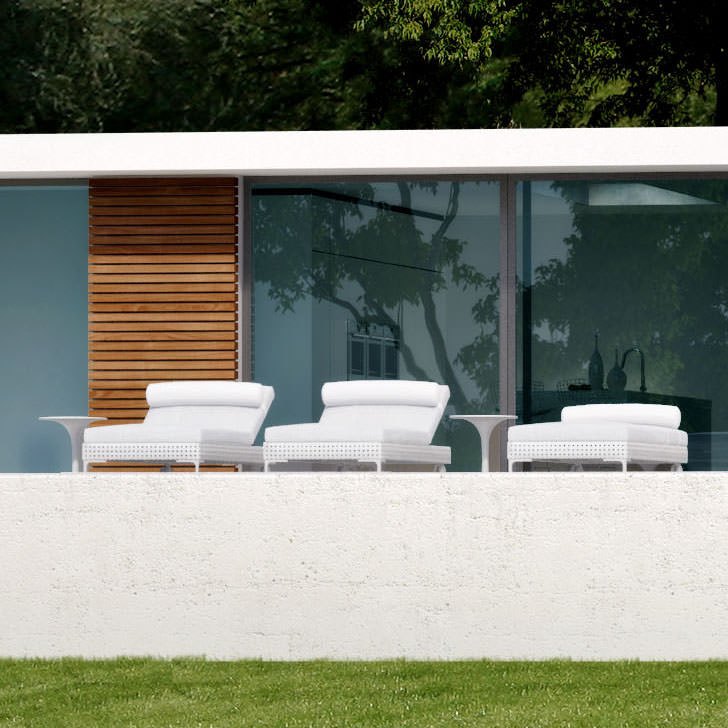
With the river view the overall image was more about the location and surroundings, so we didn’t go too over the top with details in the materials. The clean finish required by the architects meant that we just added a small bump and reflection to the facade and stone surfaces.

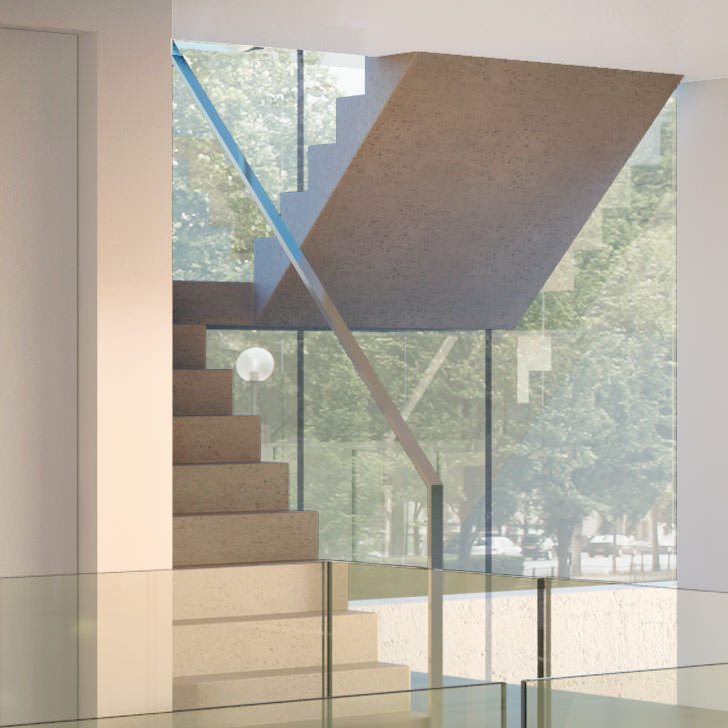
For the interior image we pumped up the settings a little high to get a cleaner and more detailed image. The reflections on both the ceiling and the flooring came out really well.


Render Settings
Settings for both images were pretty simple and aimed at keeping render times acceptable. Here are the settings for both exterior and interior views…


And a list of the passes we generally render out for use in the post production stage the comes later…
View Points Selection
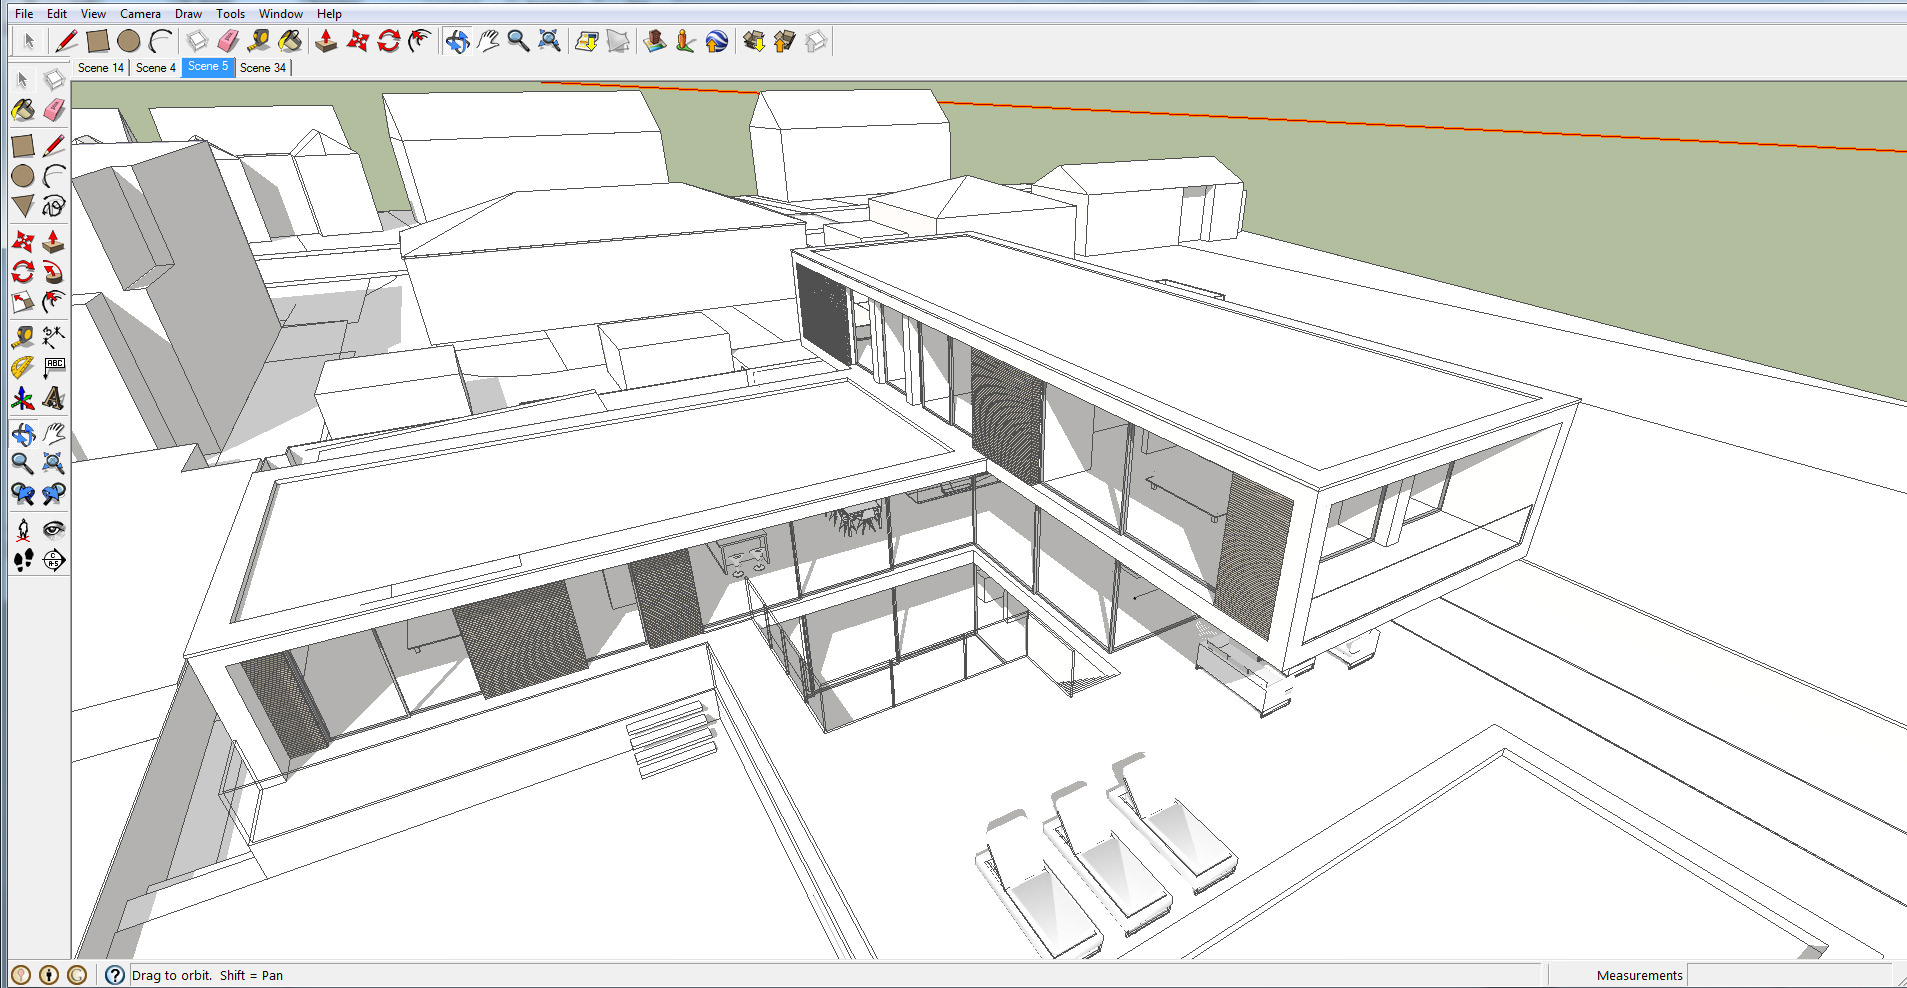
Far Away River View
It’s typical that architects want to see the entire building as well as all views in a single shot, but this is usually not possible, So we looked at using 3 images :
One that focused on the overhang of the building (two options).


The 2nd was to be an interior shot showing living space, kitchen, dining area, pool, and the view of the river (see in the interior view section below). The 3rd shot was seen as the money shot and was a view from the river. We tried 2 angle options for the river shot. The first was from the left…

And the second we developed a little further as a quick Photoshop task…

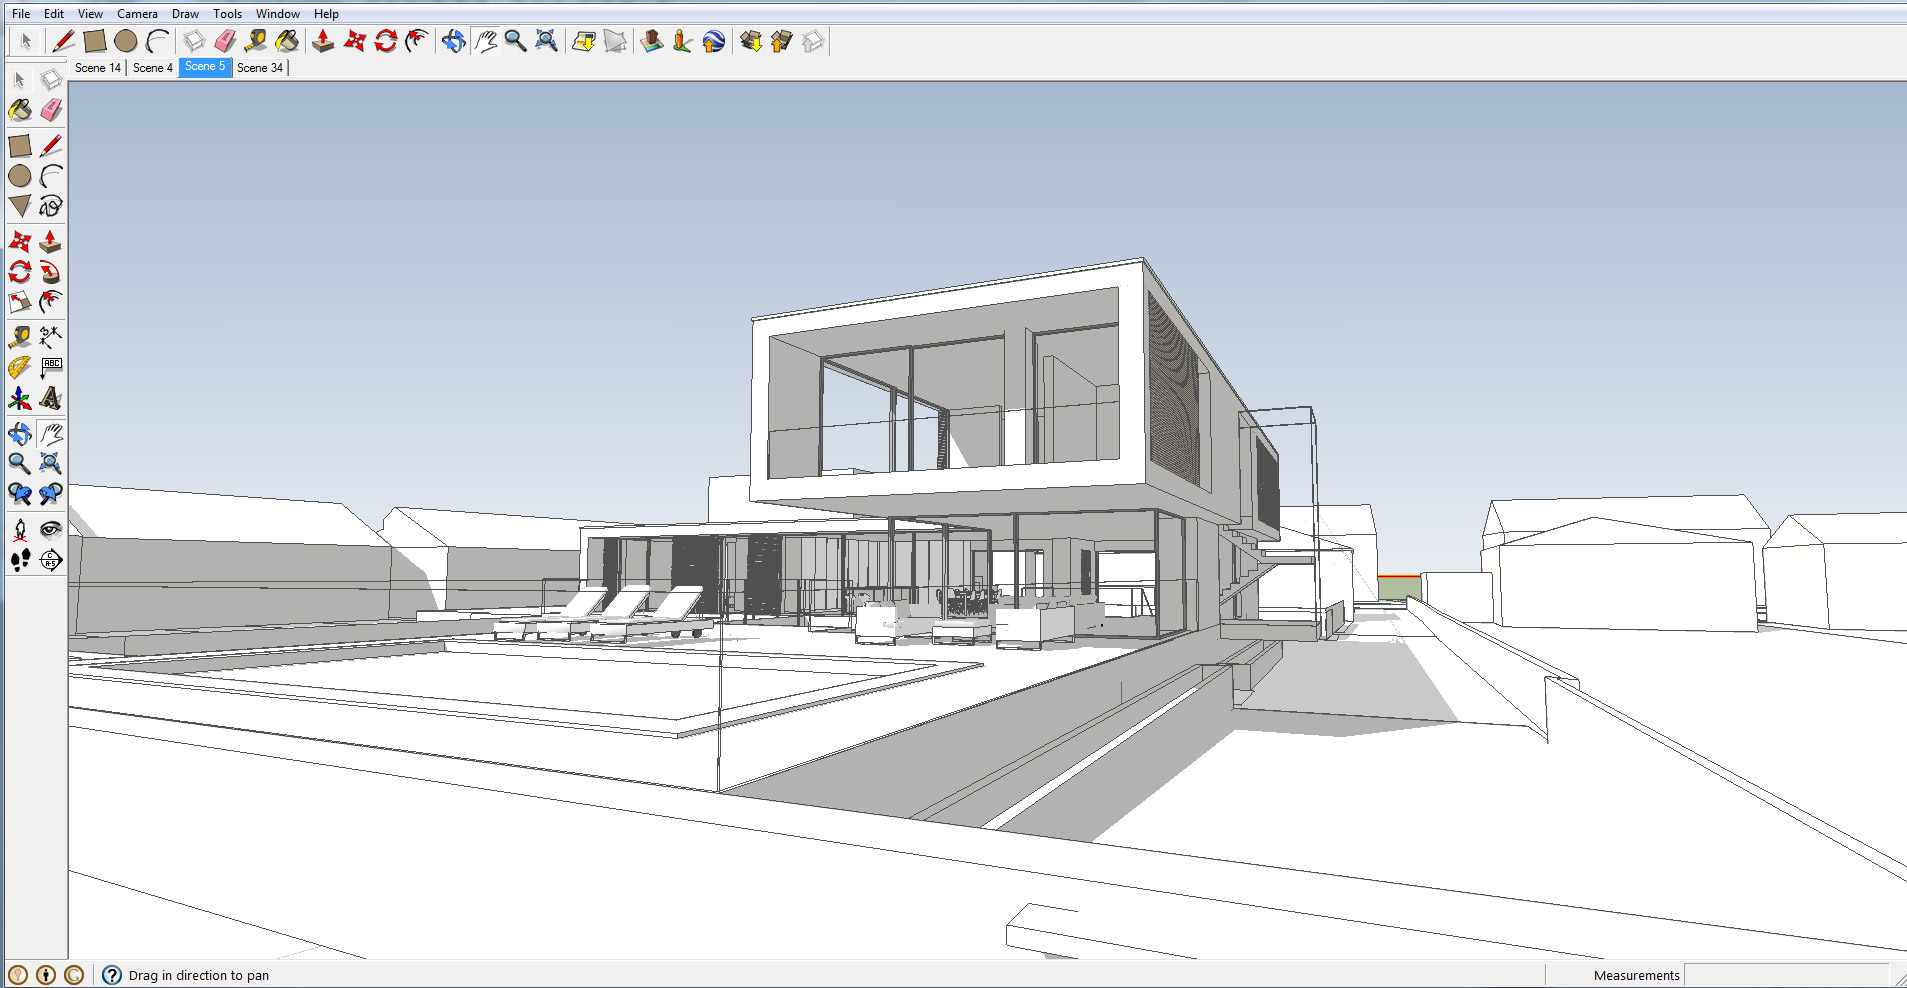
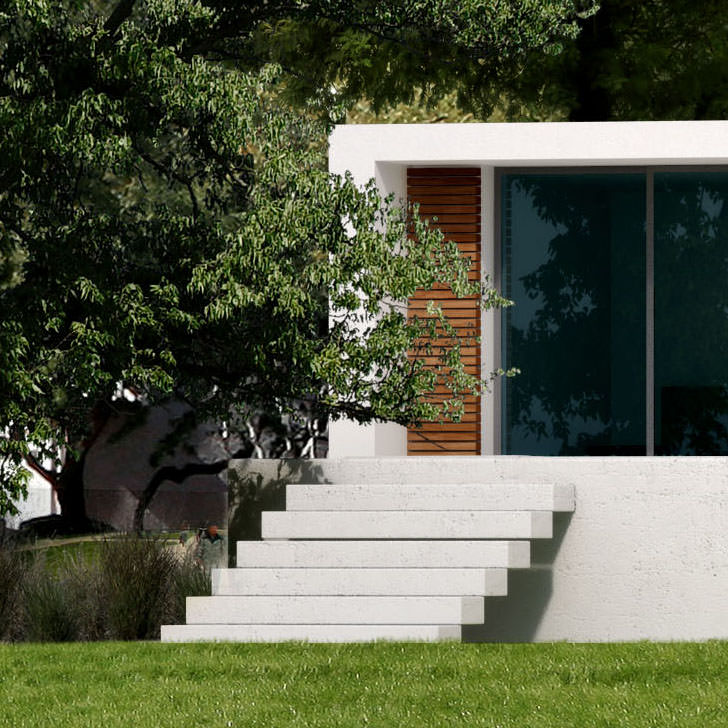
We decided these views were not really working for us so we took the camera face on the building to give us a feel for the size of the building, its positioning, and its surroundings.
We didn’t have any photography to work from as the project came to us in the winter when the trees were bare, and the idea was that we wanted to show a summer environment. So we used the DWG plans as much as we could to get the landscaping and tree placement / style right.
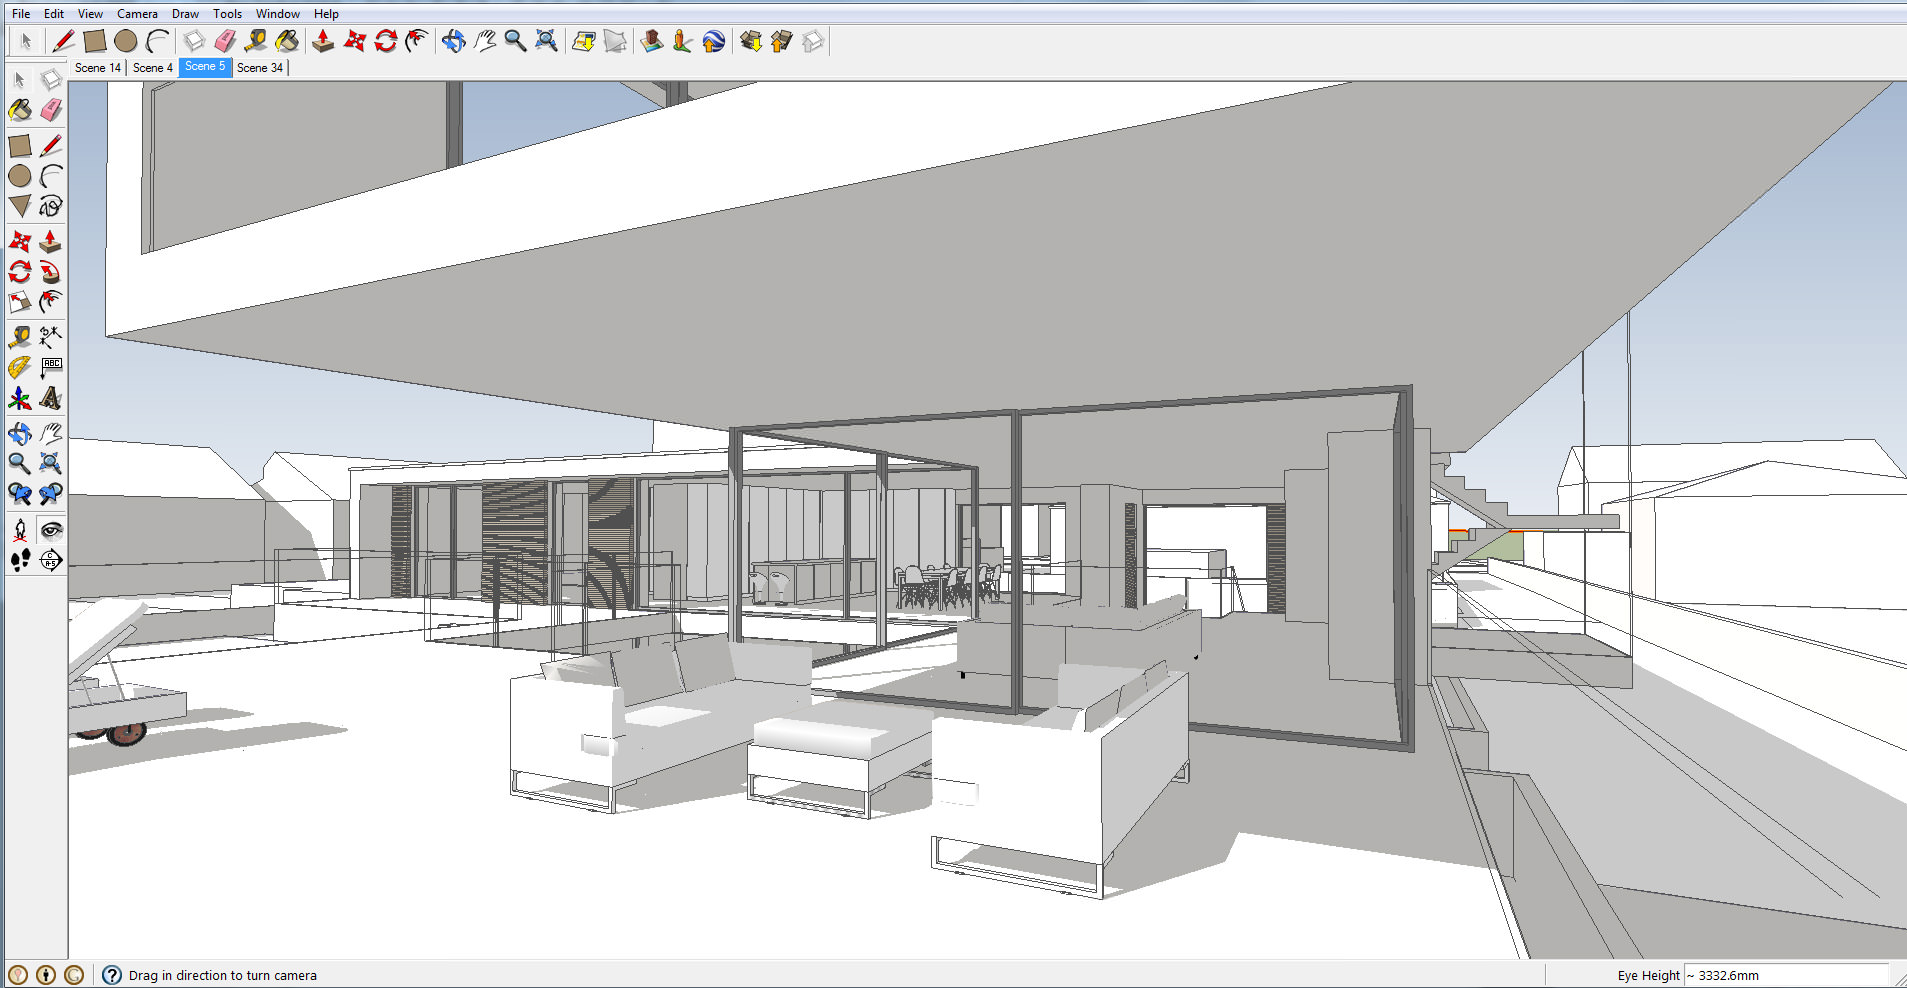
Interior View
We were really happy with the final interior shot. Initially, We looked at 3 options.
Two with the camera looking in…


And the one with the camera looking out…

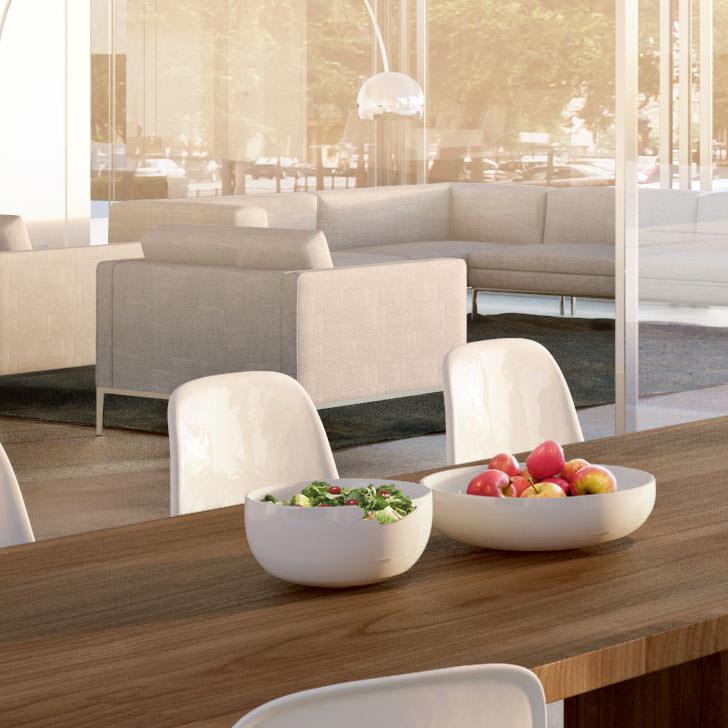
The view of the river was the most important so that was the one we went with. The idea was already in my head that an early evening sunset atmosphere would work best. This way we could mainly focus on the interior, and allow a strong summer glow to just give a glimpse of the river and keep you focused on the interior. The first draft we sent the architects actually signed off as a final image so we just rendered it out at a higher res and touched up a few elements.
Post Production
We usually stick with a general process when producing our final imagery : Original Render > Background Landscape / Photography > Sky > Passes > Base Adjusts > Paint > Entourage > Top Adjustments.
Exterior Visualization Production
1. Basic Render unmasked

2. Background foliage and sky added to begin getting a feel for the environment we are trying to set.

3. Passes are added. A dirt map was added to the Extra Tex and then set to Multiply. Other passes are often played with but are set to either Screen / Linear Dodge/ Color Dodge.

4. Base Adjusts consist of applying curves and levels to each element. We are still seeking for the perfect image where there aren’t any needed One day!

5. Paint/Entourage. As trees were in the original model, just hidden, we already have shadows on the surfaces. This means we can use images of trees that are already at the site rather than use different 3d trees. We then just add contact shadows and blend with surroundings.

6. Glass & Entourage. Any glass that is set behind foreground trees is added and then final landscaping and planting is dropped in.

7. Top Adjusts are used to finalize the atmosphere. We try to keep it to a low and love to add various screens and soft lights.

This is the final exterior image…

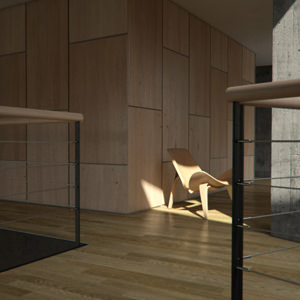
Interior Visualization Production
1. Basic Render masked.

2. Background Photography and surrounding landscaping is merged into the file, as well as any background entourage.

3. Passes added again similar to that of the exterior settings. We have shown how one of our reflection passes look.

4. Base Adjustments made to each element.

5. Glass that was rendered as a mirror is merged in and set to screen. Further entourage is added to the scene. We would love to go over the top and model every piece but sometimes the time frames with the client just doesn’t allow that.

6. Top adjustments add a late evening sunset atmosphere using soft-lights and flares.

This is the final interior image…

And thats all folks!
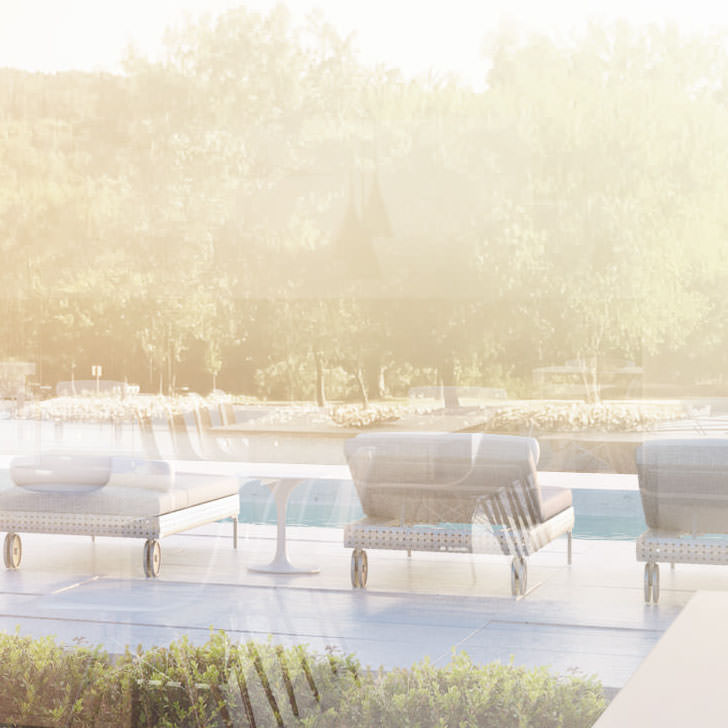
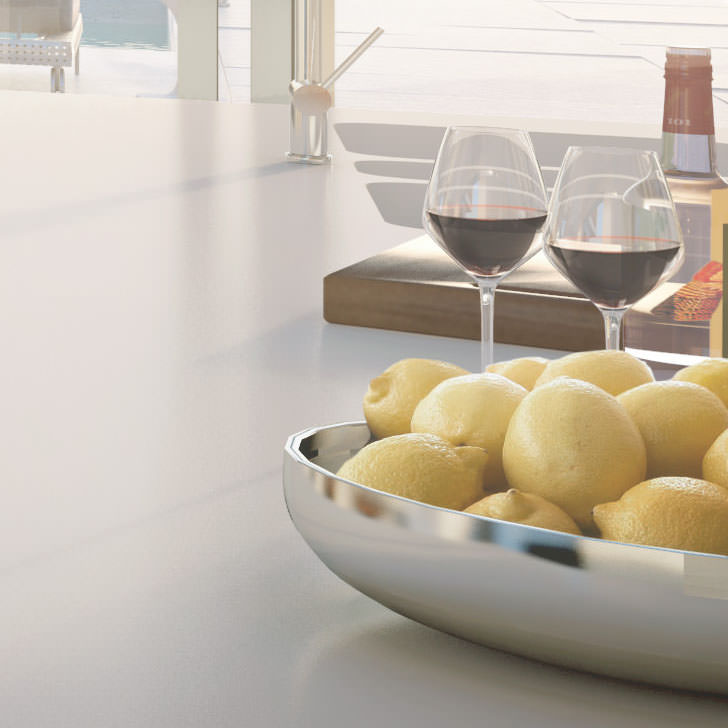
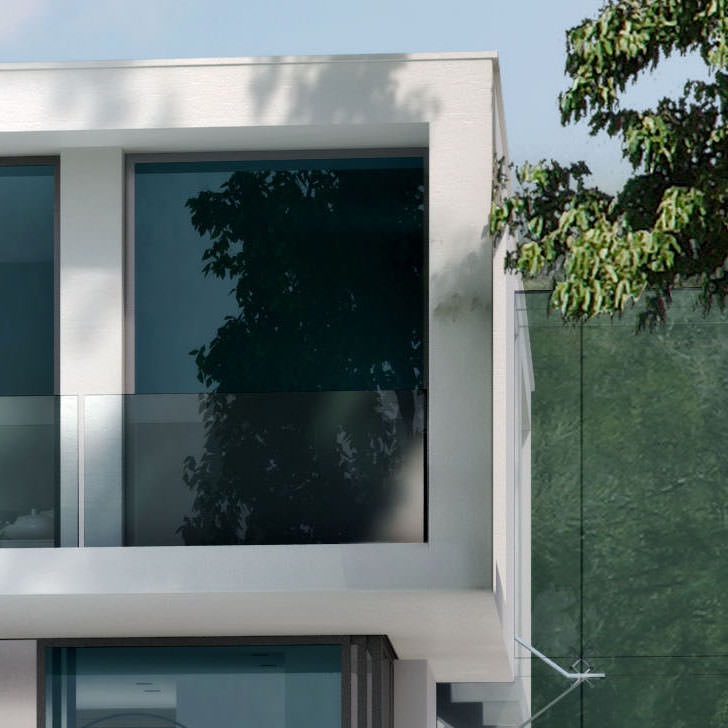
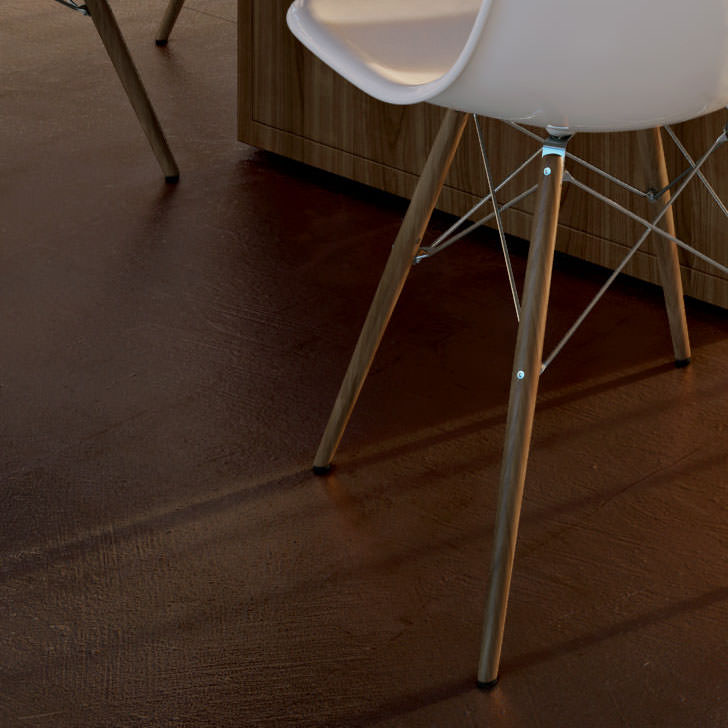
Since the finals where done really big, here are a few actual size crops…
We hope this has been a help to any artists out there and we hope you stay in touch with us to see future images from us. Thanks once again to Ronen Bekerman and we look forward to seeing lots more on his great site.
Take care,
Will.