


Making of Jozefow
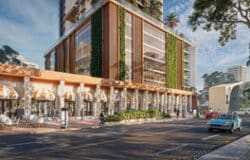
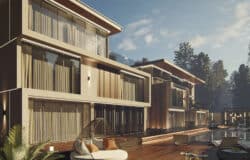
Andrzej Drawc‘s Jozefow Project was his first post on the forums and awarded him Best Visualization of the Week NO. 21 using 3dsmax, V-Ray and Photoshop for post-production. Andrzej remarkably created the surrounding environment, based on the actual site, for all its trees and smaller ground cover elements. The end result showcases great light quality, specifically the moody dusk images. Follow his his process of making this all work. Enjoy!


Author: Andrzej Drawc
Andrzej Drawc is an architect and 3d graphic artist based in Poland. He graduated in Architecture from Gdansk University of Technology in 2009. Under DRAW a HALF-CIRCLE logo he works on architectural visualizations.
Introduction
It is a fantastic feeling being invited to write an article for this website, that I’ve learned so much from, and which has always been a great source of inspiration for me. It is also a confirmation that making the most of ones potential at work will be rewarded sooner or later, in some way.
I have to admit that working on this project was not usual. Firstly, I didn’t have any deadline breathing down my neck. Secondly, the architect gave me a lot of freedom to act.
There was only one condition :
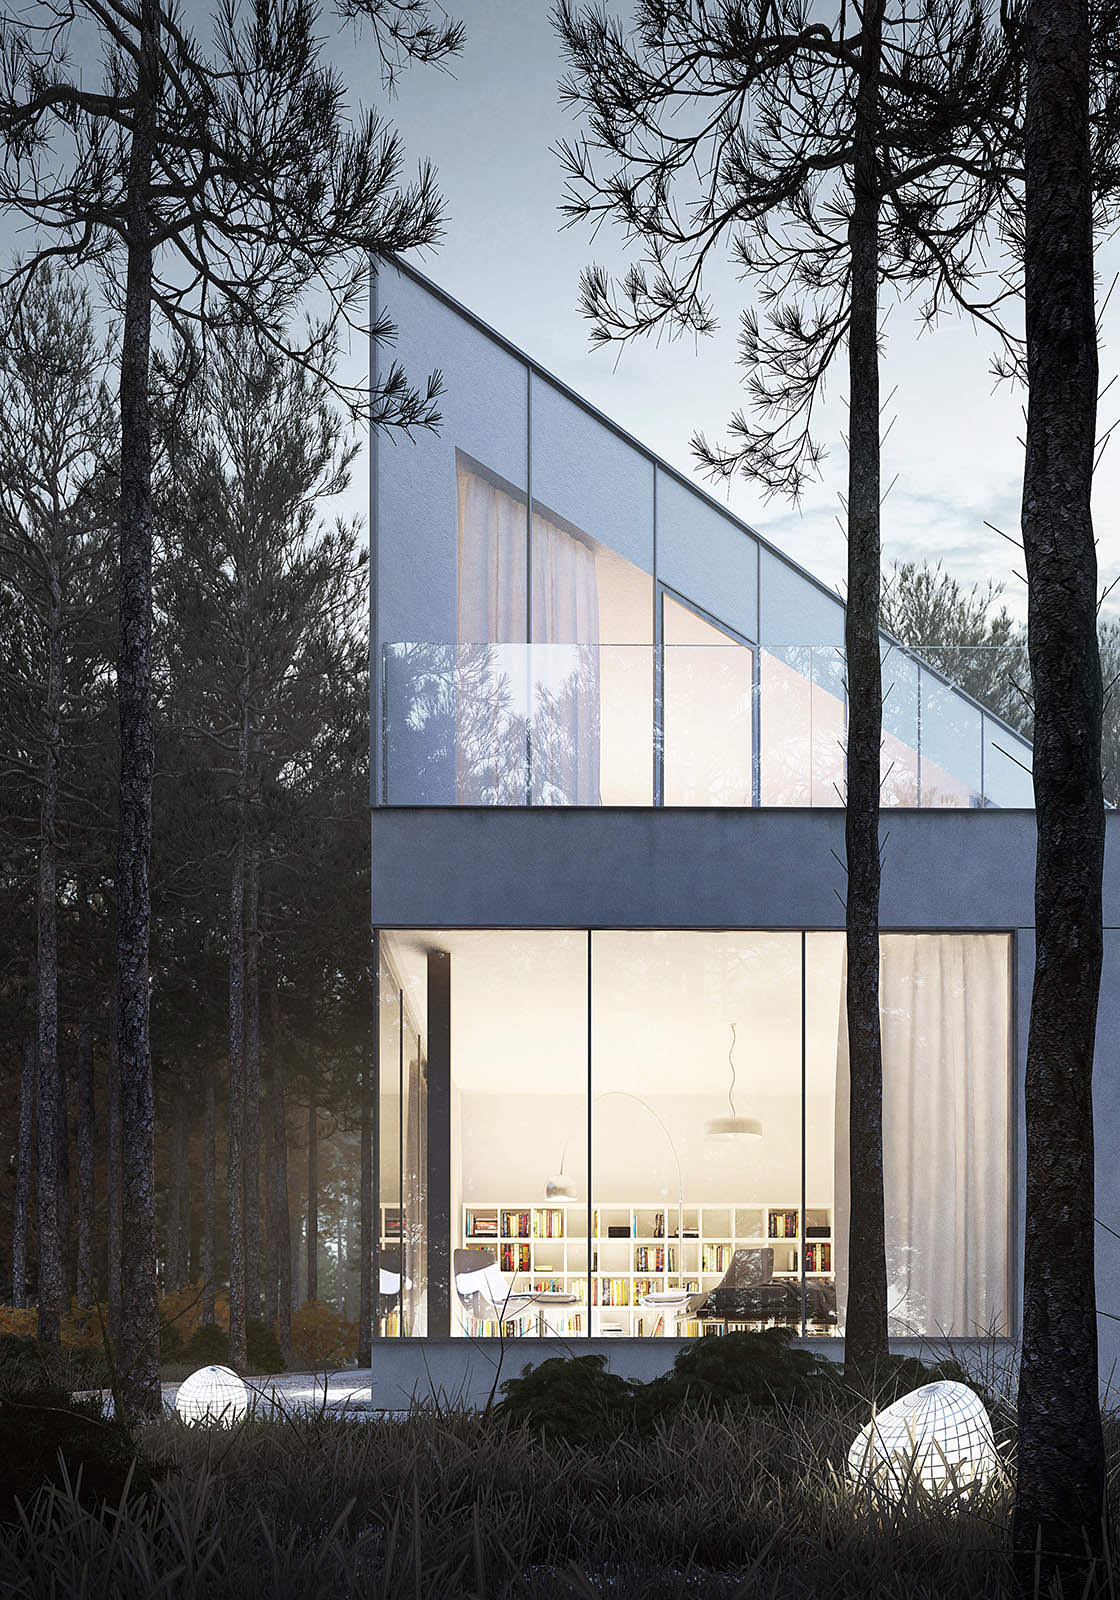
It must feel like autumn.

The creation of an elegant atmosphere that would fit nicely to the designed form was up to me. It had turned out that I didn’t have to look far for it, because the best inspiration for me (for the architect as well I guess) was the surrounding area of the building.
Modeling of the Building
When I was given the blueprints, I realized that there was an extremely big potential in this project to create images pleasing to the eye.
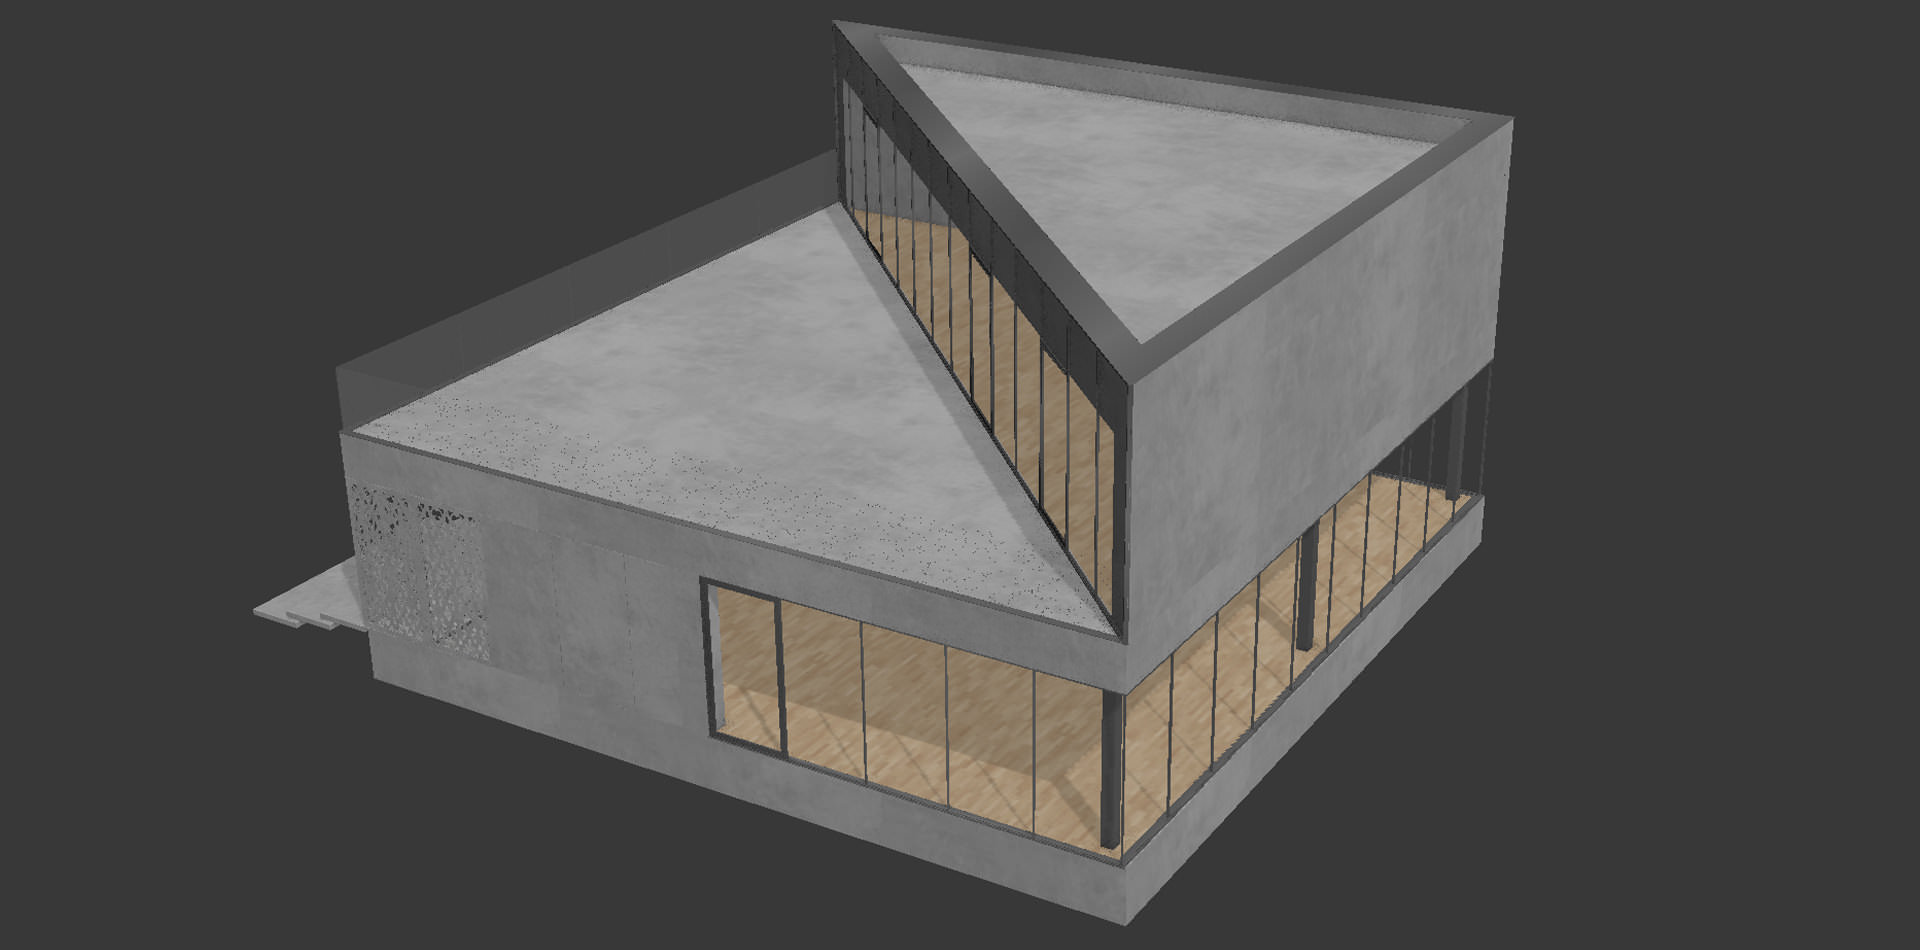
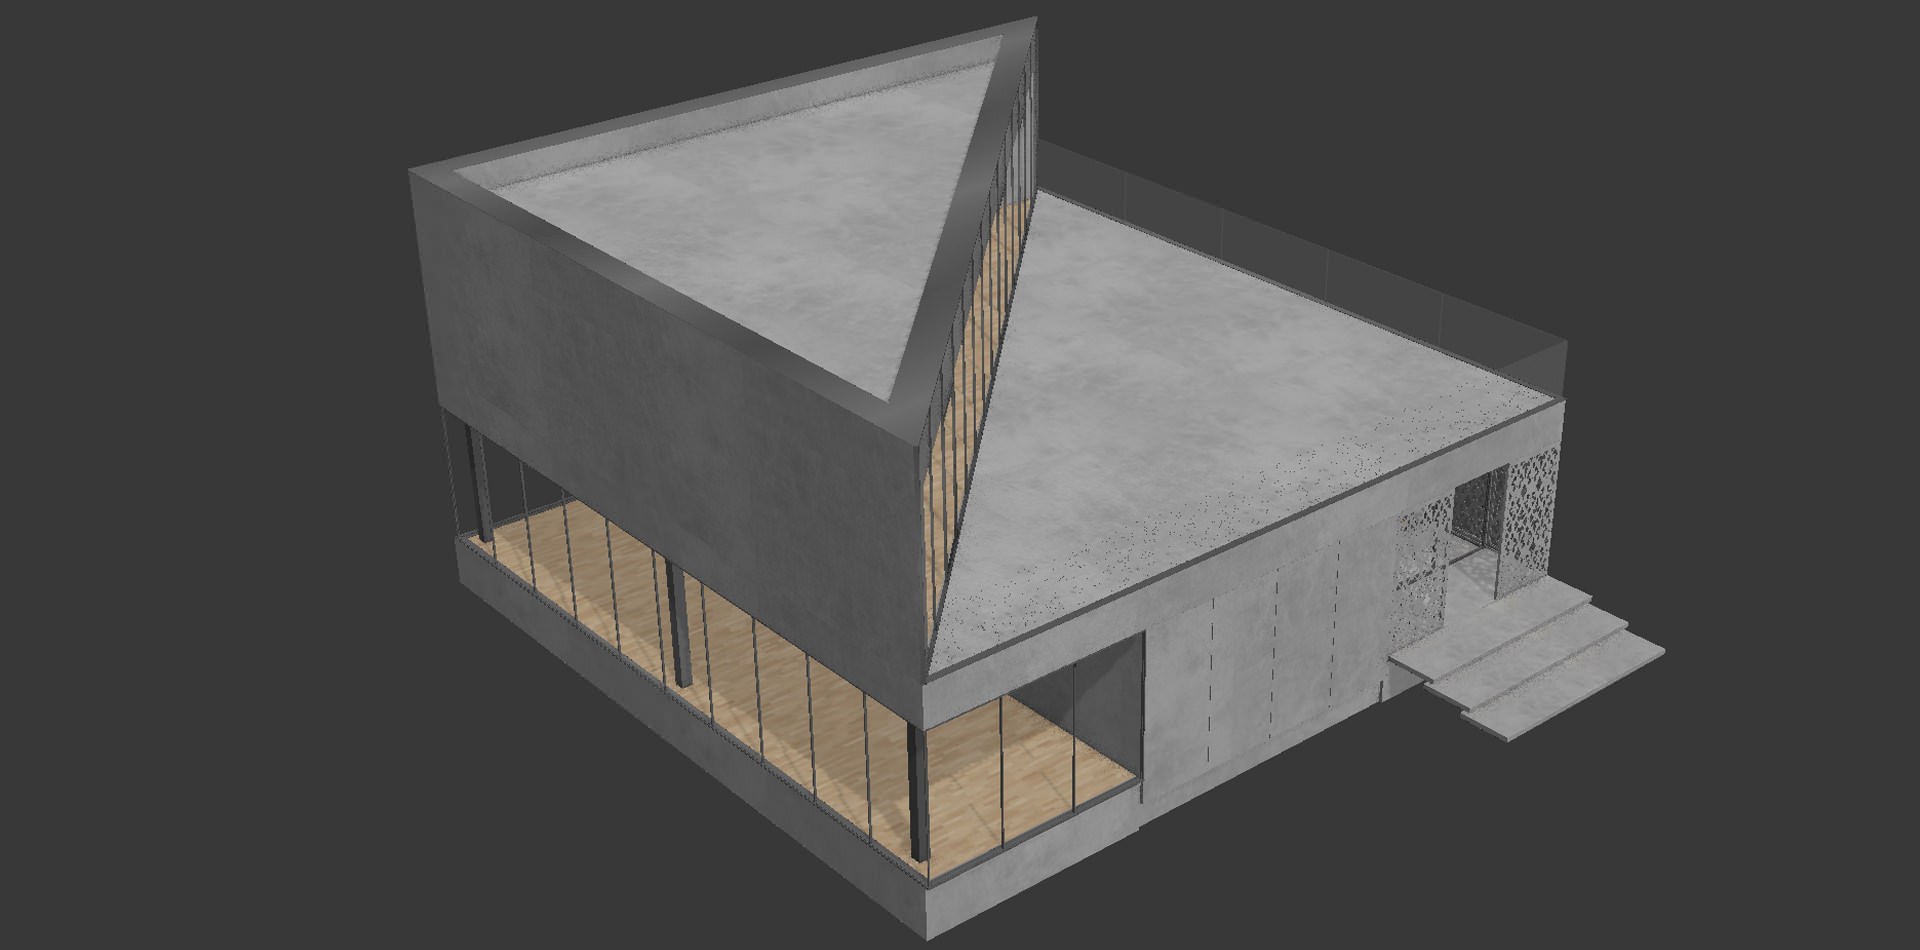
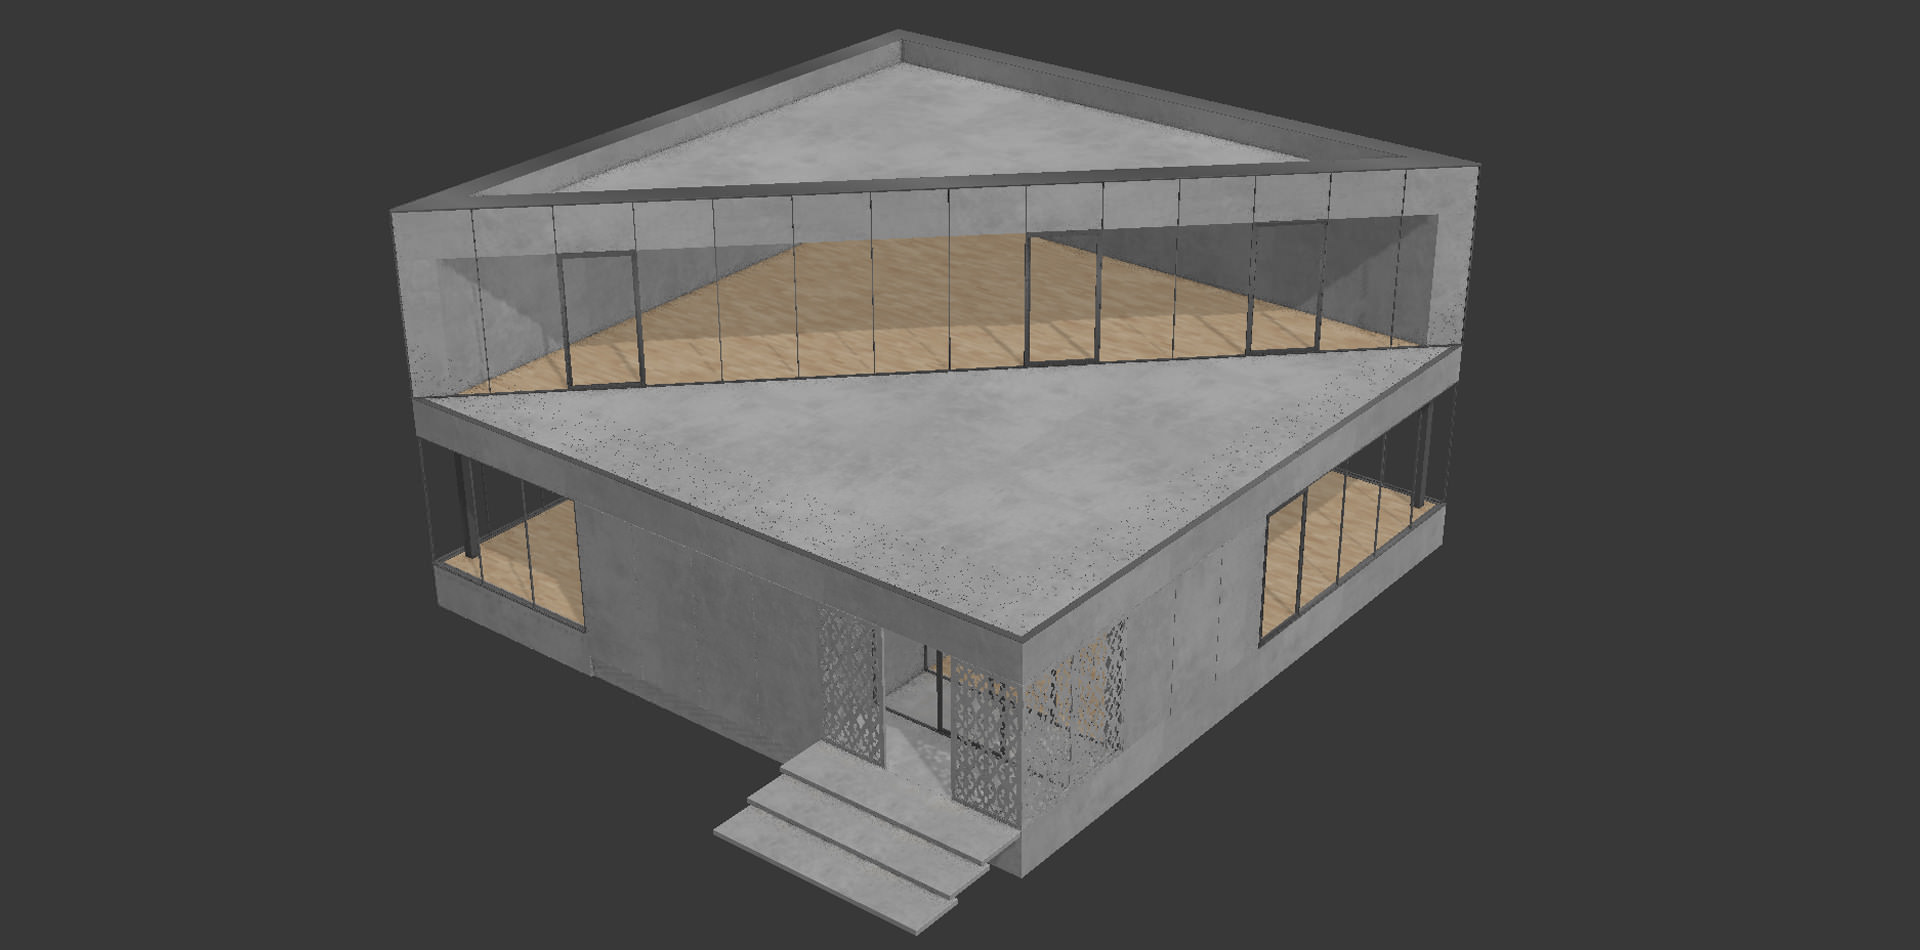
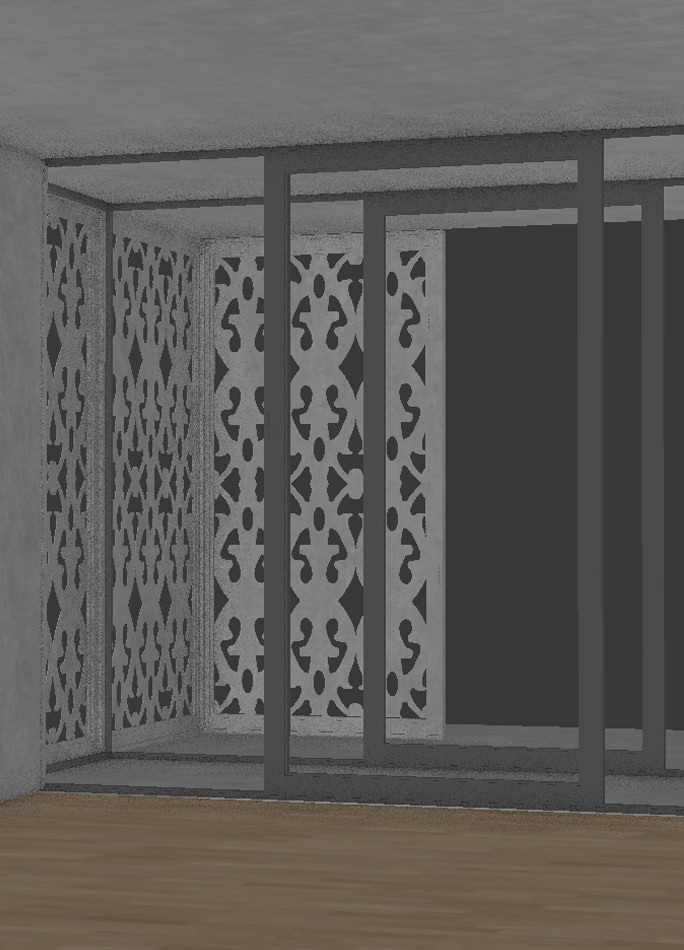
I really appreciate the architecture of the building itself, its simplicity and smartness, which together are all significant factors affecting the work comfort and final outcome. This also resulted in a quick and easy modeling process. It was just a couple of walls and ceilings, all filled with glazing, everything done with simple polys.
Modeling of the Terrain

To create the terrain model I divided simple plain into gravel and forest floor area. After that, I subdivided the geometry and added noise modifier to get some convexities. When the final frames were chosen I used push/pull tool to enhance the effect of terrain imperfections.
Lightning Setup
I decided to prepare the lightning setup at this stage to be able to create previews for textures in the next step. I lighted the scene with a V-Ray Dome Light and V-Ray HDRI Map.


For daylight I needed to have full control over the shadows of the trees falling on the building. To achieve this I decided to use HDRI lighting as an ambient basic light (had to watch out for the shadows) and mixed this with target direct light, which was used as sunshine. I’m not sure if this is an elegant solution but in this case it worked fine.


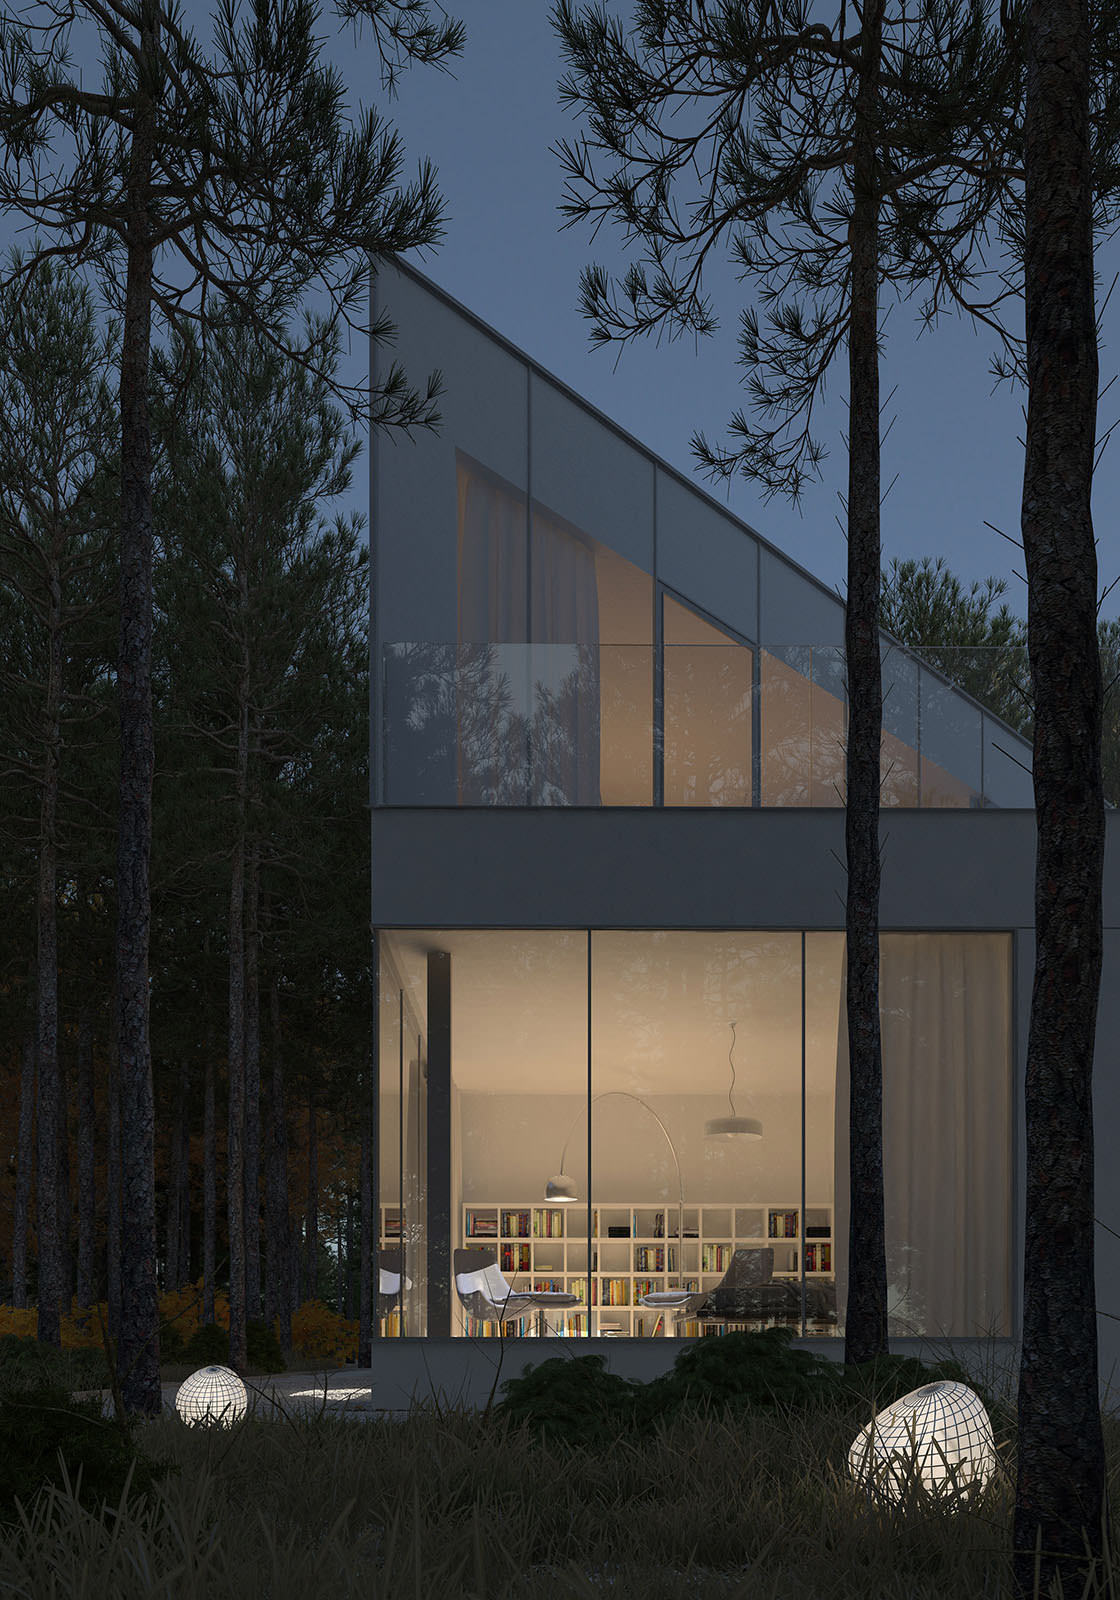
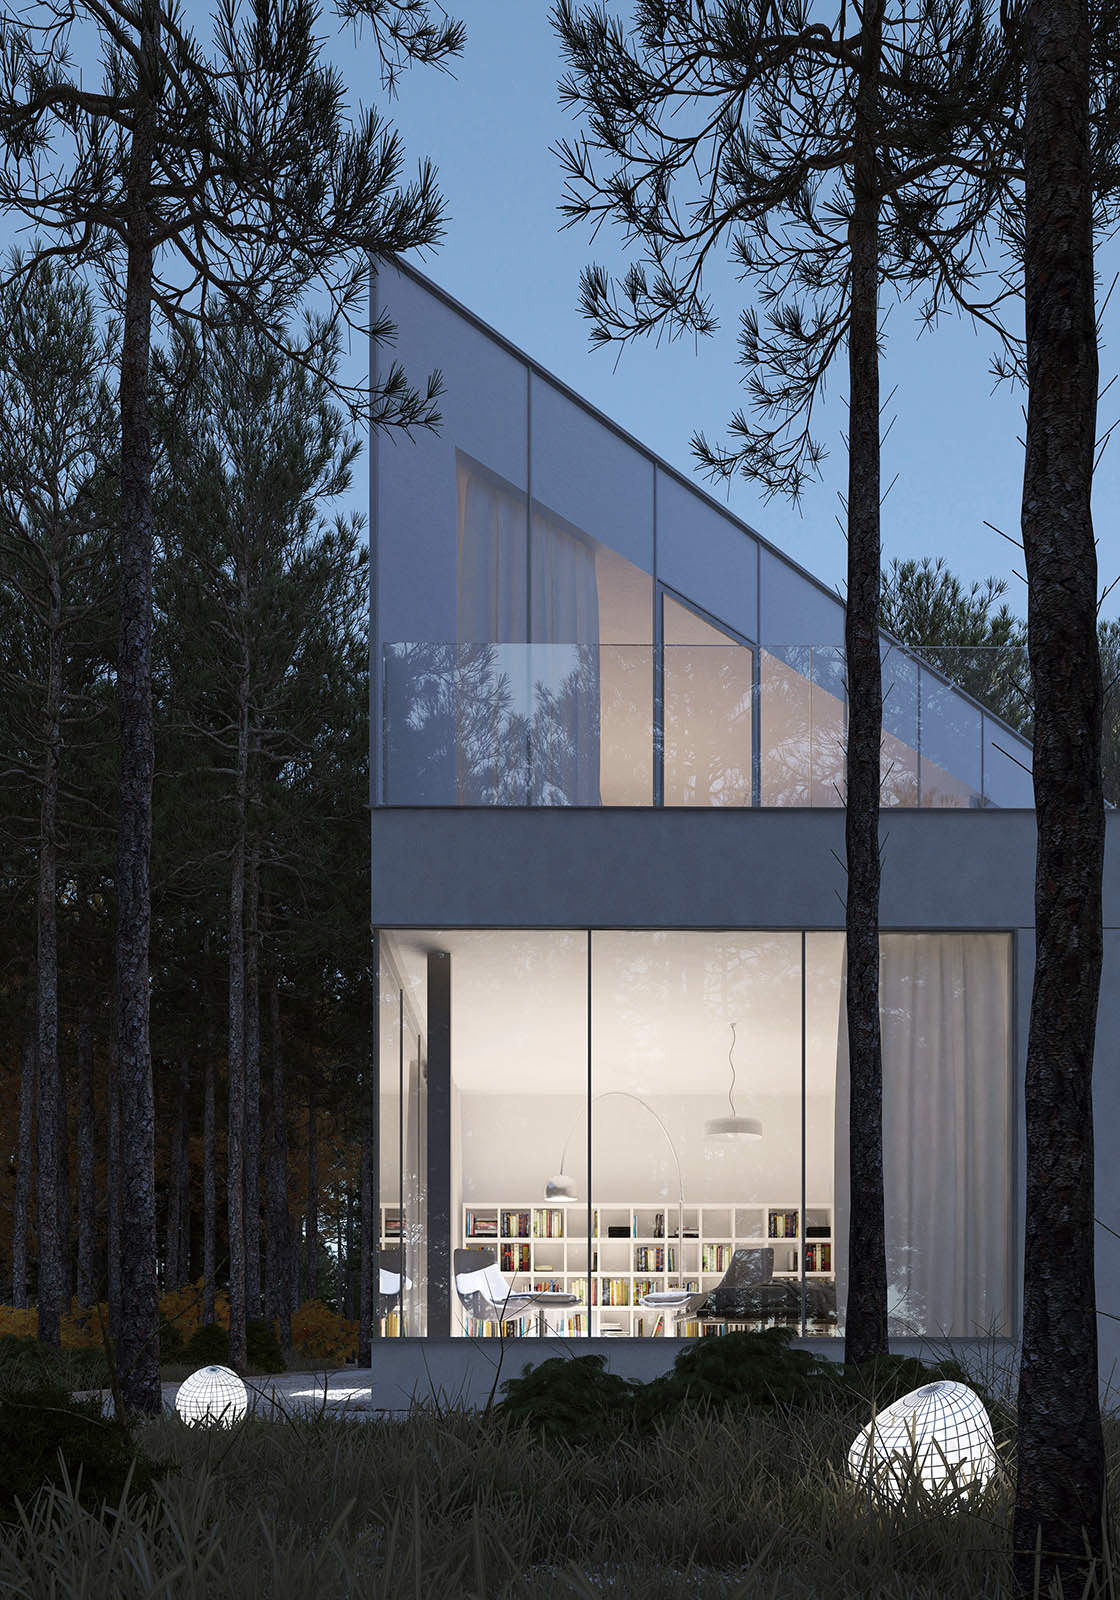
For the dusk setup I turned off the target direct light, lowered the multiplier factor of the V-Ray Dome Light (but not too much because the surrounding forest would make everything darker in the end) and rotated the HDRI Map to position it so the most bright part of the sky was on the horizon, somewhere behind the building.
Finally, I placed V-Ray lights (spheres) inside. My tip for this is as follows – do not overdo the inner lighting , because if you do, the inside will be flat and dull. Instead, try to highlight the spaces with different lights in a reasonable way. don’t be afraid of darker areas too.
Furnishing

It is impossible to create a nice arch-viz of these types of projects without furnishing. In my collection I have some hand-made models that I created, but most of the equipment I got from content websites like : viz-people, Designconnected, pickup3d and model+model.
They often share free models with permission for commercial use. I highly recommend getting them because of two reasons – they are very well done and save tons of time.

I would like to mention this blob lamp that was shared by CGWorkshop quite long time ago.
You never know when something might come in handy and it turns out that this lamp was like icing on the cake in one of my images.
Textures

Here you can see some of my shaders settings. I have to admit, they are quite trivial.


For the forest floor texture I needed to get as much detail as I could take from a bitmap. I looked out for couple of images from cgtexture.com and mixed them in a one huge file. The next step was creating a displace map and rendering few tests.
Grass


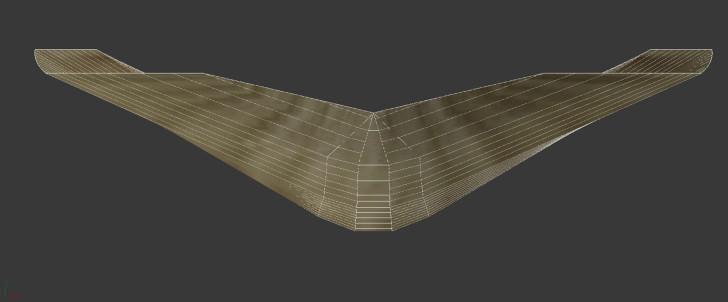
After I got satisfying results with the terrain texture and displace, I started to enrich it with vegetation. I began with modeling a single blade to create grass. When it got the expected shape and mapping I copied it several times, each with a small difference, and applied bend modifier with the different factors for each.

Next step was creating different clumps, turning them into V-Ray proxies and spreading them over the ground with Paint Object tool.

Trees & Bushes

The key elements within environment of this project were the pines. They had to look as close to the real ones growing in this area as possible. Only that way I could have achieved the real-life impression of this particular place on my images. I decided to use onyx for that.

For the rest of the flora I used a couple of models from Evermotion, multiplying their amount by creating some versions with leaves and some without.

The next step was to generate V-Ray proxies of the models and arrange small piece of forest around the building.
Blooming Heather, Dry Leaves & Gravel

To enrich my images in details and give them a little bit of realism, I added a few small things that might have seemed unimportant, but eventually made the difference.


Based on photos and drawings, I modeled one branch of heather, turned it into V-Ray proxy and made groups of bushes.

To improve the appearance of the gravel area made earlier with a not so satisfying displacement map, I decided to model some low poly pebbles and scatter them on the plain with basic scatter tool.


The dry leaves are simple plains with bend modifiers and three different colored textures with opacity and reflection maps, spread out with Object Paint tool.
Composition


Specifically designed form had allowed me to get some interesting frames. Their compositions are based on the contrast between the vertical lines of the trees and dynamic perspectives of the building.
Post Production
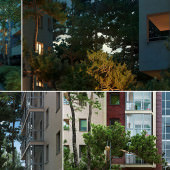
To show you how I ran through the post production, I divided each of visualizations into 4 steps, so that you can see all small differences between the raw and final pictures.
View 01 :


View 02 :
To be honest, my methods can be described with words that are in a great opposition to sophisticated. It can’t be simpler than it is. I used basic tools such as curves, color balance, brightness/contrast, etc. so everyone with basic skills could manage to do it.
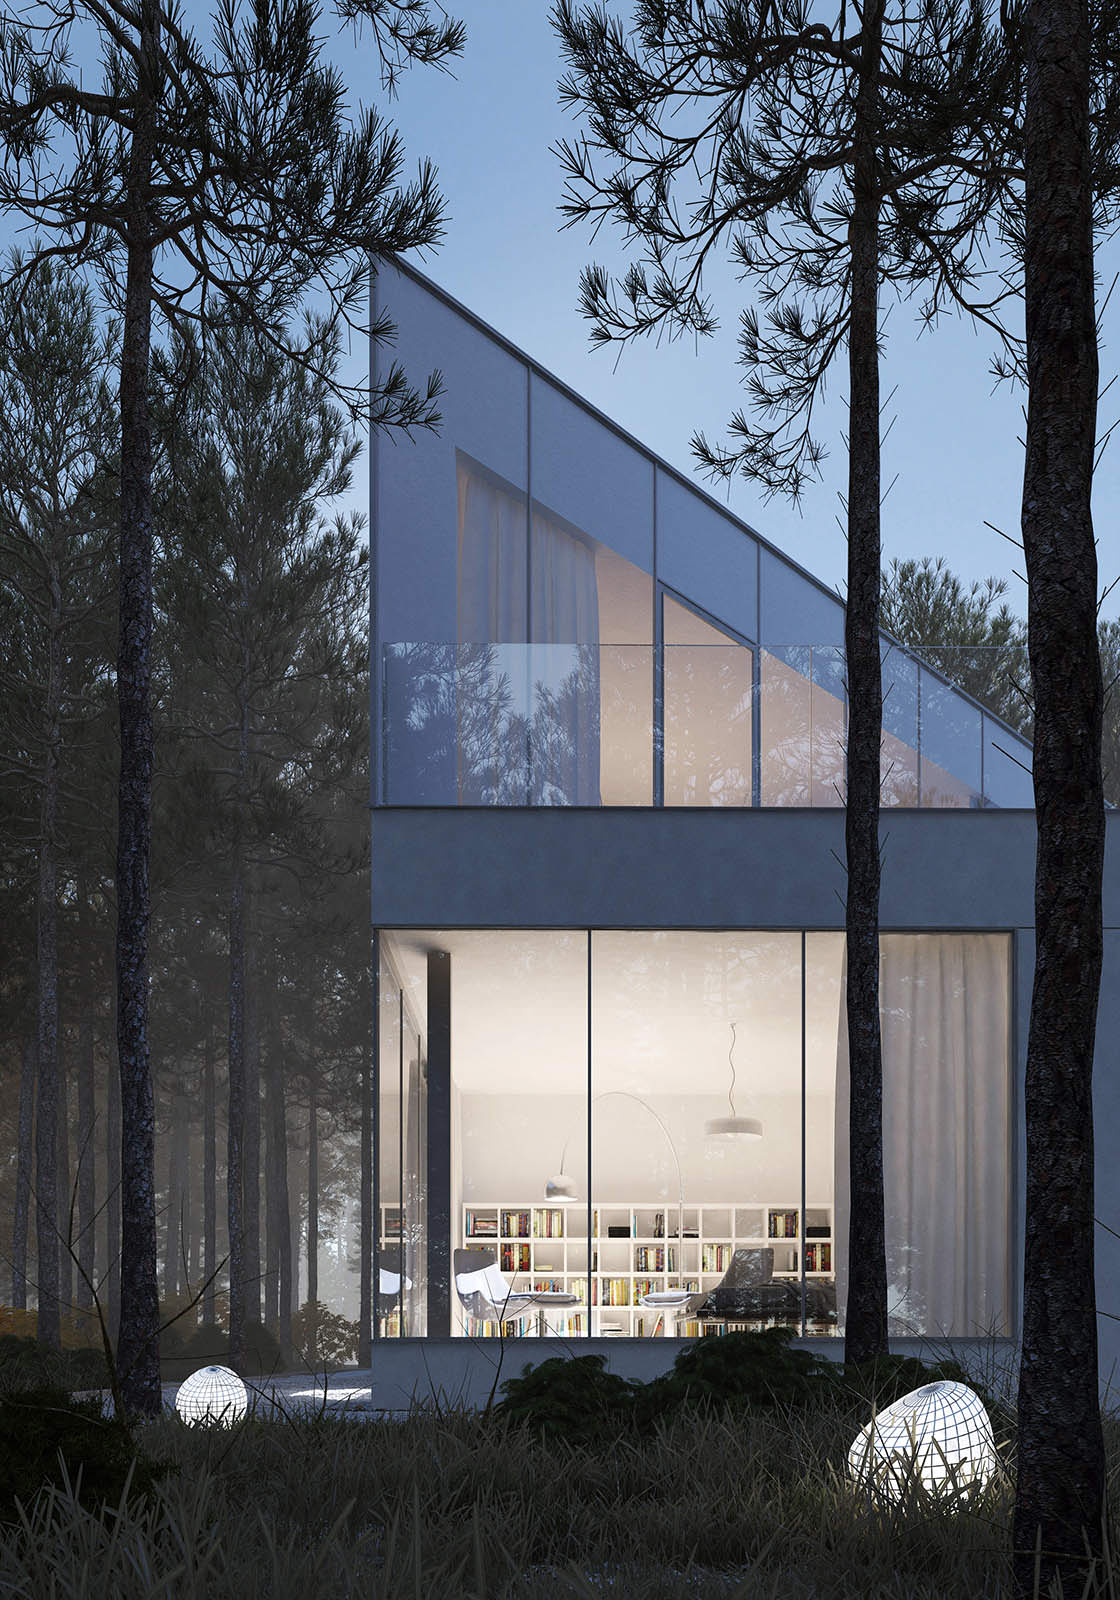
One thing worth mentioning is the Z-Depth render element that allowed me to achieve some moody fog very quickly. I think the very important piece of advice that I can share, is that you should keep doing breaks from time to time during your post work. It’s very easy to overdo your image with some effects if you do not have relaxed eyes.
Thank you for your time.
I hope reading this making-of article was enjoyable for you. It would be a great pleasure for me if it turned out that some of you found a handy tip in this text.
Cheers,
Andrzej.
Trackbacks & Pingbacks
[…] https://www.ronenbekerman.com/making-of-jozefow/ […]
[…] https://www.ronenbekerman.com/making-of-jozefow/ […]
Comments are closed.