


Making of NEON Light
NEON is a campfire inspired light and sound installation by Nicole & Markus Heilmann from 2003. What you see here is a virtual simulation of that installation done by Markus himself driven by a what can only be described as bad documentation! The result, accompanied by cool sound design & music by Bram van der Poel, is pretty remarkable and we get to see how it was made too. I wonder if he would ever document the real thing the same way?

Author : Markus Heilmann
Markus Heilmann works as an architect and 3d-media artist in the fields of CGI / virtual photography, 3d illustration, visualization, animation and designing with light. Since 2003, He creates virtual architecture sets, indoor and outdoor spaces and develop architectural visualization at the highest level.
Inspiration
NEON is a light and sound installation I did in 2003. Thanks to my bad equipment, there was nothing left at the end apart from a few grainy photos and the memory of a really beautiful installation. So you could say the decision to do a virtual simulation of the installation was driven by the bad documentation!
At first I`m going to describe the installation itself to illustrate the situation I wanted to recreate.
The main part of the object were the crossed fluorescent tubes which were controlled by a dimmer. The look of these tubes was to be as clean as possible luminous lines without any other visible devices. Therefore the podest played a very important part – all the necessary technical equipment like controller, electronic ballast and cables were stored there. This allowed me to connect the neon tubes with bell wire and screw terminals.
The room in which the object was installed was a high white room with a wooden floor – very bare and without any detail.
The life of the installation came from the movement of the light and sound.

Modelling
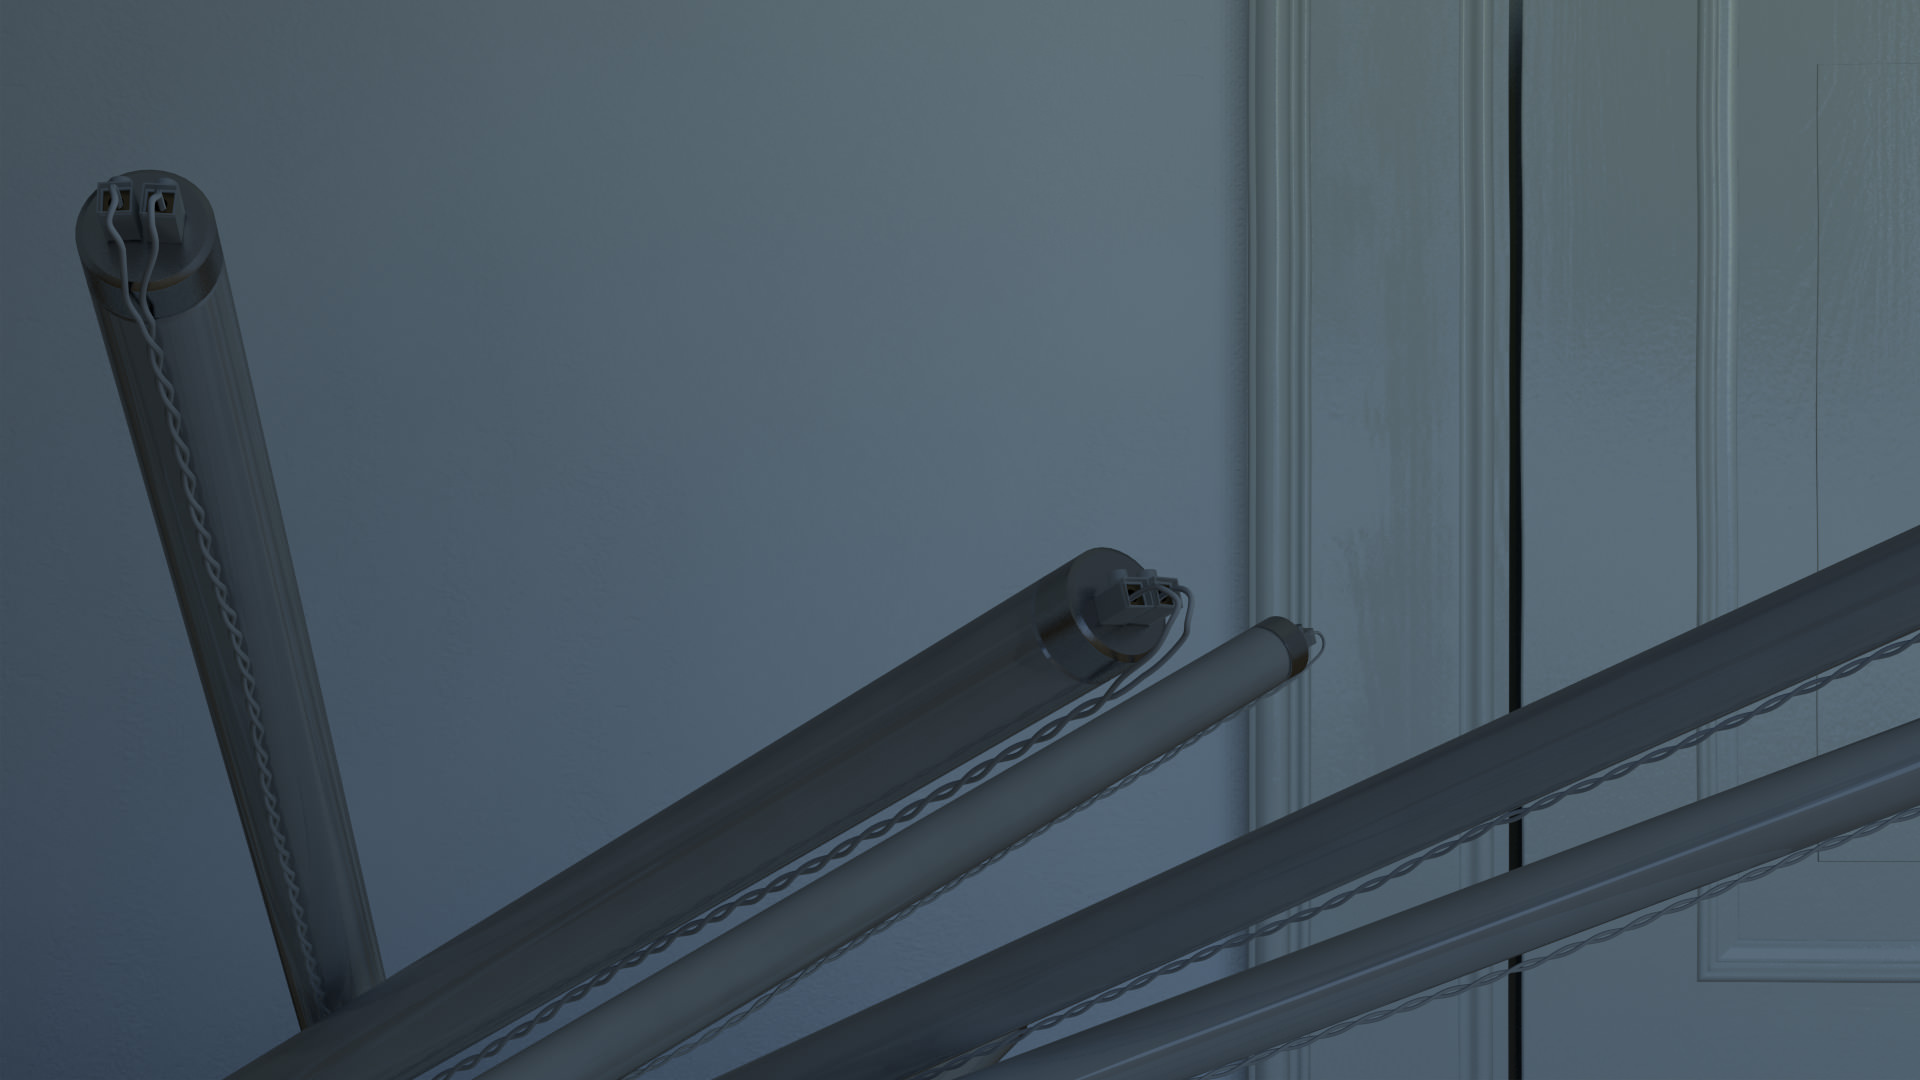
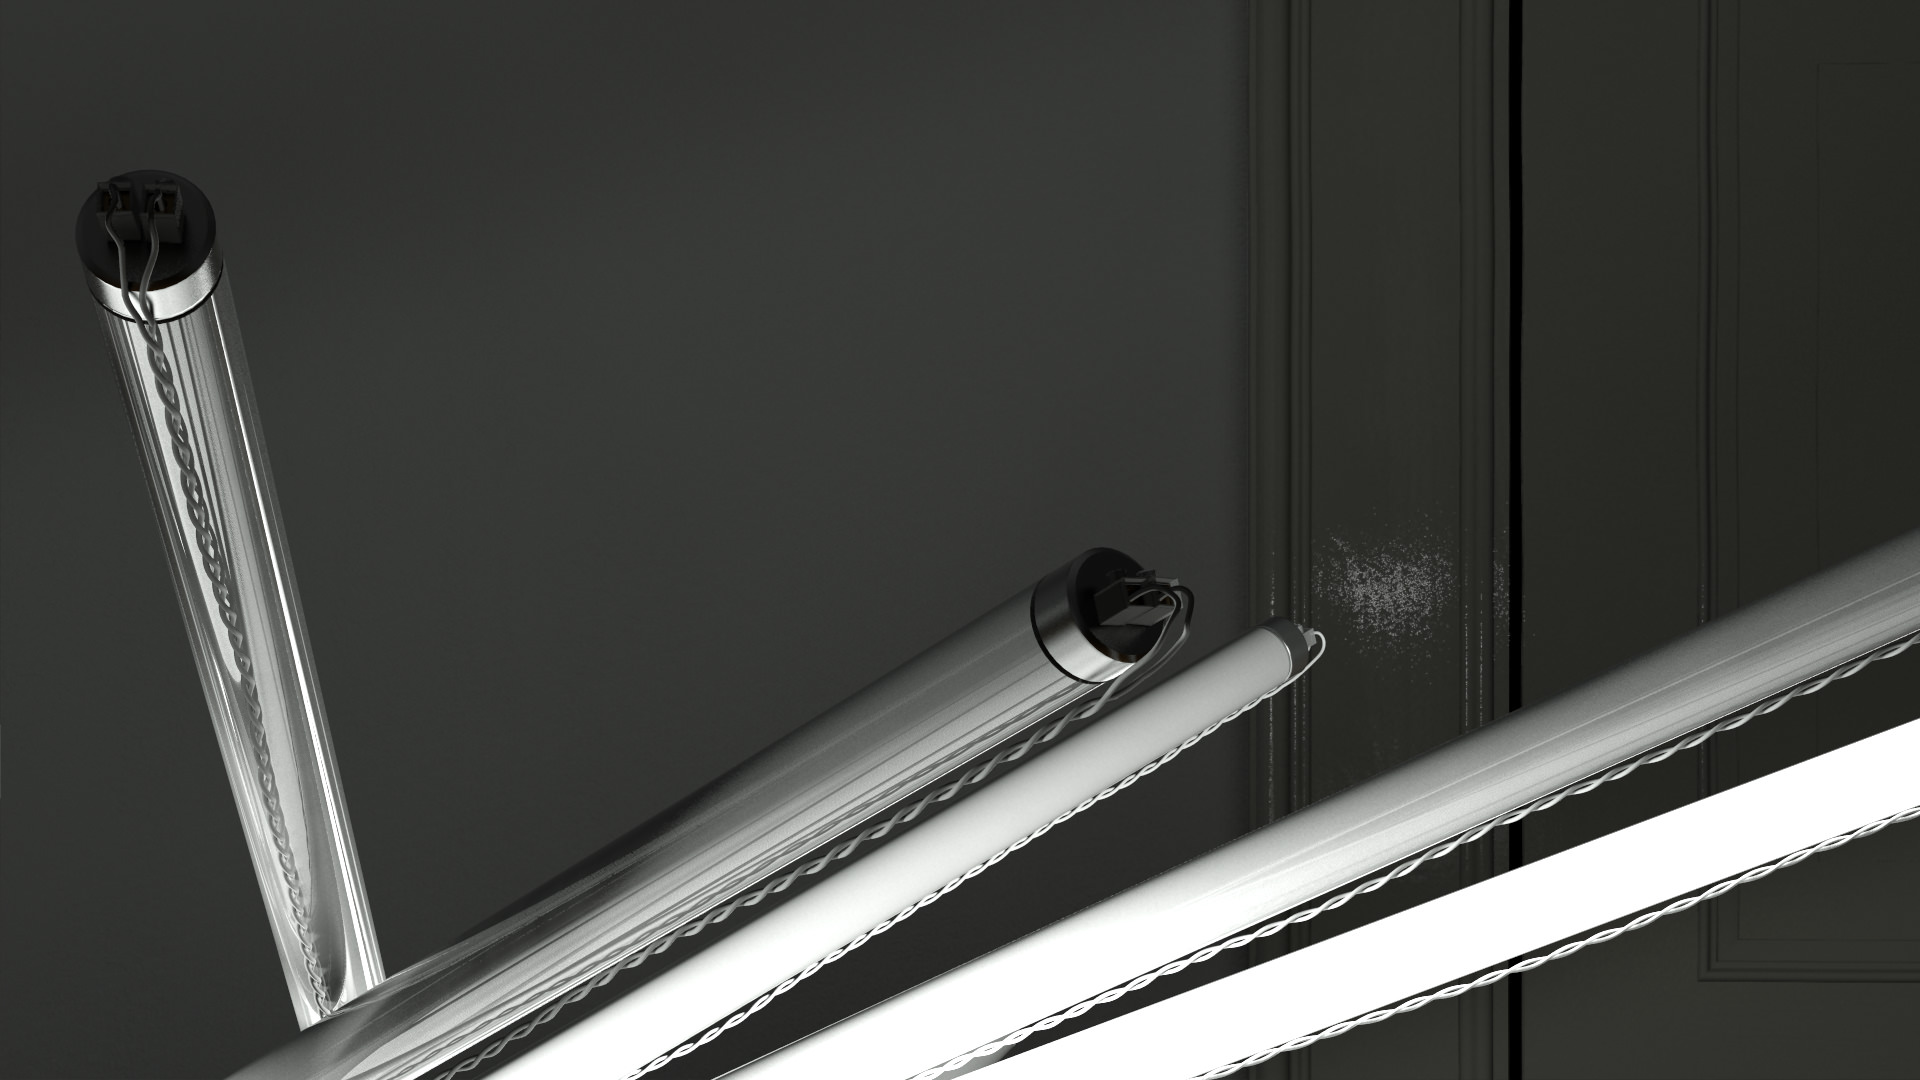
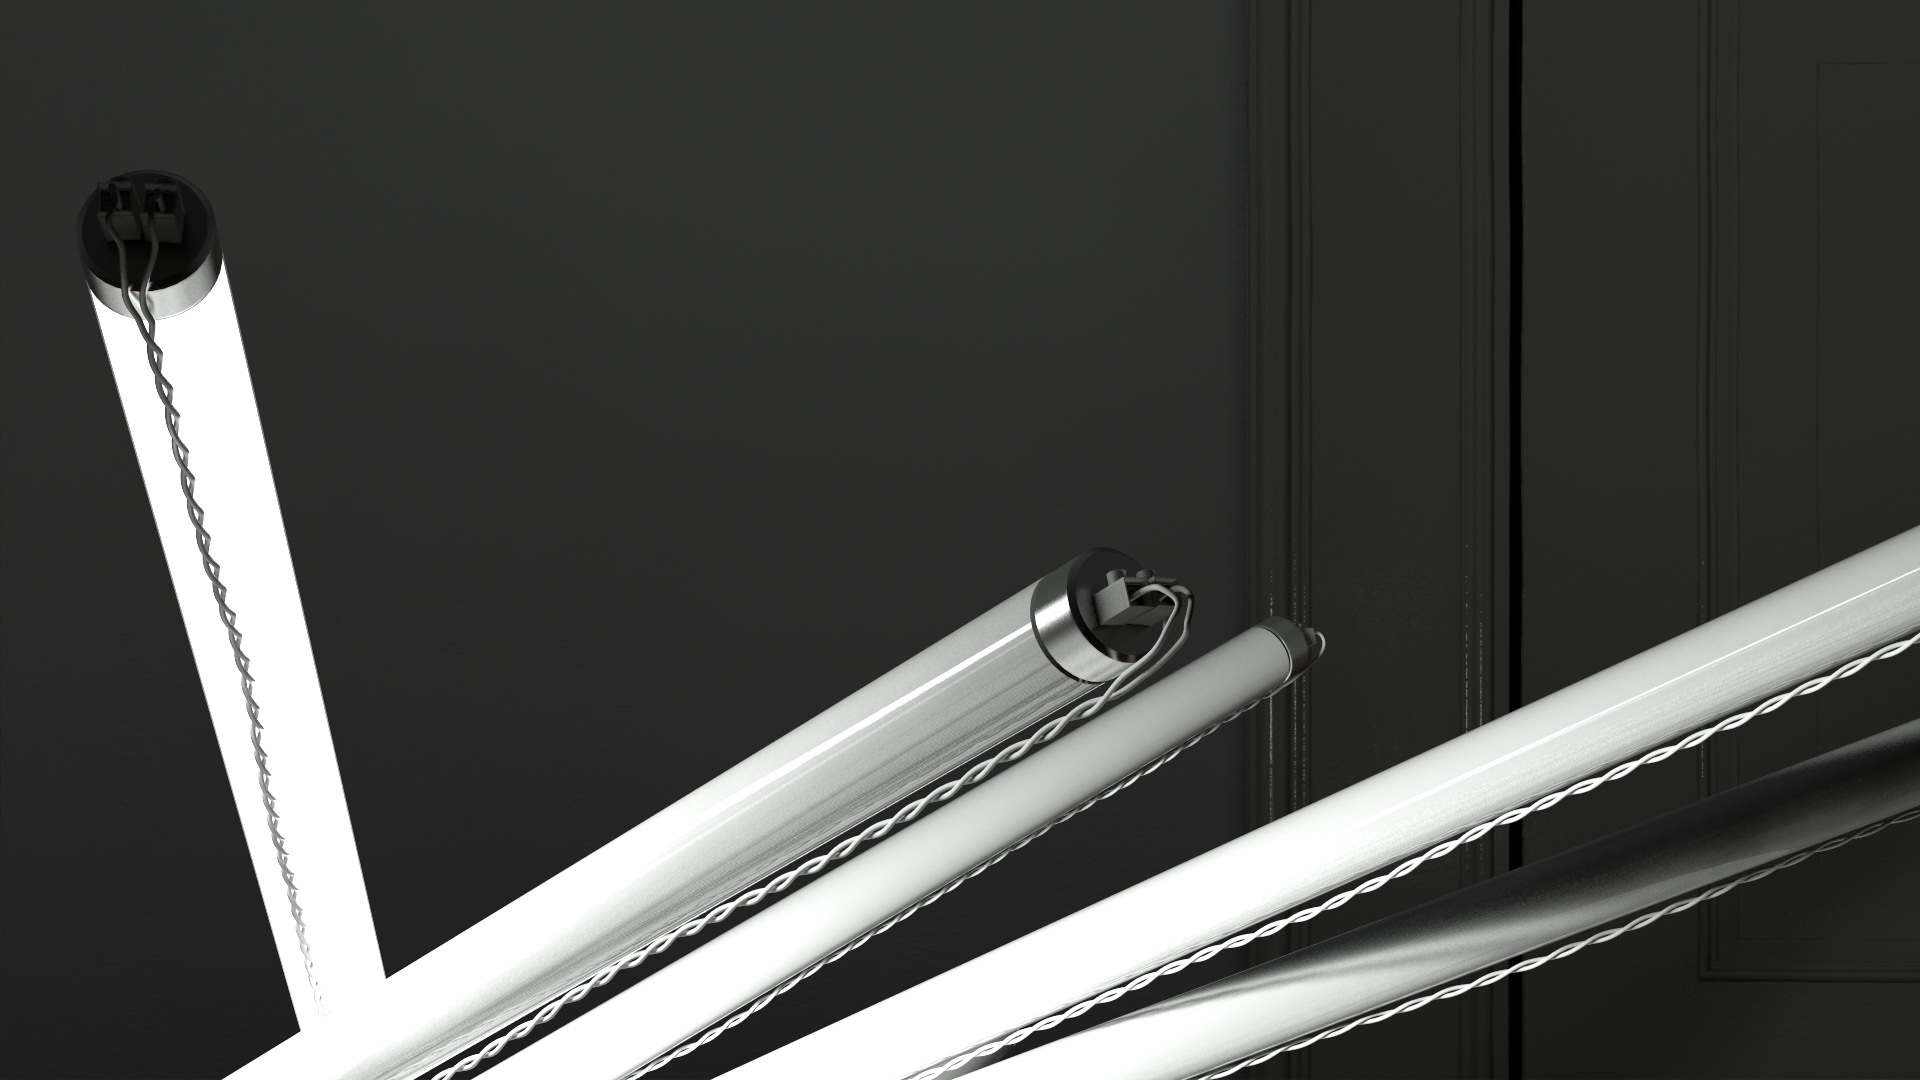
As I said before, the neon tubes played the main part, so I decided to show them in closeup. Therefore most of the detail can be found here, mainly the wires and the screw terminals. All parts are done with standard polygon modelling techniques. The only remarkable thing about the modelling of the light object was the way I did the details.
It took a little while to deform the straight CAD-like wires and rotate the screw terminals to give the model the non-perfect look I prefer.


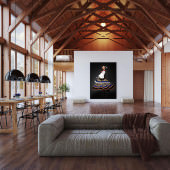
I modeled the room as a box room, completely undercoated and almost without detail – really close to the original room. As you can see, at this time there was nothing particularly exciting in my scene. A little boring, you say? You`re right.
Here I had to decide to either model a whole scene with all details and then set the cameras, or to do it the other way round.
I decided for the other way round, so I did the camerawork first and then filled the images with some details.

Setting the Cameras and Adding Details
As in the real installation, I wanted the only movement in the video to be the light of the fluorescent tubes. So dramatic camera moves had no chance, which had a really positive effect on the render times. To give the video a little story beside the movement of the light, I decided to use the camera positions and screen layout as its stylistic device.
The video is telling the story from closeup to long shot. This meant that setting the cameras was really important. All cameras are targeting the light object at first, to get good results showing the main element. To create images with more tension and excitement I filled them with a counterpart to the tubes. Just one detail placed only for the point of view on the right hand side with no goal other than making a better composition.
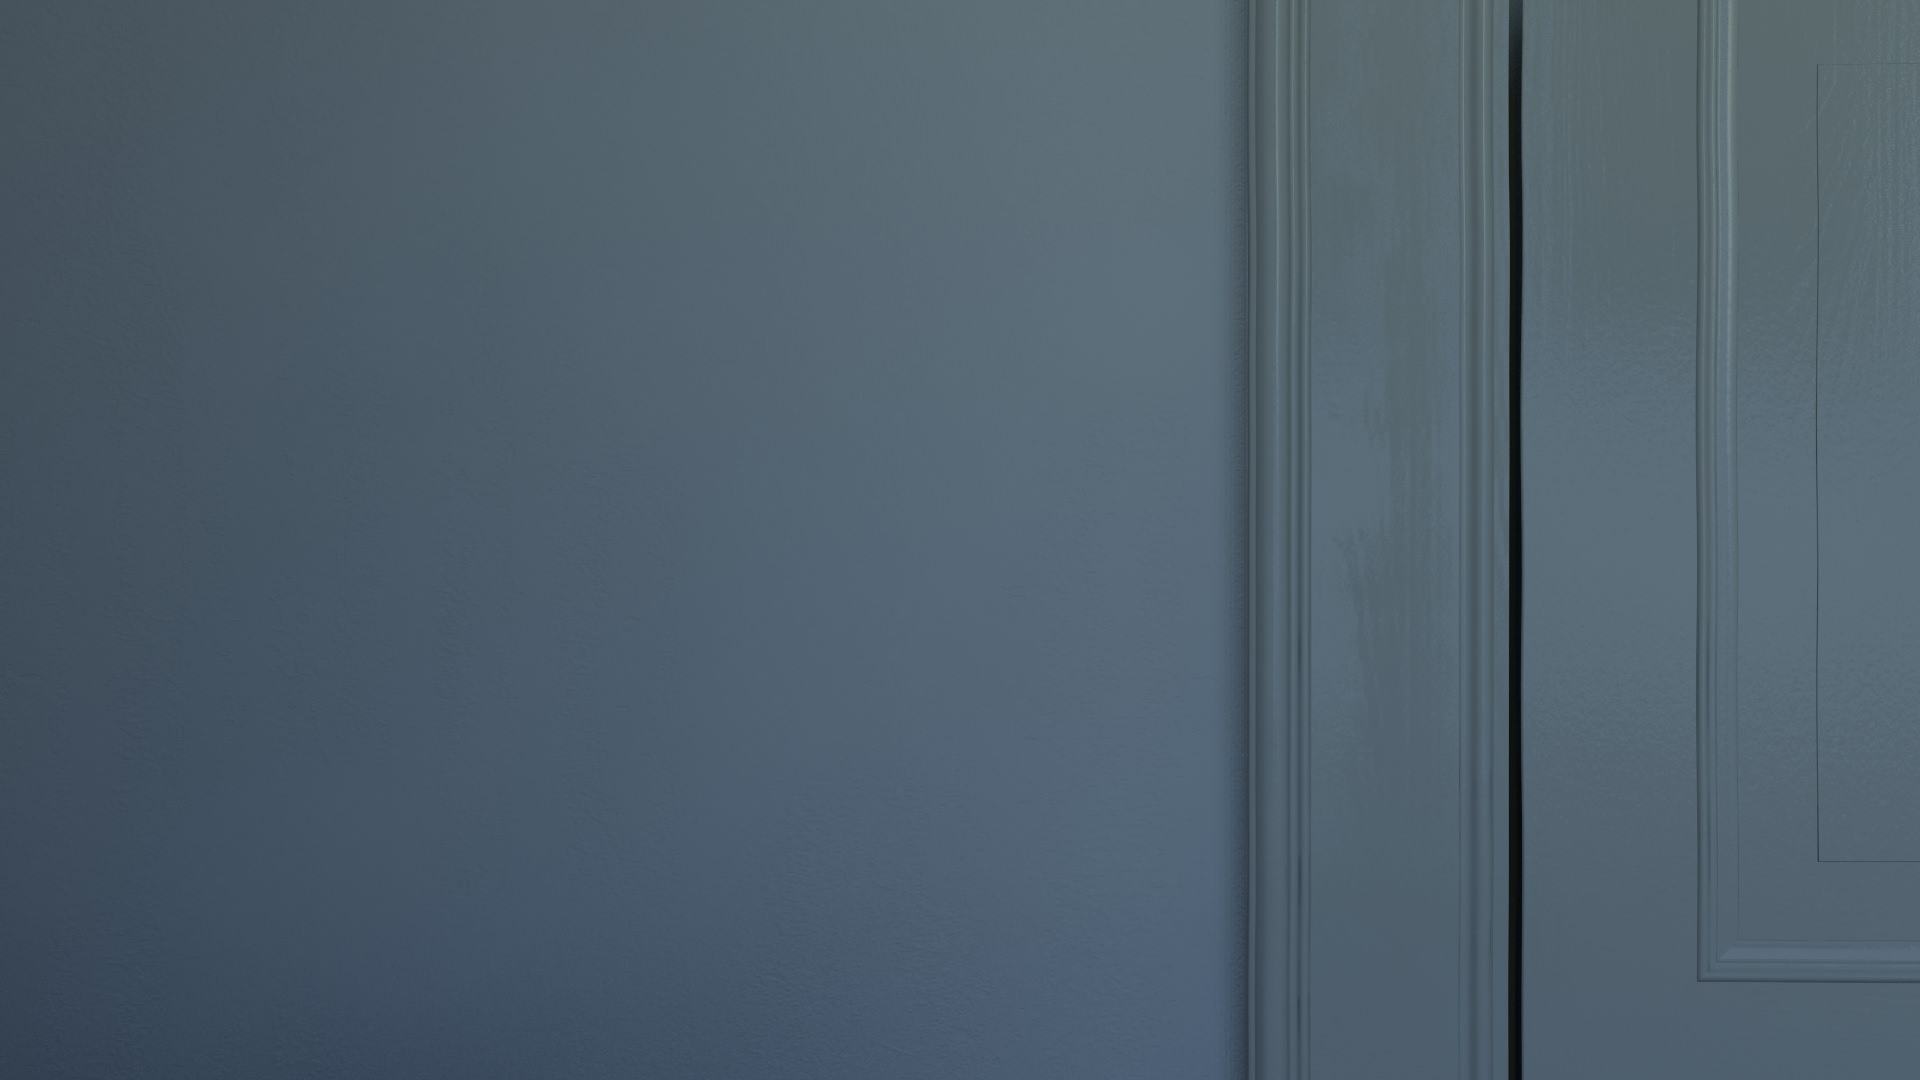
Camera 1
part of the door


Camera 2
The chairs


Camera 3
Part of a mirror


Camera 4
The plug socket and the edge of the room


Material and Textures
There is nothing very exciting to tell you about the materials and textures. Here you can see some examples.
Door
The door material is an Arch&Design material with only a Bump map. A mix of a Noise map and a heavily blurred wood texture to get the look of bad brushwork.

Walls
The wall material is a mix material masked with a Noise map. Both mixed materials are white Arch&Design materials without reflection using the same texture as a Bump map. They only have different map sizes and grades of bump.

Floor

Tubes
For the tubes I used two different materials. One for the glowing tube and another for the rest. The material for all non-glowing tubes was an only-white-reflecting low level translucent Arch&Design material. The material I assigned to the glowing tube was a white strong translucent material without any other special properties.

Lighting
To generate the light which is emitted by the tubes, I used 10 centrally rotated Metal Ray Sky Light Portals per tube. The geometry of the tube which belongs to the lights was excluded from casting shadows.

To get the blue daylight, I used the Mental Ray Day Light System and a Sky Light Portal.

Rendering
Of course I could have done all animation of the light intensity in 3dsMax but I thought this was not flexible enough. So I wanted to do this part of the work in Adobe After Effects. This is the reason I rendered a single image for all light sources. One for each visible tube and one for the daylight.
I used the same render settings for all images as you can see below. There was only a small difference between the settings of the white point. I used white point 5500 Kelvin for the tube images and 3500 Kelvin to generate the typical blue light coming through a window in the evening.
Depth of field also was generated in Adobe After Effects by using the Frischluft plugin. So I split the images of the close-ups (cameras 1-3) into foreground and background images to get better results when computing the depth of field.

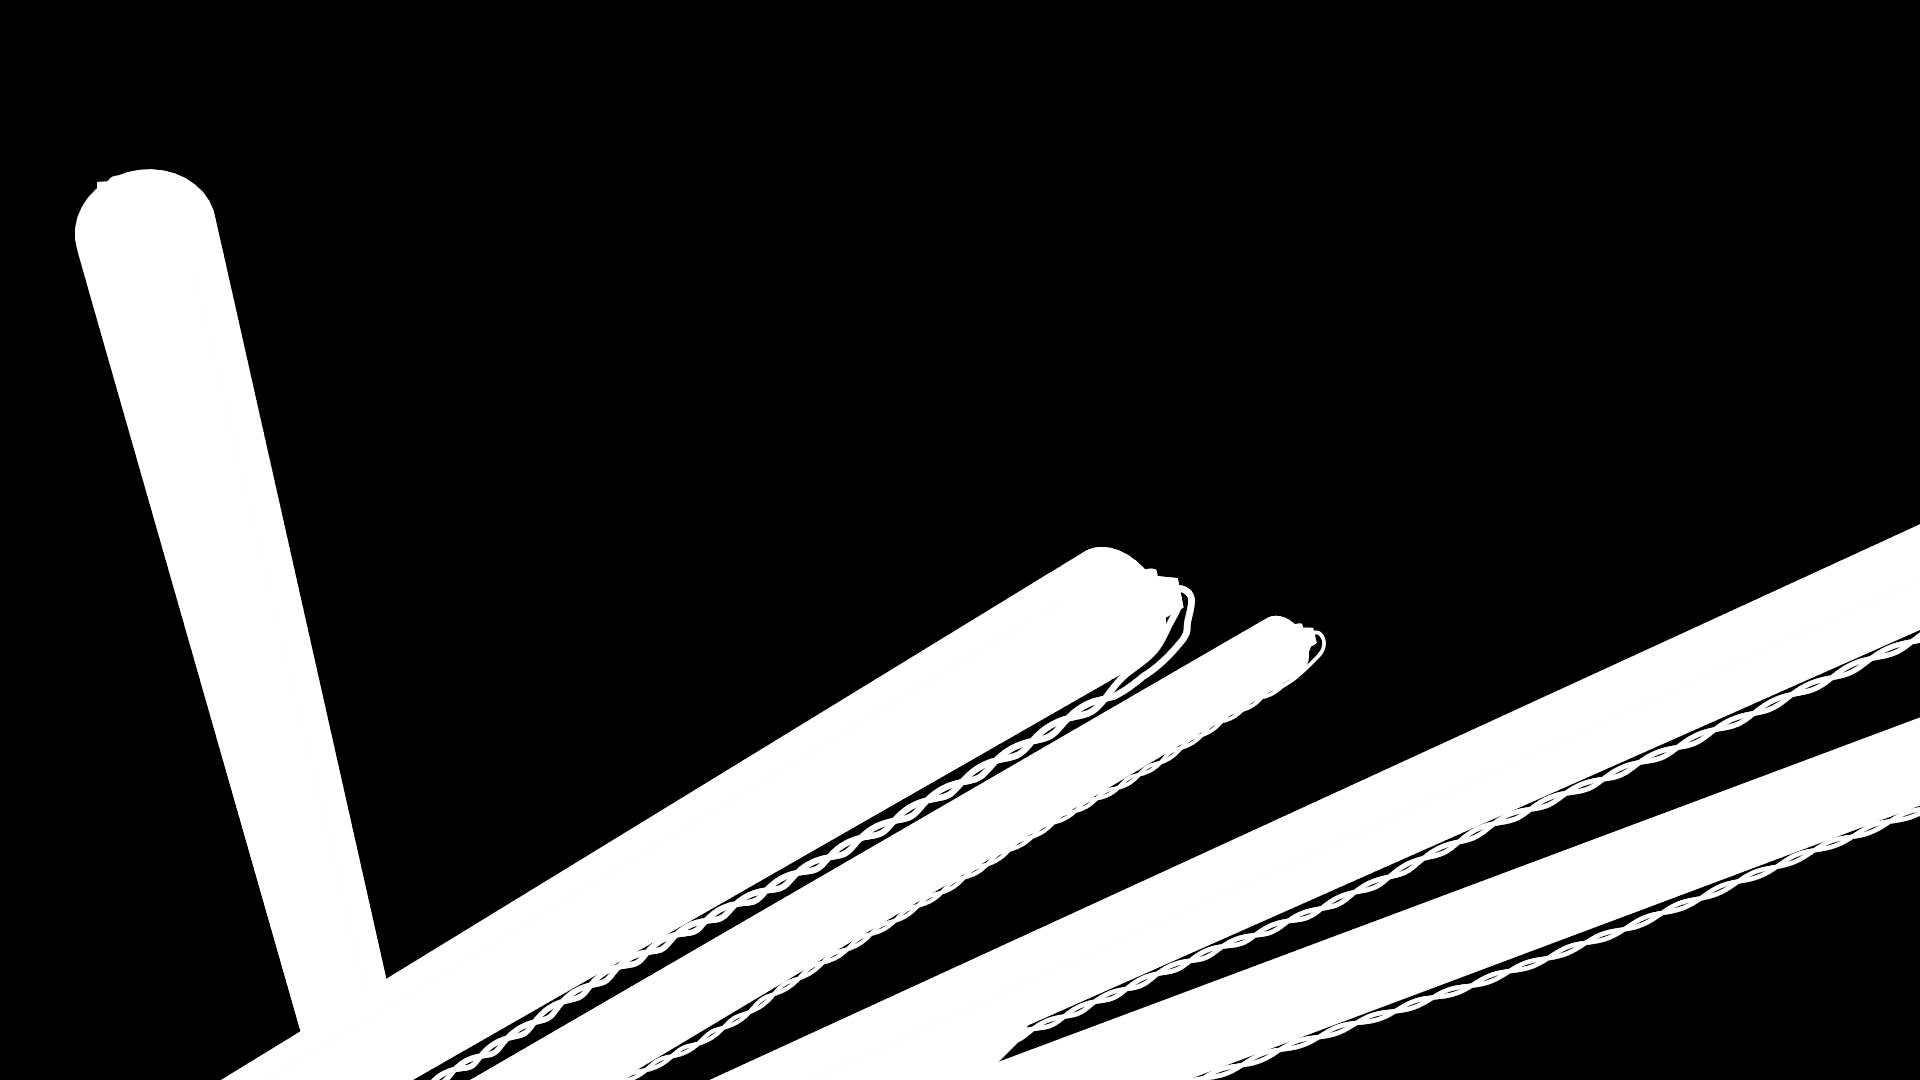
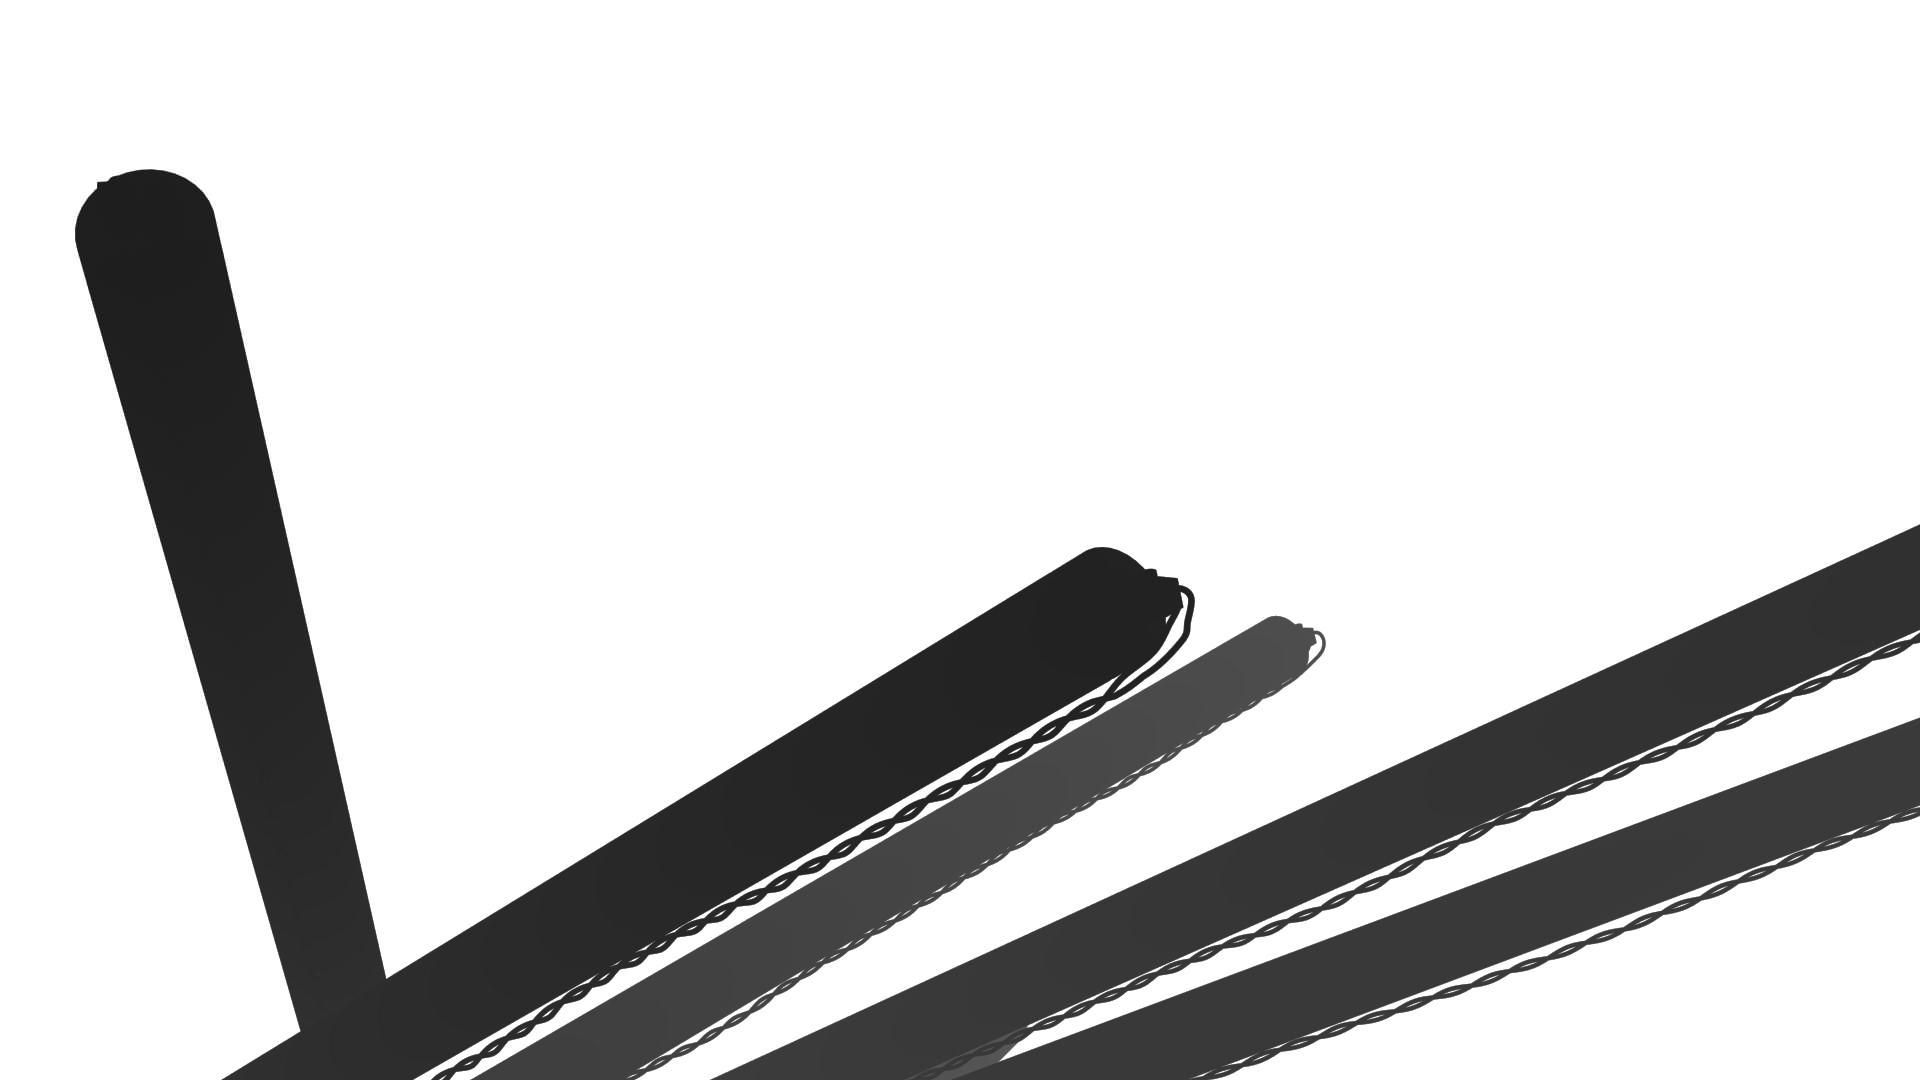
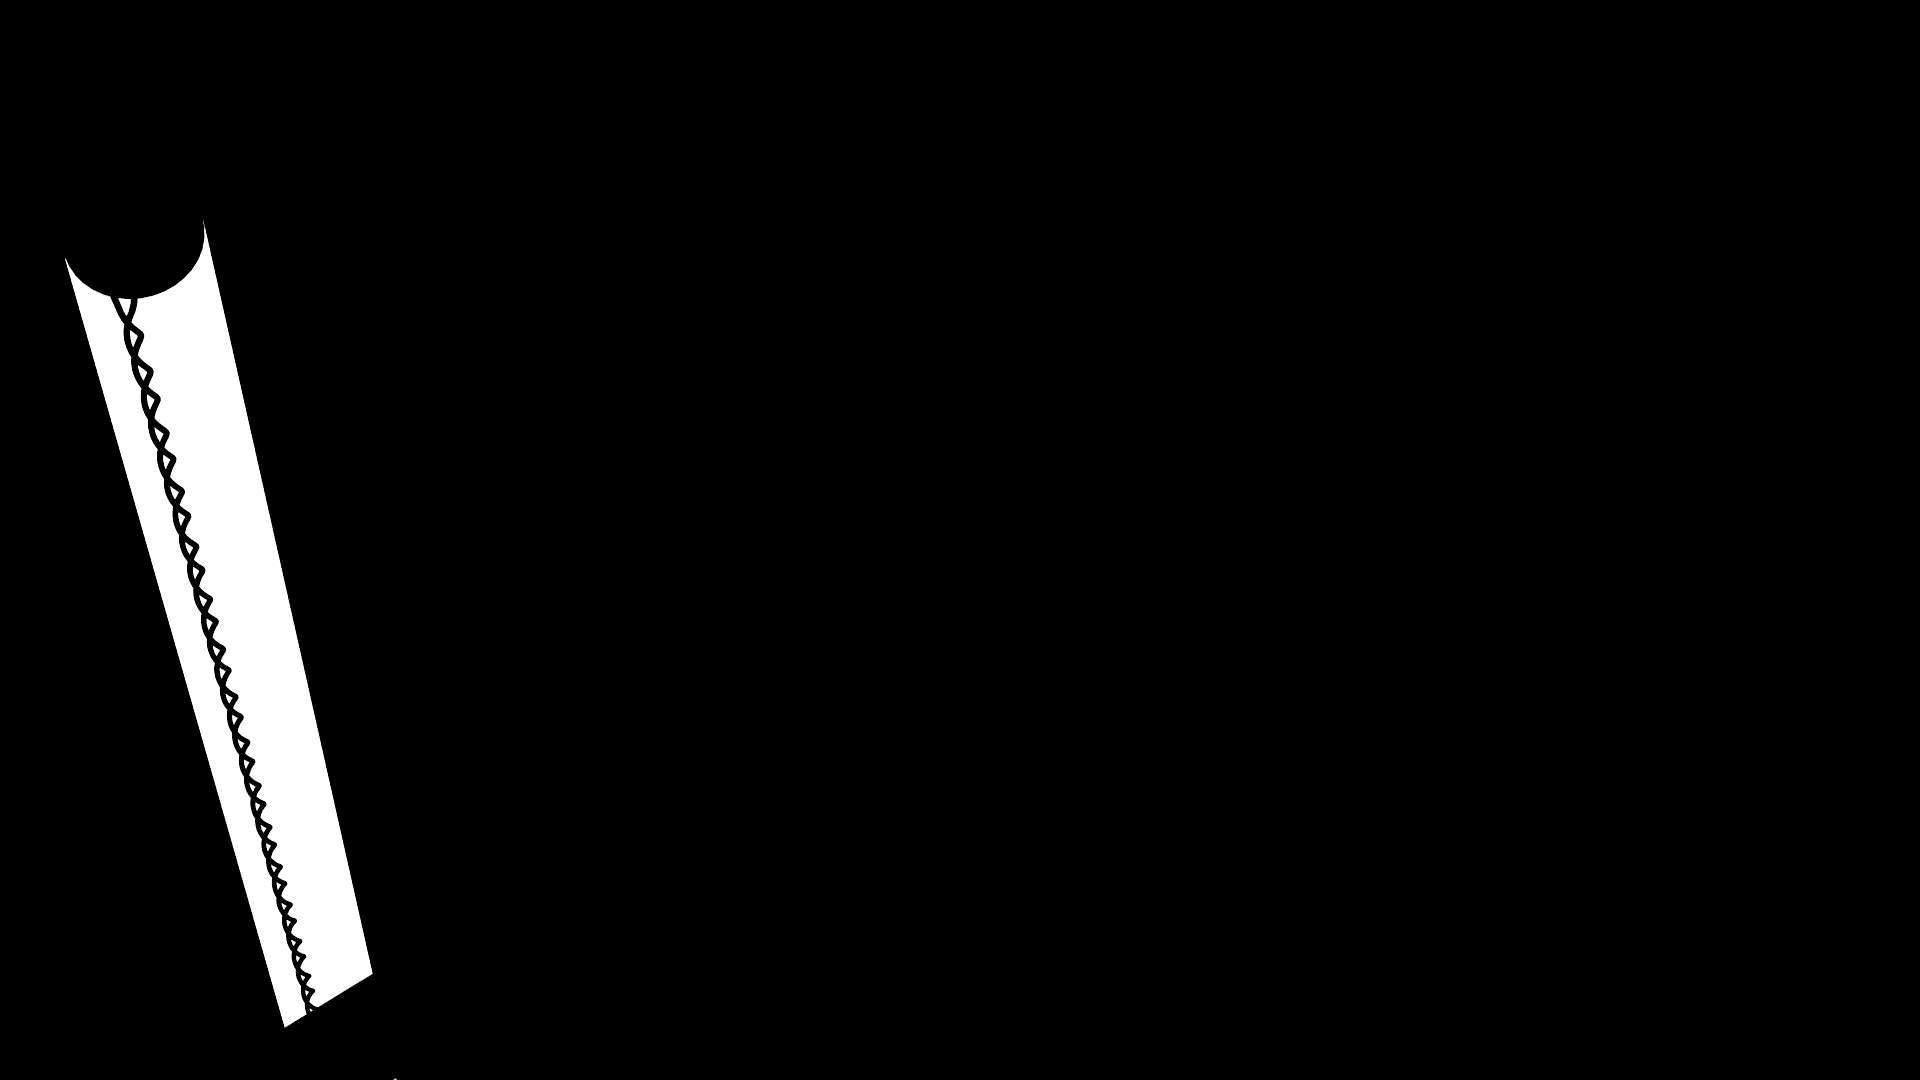
Here are some RAW renderings of Skylight 32 bit exr, Tubes 32 bit exr, Alpha 8 bit tif, Z-depth 8 bit tif and Masks 8 bit tif.

Animation
This was the time to bring my Video alive. After some tests in Adobe After Effects, it quickly became clear that timing such a complex animation to the rhythm of sound is better done with a classic video-editing software. That is the reason why I decided to generate a low-res preview in Adobe Premiere, where I defined the whole time line with all important elements like tubes fading in and out, playing with depth of field and blending the cameras, and to transfer this to After Effects later. Instead of the real tube images, here I used white planes with alpha information generated from the mask images shown above. Then I animated its opacity in a very simple way.
Just to make this clear right at the beginning – it wasn’t necessary to set all these key-frames a second time in After Effects. But more on this later.

Here you can see the preview. All the red-highlighted sequences in this video are time marks for playing with depth of field.
Compositing
I am going to show you the compositing I have done by using the example of the first camera – all the other cameras work with the same principle.
At first I put together all light layers (skylight and tubes) in single compositions using the foreground and background images. Then I adjusted and animated the depth of field by using the Frischluft plugin.
Skylight

Tubes


After that I gathered all layers in a new composition combining them with layer blend mode add. Now I had to bring my preview animation to After Effects. Therefore I used the already animated Premiere file, turned off the alpha information of the white planes, and rendered out one video for each tube called R1.mov, R2.mov, R3.mov… – just videos blending from black to white and back and so on. With the set mate effect linked to black and white videos I generated the opacity information for the the real tube images in Adobe After Effects.


I scaled the result to about 105 percent and generated little camera shake using the wiggler.

Here you can see an overview showing the compositing process.

At the time I realized this project I did not have any color correct plugins like magic bullet. So I had to do a work-around. But this worked really well: I rendered out the video as a 16 bit tif sequence and did the colour correction, grain, glow and so on in Adobe Photoshop. Then I recorded an action stack and used the batch tool to generate the final video.
I hope you enjoyed reading this Making-Of and could find some useful information…
“To generate the light which is emitted by the tubes, I used 10 centrally rotated Metal Ray Sky Light Portals ” Why not use only one Area light and switch the shape to a tube?
I was thinking the same thing.
my only guess would be either he had no clue or to get a bit of an uneven lightdistribution. Just a thought.
really like this concept, did you use the depthmap for the glowing on the other tubes when one is lighting up?
Very nice tutorial. How did you get the glowing effect?
rombout
No I did no tweaks when lighting the
tubes. All the brightness is the results of light and reflection
nearly physical.
I think you are talking about is the
glow moving from the middle of the tubes to the ends. All the tubes
are crossed. So the middle is the brightest point and light begins to
move along the tubes when fading it in and out.
awwesoly
I just copied the image. Then blurred
the top layer. Used blend modus add and played with opacity.
awwesoly
I just copied the image. Then blurred
the top layer. Used blend modus add and played with opacity.
Markus Heilmann did also make renders of each individual light lamp? What i dont get is the in the tutorial the light is indeed crossed with planes, but they cross over the complete length of the tubes. Still they glowup from the middle to the ends???
I wish I saw this last month, when I was working on a project with neon. Thanks for the share!
this is beautiful