KK

First of all, I searched the internet thoroughly to get to know with the project. I picked my angle from where I thought the museum can be best captured, and right away I started modelling the parts visible to the camera.

I picked a frame where the museum is shown from medium distance and occupies only half of the photo in order to include its immediate surrounding in the capture as well.

I decided to try and represent the museum on a winter afternoon with snow, which seemed very interesting from the beginning knowing that the surrounding of the real museum is almost forest-like.

As far as the materials are concerned, the main thing was, of course, the facade material and its reflections. Since the museum is shown from a medium distance I had to enhance this material in post production. The same goes for most of the snow in the picture as well.

The software used in the making of this project were 3D Max, V-Ray, and Photoshop.

Museum in the fog

The general idea is to consider the building as a work of art and the final image has to tell a story.
So I used a long lens with DOF and I put the focus on the building to give importance to the subject.
The image has cold colors and a minimal environment in harmony with the architecture and the materials.
The only parts with warm lights are
the street lights of the walkway leading to the building and the interior of the exhibition halls,
like warm is the experience that visitors live in the museum.

Museum in rainy day

Making-of video:
http://dl.vnplugin.com/vn/Downloads/makingof.mov

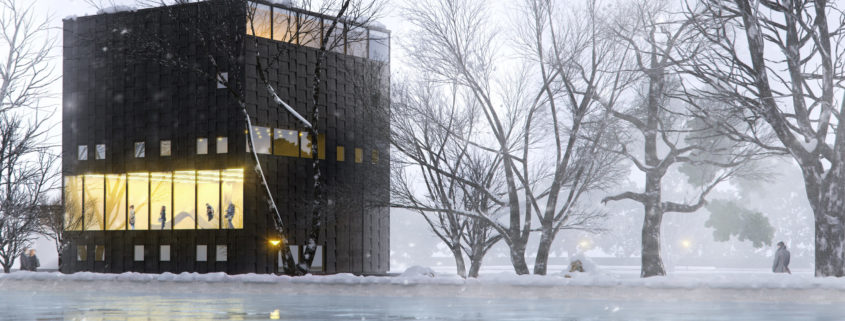
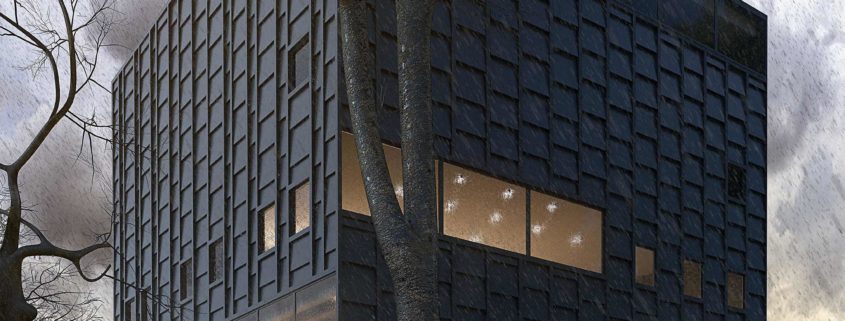
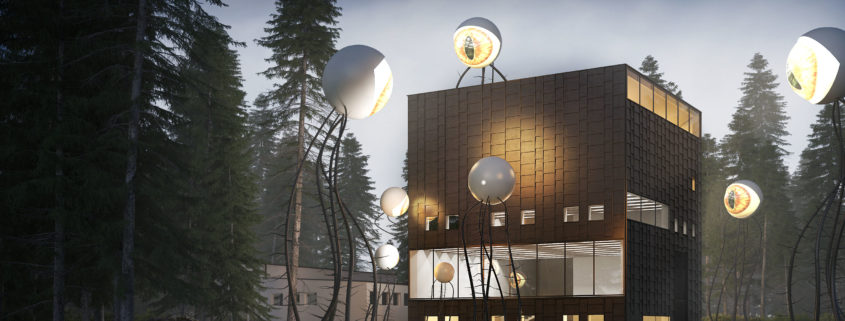
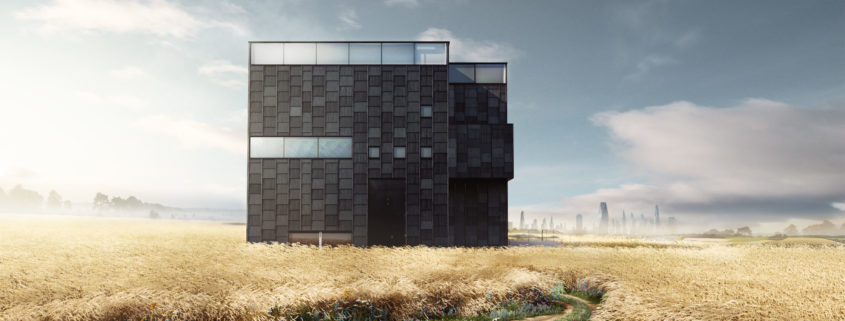
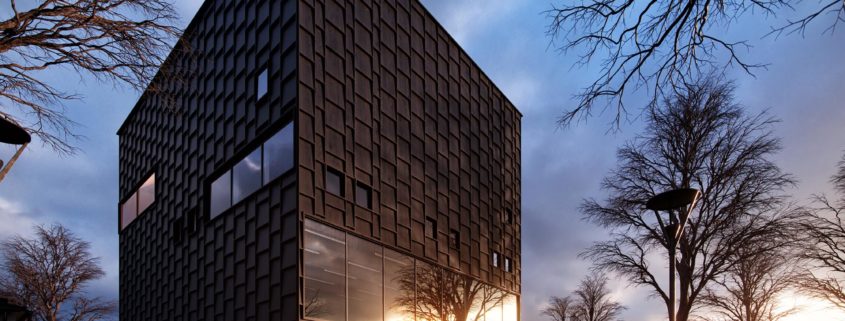
The main goal of simulation in this project is to make an angle look as exactly same as the reference photo. At the beginning, by using Camera Match, the camera was adapted to the desired angle. Also, it was done with the camera facing the front of the building in order to draw the correct volume without checking the plan of the building. After modeling the main parts of the building, the trees, floor and electricity pole were modelled.
To model the soil, meshing was increased and Displacement modifier was used. Then, ProOptimizer modifier was used to decrease the meshing. It will be lighter than the VrayDisplacement at the time of rendering.
For creating water cavities, a copy of ground was made and Relax modifier was used. After that by the help of Scanline, the Top view was rendered in Grayscale mode and then some changes were applied in the Photoshop.
PFSource was used to create the rain. Due to heavy rendering, plans with opacity were used, and to insure exact rendering, the amount of Max Transp. Level in VRay rendering was raised up to 200. The Spawn parameter was used for modeling the effect of raindrops hitting the walls, trees and the ground. Unfortunately, due to the large size of data, the collision effects were changed into polygon. Thus omission of Motion Blur at the time of render and slightly reducing the quality of the project.
Different modes of different particle types were used to create the effect of falling raindrops from the trees and the walls, but unfortunately none of them have the desired result. At last, they were modelled by Polygon and animated in different modes and using the PFSource they were put under the bottom of the objects in the scene.
Forest plugin was used to create grass. The mired grass in the water cavities were deleted.
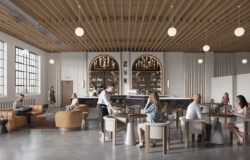
For lighting, just one HDRI light with relatively low intensity was used. The same light with different angle was used to create the reflections. All of internal lights are VRay Plan Light.
ZDepth and ObjectID were used as render element. By using ZDepth some depth-of-fields was added to the scene and also it was used to create Fog. To choose different parts in Photoshop, the ObjectID element was used. But unfortunately, because of MotionBlure, it was not useful to choose the raindrops.

Tomorrow 2017 Challenge_Tham & Videgård´s Art Museum in Sweden

The art of it is a spiritual food, and it is more important for a man than ordinary food, because if a person leads a life based on the satisfaction of bodily needs, but at the same time forget about meeting the needs of the spiritual – it is no different from an animal. A person having a spiritual food (Art) respectively develops itself philosophically.And it is harmonically developed life.
In this composition, I have tried to show the continuity of the connection between the spiritual and physical food which is necessary for development of harmonious personality.

Kalmar Museum

As i mentioned above the project was much enjoying. I started creating the concept simultaneously sketching out the building across some concept. I started all the way downloading the reference from the Internet, then studied the images with respect to the amount of detail required and the logical measurement of the building.as i began the modelling of the building the detaisl was little tricky but solving those was really enjoying, then i moved on to testing the different lighting mood for giving a best autumn feel after that i moved to the shader part in this time very well understood the coronaAO map, and its implementation aswell the parameters, the black facade shader wasn’t easy enough though i broke it down. moved to scattering up of the vegetation using the forest pack, shading the environment details, optimizing the scene. then i did some draft test at high resolution to accurately finalize the scene had to do some tweaks. then i was happy with the shader, composition & illumination, i hit the Render button, but seriously i hit it hard but not that harder that could break my keyboard ha ha. it almost took some 5 hours to render 3600px on my machine , i took the render into the photoshop did some highlight tweaks, tonal contrast, chromatic aberration & some color balance. I dint needed much post and my RAW render had all the beauty. I would like to thank ronen & tomorrow for this event