


Tomorrow Challenge
Like i said this is my last update, in here you’ll see my final image. The project was made using 3ds Max, Forest Pack, Vray and Photoshop.
Access the Best Articles about Architectural Visualization. Learn about all aspects of crafting images that tell stories.
Making Of's Case Studies WorkflowsShare your work and get immediate appreciation through discussion, feedback, and a possible nomination for the…
![]()
A weekly experiment, exploring the creative minds in Architectural Visualization and more. Find out what makes us all tick and push the limits.
Listen Now! Subscribe on iTunesOut with the old and in with the new! In Converted, I’m asking you to take an in-depth look at existing architecture near you or one you love worldwide and introduce something new.
See Entries & Join! About ConvertedLike i said this is my last update, in here you’ll see my final image. The project was made using 3ds Max, Forest Pack, Vray and Photoshop.
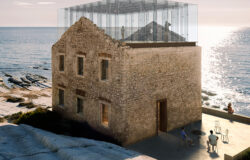
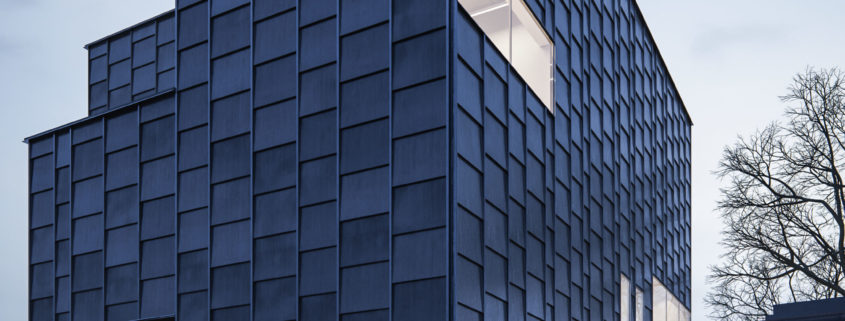
This is the final image, it was created using 3ds Max, Vray, Forest and some elements with Railclone.
Post-production was made with Photoshop.
I was inspired by the Grieghallen tutorial by Tamas Medve (featured a long time ago on the blog) to try my hand at making his wet stone pavers before the competition was ever announced.
When the competition started, I figured it would be a good opportunity to both add to my portfolio while also testing the pavers in a full scene.
My computer at home is quite old and as such it really can’t handle large expansive scenes, or scenes with a lot of assets or accessories so I had to be clever about chosing my camera angle. Luckily I found a reference photo of the building online which I used as my inspiration. The angle is suitably dramatic and also limits the amount of background scenery I would have to build, allowing me to focus on the lighting and materials and not worry about my computer dying!
The scene itself is fairly straightforward spline modeling for the most part. The pavers out the front are a simple texture with a custom displacement as in Tamas’ tutorial – with a plane of water put on top to simulate the puddles. The background (and the reflection in the windows) are free building models downloaded from 3dsky.org and most of the textures came from my own personal library, Arroway or Textures.com. The background trees are a simple forestpack with some zDepth applied in post production. I made extensive use of the Corona Light Mix as it allowed me to leave my computer render the scene out once (as it took forever on my old machine) and then tweak the lighting afterwards to get it looking how I wanted. I don’t think I would have had the time otherwise to adjust the lighting in the short amount of time I spent on the project (overall I think it was 3 days after work).
Here is my final submission, I’ve had a lot of fun and experimented along the way, I could always do more but there has to be a point at which to end. Best of luck to all entrants.
Scene
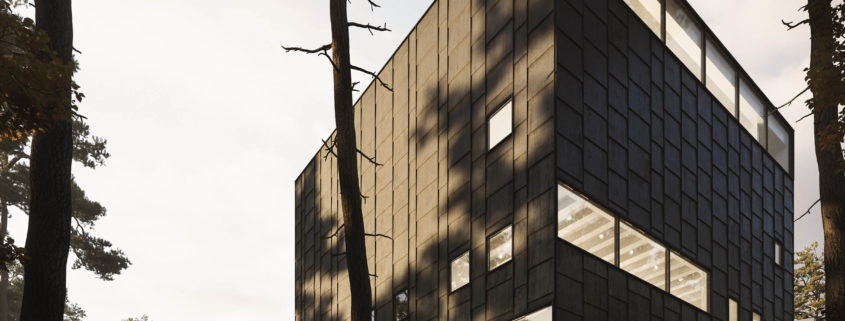
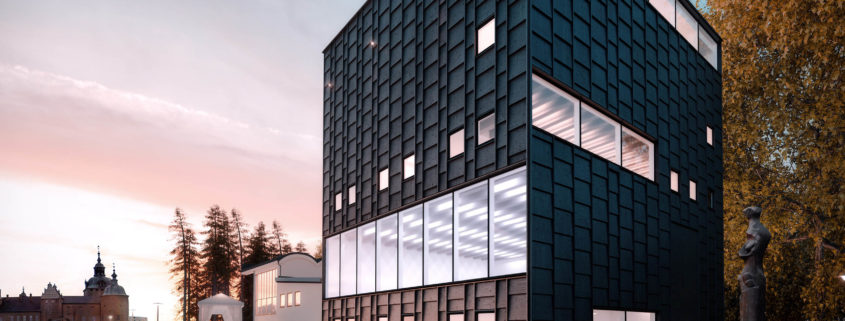
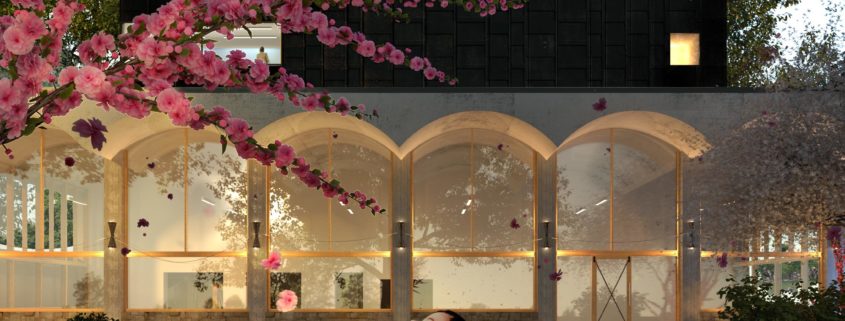
The renders setting is the moment when a warm evening breeze picks up fragrant pink tree blossoms, carrying them higher into the sky, and them gently layering on the pavement. A little boy in awe tries to catch the little pink flowers.
Process (3DS Max, Vray, Photoshop):
At first I build a general massing model.
Then, rendered in clay material and chose HDRI map.
After that rendered with basic materials on and printed and sketched over.
After that picked camera proportions. At first I set it up as the landscape image but after some tests decided that I like portrait better.
After that started to add Forest Pack greenery and added particle system.
At the very end tuned materials and minor mood lighting.
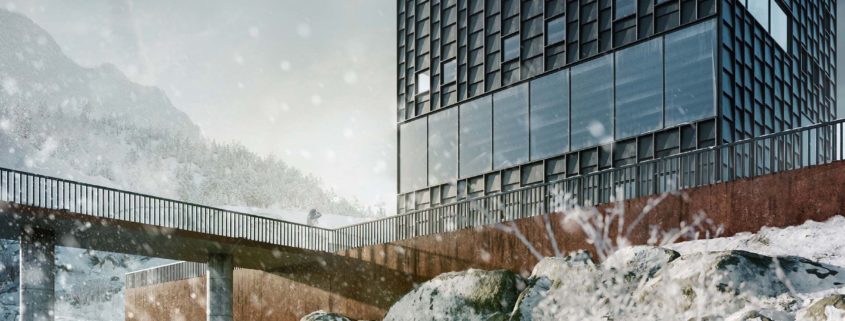
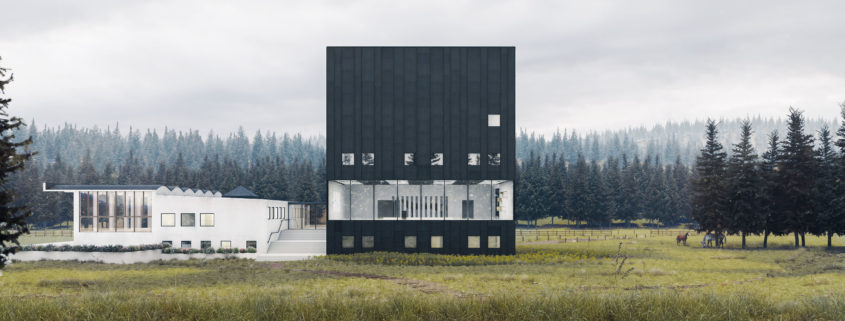
Snowy Natural Environment