Tomorrow Challenge entry by User-66816642

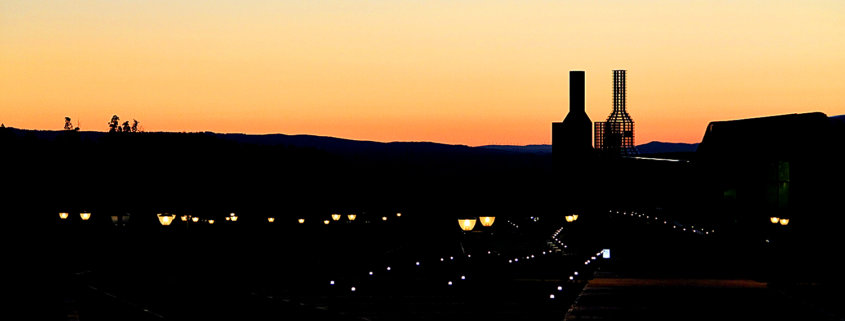
When I see a building with huge glass panes, I always
imagine it at sunset, when there is still light in the sky and
the lights get turned on.
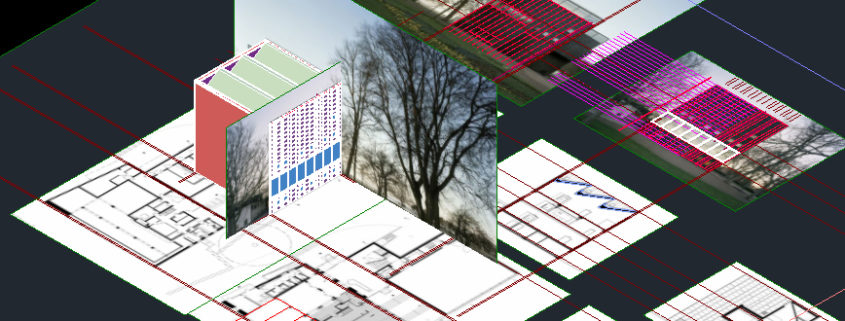
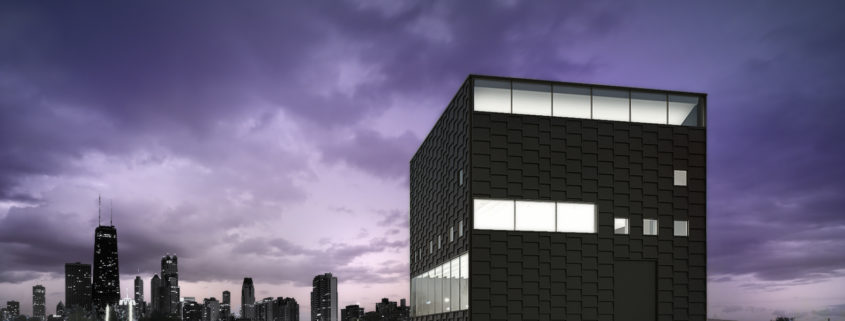
I wanted the sky to frame the building. The principle of the
render is to ‘’show’’ the museum, so the rest of the
elements are there just to balance the composition.
My main Ruggles has been to find the balance between
building, sky and background. And the reflections on the
façade material. The balance I obtained it by mixing 3
different sky and reducing the size of the background. The
reflections were a little bit more tricky, as because of the
hour there is not direct light to create reflection on the
exterior, so I added so street lamps on the background
that would justify illuminating one of the sides so we can
see the volume of the façade material.

Tomorrow Challenge entry by User-66816642

So, I will be following my usual workflow. I do my modelling mostly in Autocad (if it is up to me, sometimes I have to model from scratch on 3dMax if it its a group project). I got an architectural background, and Autocad was my chosen CAD program during my student years and it stuck with me.

I already had an idea of the final composition of the picture so I started modelling only what I was going to see of the building (hence saving time) and then I linked the file to 3d Max.
I prefer to always link instead of merge because of the possibility of going back to the cad model and updating the 3D Max file without losing any of the work previously done. That said, there are times when modelling directly into 3D Max saves a lot of time. It depends on the geometry of the building and he kind of shot you are looking for. For example, when working on interiors I usually start modelling on 3dMax right away.

Anyway, I link the file to 3D Max and load my test Vray preset. Then I start positioning the camera and creating the lighting. I use the texture override, excluding the glass panes, so I can concentrate on creating the light hierarchy. I used an HDRI Light for the main ambient light, then several Vray plane light for the internal lighting and a final Vray plane light as filling external light so the shadows would not be too dark.

After that I applied the materials, and then is was just a matter of changing the settings to final and adding a couple of channels to the render to help me with the Photoshop post-production.

Tomorrow Challenge entry by User-66816642

I am really inspired by Jesus Granada photographs. They take almost half of the Pinterest board that I created for this Challenge (https://es.pinterest.com/minervaromay/visualization-tomorrow-2017-challenge/).
But I must confess that before committing to the ‘Blue Hour’ approach, I had in mind something more whimsical. My first thought went towards creating a Fall scene, thinking in a Grey & Golden palette. But as I started to work on the lighting & composition, I realised that this was not really showcasing the building.
There was also the time factor. I work full time on an architectural practice, so I would have really to make sure that I did not waste any time trying things whose end result I was not sure about.
In the end, I decided to scrap the vegetation and try a more urban scene, because I felt that this way we will get to see how the building would have played out in a completely new environment.