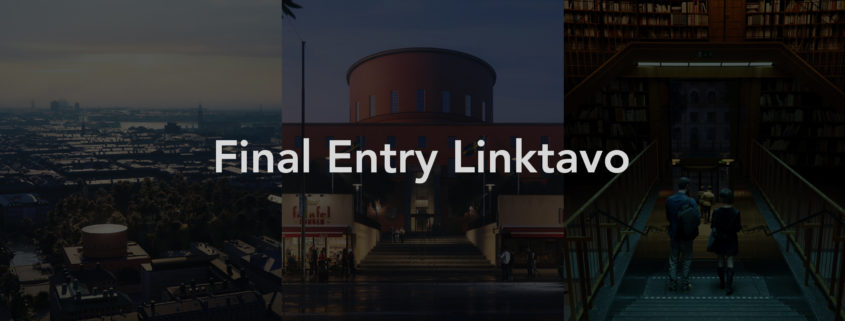
Forsaken (final images)

Forsaken final images (converted challenge project)
High res images:https://we.tl/t-AhTkZkOarW
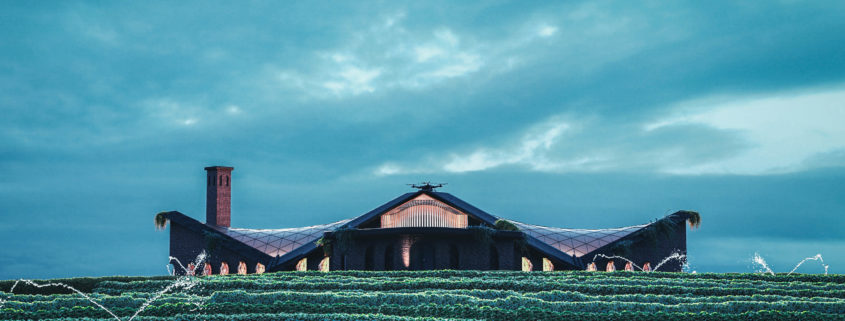
While I was trying to think about how I’m going to convert my building to something new, I thought about pretty much everything, and I came up with the idea of an actual agricultural centre, as I mentioned before there is no agricultural centre where I live. So I merged this Idea and the new Idea of vertical farming in my building and I used its huge amount of roofed space for providing sunlight for the plants and crops inside. I removed the roof of the building which was made out of concrete and had no structural role in the building and replaced it with a transparent roof. Since this was going to be a research centre I decided to use the environmental spaces as well and planted as much greenery as I could including tea leaves (you can see them in the first image). And looking at some small researches I made on new technologies in agriculture, I noticed that they use drones to control the farms and even use them to spray all over their crops (you can also see the drone, one on top of the building and one airborne)

Making a water flow through the fields was necessary, so I used some tricks on cinema 4d to replicate whatever was in my mind.
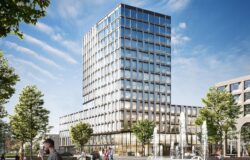
The whole complex has two main buildings, one on the side and the other is the main place of research and farming (I used the building attached to the main structure for a small staff office, for disinfection and lockers) the building on the side is dedicated to offices and study labs)
Coming to interior place other than the platforms I made to hold more plants and crops and gain more space, I also designed rounded stands and scattered some grass and greenery on them, you can also see small pools and water flowing in the interior image. I was talking about technology, also added robotic arms to harvest the beans and crops from both high and ground platforms.
Soft wares and plugins I used: Cinema 4d, corona renderer, speed tree, substance source materials, substance designer, substance painter, Forester and real flow.
That was pretty much everything I did in this project I spent so much time on the idea and what I was going to do with my building, and these are the results, I learned a lot during this process including substance suite and etc. it definitely improved me and was quite challenging for me and the most important I met beautiful designers and people in this community, I will share all my projects here in the future.
Best regards
Erfan

Early Bird Final Submission

Hello !

All the textures you see in this render are made with Substance Painter / Substance Designer, or both. For some textures i started from scratch and for some used Substance Source materials and modified them to my liking. Unwrapping, exporting, importing, going back and forth from 3ds Max to Substance for every object just brings tons of workload (I’m not blaming the software, it is awesome and still pretty much the only way to achieve what i wanted). In the end, the raw render was kind of far from what i expected. So this is where i gave up. Having a full-time job, i realised i just can’t go back and do all the texturing again.

Still, i wanted to finish at least this one scene for my previous efforts. It is very simple : Hdri overcast lighting with a few other lights, 2-leveled environment fog, and a little post production work.

Anyways, thank you for the challenge and i wish good luck to everyone participating.

After the storm

Unfortunately – as I expected – I was not able to finish all the deliverables but I wanted to share the work I have done with you anyway.
Try new software:
My goal to try some new software.
I worked with the quixel mixer for the first time and was impressed how easy it was to use. I did the texture for the steps with the mixer. A stone floor with wetness added and some decal on it to break up the tidiness.
The second thing I wanted to try was the speedtree software. The very particular shape of the trees was perfect for that task because I had nothing comparable in my library. I didn`t get it quite right but keeping in mind that it was the first time working with that software the result was close enough for me. I am quite happy my generated trees.
Composition:
I wanted to reflect the regular shape of the building in my image so I went for a square format. The main ledge of the library is dividing the image in two equal halves. The shadow ends at the lower third of the image – following the rule of thirds but breaking them a bit.
I put a flying crow on the top right third to catch the eye and lead them towards the building. Also the man is situated on one of the thirds walking to the building.
Light:
I wanted to create an autumn morning mood right after a storm. The bottom third of the image is still in the shadow to set the focus on the main character – the building with most of its parts already lit by the morning sun.
The reflection of the sun in the glass of the main entrance is slightly out of the center and its bright reflection hitting the wet surface of the stairs again leads the eye of the viewer to the main focus of the image.
Materials:
Two materials were very important for me. Firstly, the color and texture of the facade with its significant stains. I think I nailed that part. And secondly the worn and wet texture of the walls next to the steps leading to the library.
I used a distance map to get the stains under the letters and AO maps to get the wet stains on top and bottom of the wall. Maybe the contrast here is a bit too strong.
After all I am happy with the result and I hope you guys like it too.