" Have no fear of perfection - you'll never reach it. "

Salvador Dalí
Spanish Surrealist artist
" Learn the rules like a pro, so you can break them like an artist. "
Pablo Picaso
Spanish artist

ArchVIZ Biz
The 2023 ArchViz BlackFriday
The annual ArchViz BlackFriday to CyberMonday promotion is underway with 17 Partners early to start this time around. Many more to join in leading up to the official Black Friday date – November 24th. Expect up to 50% Discounts on software, content and training going on well into (3)December.
let’s dive into the rabbit hole – blue pill or red pill?
News
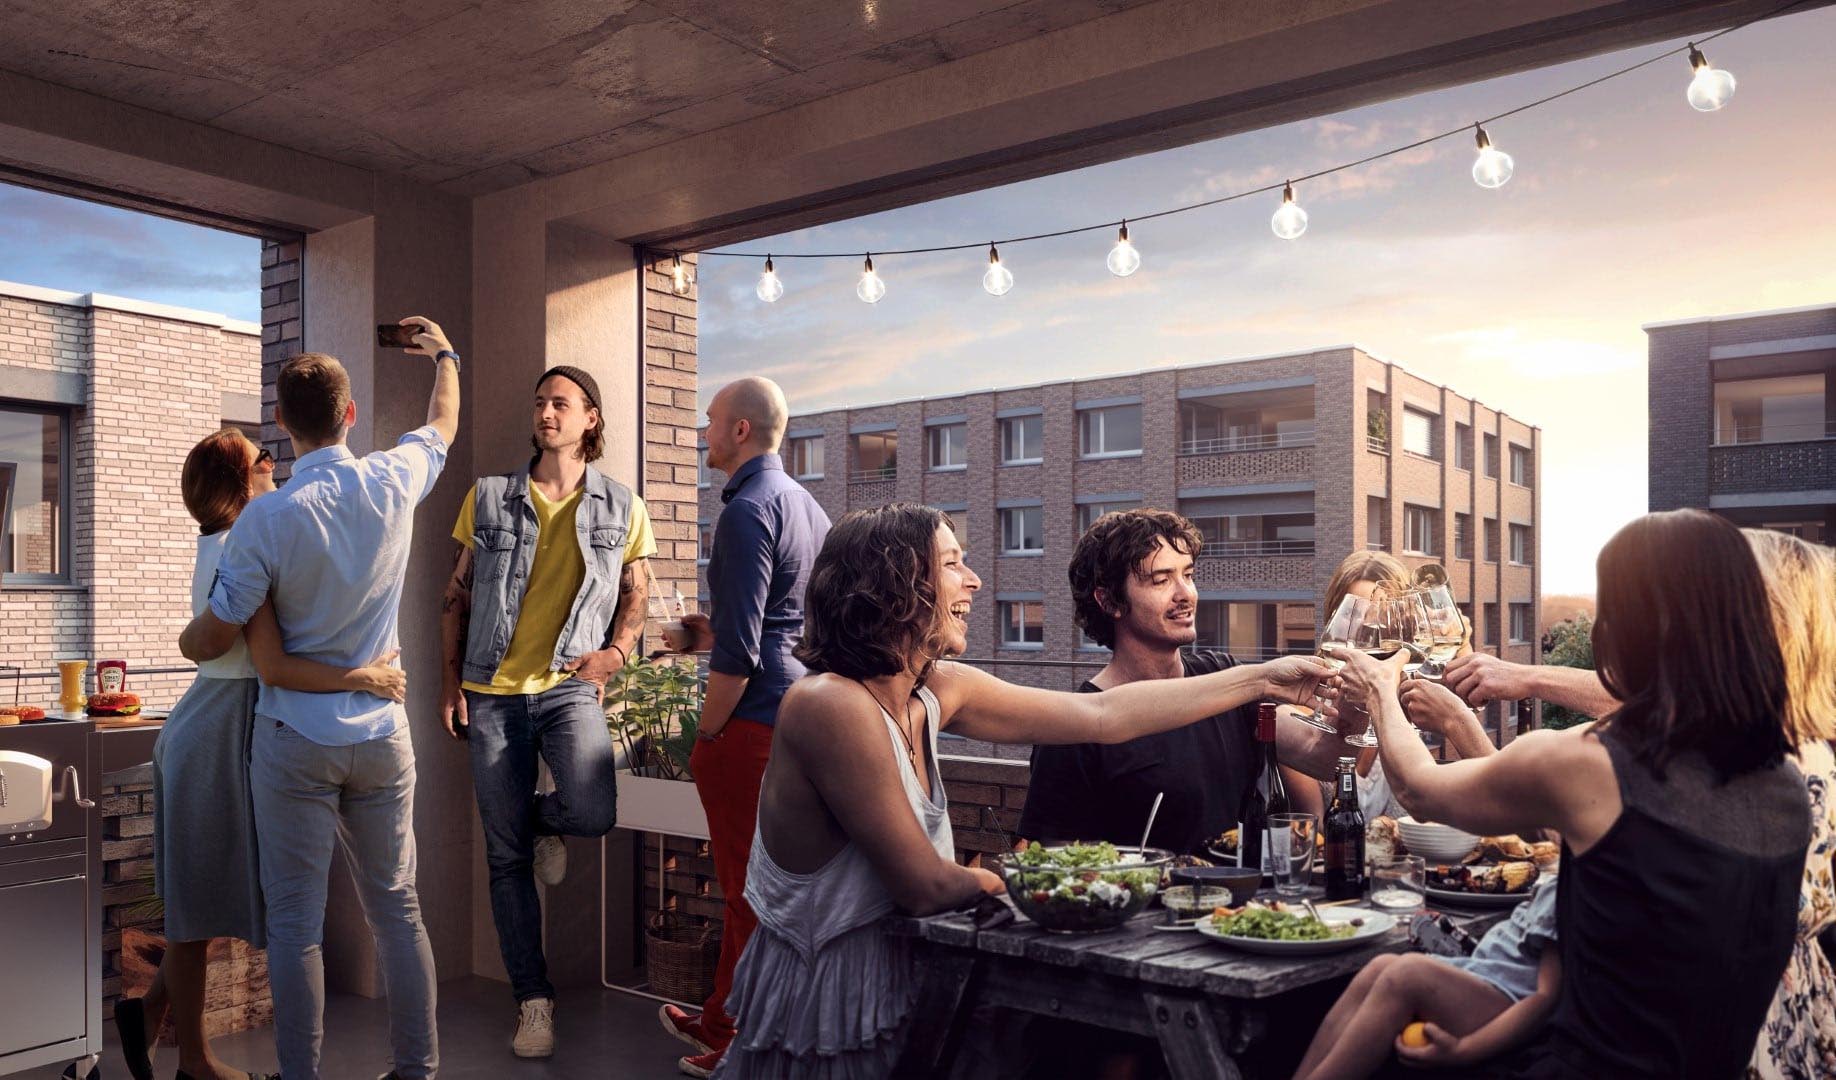
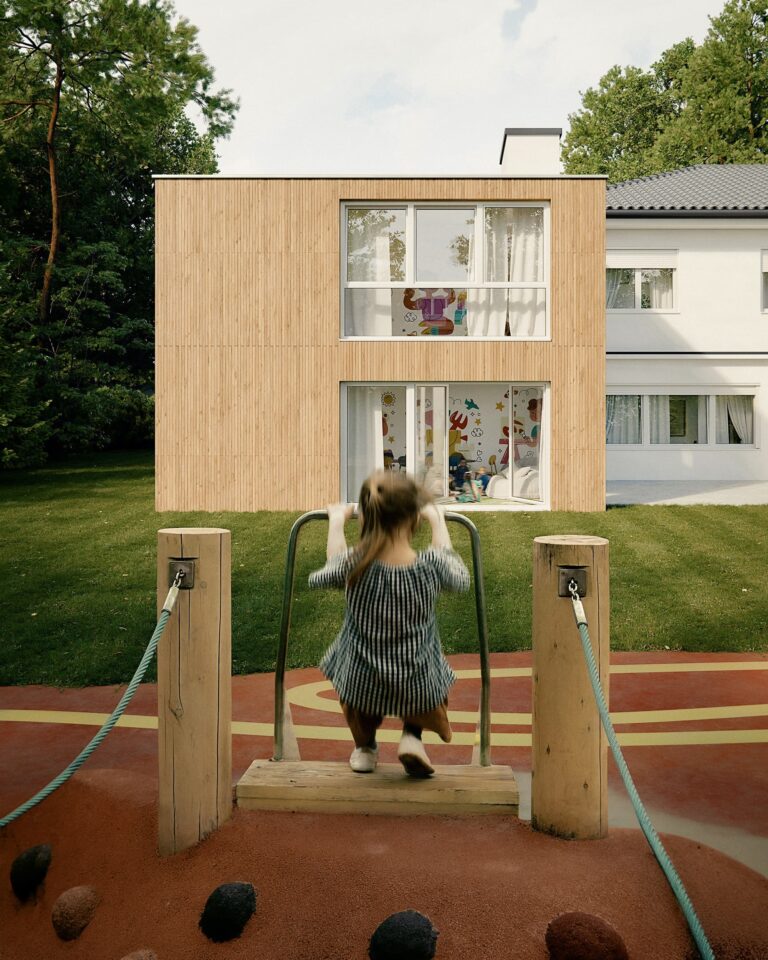
Transforming Archviz with Animated 3D People
A Journey with ActorCore, iClone, and Blender! Artur Szóstakowski, a CG artist and architect, uses ActorCore, a product by Reallusion, to enhance ArchViz projects. Artur’s work, Riverside, showcases how he transitioned from static 3D people to animated ones in his designs.
Ronen at Work
It’s Gen-AI, Baby!
Ronen here from Gen-X saying that we are currently in Generation Alpha, which is damn close to being called Gen-AI if you ask me and see what’s happening online. Crazy, fascinating, scary, mind provoking, unethical, the next evolution. You name it, and you’ll be right.
let’s dive into the rabbit hole – blue pill or red pill?

ArchVIZ Biz
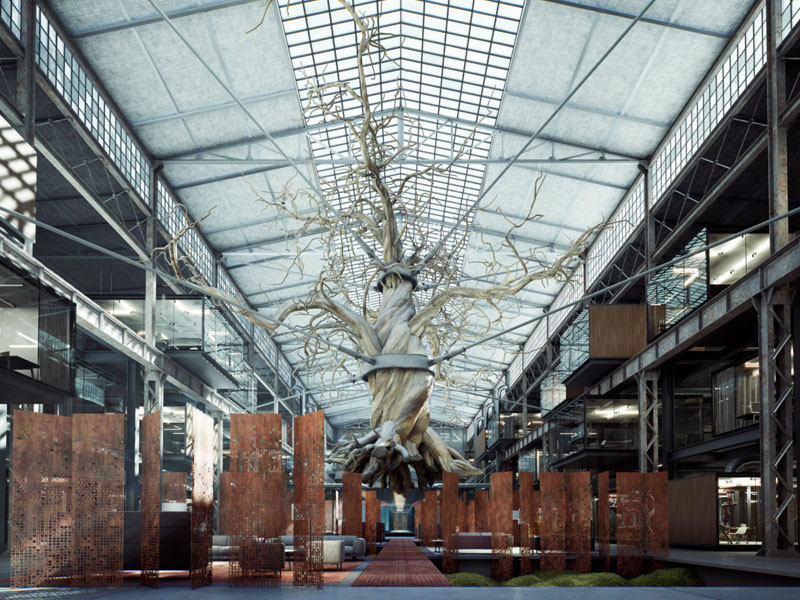
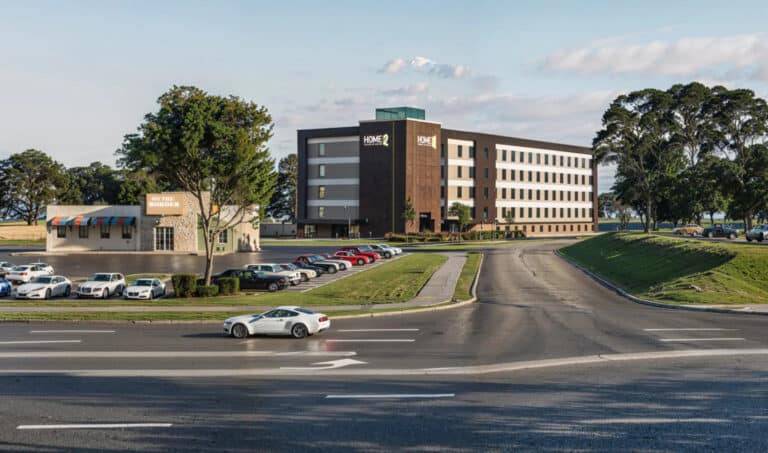
Join Factory Fifteen as Senior Creative Art Director
Factory Fifteen, an acclaimed London-based CGI studio led by Bafta award-winning directors, specializes in visualization, 3D design/animation, and immersive industries. They are seeking a Senior Creative/Art Director to join their expanding team and contribute to their portfolio of award-winning projects. Are you passionate about pushing the boundaries of art and technology and want to work with a dynamic and talented team? In that case, this is an excellent opportunity to join an industry leader.
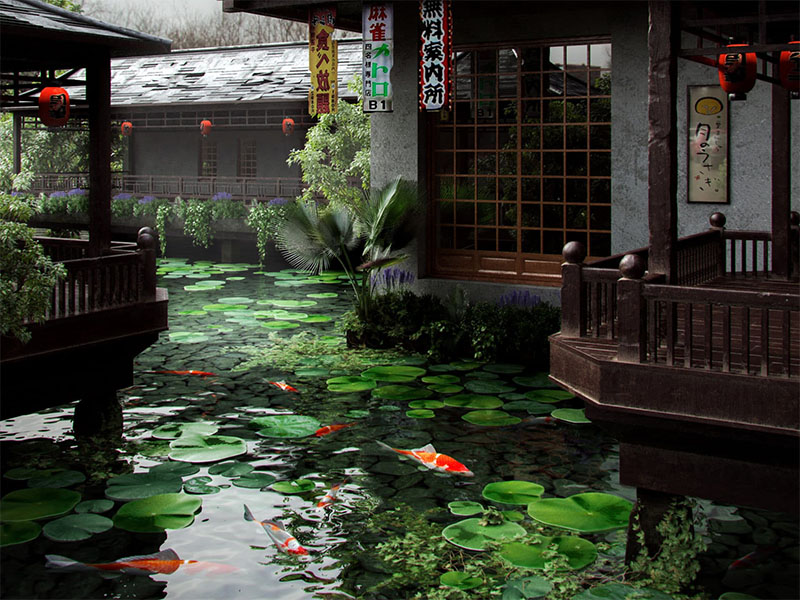
Making-Of
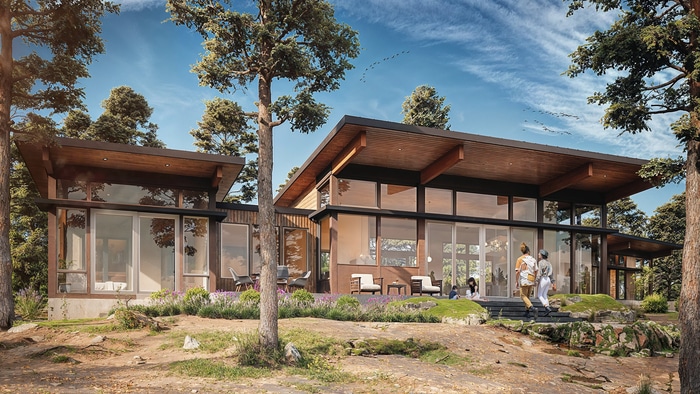
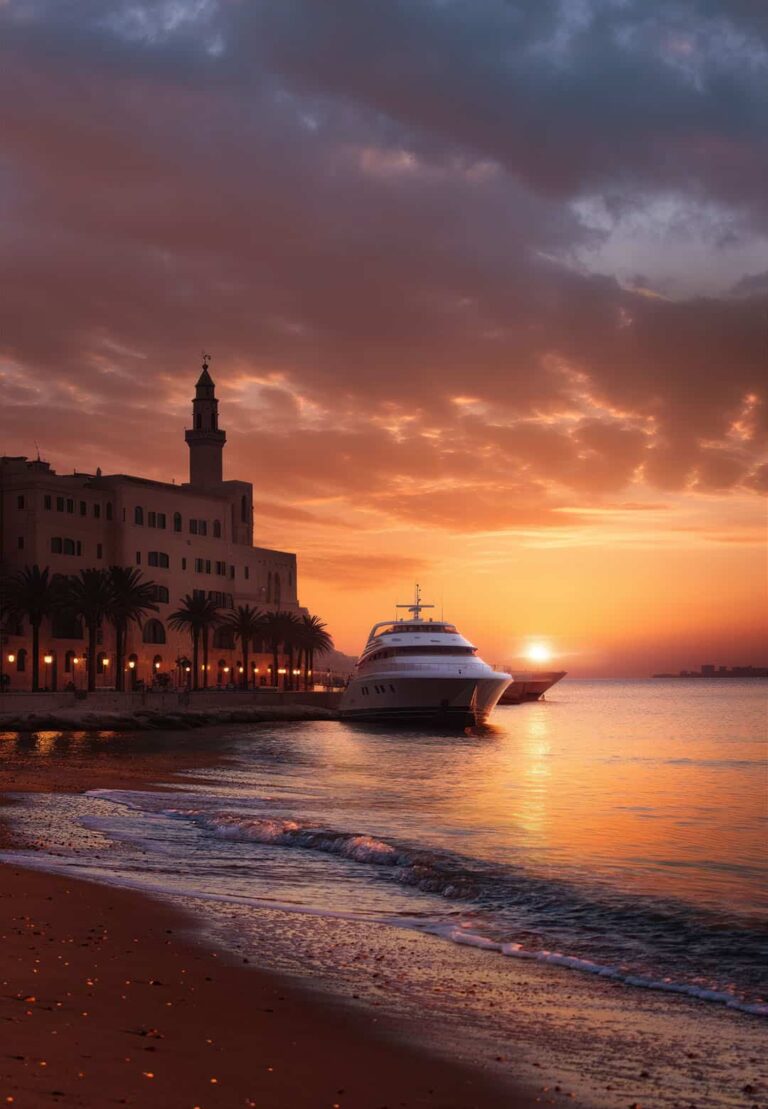
Making of La Casa Nell’erba
Discover the secrets behind creating a stunning architectural visualization project in this in-depth article by Descover Studio. Learn about the gathering and use of reference imagery, the process of 3D world-building, the creation of textures and materials, the importance of lighting methods, and the post-production workflow used to achieve a photorealistic result.
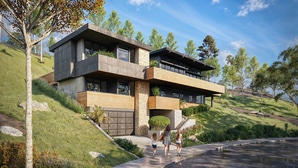
Case Study
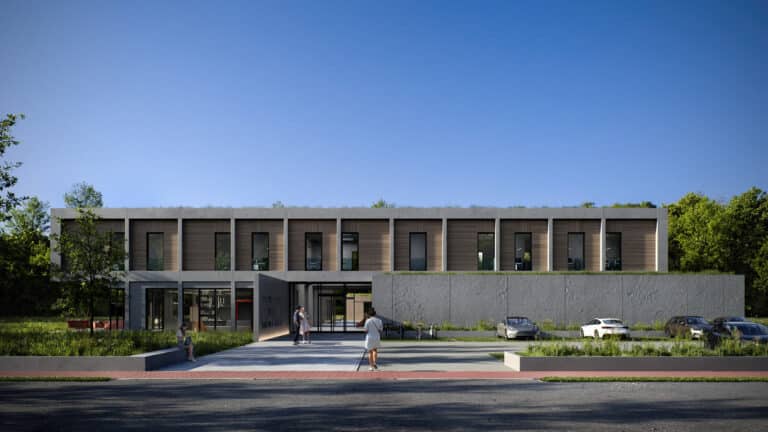
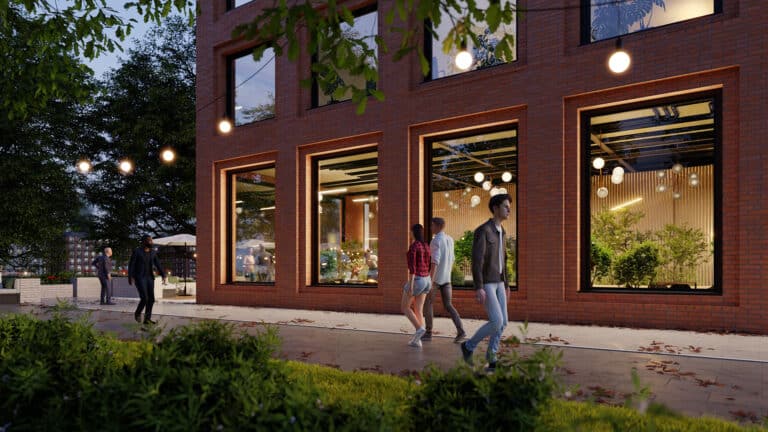
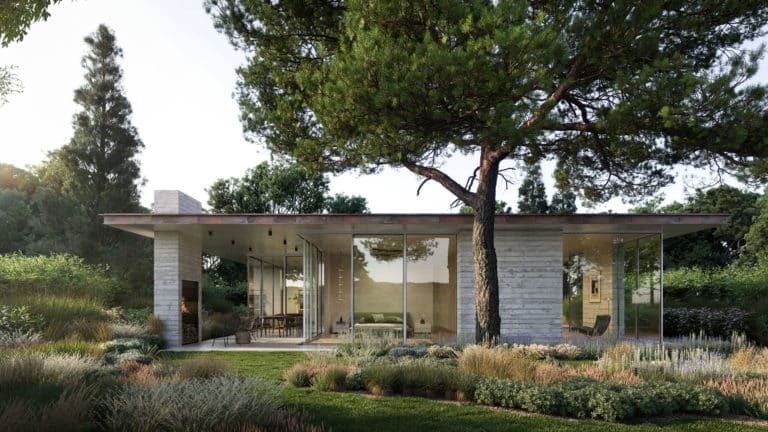
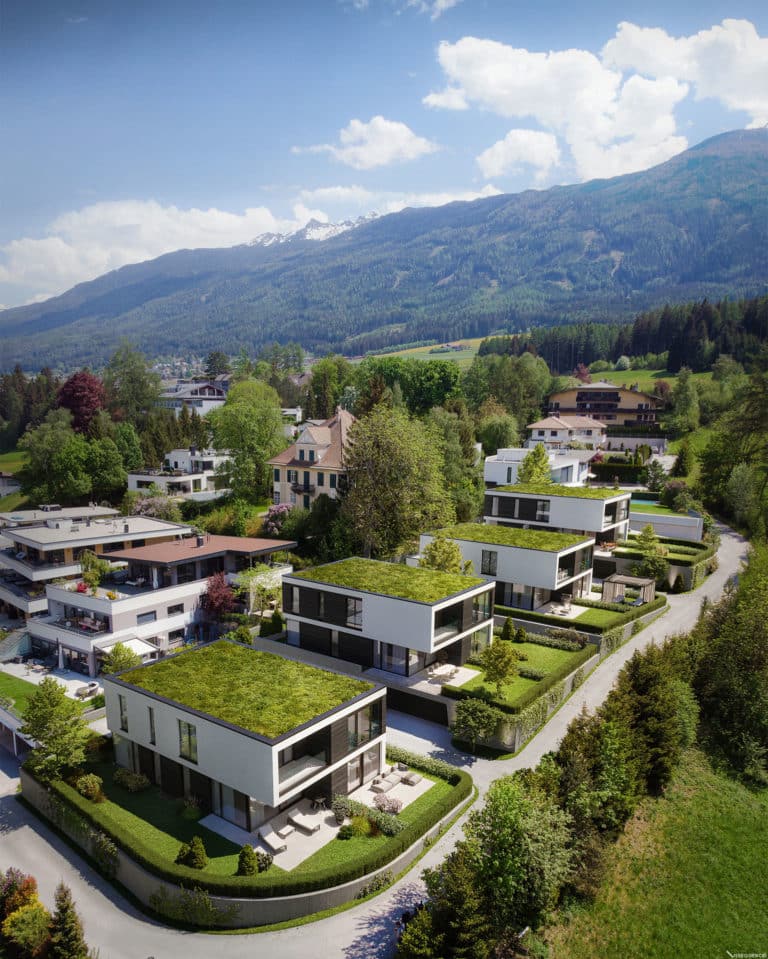
Somewhere in the Alps
Showcasing a commissioned project by Studio Visequence for Moser Wohnbau & Immobilien in Lans, Austria. The project aims to create a unique blend of comfortable living spaces and nature, highlighted by attention to detail and modern architectural elements and natural influences. The final product is a one-of-a-kind residential development captured in detailed 3D renderings created with industry tools such as 3ds Max, Corona Renderer, Forest Pack, and Photoshop. In this article, we look at the creative process and the tools used to bring this project to life.