Making of by Arthur Neveu

Les Davids
Winery

A simple scene and simple composition and yet so striking as an image. Follow Arthur Neveu as he describes his two-day process making of Les Davids Winery visualization.
Reading time: 5 min 9 sec
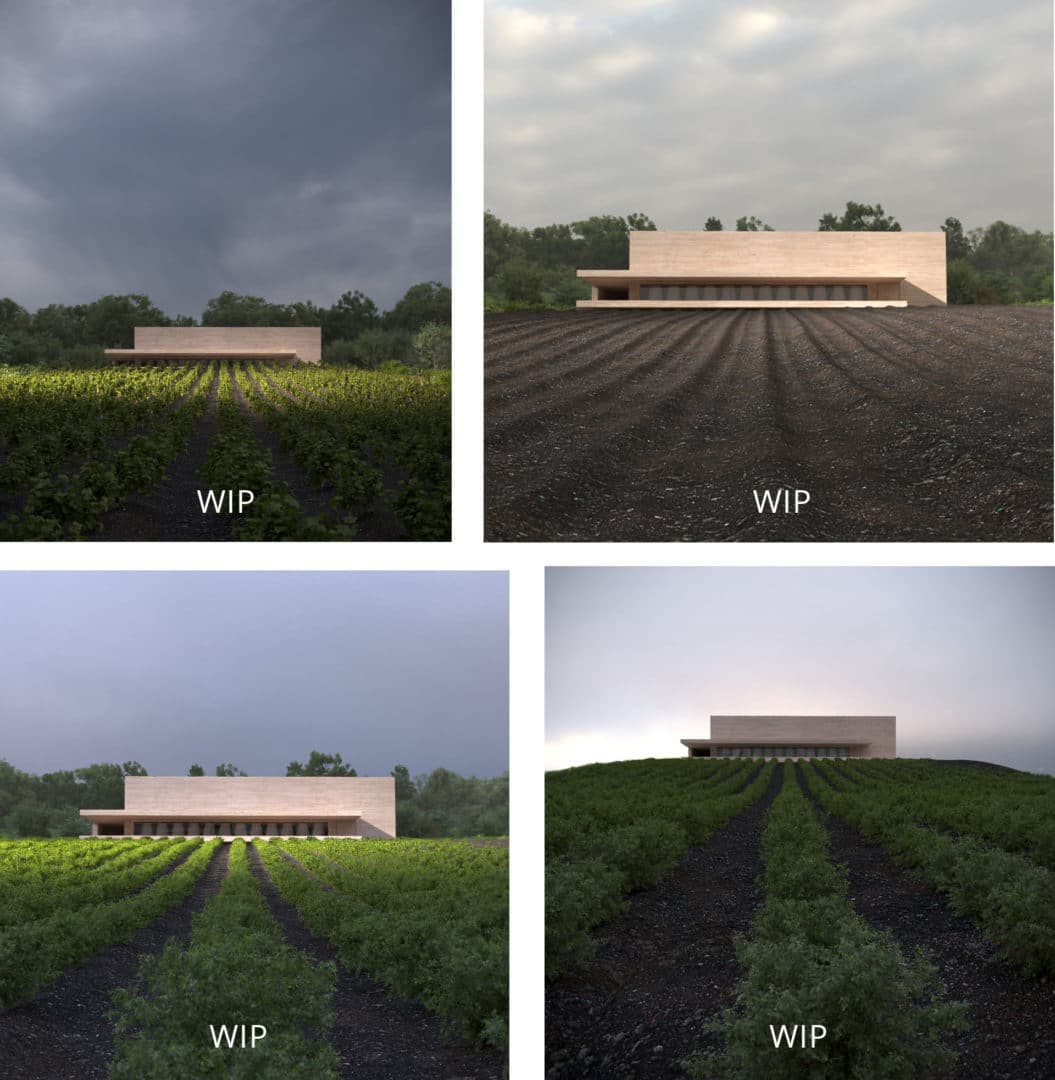
" I am thrilled to have been invited to present my work here. I enjoyed working on the landscape and architecture of this French winery, and it is with pleasure that I pass on the steps of my workflow to you. "

Introduction

The scene is technically straightforward. Simplicity is also what often characterizes my way of approaching an image. I like to work on capturing the gaze by placing art before technique. I devoted only two days to this scene.

Day one for artistic research, and a day two for 3D manipulation and rendering with 3DS Max and Corona Renderer.

In this logic of simplicity, I set myself the objective of not having recourse to post-production. The final image is therefore “raw” and Photoshop did not intervene in the workflow.

The production of this image is a personal initiative, and it was not commissioned to me by the architect. I didn’t share the picture with him until I finished it. I was delighted to receive his compliments after he permitted me to publish it.

The project exists in reality. Below is a selection of photos taken by photographer Frederik Vercruysse for Atelier Marc Barani and published on ArchDaily.

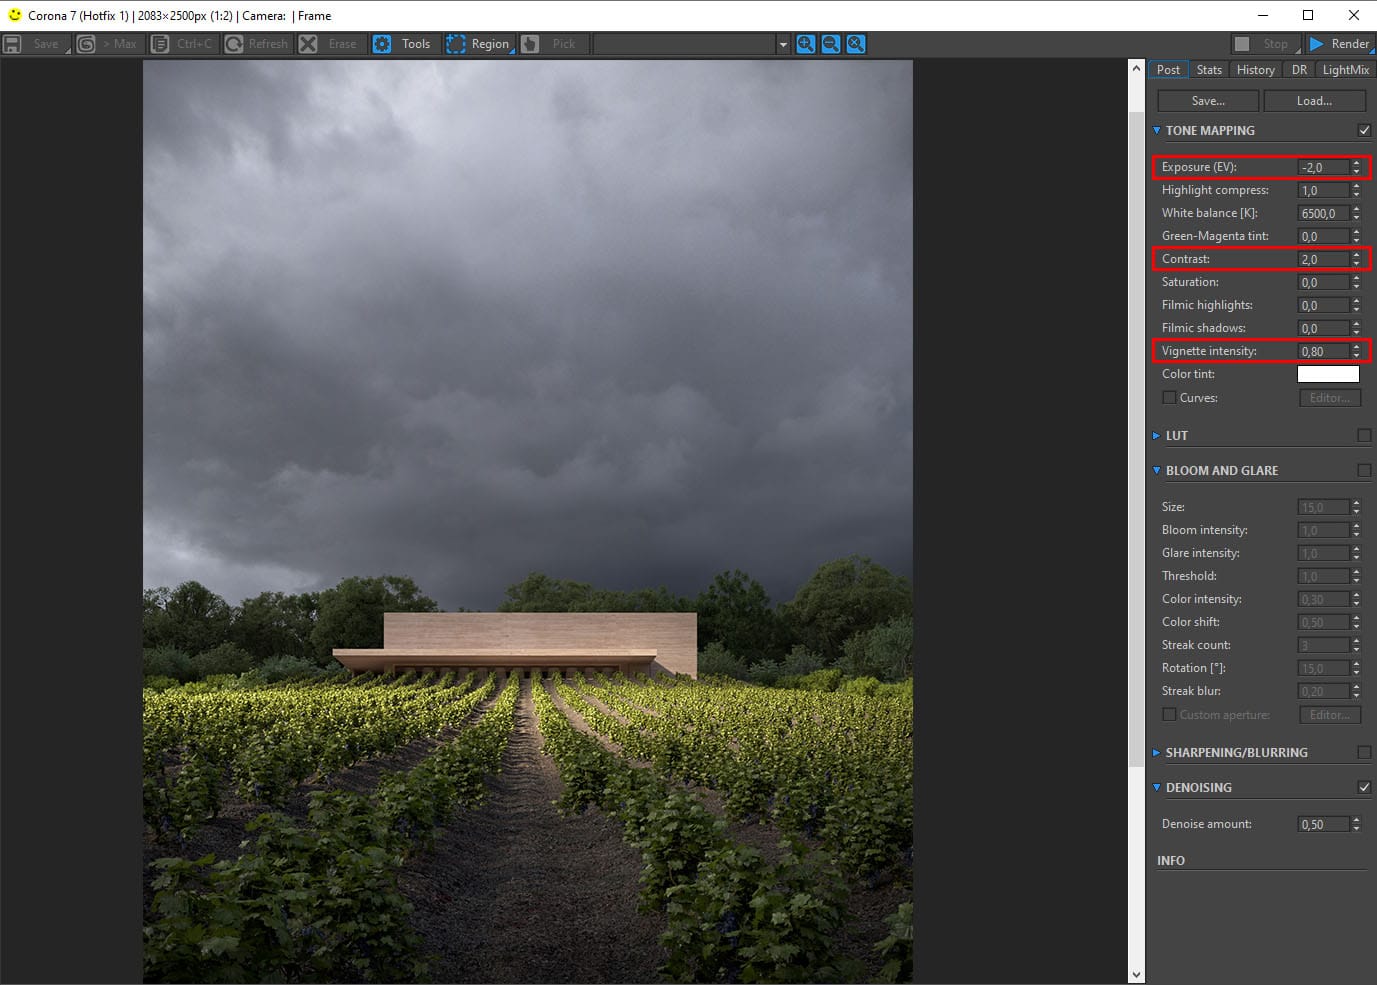
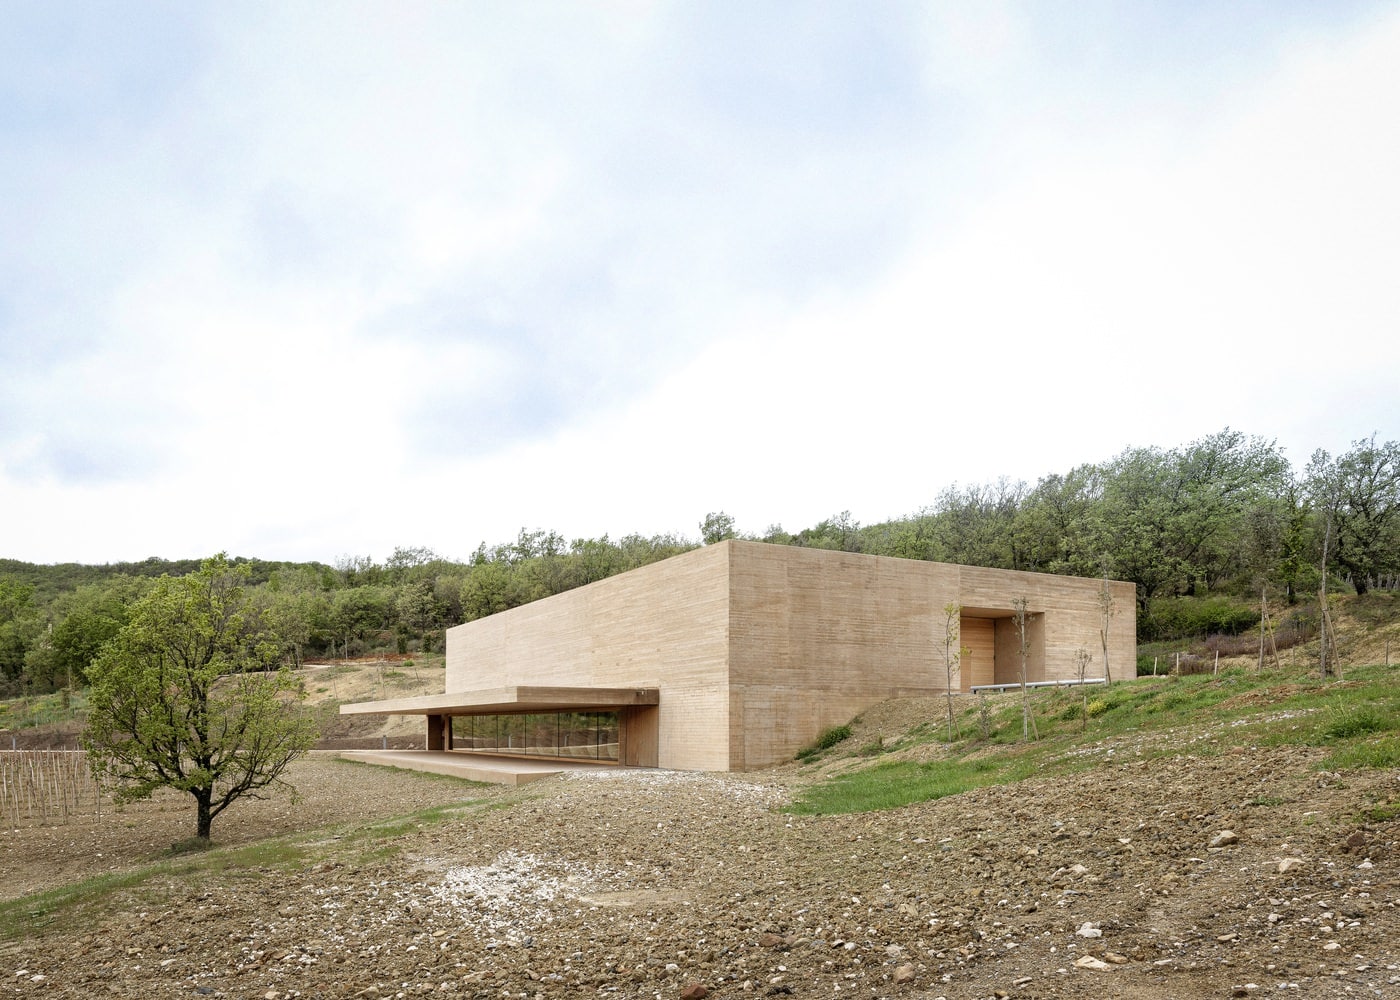
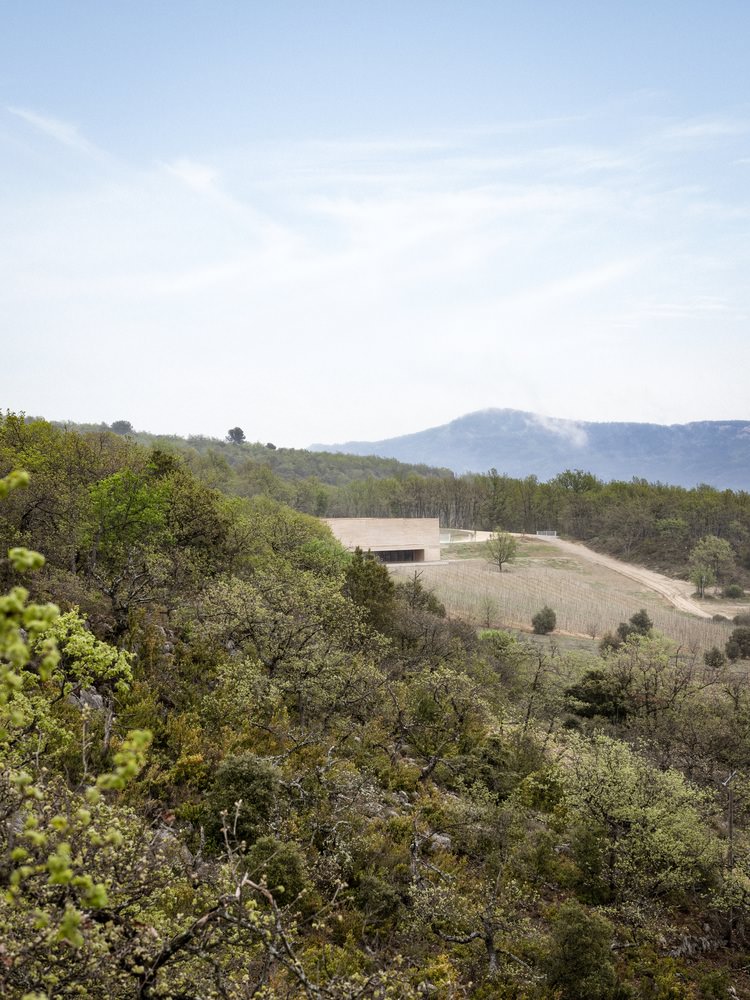
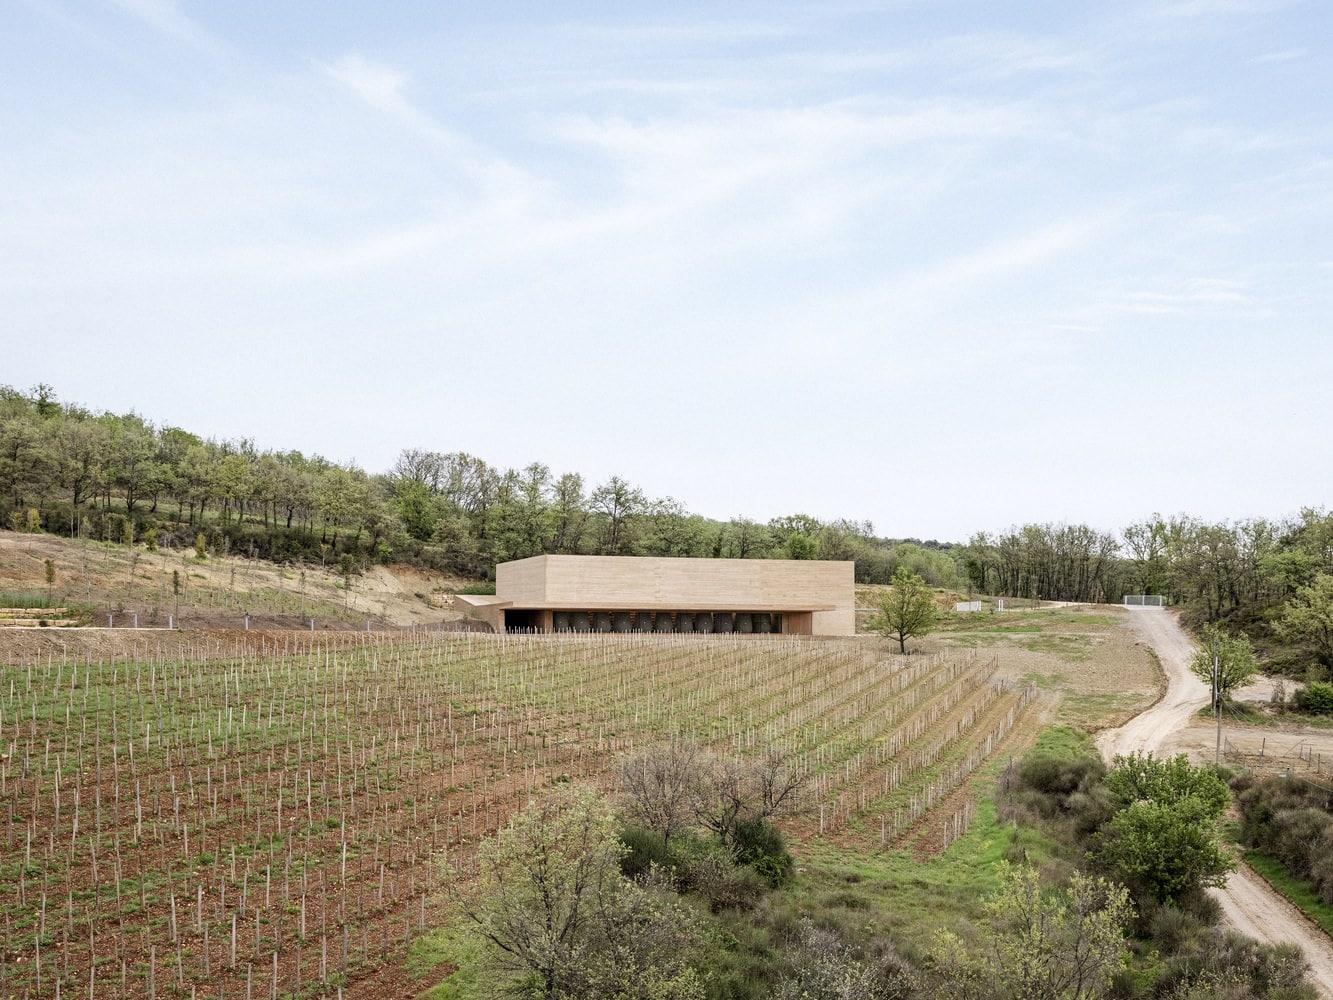
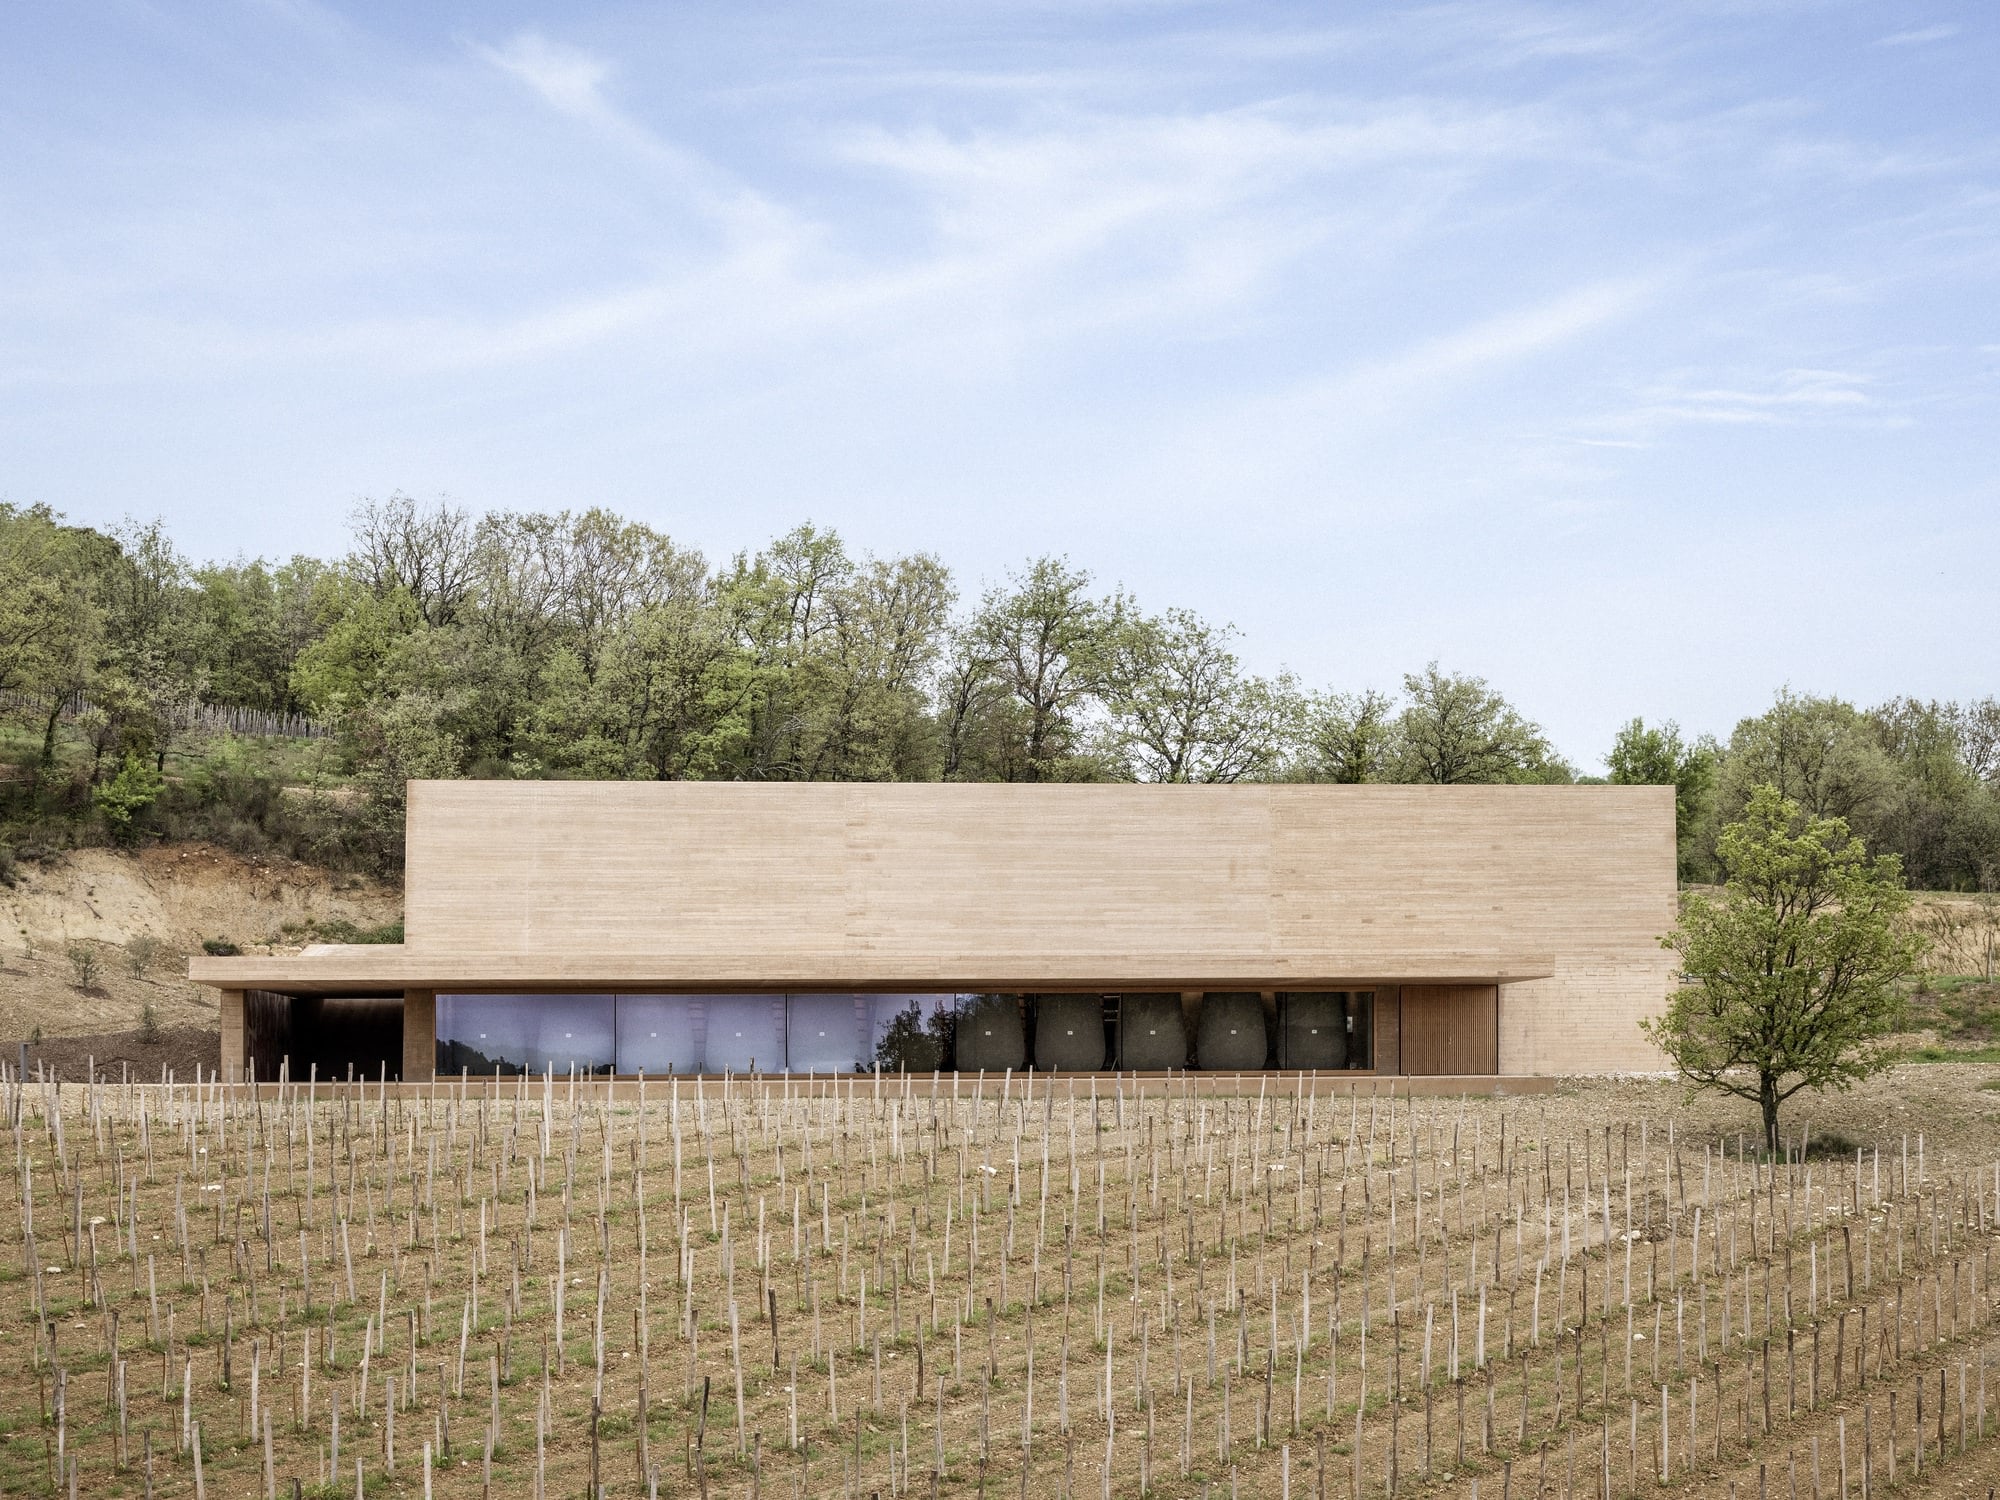
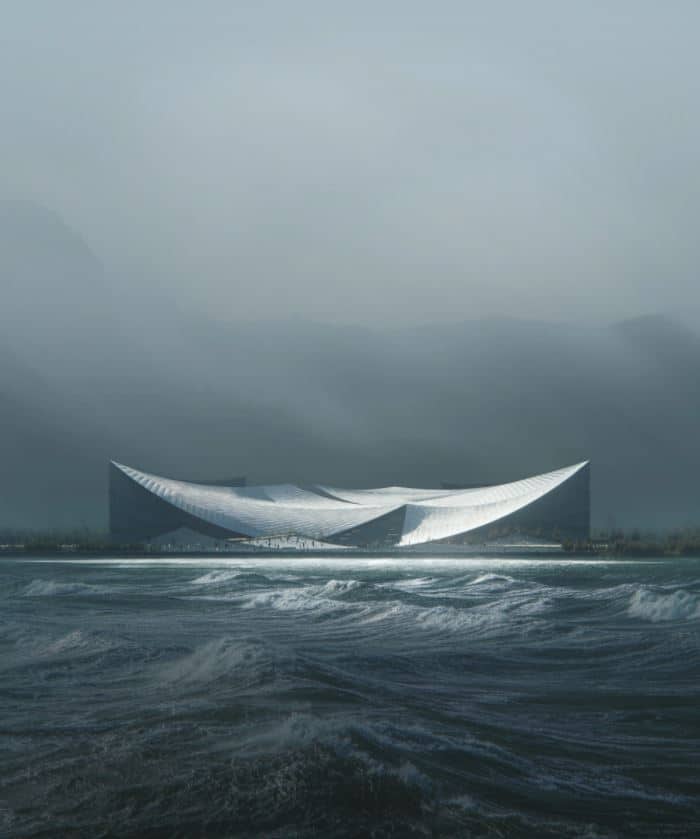
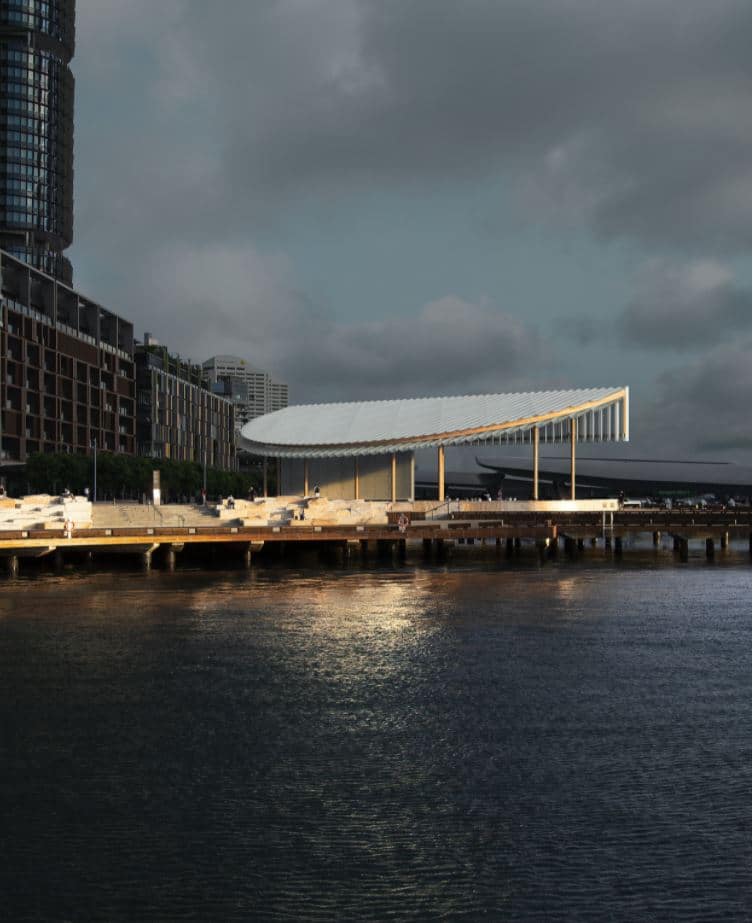
" Marc Barani designed a winery that combines a gravitational process of winemaking with a form of architecture that is integrated into the landscape so that it seems to be a natural element. As well as the rooms for receiving the harvested grapes and blending, maturing, and bottling the wine, the winery also includes a shop and tasting room, which just opened to the public. "
Atelier Marc Barani
Architecture Office

Table of Contents

Gathering References

I have always been fascinated by the richness of the sky. I particularly appreciate the atmosphere between light and shade. These two images below, one by MIR and the other by SORA, motivated my first ideas.

A dark and overcast sky leaves a small opening to the sun so that it comes to meet the architecture. Only the building is highlighted while the rest of the scene remains in the shadows. The vertical framing of these references encourages the observer to scan the image bottom-up while expressing the place of the building between sky and earth.

Composition

As introduced previously, I wanted the image’s visual impact to depend above all on the light and the framing. Interestingly, the sky chosen for the final image is rich in nuance, almost uniformly dark with a brightening upwards, thus helping the gaze move there and recall the idea of the breakthrough of light. I have done several tests with different HDRIs. All HDRIs tested are from HDRI Haven.

All HDRIs tested are from HDRI Haven. Interestingly, the sky chosen for the final image is rich in nuance, almost uniformly dark with a brightening upwards, thus helping the gaze move there and recall the idea of the breakthrough of light. I thanked the author of this HDRI for his work.

The scene is not lit only by this HDRI. The addition of a spotlight allowed the effect of a breakthrough of the sun—more details in the “lighting” part.

I found the vertical framing of the image was all that more important because of the horizontality of the project. As seen previously with the references, verticality invites the gaze to browse the image from bottom to top. The cap Marc Barani’s building is a strong mark of this horizontality. I made sure that the light came to emphasize it throughout my tests. This cap lines up with the first third of the frame in the composition.

The vines represent a guiding element of the additional gaze in the landscape. In reality, these vines are not perpendicular to the building, but in the image, I chose to align them with the camera to reinforce the symmetry and boost reading from the bottom-up.

3d Modeling

Terrain

The land is made up of 2 parts: the surrounding landscape and the vineyards.

The Trees & Vines

Sixteen models of trees and plants from the MaxTree library were used to dress the landscape. Variations in foliage hue are present by default in each plant, and this is what makes their paramount quality, in my opinion.
Regarding the vine, this is the model of https://www.nouvellemesure-lab.com/. Three variations of shapes are supplied with the model, which helps limit the impression of repetition. The scattering tool used is the CoronaScatter. I find it easy to use and quick to access. The vines are repeated on splines along with the land strips.
On the other hand, tree scattering is applied on the global terrain, and the boundary is indicated to the CoronaScatter utilizing CoronaDistanceMaps in the “Surface scattering” slot. Given the grazing position of the camera, I did not worry too much about the precision of the contours in plan.

The Building

Not much to add about that. Pretty simple considering all the rest.

Textures & Materials

The Ground

The quality of this material, the basis of which comes from RD-Textures, is relatively broad and suitable for a large surface. It is the only “complex” material on the scene. But it is above all the formidable Corona Renderer UVW Randomizer feature which allows the repetitions to blend over the entire length of the vines. This UVWrandomizer is connected to each map with the “Randomisze Each Tile” functionality, allowing you to make a random mix. It was necessary to increase the “Blending” value to 0.5 to blend the Displacement map better. Thank you, Corona Renderer team, for this handy new feature.

The Facades

This is the most simplistic of materials. Its resolution is 2500×334 pixels, and I took a photograph of the building to map it in 3D. A small passage in Photoshop was necessary to make the map “seamless.” In Corona, only the diffuse and reflection slots are used. I did not consider it worthwhile to work more on this material at this distance from the camera.

The Plants

The MaxTree plant materials are by default well set for most cases. We can nevertheless simplify them to reduce the computation time, especially when they are not in the foreground. Here, I deleted the bump and displacement maps. The final rendering time is reduced, and the interactive render of Corona becomes more fluid.

Lighting

A global and diffused lighting is given by the HDRI (Cedar Bridge 16k from HDRI Haven). The latter is interesting that it does not generate cast shadows. This leaves the freedom to add an independent primary light (the breakthrough of the sun).
I achieved the effect of projecting light onto a small area with a Disk Light. If you want to reproduce this effect, you should make sure to set the “Directionaly” value between approximately 0.7 and 1. You can also play on the size of the disc to vary the shape of the projection.
I tried to ensure that the whole building was lit by emphasizing the edge of the “cap” and leaving the foreground in the shade.

Post Production

I did not do much in Photoshop in this work. It is pretty much a raw rendered image. I used only three parameters of the Corona Renderer VFB. The other values are default.

Final Comments

My goal in this job was to strip my workflow of any superfluous technicality. I decided to make the light and the framing speak before any other concern. It is interesting to note that extensive post-production was not necessary. “The architect writes a story, the graphic designer tells it.” Here architecture spoke of relation to the ground and the sky, materiality, and elementary forms.

Polytown Media LTD

© All Rights Reserved 2022