Making of by Artur Szóstakowski

Aland Islands
House

Aland Islands House immediately captured my attention. It is a Blender-based project that looks super good and showcases both still and animation work done by a very skilled artist and fantastic final results. Worthy of exploring how it was made.

Reading time: 4 min 53 sec
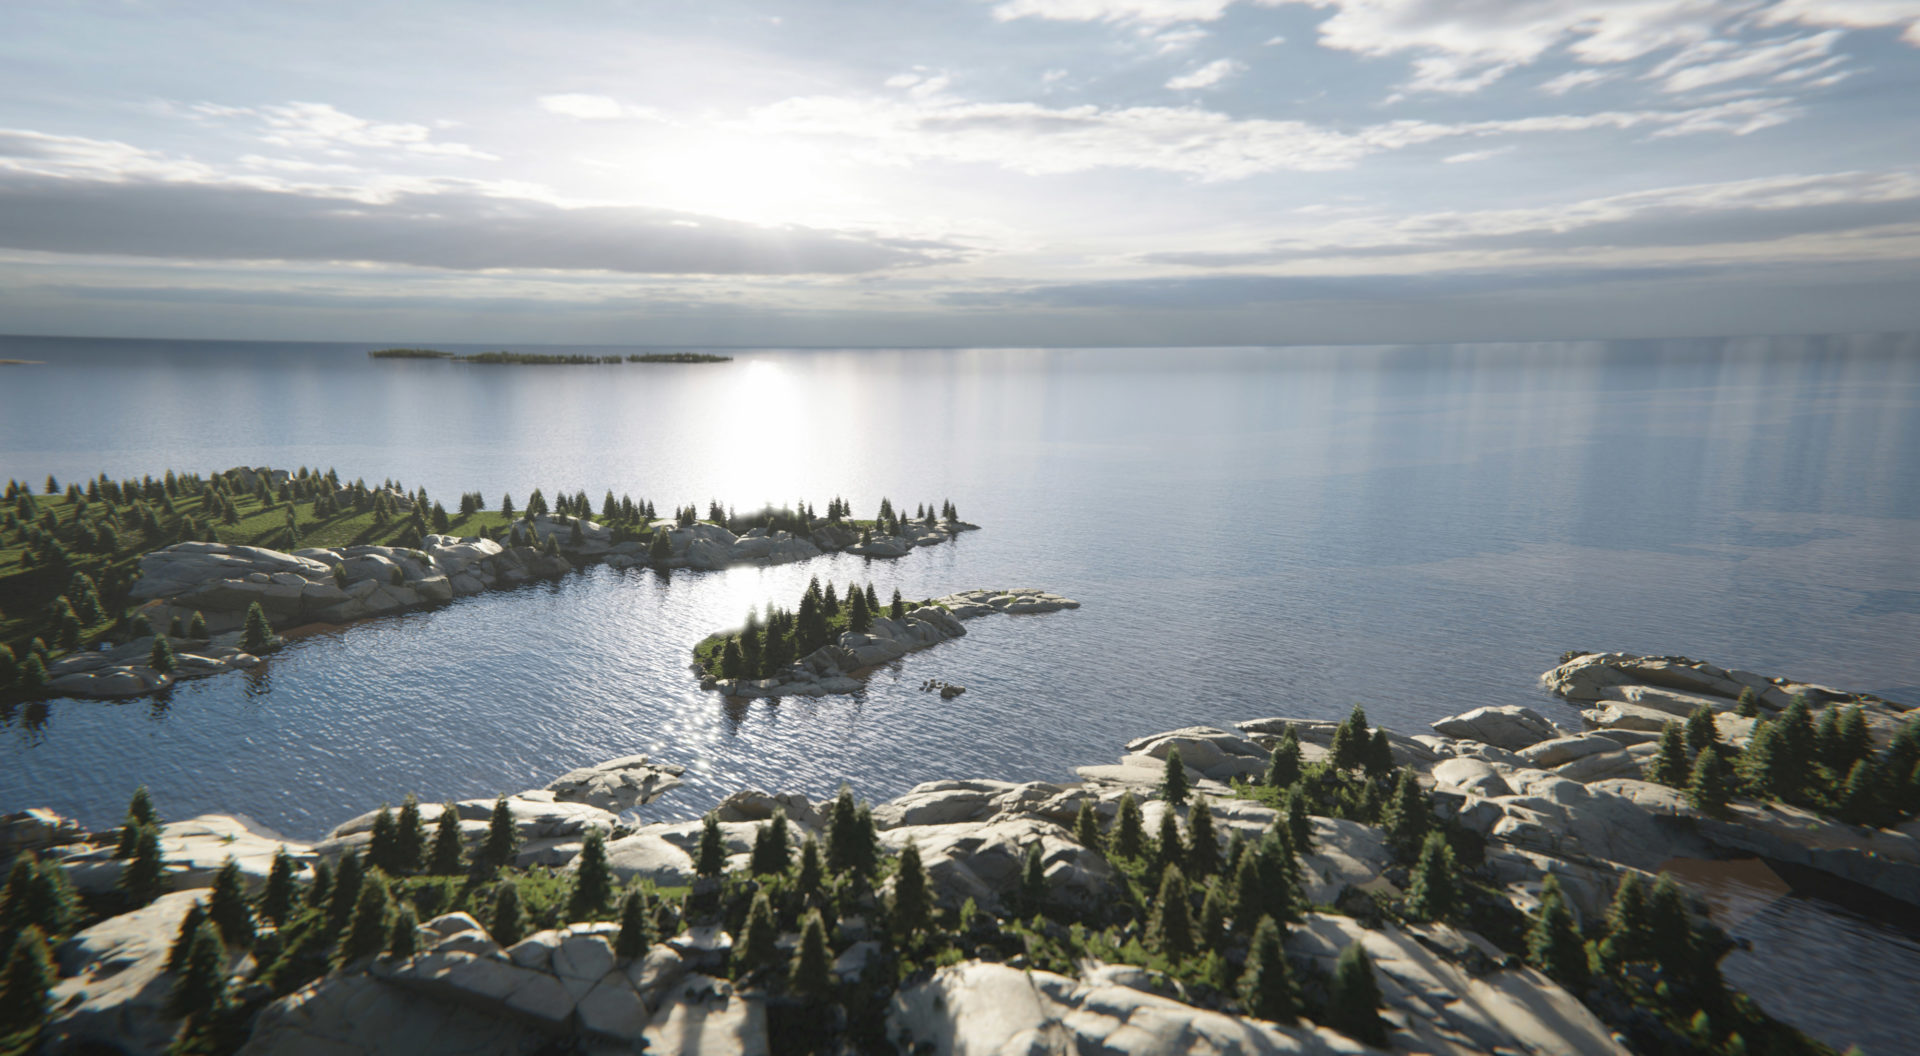
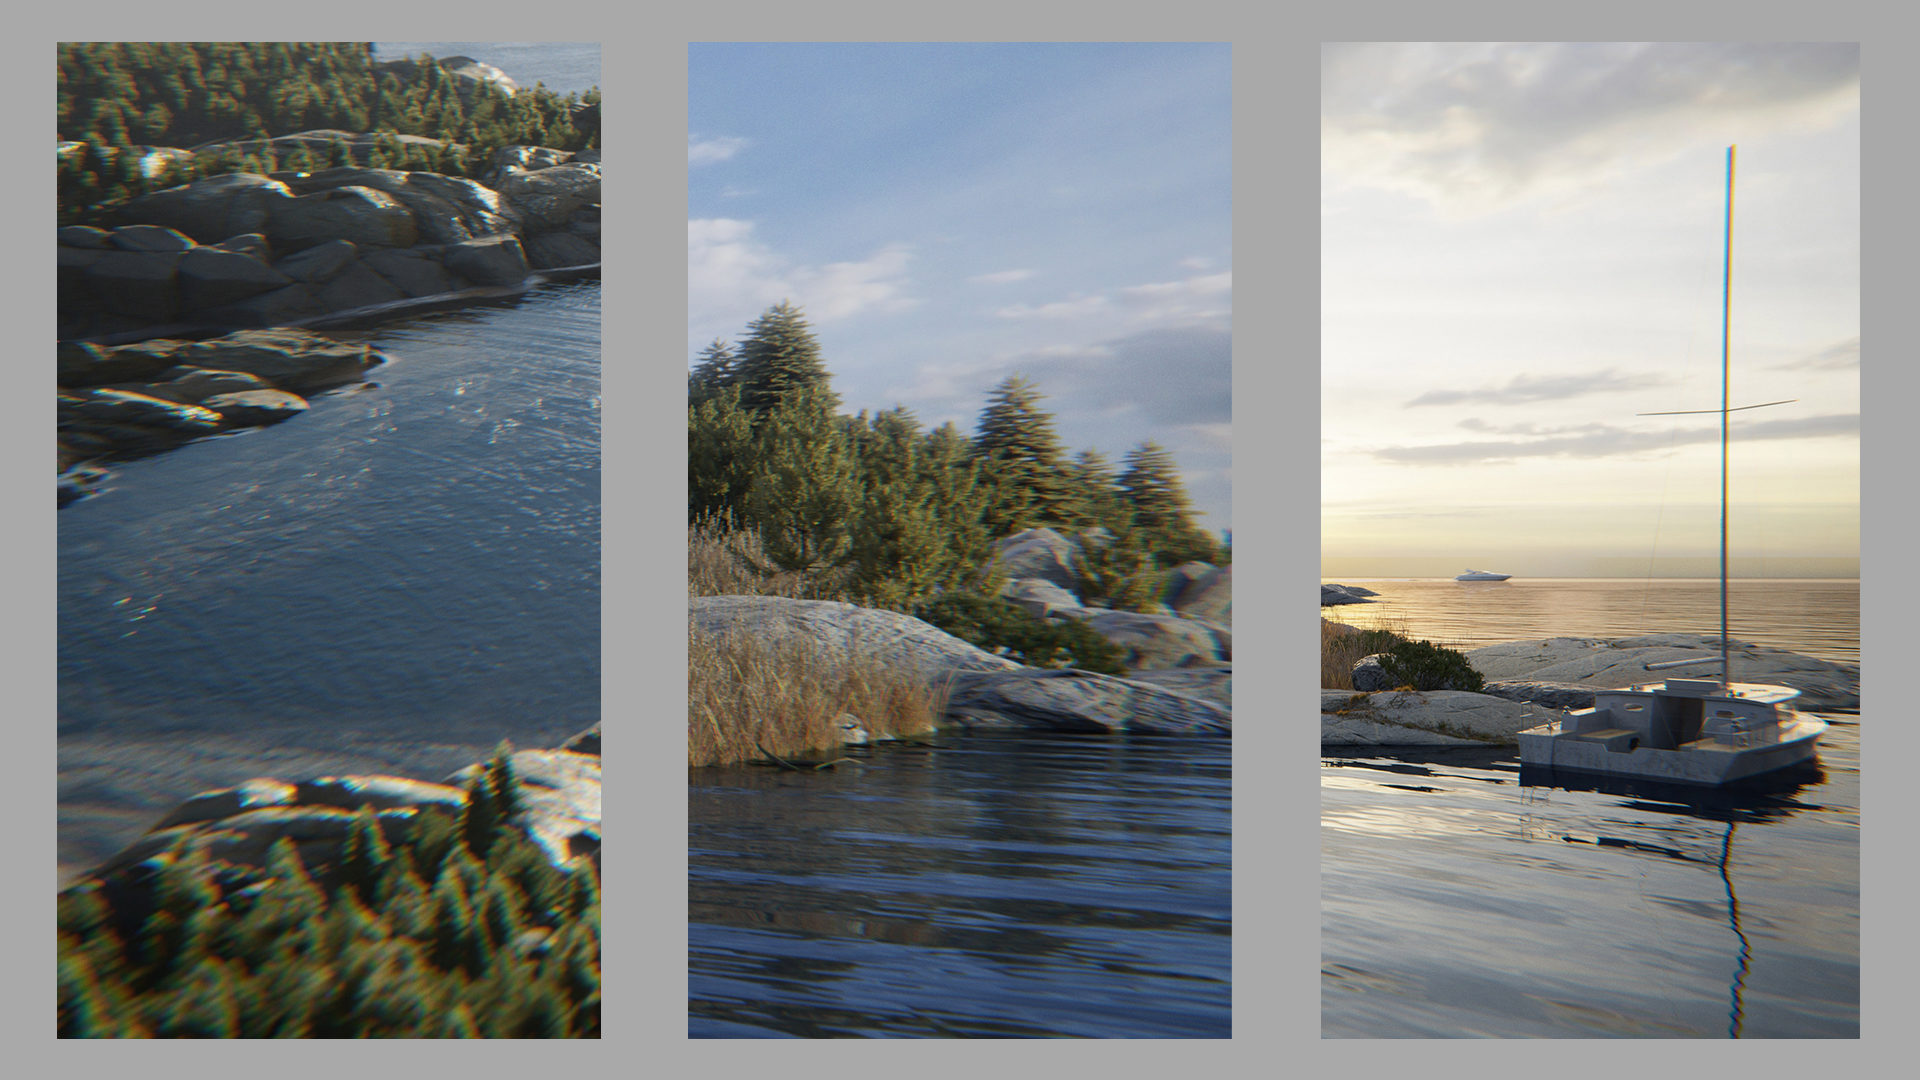
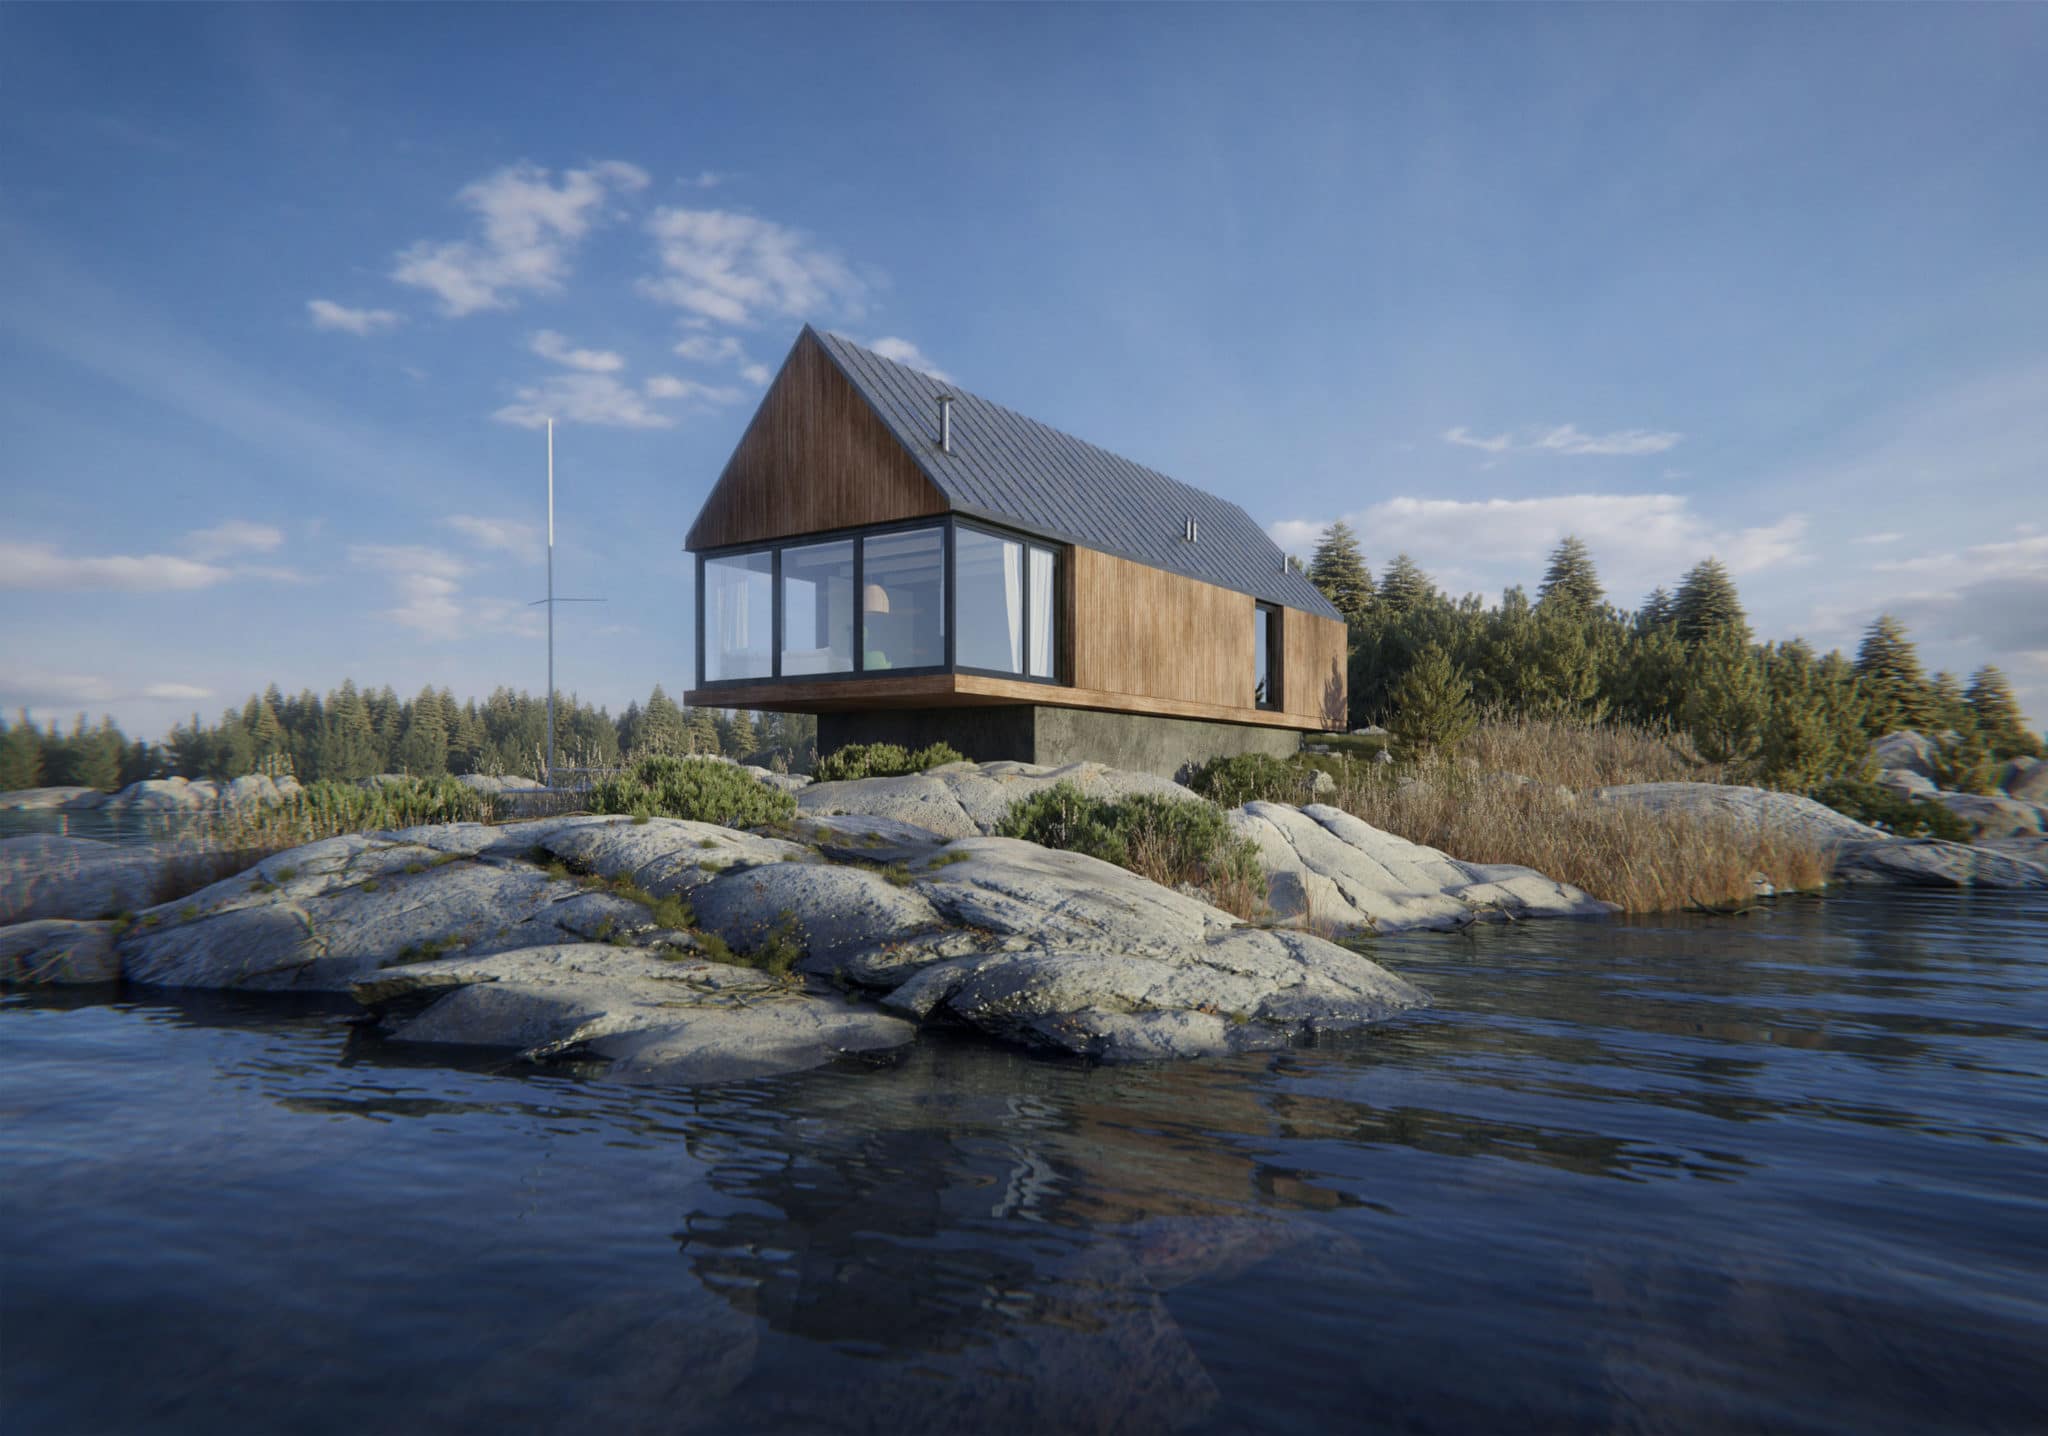
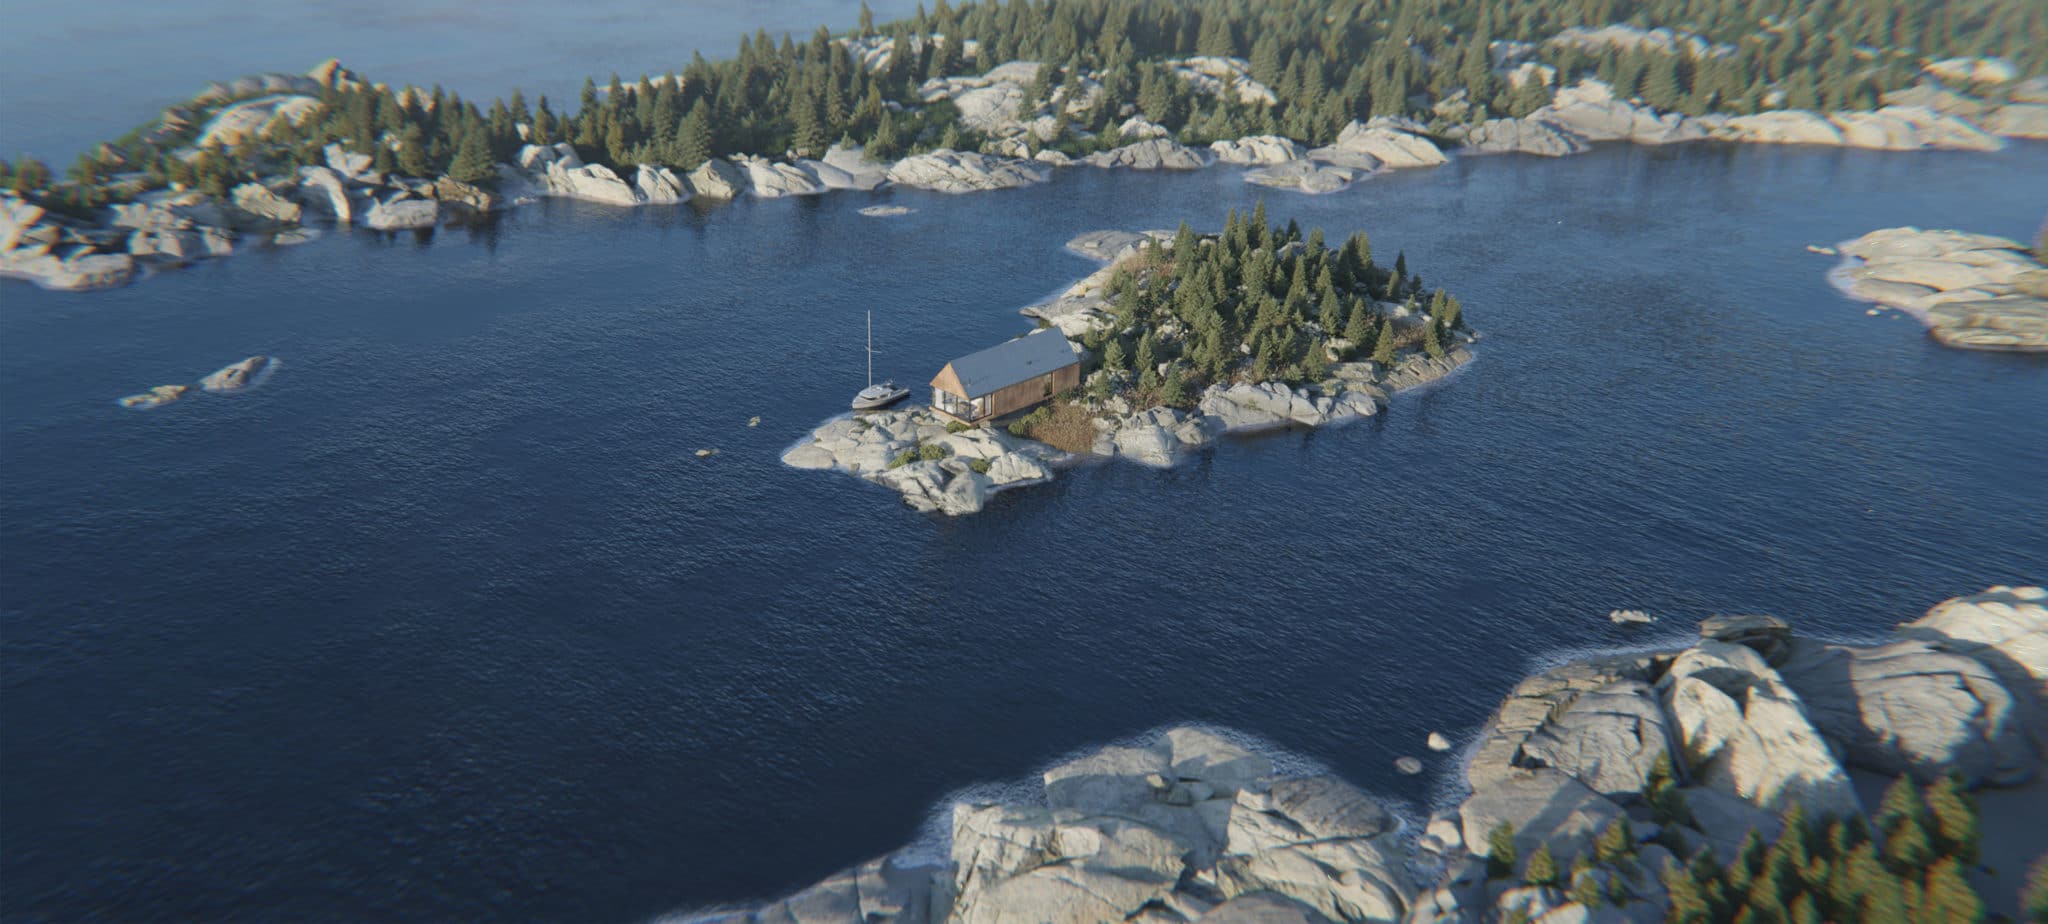
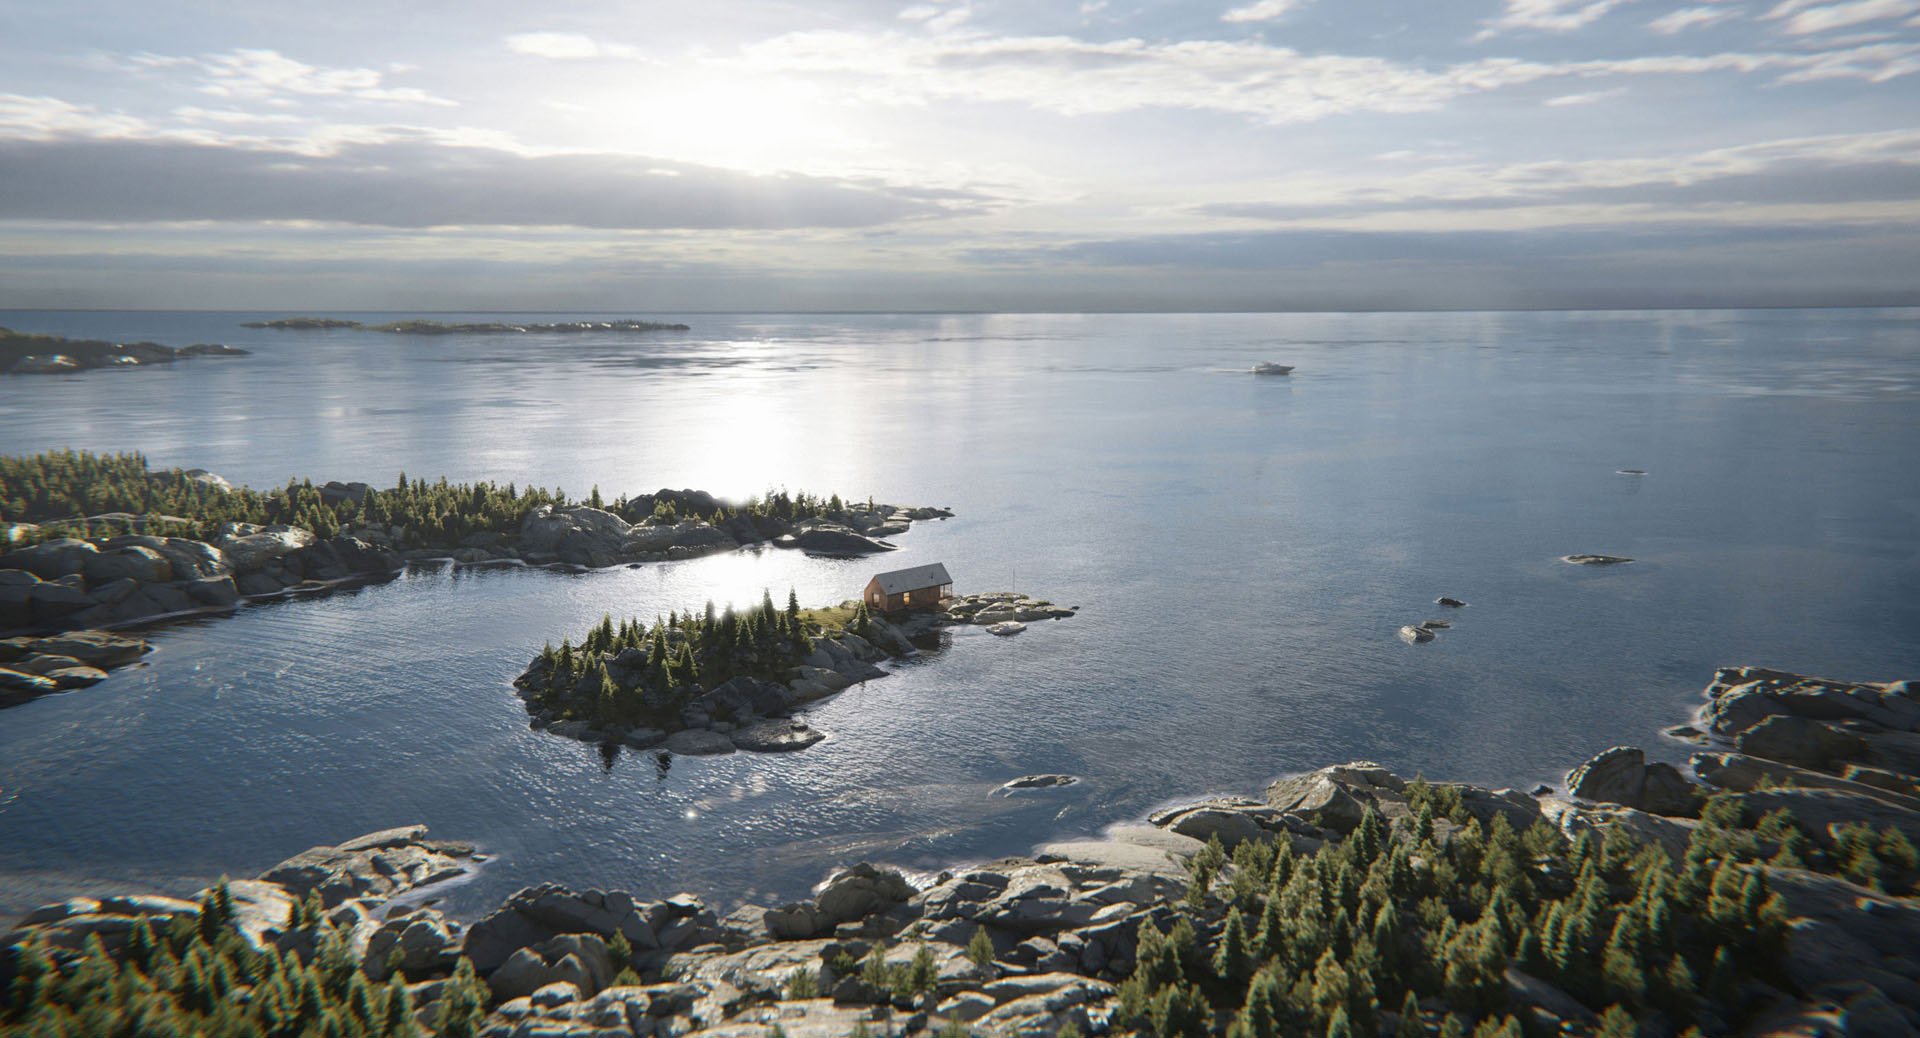
" It is an honor to have the opportunity to present one of my projects on Ronen's Blog. My latest project is a concept of a secluded house on an island. "

Introduction

Aland Islands House is a personal project developed with the intent to work on environmental skills. I created a simple architectural design for this task, and I implemented it into a place I would always dream of visiting one day.

I want to show you what was my strategy for developing this Idea and what I’ve learned throughout the whole process.


Below is the set of still image I’ve produced during this project.

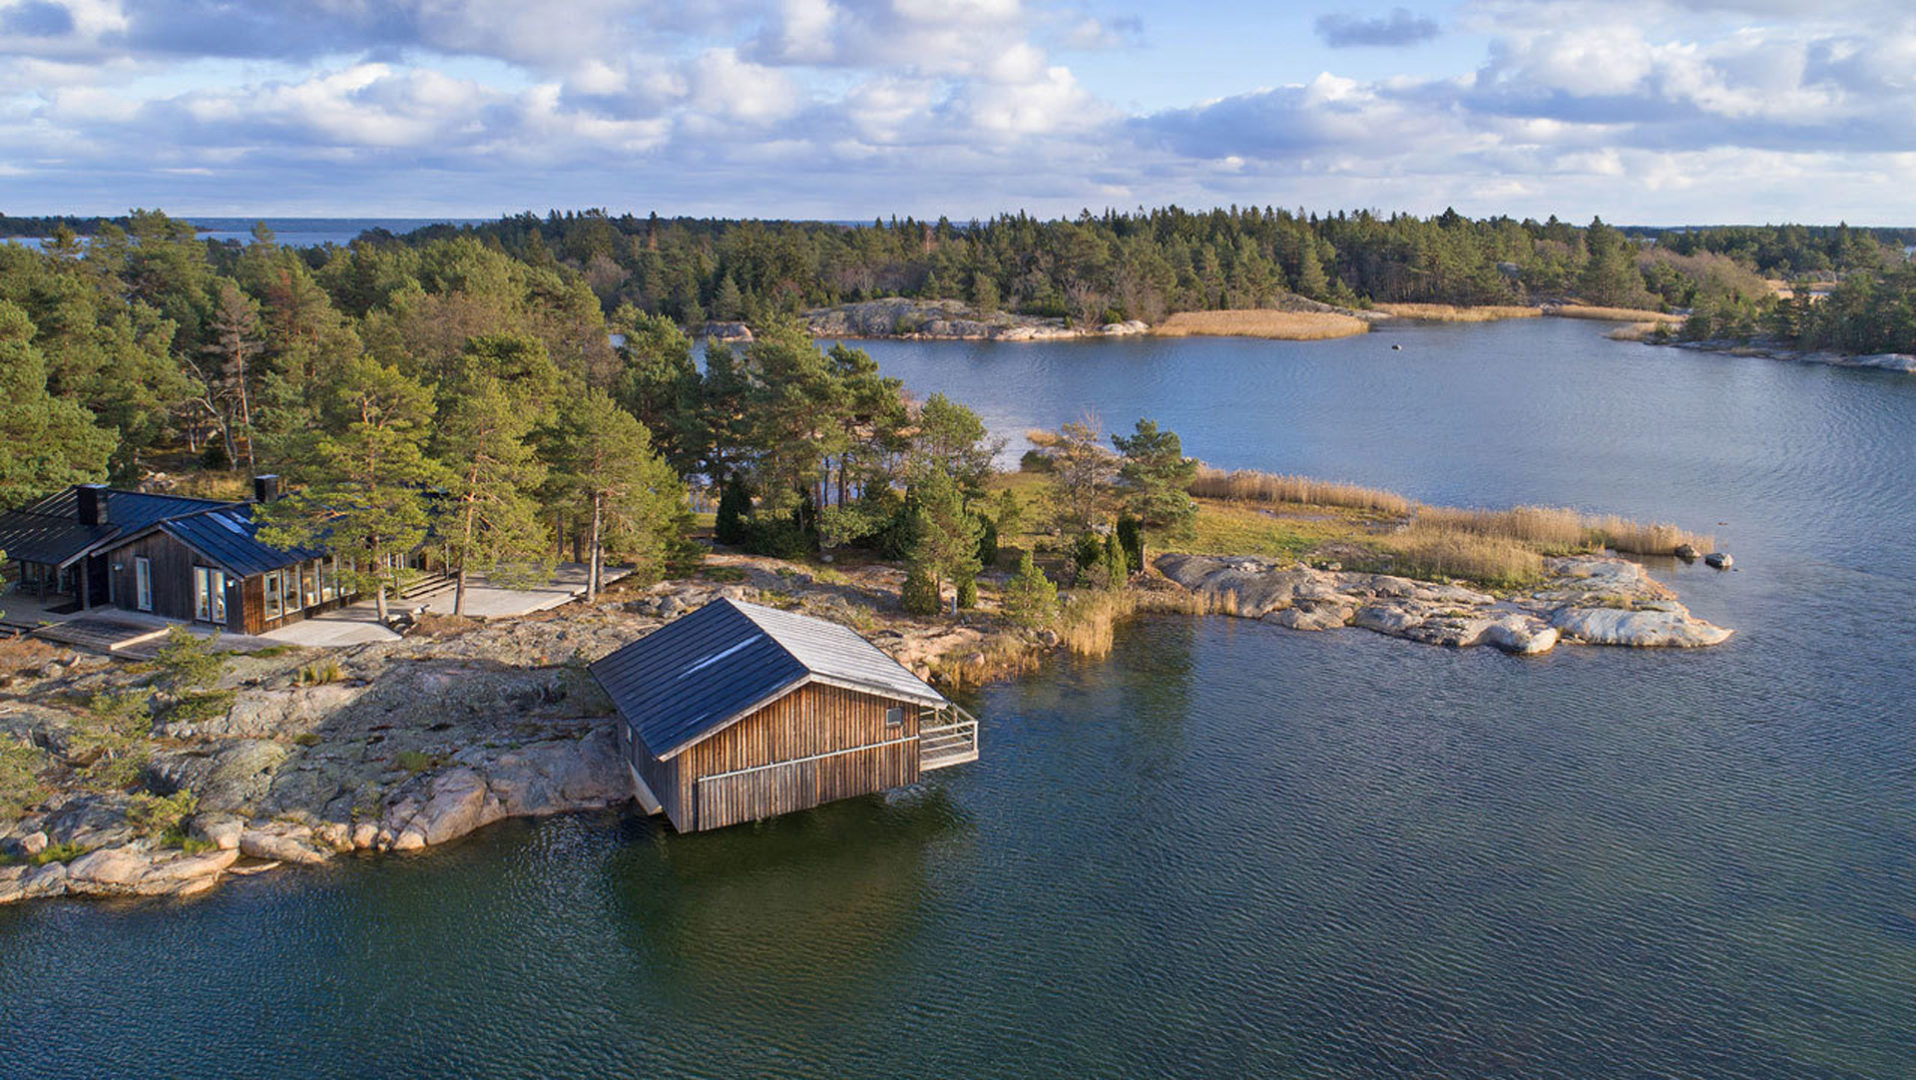
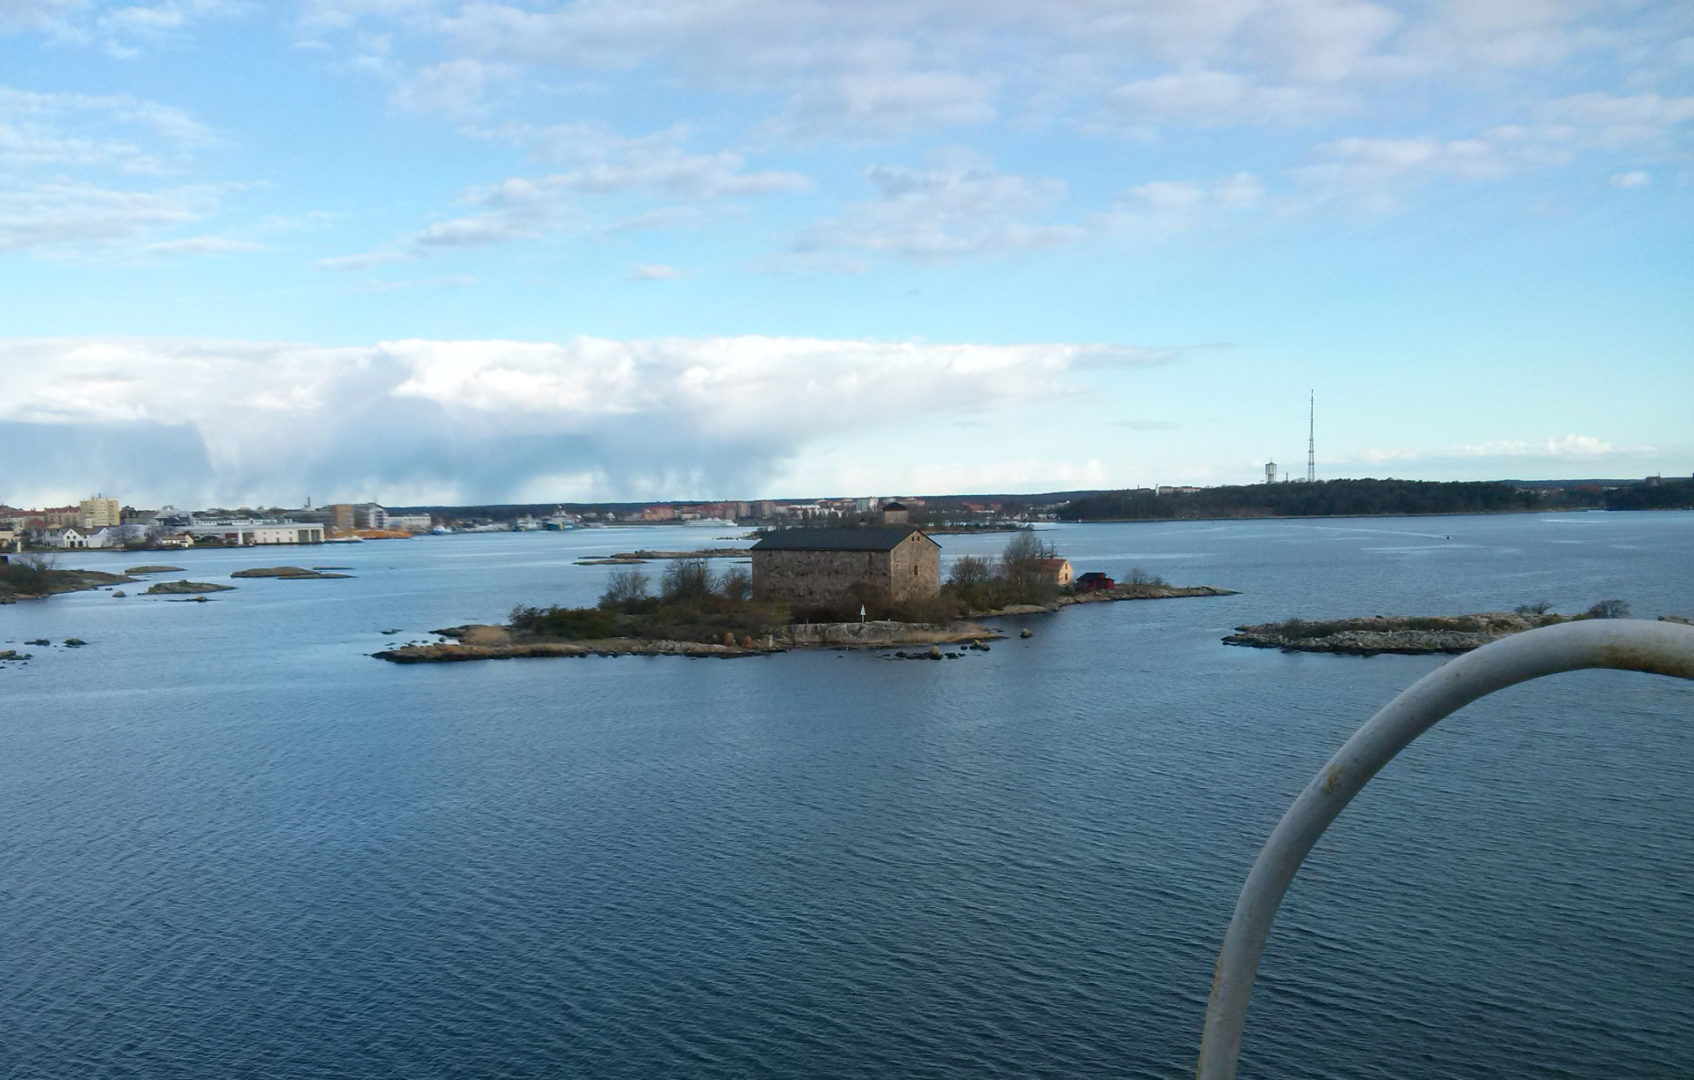
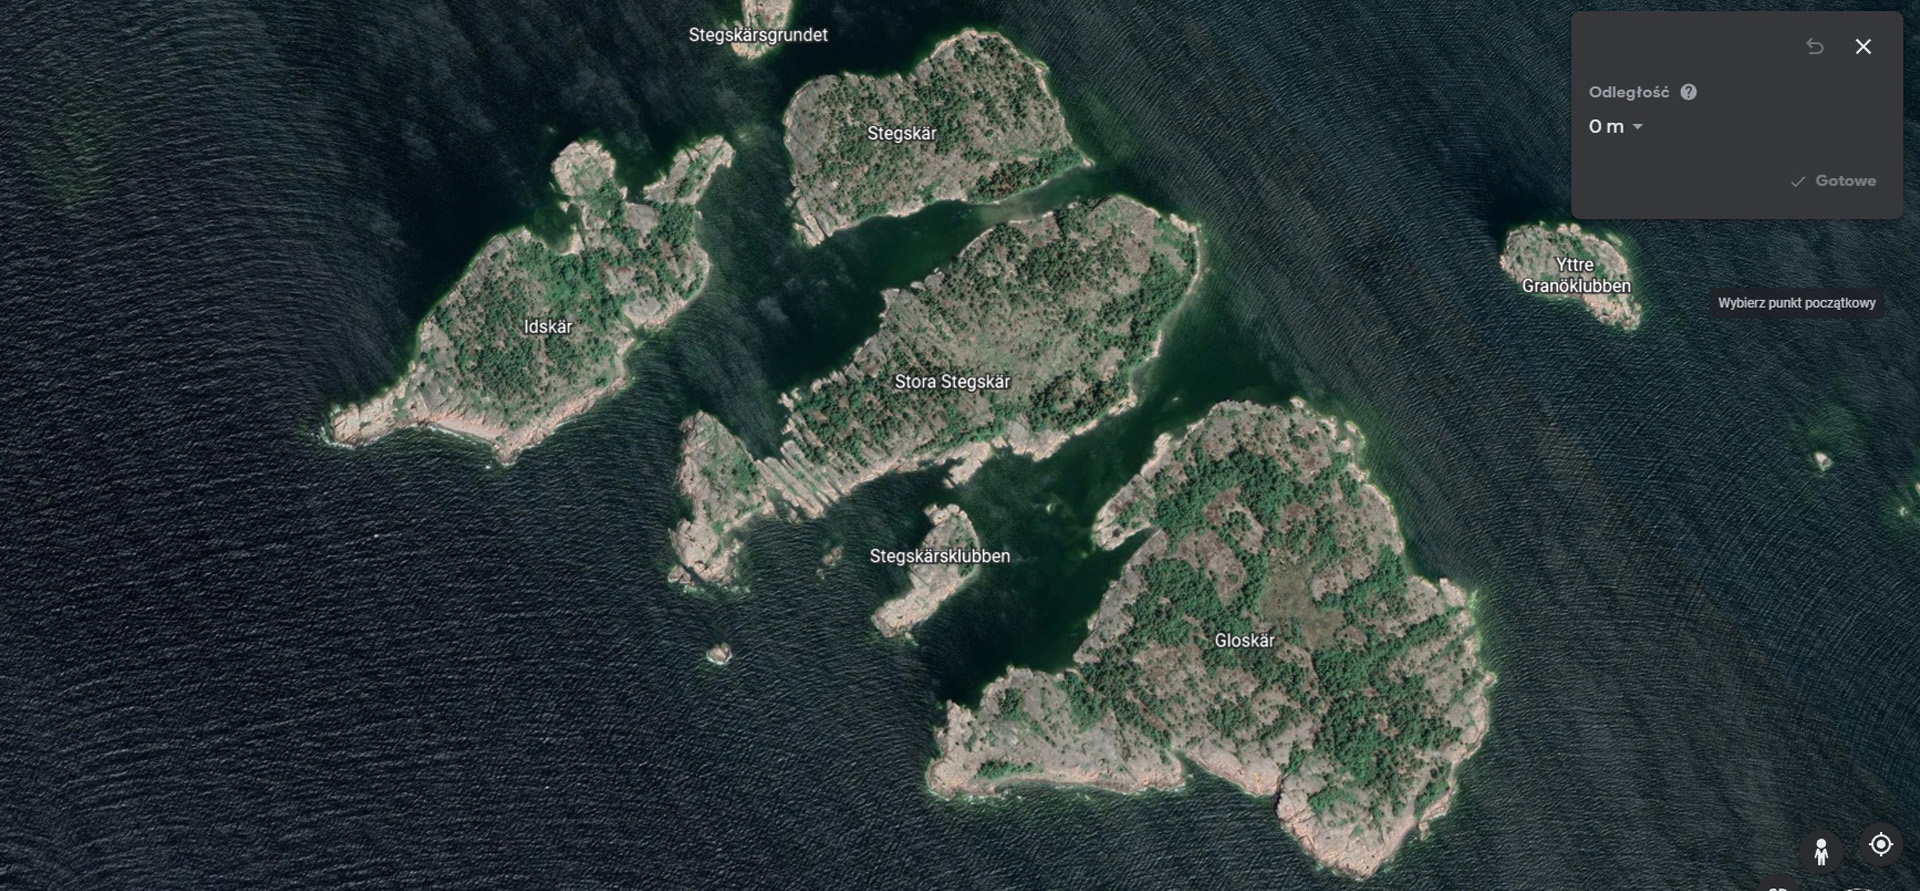
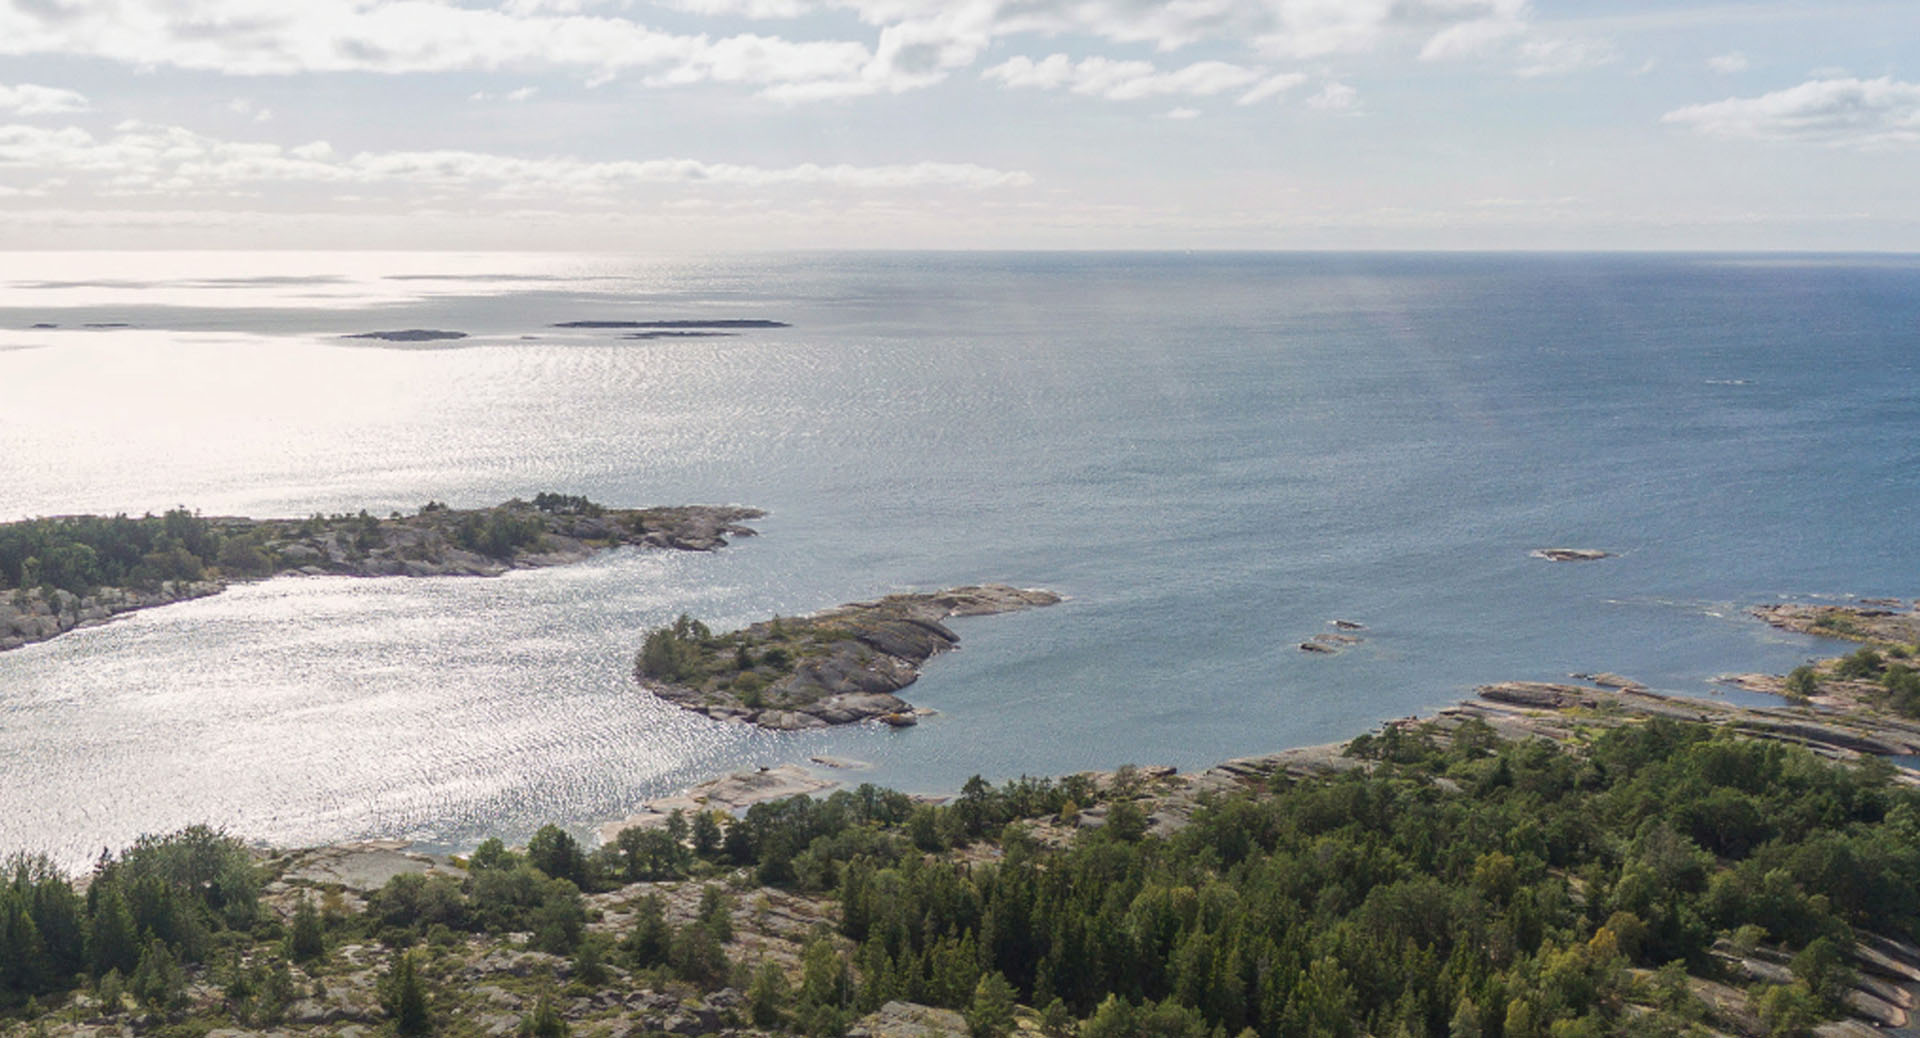
" The concept came from a memory of a quick visit to the Scandinavian coast as I was amazed by all the little houses on tiny islands. I could imagine the slow and peaceful life people experience on them. "

Table of Contents

The Aland Islands House Concept

The concept came from a memory of a quick visit to the Scandinavian coast as I was amazed by all the little houses on tiny islands. I could imagine the slow and peaceful life people experience on them.

As I wanted my project to be located at an existing location, I started looking for a good and well-documented place that I could work on and don’t waste time on the environment design.

A tiny island named Stegskärsklubben came to my attention on Google Earth only after I found myself looking already at the Finnish Aland Islands. I’ve realized that a few of them has been visited by the same photographer that made drone footage that finally inspired me to give a try on a similar environment.

I decided that the view of the Island mentioned above would become the primary imagery for the project.

Gathering References

I started looking for other good reference images to help me develop additional skills for this project and possibly animation. I found a great home on a private island on Sweden’s East Coast that provided an excellent reference for a biome I wanted to recreate.

3d Modeling

Terrain

First, I’ll mention that I use Blender for Modeling, rendering, compositing, and video editing. Blender is an excellent piece of software that really skyrocketed in terms of usability in recent years.

I started modeling the islands by their exact dimensions I found on Google Earth. In Blender, I pasted the top view image as a plane and then roughly raised the terrain to create a simple periphery. 

The House

I have designed a simple house made on a minimalistic rectangular plan just so the house could fit into the environment and become a part of it. I also used some natural materials for that goal so the house would not stand out much.

These islands are made of stone, so I needed good 3D rock models for this project. I chose to go with poliigon.com assets as I knew I could rely on their quality. I quickly populated the scene with downloaded 4K models to realize that my RTX 2080 TI that I rendered had run out of memory.

For a scene like this, 3D assets need to be optimized. Downscale textures and their LODs so the scene could actually be rendered. I also needed good quality but saving-on-memory foliage assets. I used the Forestation addon for trees and a Scatter addon for other foliage and lesser conifers. The scene runs smoothly now, and I could work on the water shader.

Textures & Materials

The Water

The water material mixes a few noise textures blended together using a Vertex color paint in Blender.

It is a quick and easy way to implement some imperfection into the water surface as I noticed that leaving a simple setup for water that could work for an up-close shot really falls apart at greater distances as it becomes too repetitive and uniform. As I already had excellent references, I could quickly see where some irregularities needed to be implemented. There is also a vertex color paint node for the white foamy periphery of stones which added a bit to the scene’s realism.

I recommend checking out my blenderartist.com topic on this project for blender users, as I gave there a link to download the water shader.

The Wood


For the house model textures, I wanted to mention that I’ve also used noise textures for wood elevation to create some impression of wear on the material.

Lighting

For the main image of the project, I used an HDRI from polligon.com that would match the drone footage best. The entire scene is lit that way, with no other light sources.

Other stills from the project use the same lighting method except for the night shot where I used a Physical Starlight and Atmosphere addon. It really was a perfect pick as I couldn’t find an excellent nighttime HDRI that would show a starry sky.

Rendering

The scene was rendered with an E-Cycles engine on RTX 2080 ti. The GPU rendering allowed me to quickly iterate something within the scene since the scene was developed with low res textures and its render times were negligible. Not to mention the excellent denoise options!

In Blender Compositor, I used an environment pass, a mix with a mist pass, and a glare node to better control the final render. I also used some pretty strong distortion and chromatic aberration as I wanted to fully embrace the drone footage mood. 

Up to this moment, I can’t really tell if the distortion was a good decision, as some people on ArchViz forums already pointed out that this effect is maybe too strong. 


But I like it!

Post Production

The post-production of the images was made in photoshop, and it was some simple curve adjustments, vignettes, and color grading. Here I can present a GIF with the whole process from RAW to the final post-processed image.

The post-production of the images was made in photoshop, and it was some simple curve adjustments, vignettes, and color grading. Here I can present a GIF with the whole process from RAW to the final post-processed image.

The Animation

After I finished the still images, I decided to try on a quick animation. I imagined a drone that would rise up in the air, revealing little more than the still image, so I keyframed a camera to fly up at a slow pace for about 20 meters high.

For the 13 seconds of the actual animation, I keyframed some objects in the scene, like boats, so it would appear more lifelike. The biggest problem was to portray water waves in the best way, and through many tries, I found that a straightforward little change in scale of a noise texture has done the trick!

I imported the .PNG frames into Blender Video Editing Compositor, added some fade-ins and outs, and stitched it with my business name. For a little more experienced, I also added a coast sound which I found on freesound.org.

Final Comments

So wrapping things up, I think the best lesson I’ve learned by developing this project is that a good reference is crucial, especially when working in a unique environment. Also, looking at the whole process from a bigger picture, It is always lovely to sometimes step away from commercial work where most of the time, there is no place for some experimentation. So I fully encourage you to give it a go and try to work on your dream scenes! Thank you for reading this article. I hope it can help someone with their projects! Kind regards, Artur.

Polytown Media LTD

© All Rights Reserved 2022