


Non-Photorealistic Rendering (NPR) Approach to Architectural Visualization
Pushing on with the exploration of the various workflows in Architectural Visualization, I’m presenting you today with the NPR – Non-Photorealistic Rendering approach as made by Scott Baumberger. More along the lines of what Rafal Barnas showcased in A Unique Approach to Architectural Visualization, in terms of how much Photoshop is being used vs. actual 3d rendering, but specifically aimed at recreating the look & feel of traditional watercolor paintings (and other forms too)… just using digital tools to do so. NPR is more about expressive styles in visualization, distancing itself from photorealism.
In this article, Scott will introduce his approach and the Viking Pavilion project, on which he will demonstrate the process later on, Enjoy!


Author : Scott Baumberger
Scott Baumberger has been offering high-quality illustration services to architects, designers and developers for fifteen years. He uses a digital process to produce imagery that ranges in technique from photo-realistic to simulated watercolor effects.
Scott’s illustrations have been featured in many publications including Architectural Record, Urban Land, Building Design & Construction, 2004 & 2008 NYSR Portfolios, Best of 3D Graphics, Architecture in Perspective (AIP) catalogues 15-25, as well as monographs for KPF, FXFowle, and Callison.
In 2001, 2002, 2005, and the years 2007-2010 his work received an Award of Excellence in the AIP Competition, held annually by the American Society of Architectural Illustrators (ASAI).
First off, I’d like to thank Ronen for this opportunity to share with you some of my insights for creating Non Photorealistic (NPR) Architectural Renderings. I hope these articles will prove helpful to your own workflow.
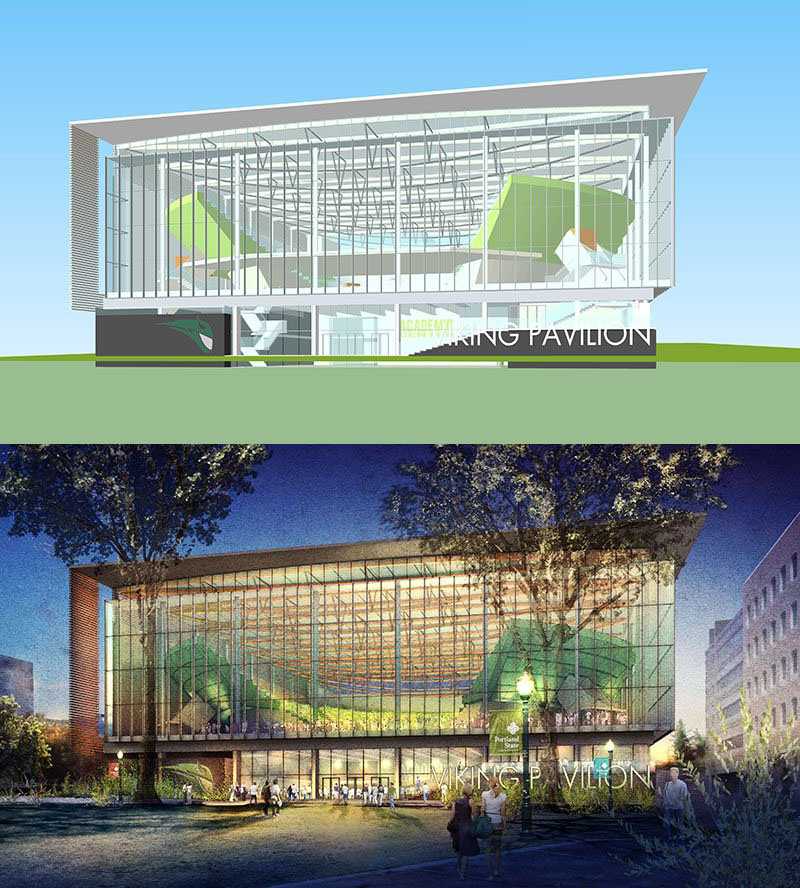
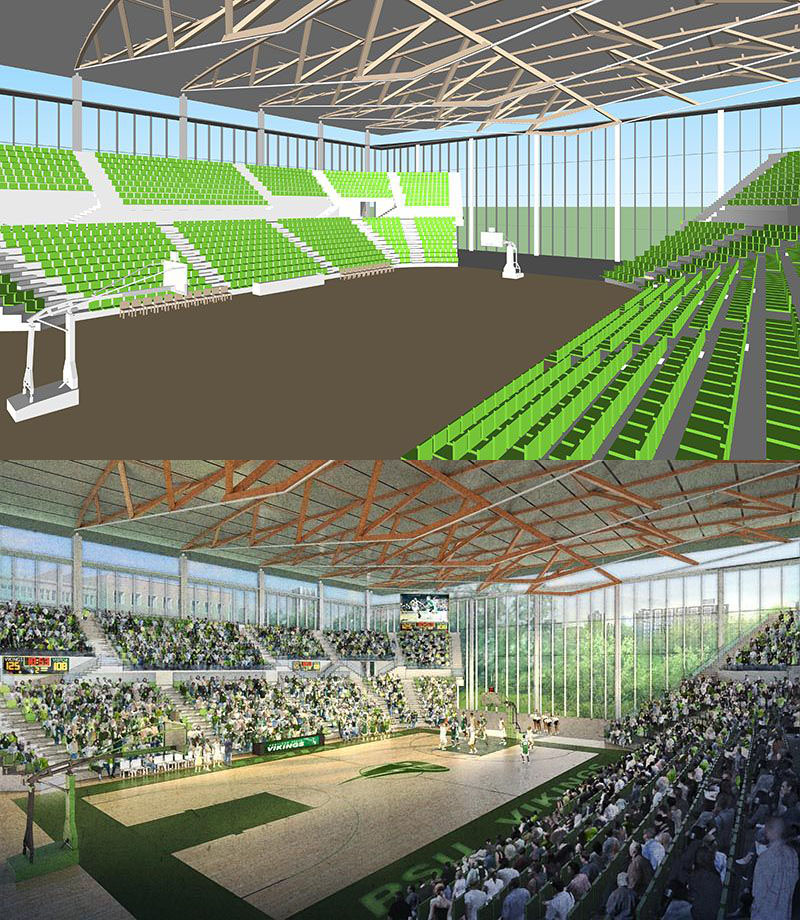
Before I dive in, I’ll show the project that I will later on use to demonstrate the process – The Viking Pavilion by ZGF Architects at Portland OR.
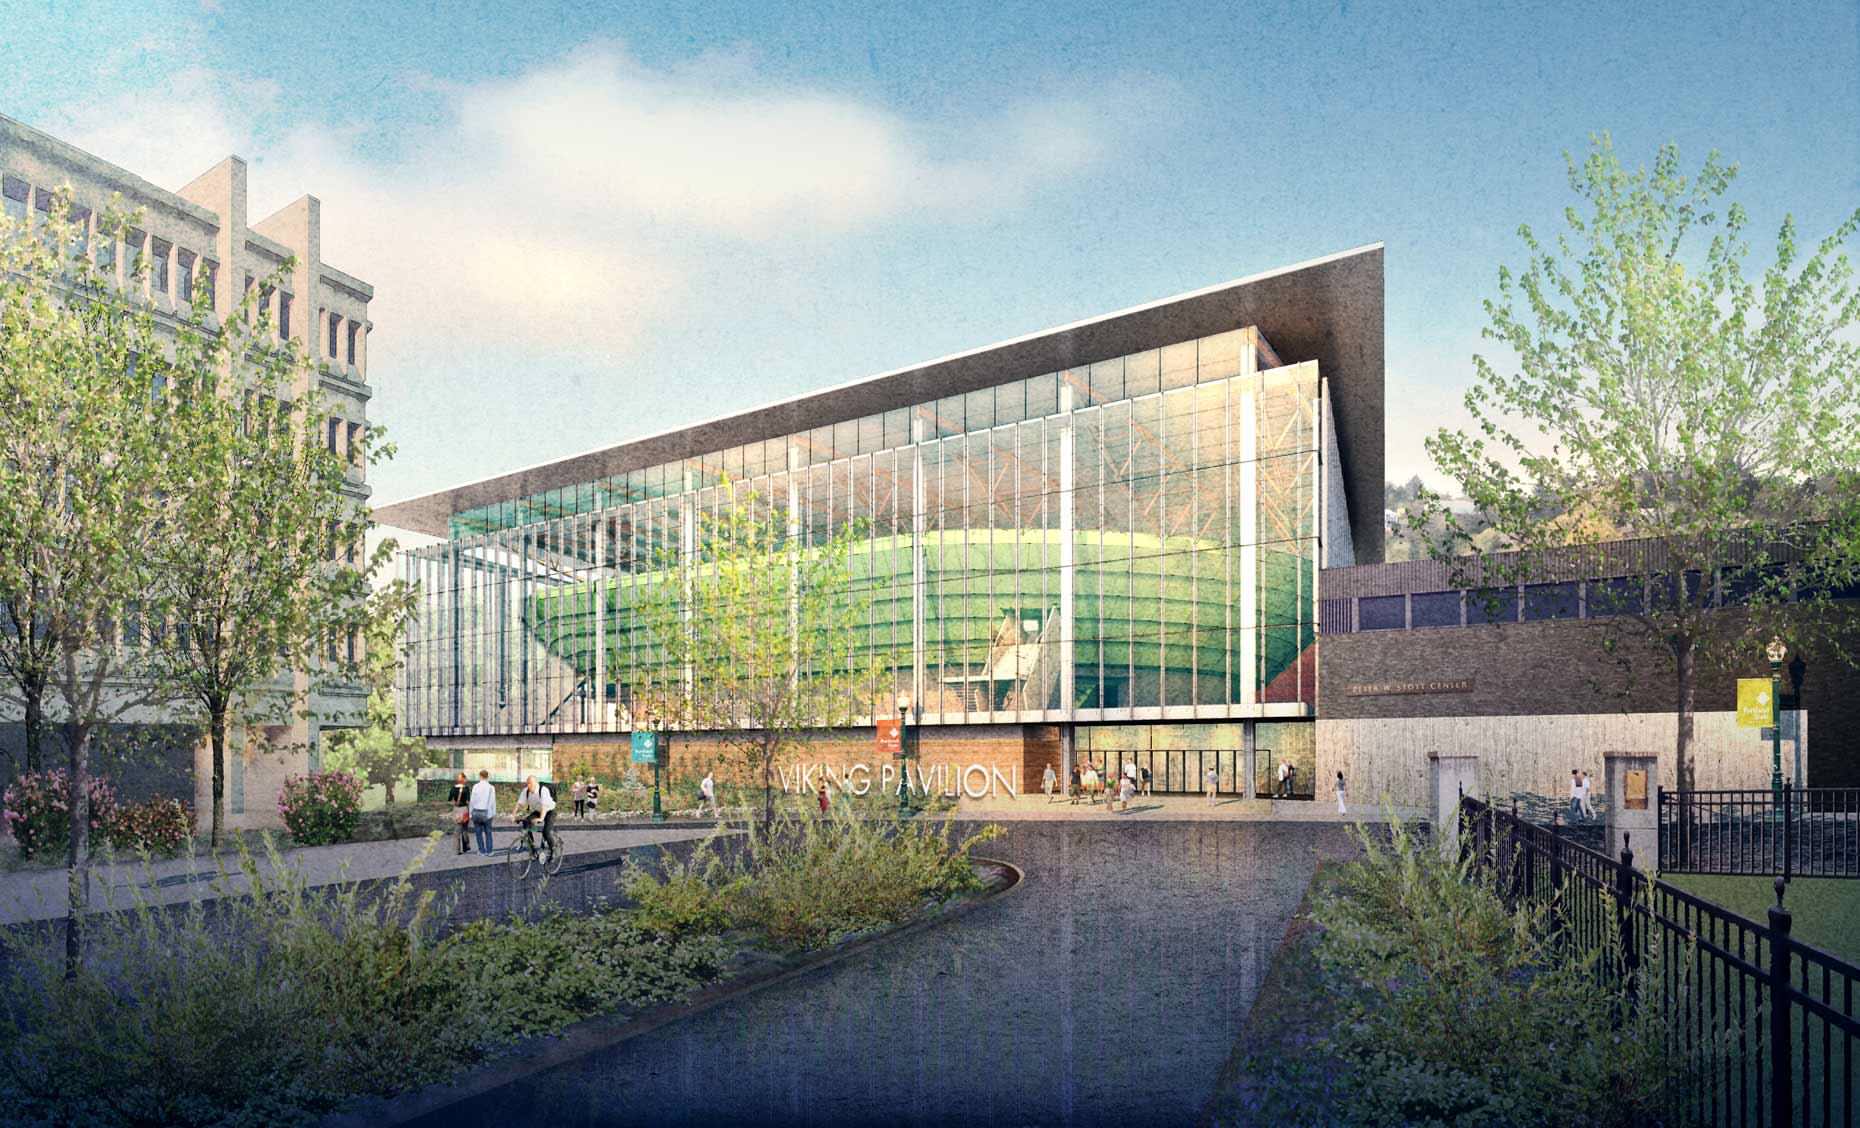
And a few more…


Im an independent illustrator and have been in business full-time for just over 10 years now. The studio is just me, although I do contract out pieces of the process from time to time when the workload gets too heavy.
Before starting Baumberger Studio full-time in 2001, I had worked for about 10 years as a designer in a number of architectural firms including Kohn Pederson Fox (KPF) in New York and Callison in Seattle, and was on track to become a licensed architect. However, I found myself drawn to the visualization side of projects and was intrigued by the challenge of starting my business. Since then, I have had the good fortune to work with major firms throughout North America, including Gensler, Perkins + Will, HKS, TVS, WATG, and ZGF Architects.
One of my first lessons working in a commercial environment was to maintain as much flexibility as possible throughout the entire process. Requests to change the design and entourage keep coming, often right up to the end.
As a result, even with photo-real work I learned that one of the best ways to stay nimble was the ability to work as much as possible in Photoshop – 2D instead of 3D.
Although digital painting (especially in photo-real work) can be painstaking, I found that I could usually make small adjustments more quickly than having to go back to the 3D model, make the change there, re-render, and then re-composite the new render with the old one.
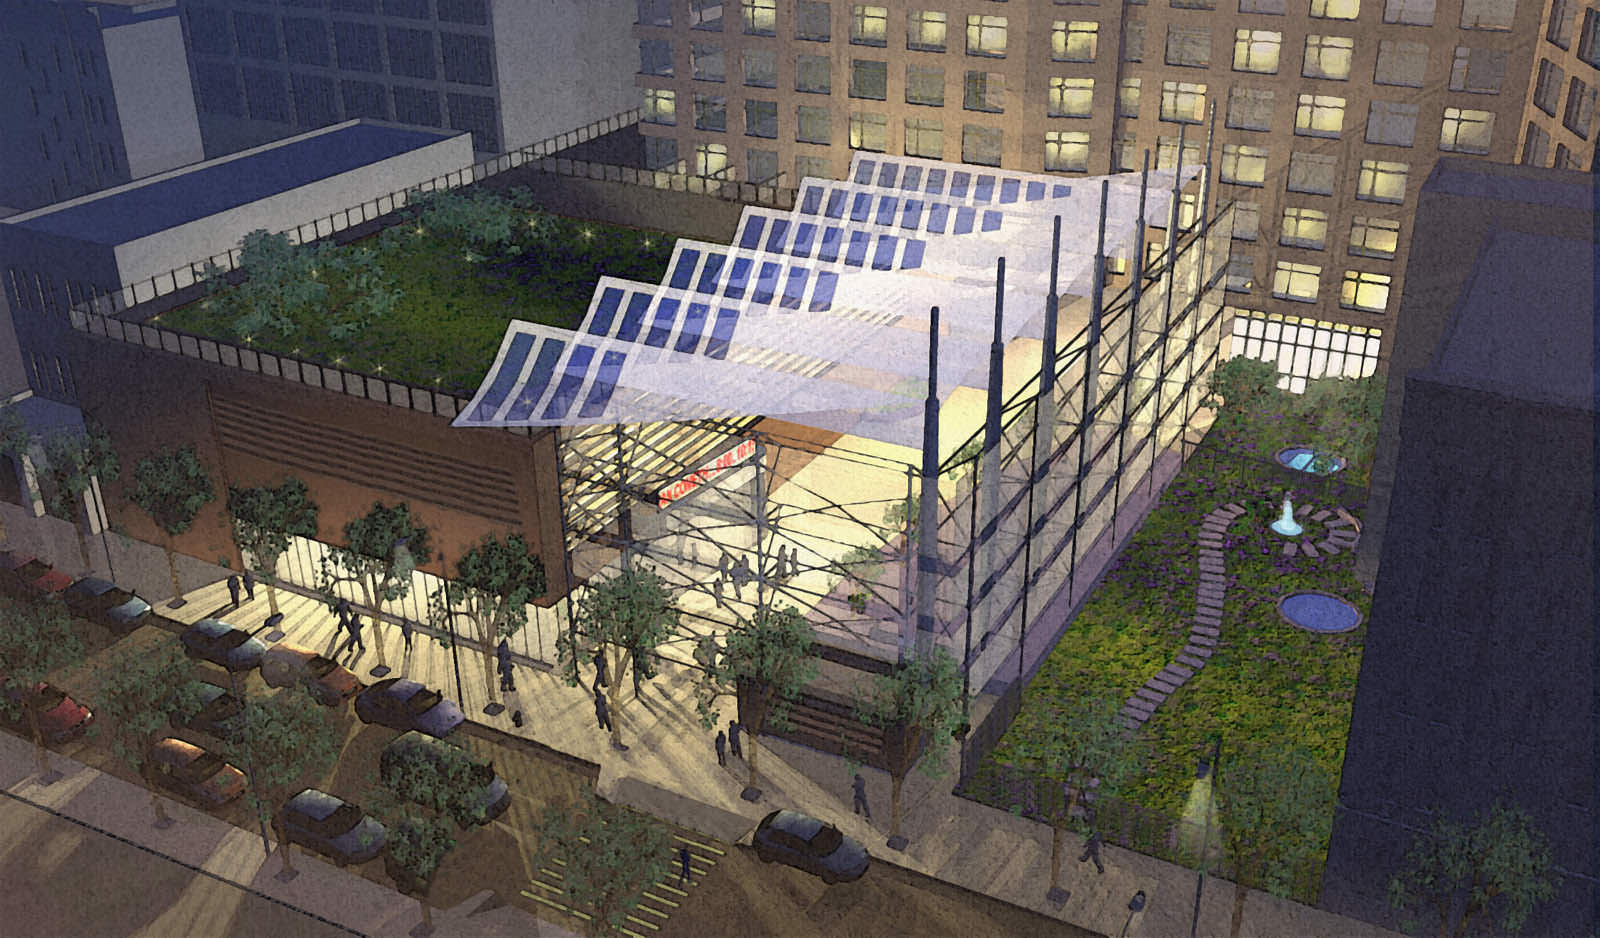
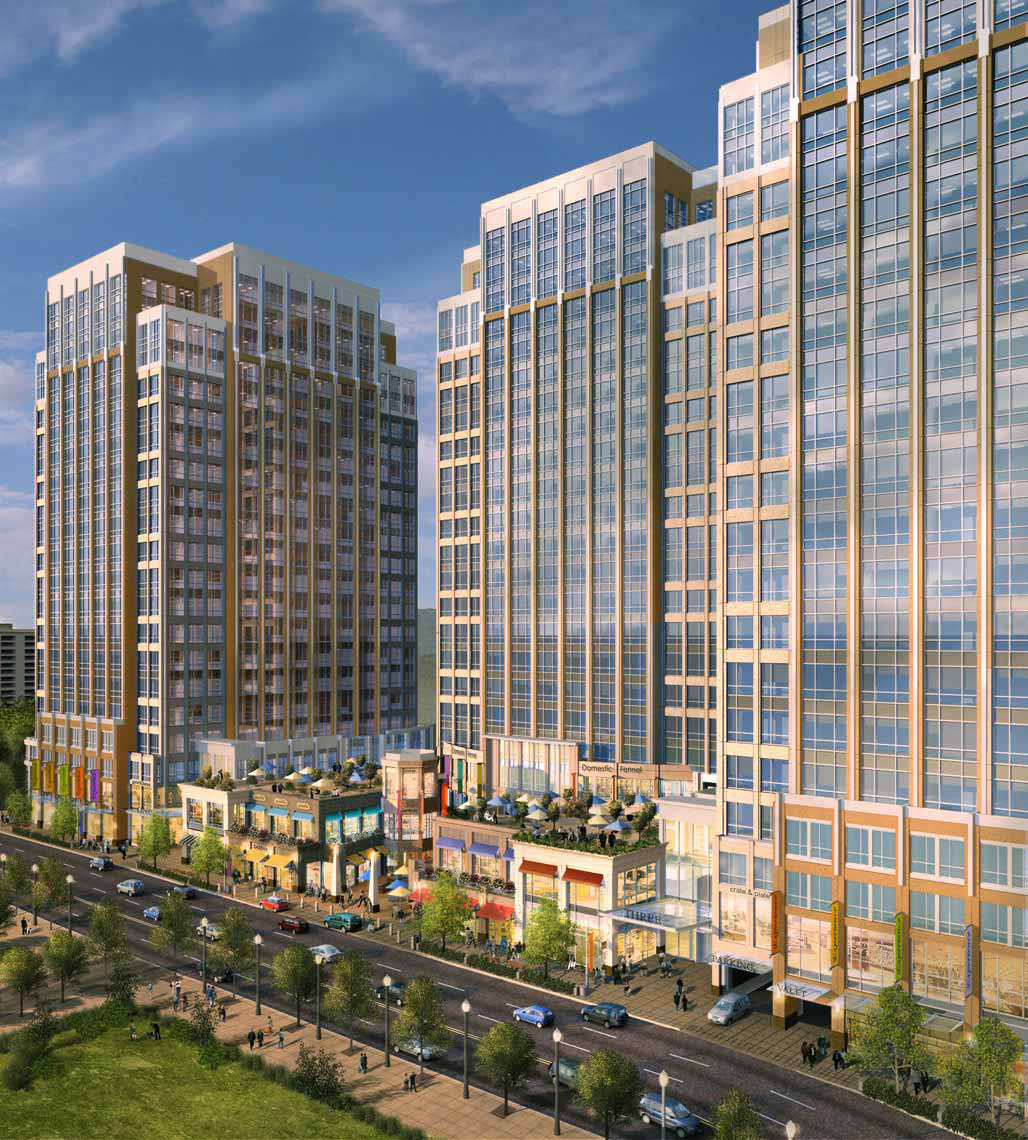
A big breakthrough for me happened when one of my first clients, Fox & Fowle Architects (now FXFowle) asked me to provide a watercolor rendering for a large mixed-use project in New York. I explained that I wouldn’t be able to provide a painting in the traditional sense, but that I could deliver a “digital watercolor” file instead, offering the benefits of a fully digital workflow.
Although reluctant at first, they agreed and took a chance on a then-untested digital watercolor image. I had a high bar to get over, and it was pretty stressful at the time. But the end result turned out very well, and the client was especially pleased to be able to make small adjustments as we went along. Even a decade later, the image still holds up pretty well.
Clinton Green, 2002.
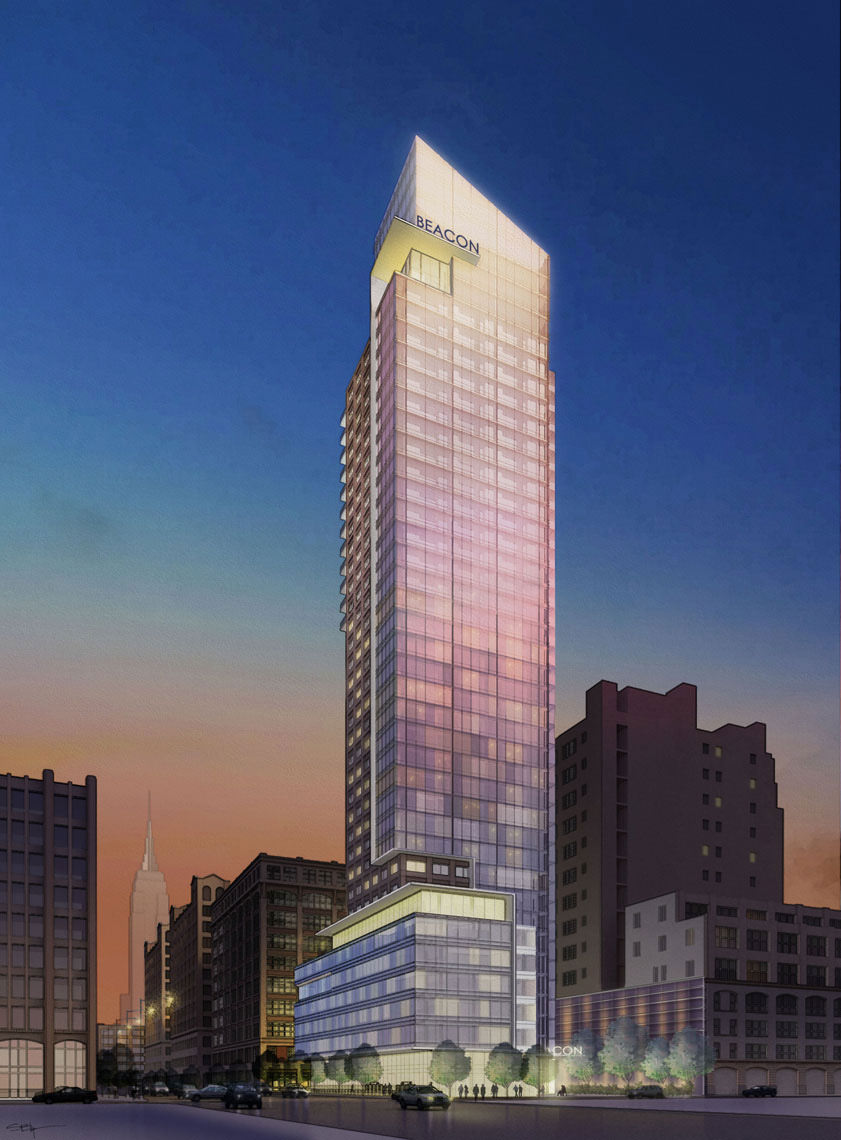
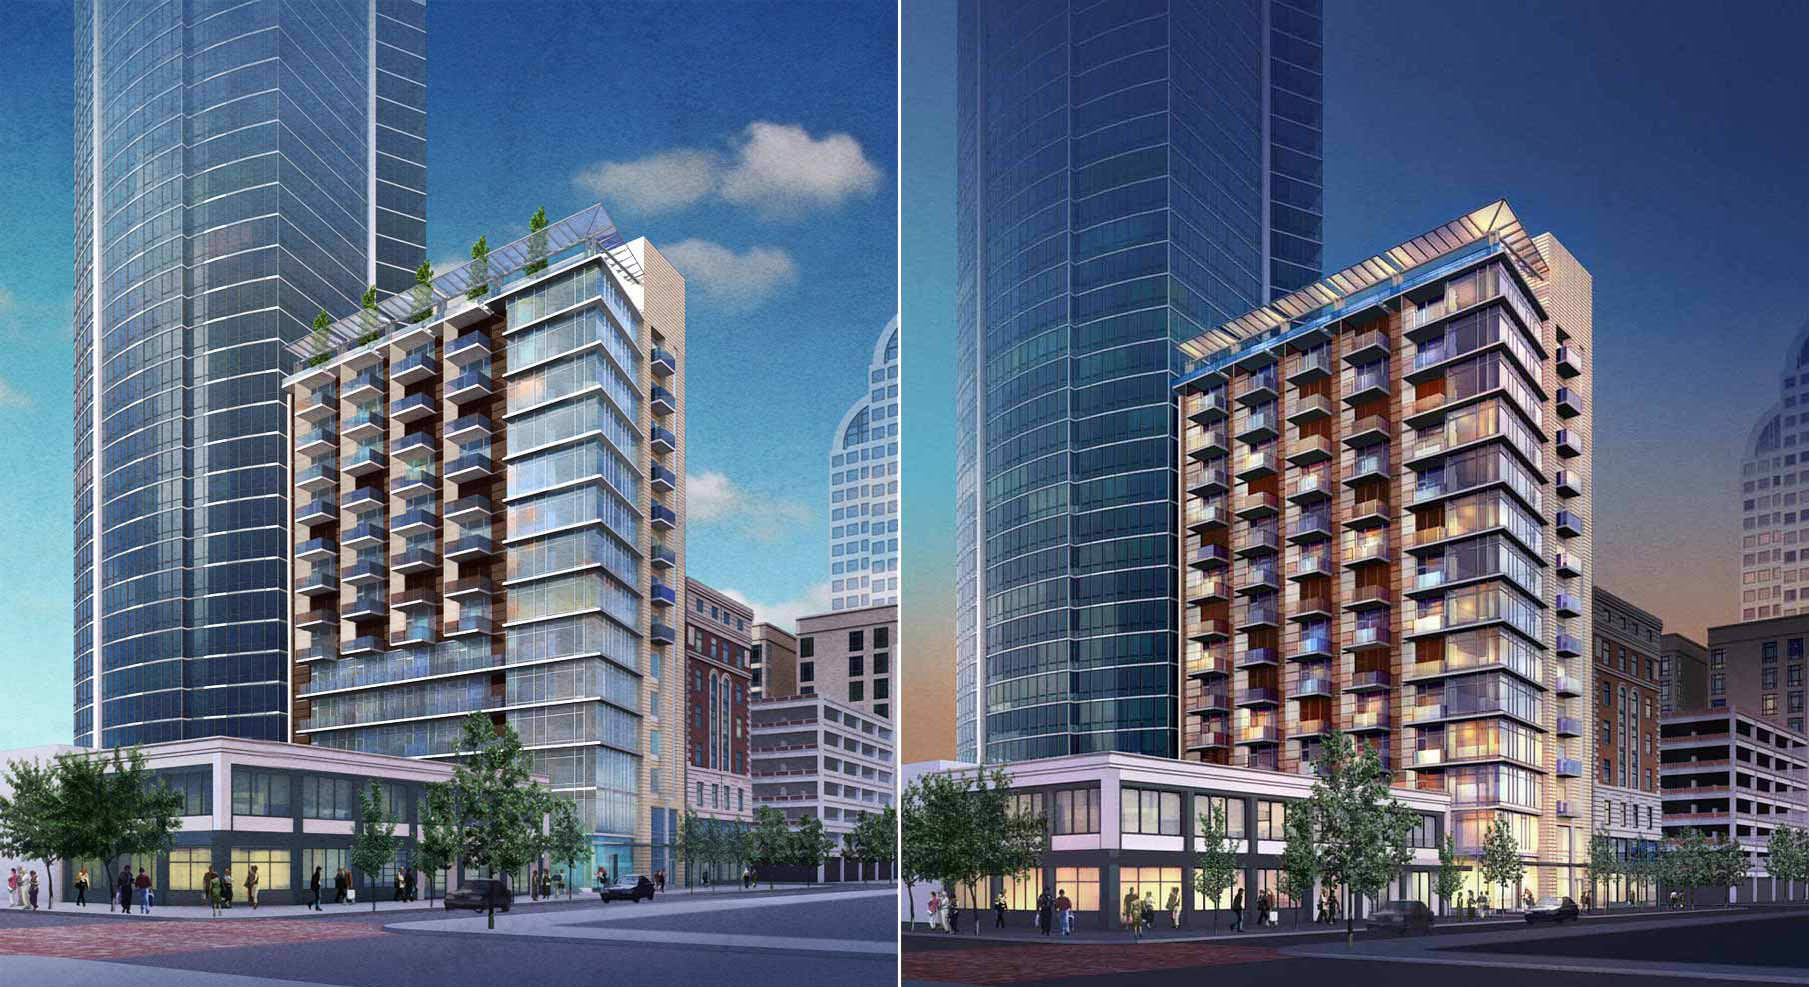
Another early lesson was to avoid the temptation to over-model, especially in Non Photorealistic renderings. Again, with Fox & Fowle, I got a request to do a “hero” rendering for a competition entry. Because we only had two days to create an image and there was no 3d model, I had to come up with a different approach – there was no way to create all the detail that would be necessary to create a full 3D scene in the time available. So I put together a 3D “scratch model” with just enough detail to get the composition and basic lighting nailed down to set the viewpoint. The rest would be done in Photoshop.
We went with dusk lighting for the scene – it would have the potential to be more dramatic but it would also eliminate the need to ray-trace shadows, which sped things up substantially. As most artists will tell you, the best work often comes out of these crisis situations and the Beacon rendering is still one of my favorites.
Beacon, 2004.
After the Beacon project, I honed in on a workflow that would allow me to spend as much time as possible within Photoshop. When building 3d models, I’d look hard at a detail with an eye for creating it instead in Photoshop later on. Here are a couple more examples of this “2.0” approach.
Meydenbauer Center, 2005.
114 Pike Street, 2007.
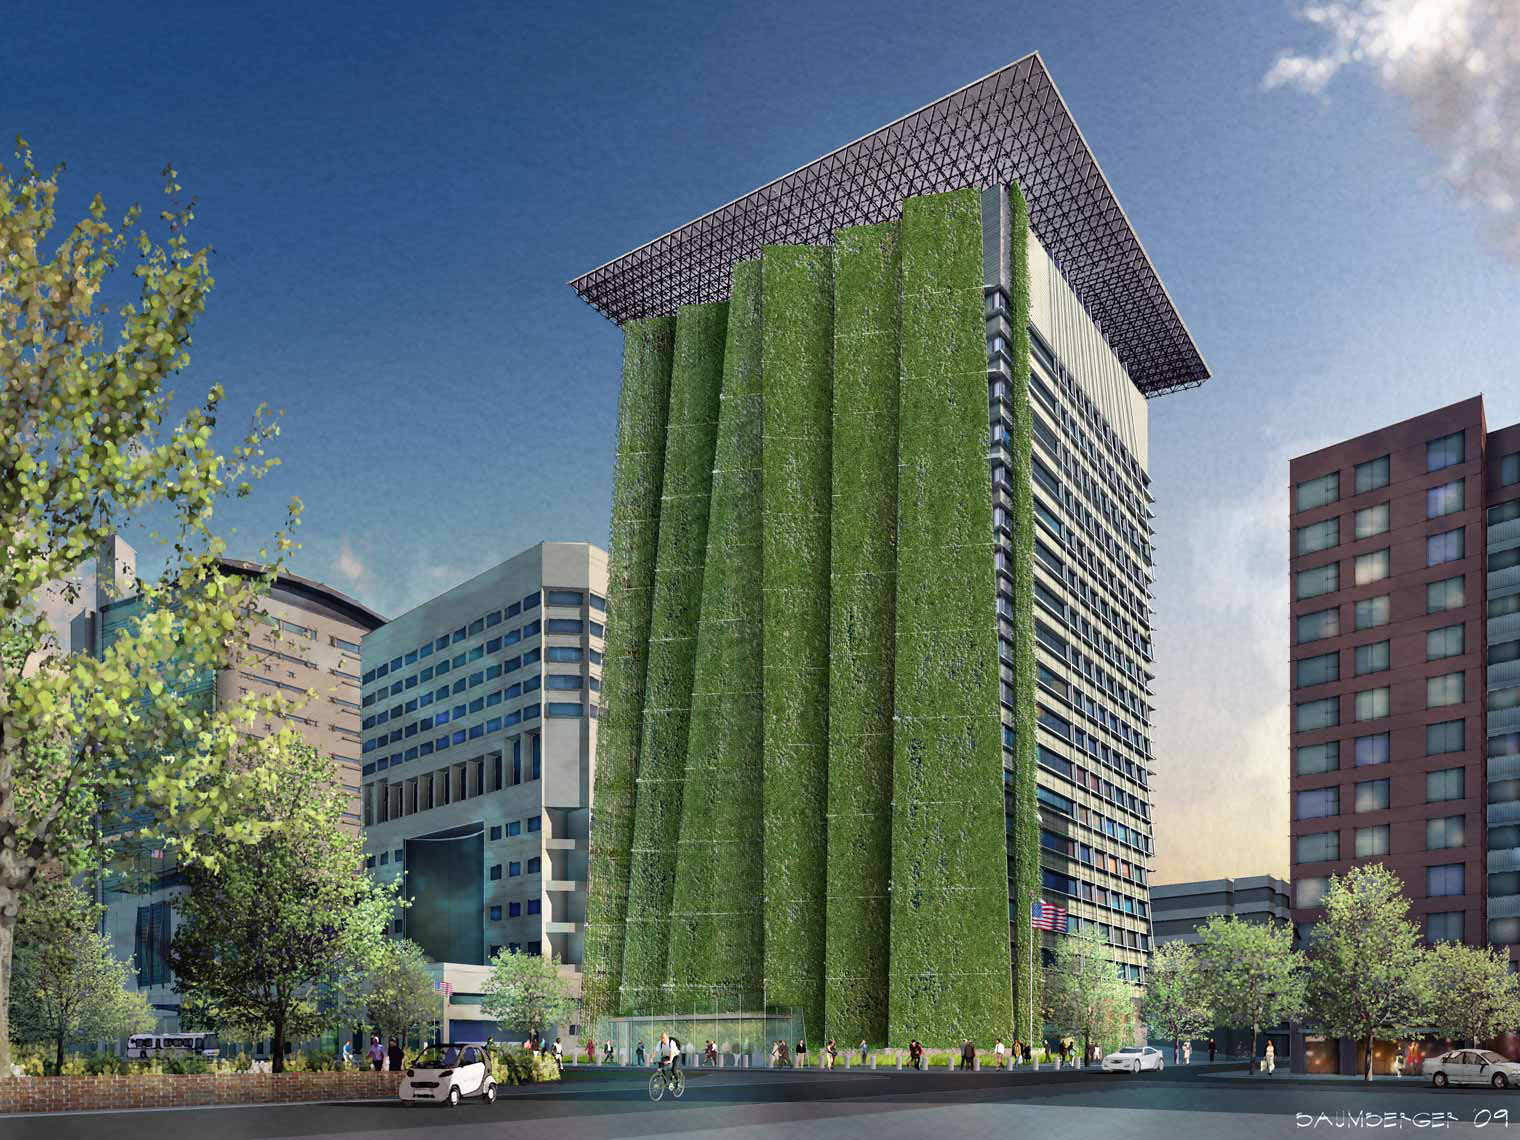
After the market crash of 2008-2009, there was even more pressure to work faster for a lower fee. Fortunately at the same time, the quality of in-house 3d models was getting better and many cases I could take a clients’ SketchUP, Rhino, Revit or 3DS MAX model and use it as-is without much cleanup. By now, I hardly do any 3d modeling anymore, and this has become pretty much the standard workflow for me.
Here are some examples of the “3.0” approach – client models plus digital painting in Photoshop.
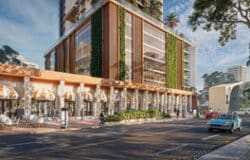
Edith Green Wendell Wyatt Federal Building, 2009.
Arizona Cancer Center, 2011.
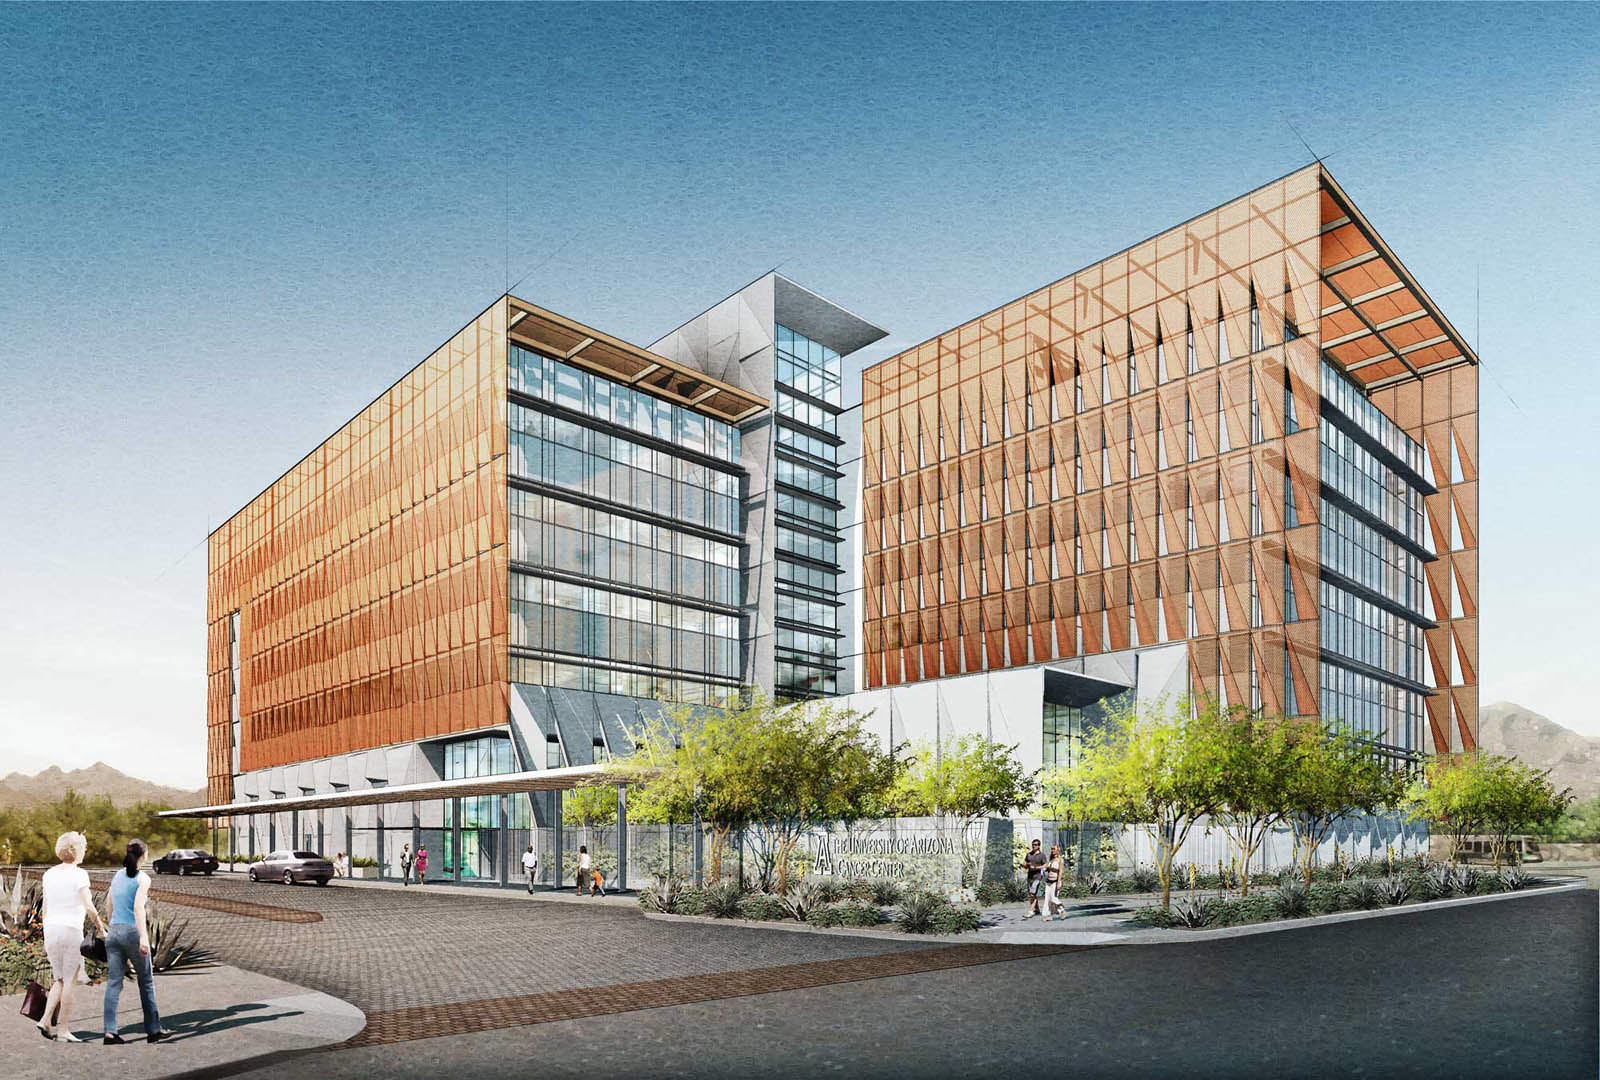
With this approach, I can produce renderings in about half of the time that it used to take when I was building 3d models from scratch. I now spend almost all of my time in Photoshop, and this would be the prime focus of the tutorials that will follow.
Here’s a quick overview of this process (I’ll get into more specific detail on these topics, with an emphasis on working quickly with a commercial client):
1. Setting scope, gathering materials, establishing mood & audience
A good kick-off meeting is essential to the success of the project. It’s important right away to identify the scope of the views – this helps me to locate any areas of redundancy in a large multi-view project. The amount & quality of materials provided by the client helps to set the overall timeline (and fee), including intermediate milestone dates. I try to get a sense of the purpose and audience for the image – knowing why the rendering is being commissioned will guide me throughout the process. I also confirm any assumptions about the direction of the images (time of day, amount / type of entourage, etc.) at this point. It’s often very helpful to have a visual point of reference for the final technique and quality of the rendering – usually it’s an older rendering of mine, but sometimes another rendering or photograph can be used as a “go-by”.
2. Viewpoint / lighting study
One of the biggest challenges of this workflow in particular is the difficulty in changing the camera position once we get under way. As a result, it’s essential to have a full buy-in from the client at this early stage on the viewpoint. With a repeat client, this isn’t an issue but with a new client I am very careful to fully explain the importance of this step as well as the consequences of a change later on. It can be tricky at times if there is a large entourage element that is missing in the model (an existing foreground landmark such as a large tree for example) that might influence the viewpoint. In these situations, I’ll sometimes spend a little time mocking up these extra elements in 3D just to be sure. Better to spend the time at this stage than have to go back and re-construct the Photoshop file later. This step is also a good indicator of the level of involvement that I’ll have with the client the rest of the way.
3. Setting up in Photoshop / first drafts
Once the viewpoints are established and confirmed (and sometimes confirmed again!), I export everything that I need from the 3d model file and get set up in Photoshop. I have a very particular workspace, and a few macros that jump start the initial rendering base. I also have a series of Tool Presets that I lean on quite a bit – these reduce the amount of time I spend looking for specific tools and have the added benefit of maintaining a visual consistency between the images. I use Adobe Bridge to organize the entourage libraries and reference files that will be needed as we go along. This stage is typically the longest of all – anywhere from 3-6 hours per image is typical, depending on the complexity of the view.
4. Client review and making changes
This is where is all comes together. Good organization and use of the “non-destructive” tools in Photoshop allow for (relatively) easy adjustments to get to the final rendering. Getting towards the end of the project, it’s important to maintain a clear line of communication with the client to make sure the review process goes smoothly.
So… That is the back story, and in the next article/s I’ll go into more details showcasing the actual process of creating 2-3 images as seen below.

See you next time,
Scott.


Where can I find next article?