


Making of Isolation / 537 Bulans Project
Phil Buerer‘s entry to the 537 Bulans Competition was awarded an Honorable Mention and a short behind the scenes is featured here today. Simple model and materials but with focus on composition, color and story make all the difference.
537 Bulans Project was an international Rendering Competition with a special commemorative cause.
The Wau Bulan is one of the strongest, most recognized symbols of Malaysia. This is why it was chosen as the center of focus for the rendering competition. The goal was to gather 537 submissions a single bulan for each of the souls taken in the two Malaysia Airlines incidents.


Author : Phil Buerer
Phil Buerer is a freelance digital artist, with a great passion for architectural visualization. Educated and certified as a draftsman and web & media publisher he works with pencils, sketchbooks and construction drawings, as well as pixels & polygons.
In this short article I’ll go over the making of my competition entry to the 537 Bulans Project. A Wau (Bulan), is a kite especially popular in Malaysia. 537 represents the souls lost in the MH370 and MH17 incidents. The criteria for submissions was to render an image, where such a Wau
Bulan holds a prominent position in the image.
Software Used
- Cinema4D
- V-Ray for Cinema4D
- Photoshop
Concept
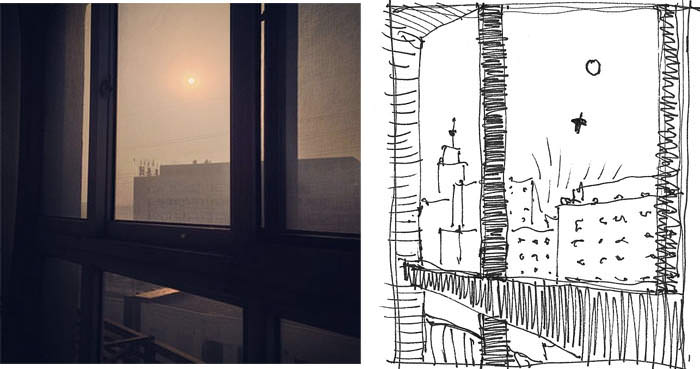
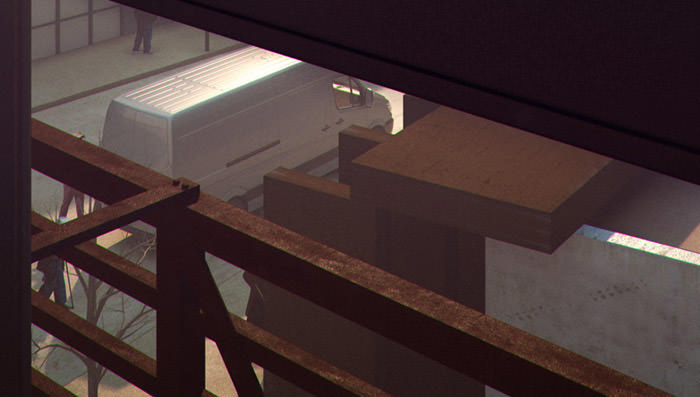
My idea was to create a stifling scene, and place a single person in it flying their kite as a symbol of hope. I had images of a foggy city atmosphere in my mind.
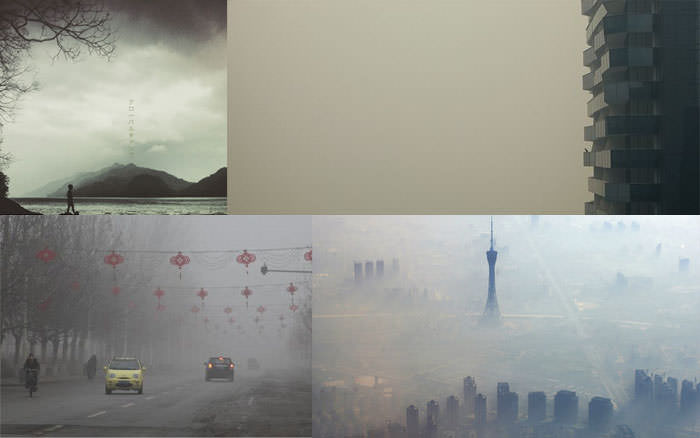
The idea was to portray a feeling of isolation in the midst of a bustling city. There would be hope in all of it too. The person flying the kite, trying to escape the smog and fly towards the open skies.
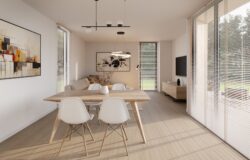
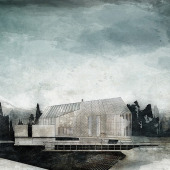
Inspired by another picture, I tried to amplify the feeling of isolation for the viewer of the image, by putting him in a rather gloomy room, watching the scene from behind grimy windows.
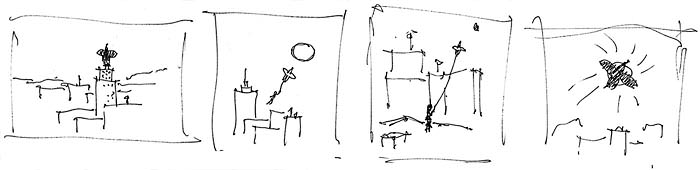
Modeling + Scene setup
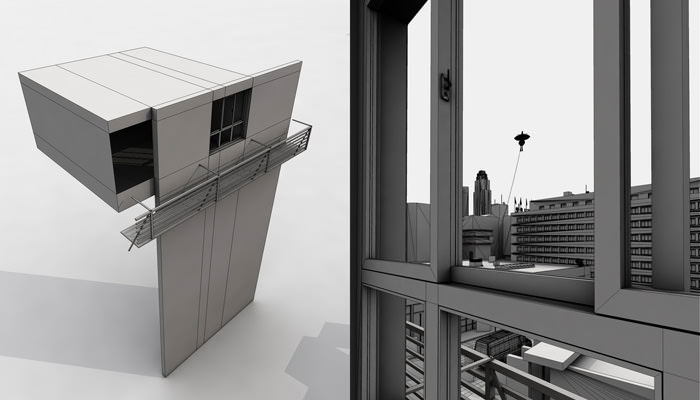
Modeling was fairly easy. I started with recreating the room and windows, adding the outside scene roughly according to the above picture and also a couple of details like the neon sign of the hotel-ish complex in front.
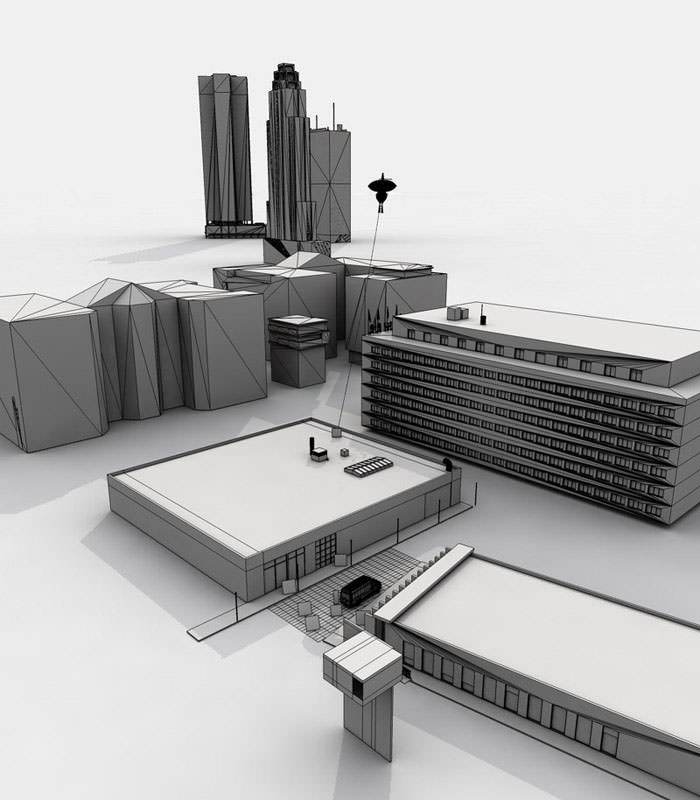
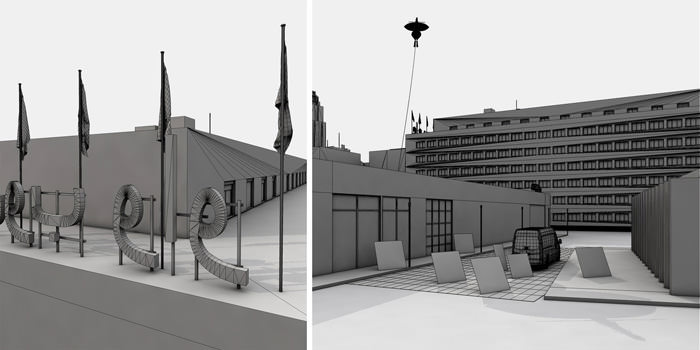
To complete my scene (yellow) I added some library objects (blue), and a couple of buildings from the SketchUP warehouse (green).

Materials
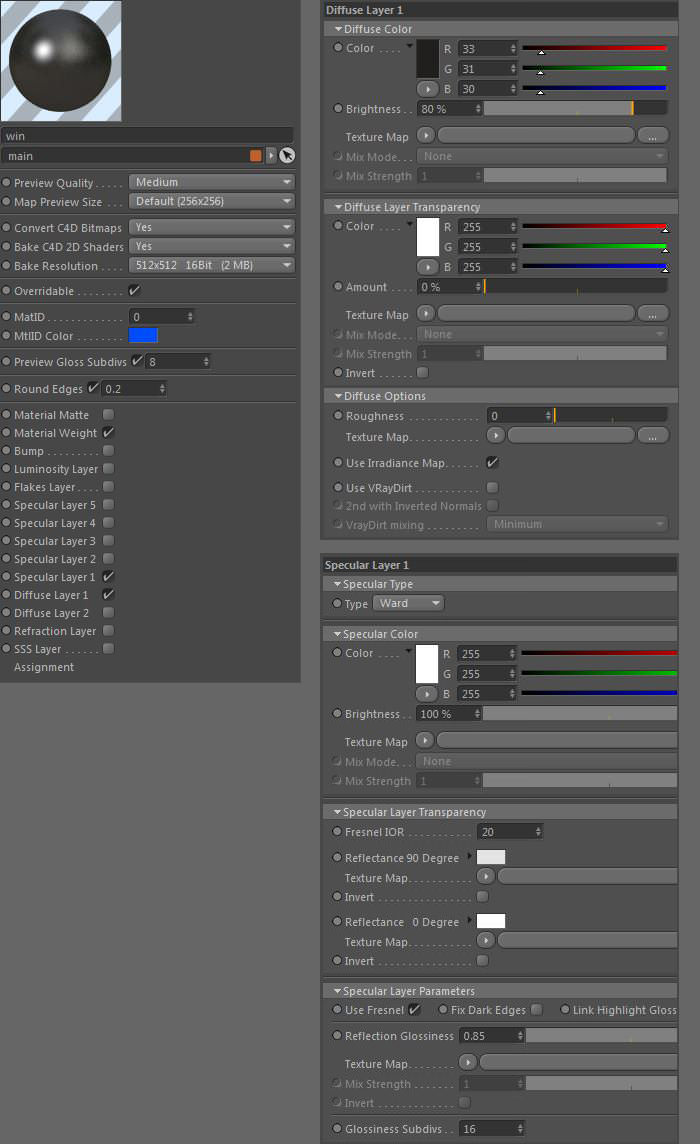
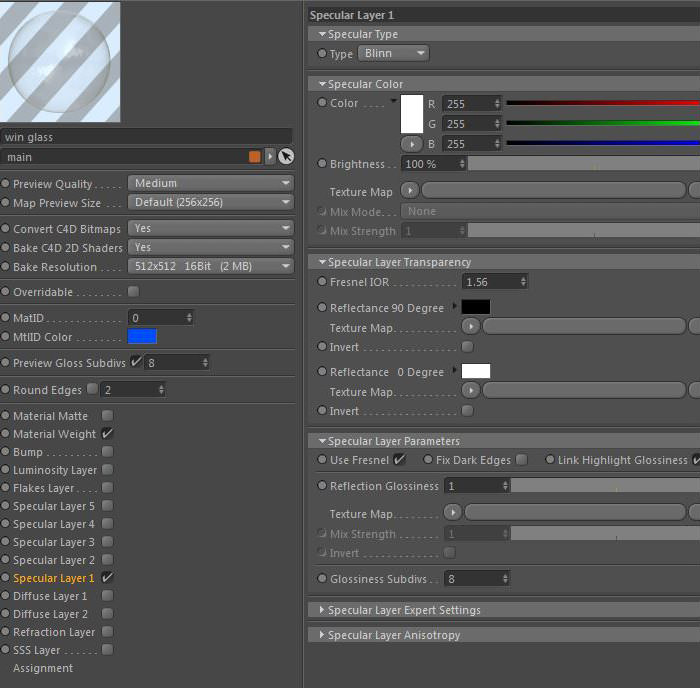
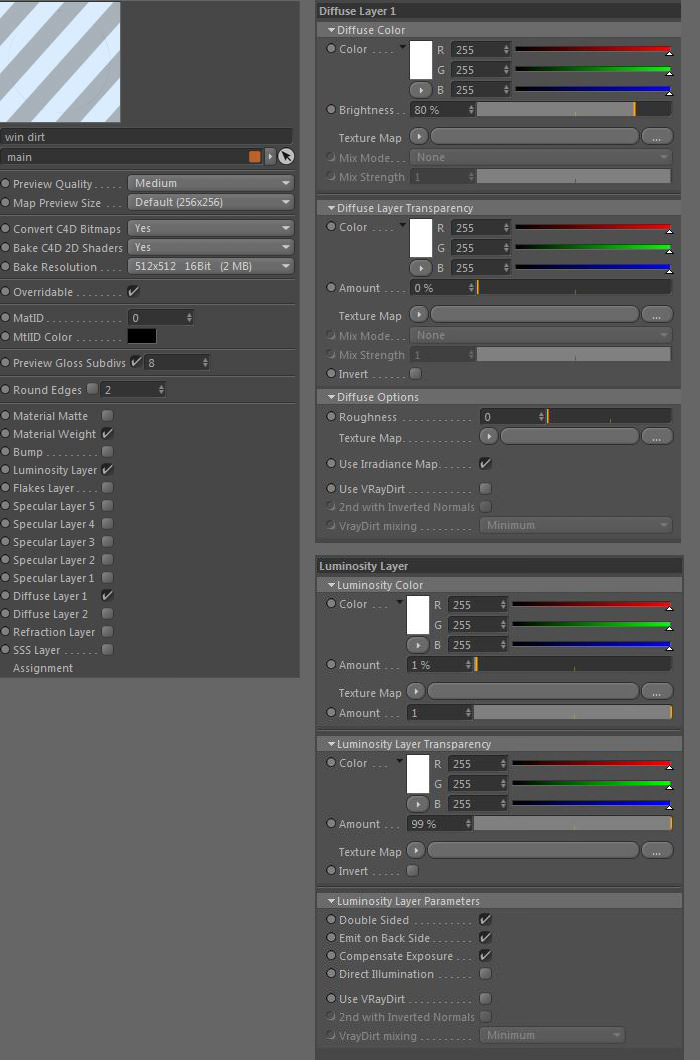
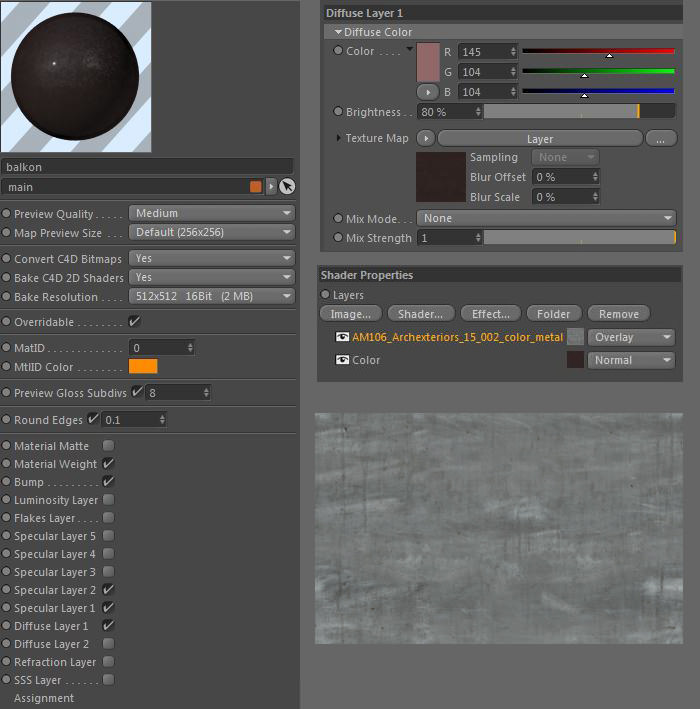
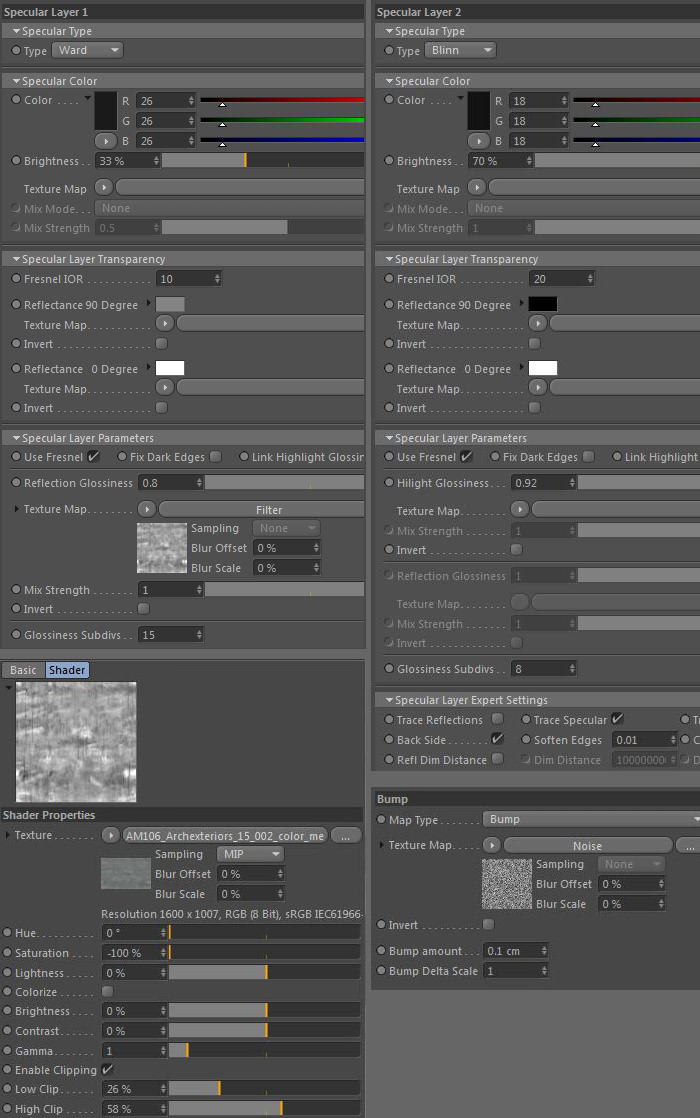
Materials are also rather straight forward. Most are simple textures. The only materials that took some time adjusting are the glass for the window with layers for the mosquito screen and grime on the window, and the other foreground objects like the frames and railing of the balcony outside the window.
Here are the settings and result of the window and frame material :

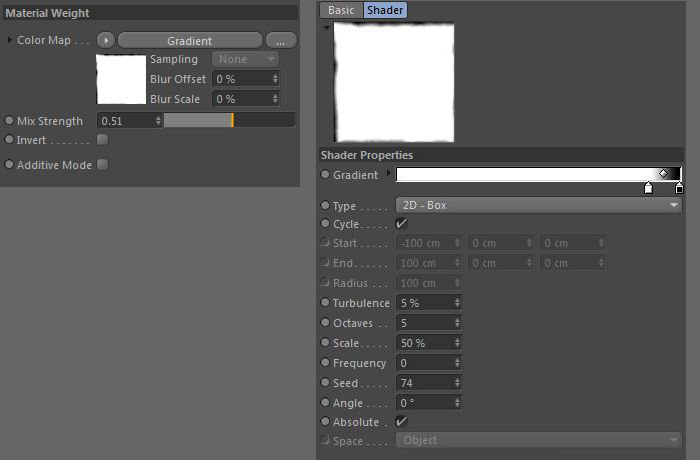
And the same for the metalwork outside the window :
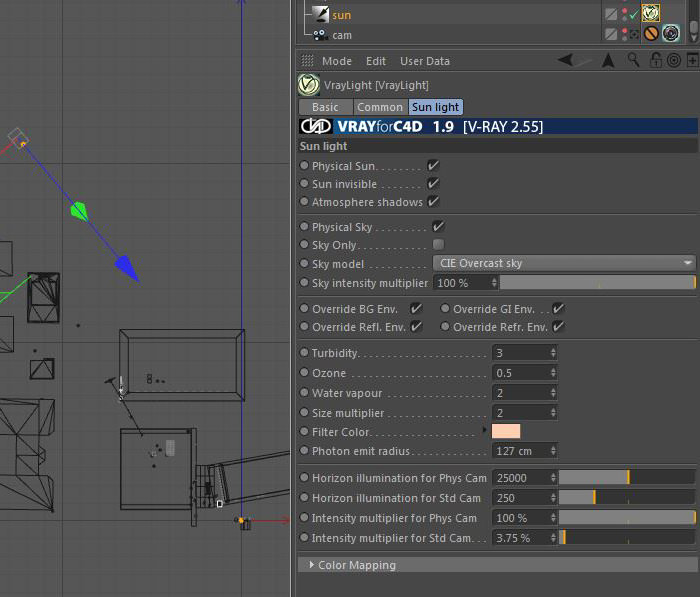
Lightning + Camera
Light in the scene comes from a V-Ray Physical Sun and Sky :
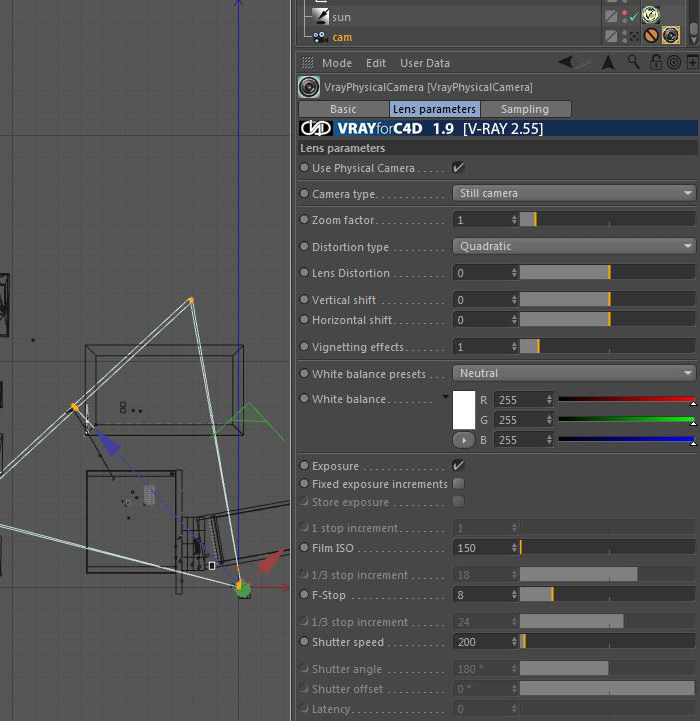
I used a V-Ray Physical Camera with the following settings :
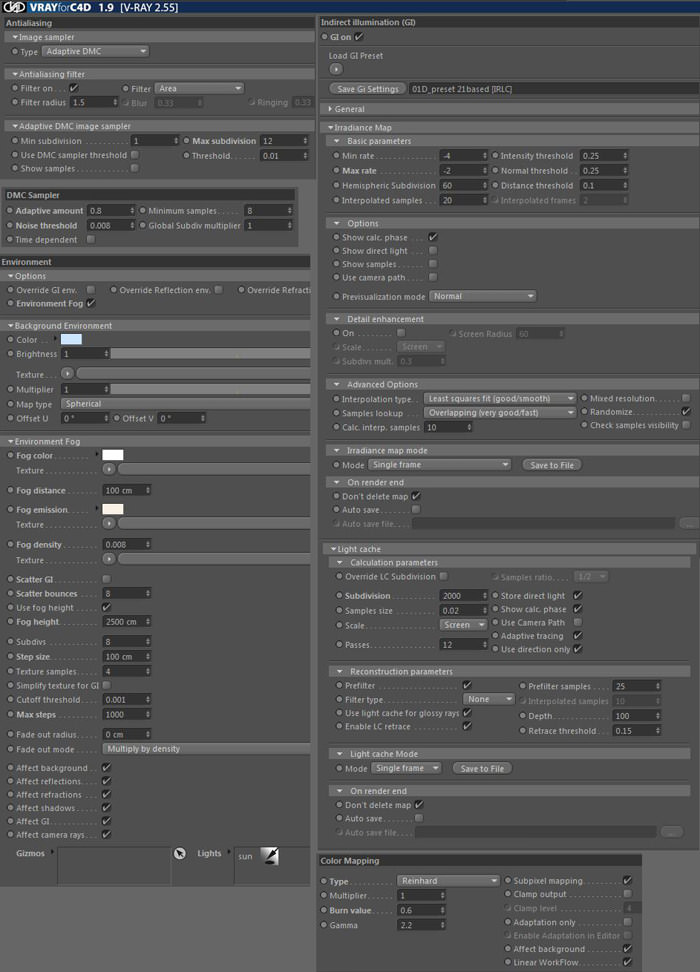
Rendering
The rendering settings are as follows…
Final Image
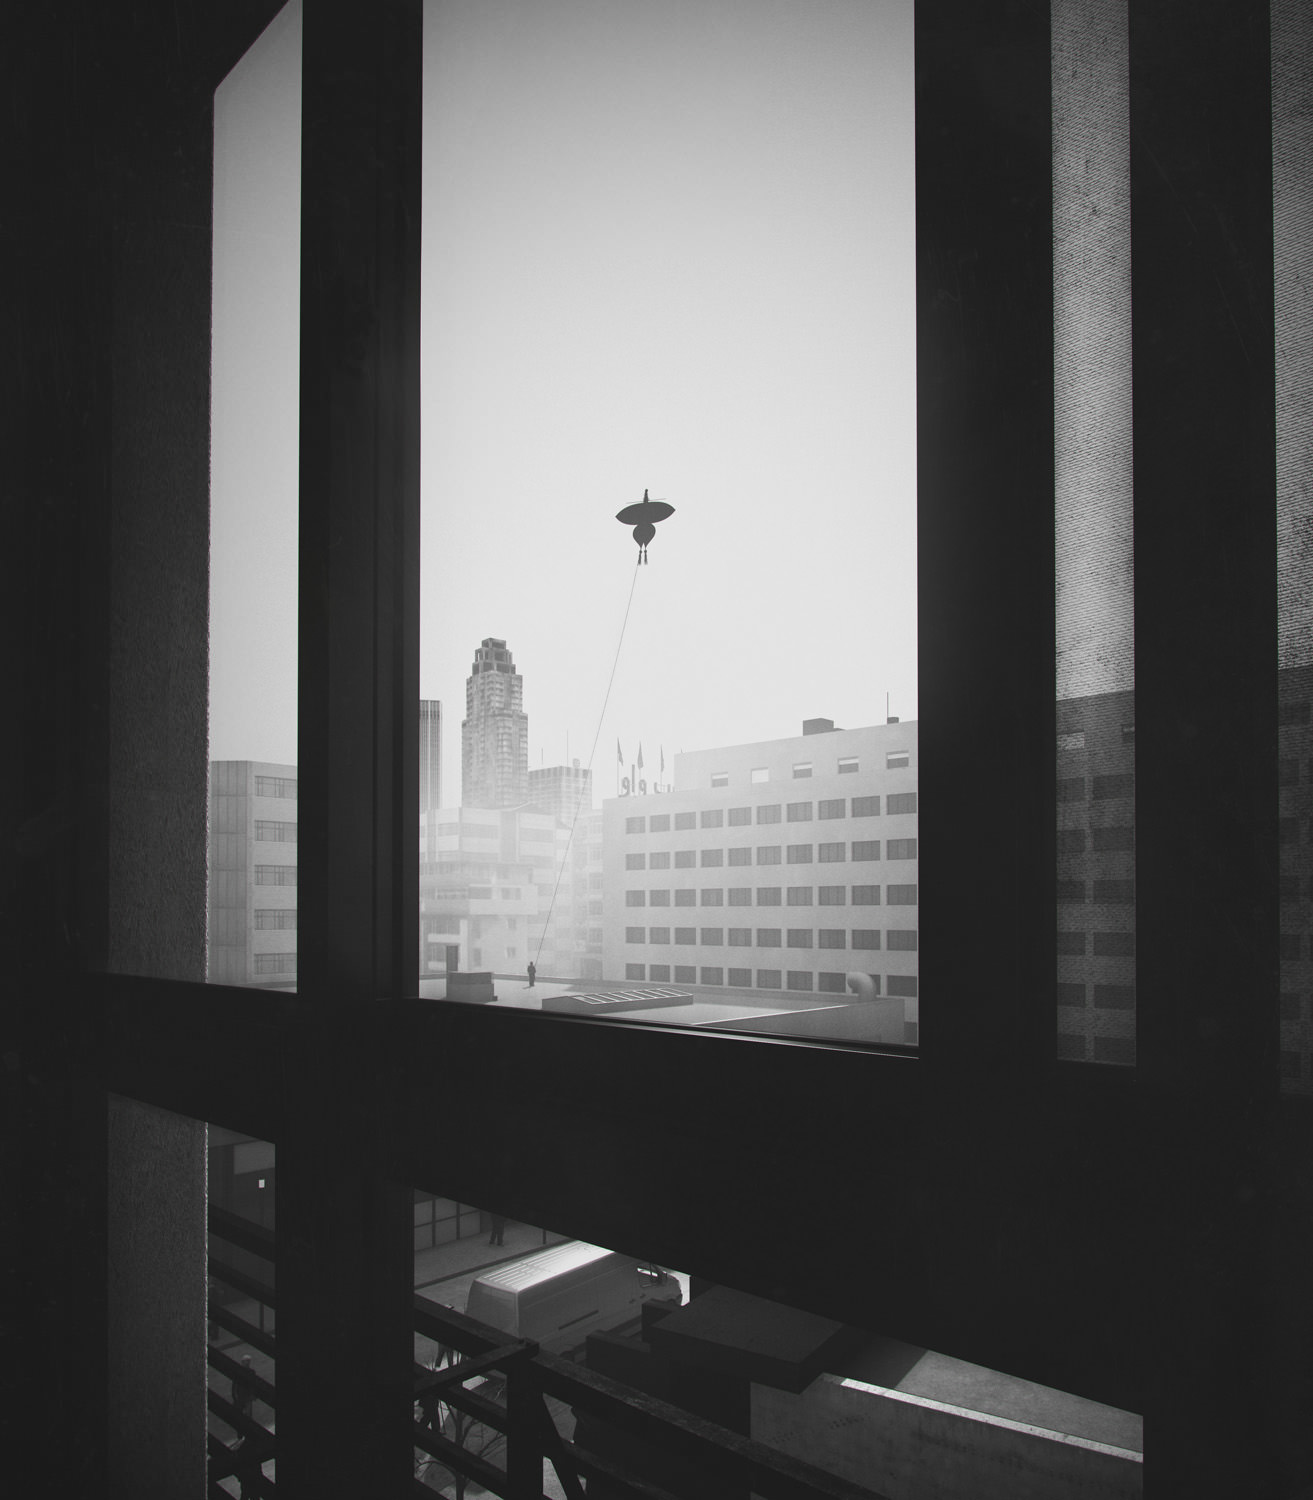
FIN
I hope you enjoyed this short making-of. Many thanks to the organizers of the competition and to my friend Michel who helped me to write this article. And thanks to my lovely wife, which with endless passion answered all my questions and helped sorting my indecision’s.
Saludos, Phil

We need more c4d making off 😀
We need more c4d making off 😀
Yes, I want more too 🙂